
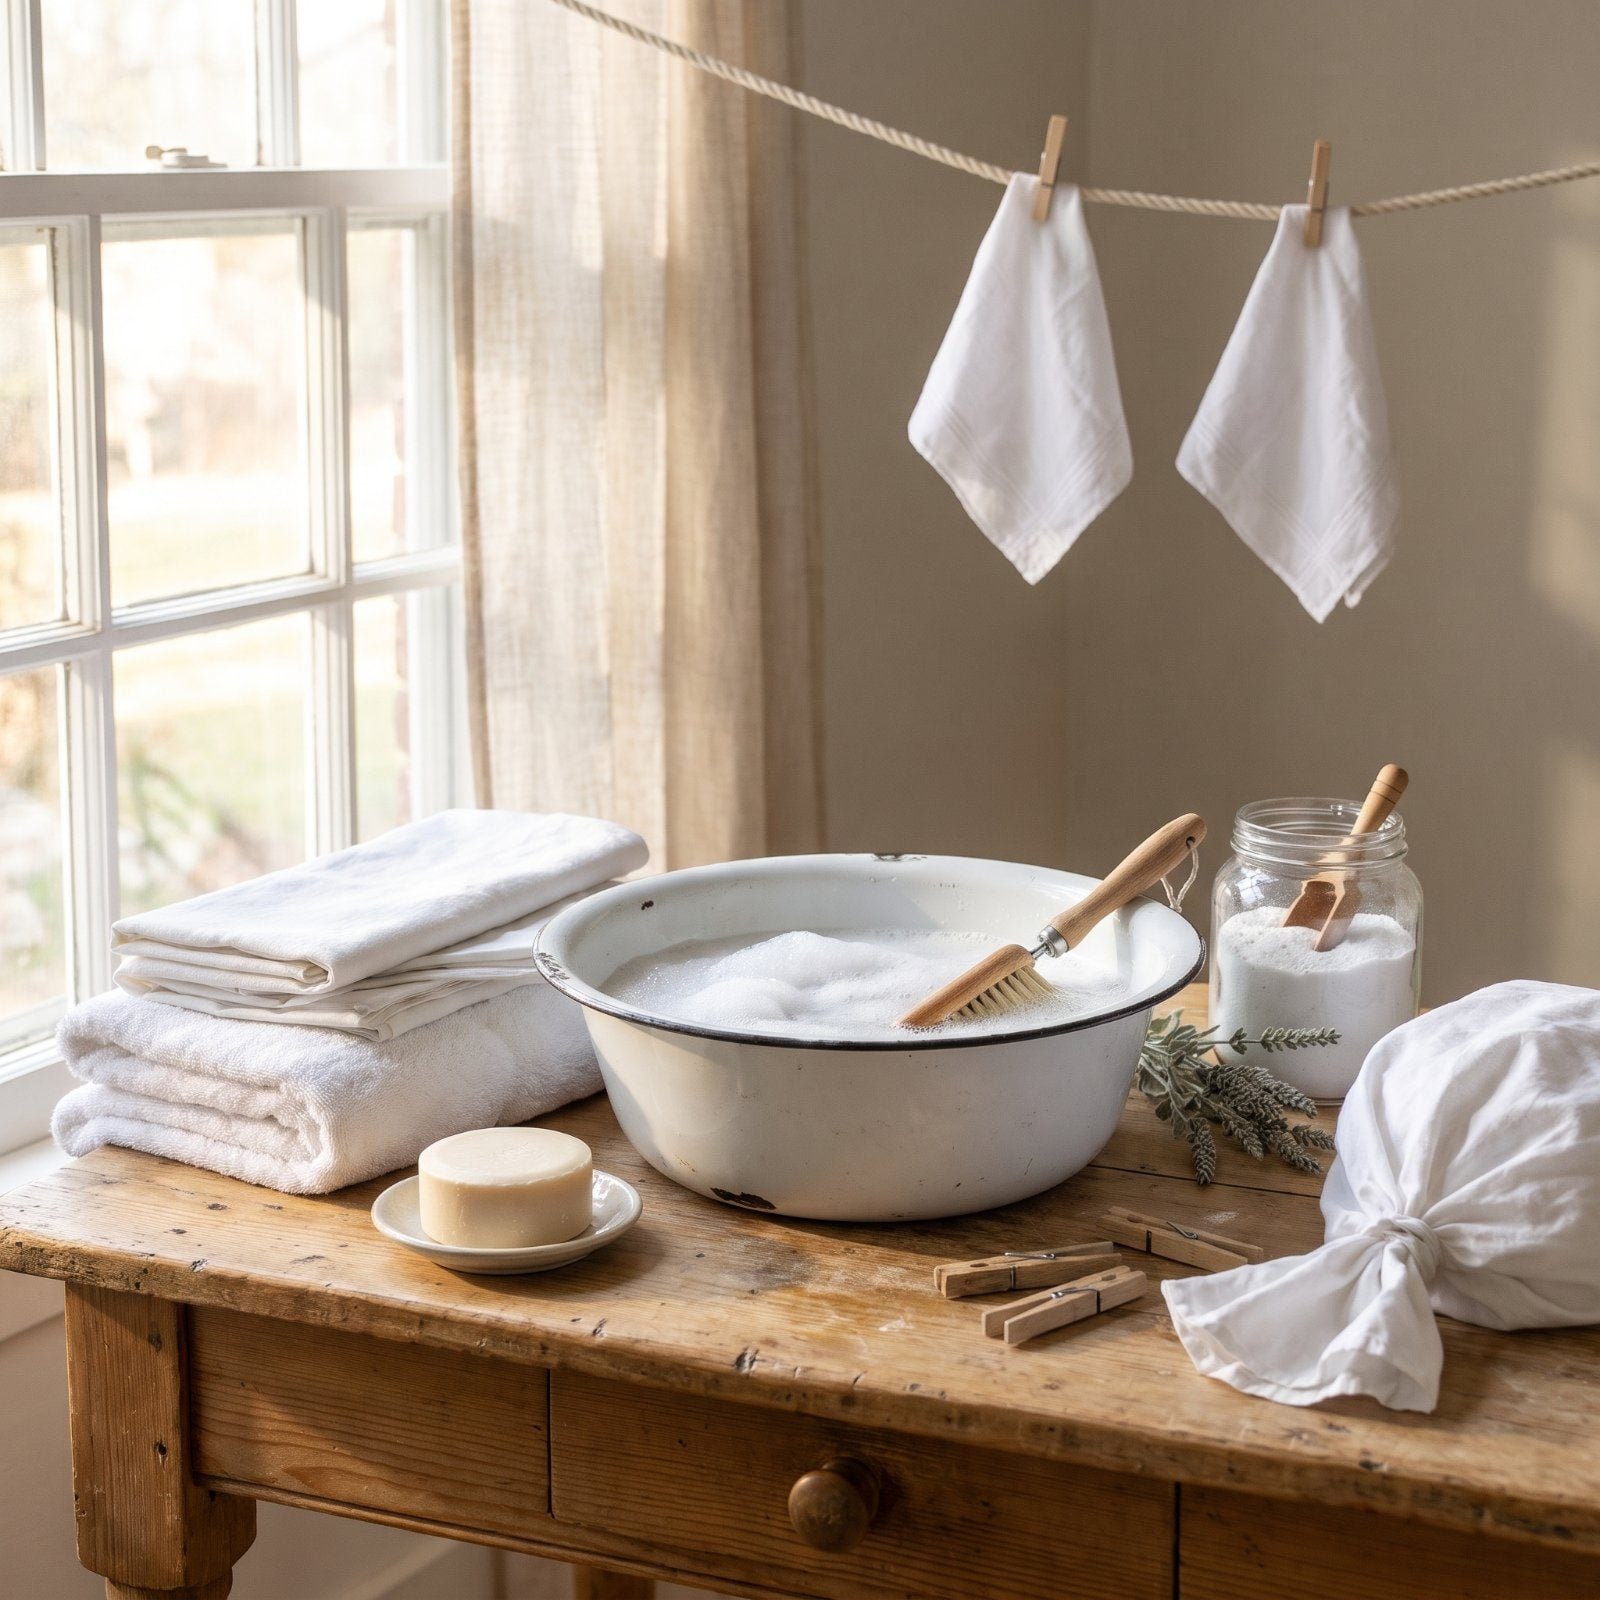
Somewhere between the spin cycle and the pods wrapped in plastic film, we lost a few things worth keeping. Grandmothers didn’t have steam settings or color-catcher sheets. What they had was patience, a bar of soap, and a cupboard of cheap powders that did the work of three expensive bottles — and most of that know-how still holds up fine in a 2026 washer. These methods survived because they worked, not because anyone sold them to you. Some will save a sweater. One will rescue a dingy load you’d already given up on. Pull up a chair by the line.
Please note that some of the images in this article were created with the assistance of AI.
38. Test New Colored Fabric With a Damp White Cloth
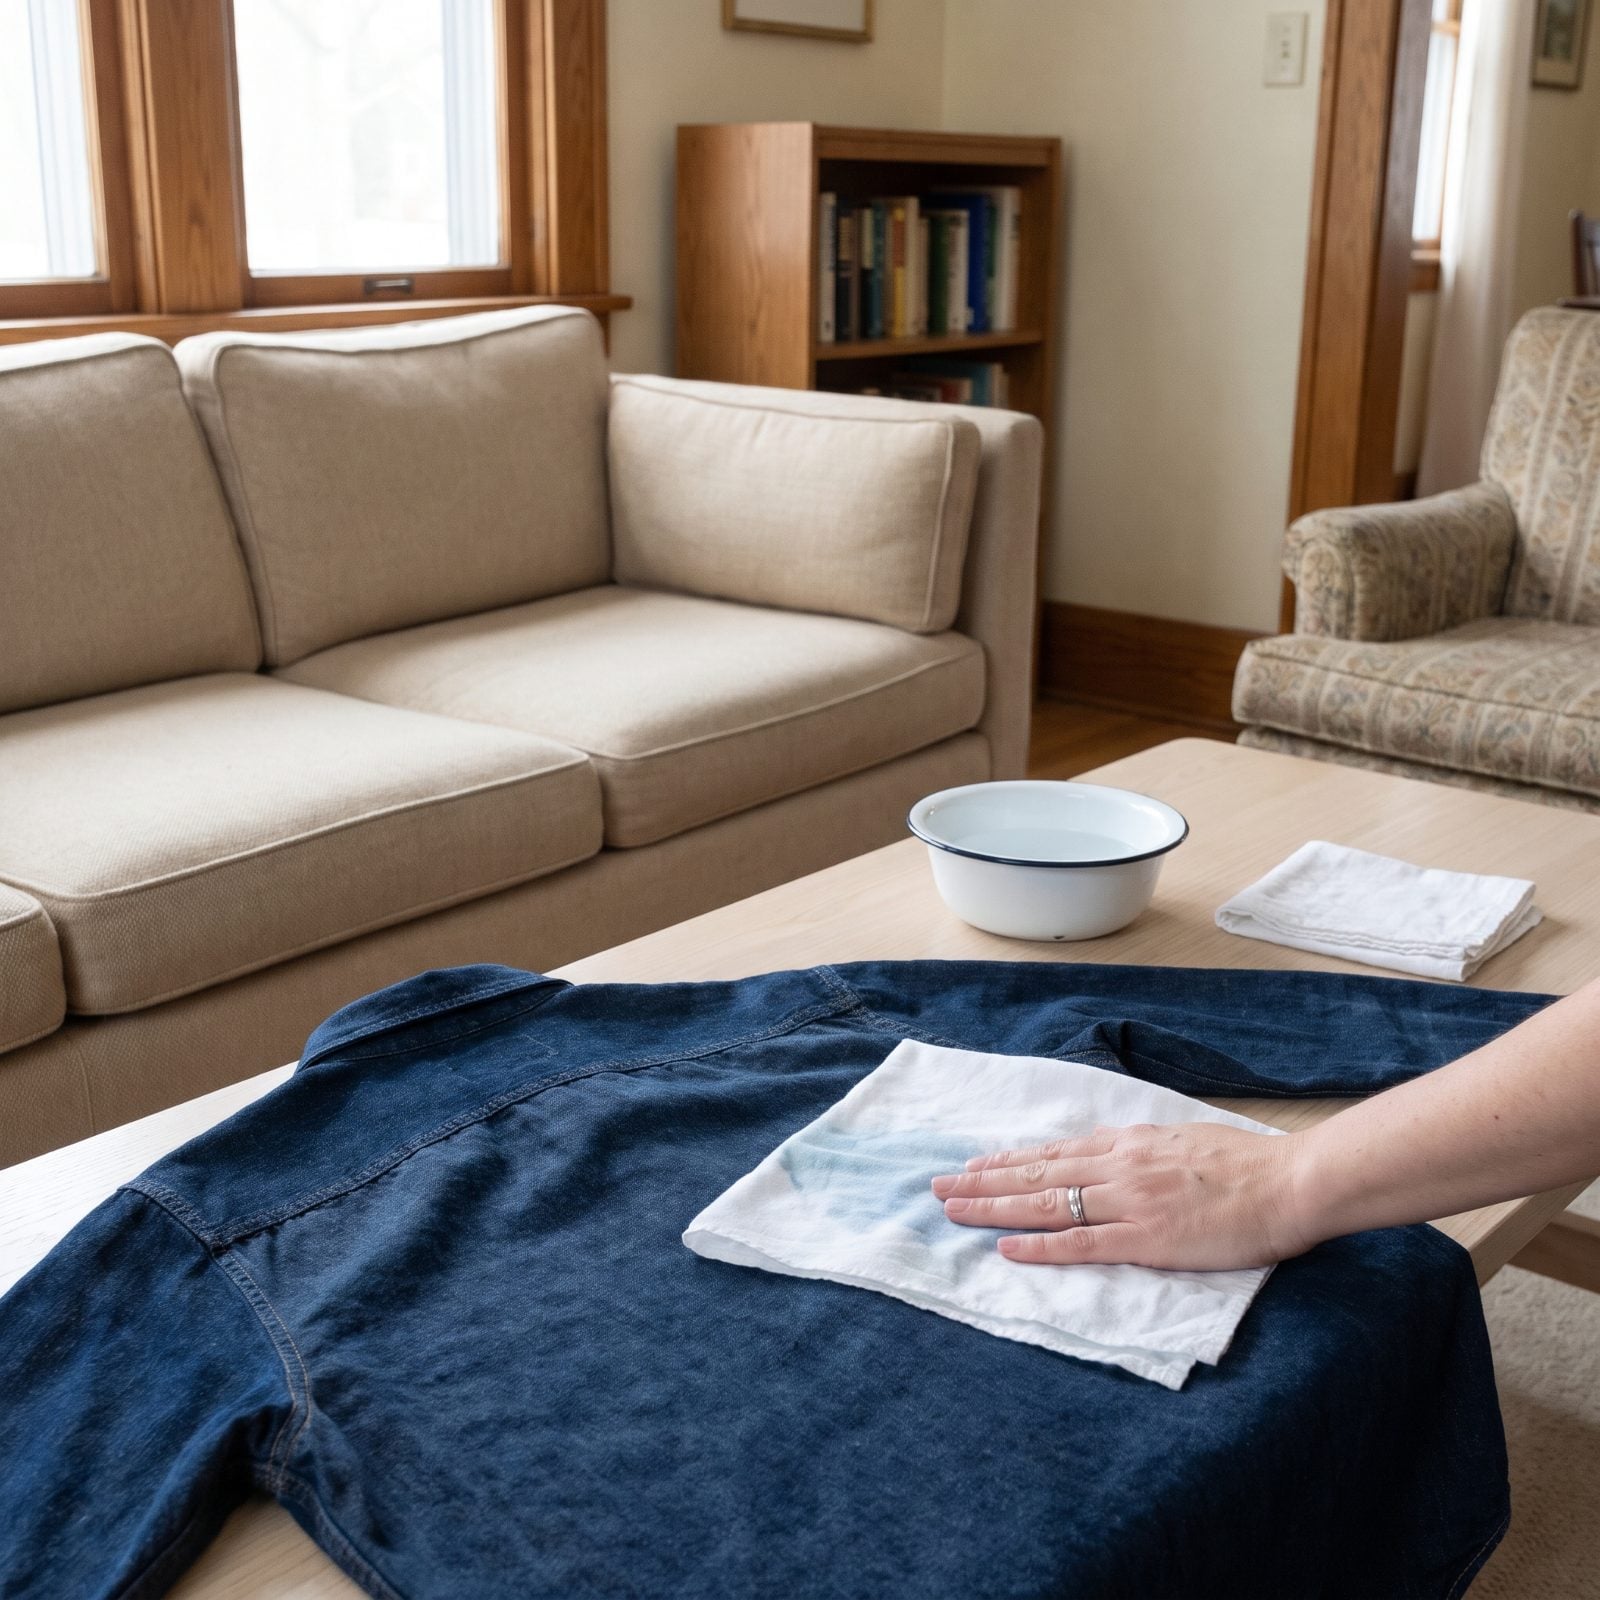
Red towels, cheap dyed cottons, a new pair of dark jeans — any of them can bleed, and you always find out at the worst possible time.
Dampen a scrap of white cloth, press it hard against a hidden seam, and look. Color on the cloth means that garment washes alone the first time around: cold water, no company. No color and you can relax. Ten seconds of work, and it saves a whole load from going dishwater grey.
Explaining the damp-cloth test on a hidden seam, one dry cleaner warns that “If any dye transferred onto the white cloth, the fabric is not colorfast and may bleed in the wash.”
37. Mend Small Tears Before They Enter the Wash
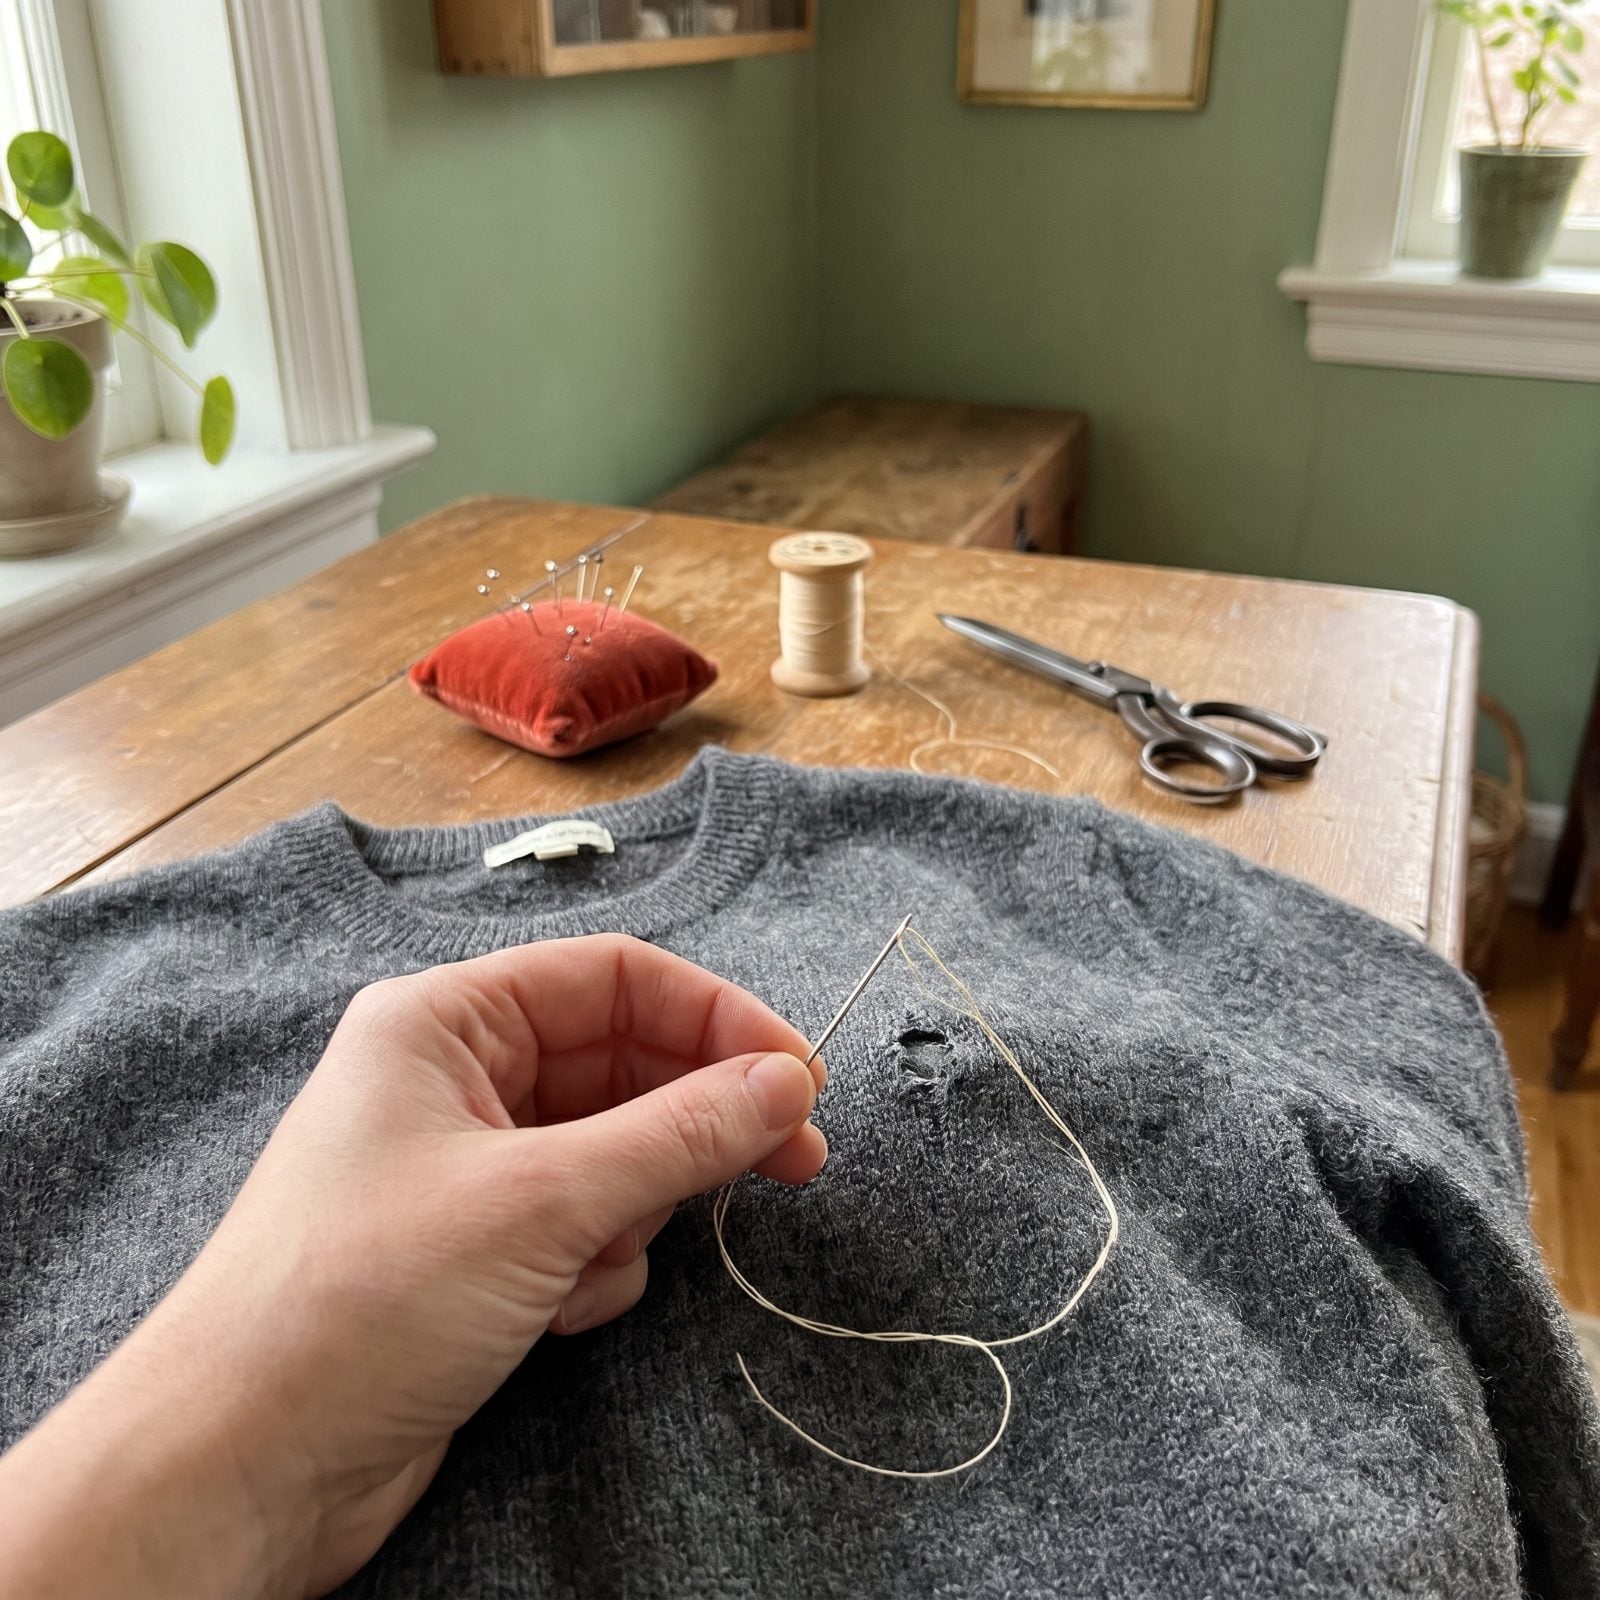
A one-inch tear goes into the machine. A six-inch tear comes out.
All of it — the tumbling, the water, the pull of a full drum — grabs a frayed edge and runs with it. A loose button becomes a lost button, and a small split along a seam becomes a gaping one. Three minutes with a needle before wash day beats an hour of salvage work after. Least glamorous tip on the list, and probably the one that saves the most clothes.
36. Turn Dark Clothes Inside Out and Line-Dry Them in the Shade
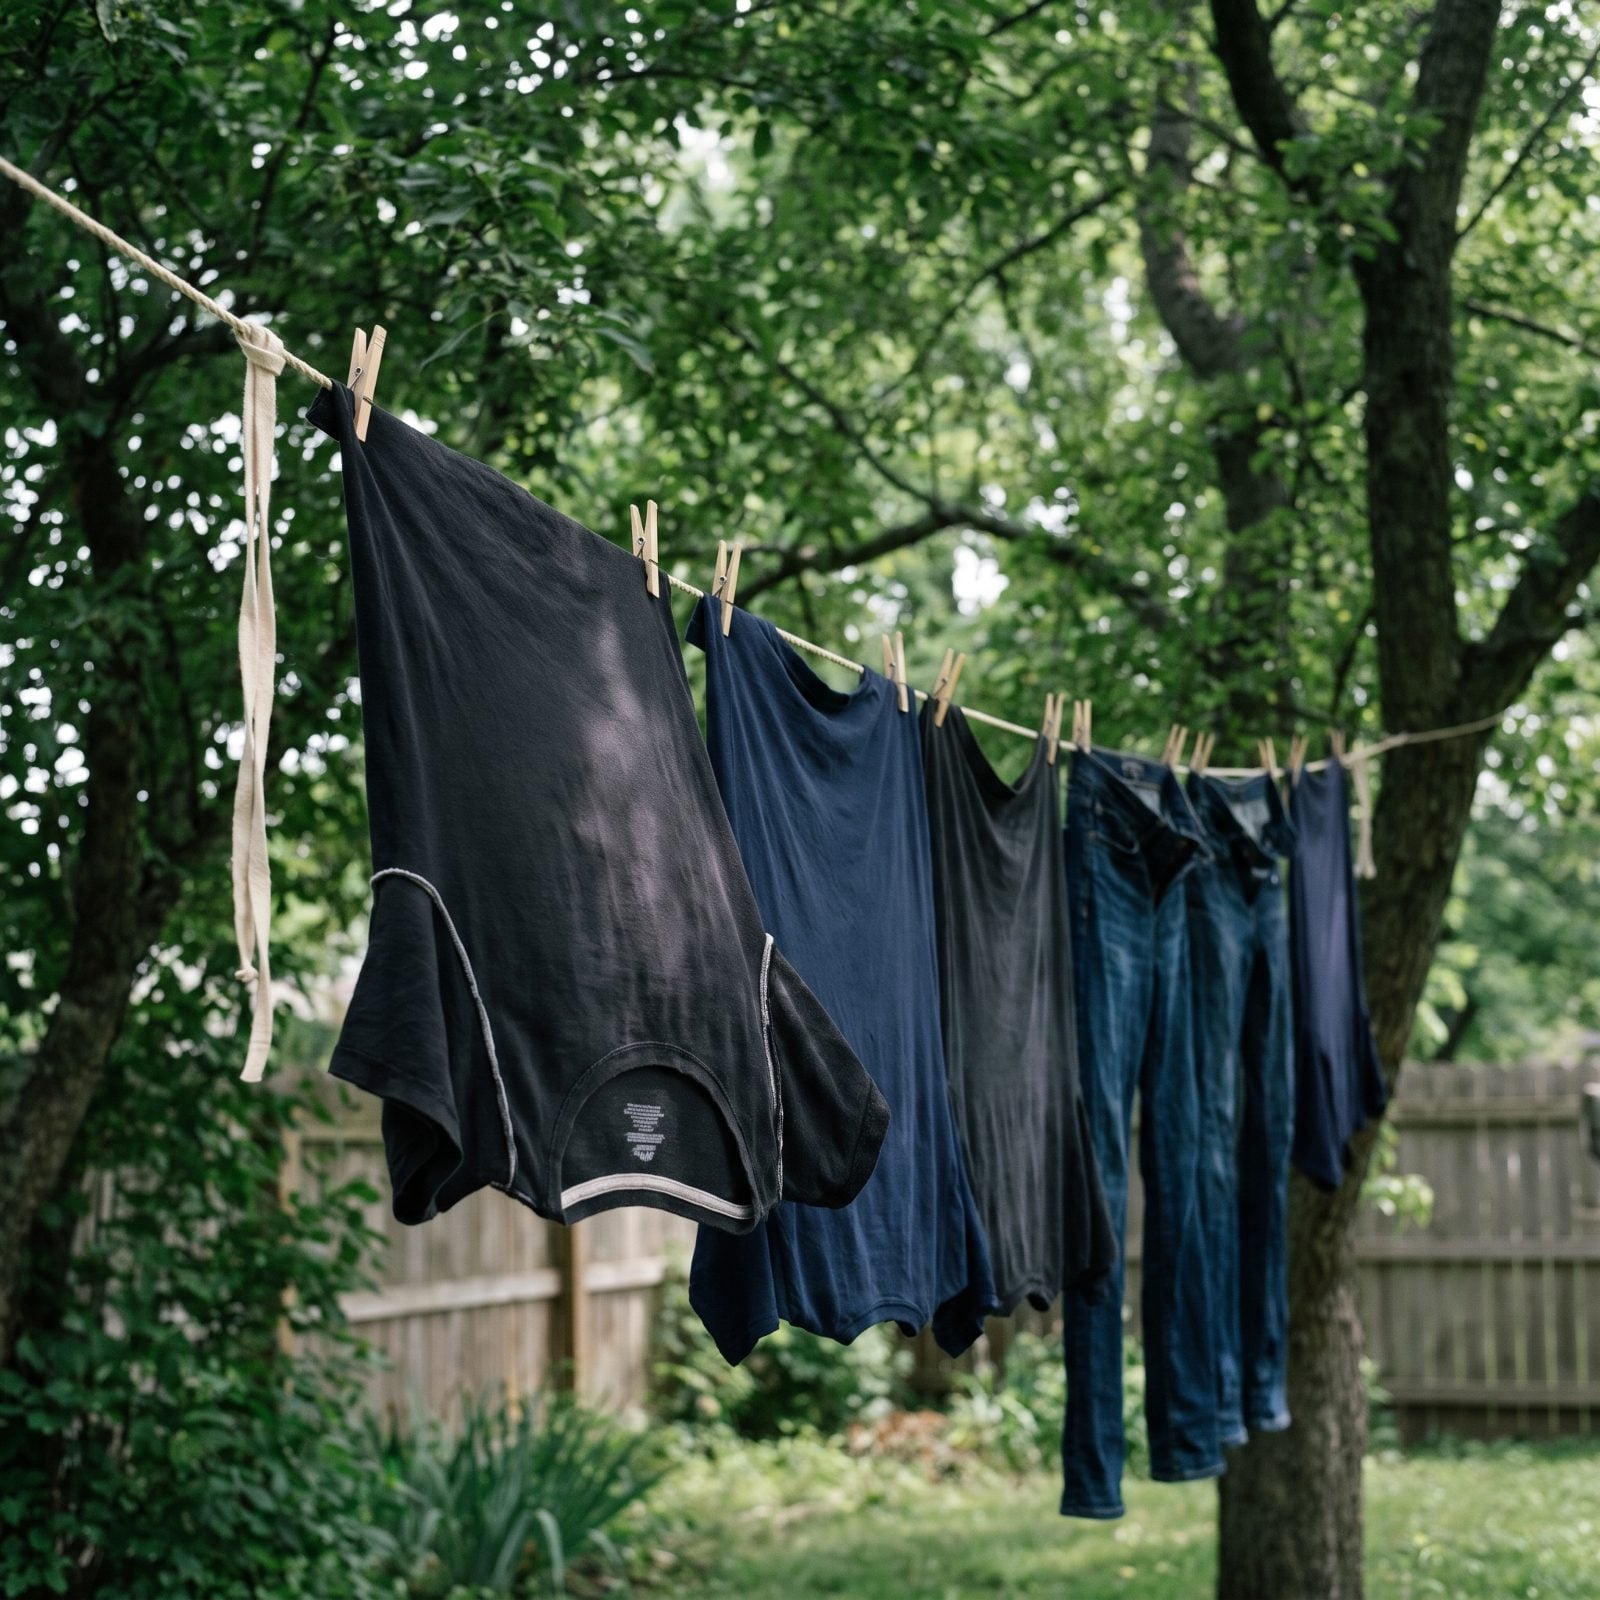
Sun fades black like nothing else. Hang a dark tee in full afternoon light a few times and you’ve got yourself a grey tee.
Flip darks inside out so any fading hits the seam side you never see, then string the line in the shade — under a tree, on the north wall, wherever direct sun can’t reach. Clothes still dry in the moving air, often faster than you’d think, but the color stays deep. Your blacks will outlast everyone else’s by a season or two.
35. Keep Lint Shedders Away From Lint Magnets
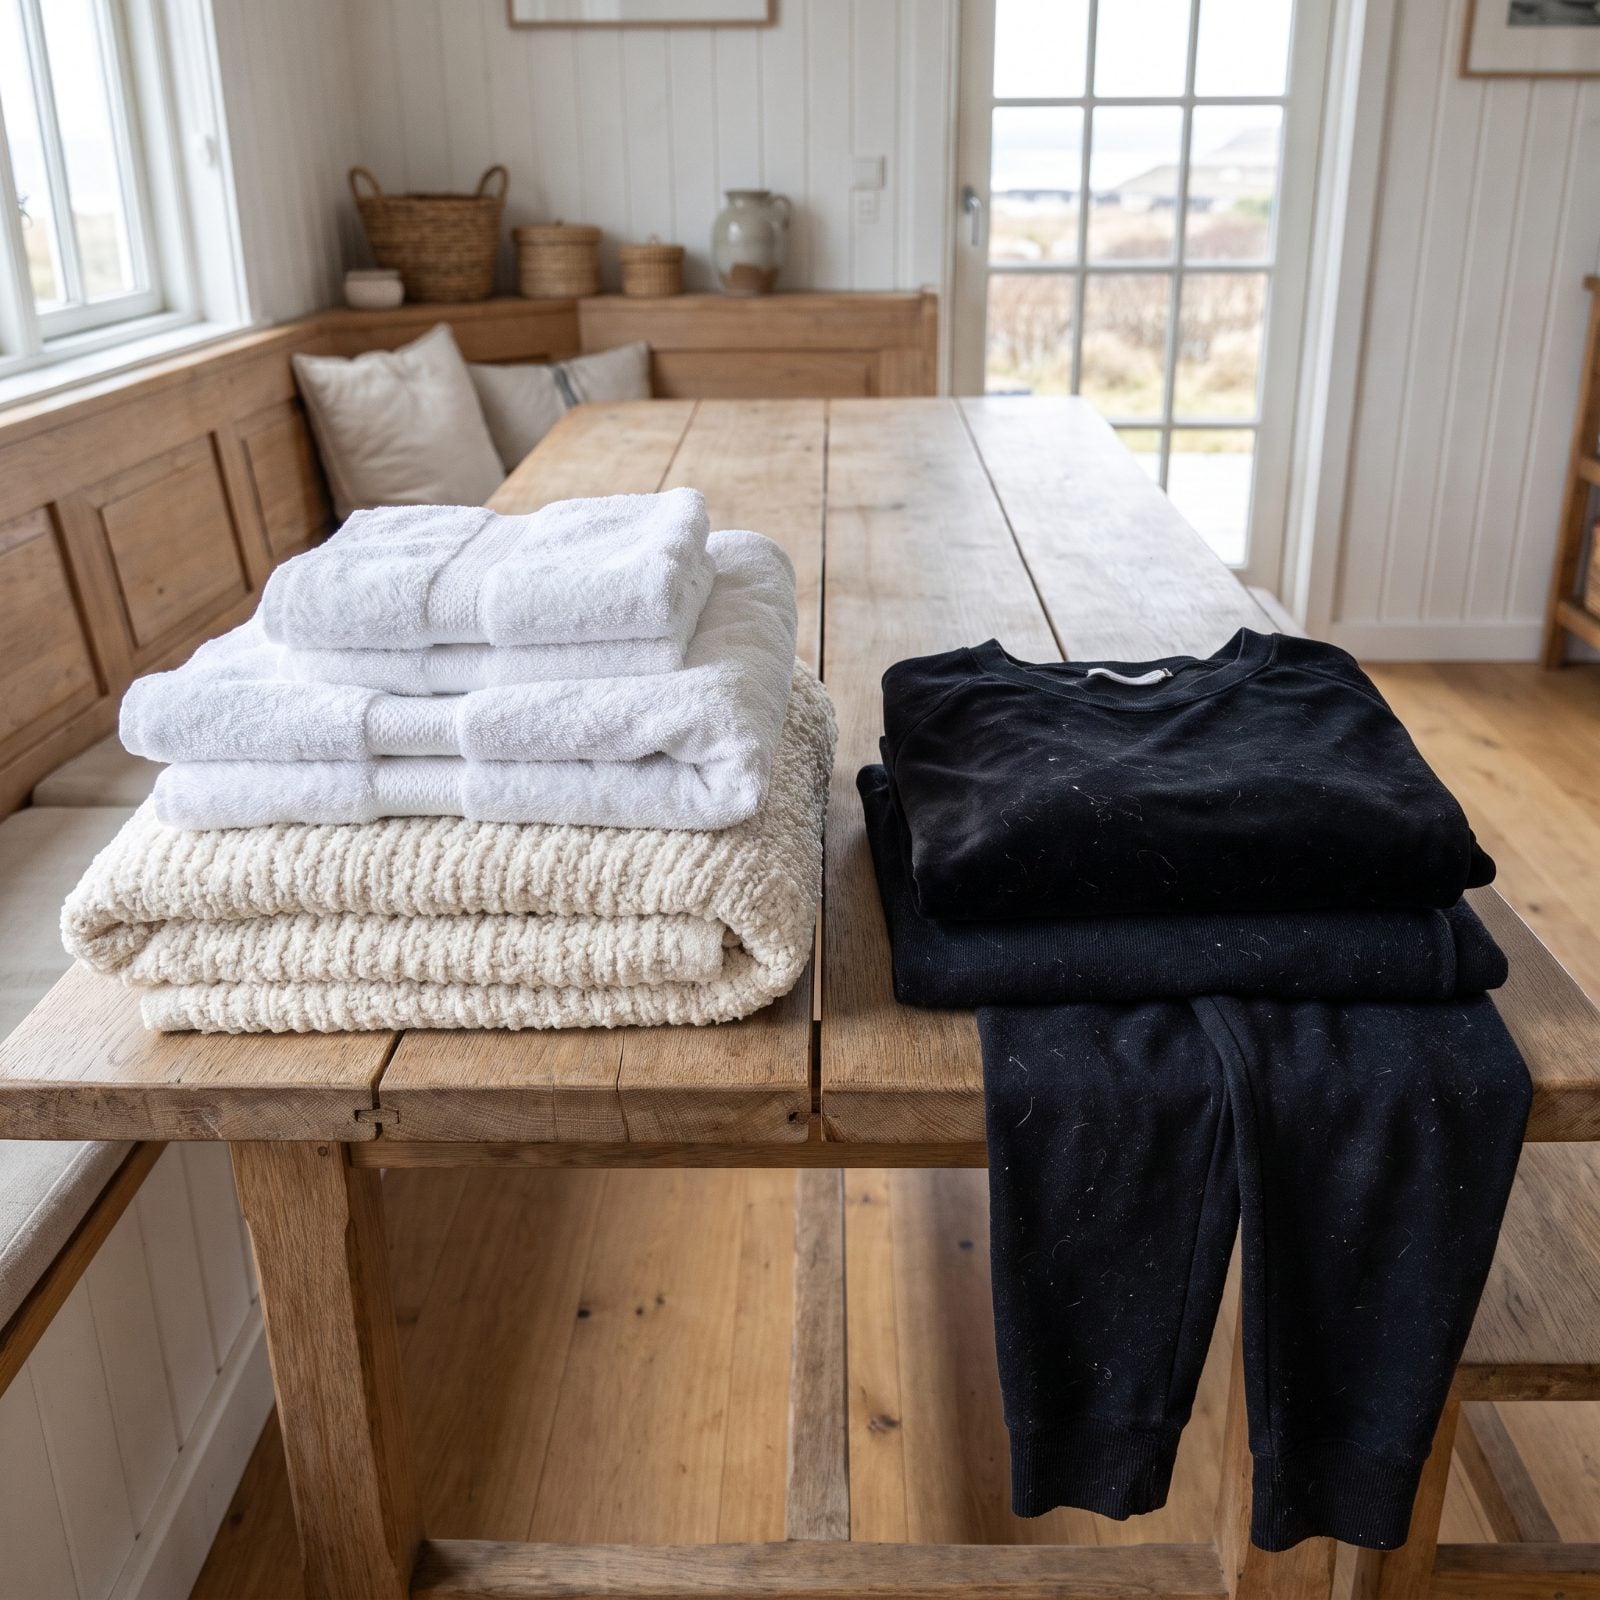
Towels shed. Fleece sheds. New flannel sheds like a cat in spring — and every one of those loose fibers goes looking for a home on your dark knits.
Sort by behavior, not just color. Lint producers (terrycloth, chenille, sweatshirts) wash together. Lint collectors (corduroy, velour, dark synthetics, anything with a nap) wash together, and the two piles never share a drum. Do this once and you stop picking white fuzz off your good black pants with a roll of tape.
34. Dissolve Soap Flakes Before Adding the Clothes

Dump soap flakes straight onto wet wool and you get a clump — a chalky, gritty clump that never fully rinses out and leaves a stiff patch on the fabric.
Swirl the flakes into warm water first until the whole basin goes cloudy and even. Then, and only then, lower the clothes in. Now the soap is already everywhere it needs to be, working on the whole garment at once instead of sitting in a lump on one shoulder. Such a small habit. It’s the difference between a soft hand-wash and a scratchy one.
33. Grate a Laundry Bar for Easy Hand-Wash Soap
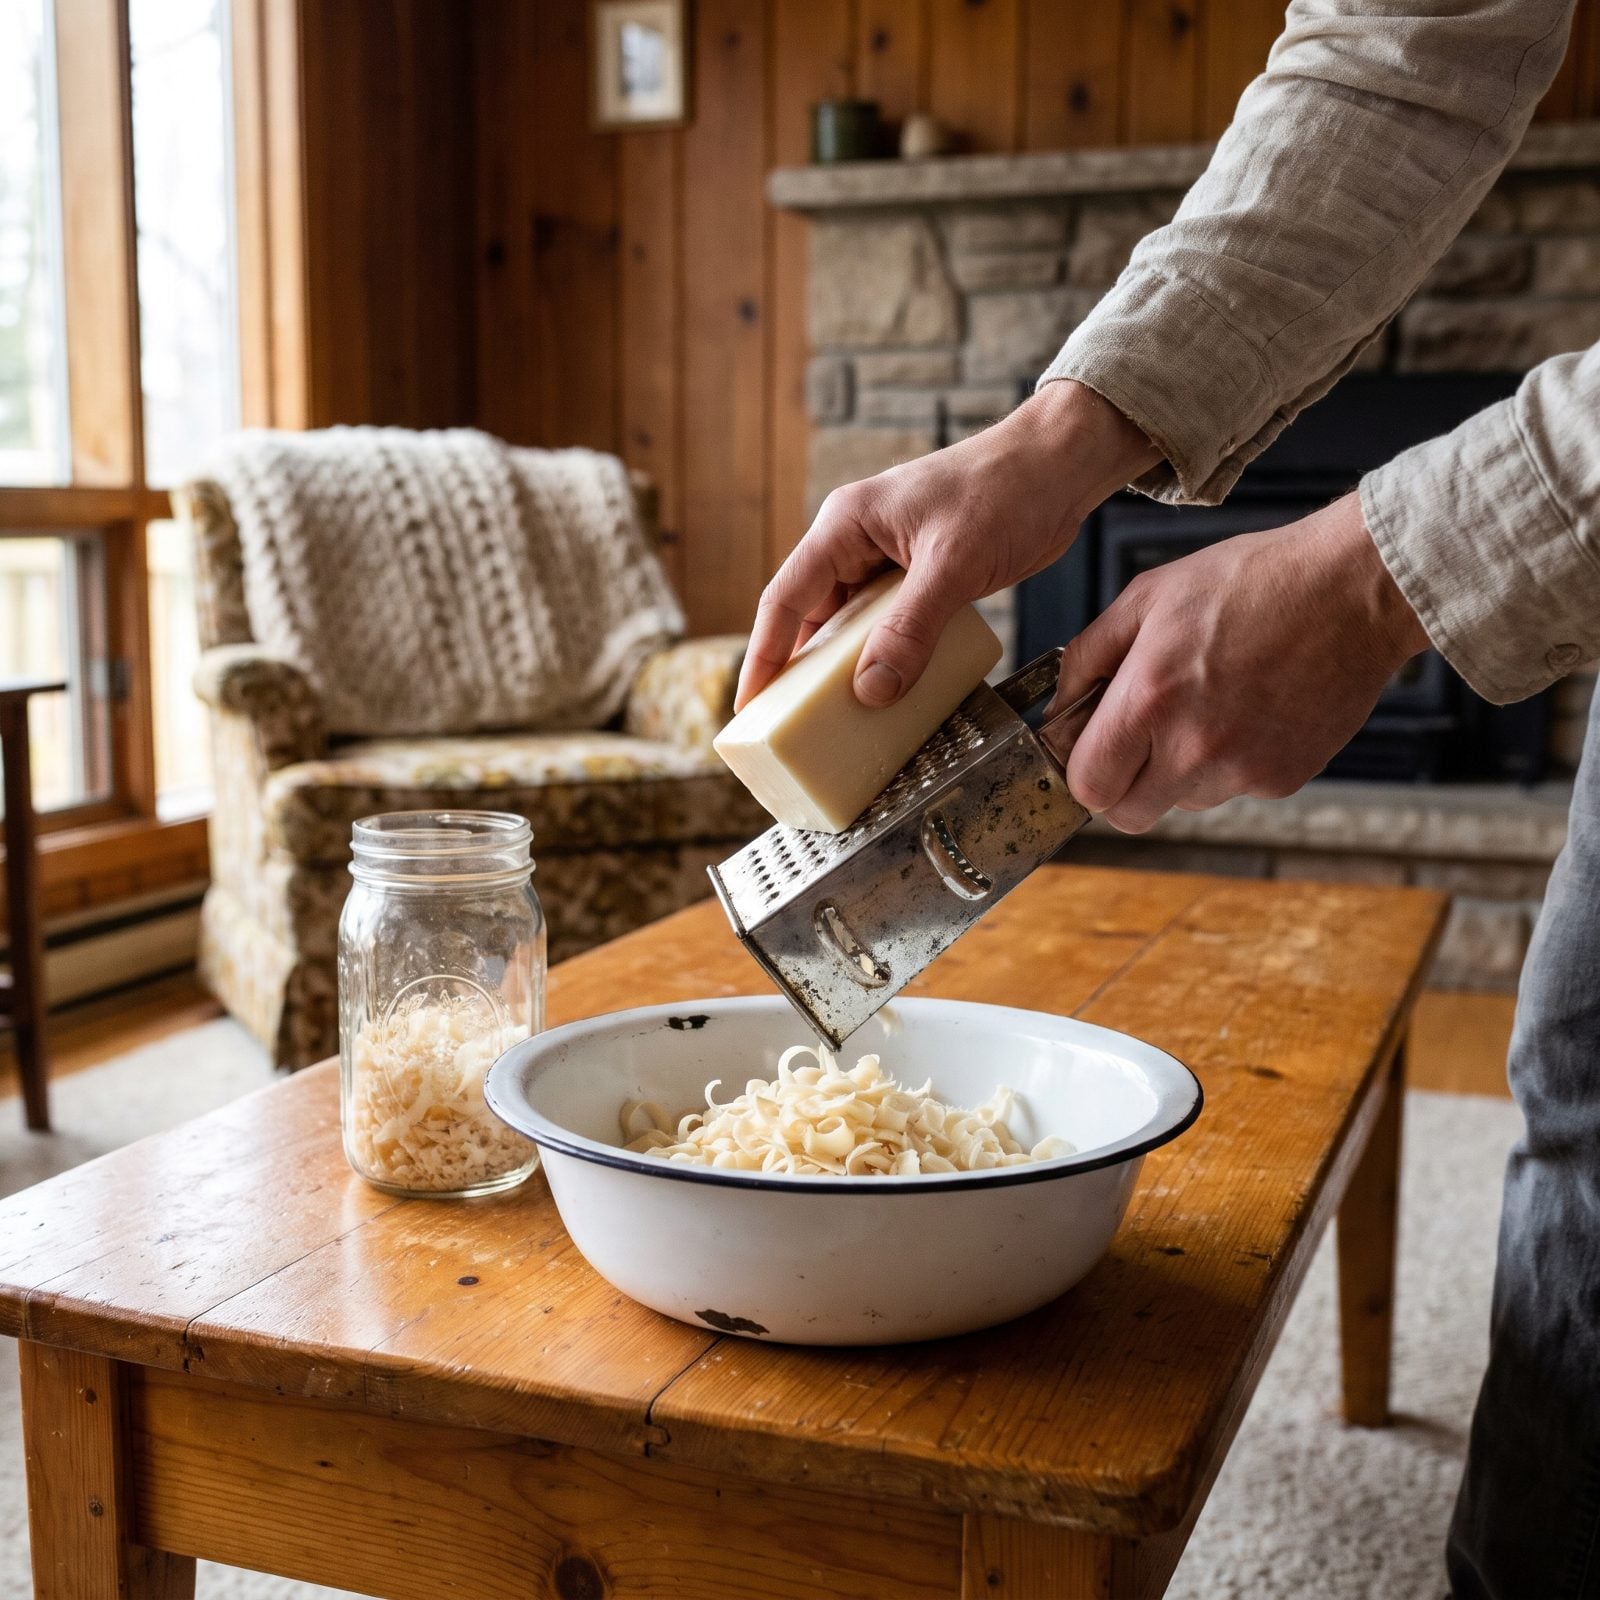
No flakes in the cupboard? Make your own in two minutes.
Run a plain laundry bar across the coarse side of a box grater and you’ve got instant shavings, the kind that dissolve fast in warm water. A whole bar fills a glass jar and lasts for months of delicate hand-washing. It’s cheaper than any boutique wash, you know exactly what’s in it, and — I’ll admit it — there’s something weirdly satisfying about the little pile of curls building up in the bowl.
32. Add Washing Soda When Hard Water Weakens Soap
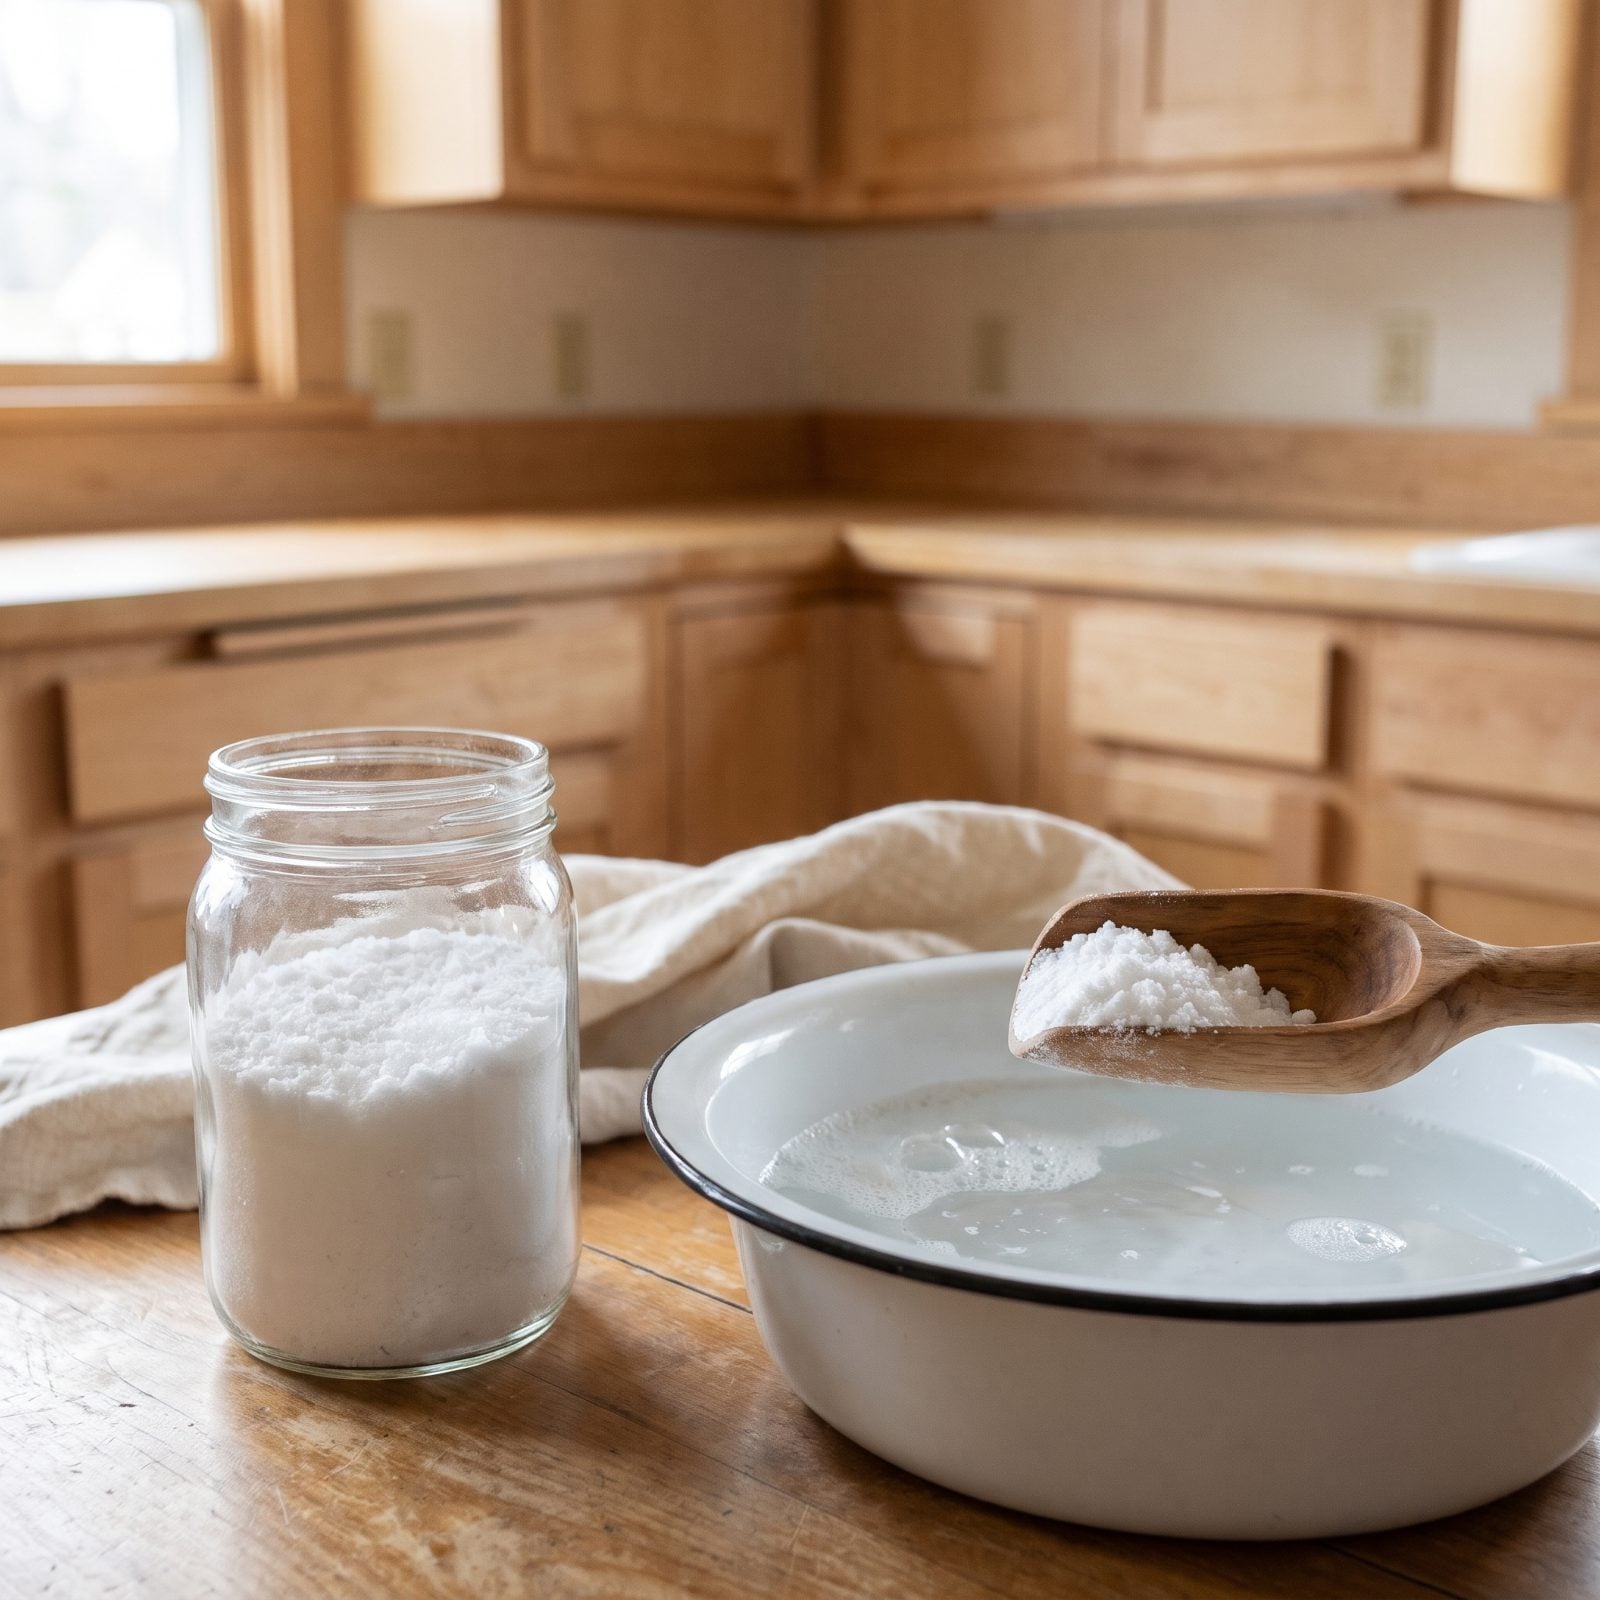
Live with hard water and you know the feeling. You add plenty of soap, the suds just won’t come, and everything still rinses out faintly grey.
The minerals in the water grab the soap before it can grab the dirt. A spoonful of washing soda — sodium carbonate, not baking soda — softens the water first, so the soap goes to work on the clothes instead of fighting the calcium. Suds build properly. Whites come up brighter, and you end up using less detergent, not more.
31. Use Borax to Boost Detergent in a Dingy Load

White towels that went dishwater grey. Pillowcases with no snap left in them. You’ve washed them a dozen times and they still look tired.
Half a cup of borax in the drum alongside your usual detergent, and the whole load comes up brighter. It softens the water, lifts the dingy film detergent alone leaves behind, and nudges whites back toward actually white. No magic involved — just old chemistry that’s been sitting on grocery shelves the whole time you were buying brightener boosters at three times the price.
30. Add Baking Soda to Freshen Sour-Smelling Laundry
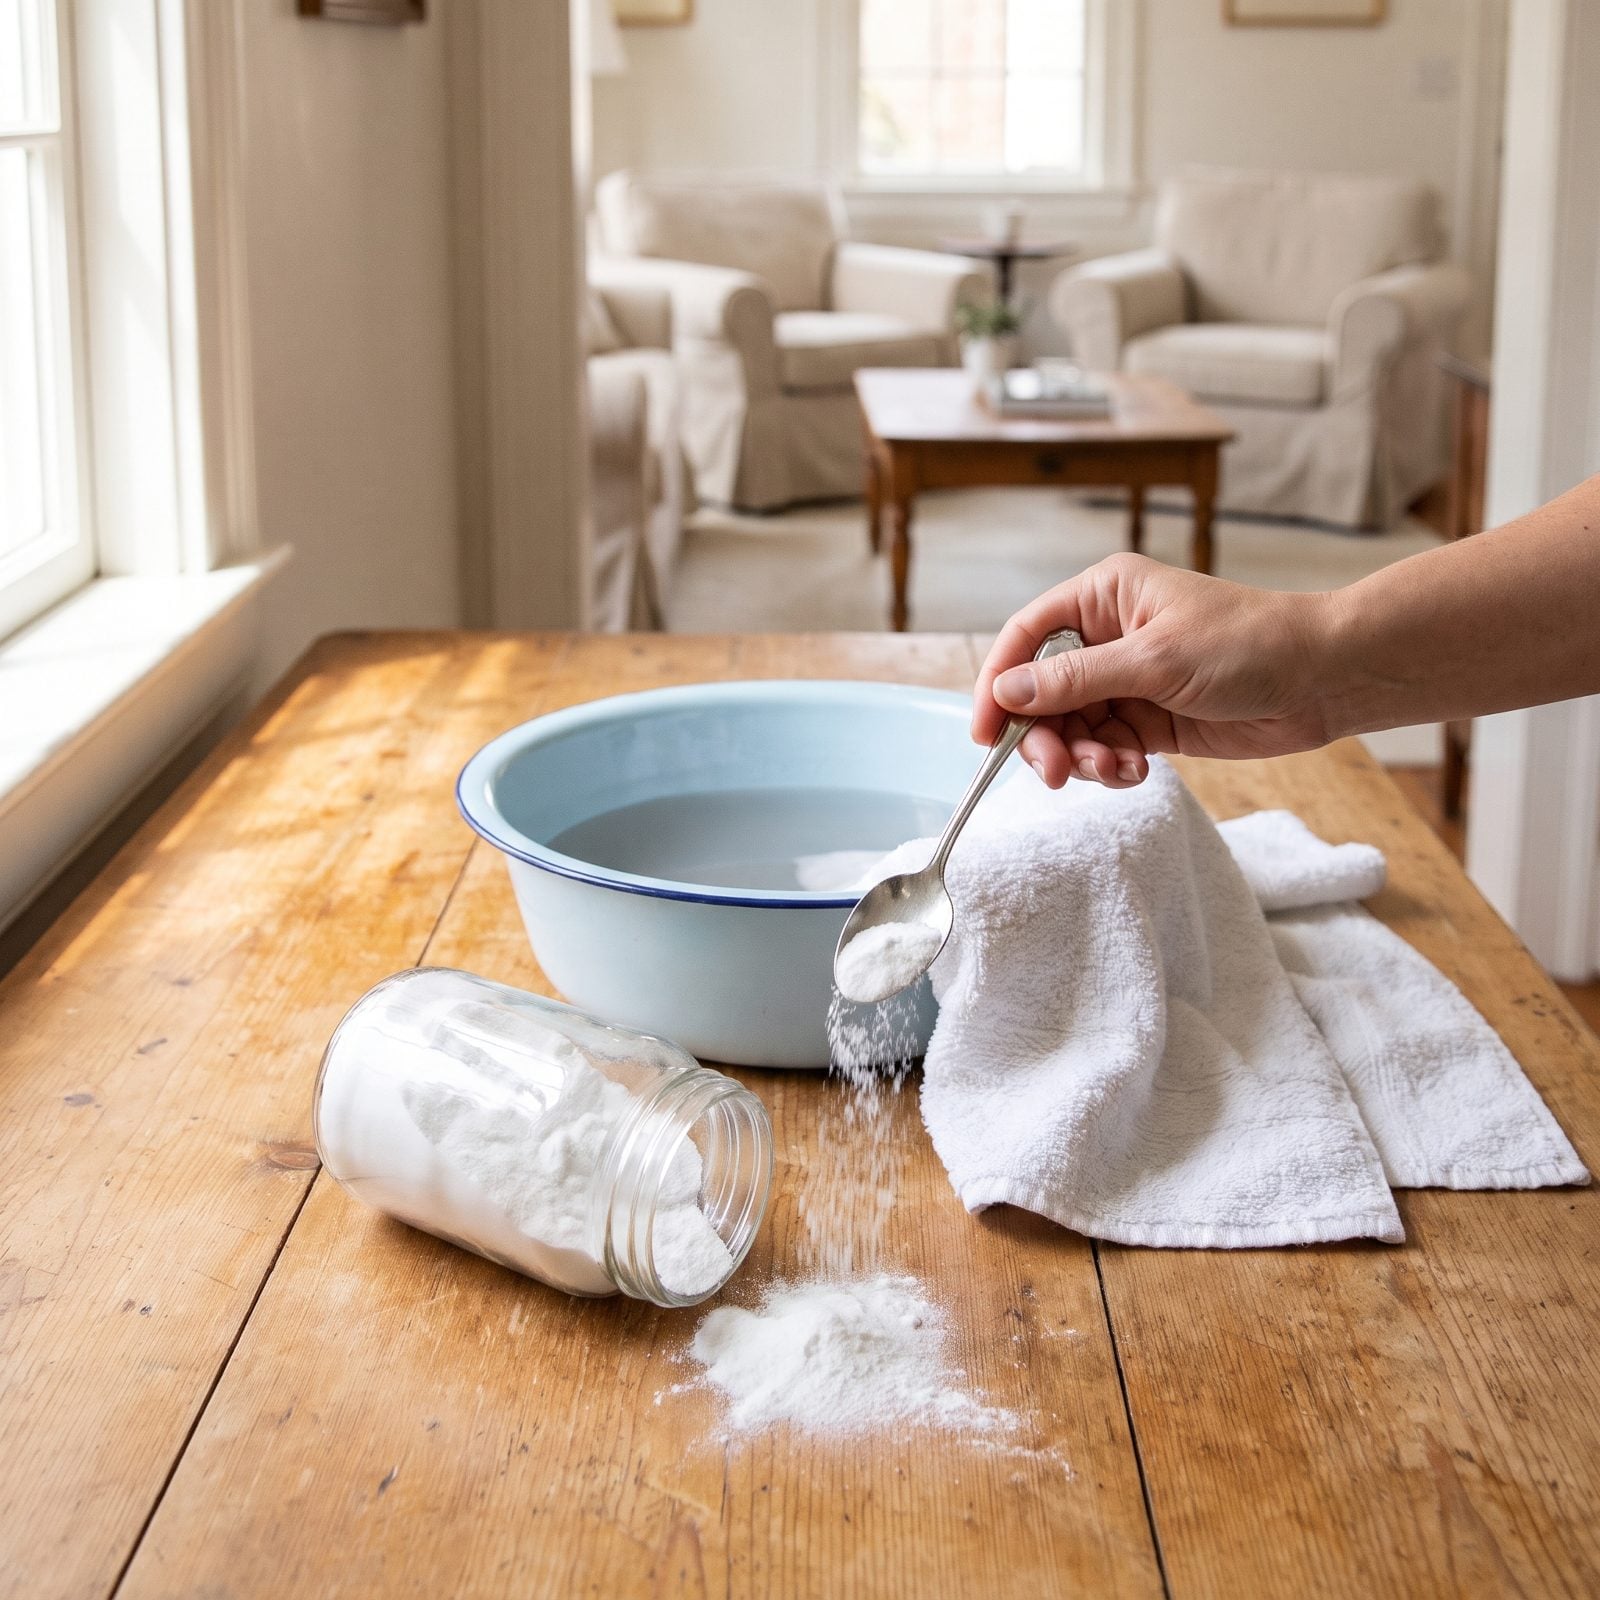
That mildew funk clinging to towels you left in the machine too long? Baking soda handles it, and it costs about a dollar a pound. Half a cup tossed in with the wash neutralizes the acids that make damp cotton go sour. No masking involved — it changes the chemistry.
Anyone who has left a weekend’s worth of beach towels in the washer overnight knows the smell. Regular detergent won’t shift that smell. You need something that counteracts the odor rather than perfuming over it.
29. Use White Vinegar in the Rinse to Clear Soap Residue

Stiff towels usually aren’t a water problem. They’re a detergent problem. Soap builds up in the fibers, and no amount of extra rinsing seems to budge it — but half a cup of plain white vinegar in the rinse cycle cuts straight through.
Here’s what people worry about: no, your clothes won’t smell like a pickle jar. The vinegar scent evaporates completely as things dry. What’s left is softer cotton and brighter whites, because the residue that dulled them is finally gone. And skip the fabric softener while you’re at it — that’s half the buildup to begin with.
As a laundry expert puts it, “Over time, detergent and fabric softeners build up in towels, making them less absorbent and more stiff. The acetic acid in vinegar breaks down these residues, making towels feel soft again, without buildup.”
28. Restore Yellowing Whites With Traditional Laundry Bluing
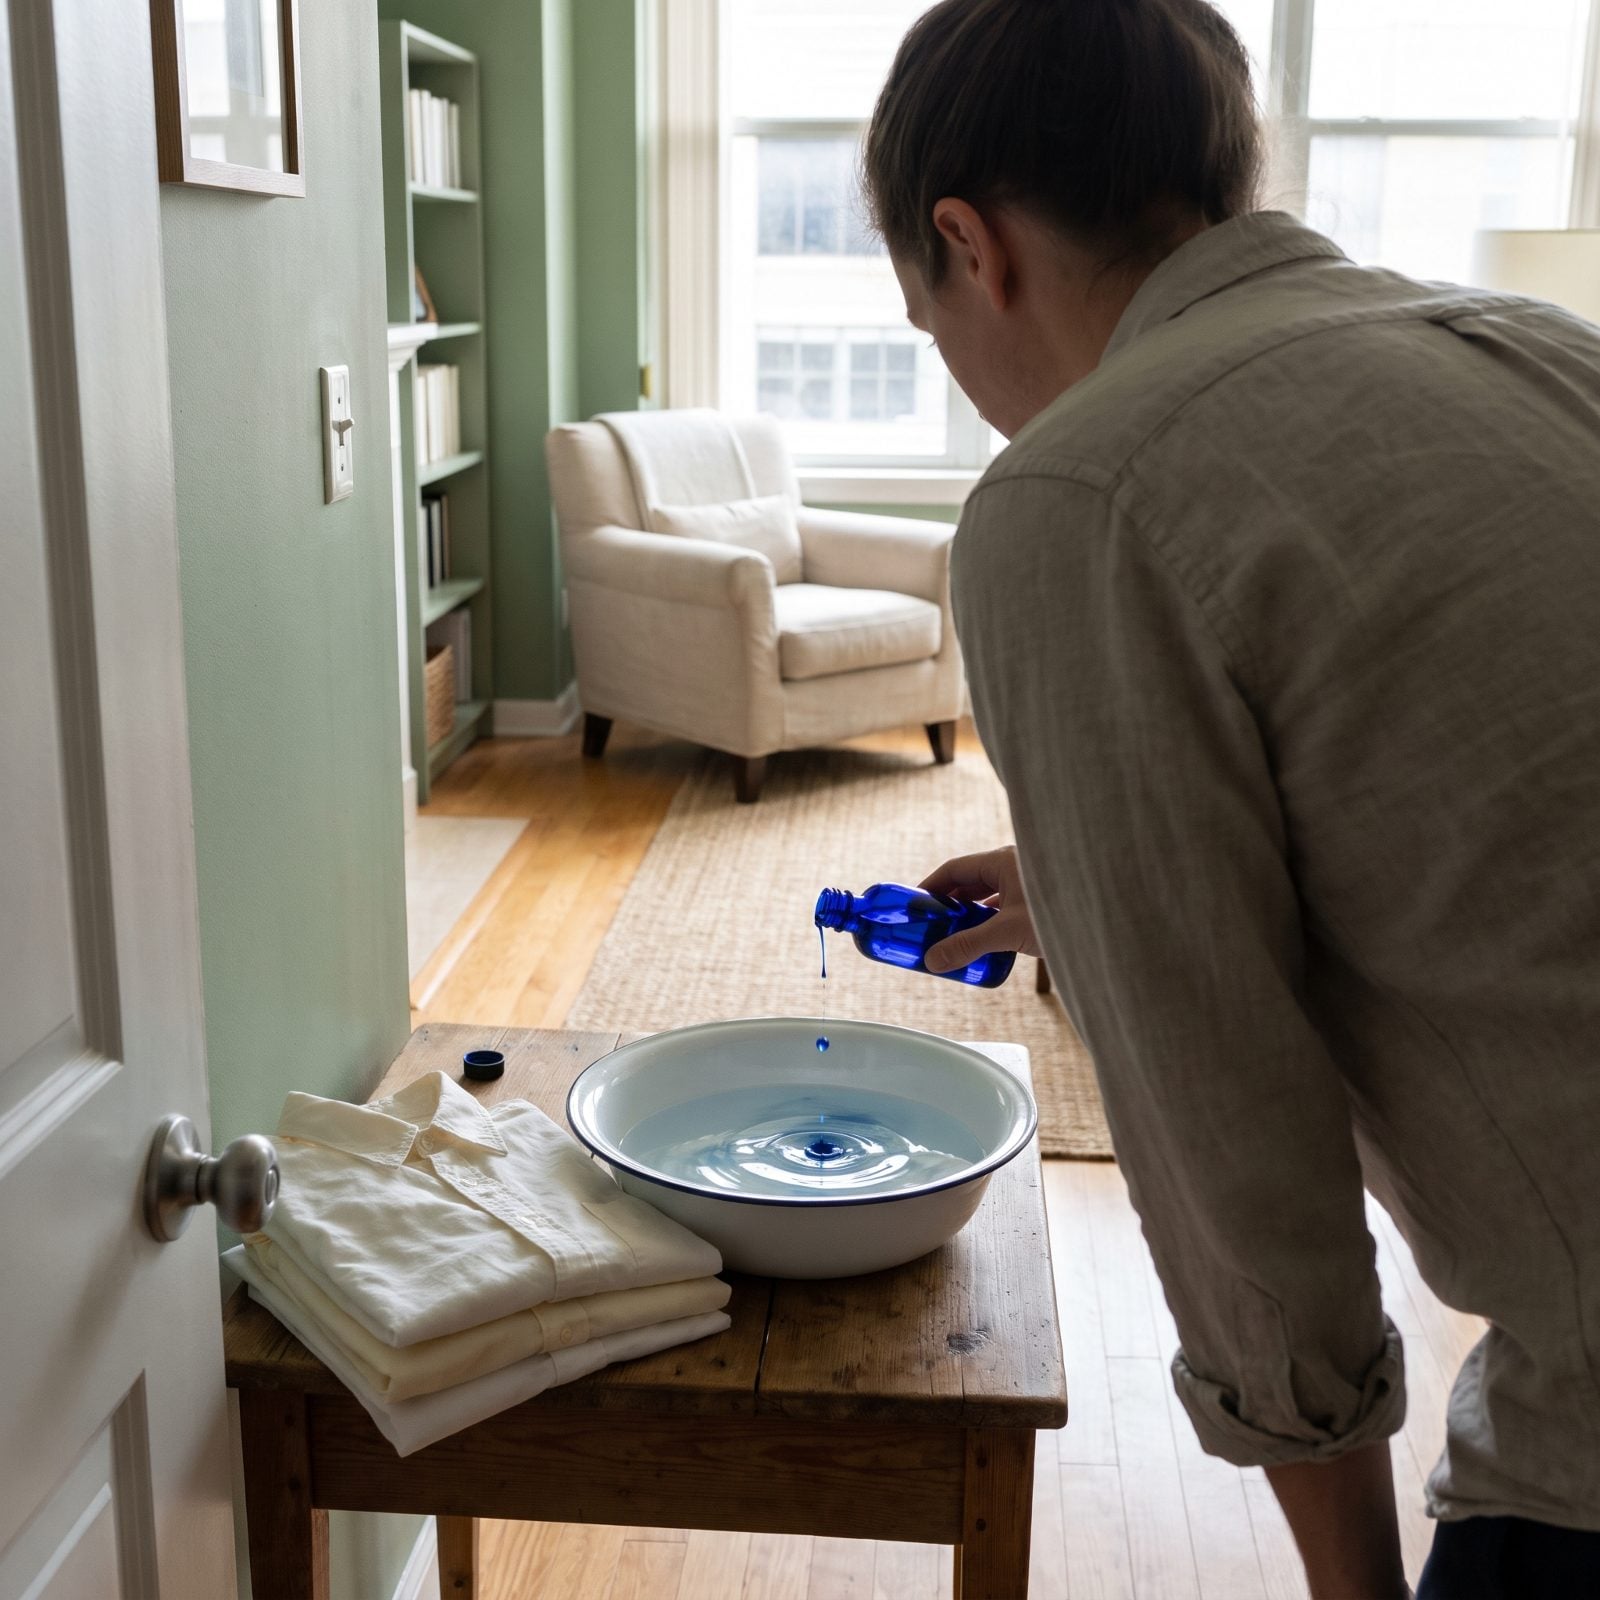
Bluing is an old trick that the eye falls for every time. Whites yellow as they age because the fibers reflect warm light, and a trace of blue dye cancels that yellow so your brain reads the result as whiter than white. It’s not bleach. It adds color instead of stripping it.
The catch is restraint. A few drops in a full tub, never a pour. Get heavy-handed and you can tint a set of pillowcases a pale periwinkle that takes three washes to fade. Dilute it in water first, then add the clothes. Trust me on this one.
Asked how to bring yellowed whites back, a laundry expert says “So what you need is, believe it or not, is to put a blue tint back into them to make them appear white.”
27. Boil Only Plain White Cotton Linens That Can Take the Heat
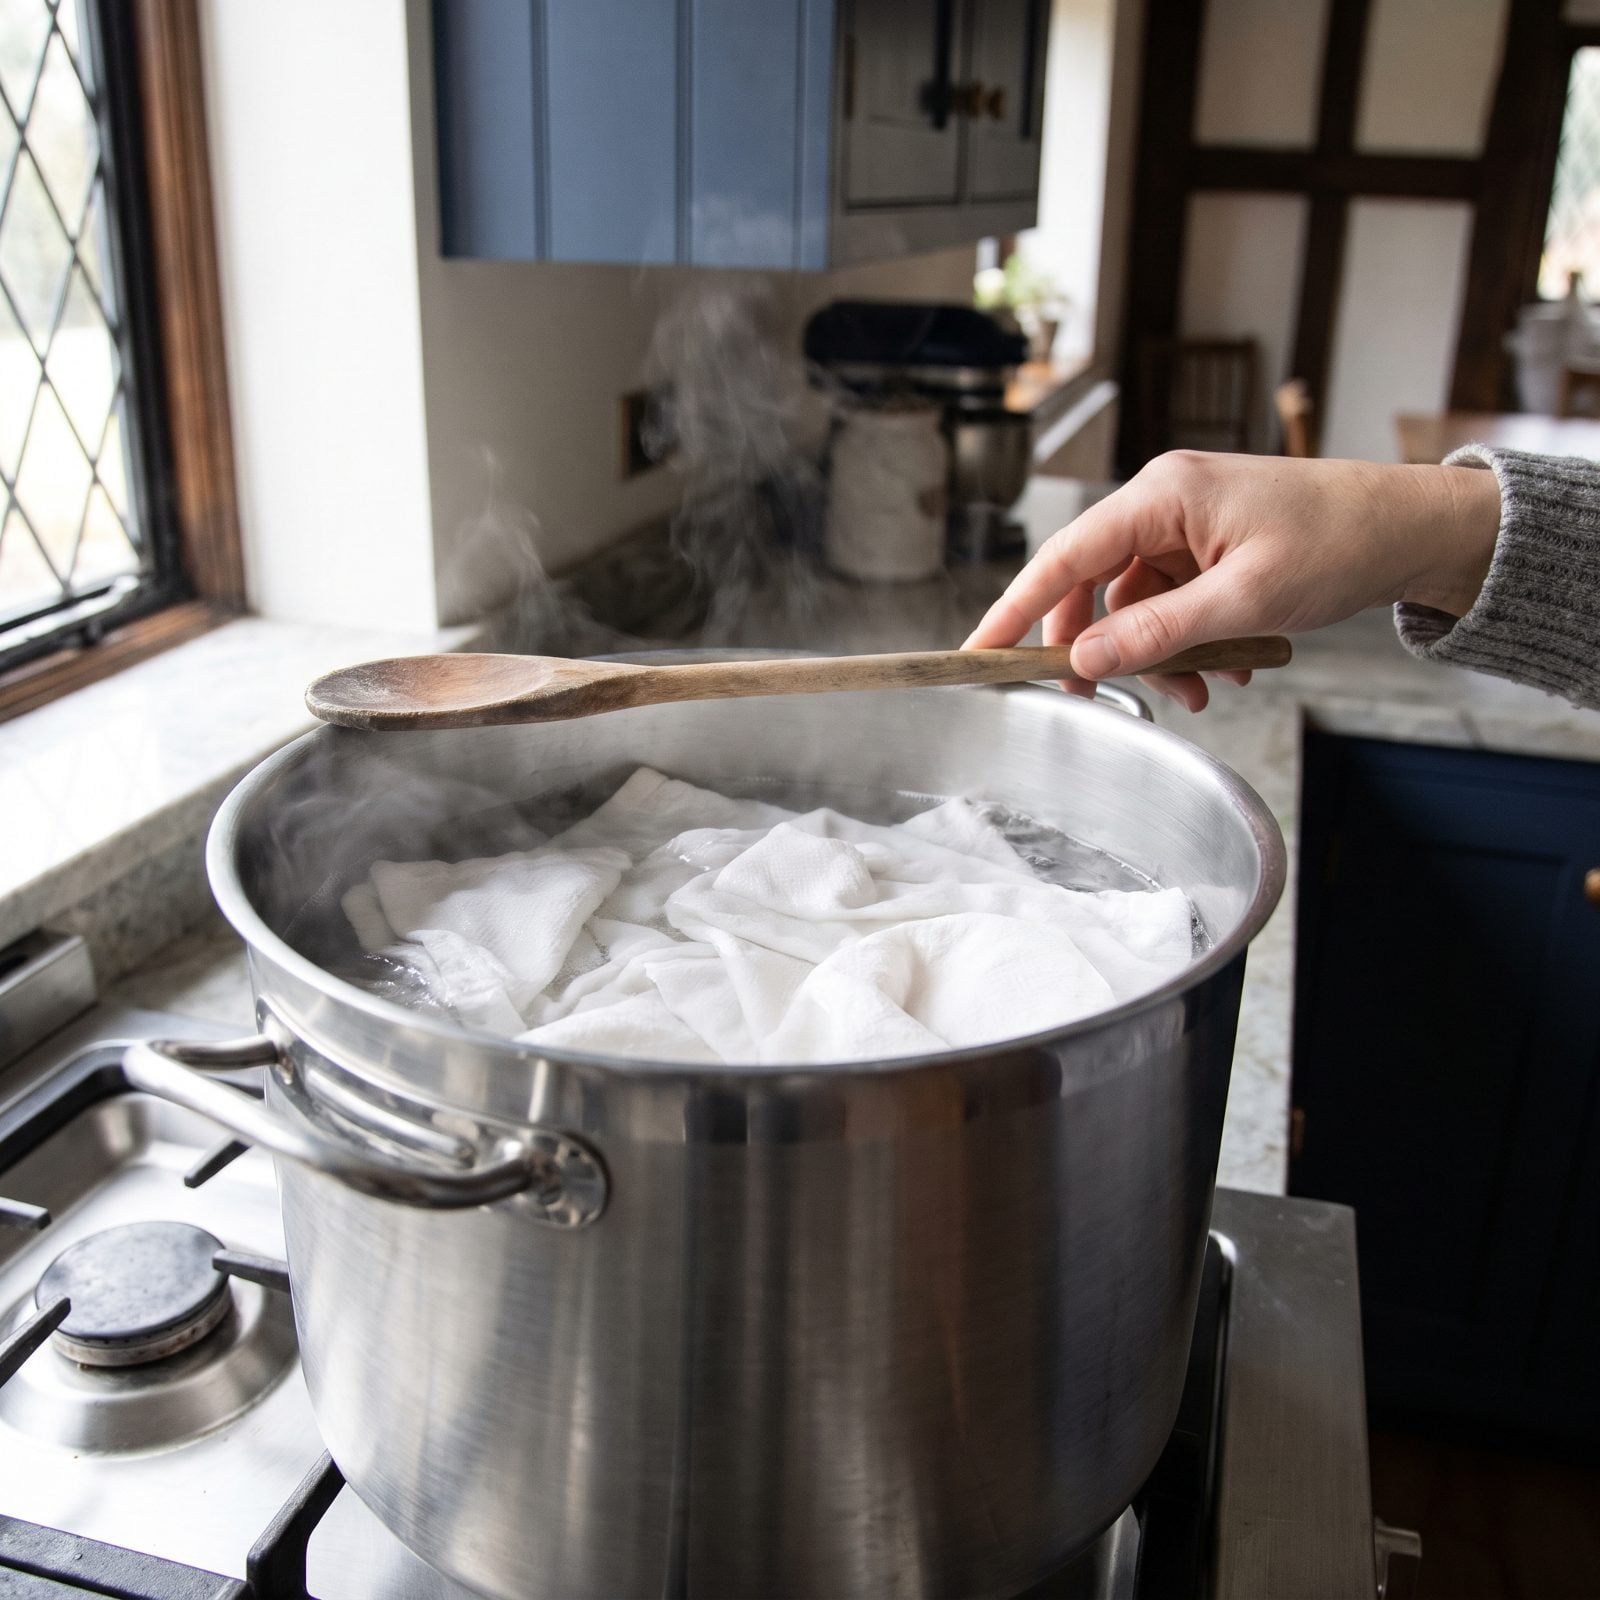
Grandmothers boiled their linens for a reason: sustained heat sanitizes and lifts the stubborn dinginess that warm washes leave behind. But this one comes with a hard rule. Plain white cotton or linen only — no colors, no blends, nothing with elastic or prints.
Boiling will set wrinkles into synthetics, shrink wool down to doll size, and bleed any dye you forgot about. For white dishcloths, cotton napkins, and old-fashioned handkerchiefs, though, a twenty-minute simmer does what the washing machine can’t. Let them cool in the pot before you wring them. And keep little hands well away from the stove while it’s going.
26. Work Laundry Soap Into Grimy Collars and Cuffs
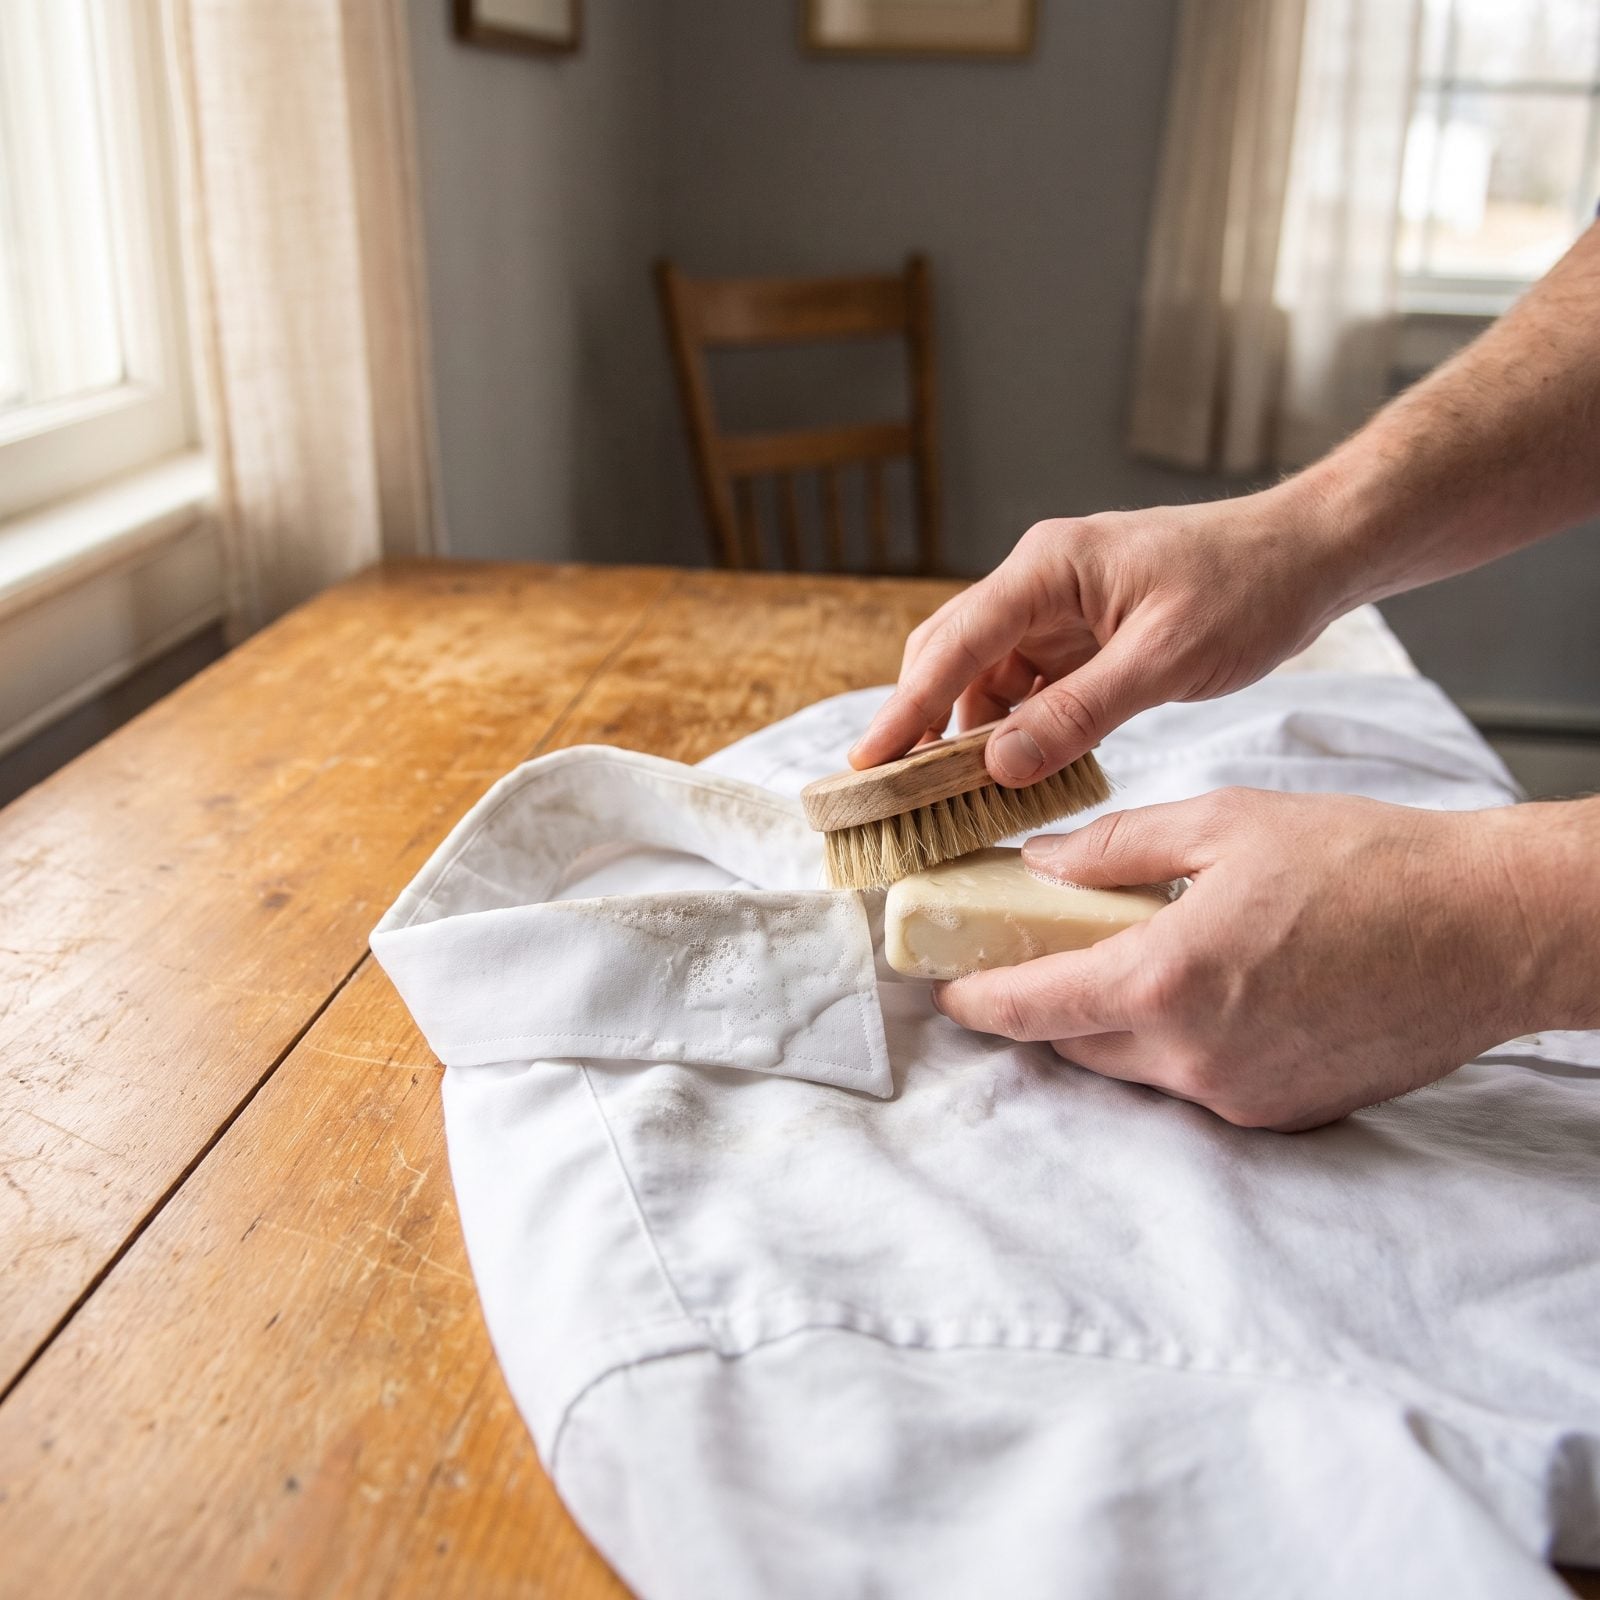
The gray ring around a collar isn’t really dirt. It’s skin oil and sweat that regular wash water glides right over, so you have to go after it directly before the shirt ever reaches the machine.
Dampen the collar, rub a bar of laundry soap straight onto the fabric, and work it in with a soft brush or your thumbs. Let it sit a few minutes while the soap breaks down the oil, then the wash carries it away. Oldest spot-treatment in the book, and it still beats most of the sprays I’ve tried.
25. Lift Fresh Grease With Chalk or Cornstarch
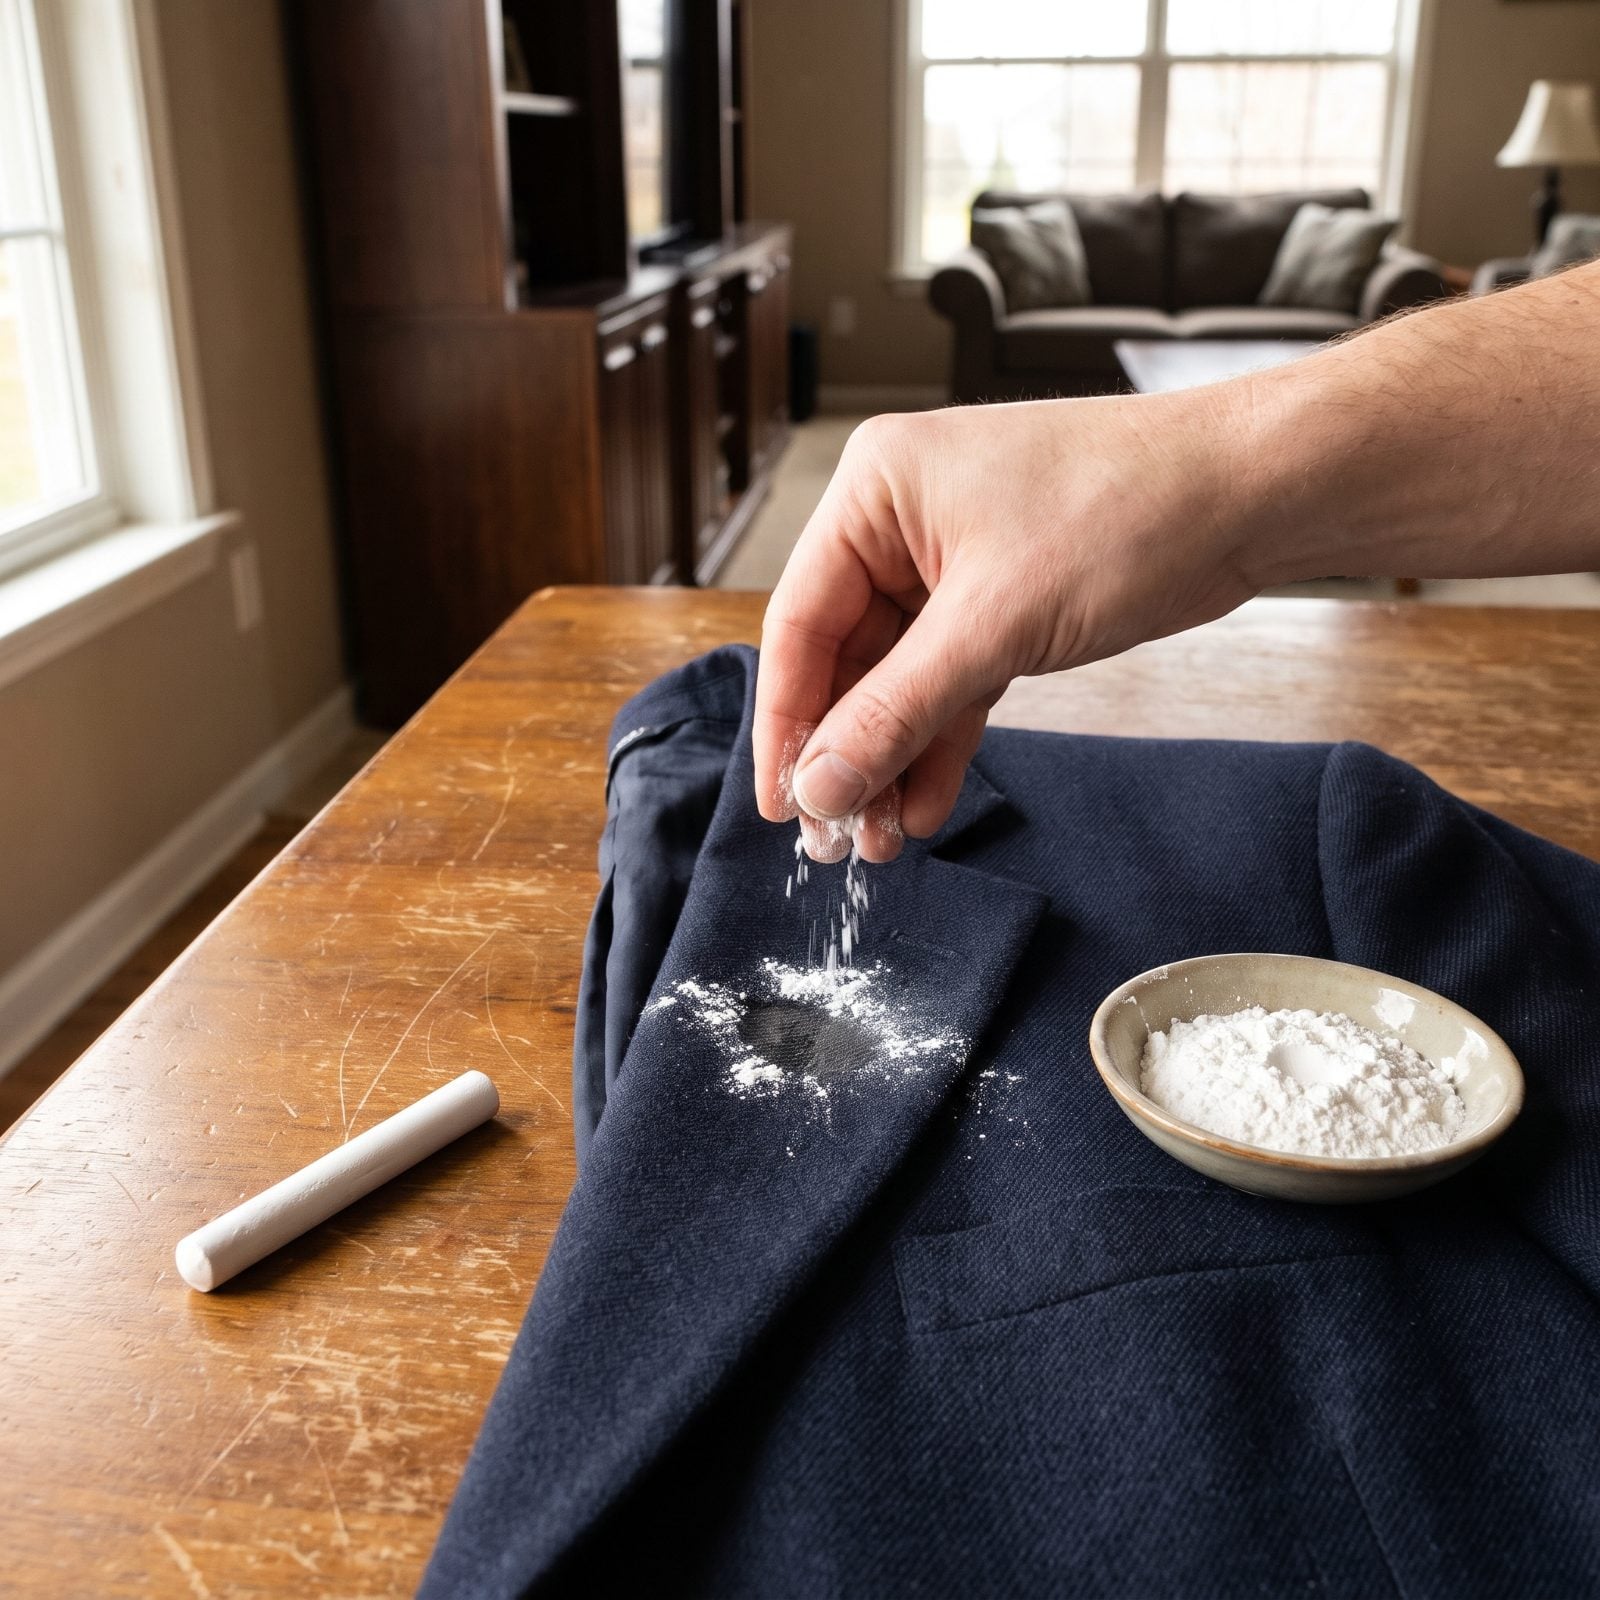
Grease needs an absorber, not a scrubber. The instant salad oil hits your lapel, rubbing only drives it deeper. Reach for something powdery instead.
White chalk, cornstarch, or plain talc, pressed onto a fresh grease spot, pulls the oil back up out of the fibers like a sponge. Give it fifteen minutes, brush the powder away, and launder as usual. On wool and other dry-clean fabrics, this quiet little move can save you a trip to the cleaners entirely. The dustier and finer the powder, the better it wicks.
24. Blot Ink With Rubbing Alcohol Before Laundering
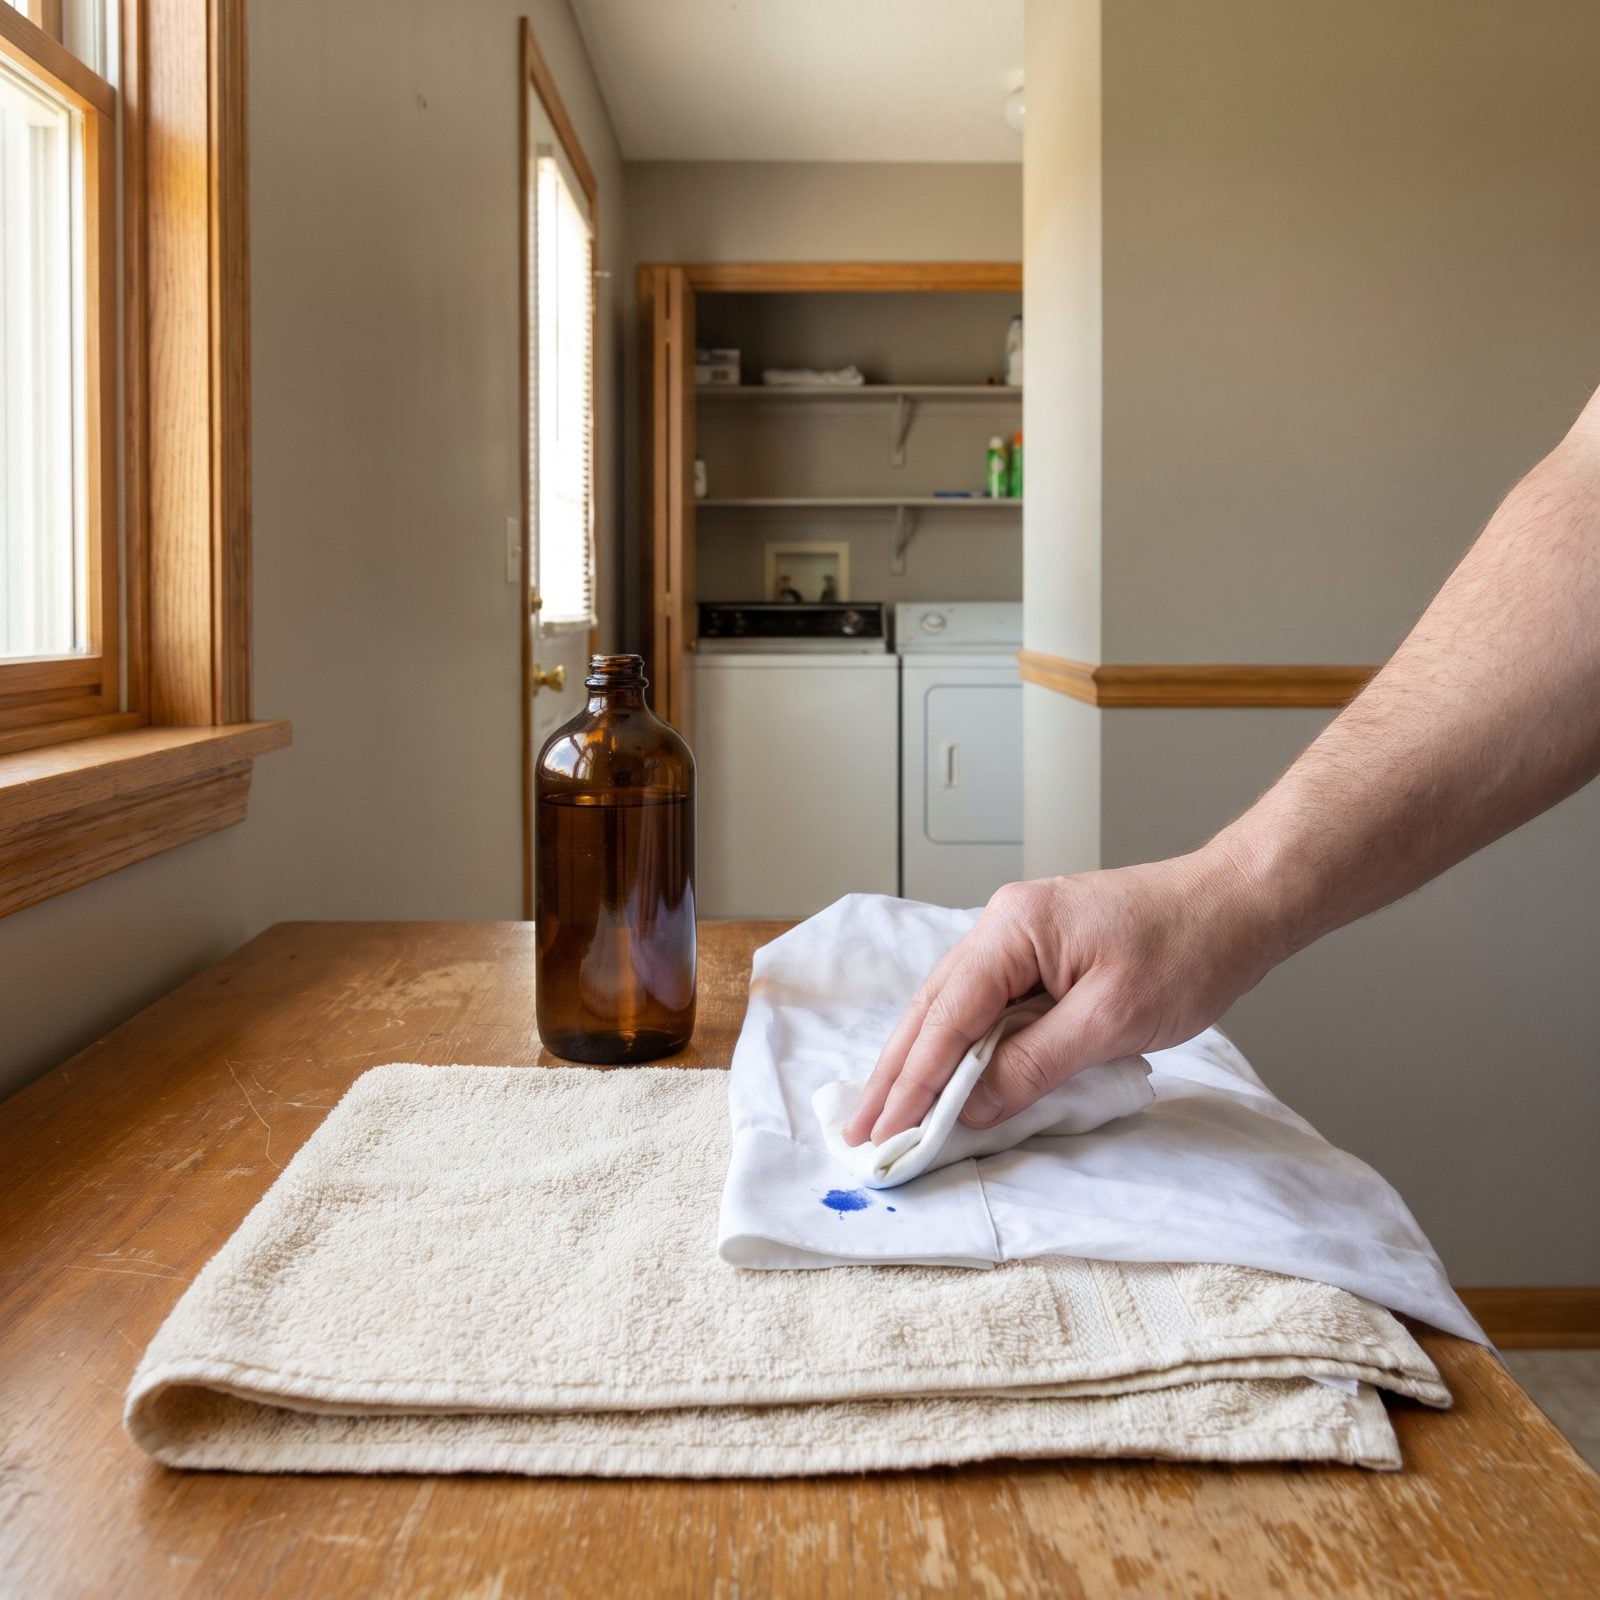
A leaked pen can wreck a pocket. But ink gives up fast if you catch it before it dries, and the whole move is to blot, never rub — rubbing just smears the mark into a bigger mess.
Lay the garment stain-side up on a clean towel, then dab rubbing alcohol onto the fabric around the stain with a clean cloth so the ink lifts up into the cloth instead of soaking further in. Keep shifting to a clean patch as it transfers. Once the mark is gone, wash the garment normally. Works on ballpoint far better than it has any right to.
23. Let Mud Dry Completely Before Brushing It Away
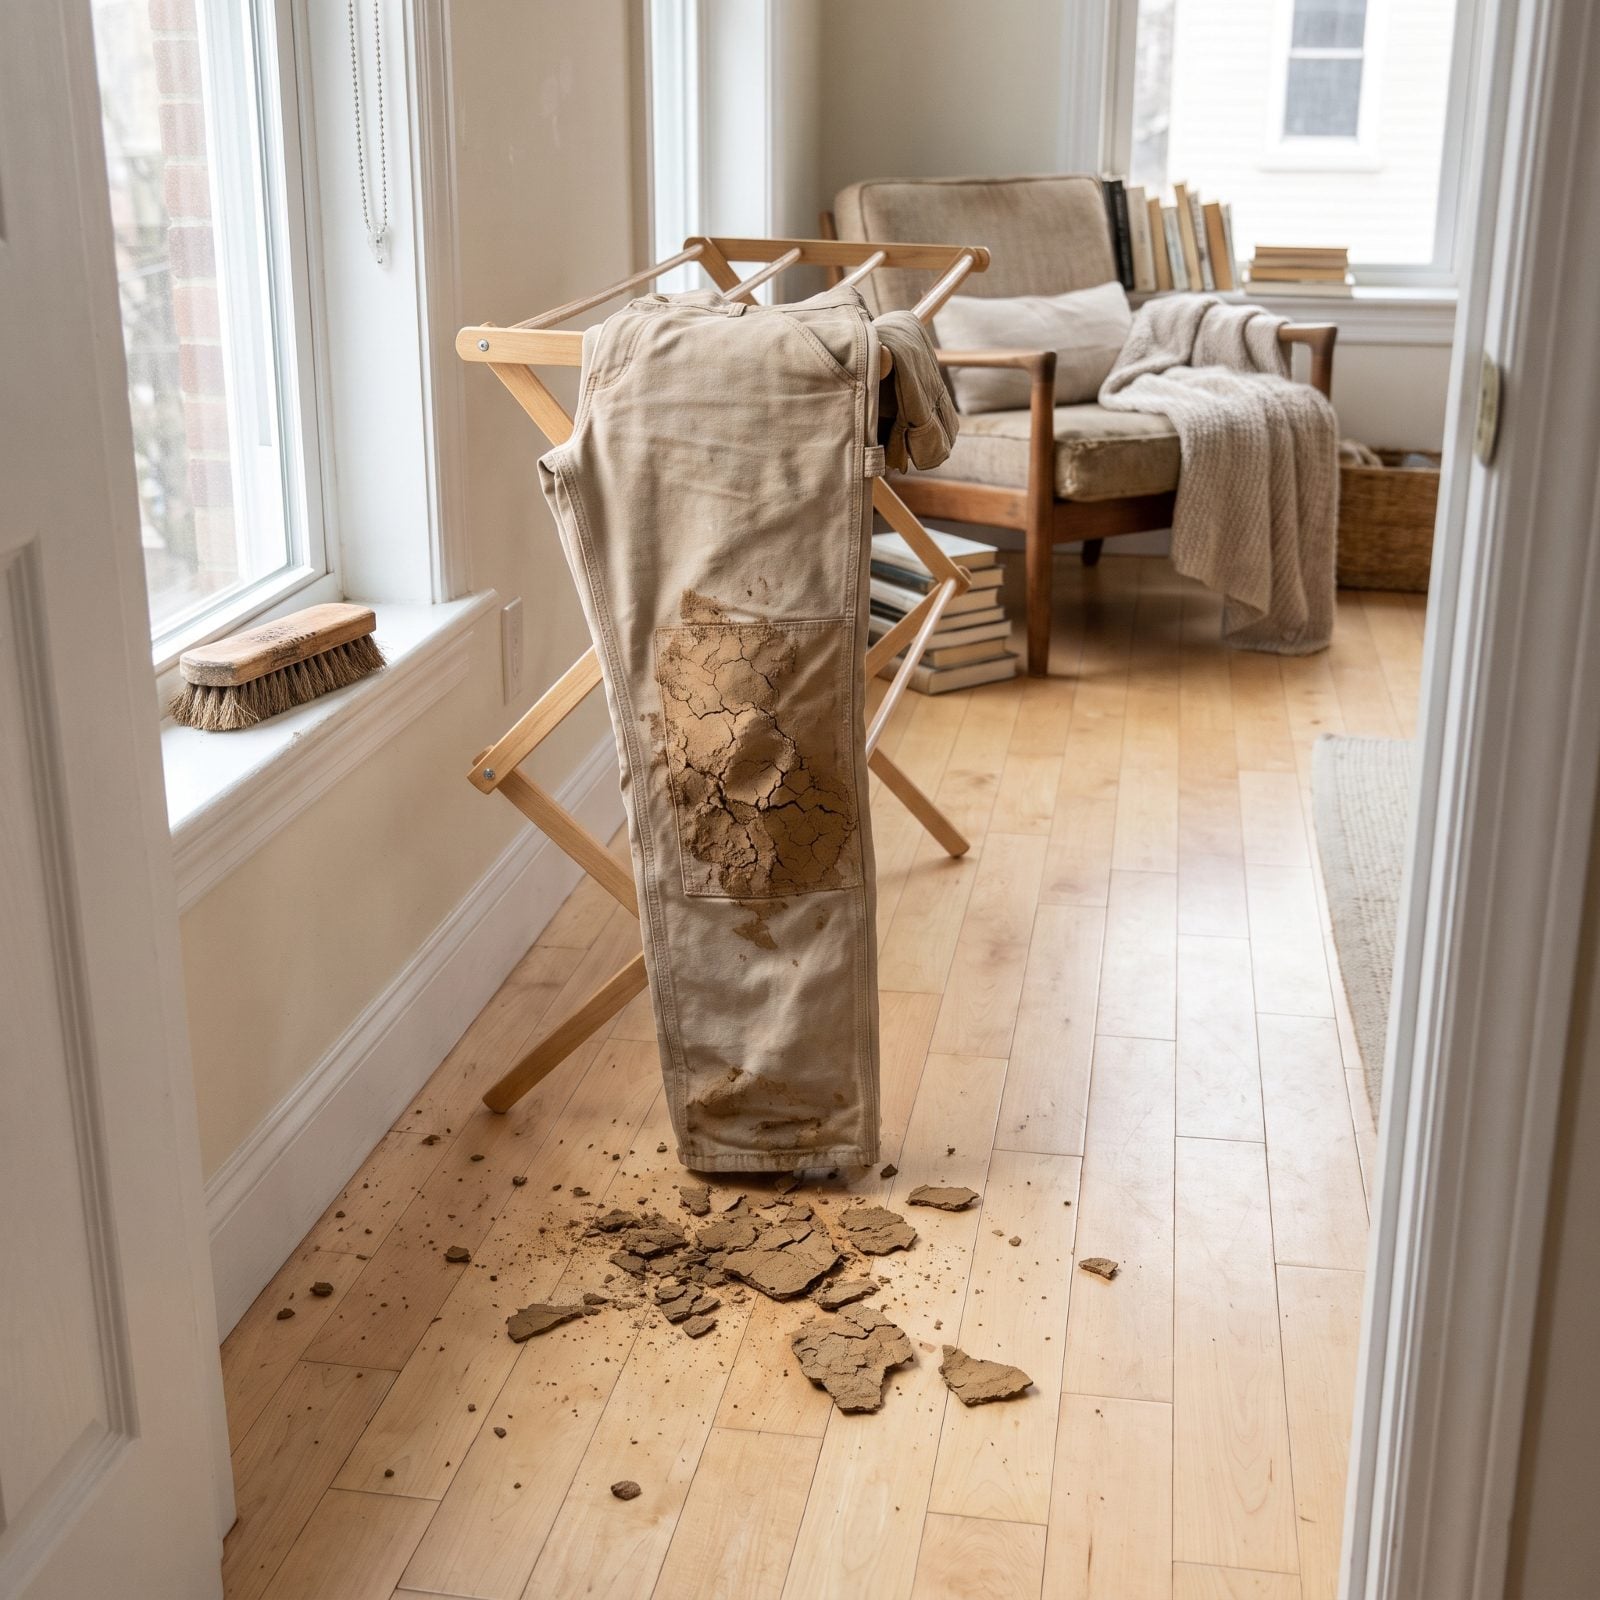
Every instinct says wipe wet mud off right away. Every instinct is wrong. Rubbing it grinds the dirt into the weave and leaves a stain that outlasts the shoes.
So walk away. Let it dry rock-hard, then knock the crust off with a stiff brush. Most of it falls away in flakes, and whatever faint shadow remains comes out in a normal wash. Gardeners have known this forever — the mess that looks like a disaster at four o’clock brushes off like nothing by bedtime.
As one dry cleaner puts it, “It may seem counterintuitive, but waiting for the mud to completely dry makes it much easier to remove.”
22. Freeze Candle Wax Before Scraping and Pressing It Out
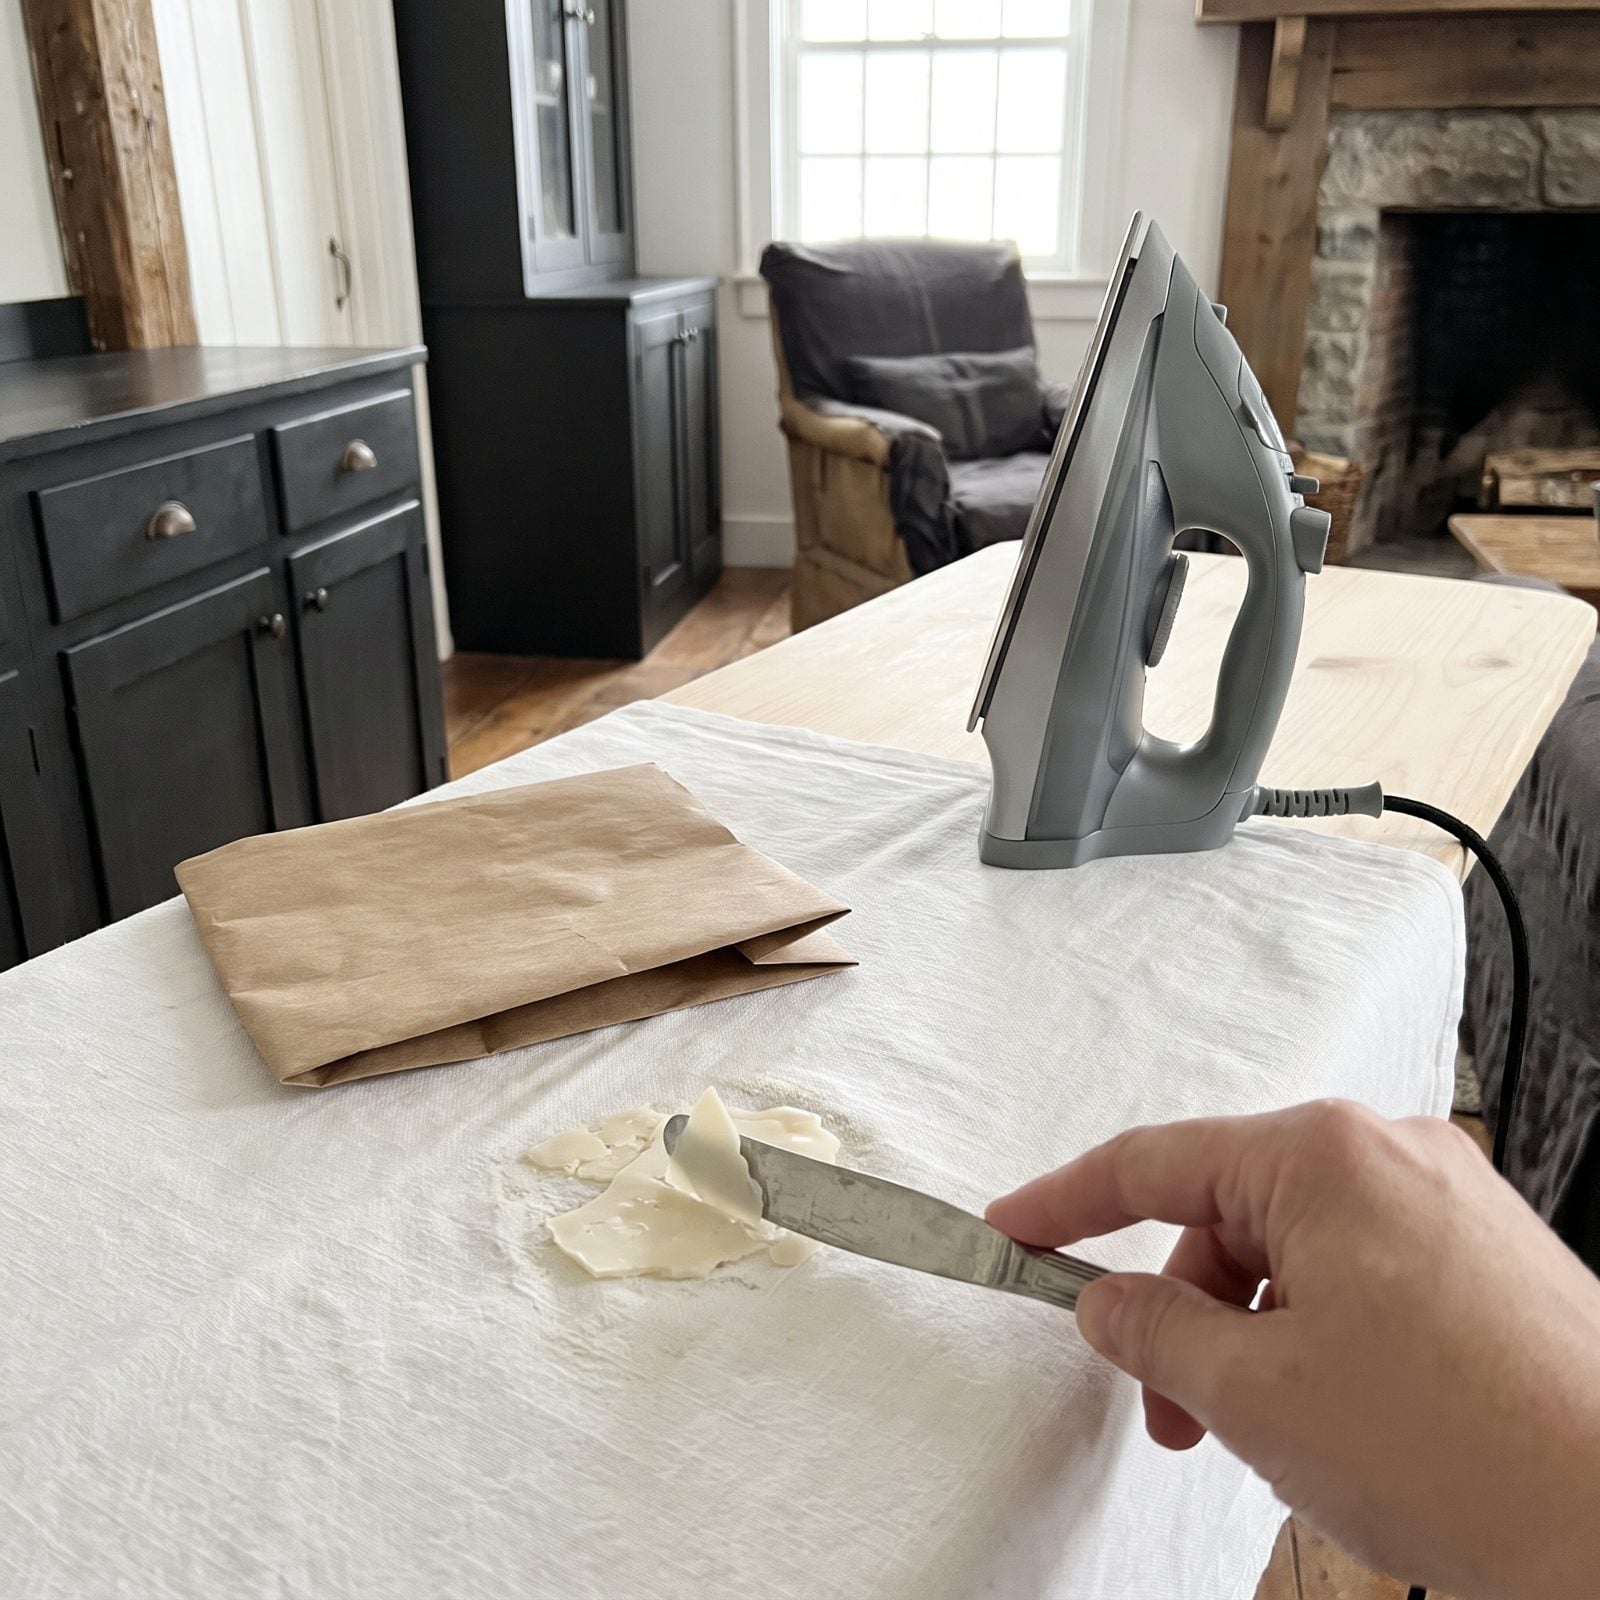
Dinner-party wax looks like a lost cause welded to your good tablecloth. It isn’t. The whole fix is temperature, used twice.
Harden the wax first — set an ice cube on it, or slip the cloth into the freezer — then crack and scrape off the brittle lump with a dull knife. Whatever waxy shadow stays behind lifts with heat. Lay brown paper or a paper towel over the spot and run a warm iron across it; the paper drinks up the melted wax. Move to a clean patch and repeat until nothing transfers. Colored wax may need a dab of stain remover after, but the bulk of it is gone.
21. Flush Coffee and Tea Stains From the Fabric’s Reverse
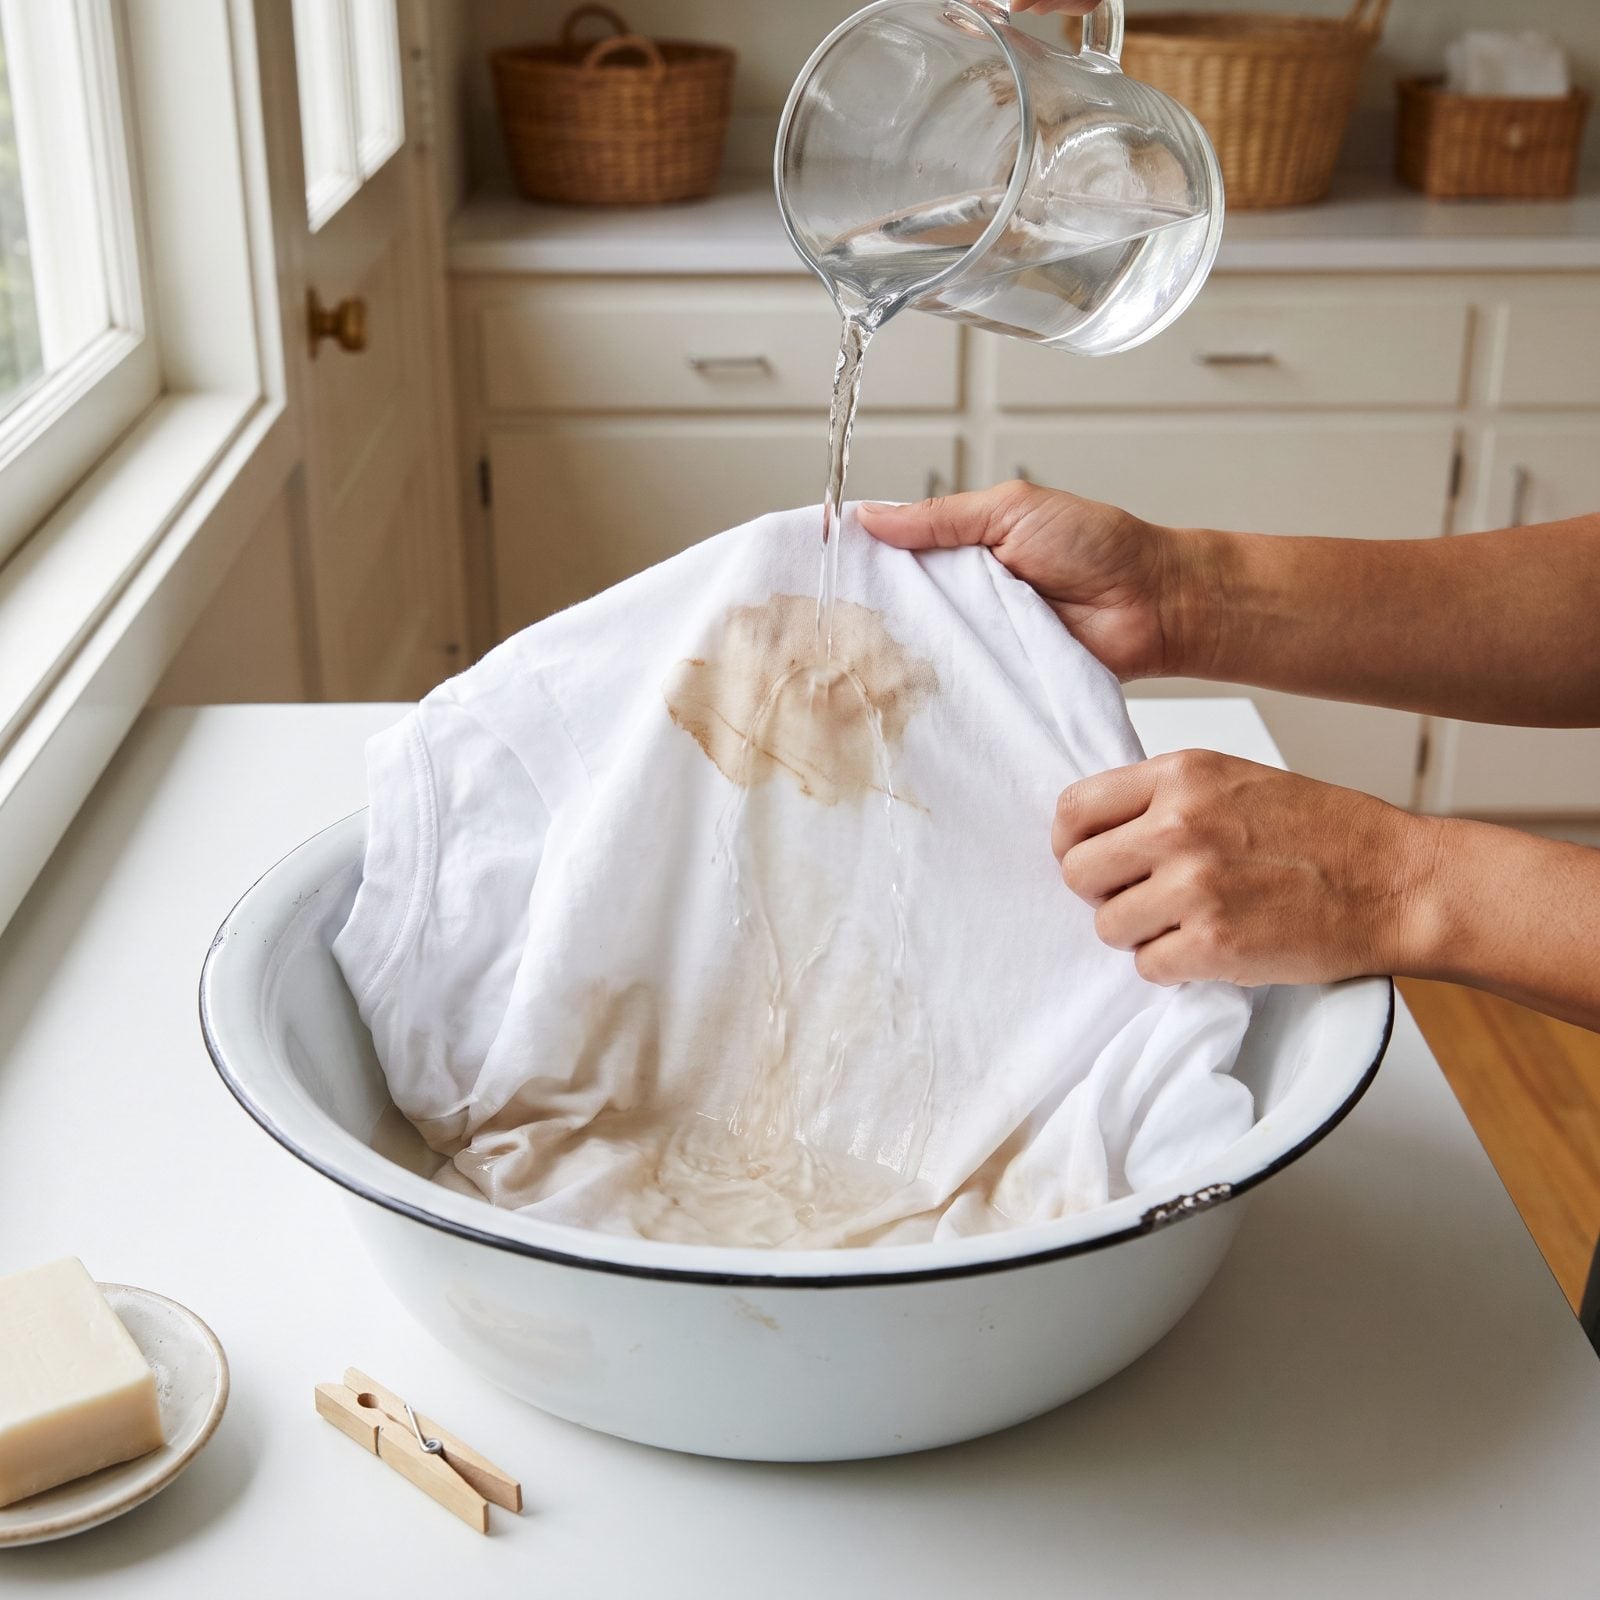
Everyone rubs at the stain. That’s the wrong move. Coffee and tea soak into the weave, and if you scrub you grind the color deeper into threads it has already stained.
So drape the garment over a basin, stain side down. Pour cold water straight onto the back of the mark so it flushes the stain out through the cloth and into the bowl, rather than spreading it across the fabric. Do it before the spill dries into a brown halo you’ll be fighting for weeks.
20. Blot Red Wine Immediately and Rinse With Cold Water
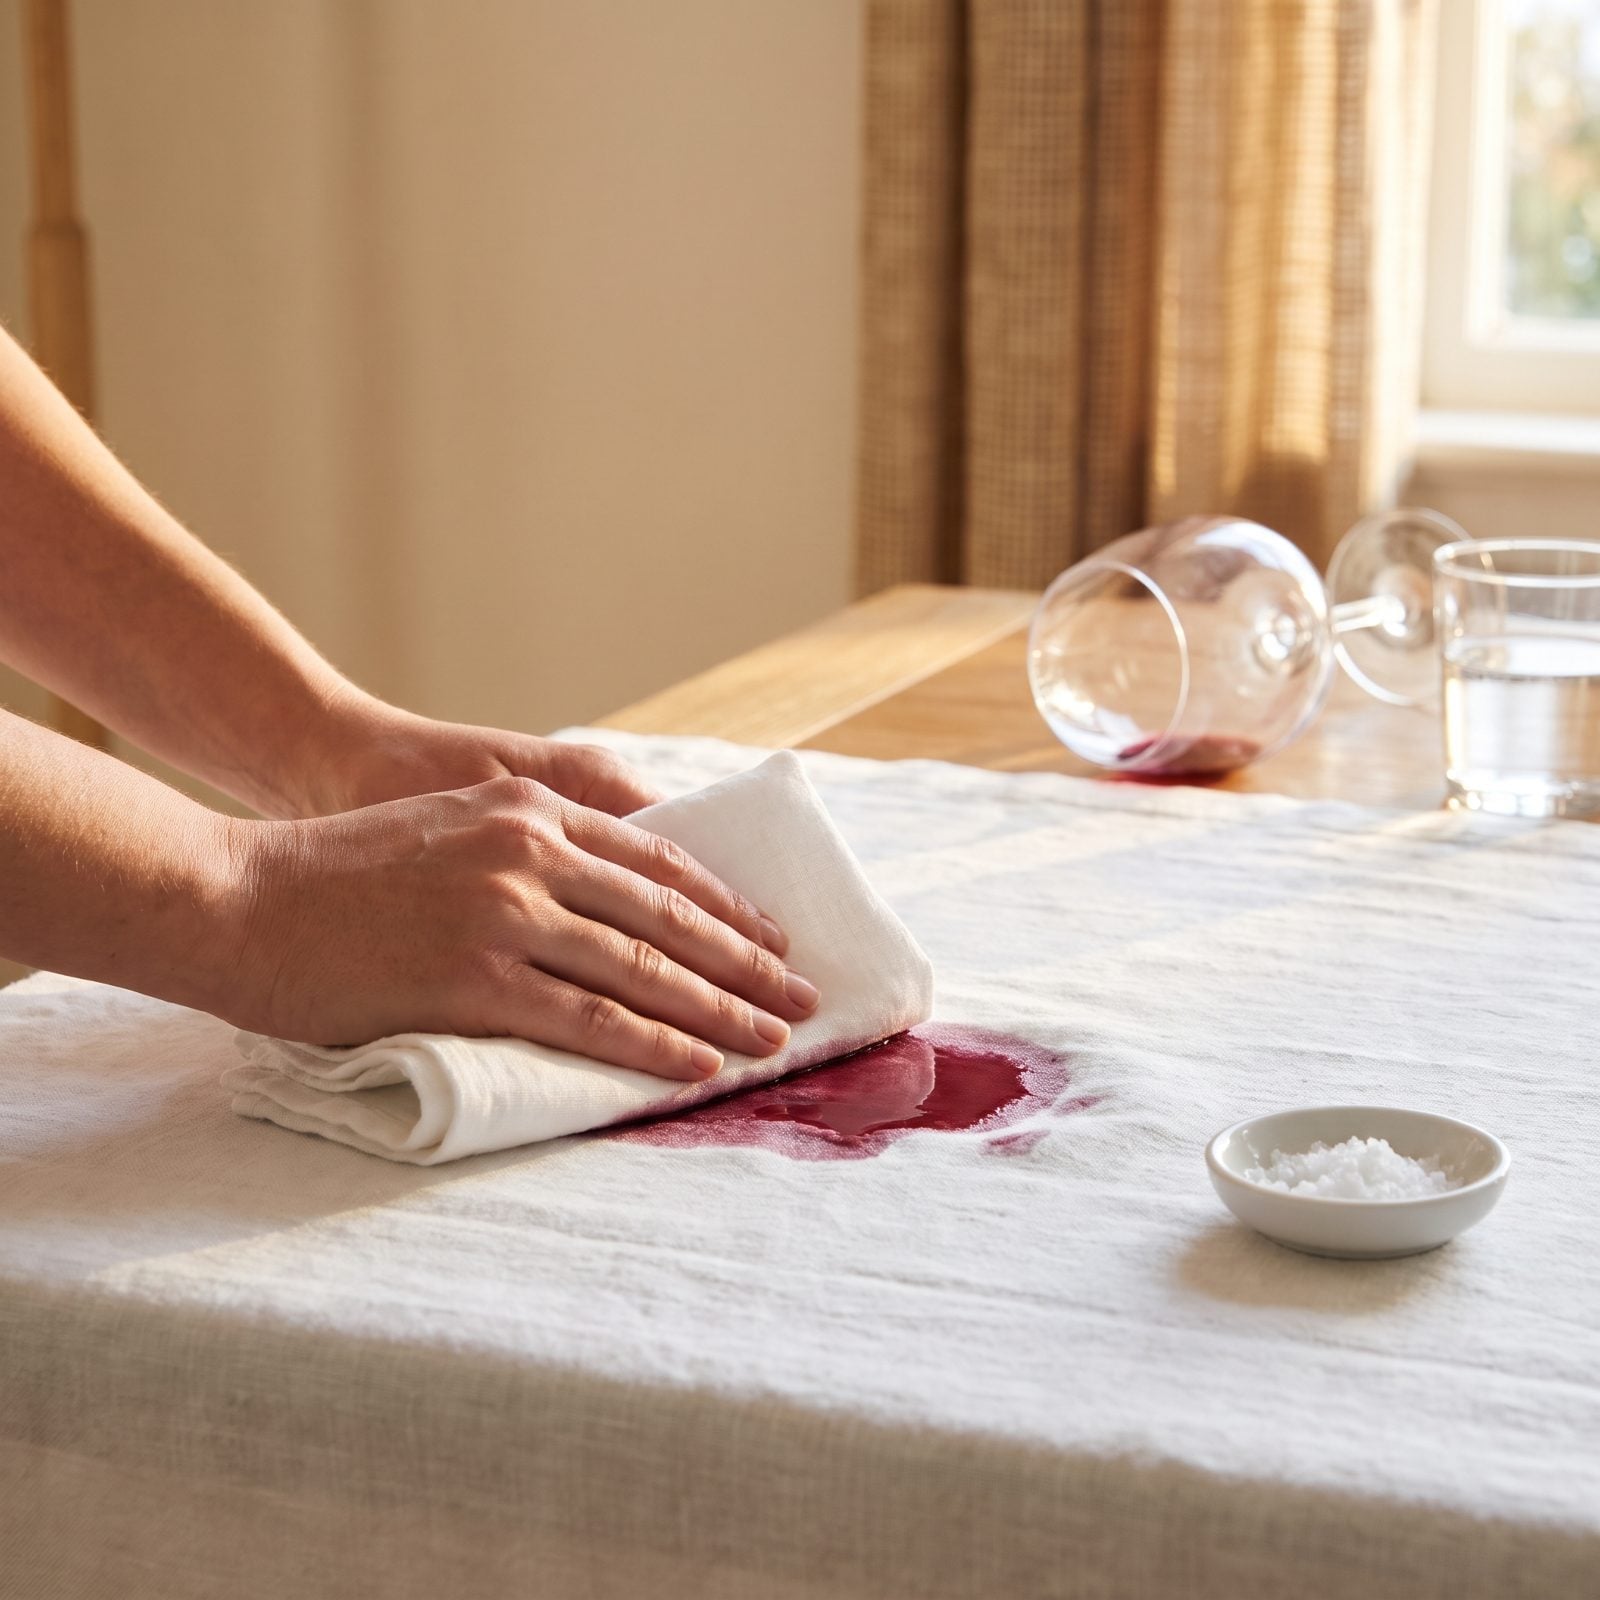
Rubbing red wine is the fastest way to ruin a tablecloth, because you spread the pigment and grind it into the fibers. Blot, don’t rub. Press straight down with a dry white cloth and lift the wine off before it has anywhere to go.
Then rinse cold, from the back, same logic as coffee. Never hot — heat cooks the tannins right into the cloth and turns a wet stain into a permanent one. A pinch of salt on the wet mark helps pull moisture up while you work. Old trick, still earns its keep.
19. Pour Boiling Water Through Berry Stains on Sturdy White Cotton
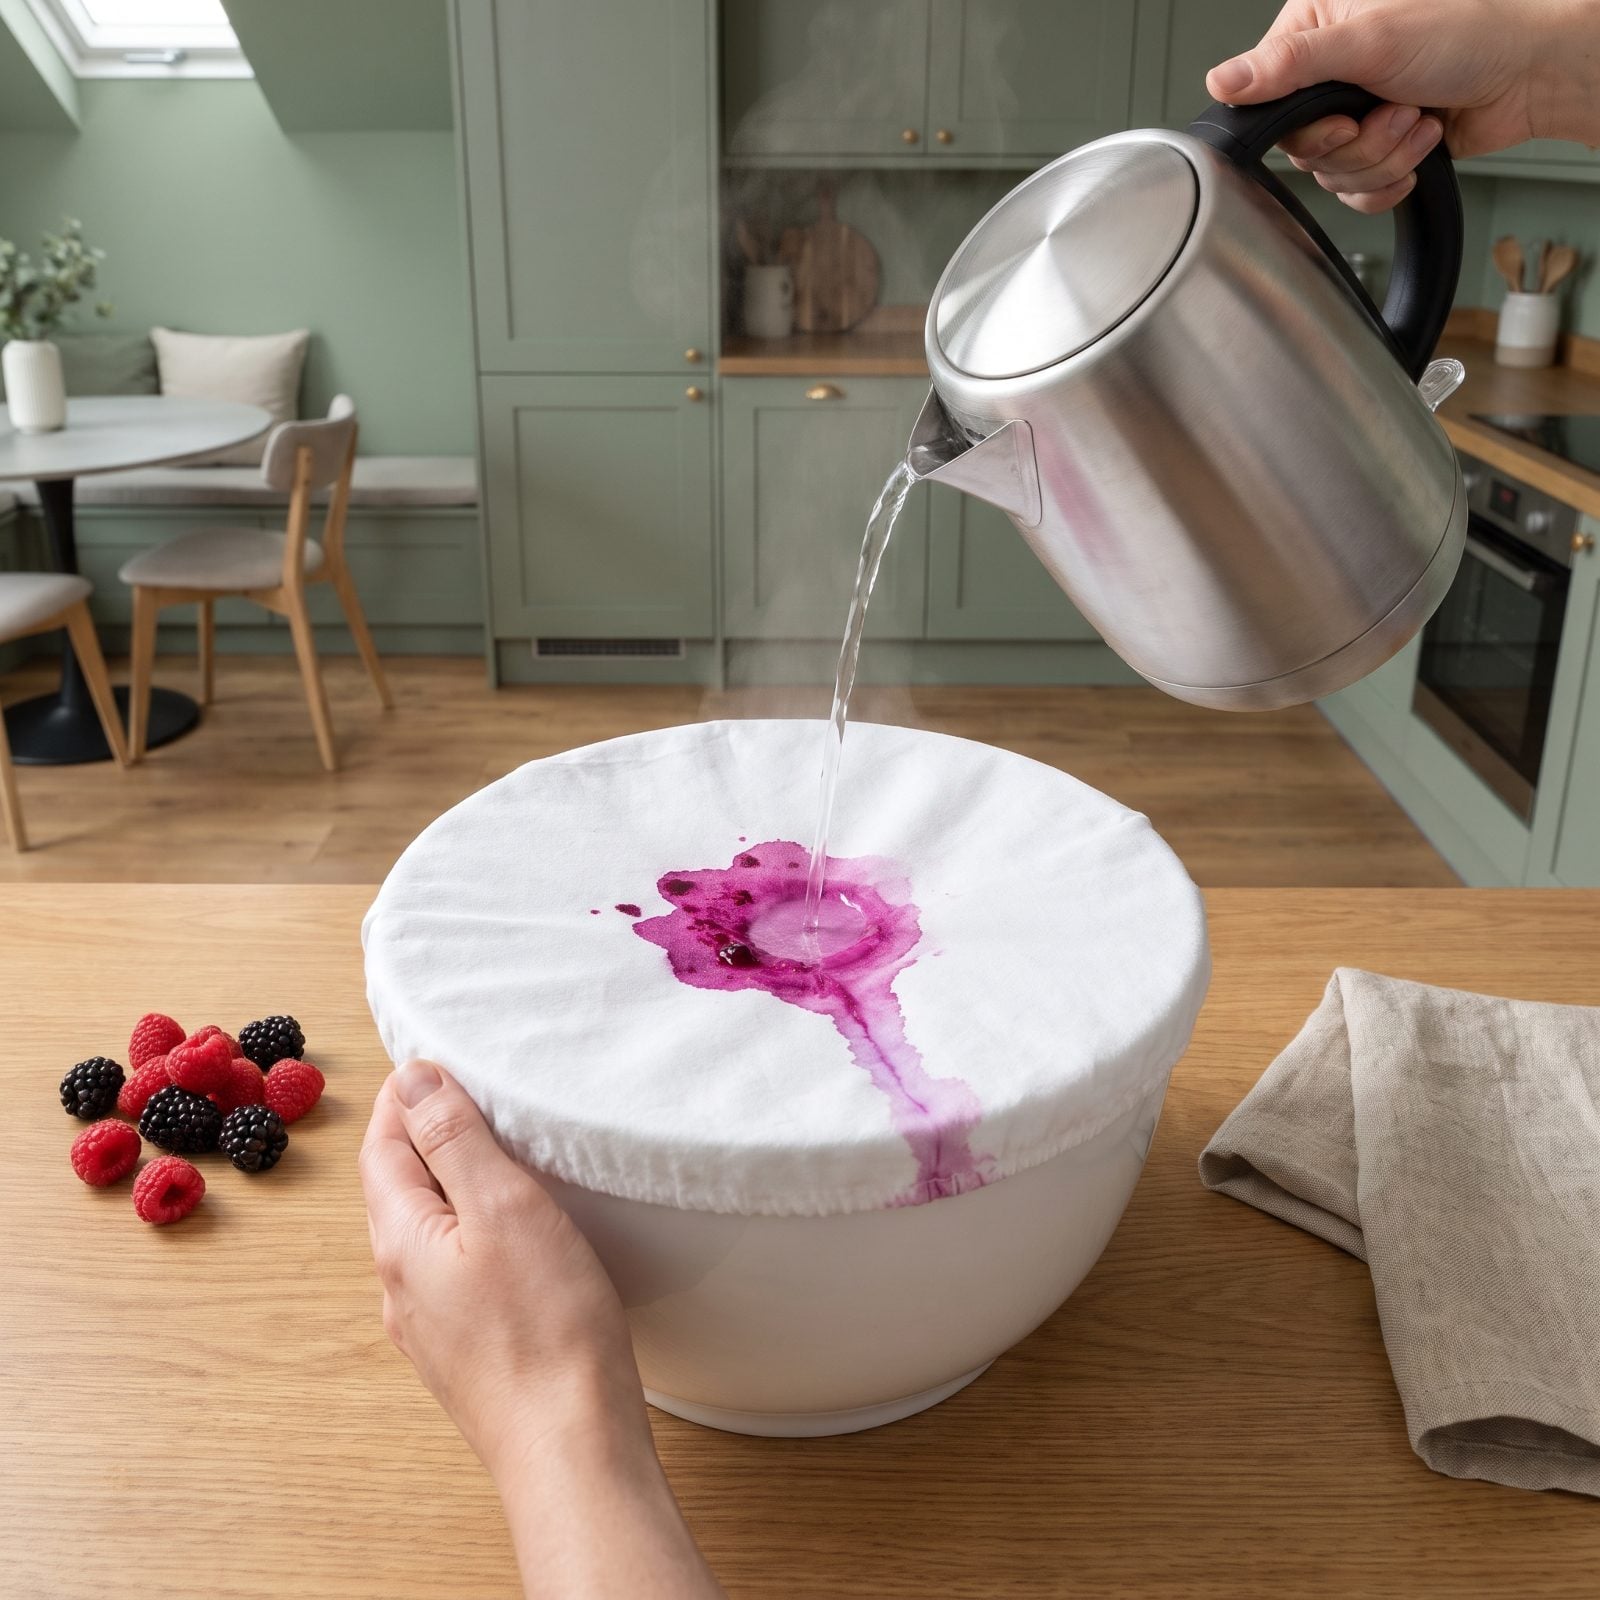
And now the one that reverses what you learned a minute ago. Fresh fruit stains — raspberry, blackberry, blackcurrant — respond to the opposite of gentle. On sturdy white cotton that can take the heat, you want it hot.
Stretch the fabric over a bowl, then pour boiling water through the stain from a height so it hits with force. The heat and pressure flush the sugars and pigment straight out. This works on cotton tablecloths and tea towels. Keep it away from wool, silk, or anything with a whisper of synthetic in it. Test a corner first if you’re unsure what you’re holding.
18. Treat Rust Marks With Lemon, Salt, and Sunlight
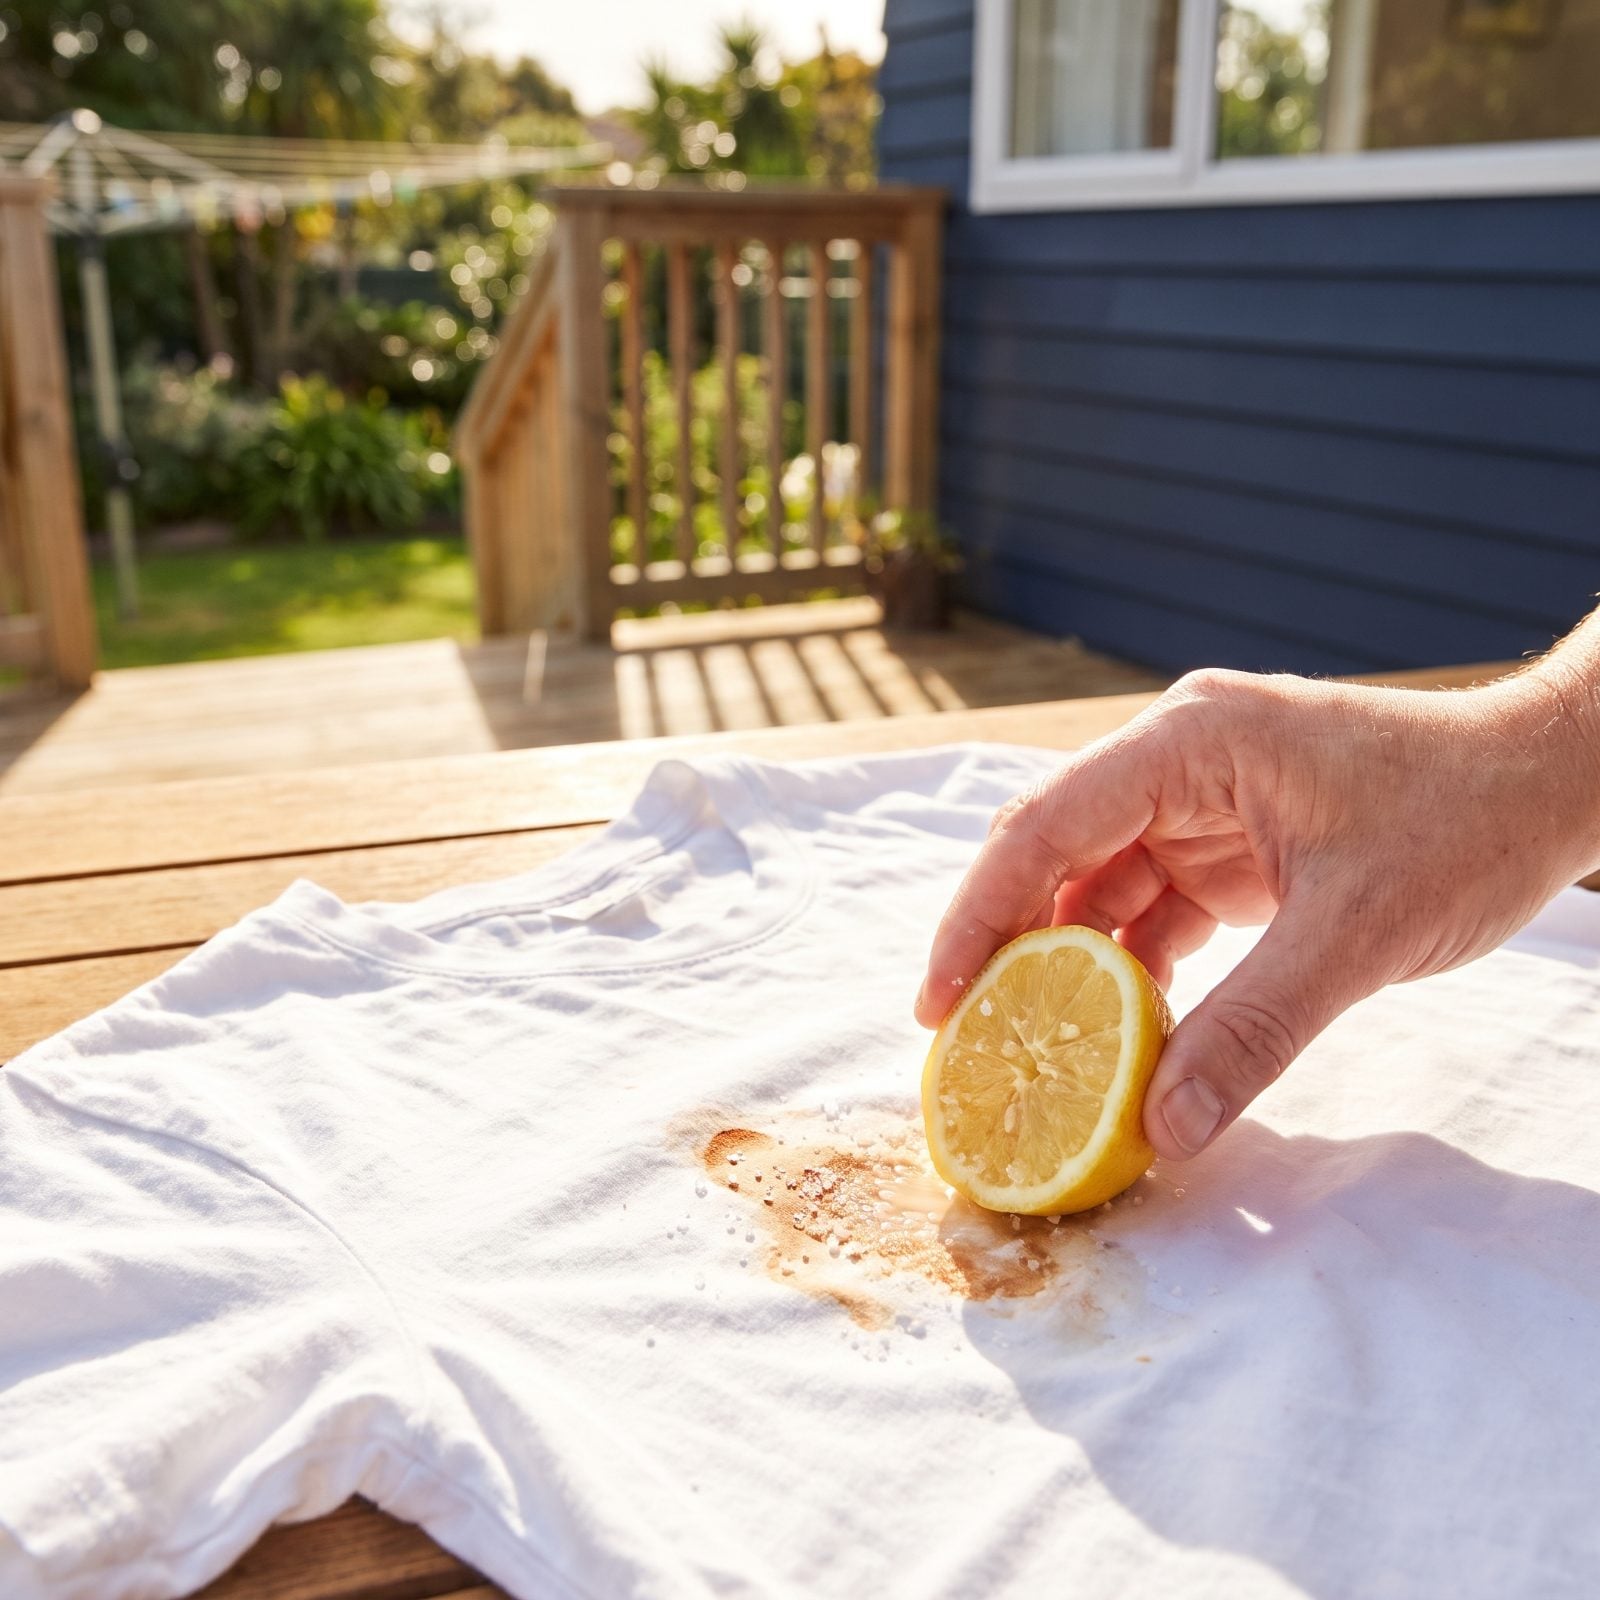
Rust is stubborn because it’s basically metal bonded to cloth, and ordinary detergent does nothing to it.
The old remedy is three things you already have in the kitchen. Salt the stain, squeeze fresh lemon over it, then lay the garment flat in direct sun. The acid loosens the iron, the salt scours, and ultraviolet light does the slow work of bleaching what’s left. Give it a couple of hours, keep it damp with more lemon, then launder as usual.
17. Pre-Soak Perspiration Marks With Diluted White Vinegar
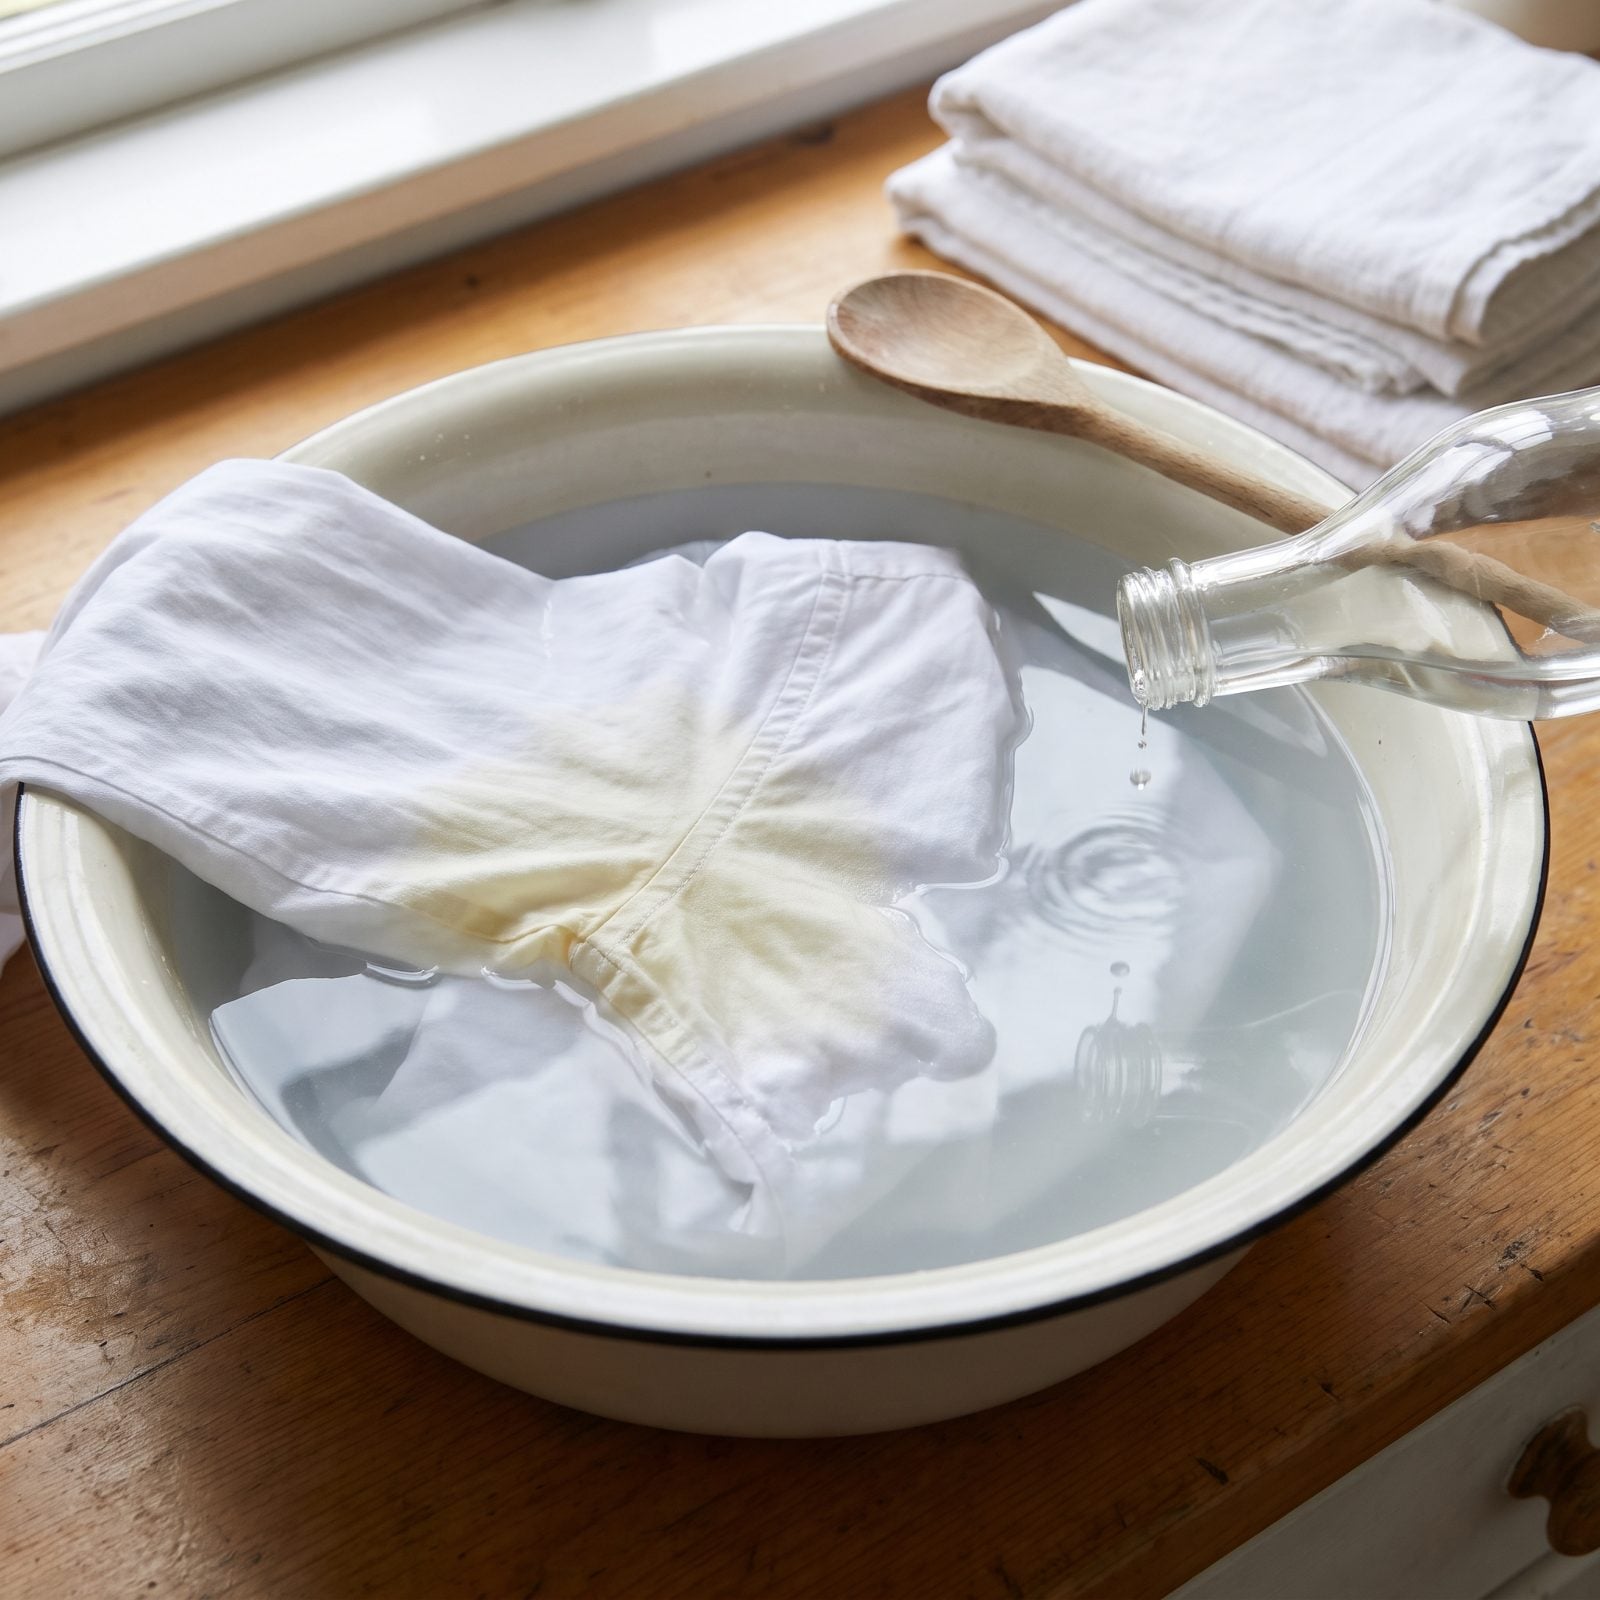
Those yellow underarm marks aren’t dirt. They’re a reaction between sweat and the aluminum in your deodorant, and over time the dryer’s heat bakes it all in for good. Which is why so many white shirts get thrown out over a stain that was fixable.
Soak the area in white vinegar cut with cool water — roughly one part vinegar to four parts water — for half an hour before washing. The mild acid breaks the buildup before it hardens. Catch it early and the shirt lives. I lost a few good ones learning this.
16. Brush Mildew Outdoors Before Treating the Fabric
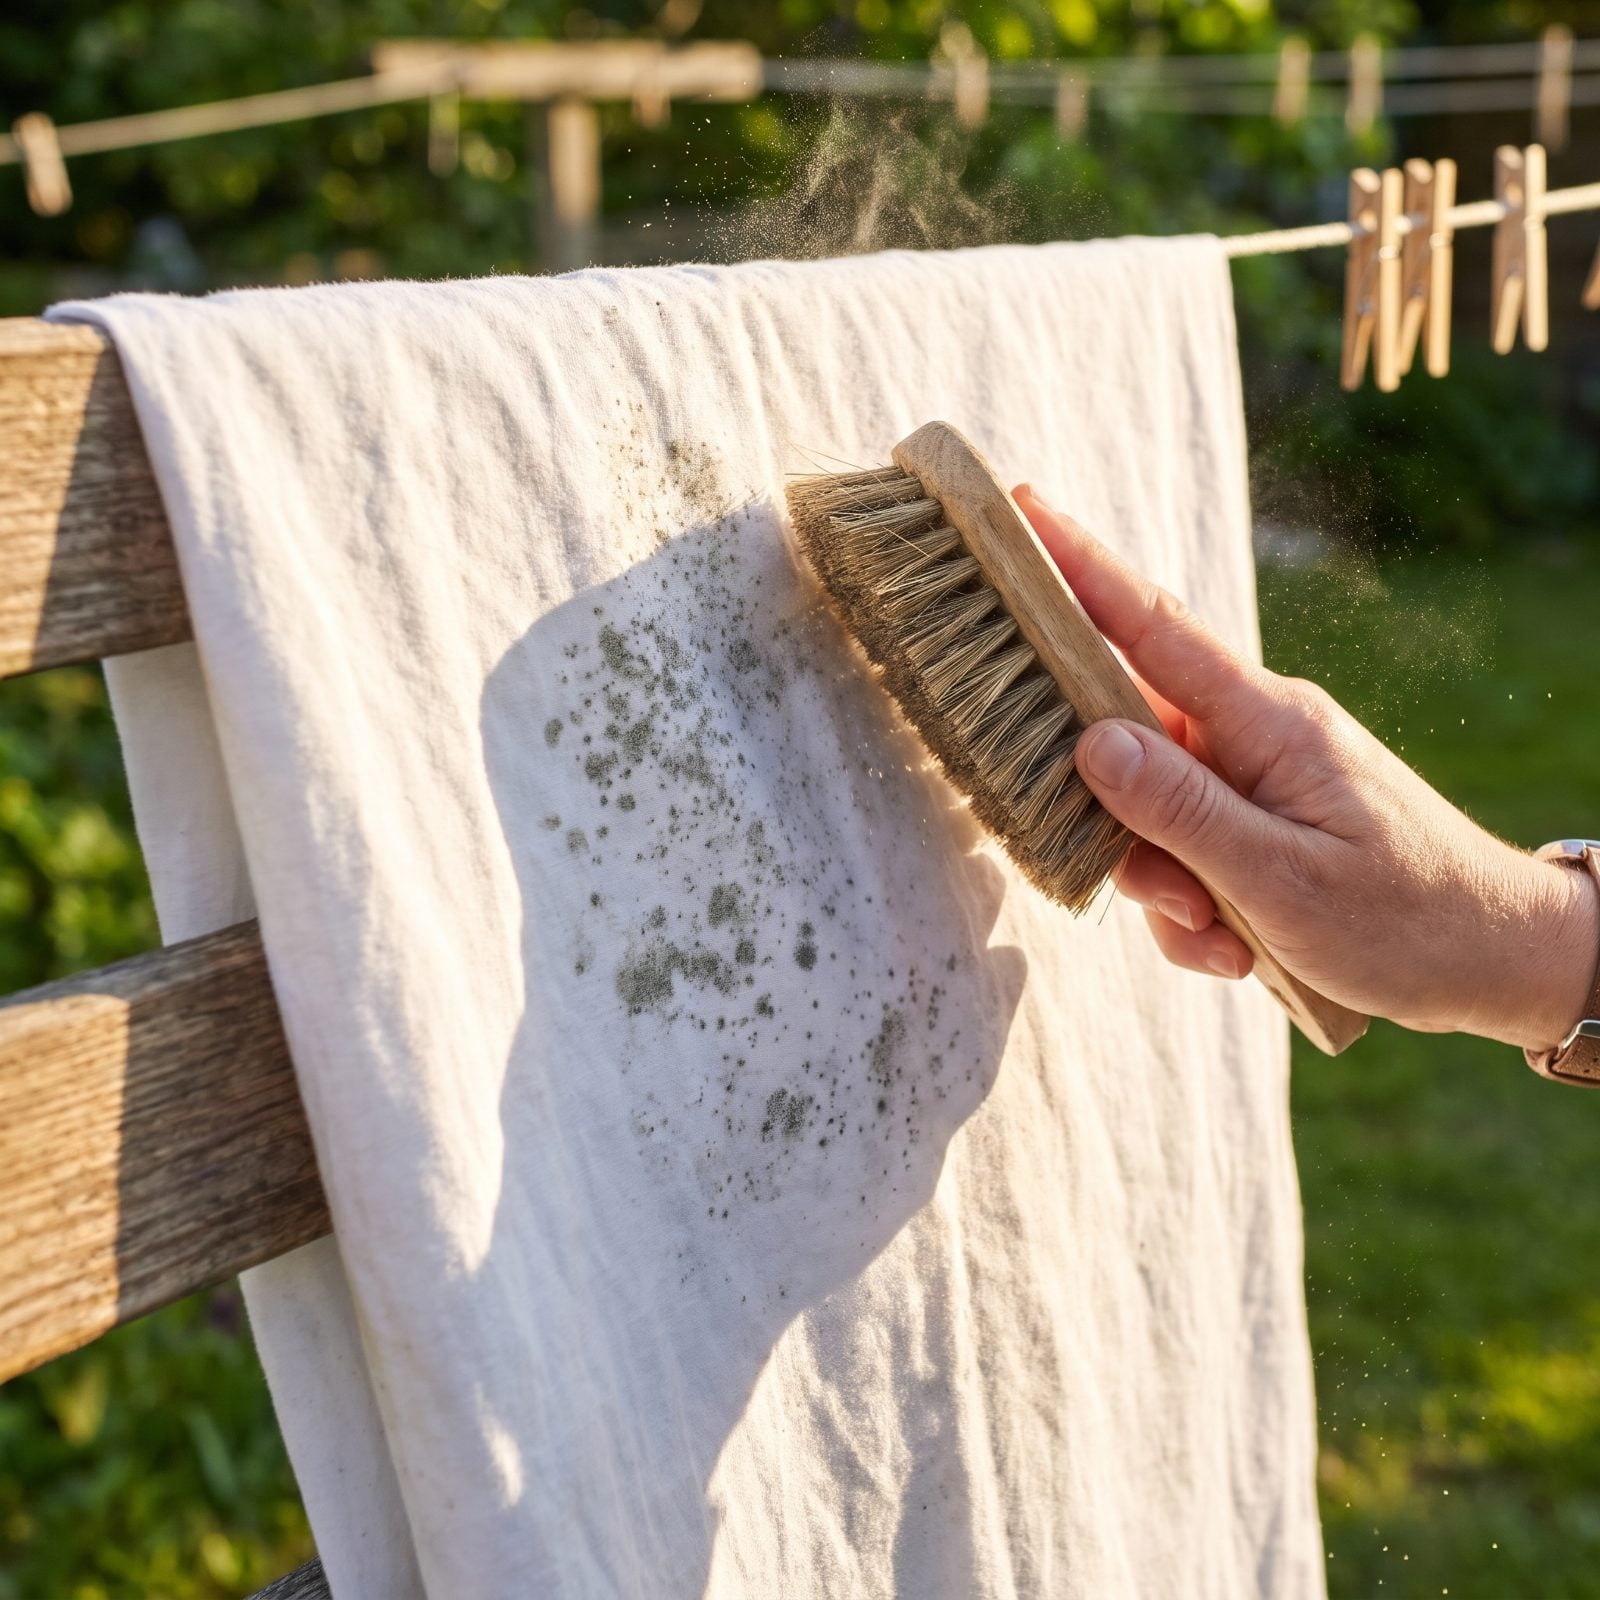
Mildew is alive, and the mistake is treating it indoors. Brush a mildewed cloth over the sink and you scatter spores across your kitchen.
Take it outside first. Let it dry fully in the sun, then brush the loose growth off with a stiff dry brush so the spores drift away on the air instead of settling back into your laundry pile. Only then wet it for treatment. Sunlight on its own kills a surprising amount of mildew, so the longer it bakes before you brush, the less you’re fighting.
15. Cold-Rinse Tomato Sauce Before Letting Sunlight Fade the Trace
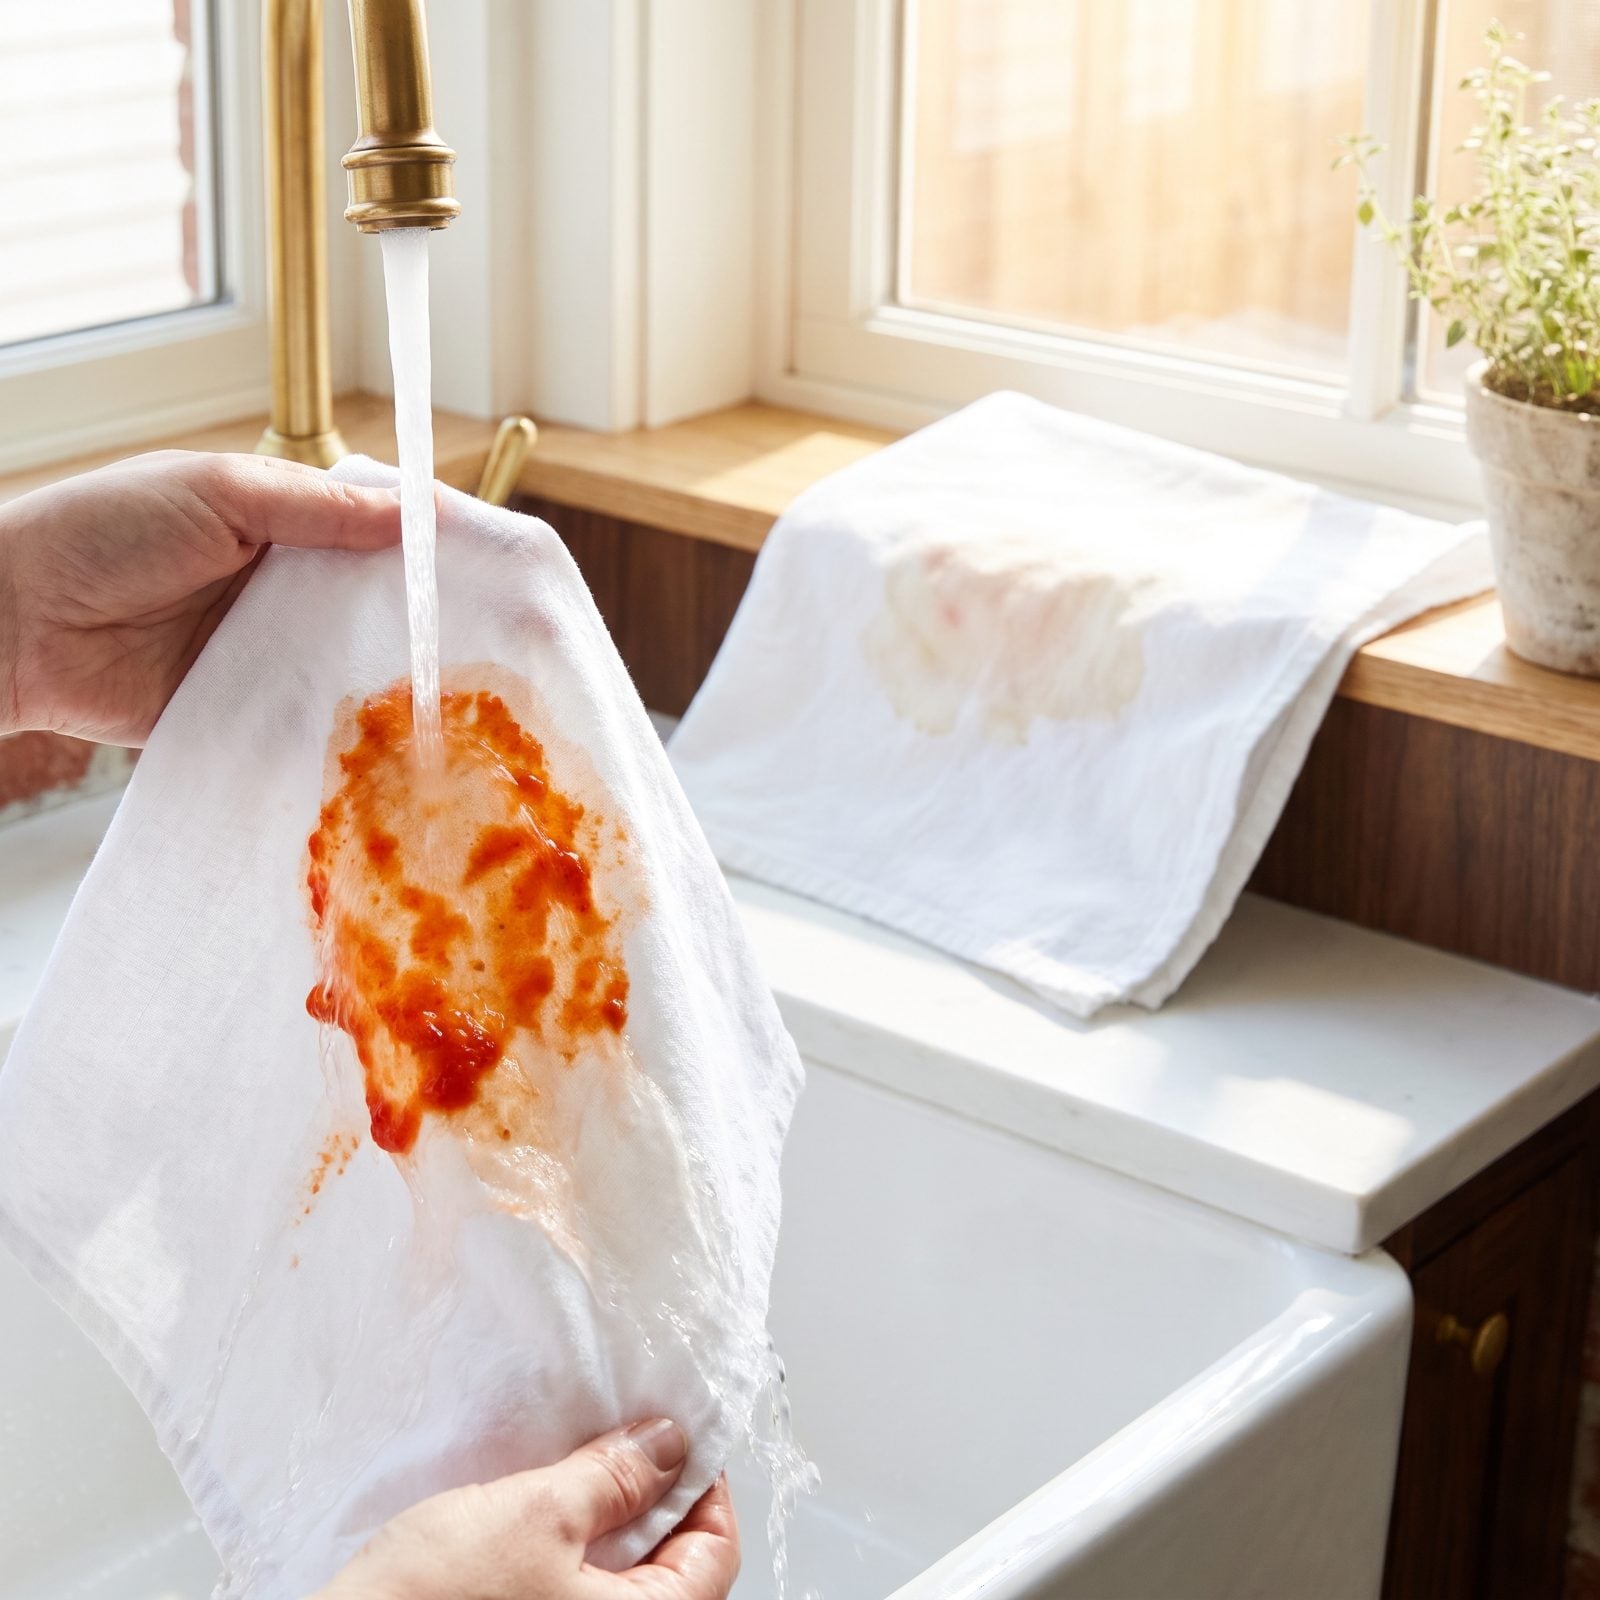
Tomato sauce is a double problem: oil and pigment, both wanting to set. Get it under cold running water right away, clumps and all, letting the stream hit the stain directly and carry the sauce off before it sets.
What’s left is often a faint orange ghost that regular washing just ignores. That’s where the sun comes in. Lay the still-damp cloth where direct light hits it and let UV do the last stretch of fading. Works best on whites and sturdy colorfast cotton.
14. Rinse Water-Based Paint Before It Has Time to Dry
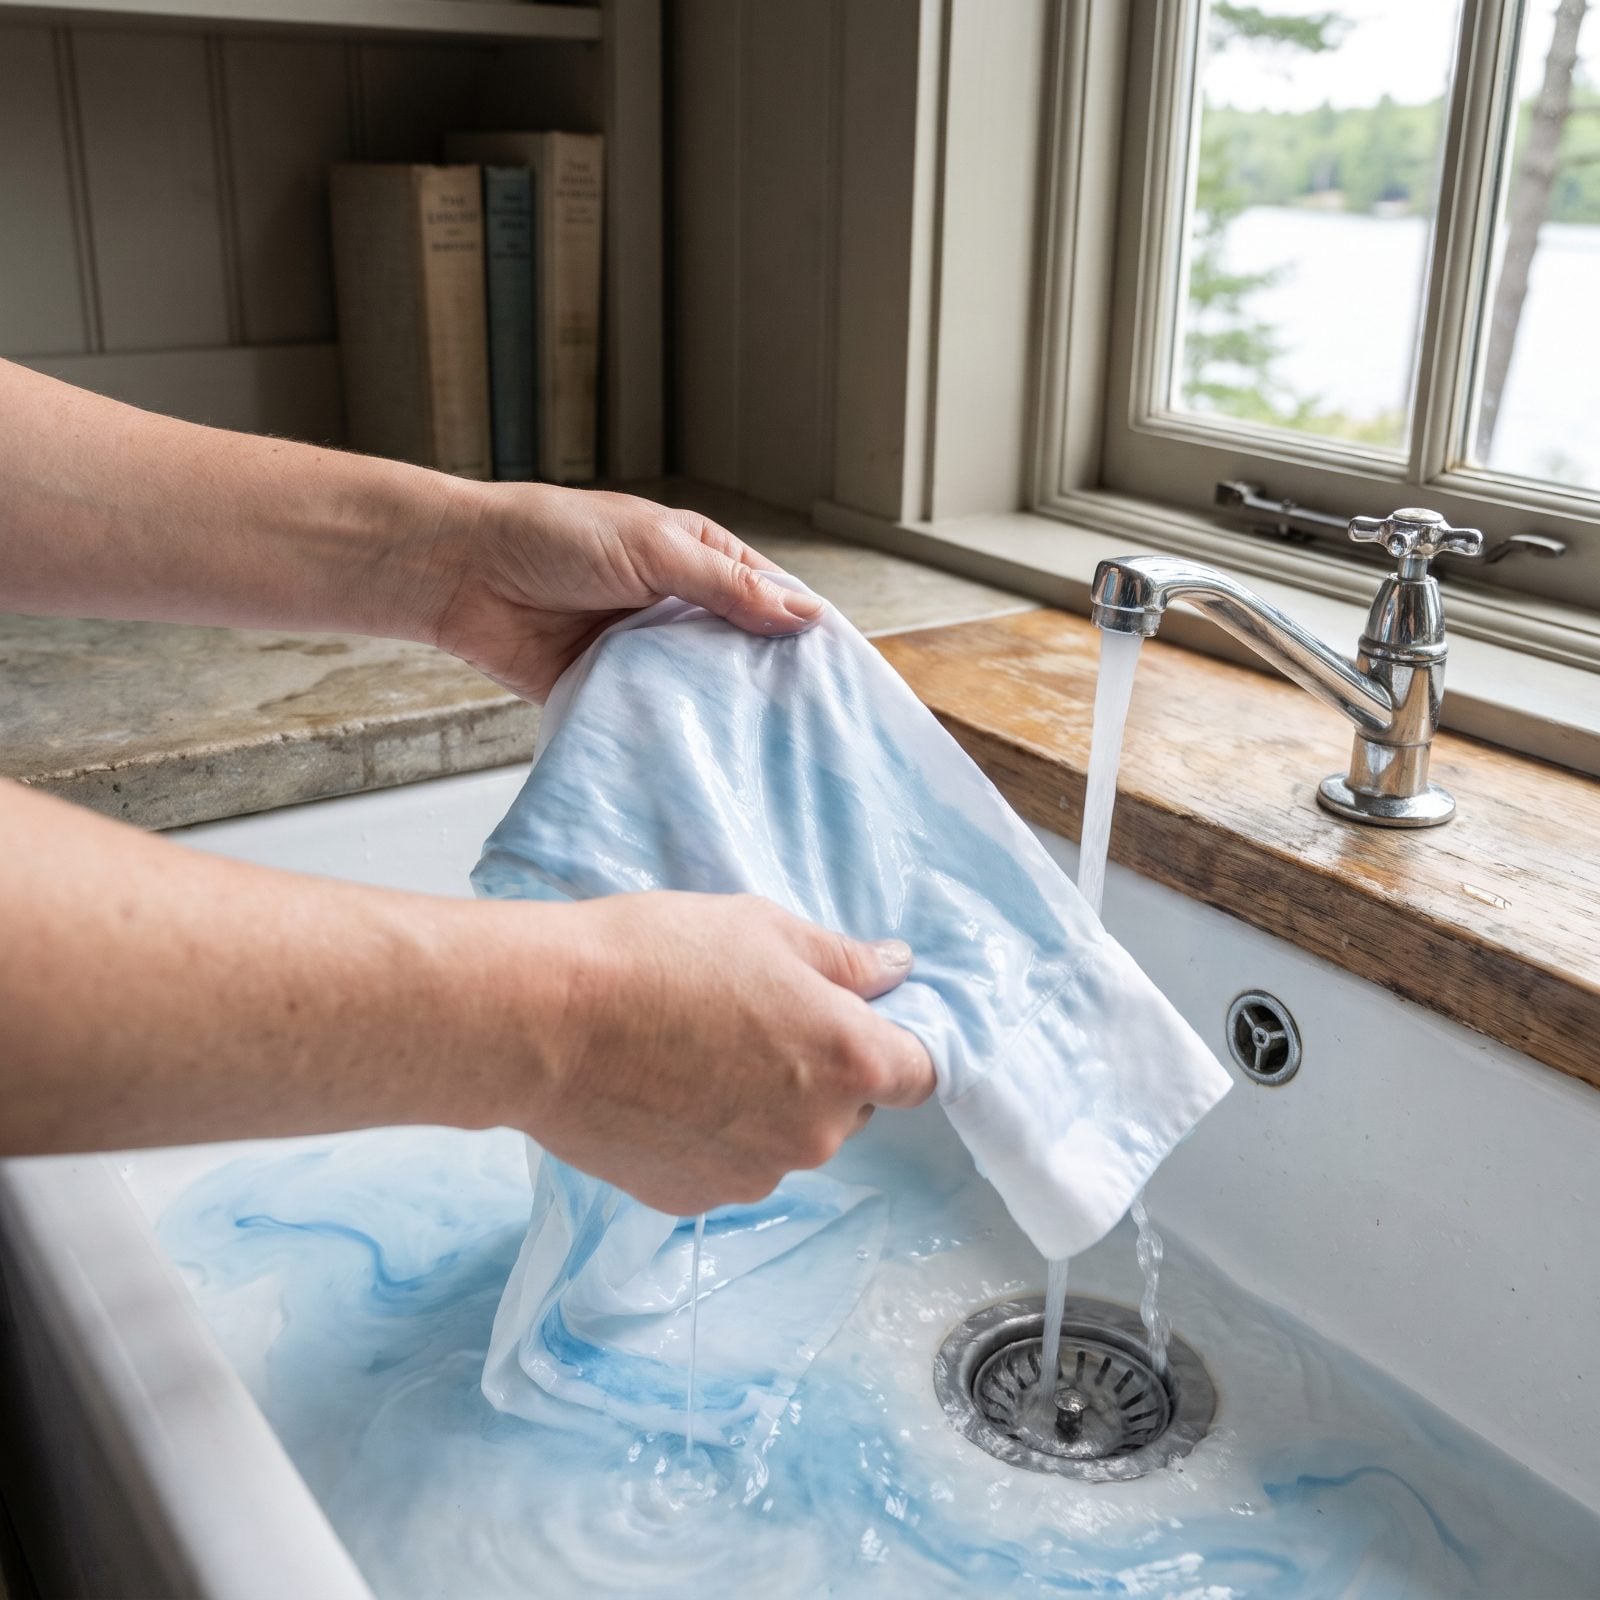
Water-based paint — latex, acrylic craft paint, poster paint — is beatable the whole time it’s wet and nearly unbeatable the second it dries. Dry acrylic turns to plastic right there in the weave. That’s the whole contest.
So the rule is speed, not technique. Get it under cool running water fast and flush until the water runs clear. Work from the back, scrape the surface paint off first, and don’t let it sit while you go hunting for a special product. No magic remover beats catching it wet.
13. Use Hydrogen Peroxide on Scorch Marks in Washable White Cotton
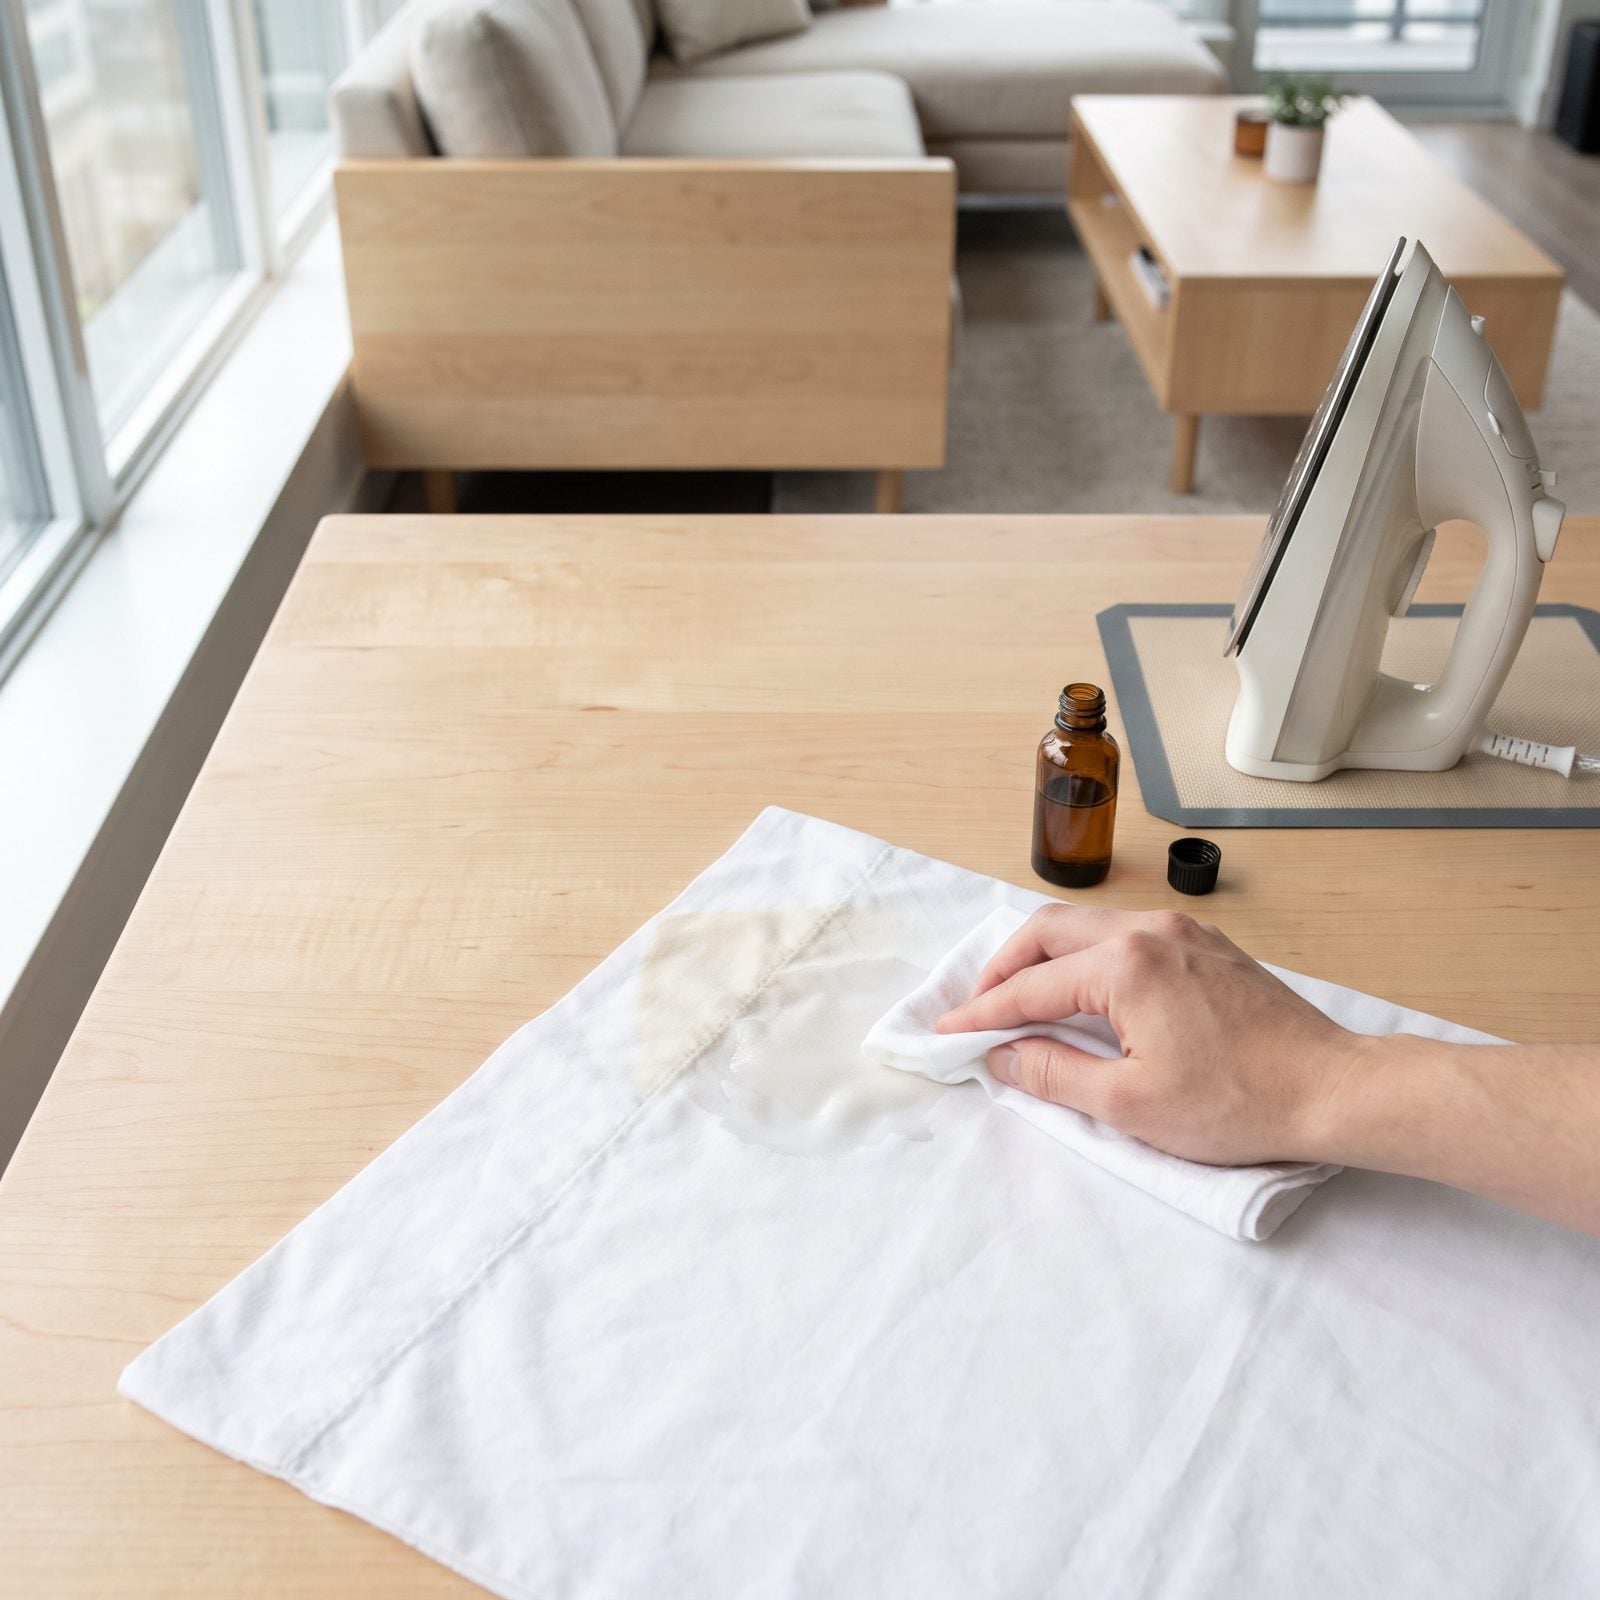
A scorch mark is scorched fiber, not a stain sitting on top, which is why scrubbing it just thins the cloth. If the iron went too far and the fibers charred through, nothing saves it. A light tan scorch on washable white cotton, though, still has a chance.
Dab the mark with plain hydrogen peroxide, the ordinary drugstore kind, and let it sit before rinsing and washing. The peroxide gently bleaches the discolored fibers back toward white. Test a hidden spot first, and keep it to whites — on colors it’ll lighten more than the scorch ever did.
12. Rewash Dye Transfer Immediately Instead of Letting It Dry
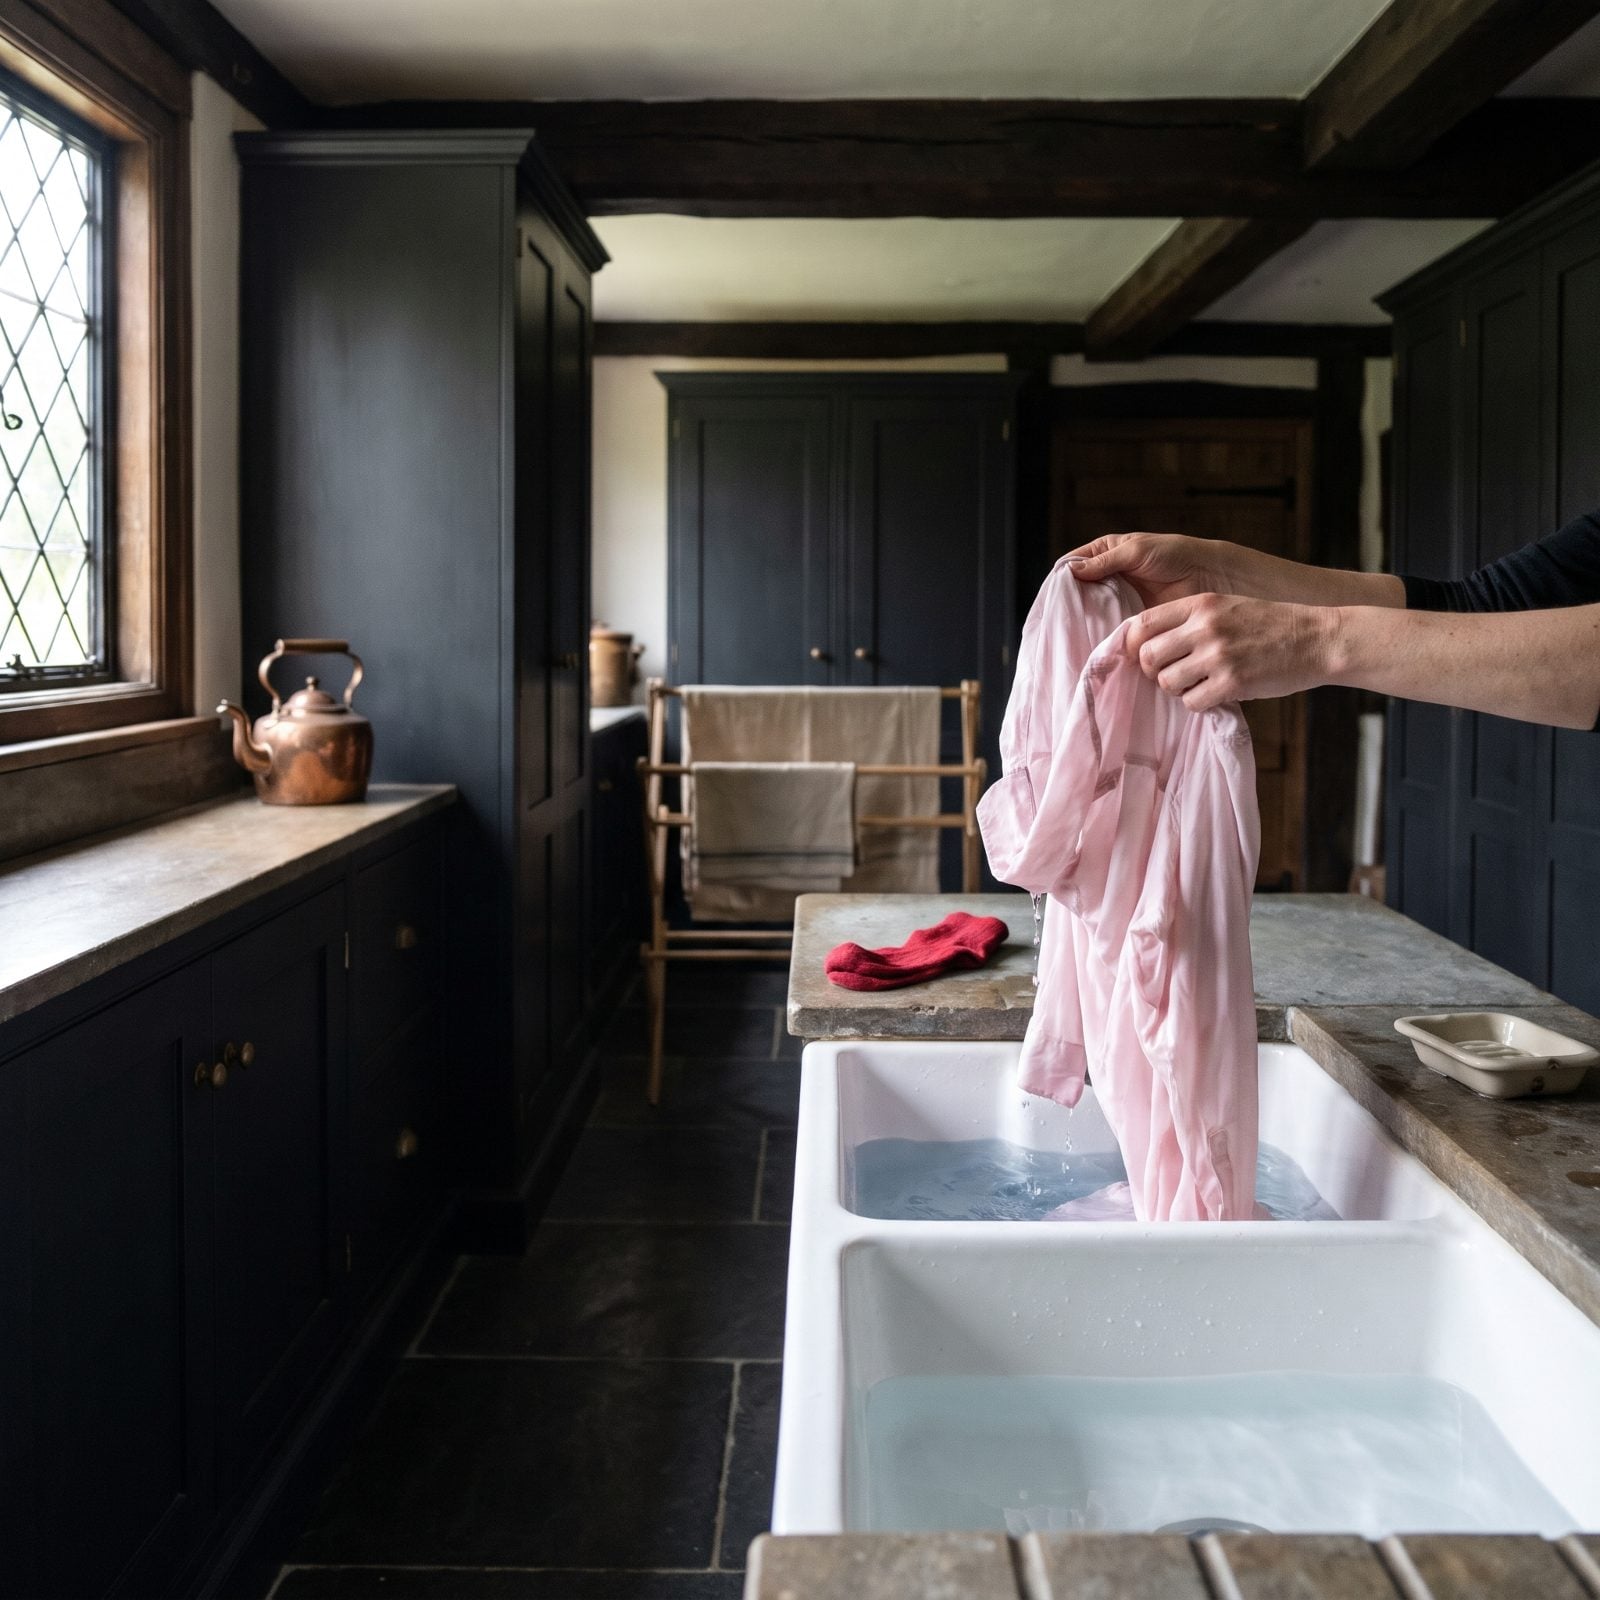
The pink load. Everyone’s had one — a red sock sneaks in and your whites come out blushing. Here’s the part that matters: dye transfer only gets stuck once it dries and the dryer heat sets it.
So the moment you see it, keep the clothes wet and rewash right away in cold water, no dryer. Loose dye that’s still damp lifts out on a second pass far more often than people expect. Whatever you do, don’t dry it first and hope to fix it later, because the dryer is exactly what turns a mistake into permanent color. Pull it, rewash it, and check before anything goes near heat.
11. Give Every Garment a Firm Shake Before Hanging It
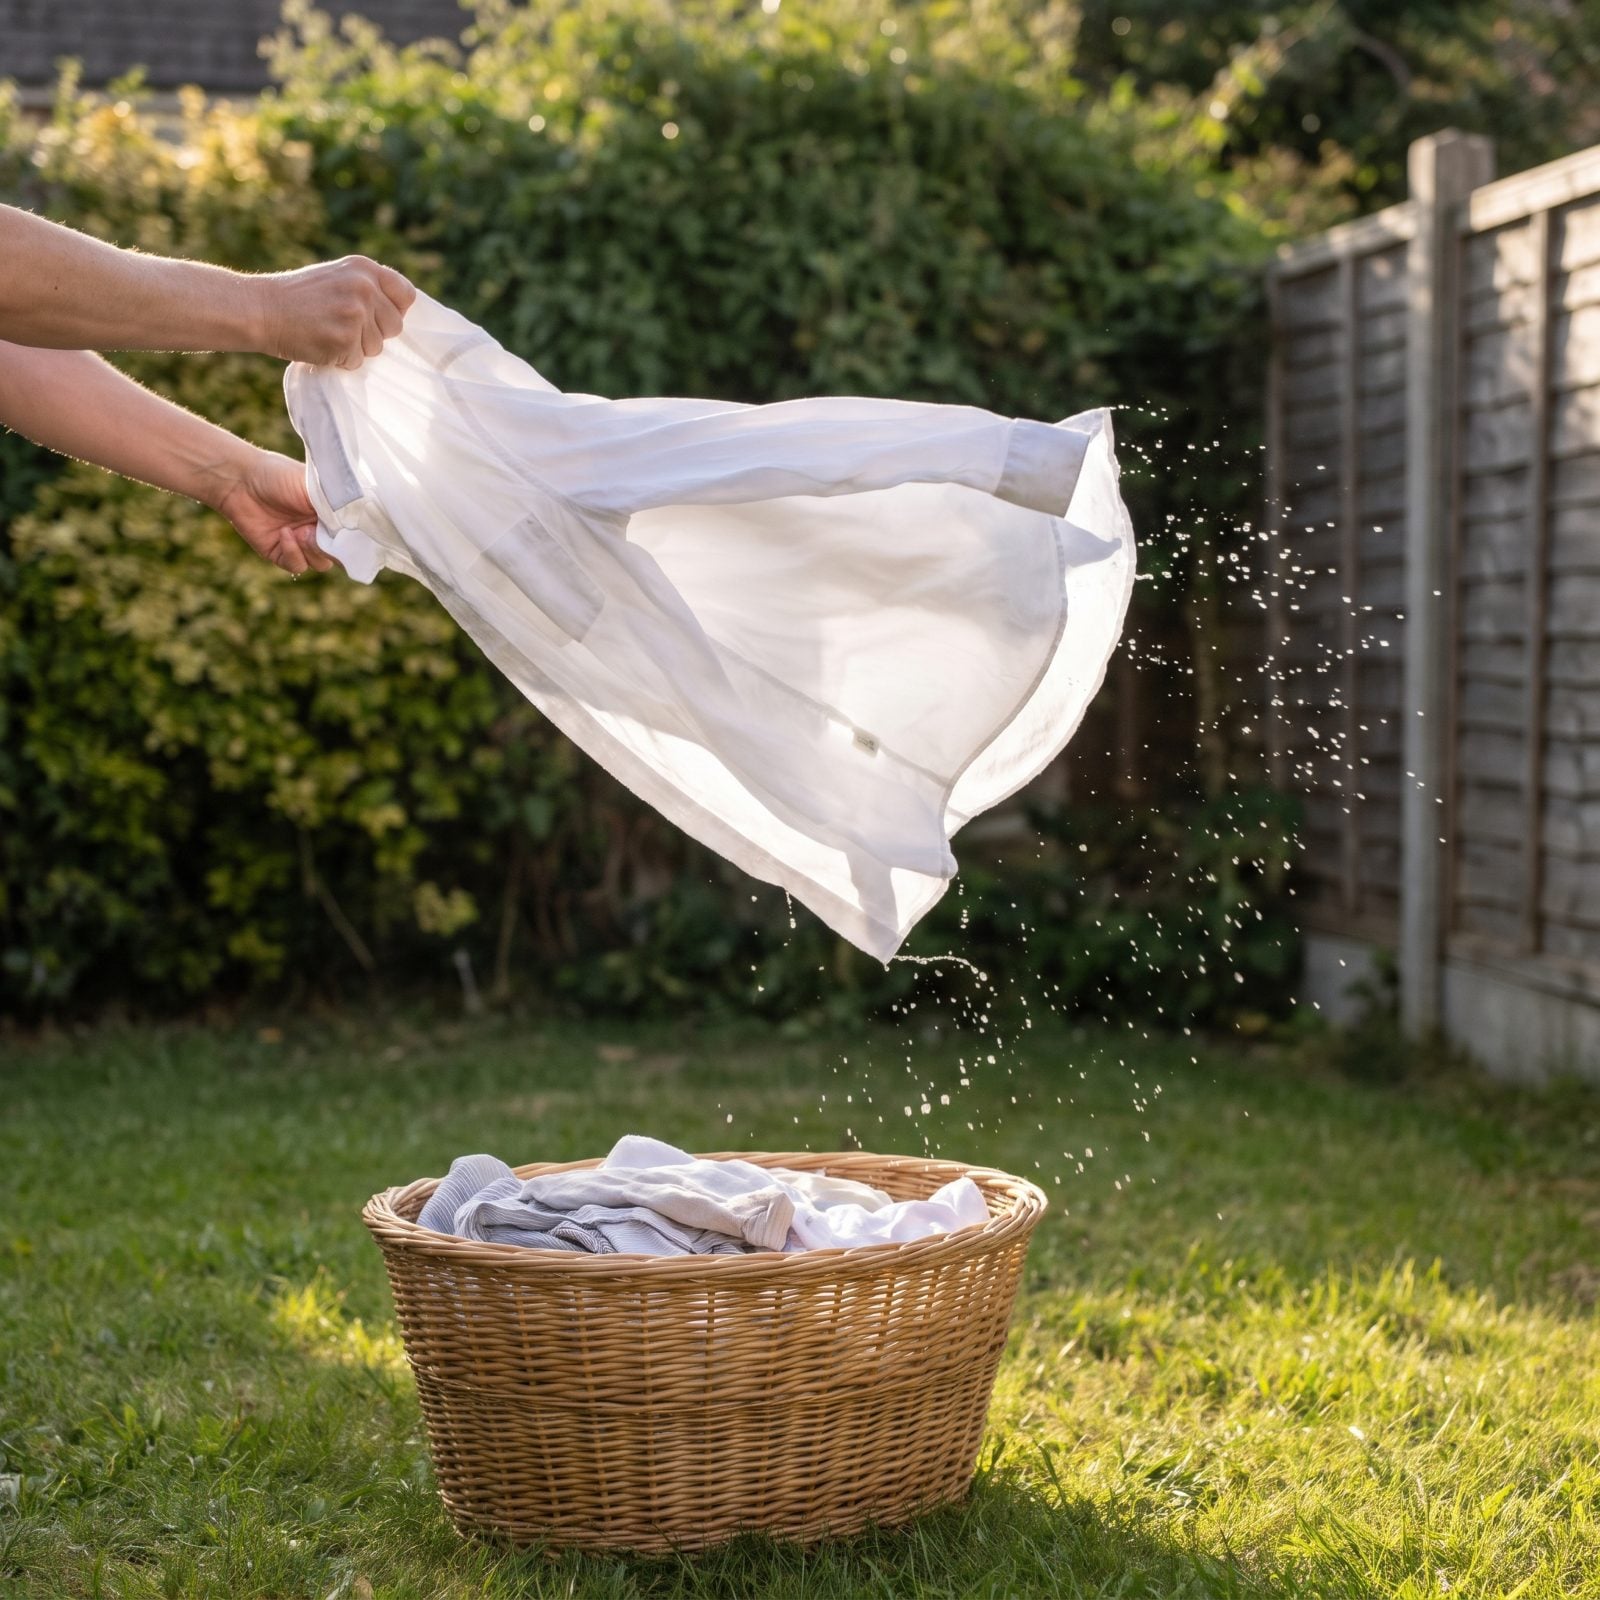
Pull a shirt straight from the washer and it comes out knotted like a wrung dishrag. Hang it like that and the twist marks dry right into the weave, and you’ll be chasing them with an iron later.
One firm snap of the wrist fixes most of it. The fabric straightens, seams fall into line, and a surprising number of small wrinkles never form at all. Do it before every peg goes on. Skip it and your shirts come off the line looking slept-in.
10. Wipe Down the Clothesline Before Pinning Up Clean Laundry
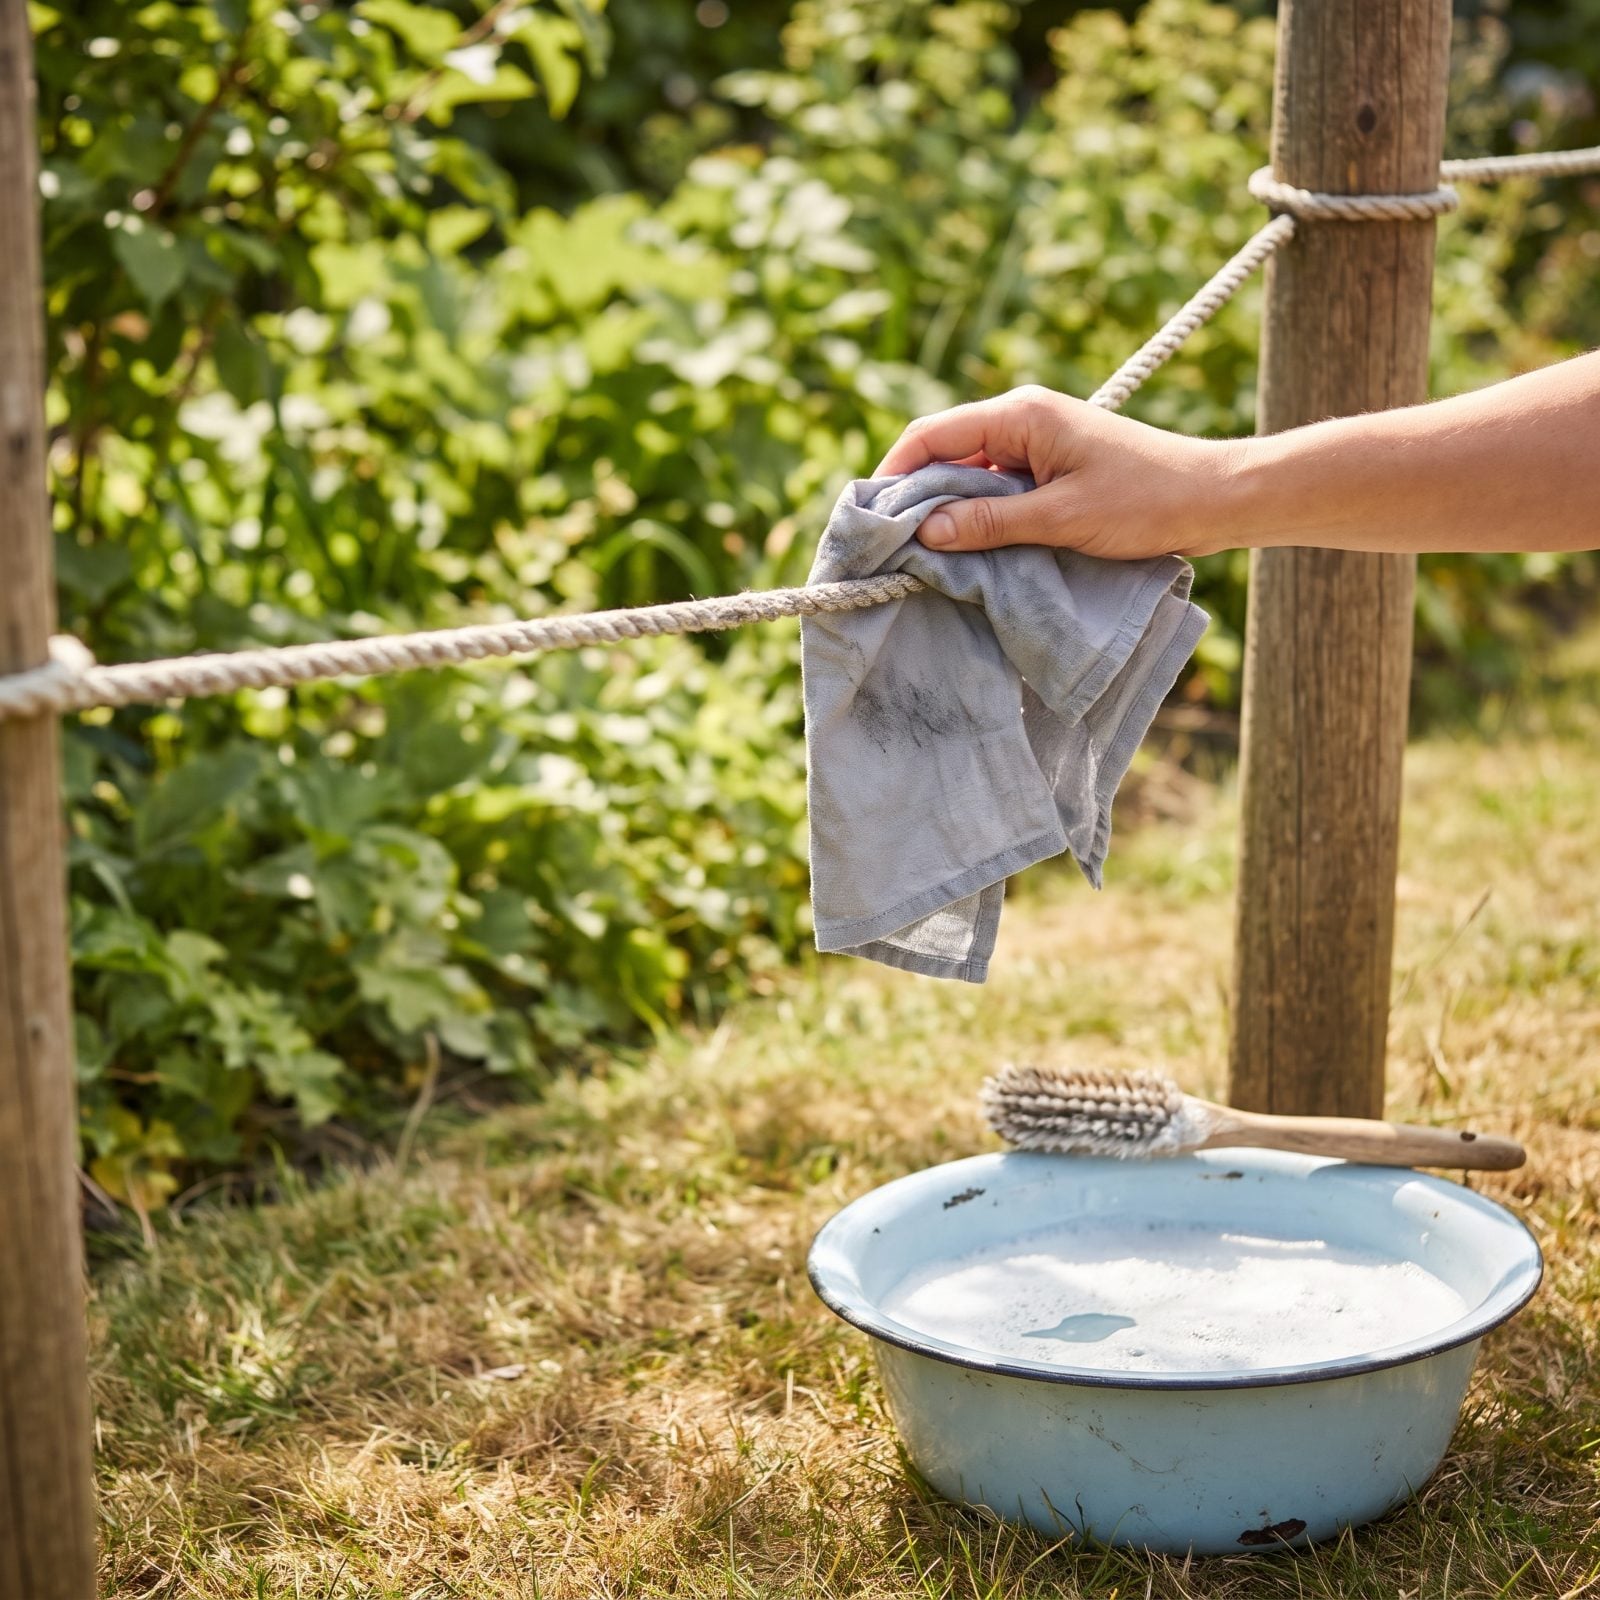
A clothesline collects everything — bird mess, pollen, soot drift, a winter’s worth of dust that nobody thinks about until a clean pillowcase picks up a grey streak straight across the middle.
Run a damp cloth down the full length before you hang a single thing. Takes less than a minute. Outdoors it matters even more, because that rope has been sitting out in the weather since you last touched it.
9. Let Sunlight Brighten White Sheets and Table Linens
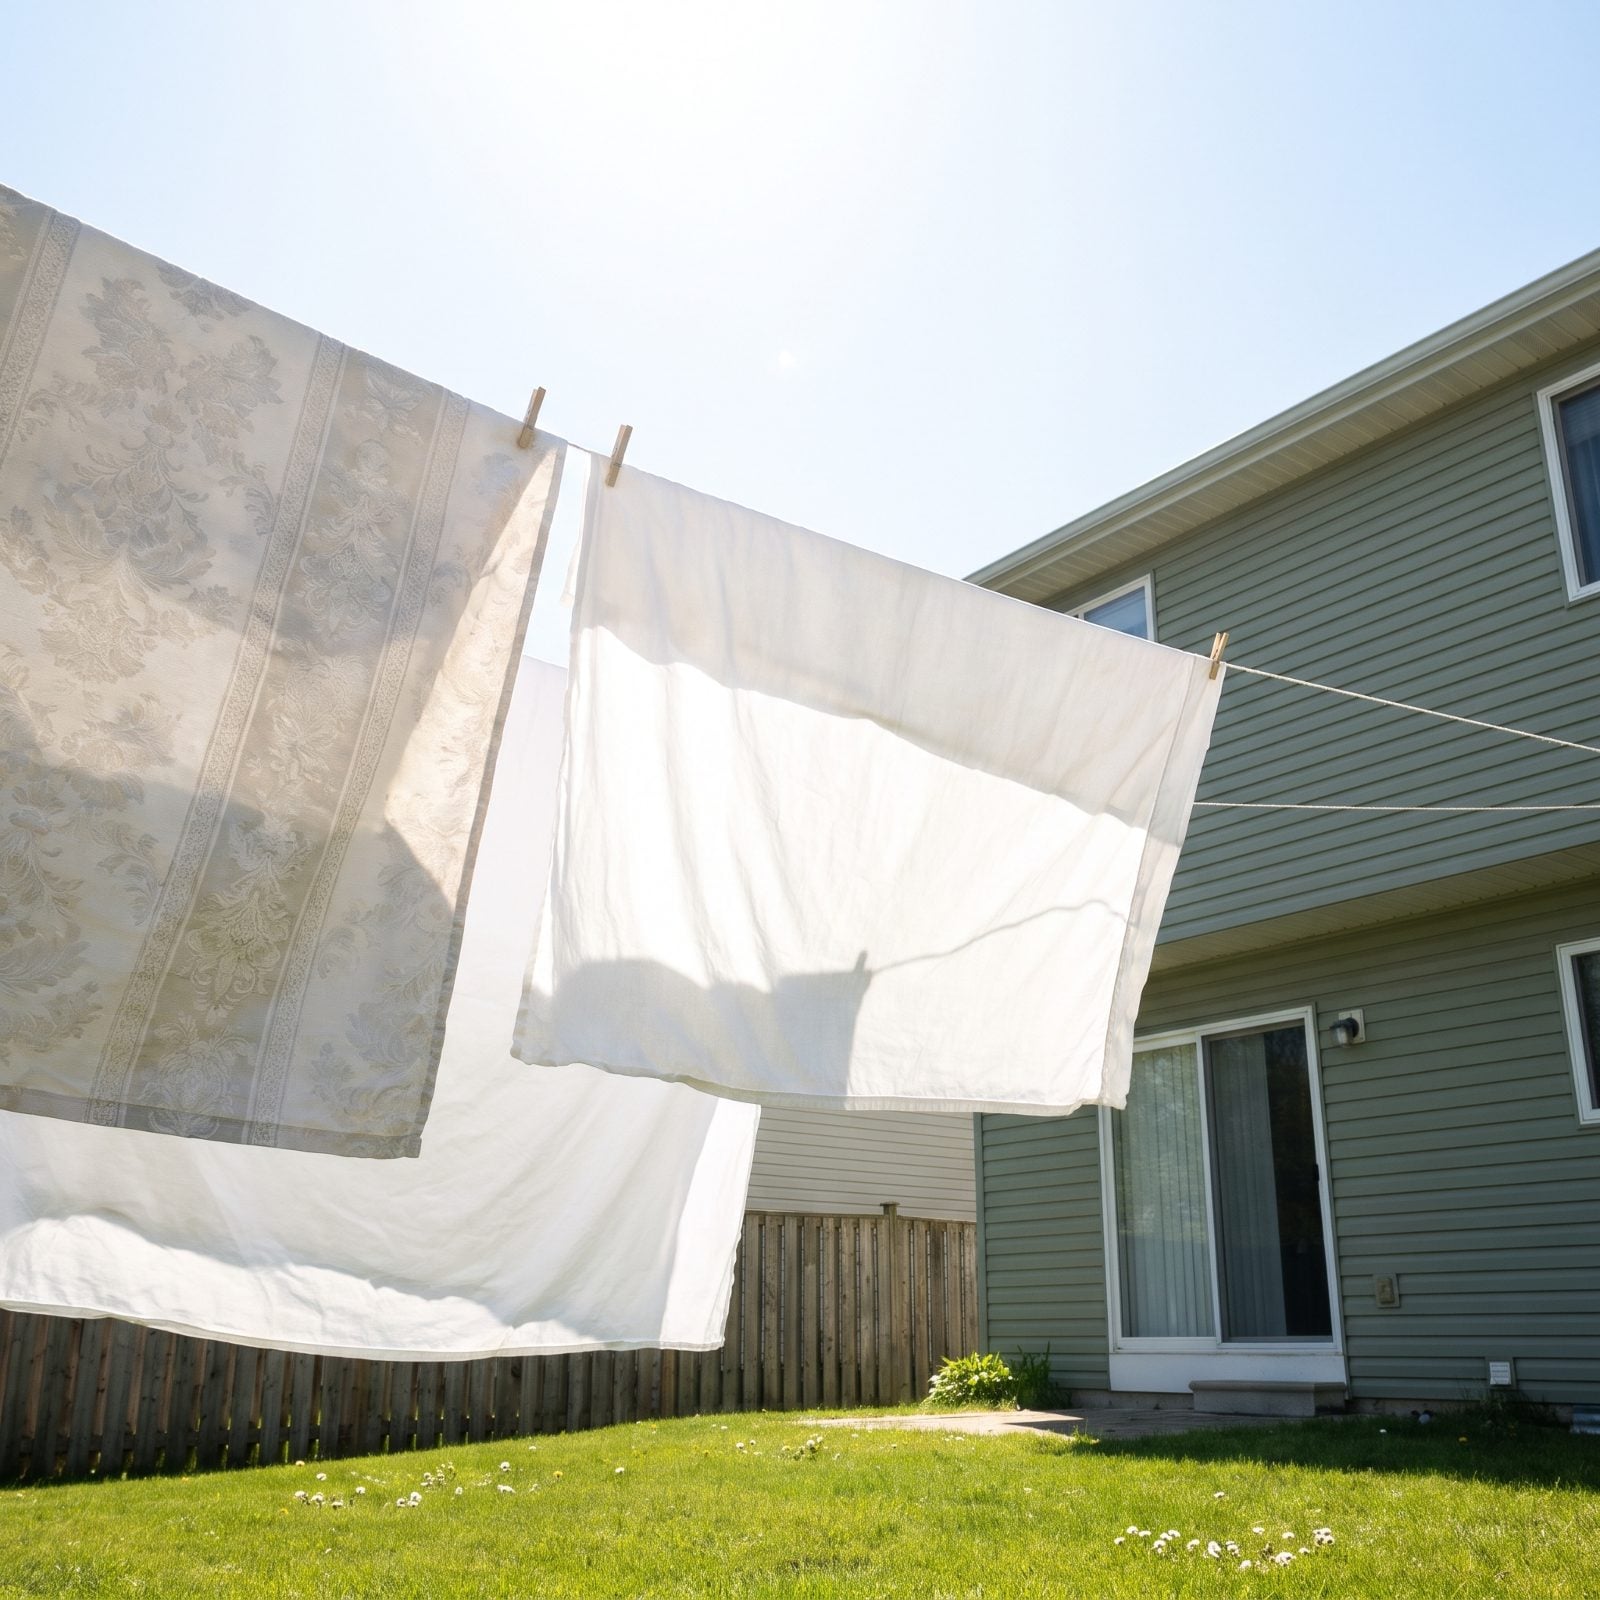
The sun is a bleach that costs nothing. Ultraviolet light breaks down the yellow and grey tinges that build up in cotton and linen, and it manages it without the harsh chemical reek or the thinning you get from actual bleach.
Lay or hang whites out on a bright day with the stained side facing up. A squeeze of lemon on a stubborn mark before it goes out gives the sun a little something extra to gnaw on.
One caution. The same light that whitens cotton will fade colors and weaken wool and silk, so keep this trick for your sturdy whites only.
8. Peg Shirts at the Hem to Avoid Shoulder Marks
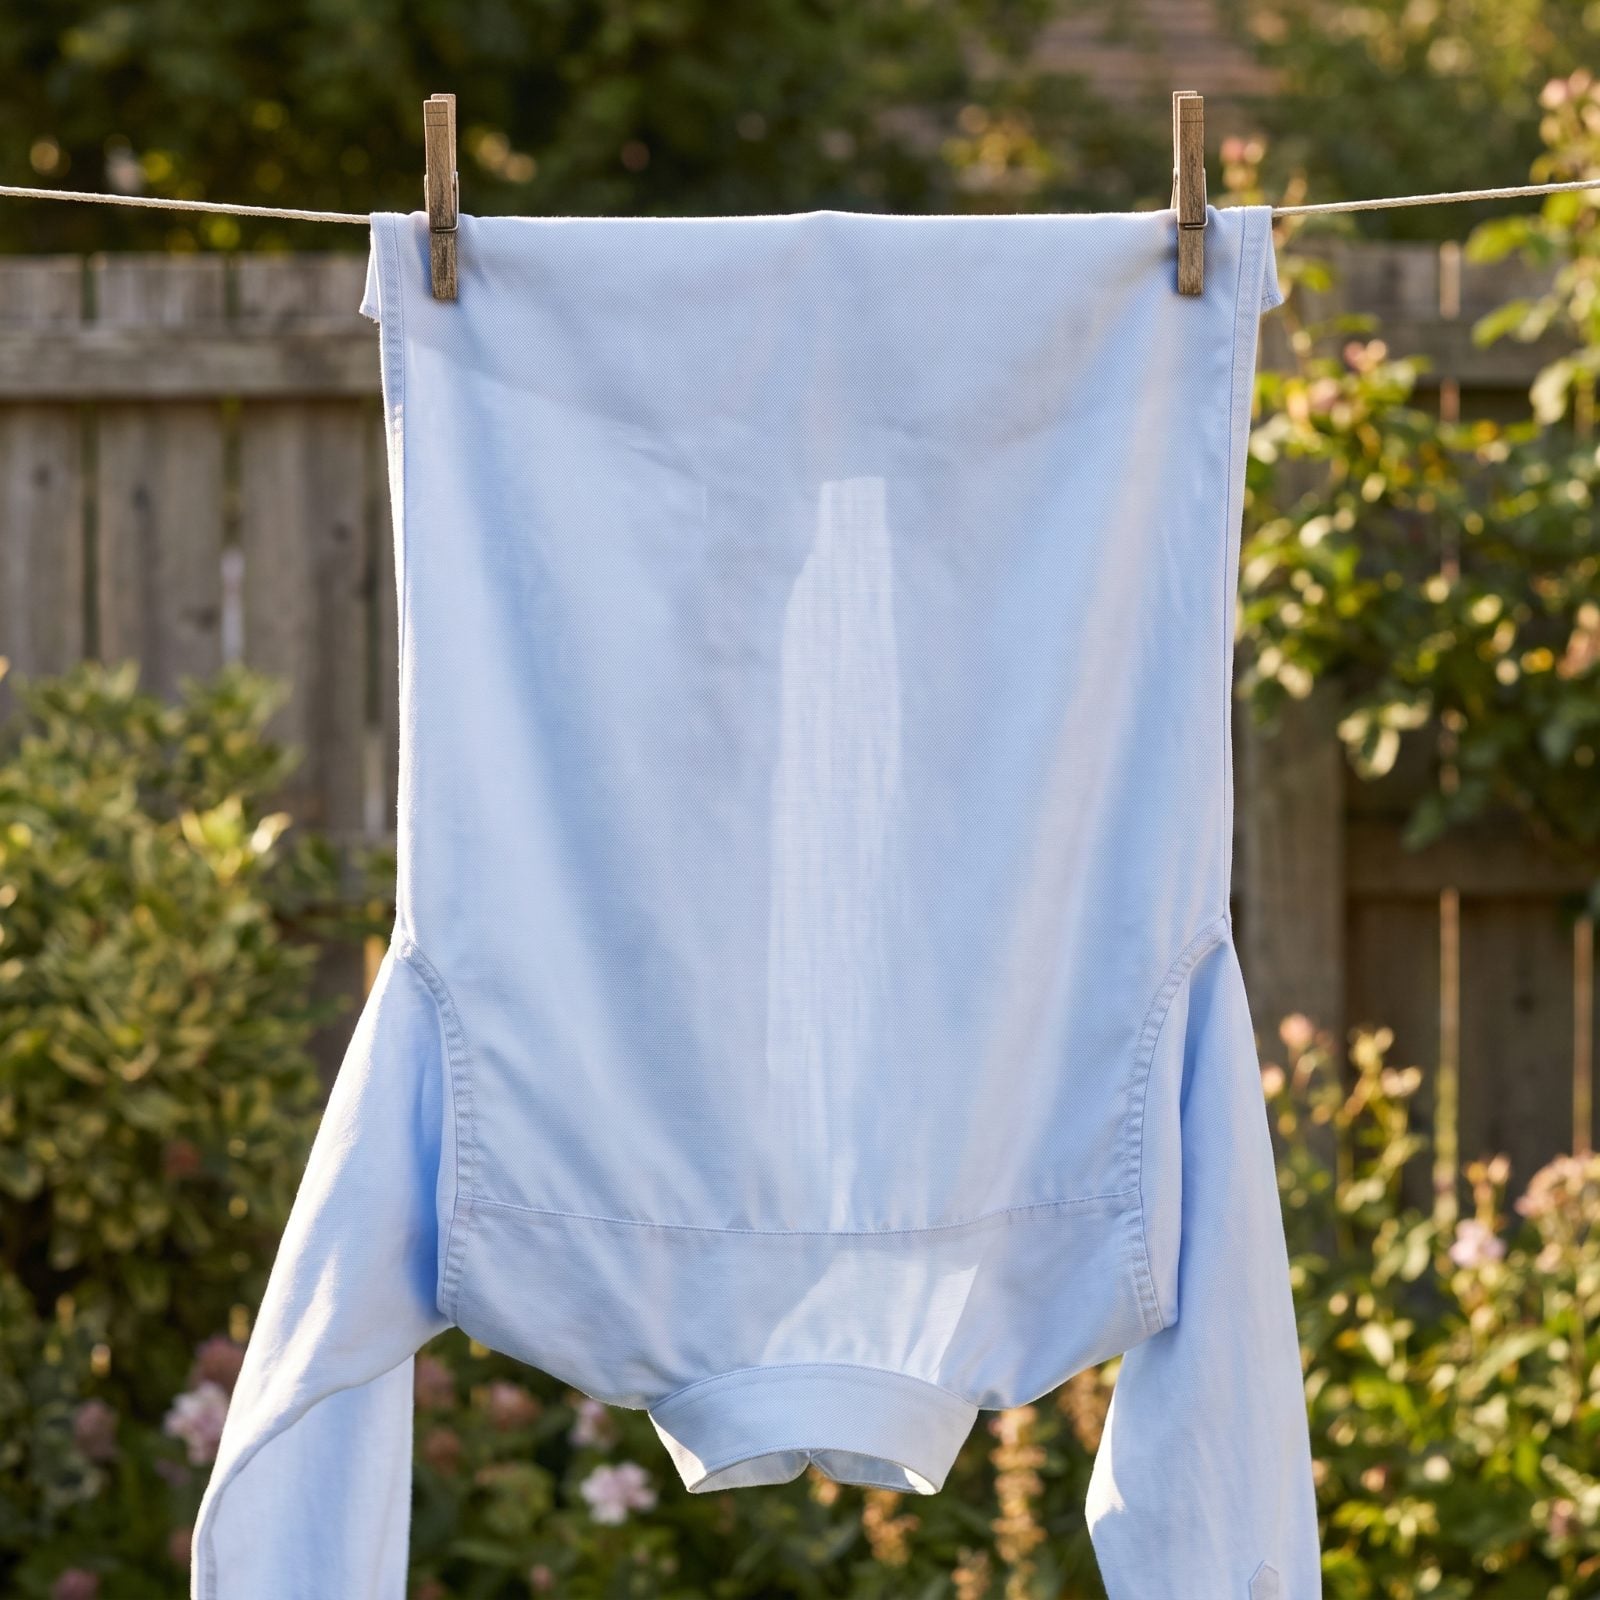
Peg a shirt through the shoulders and you get two little dimpled dents right where everyone looks. On a knit, those marks can ride along through a full day of wear.
So flip it. Pin at the side seams of the hem, body hanging down, and the shoulders dry smooth and keep their shape. Better still, the pin marks land where a tucked-in shirt hides them anyway.
7. Give Sheets Plenty of Space to Billow on the Line
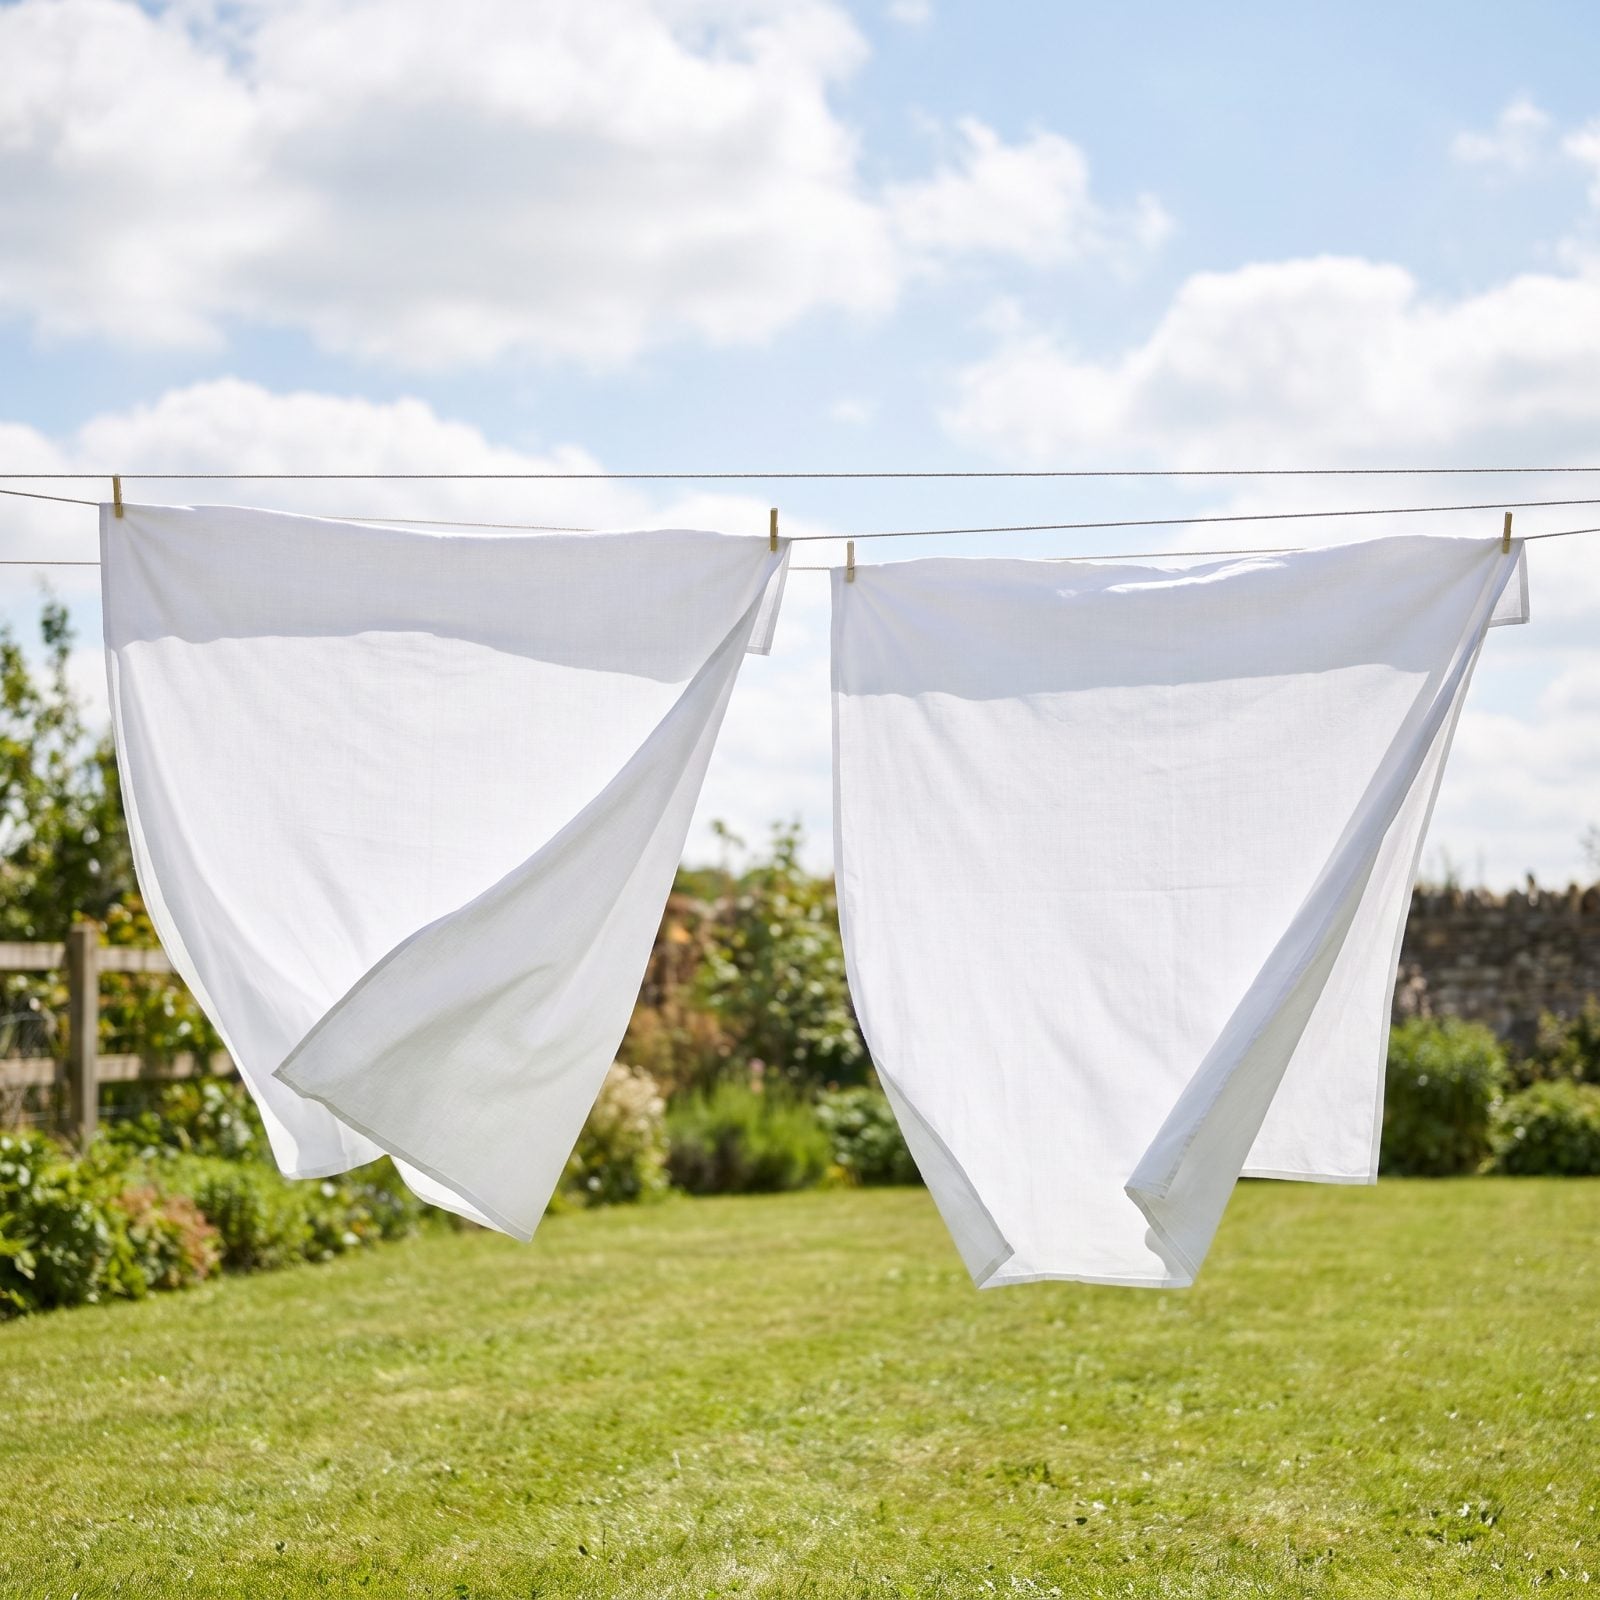
Cram sheets together and the wet middle sections press against each other, trapping damp folds that never quite dry and crease deep enough to need ironing.
Spread them out. Hang each one with room to catch the wind and fill like a sail, and the moving air does two jobs at once: it dries the cotton faster and it shakes out the wrinkles as the fabric flaps. A well-spaced sheet often comes down nearly smooth.
6. Reshape Knitted Garments and Dry Them Flat
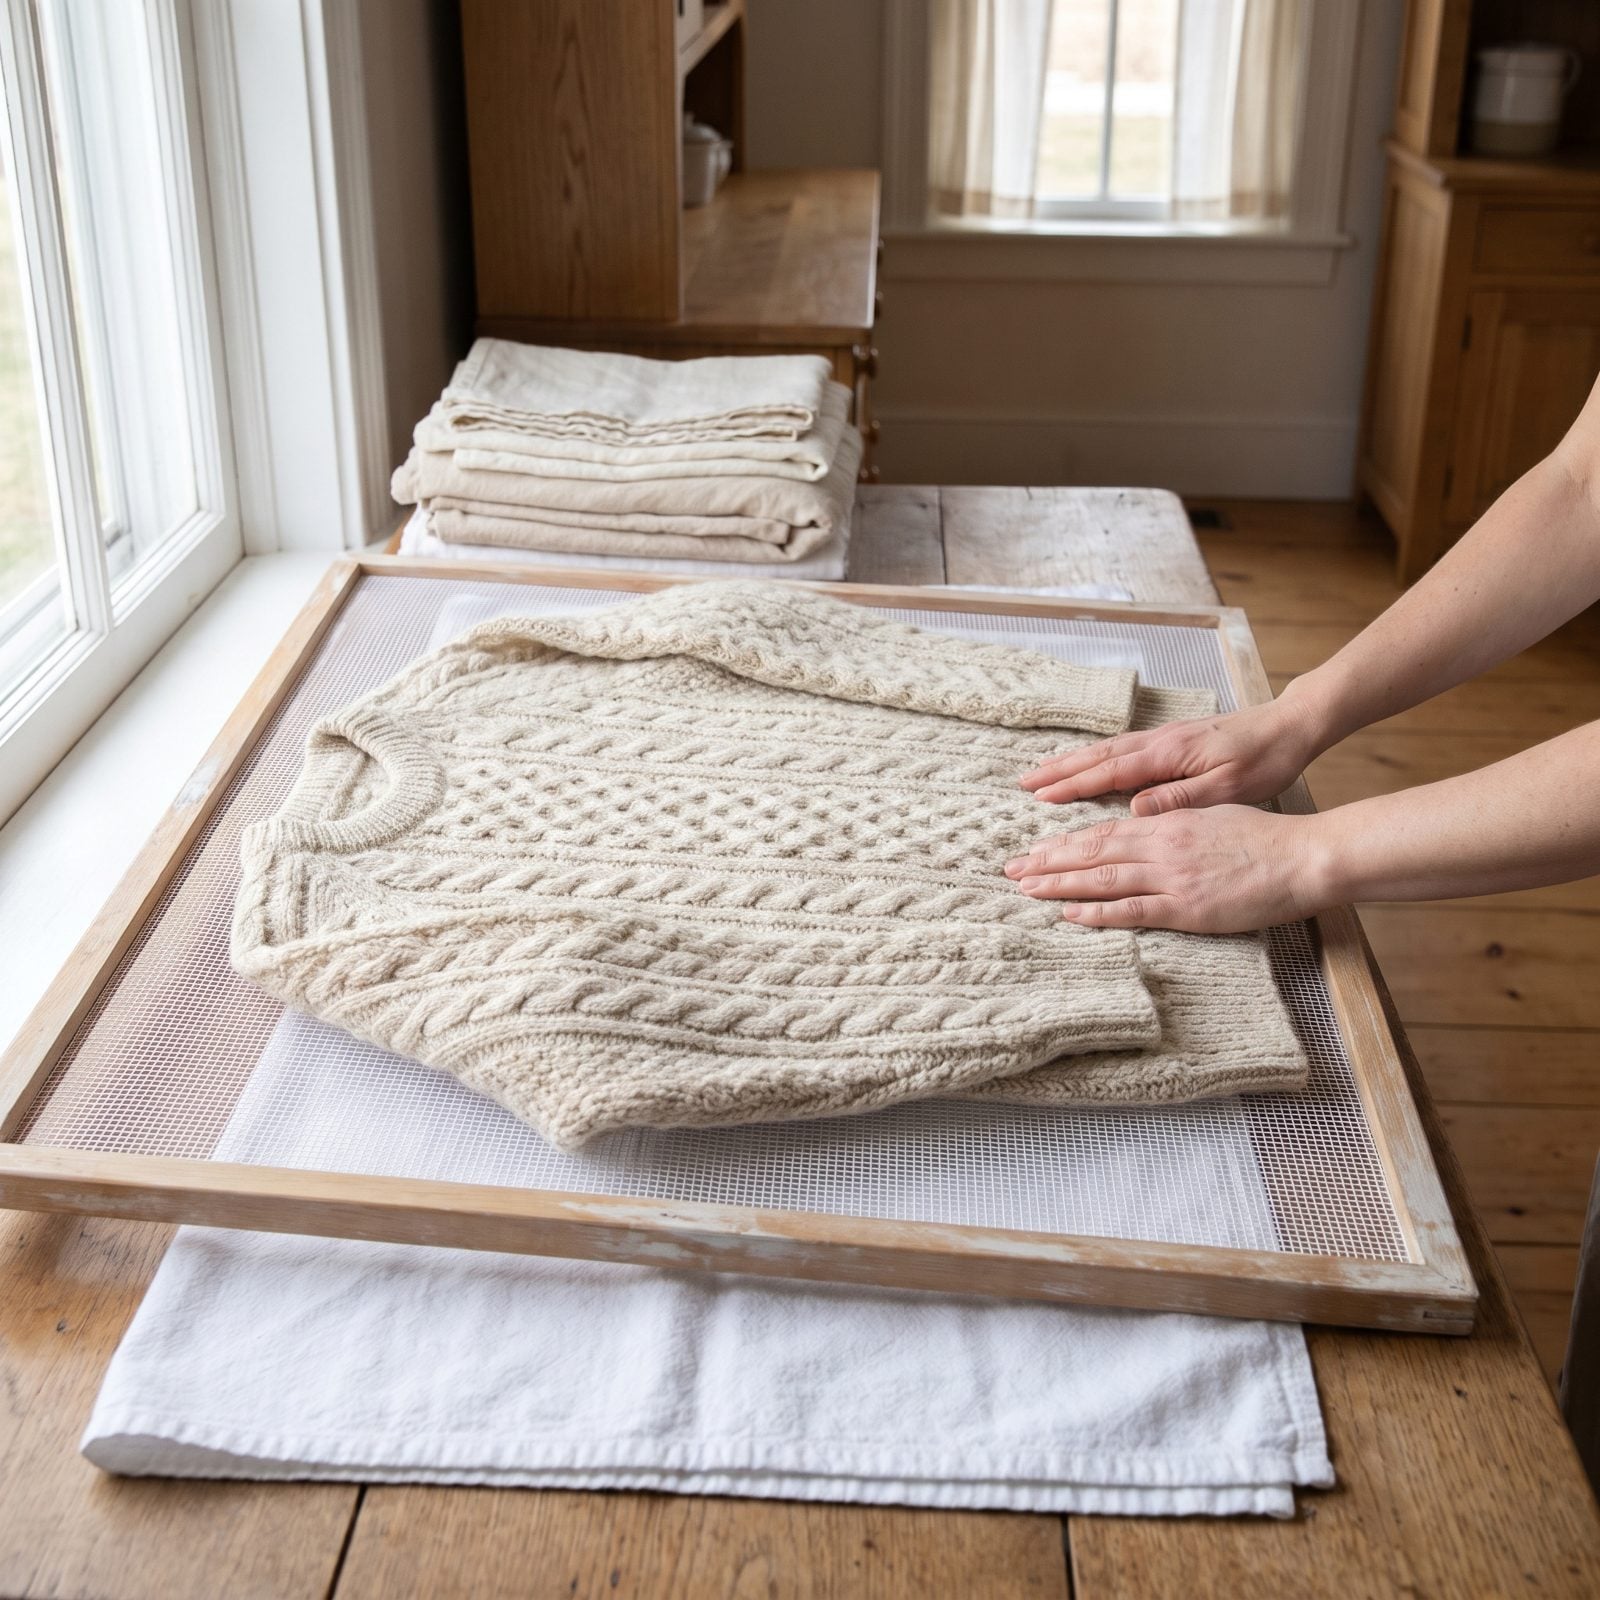
Hang a wet wool sweater and gravity does the rest. The water weight drags it long, the shoulders sag off the hanger, and you end up with sleeves fit for an orangutan.
Dry knits flat. Press out the excess water first, then lay the thing on a towel or a mesh rack and nudge it back to its true measurements while it’s still damp — smooth the body, square the shoulders, line up the cuffs. It holds that shape as it dries.
Recommending flat drying for knitwear, a wool care authority explains that “Line drying or drying on hangers can cause knitted garments to stretch due to the weight of the moisture contained by the garment, with the result that the garment grows in length and loses its shape.”
5. Roll Delicates in a Towel to Remove Water Without Twisting
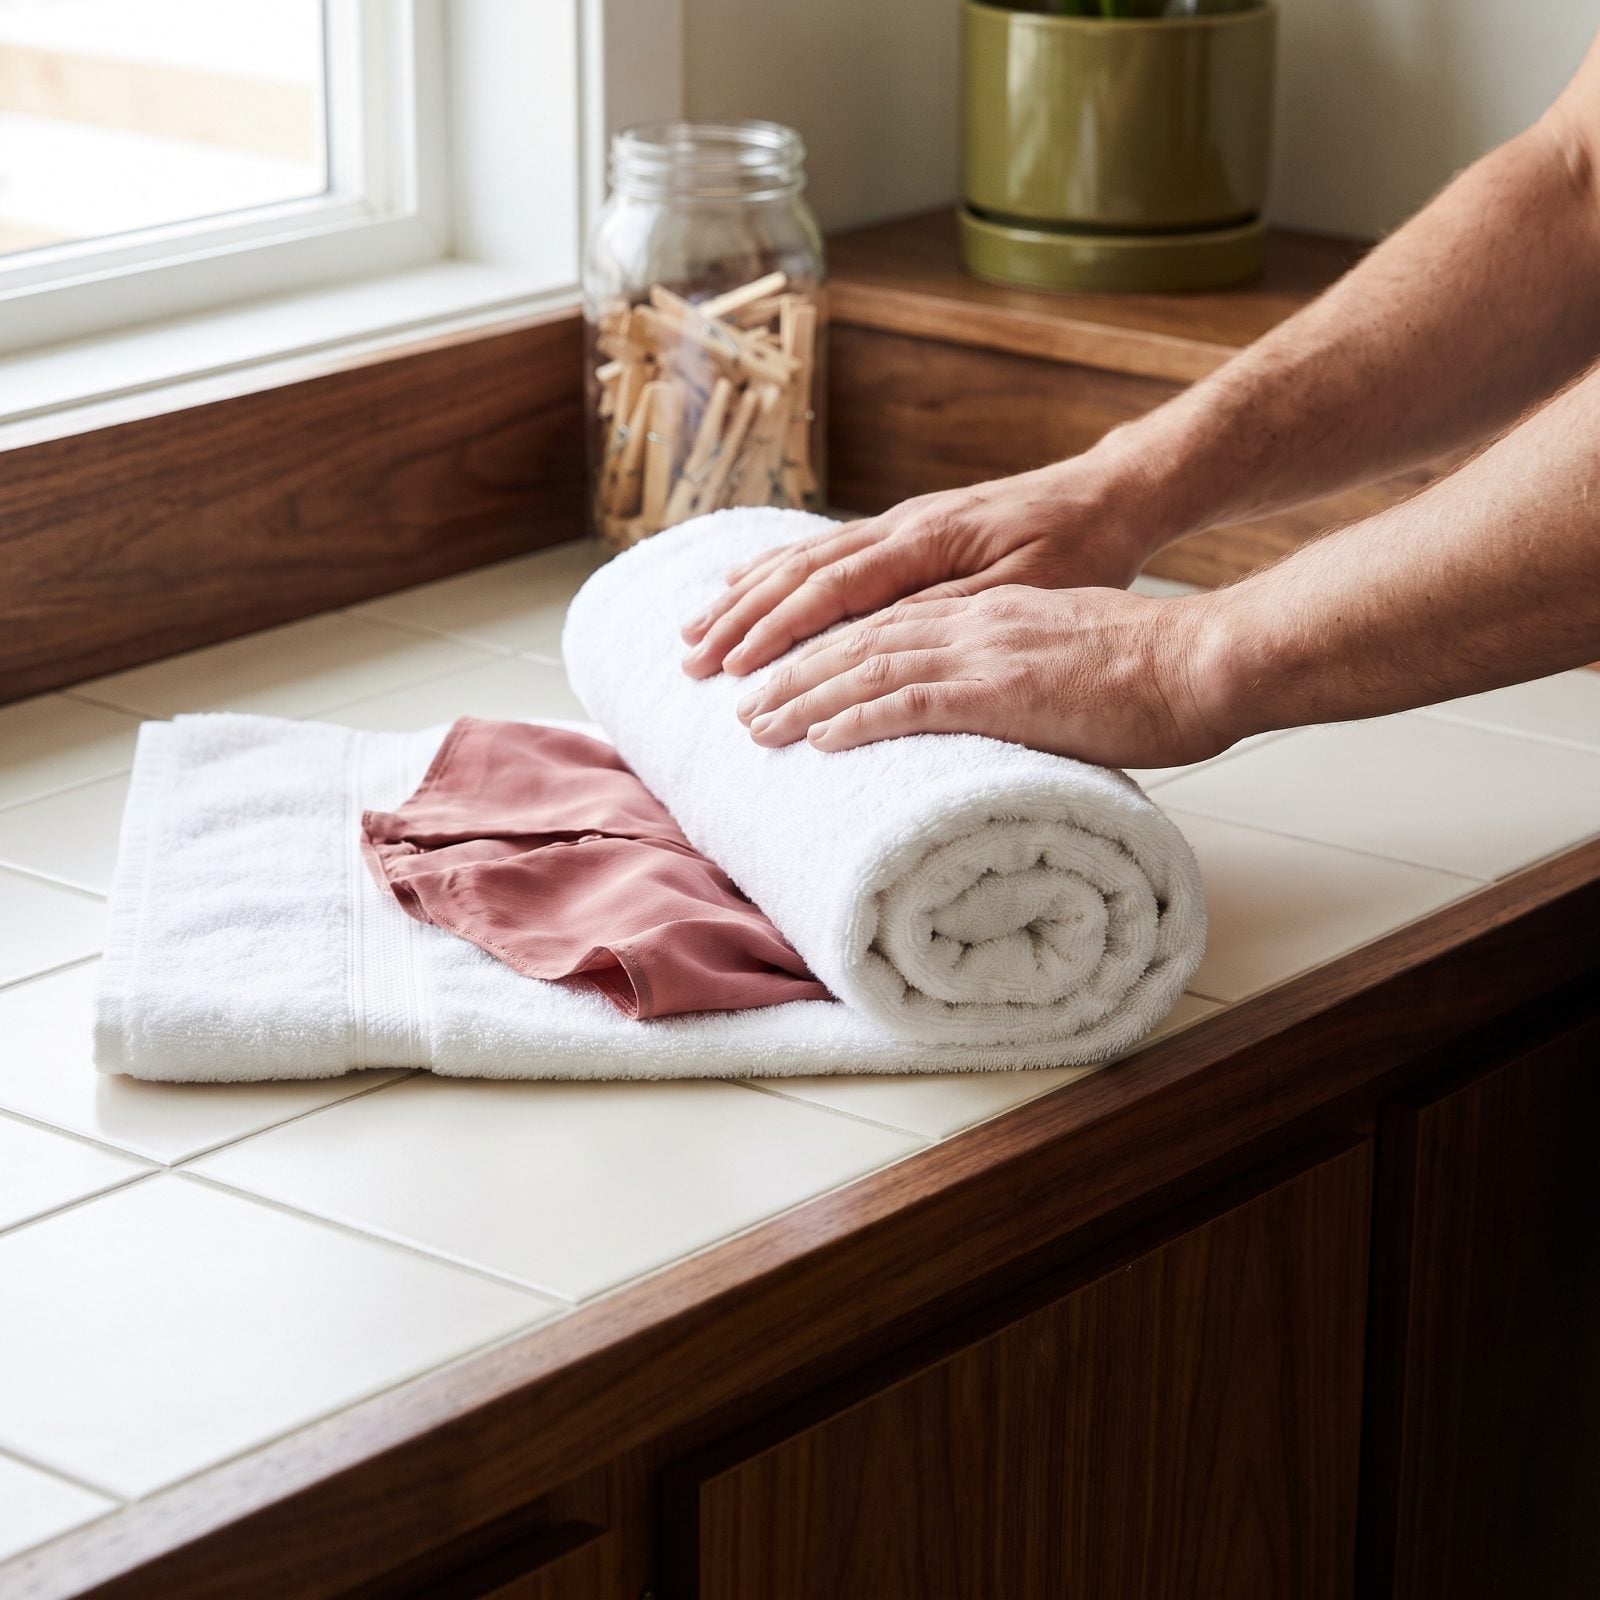
Wringing a silk blouse or a fine wool scarf is how you stretch it, snag it, and leave it with a permanent wrung crease. These fibers do not forgive a twist.
Lay the piece flat on a dry towel, roll the two up together like a sponge cake, and press along the roll with your palms. The towel drinks the water out through gentle pressure. No twisting. Unroll, reshape, lay it flat to finish.
4. Take Laundry Down Slightly Damp When It Needs Ironing

Bone-dry cotton fights the iron. You end up spraying water on, waiting for it to soak in, pressing the same stubborn crease three times over.
Catch it earlier. Pull shirts, pillowcases and tablecloths off the line while they still hold a little moisture, then press them straight away — or roll them up and stash them in the fridge if you can’t get to the board yet. The leftover damp turns to steam under the plate and the wrinkles let go with half the effort.
3. Use a Cotton Pressing Cloth on Delicate Fabric
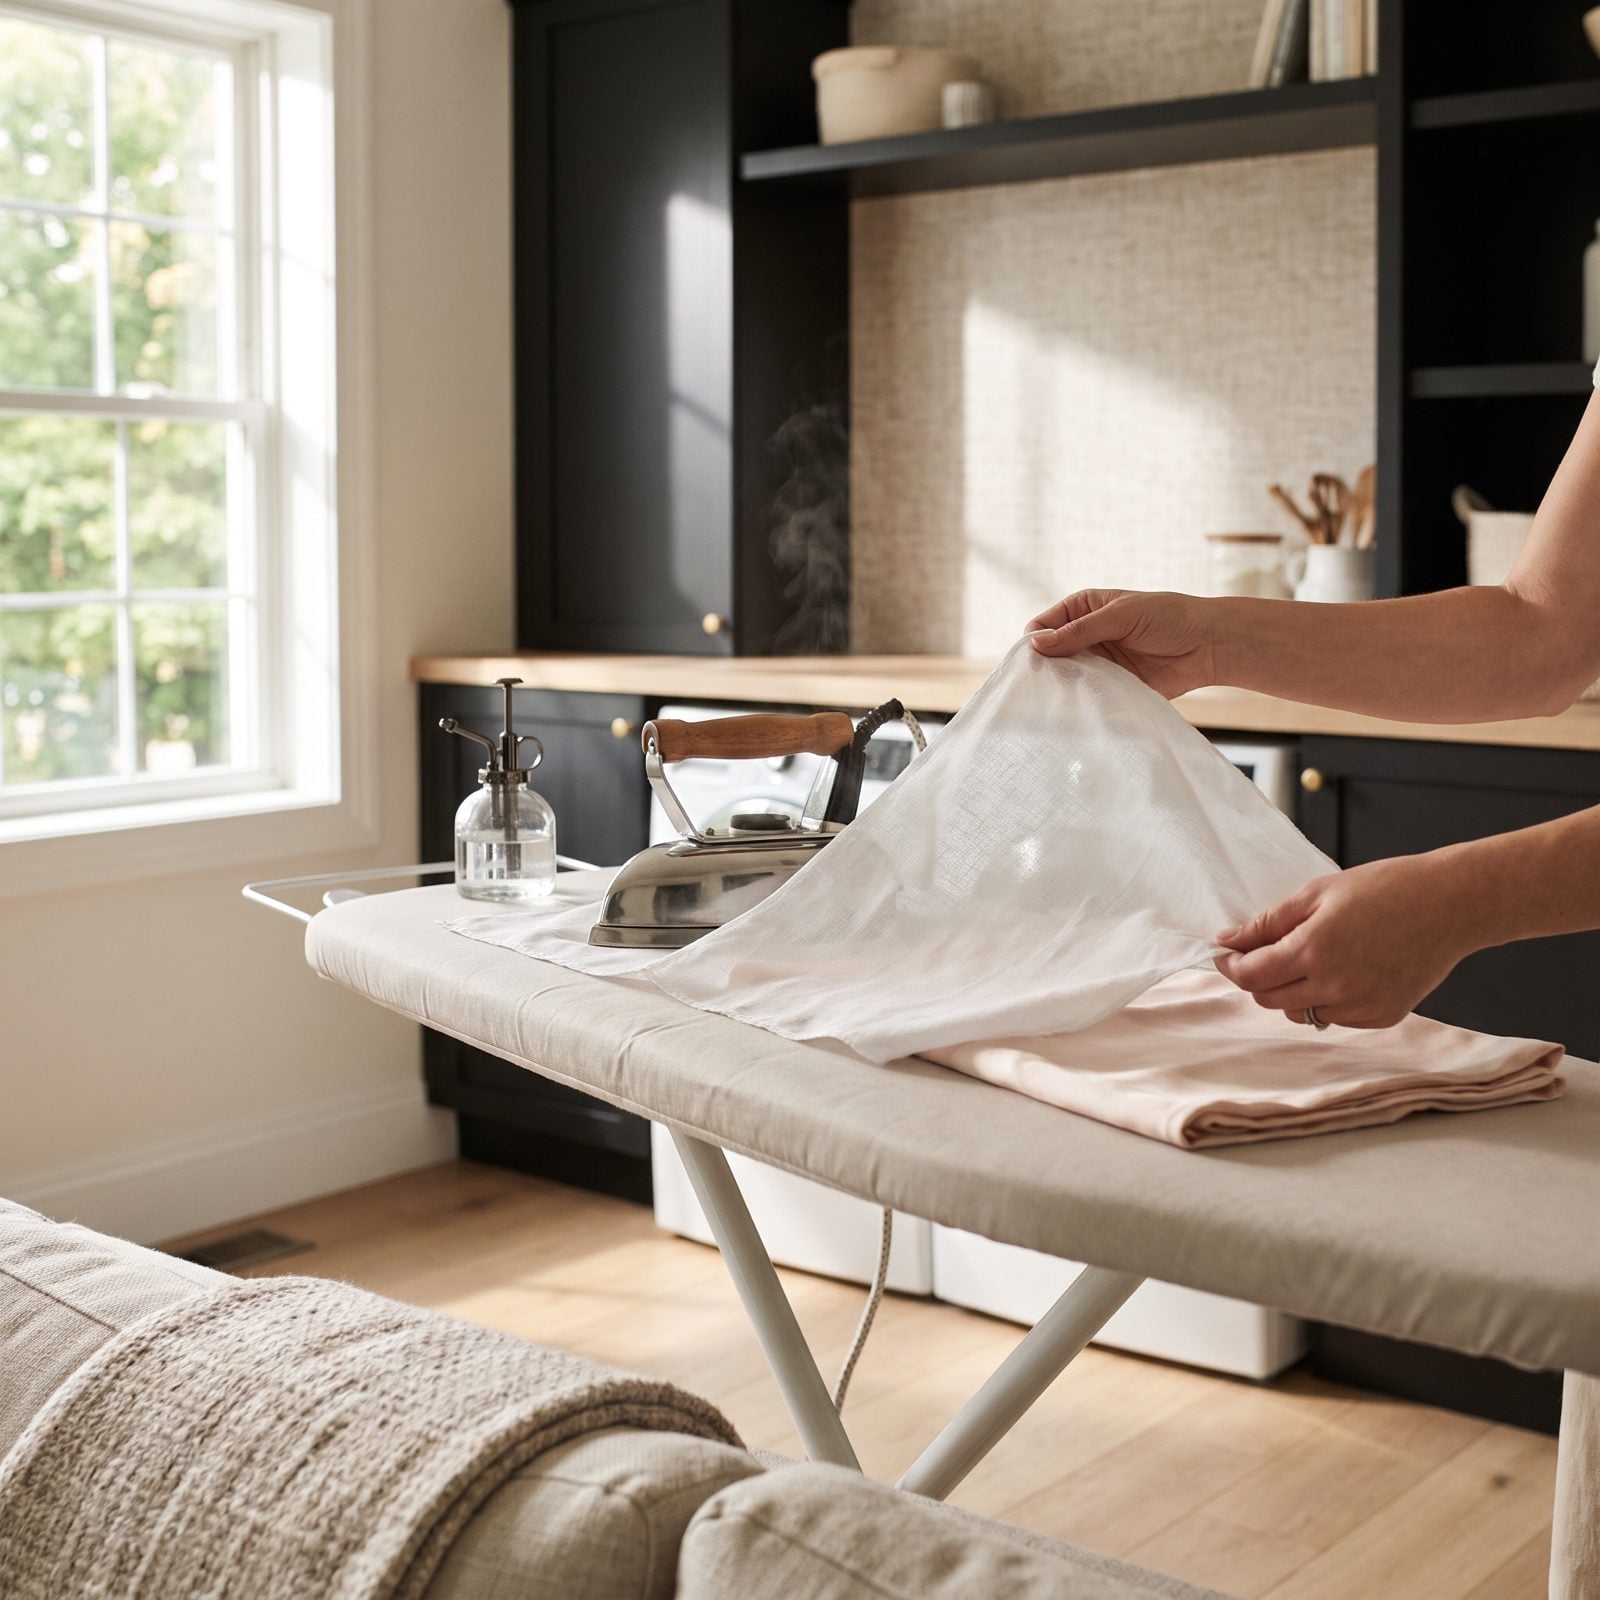
Silk, wool, velvet, anything with a sheen — all of it will scorch or flatten under a bare iron plate. One second too long and you’ve pressed a shiny print of the soleplate right into the cloth.
Lay a plain cotton barrier between the iron and the garment: an old pillowcase, a square of muslin, whatever you have. The heat and steam pass through to do the work while the cloth takes the direct contact. Dampen it lightly for stubborn creases and the steam does most of the lifting for you.
2. Starch Collars and Cuffs for a Crisp Finish
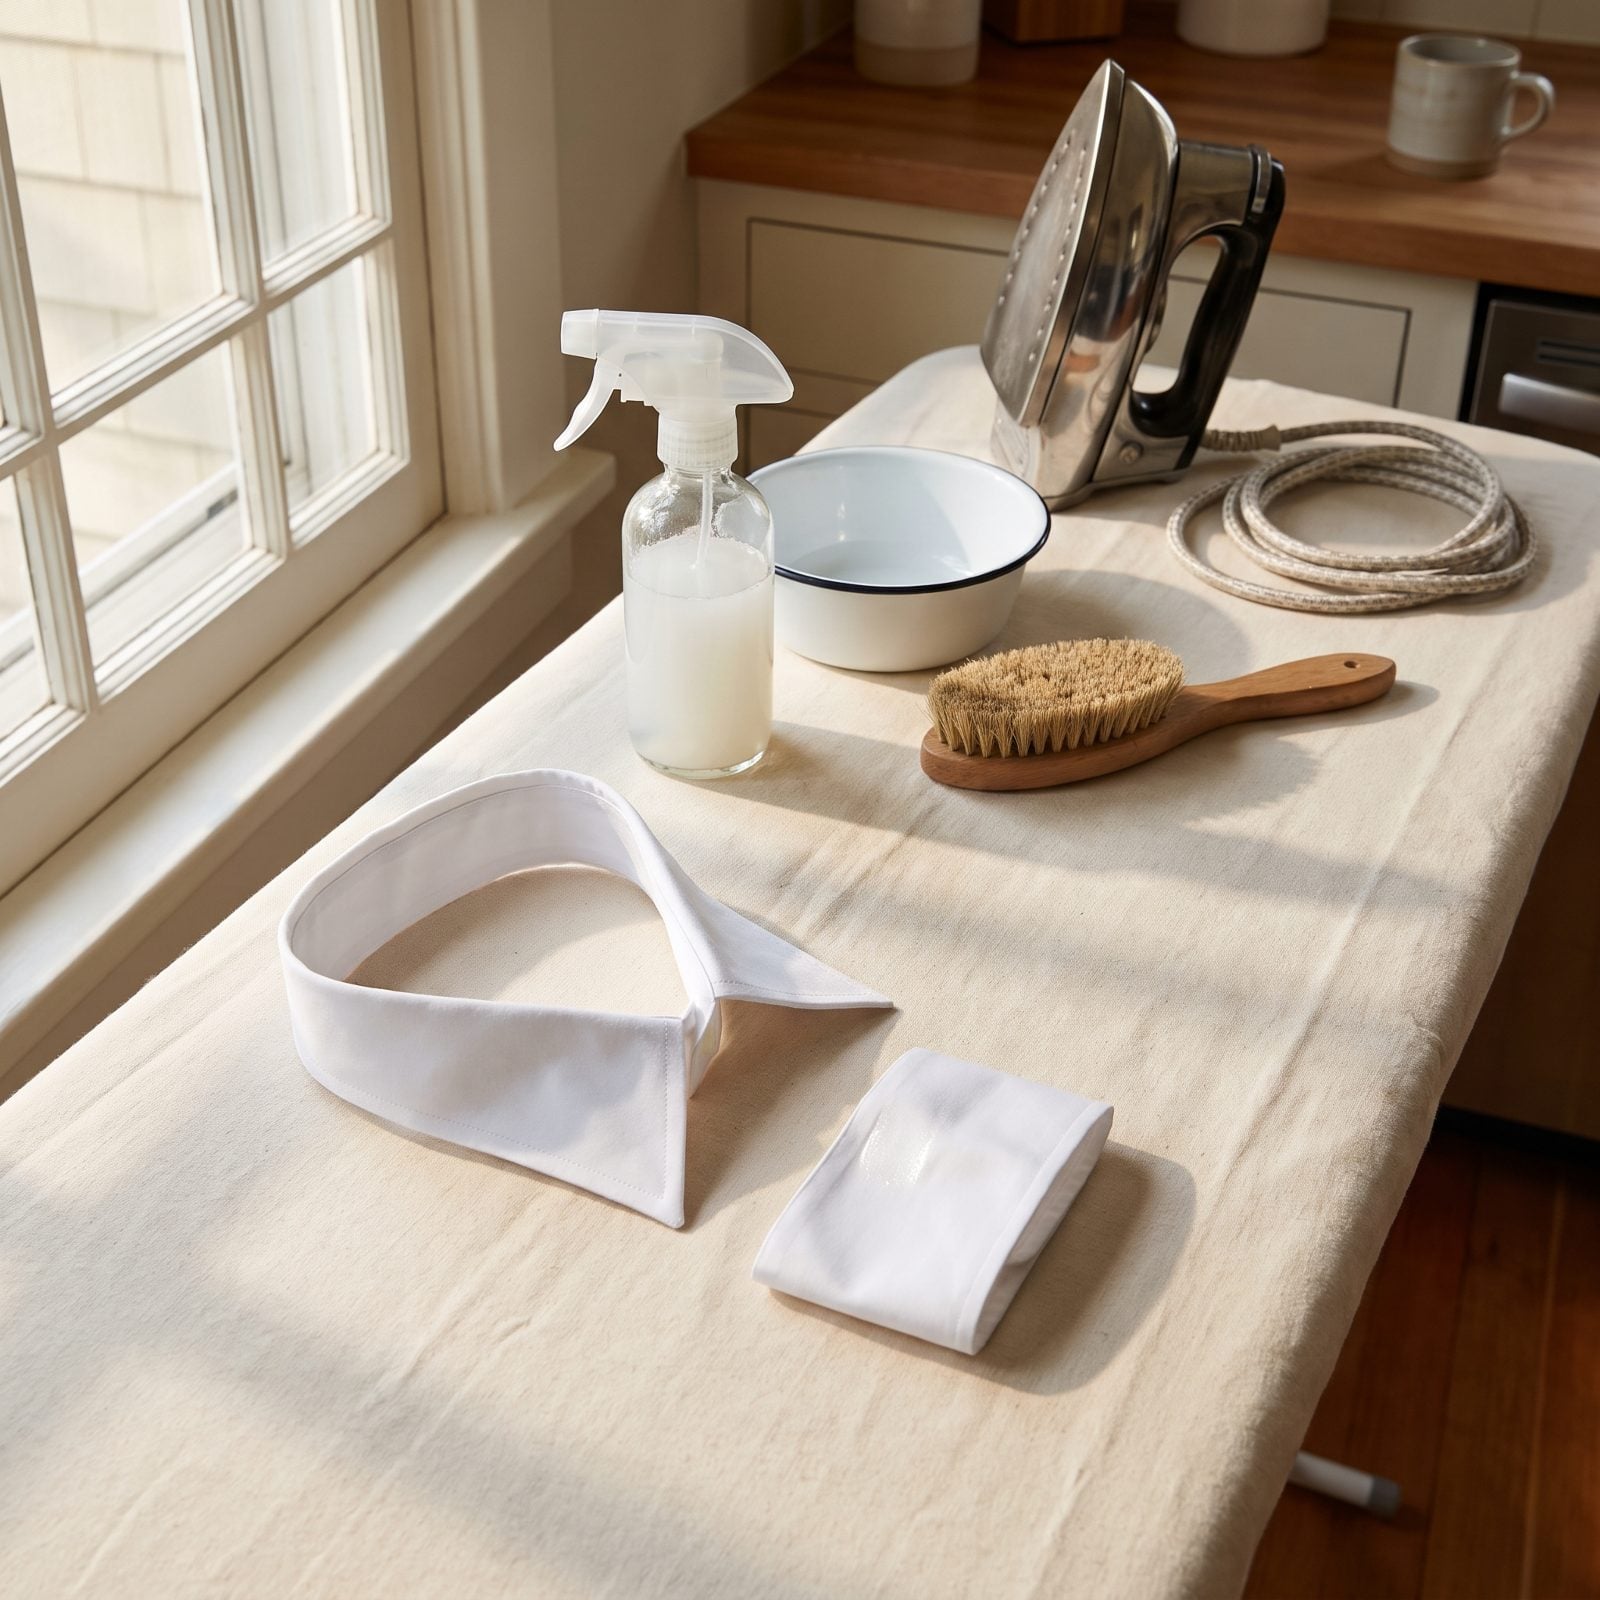
Crisp collars used to be the whole point of laundry day, and starch was how you got them. The trick is simple: a thin coating stiffens the fibers so a collar stands tall instead of wilting by noon. It does something sneakier too. Dirt and body oil grab onto the starch instead of the fabric, so the grime rinses away with the coating next wash rather than settling deep into the weave.
Spray cans exist, sure. But liquid starch from a bottle, or just a spoonful of cornstarch dissolved in water, does the same job for pennies. Dampen the collar, press it dry with a hot iron, and there’s your board-flat edge. Get the ratio wrong and you end up with flaky white residue all over navy shirts, so go lighter than you think.
1. Air Damp Towels and Clothes Before They Hit the Hamper
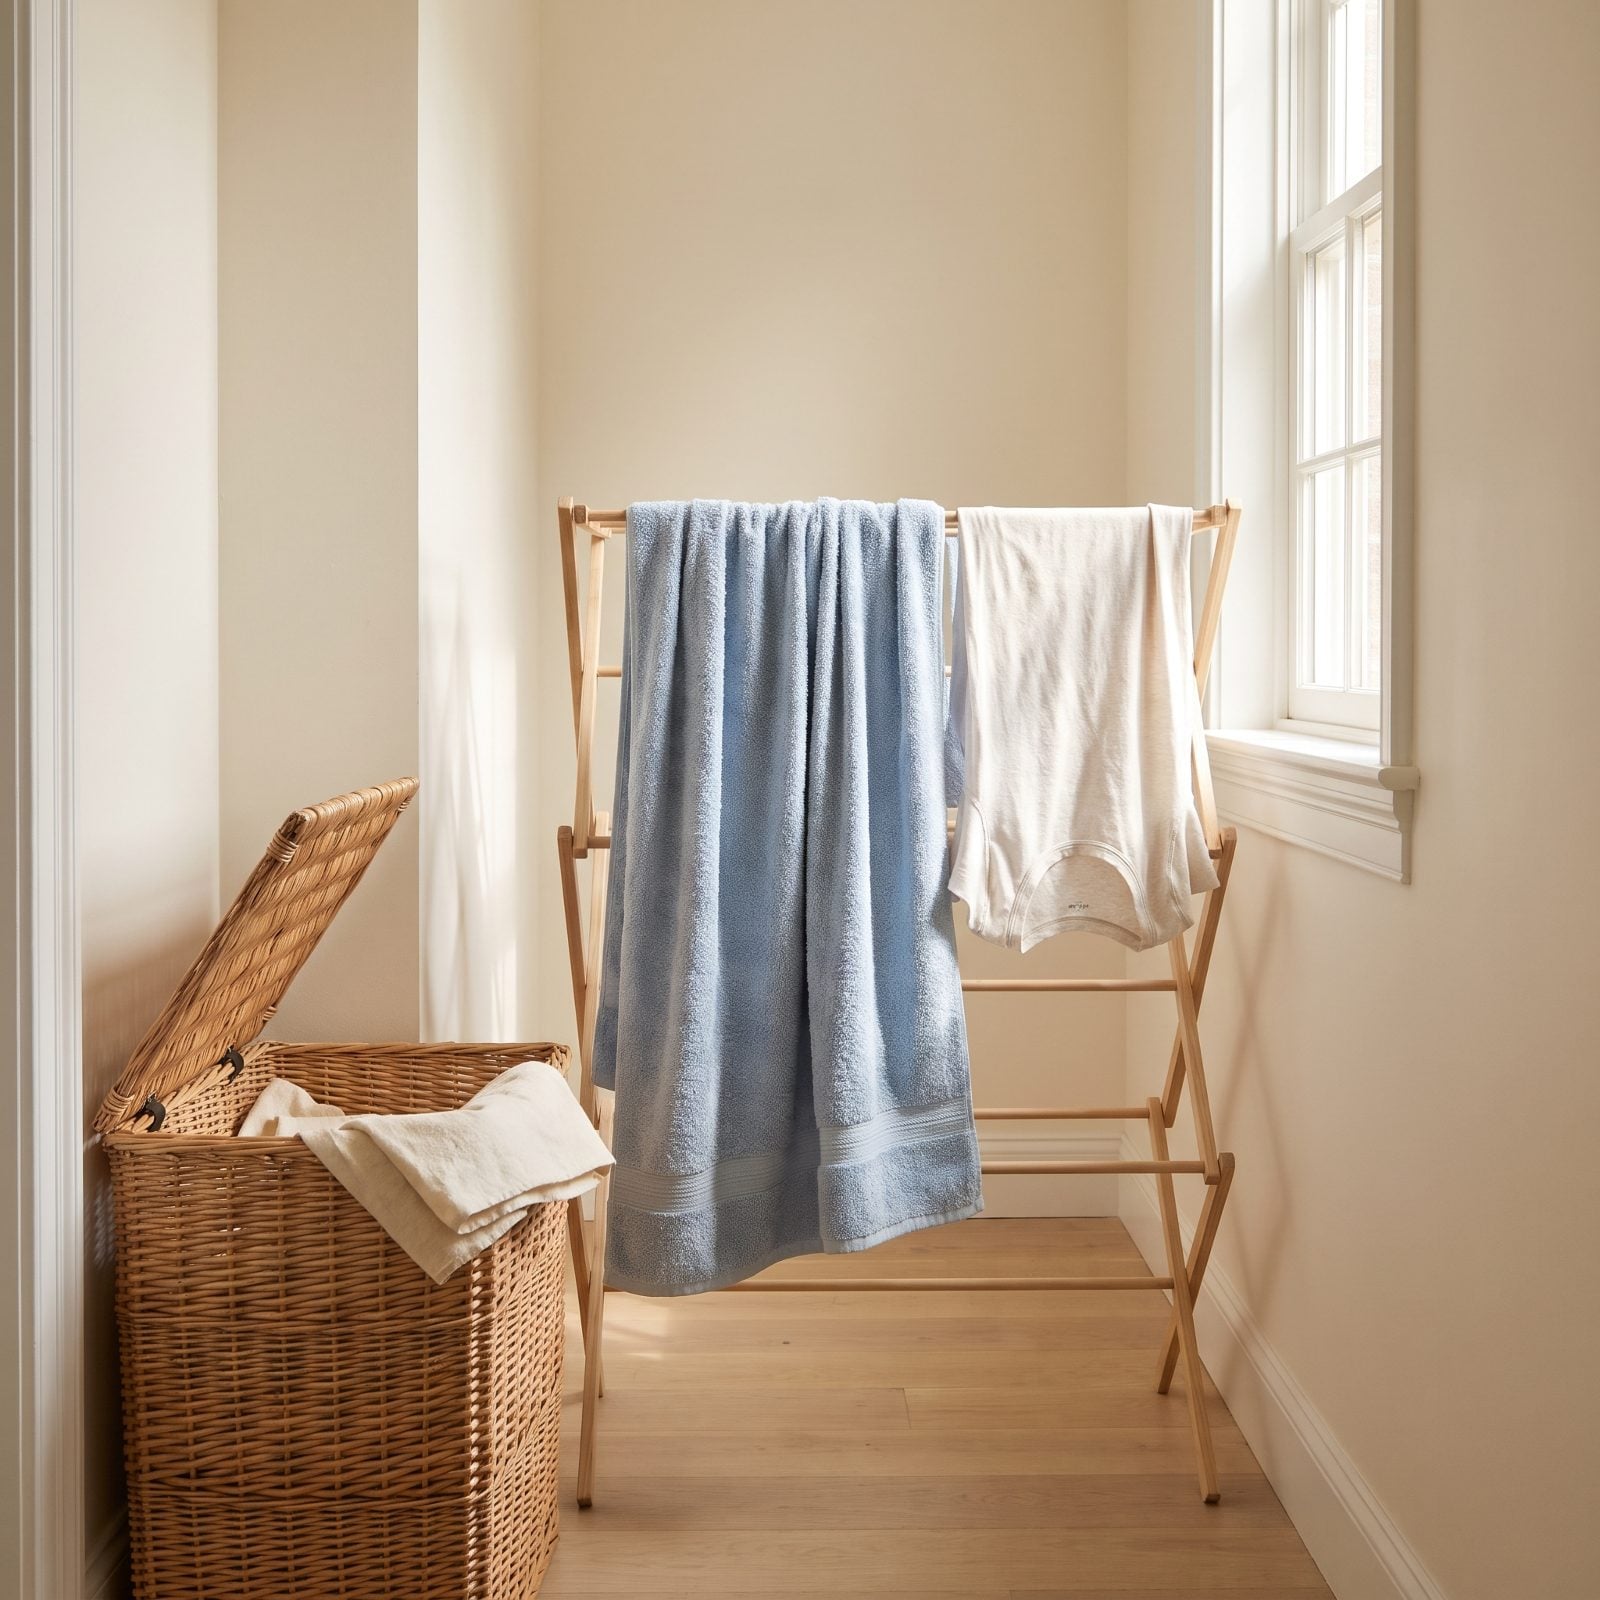
Throw a wet towel straight into a closed hamper and you’ve started a small science experiment. Trapped moisture plus warmth gives you that sour, musty reek that no amount of detergent fully erases once it takes hold. Mildew isn’t picky. A damp pile and a single day will do.
So hang the damp stuff — towels, gym clothes, anything still humid — over a rack or the hamper edge until it dries, then let it join the pile. Costs you a few minutes and nothing else, and it spares you rewashing a load that came out smelling worse than it went in. Our grandmothers worked this out long before anyone wrote an appliance manual, which tells you something about how simple it really is.