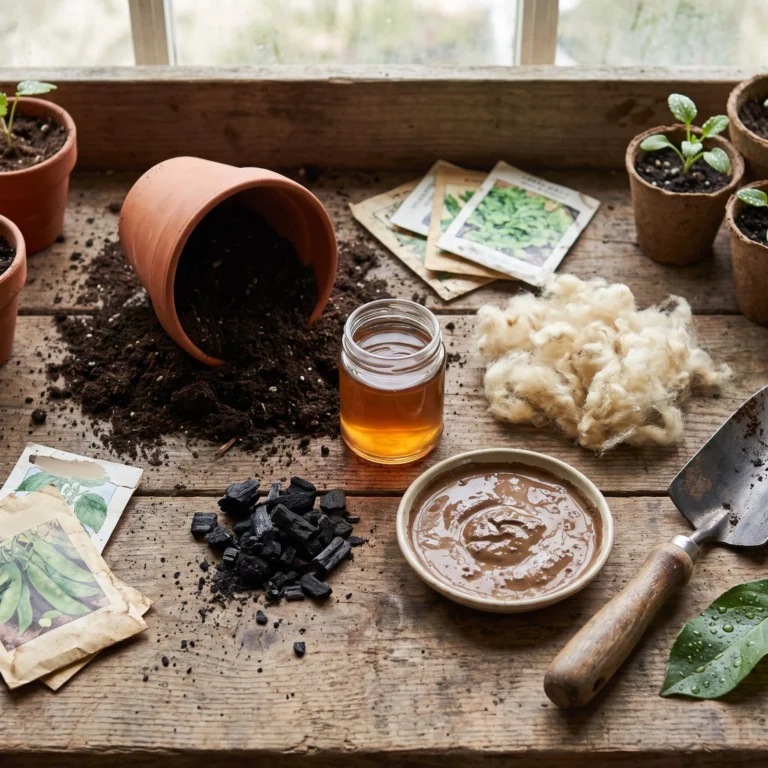
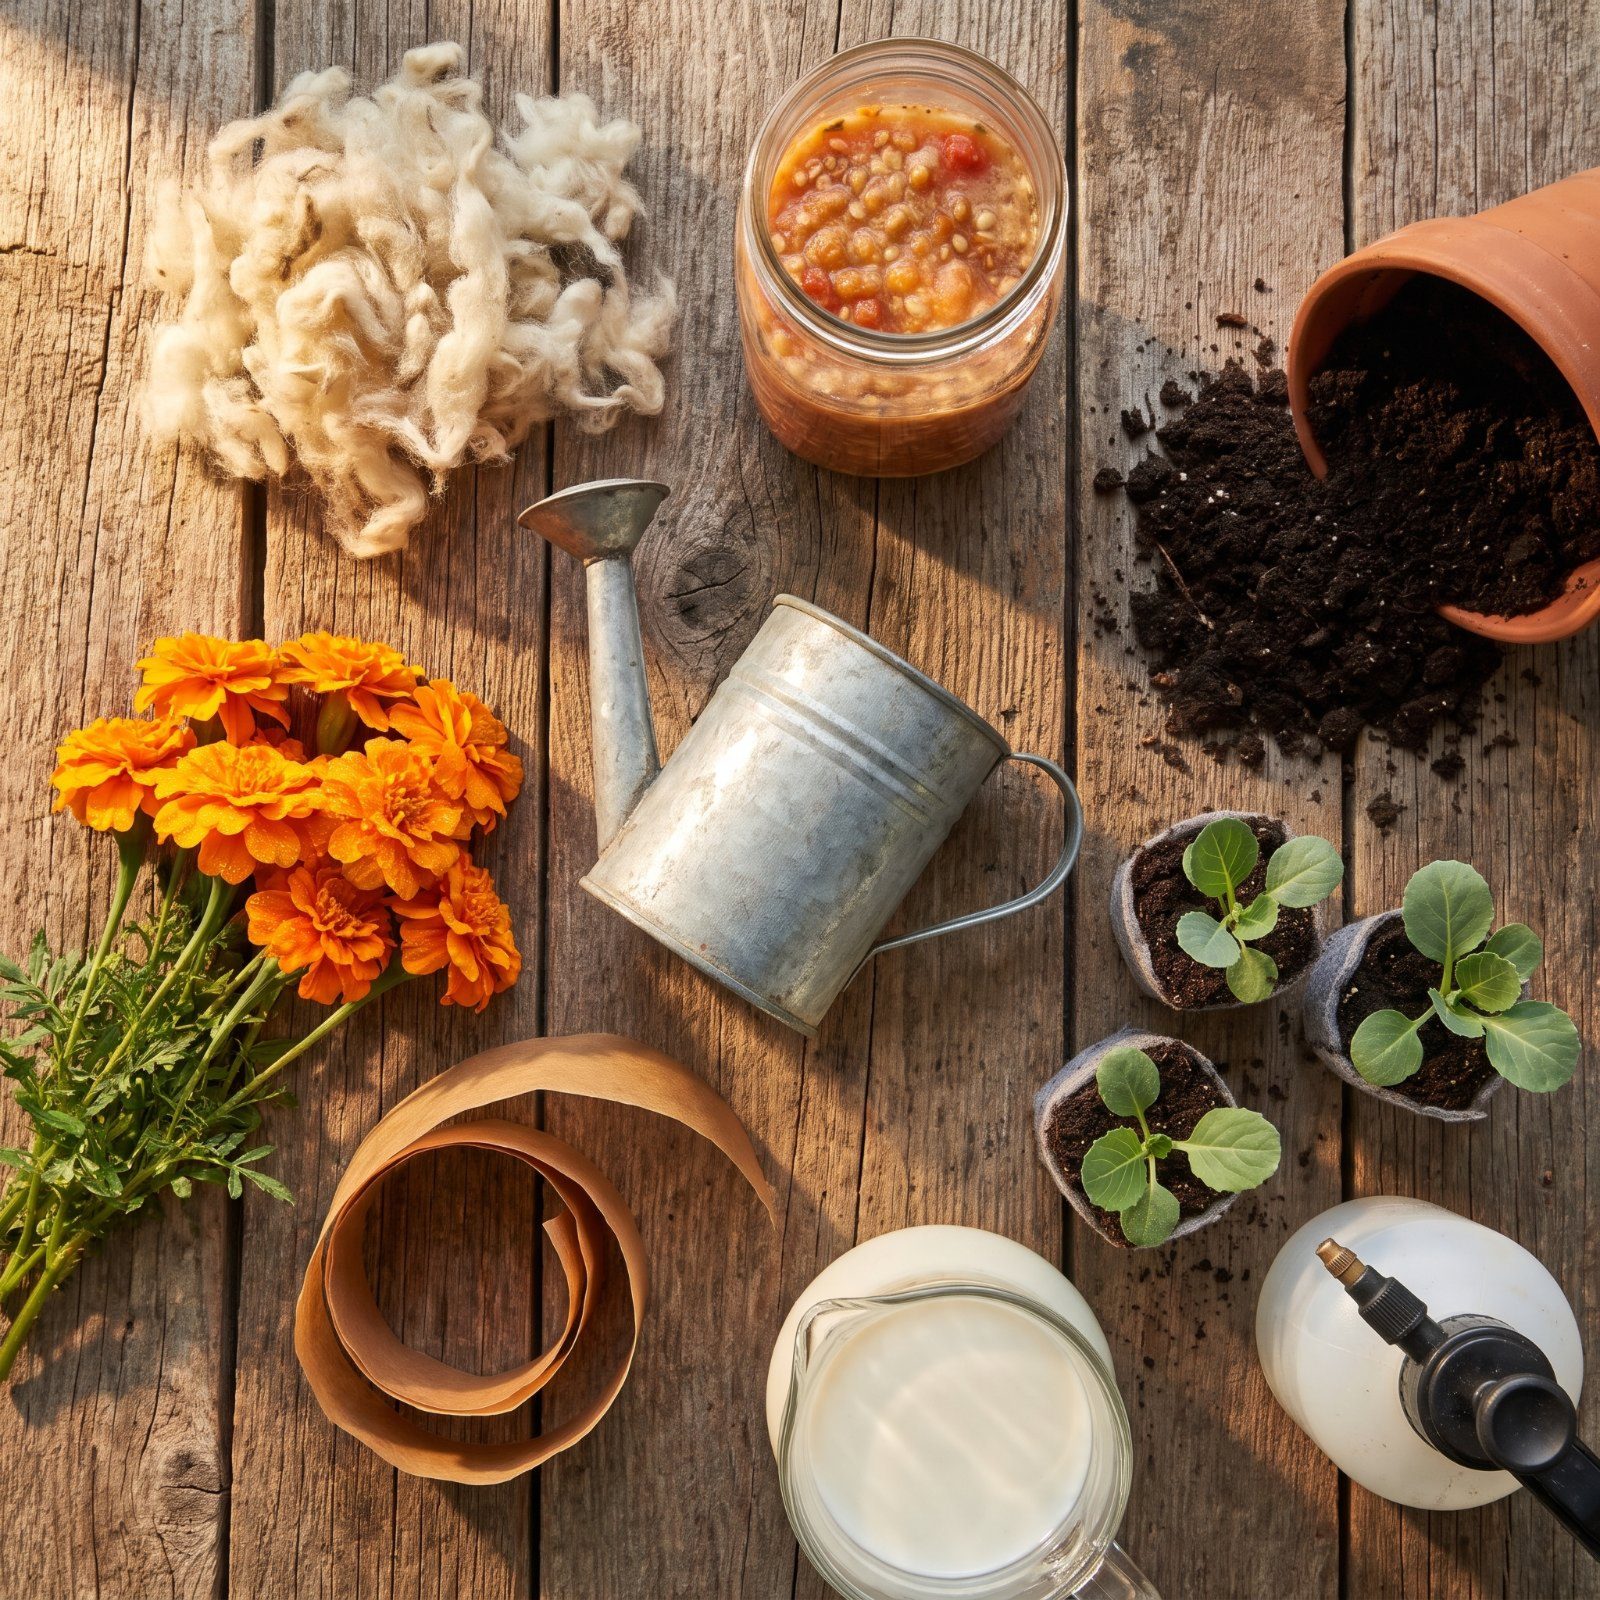
Plenty of old gardeners buried wool under their tomato plants, and if you asked them why, they’d just shrug and say it worked. For decades, agricultural science shrugged right back and filed this stuff under folklore. Then people started running trials. Turns out a lot of the old methods held up under measurement. Not all of them, mind you. Some remain pure nonsense. But the practices below have real data behind them now, measured in labs and field plots instead of handed over a fence by a neighbor. Here’s what’s worth trusting again, and why it actually does the job.
Please note that some of the images in this article were created with the assistance of AI.
46. Bury Wool Scraps to Feed Plants Slowly and Hold Moisture
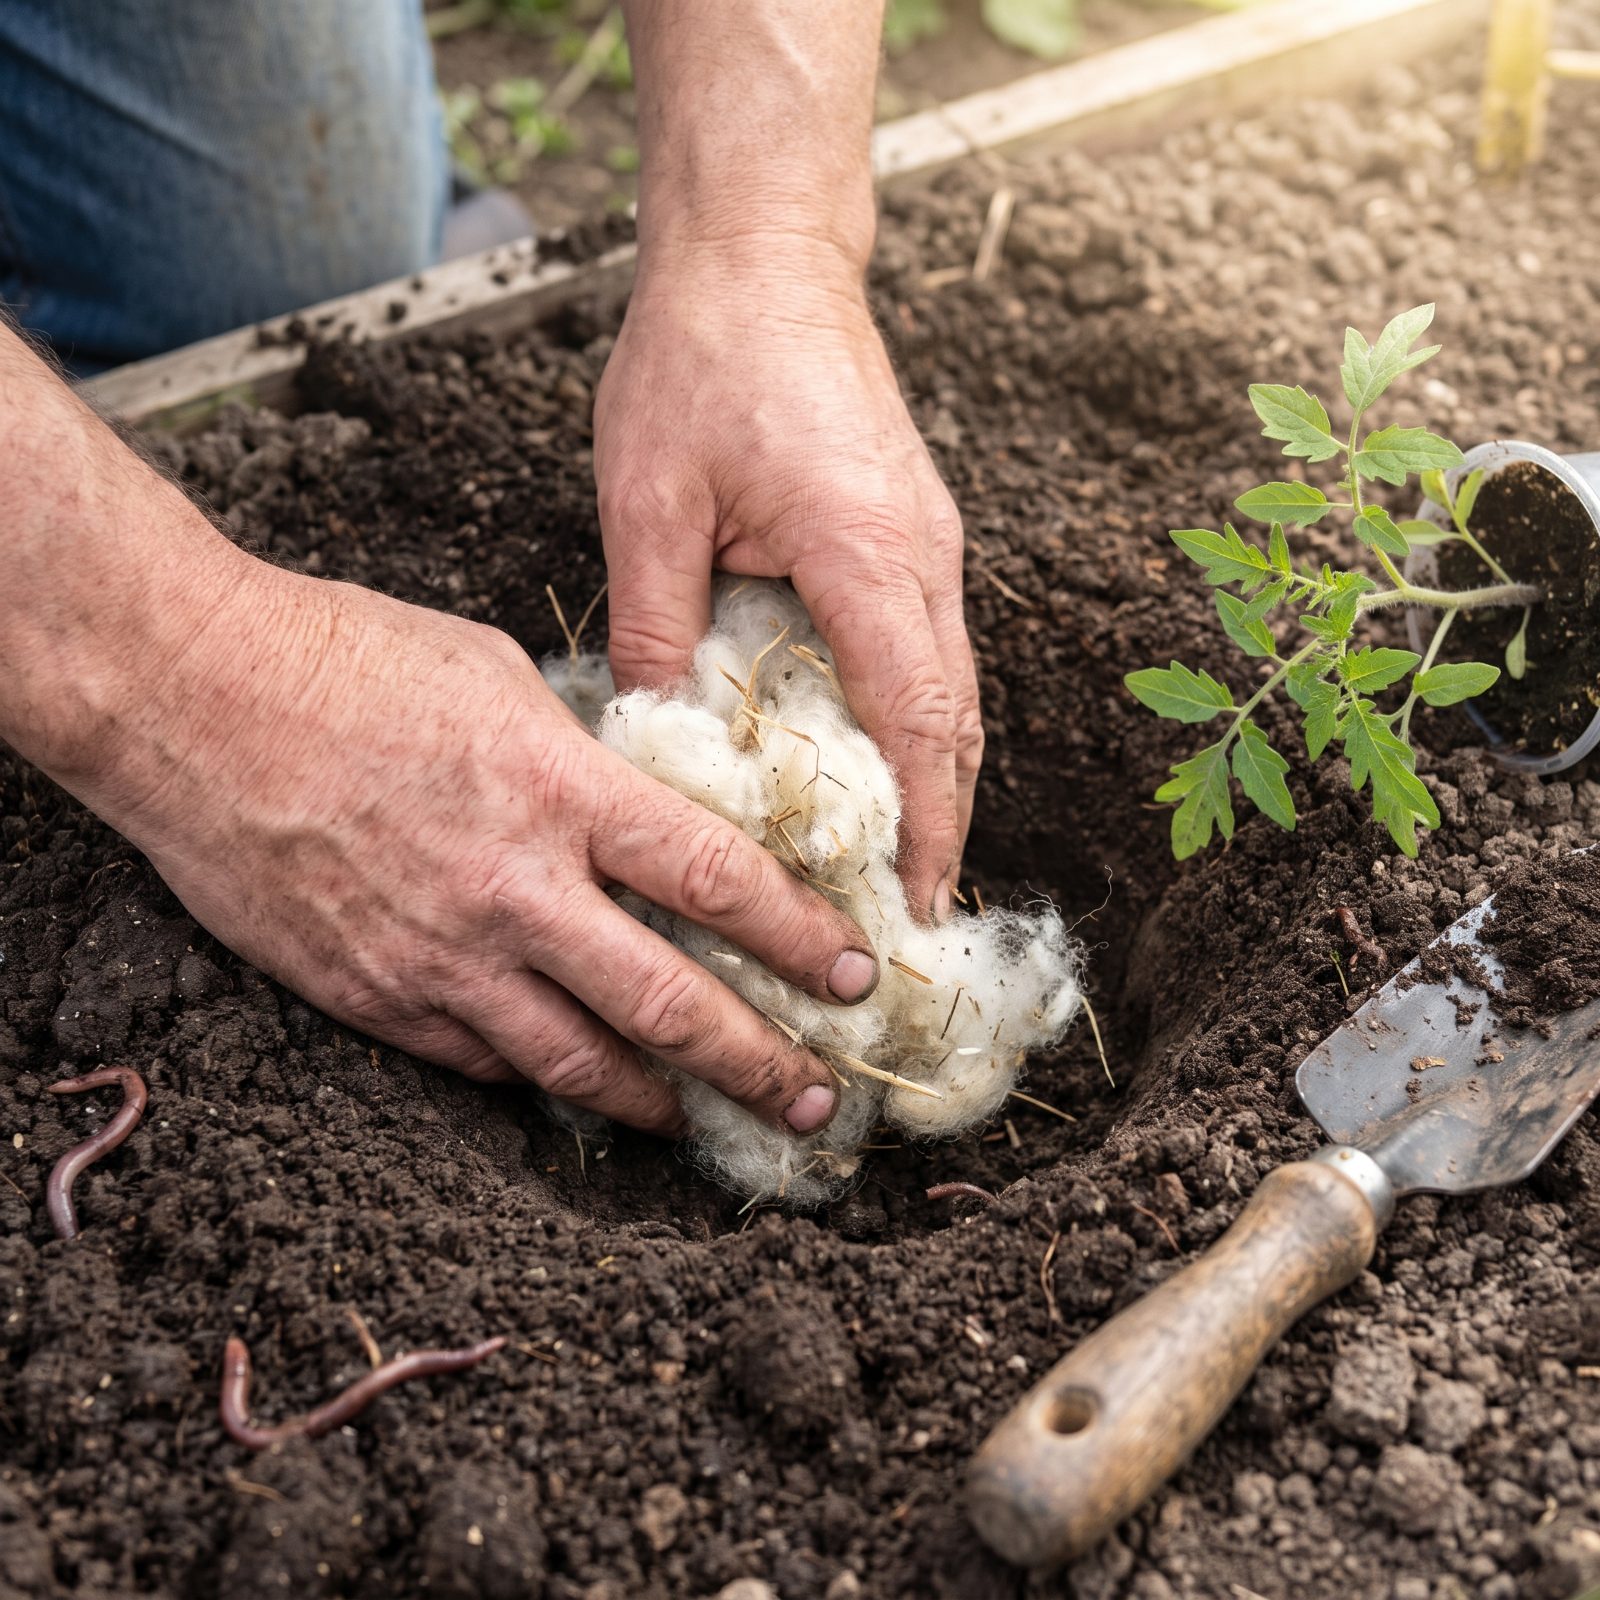
Raw wool runs high in nitrogen, and it releases that nitrogen over months as soil microbes chew through the keratin. That slow drip is precisely what greedy feeders like tomatoes and squash crave. Trials on waste-wool pellets have shown the release stretching across a whole growing season, with no spikes and no leaching.
Then there’s water. Wool soaks up many times its own weight in moisture and hands it back as the soil dries. Bury a handful under a transplant and you’ve tucked a feeder and a sponge into the same hole.
45. Use Properly Diluted Urine as a Nitrogen-Rich Fertilizer
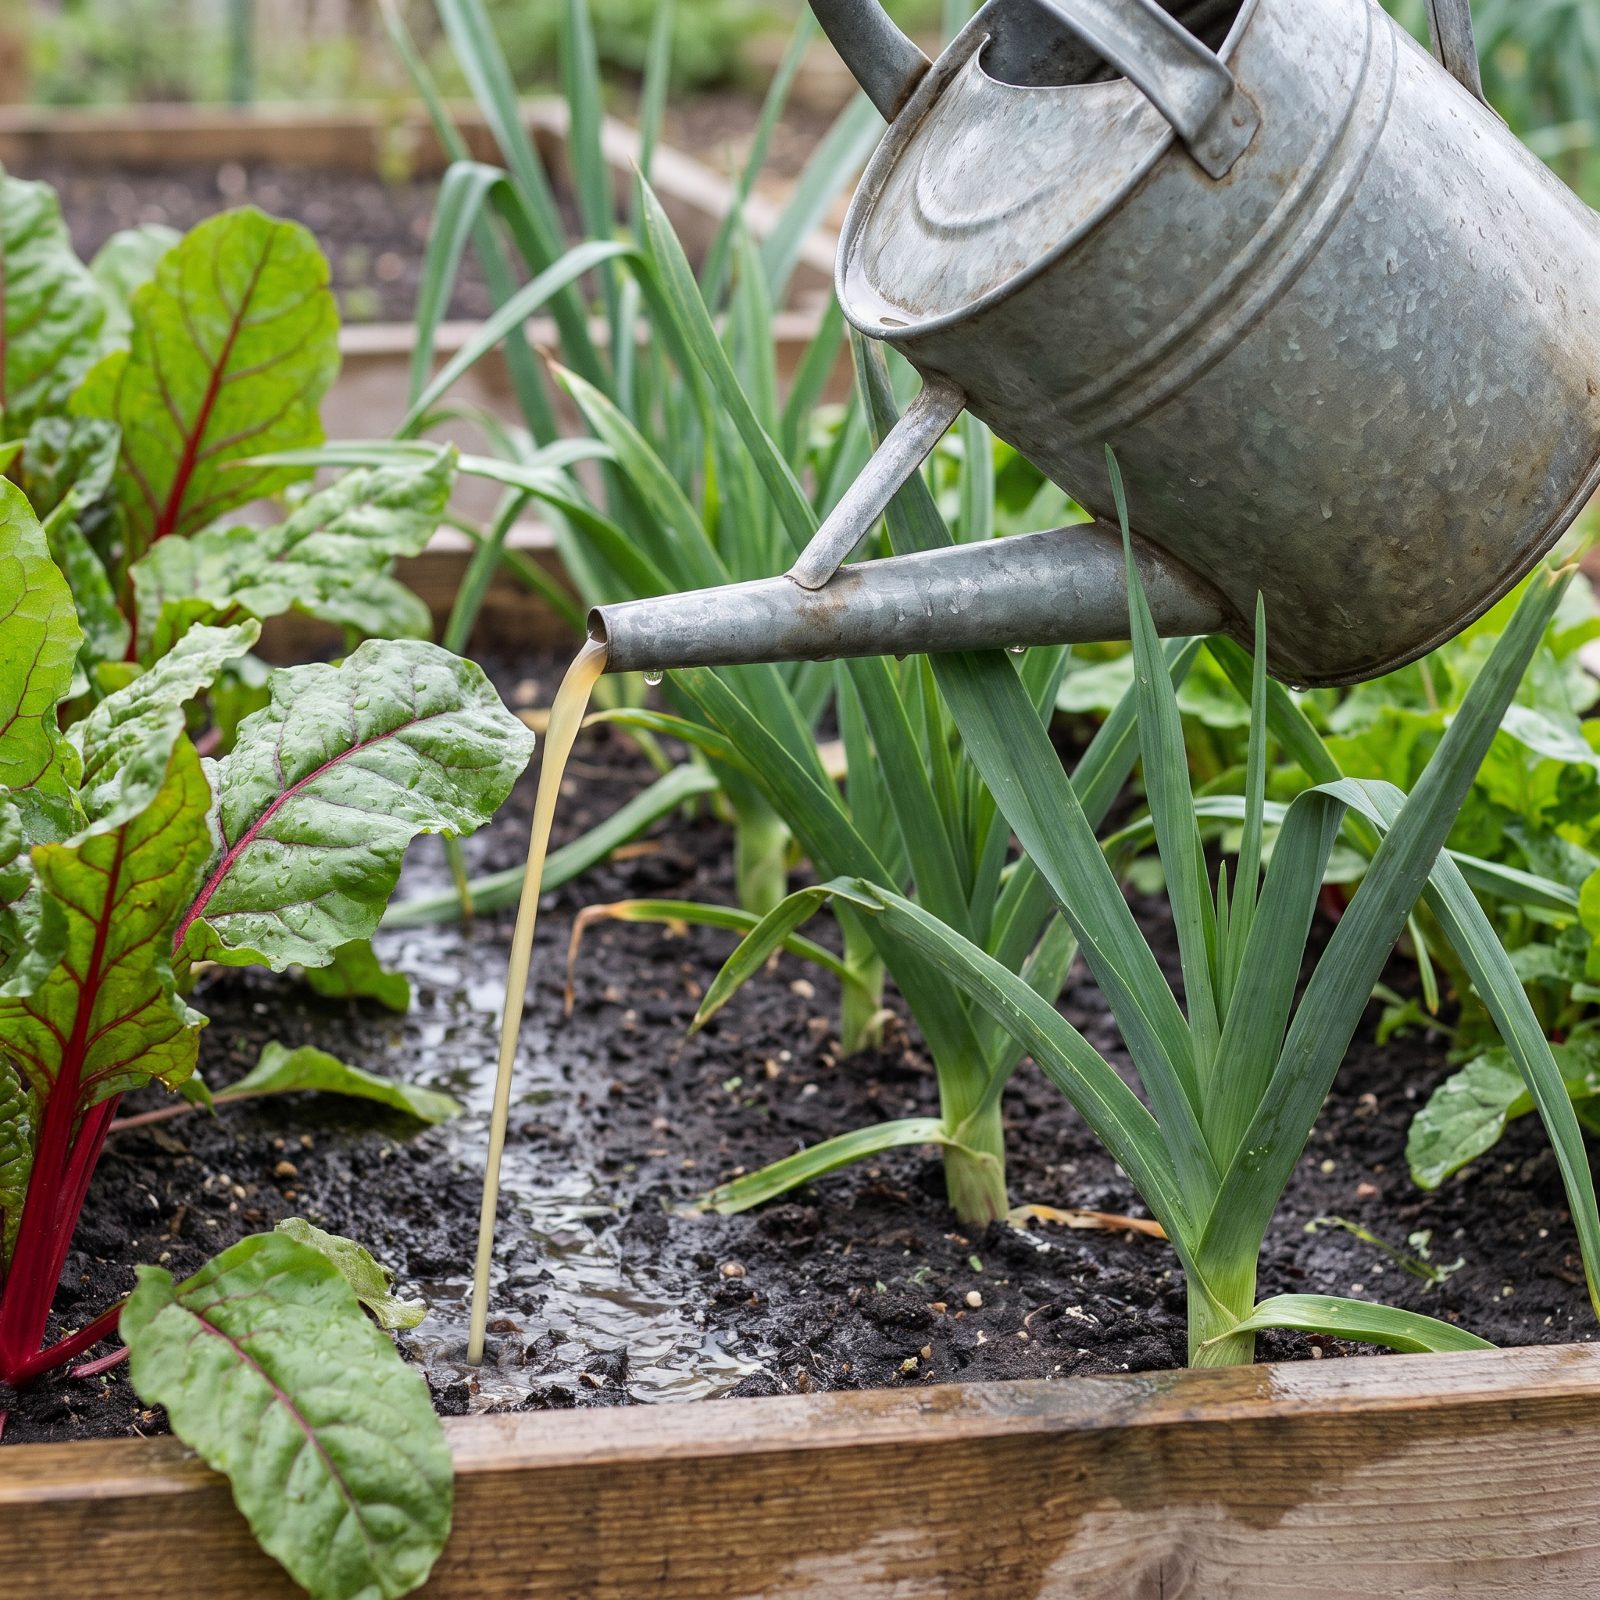
Human urine is close to a complete fertilizer. Nitrogen, phosphorus, potassium, all in a form plants gulp down fast. Peer-reviewed field trials, including well-known Finnish studies on cabbage and beetroot, found crops fed diluted urine matched or beat conventional mineral fertilizer. Free, too, and you make a fresh batch every day.
The catch is dilution and placement. Roughly one part urine to ten parts water, poured onto the soil and never on the leaves, and stop a few weeks before harvest. Fresh urine from a healthy person is practically sterile when it leaves the body, which surprises people more than it should.
44. Spray Diluted Milk to Suppress Powdery Mildew
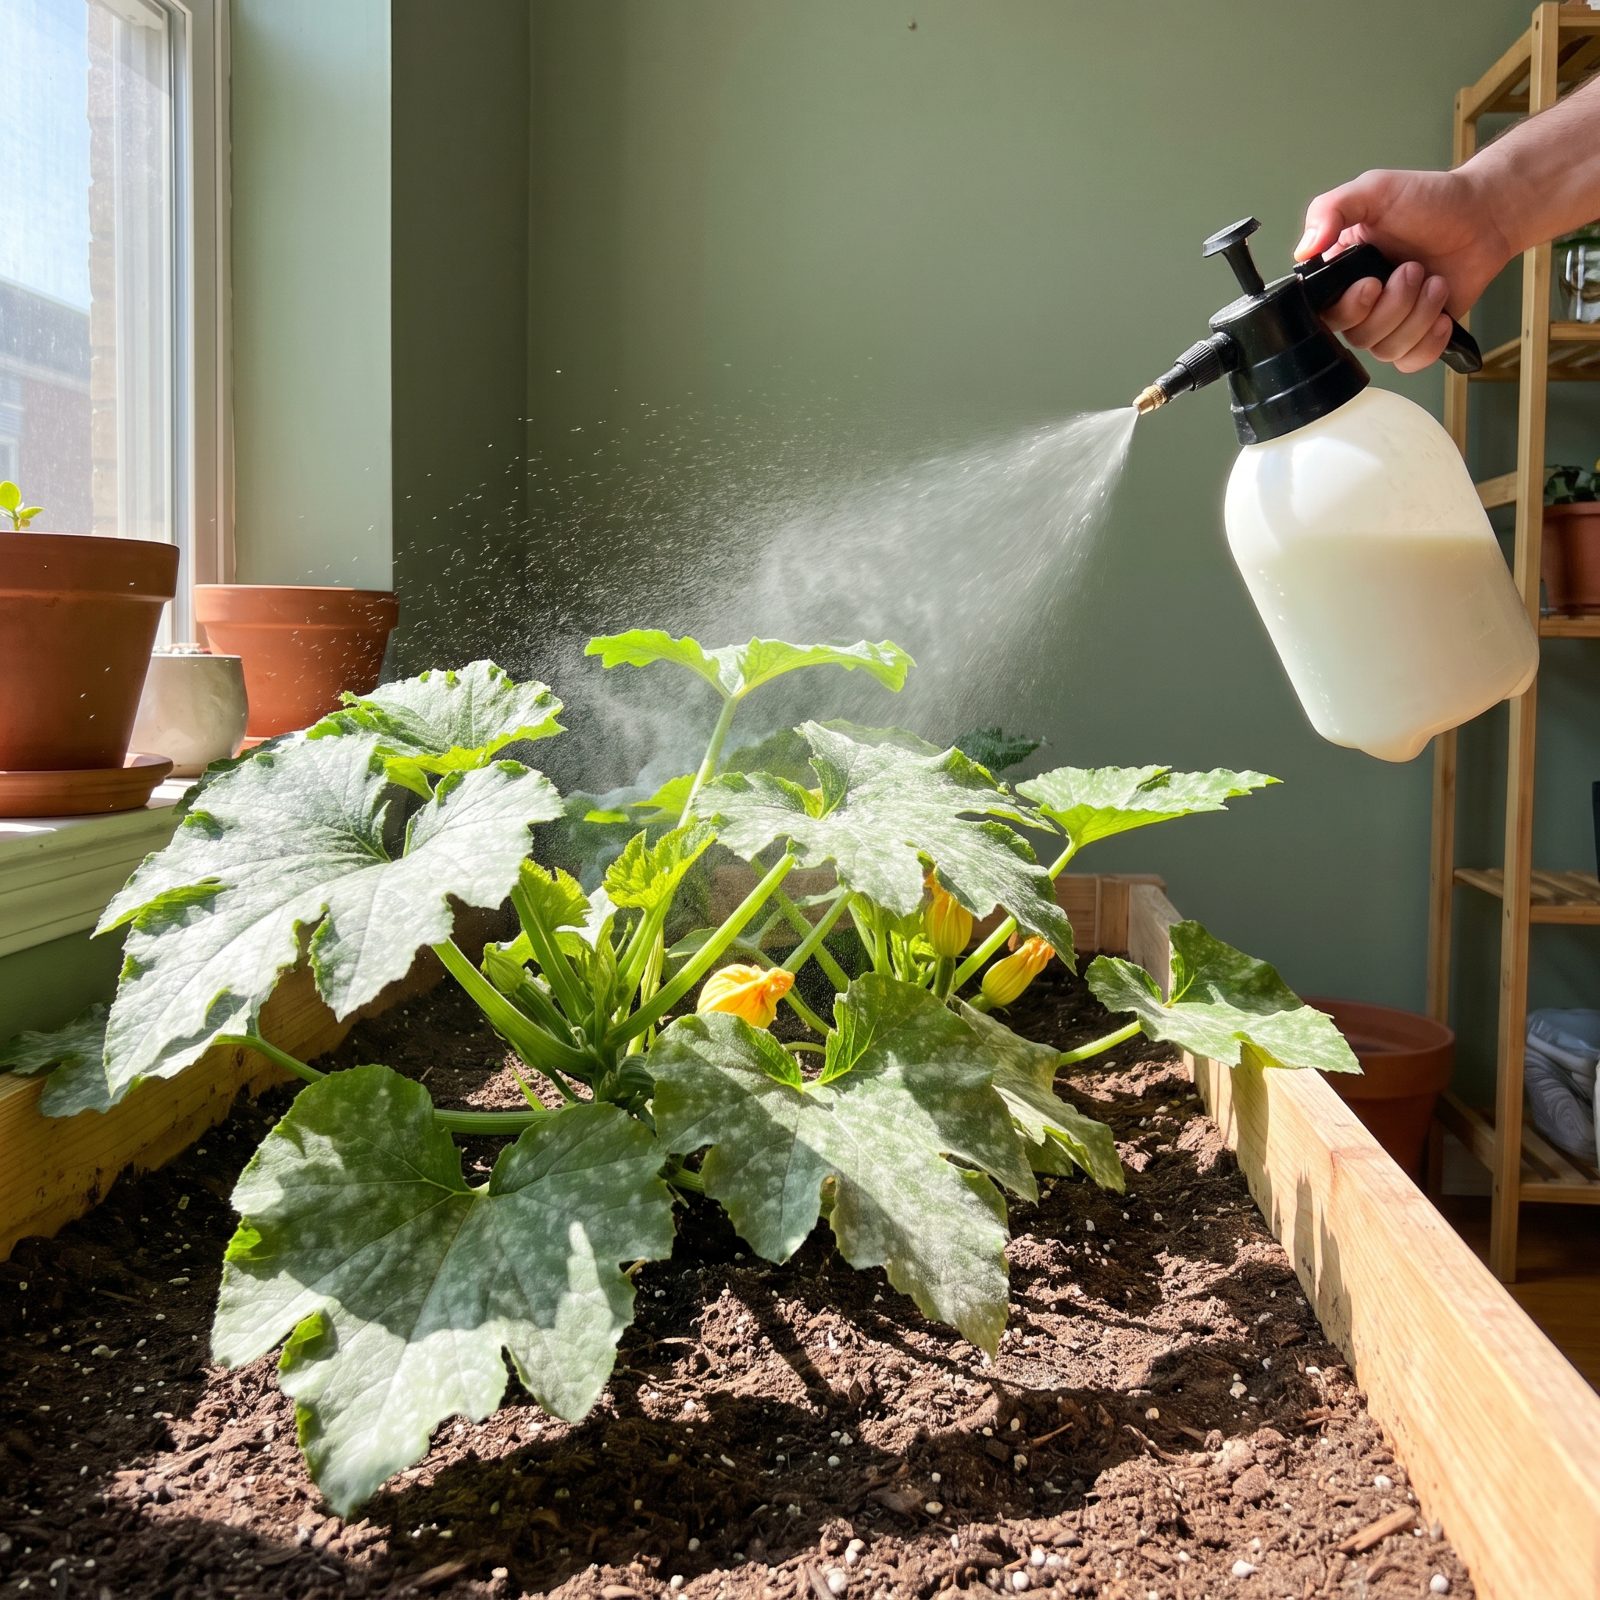
Sounds like kitchen superstition until you read the trials. A 2000 study out of Brazil on zucchini found that a milk-and-water spray controlled powdery mildew as well as some synthetic fungicides, and follow-up research backed it up. The proteins react in sunlight to produce compounds hostile to the fungus, and milk seems to wake up the plant’s own defenses on top of that.
Mix roughly one part milk to nine parts water and spray on a sunny day. The light is doing half the work.
43. Grow French Marigolds as a Crop to Reduce Root-Knot Nematodes
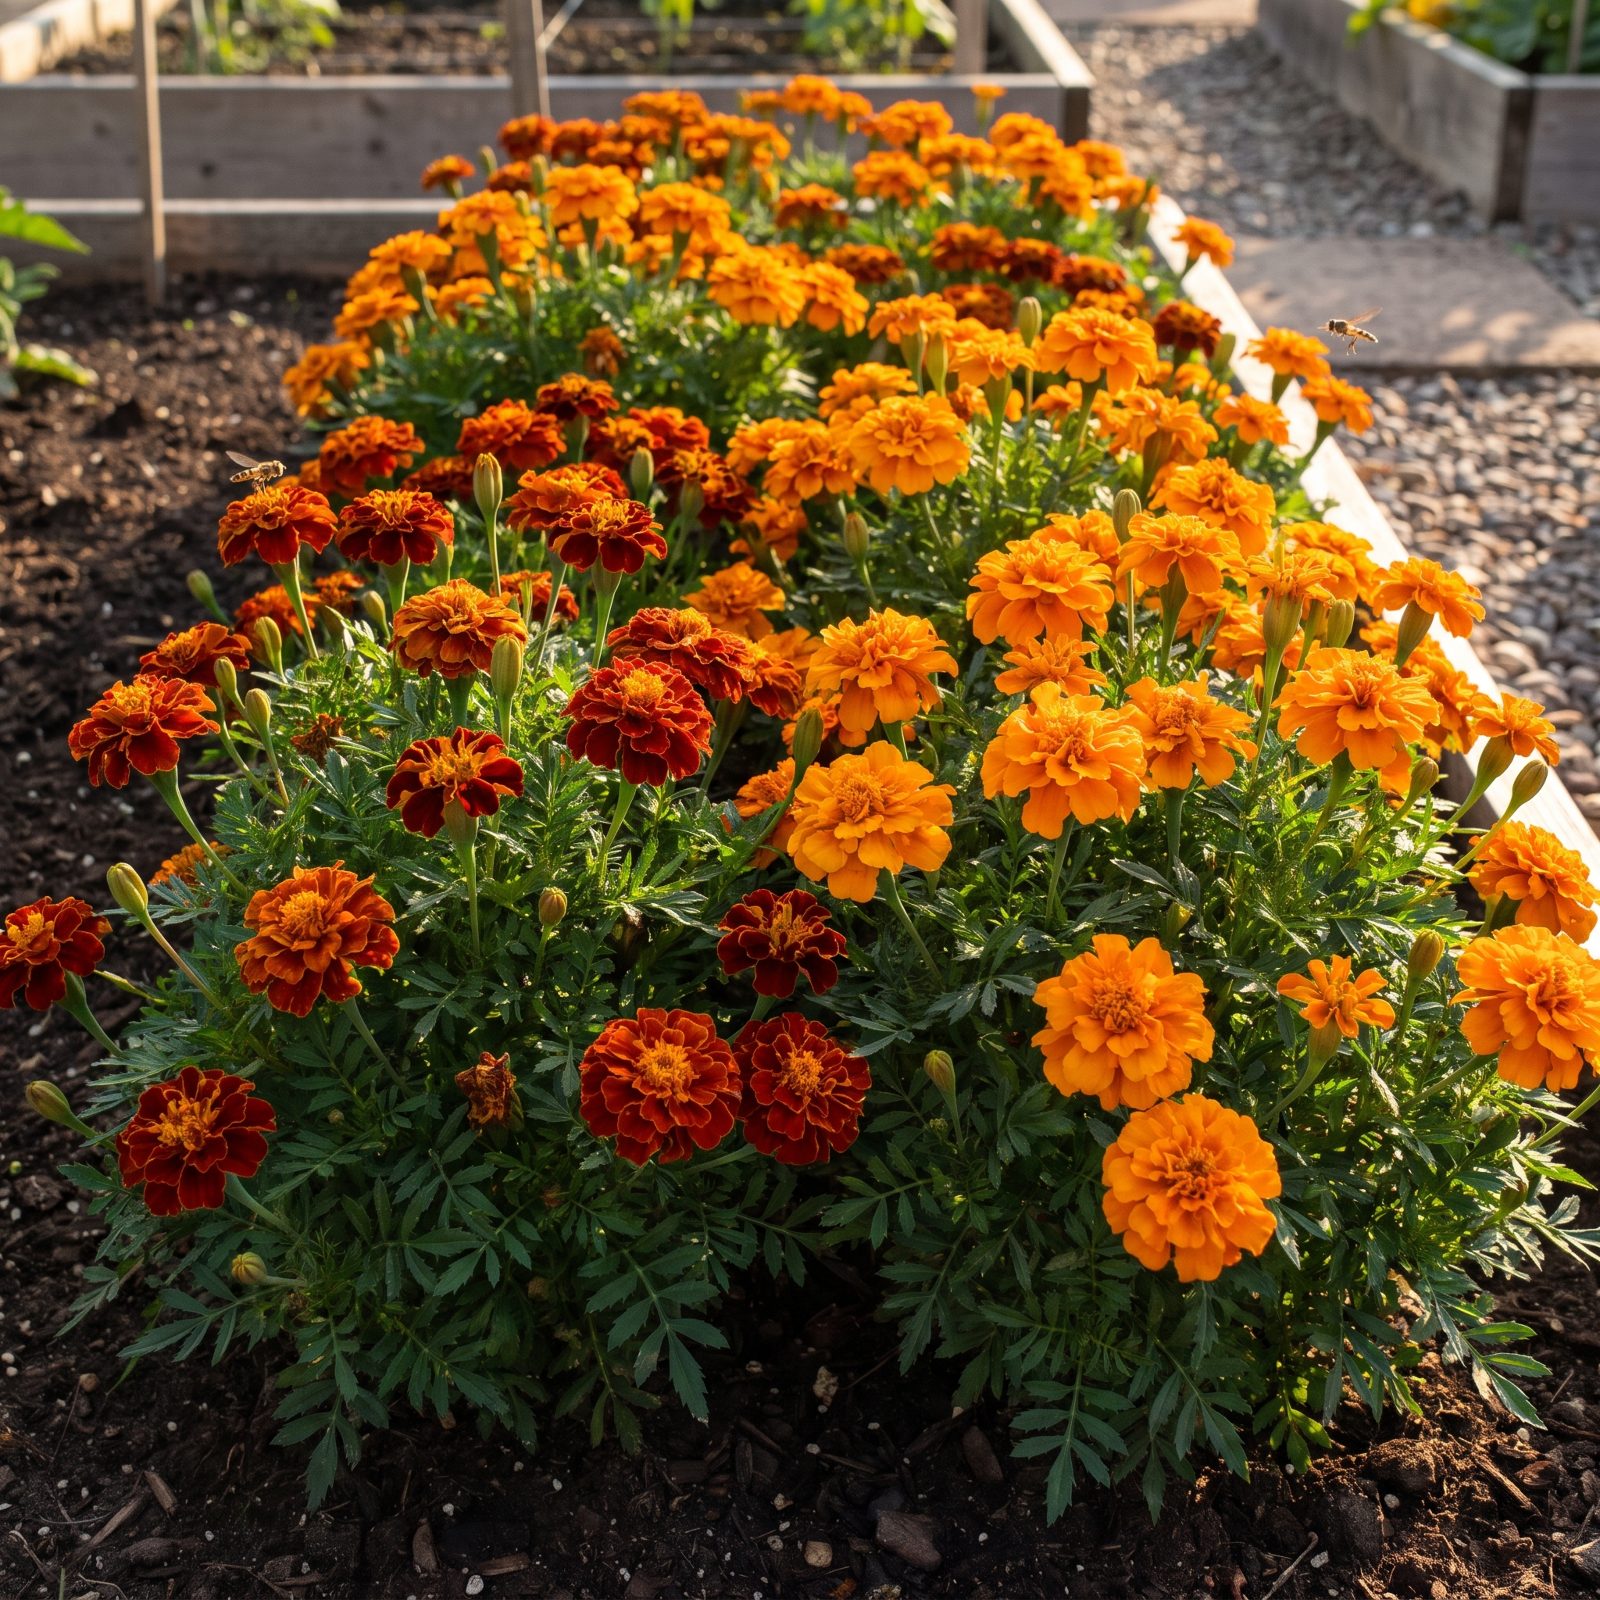
The old advice was to dot a few marigolds among the tomatoes. Research says that barely moves the needle. To actually knock back root-knot nematodes, you grow French marigolds (Tagetes patula) as a dense solid crop for a full season, then clear the bed.
Their roots release a compound called alpha-terthienyl, which is toxic to nematodes in the surrounding soil. So it’s trap-and-kill rather than polite companion repellent. Rotation studies in the UK and elsewhere confirm a genuine drop in nematode populations the following year.
42. Plant Blue Hubbard Squash as a Trap Crop for Squash Pests
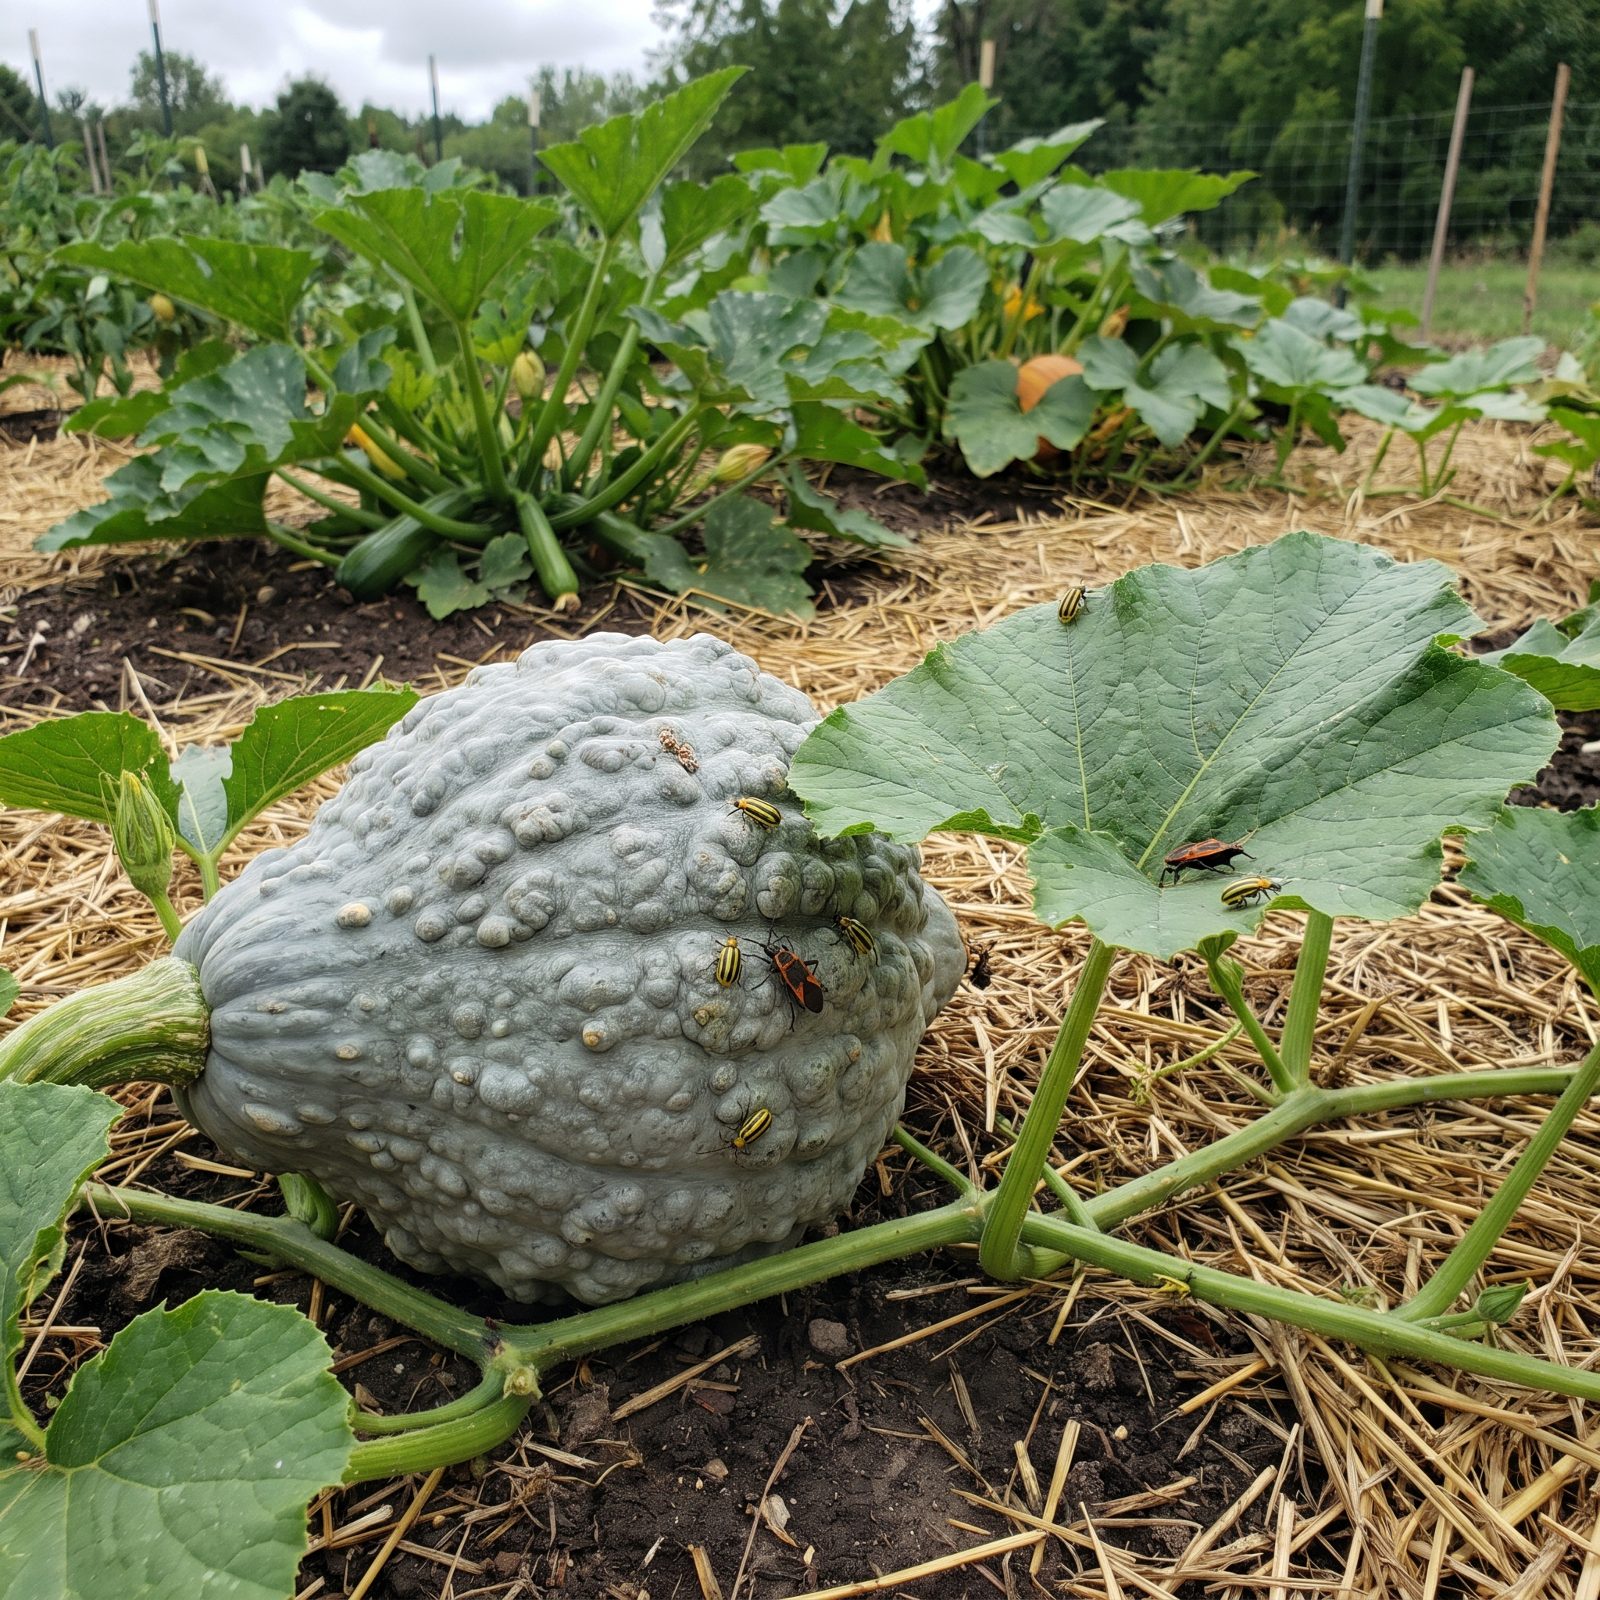
Squash bugs and cucumber beetles adore Blue Hubbard above almost everything else, and growers turned that appetite into a weapon. Plant a ring of Hubbard around the edge of your main squash crop and the pests pile onto the decoy instead.
University extension trials, notably at the University of New Hampshire, showed the border crop pulled pests off the cash crop so effectively that growers could spot-treat just the Hubbards and leave everything else untouched. Herd the problem into one corner, then deal with it there.
41. Warm an Old-Fashioned Hotbed With Decomposing Manure
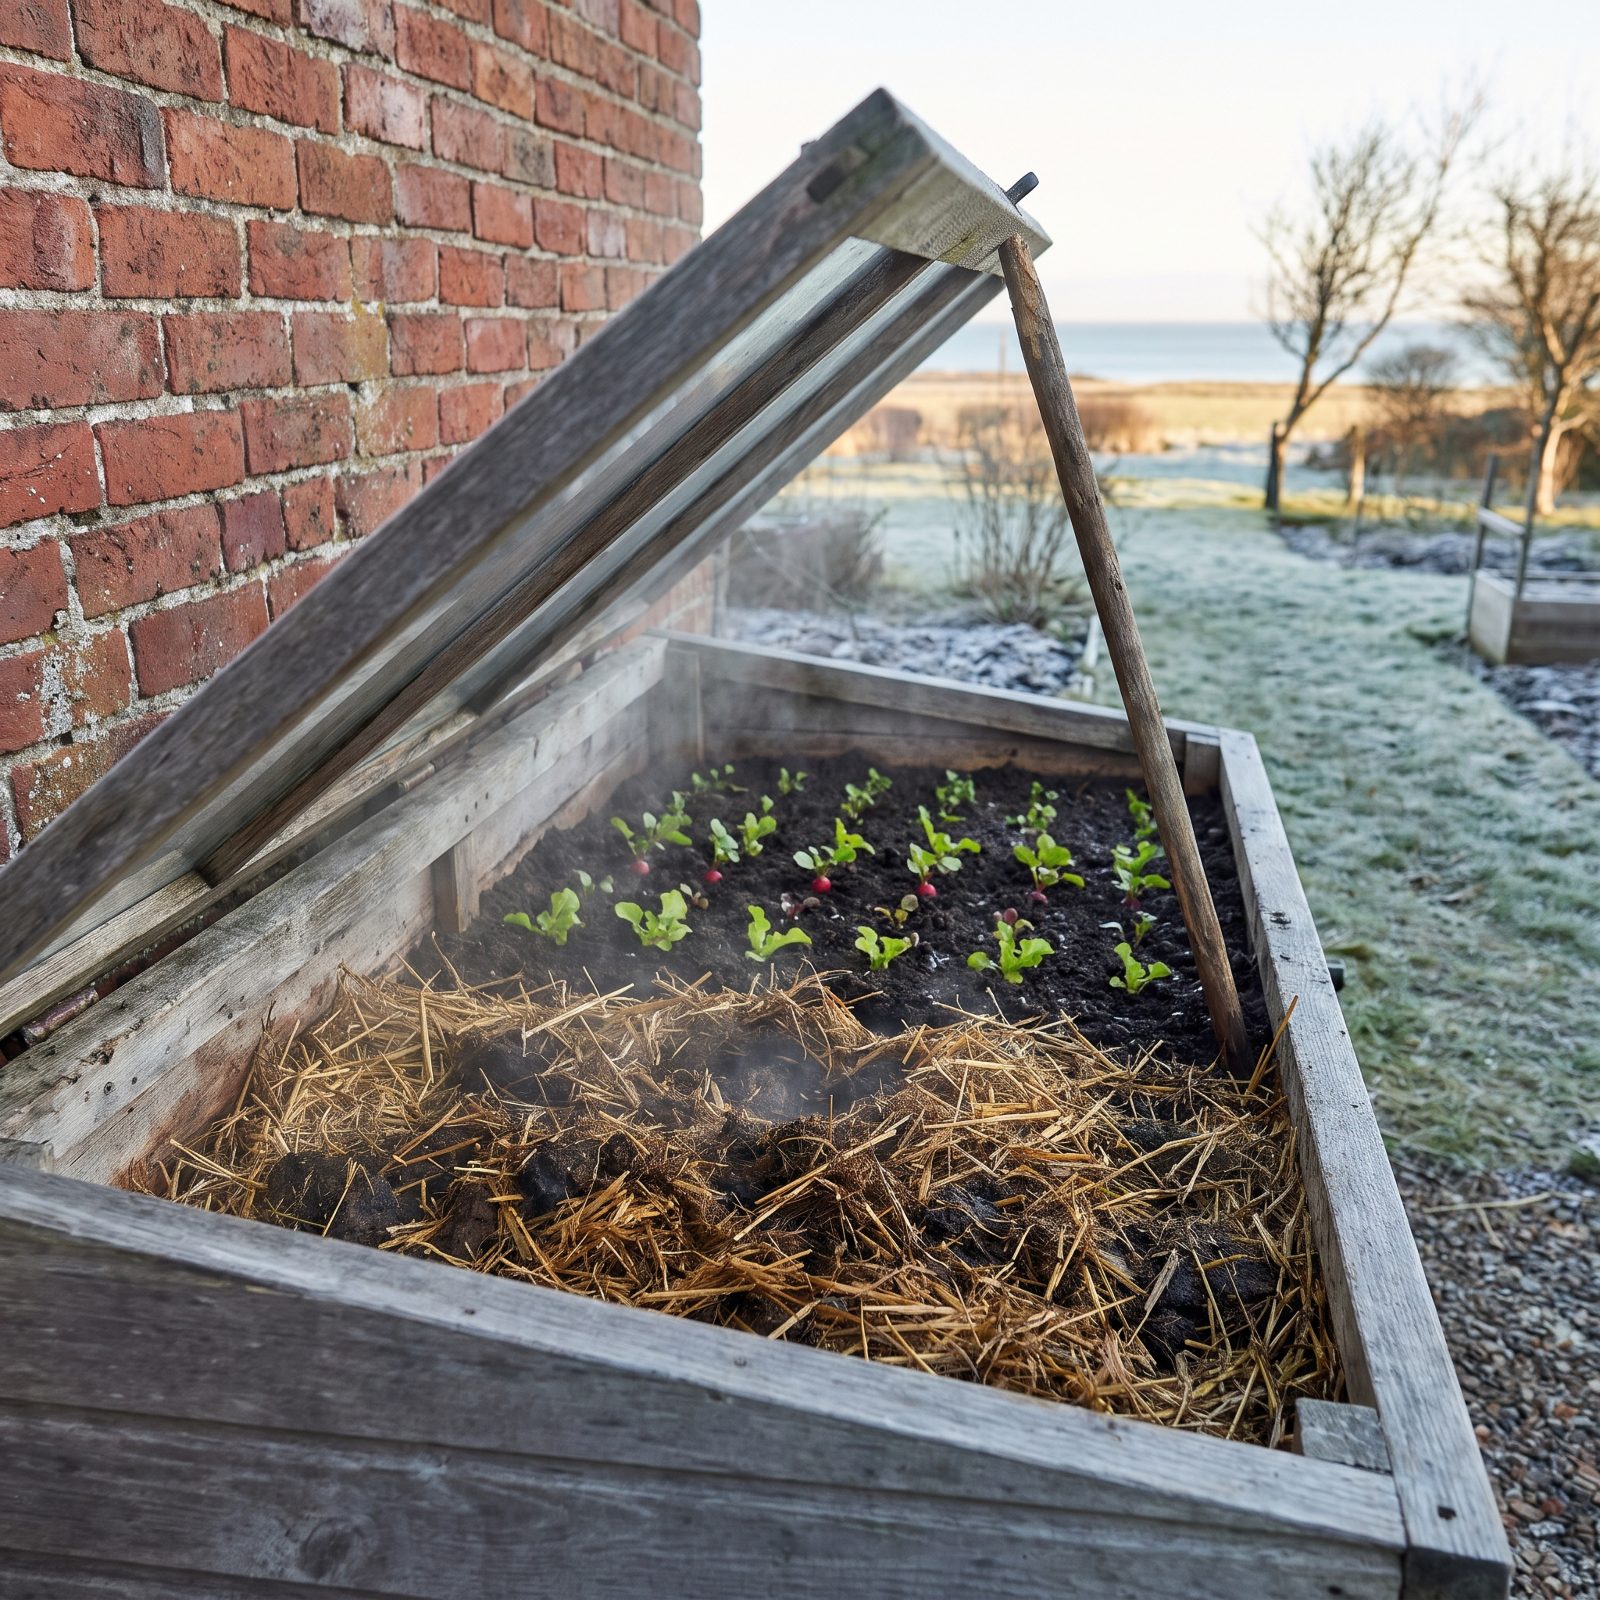
Long before electric propagators, gardeners were cutting salads in January off nothing but rotting horse manure. You lay down a deep bed of fresh manure and straw, cap it with soil, and the microbial activity throws off steady warmth for weeks. A good hotbed can run well above the surrounding air, enough to shame a January morning.
The science is plain thermophilic decomposition, the exact heat that cooks a compost pile. Build it thick enough and you’re weeks ahead of anyone waiting on the sun.
40. Ferment Tomato Seeds Before Drying Them for Storage

Scoop seeds from a tomato and each one comes wrapped in a gel coat that blocks germination. The traditional fix? Let the pulp sit and ferment in a jar for a few days, until it turns scummy and smells frankly awful.
That fermentation dissolves the gel and, as research shows, wipes out several seed-borne diseases, including bacterial canker and spot. The viable seeds sink, the duds and pulp float off, and whatever settles to the bottom dries down clean. Seed-saving and seed-health treatment rolled into one slightly disgusting step.
39. Wrap Fruit Trees With Grease Bands to Stop Crawling Winter Moths
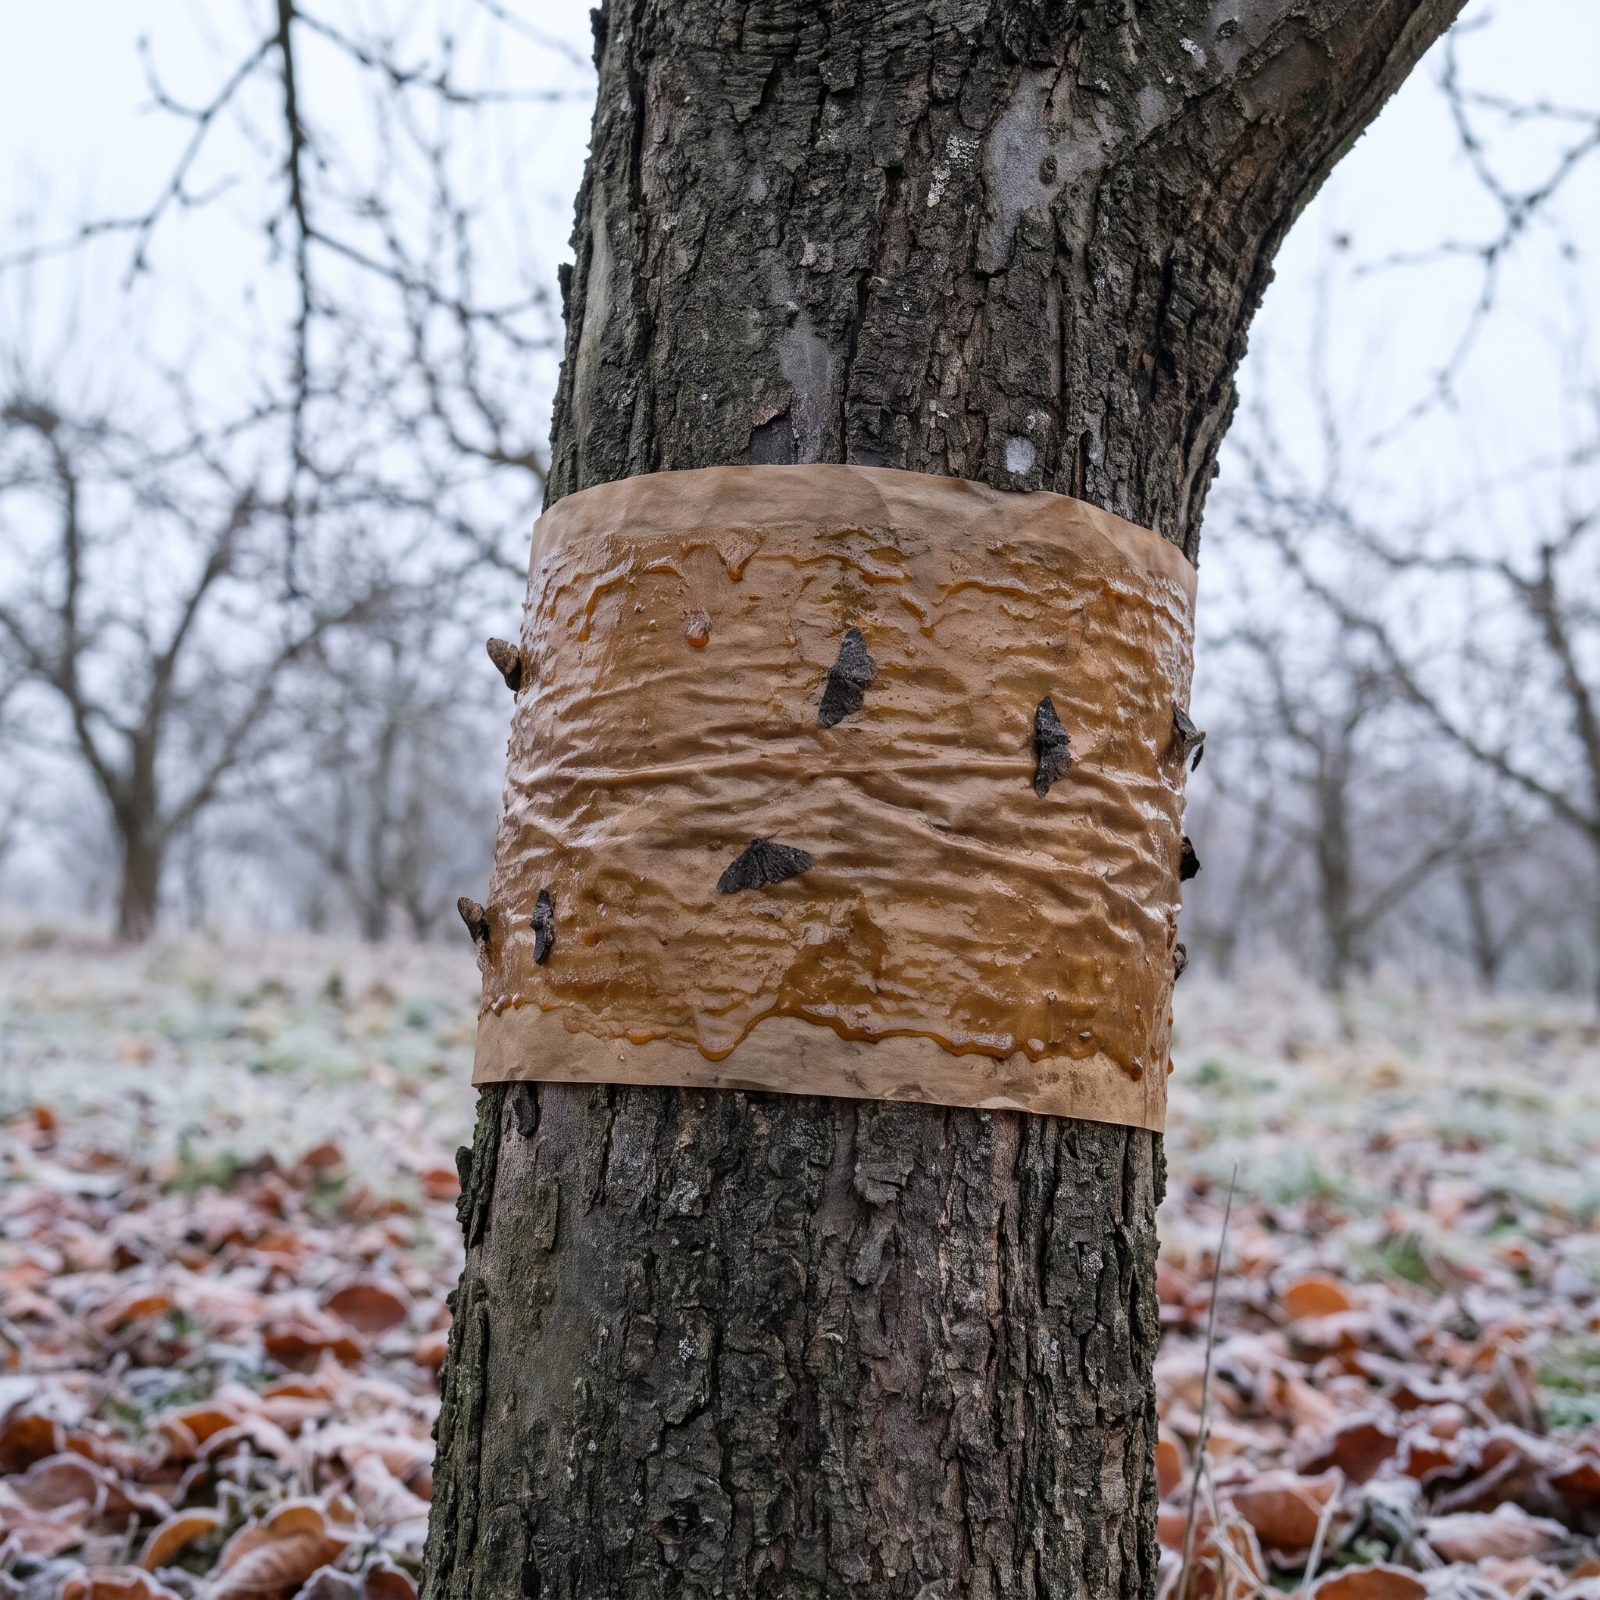
The female winter moth is stuck with useless wings. To lay her eggs up in the canopy, she has to crawl up the trunk in late autumn, and that’s her fatal flaw. A sticky grease band around the trunk stops her dead, no spray needed.
It’s one of the oldest orchard tricks going, and it keeps working because the moth’s biology hasn’t budged in all that time. Wrap the band in October, before the females start moving, and you snap the life cycle before a single egg ever reaches a branch.
38. Make a Stale Seedbed and Remove Weeds Before Planting
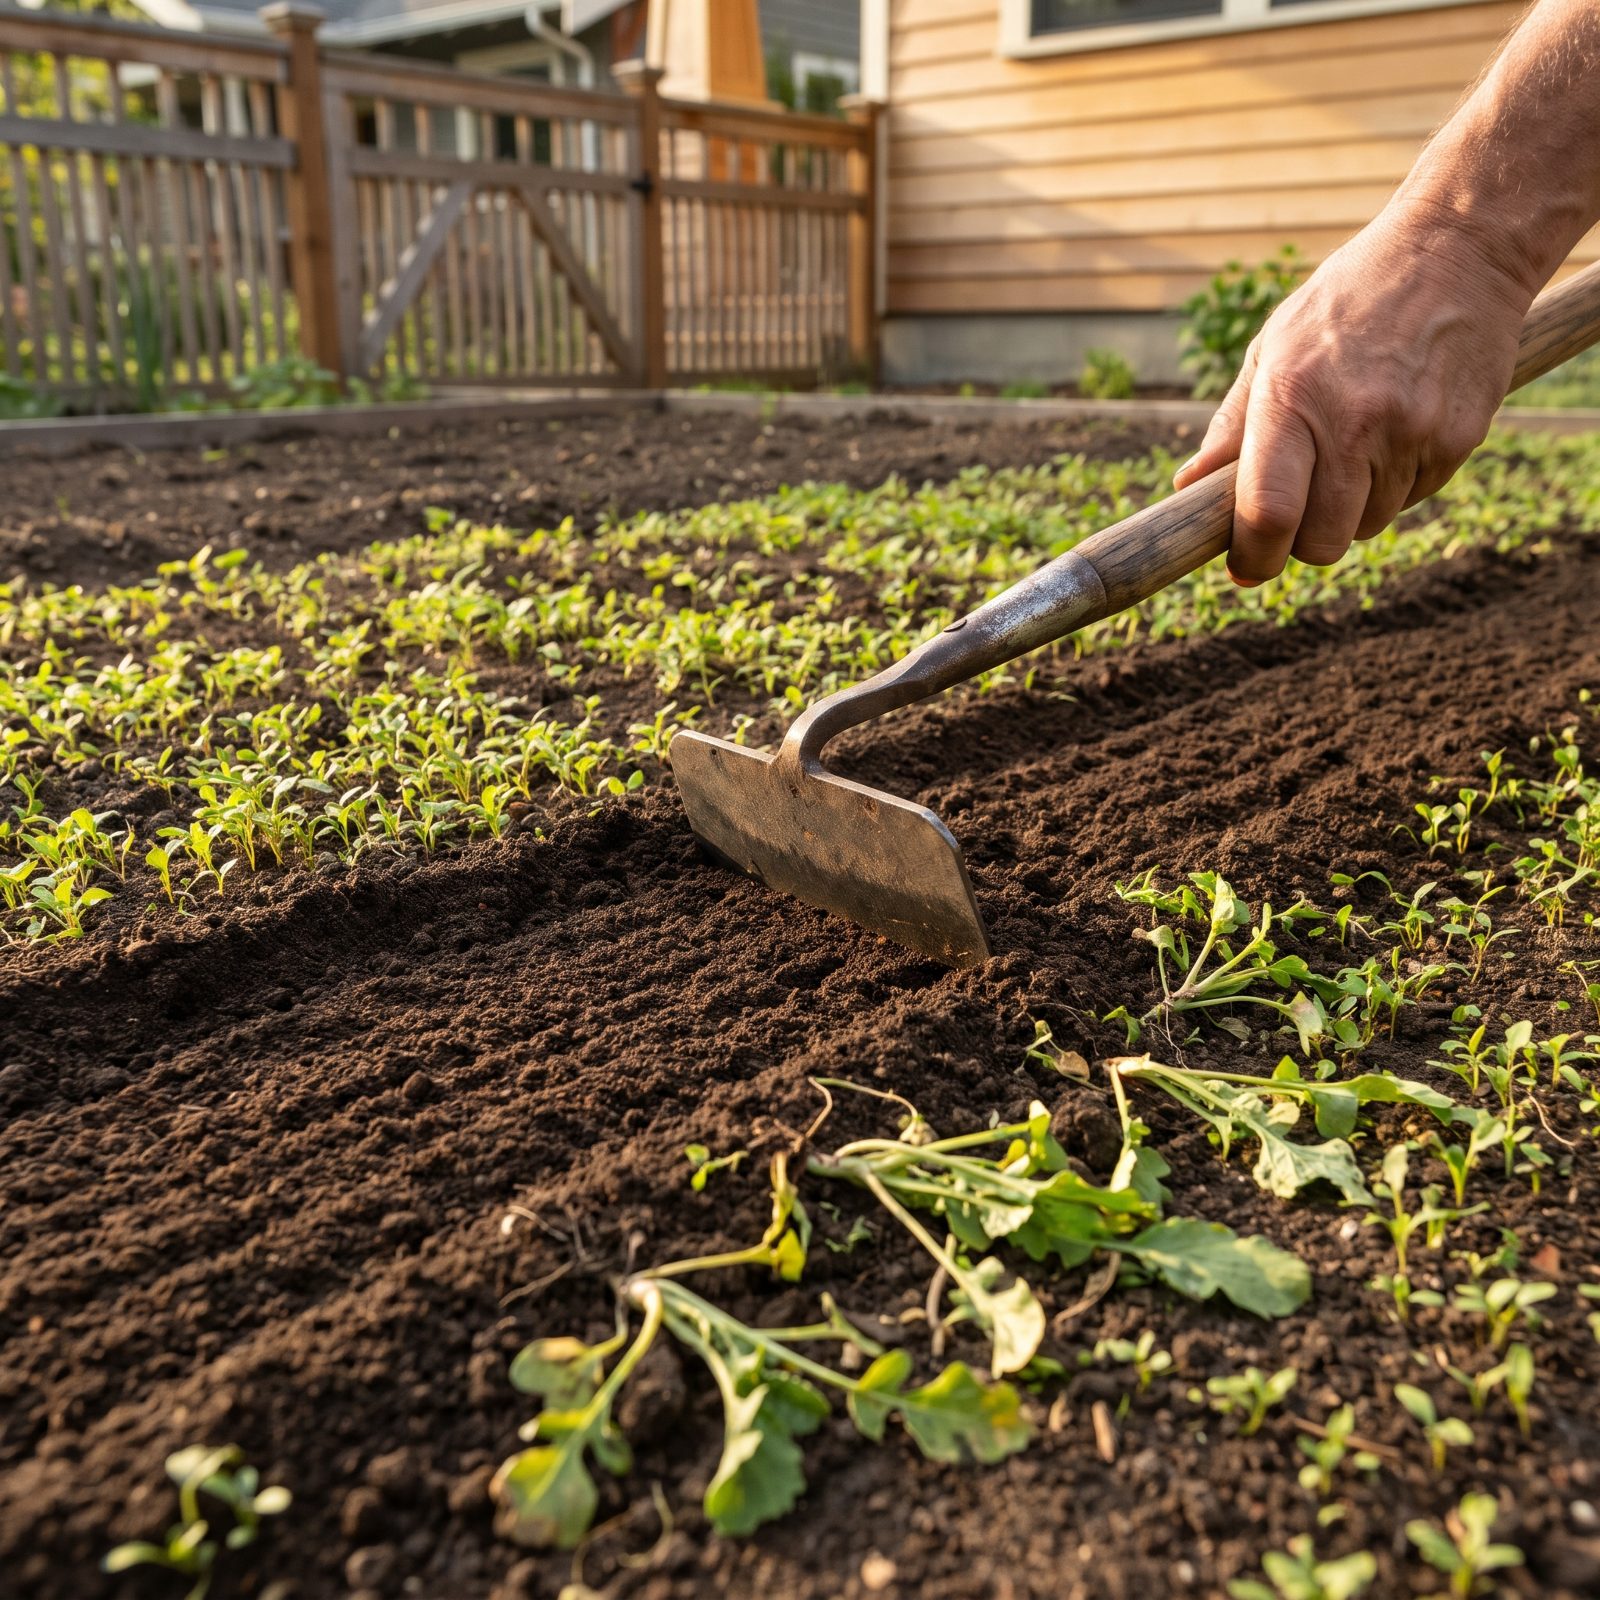
Here’s a bit of patience that pays off all season. Prepare the bed a couple of weeks early, water it, and let the first flush of weed seeds come up on your terms. Then slice the whole lot out, skimming a sharp hoe just across the surface, before you sow a single thing.
You’ve essentially tricked the weed seeds near the surface into sprouting on schedule, then wiped them out. Agronomy research on this stale seedbed method shows big reductions in weed pressure for the crop that follows, sometimes cutting the early weeding in half. Lazy gardeners, rejoice.
37. Cover Brassica Stems With Collars to Block Cabbage Root Flies
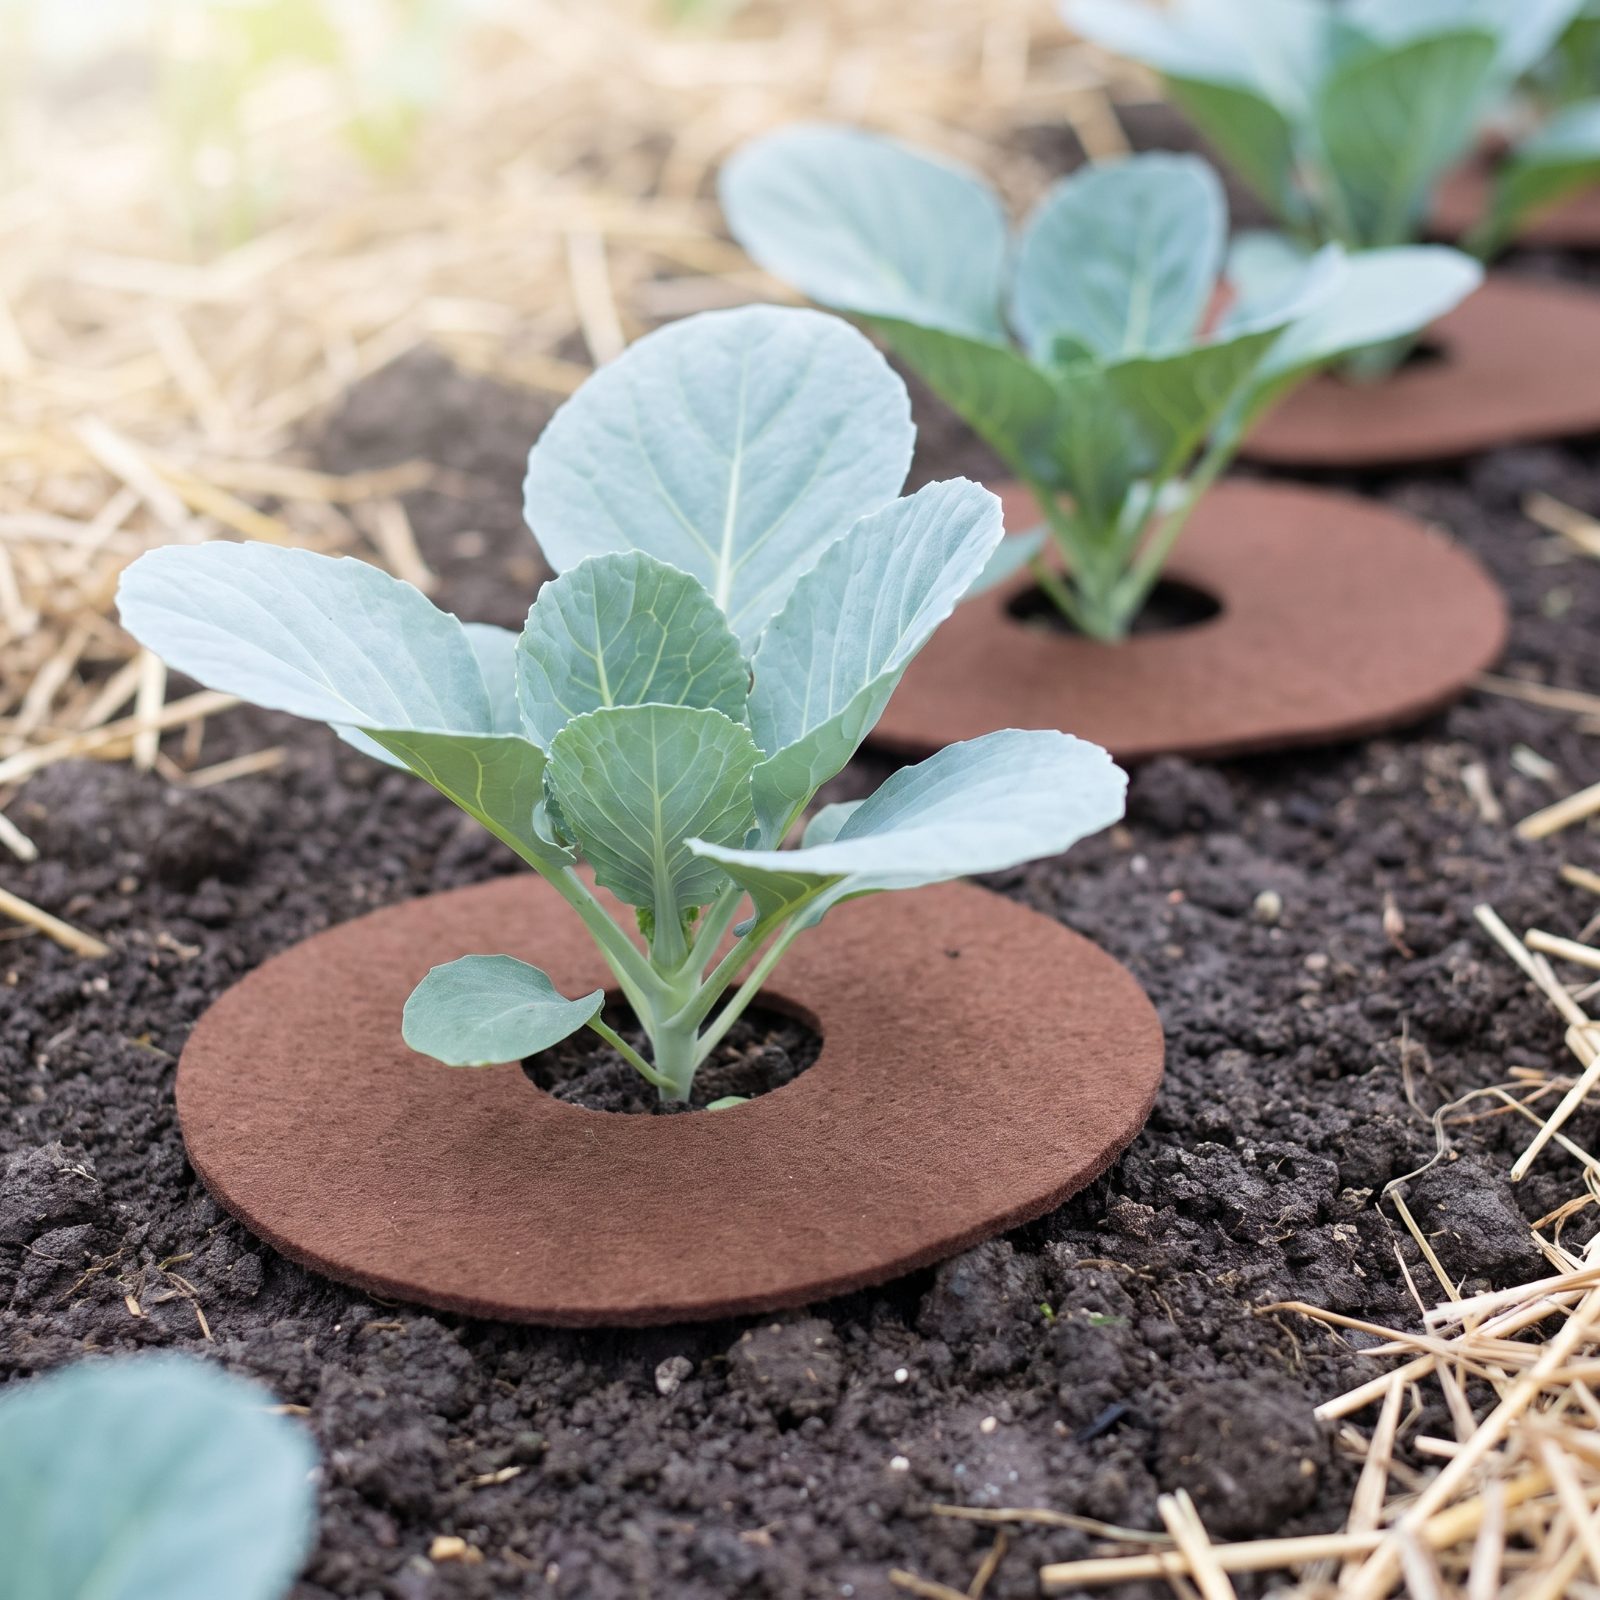
The cabbage root fly lays her eggs in the soil right against the stem of your brassicas, and the maggots eat the roots out from under the plant. A simple collar fixes it, a disc of felt, cardboard, or carpet underlay slit to the center and laid flat around the stem, gives her nowhere to lay.
Trials have found collars dramatically cut root-fly damage on cabbages, cauliflower, and broccoli. No chemicals, next to no cost, and you can cut a whole season’s worth of discs from one old doormat. Go try it before your transplants go in.
36. Bag Developing Fruit to Shut Out Insects and Disease
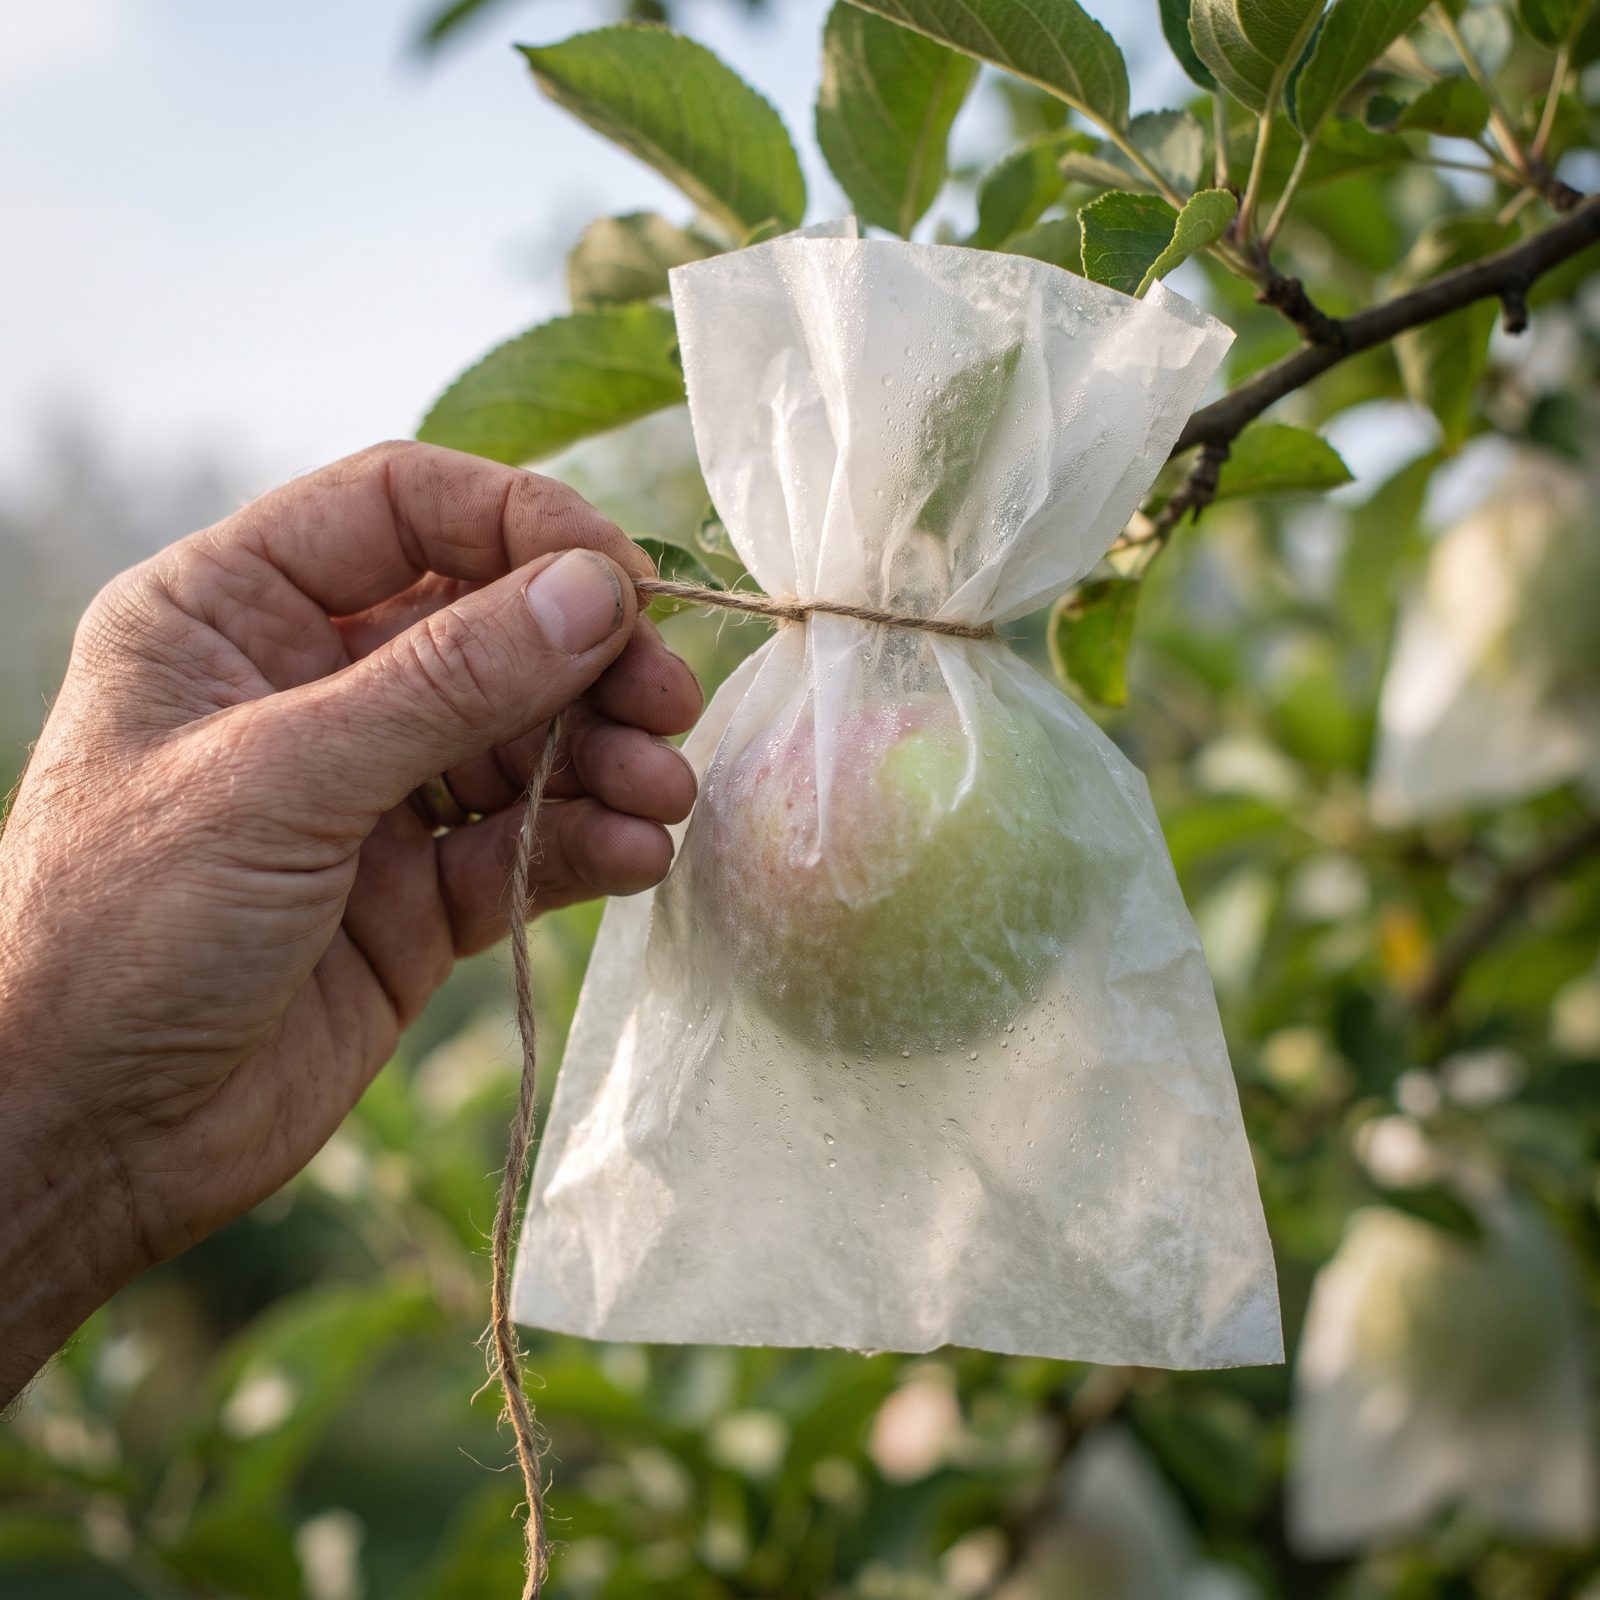
Japanese orchardists have bagged pears and apples for generations, and the method holds up under scrutiny. Studies on fruit bagging show it reduces codling moth damage, cuts fungal blemishes, and gives you cleaner skin without a single spray.
Once the fruit sets, slip a small paper or waxed bag over it and tie it loosely at the stem. That physical barrier stops egg-laying insects cold while air still moves and water still drains, so the fruit keeps developing in its own little tent.
Honestly? It’s fiddly on a big tree. Nobody’s bagging four hundred apples by hand. But for a handful of prize fruits, or a small espaliered tree, it beats most of what’s sitting in the shed.
35. Lay Damp Boards Overnight to Trap Slugs by Morning
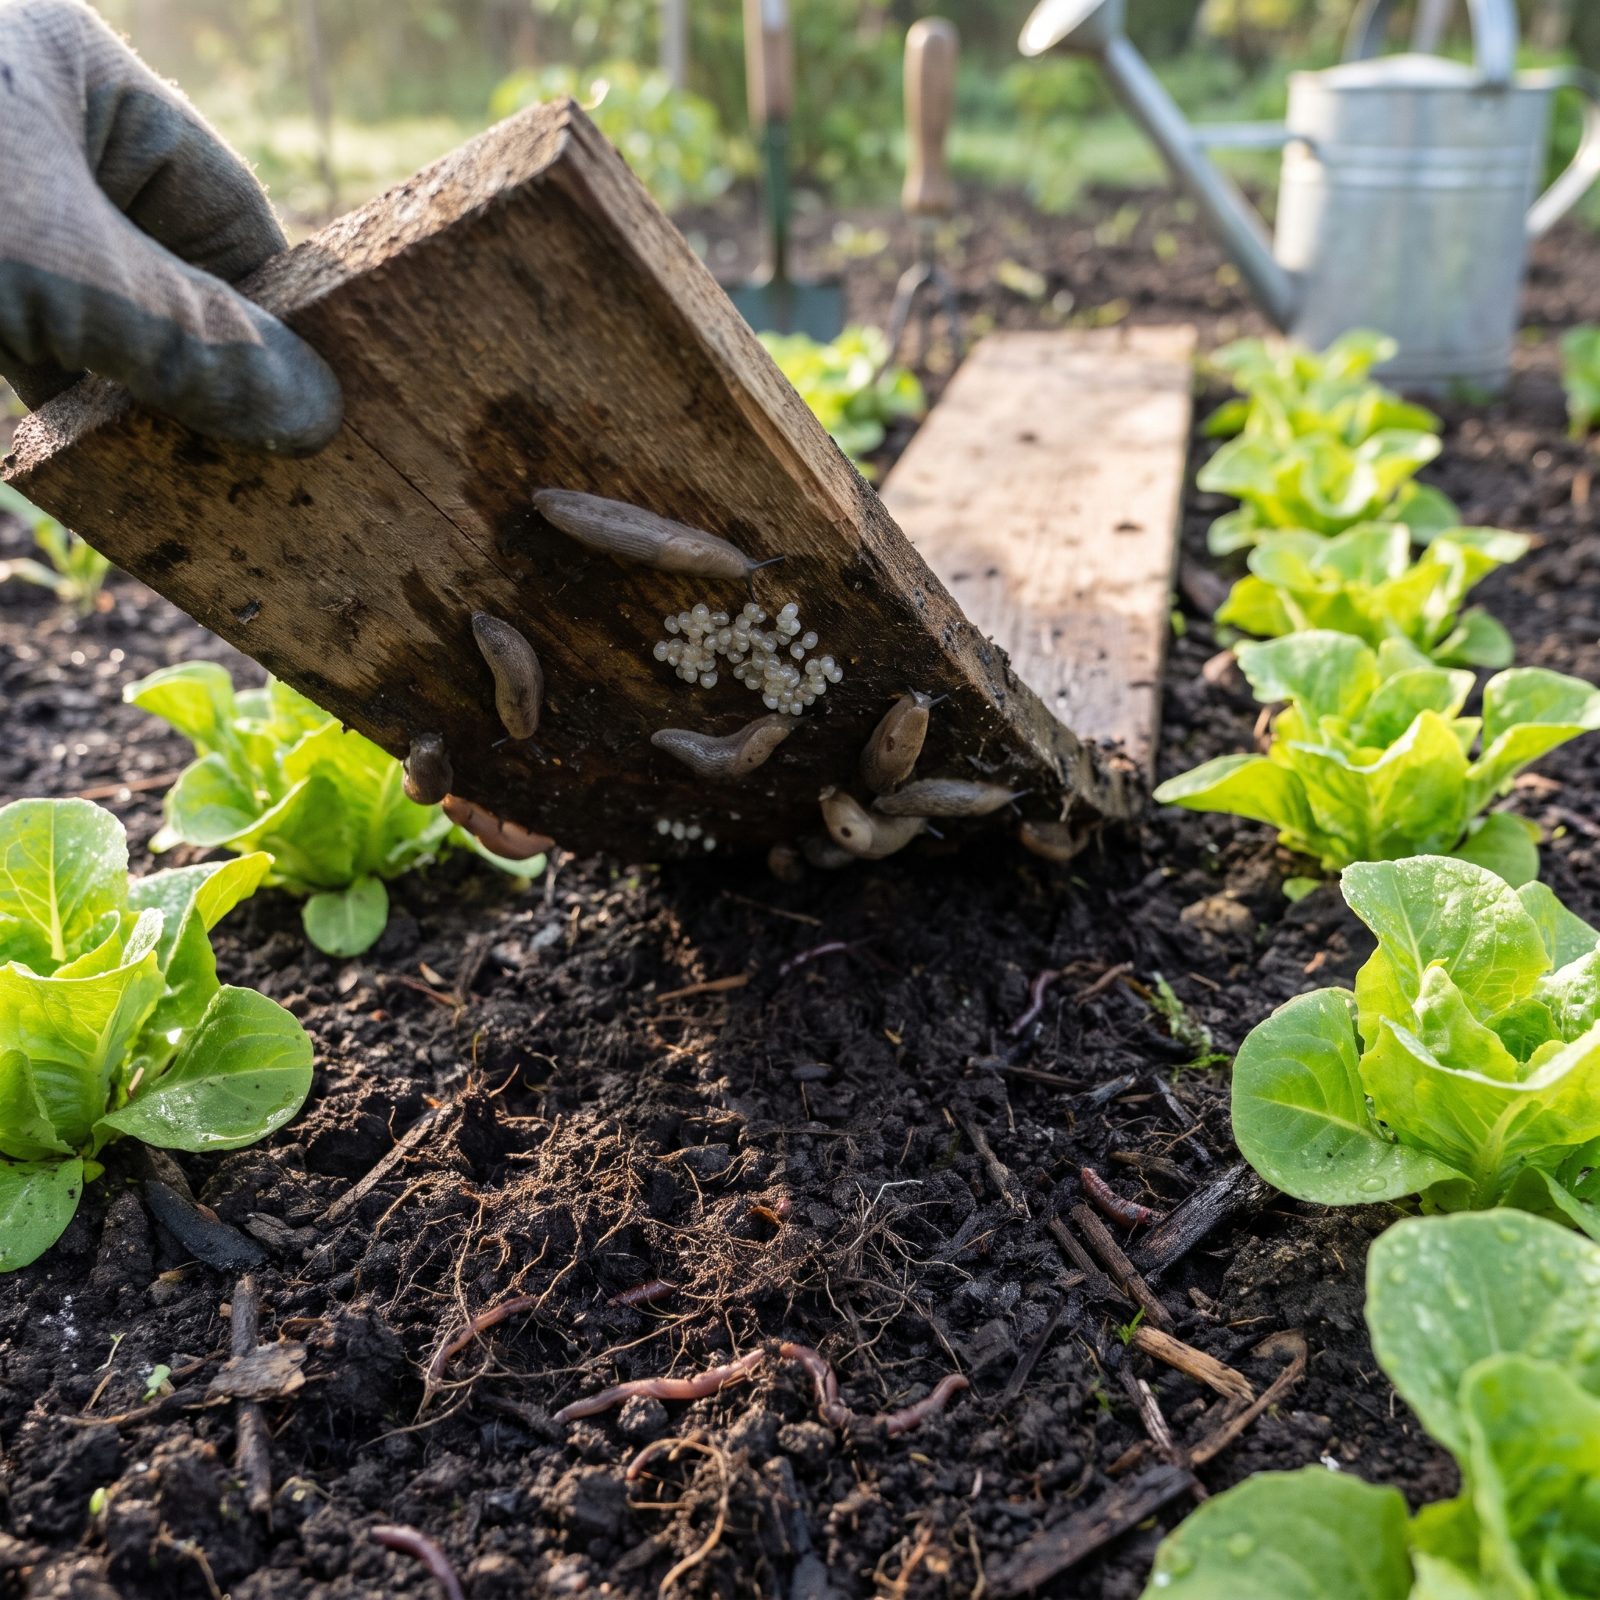
Slugs want two things after a night of chewing through your hostas: darkness and damp. So give it to them on your terms.
Lay a flat board, a slate, or even a hollowed grapefruit half on the soil overnight, and by dawn the slugs have crawled underneath to hide from the sun. Flip the board, scrape them off, deal with them however you like. Crude trapping, sure, but it works because you’re reading their behavior instead of fighting it.
Don’t expect one morning to fix it. Check and reset every day for a week or two through the wet stretches of spring and fall, and you’ll genuinely dent the population before they wreck your seedlings.
34. Water Dry Soil Before a Light Freeze to Hold Overnight Warmth
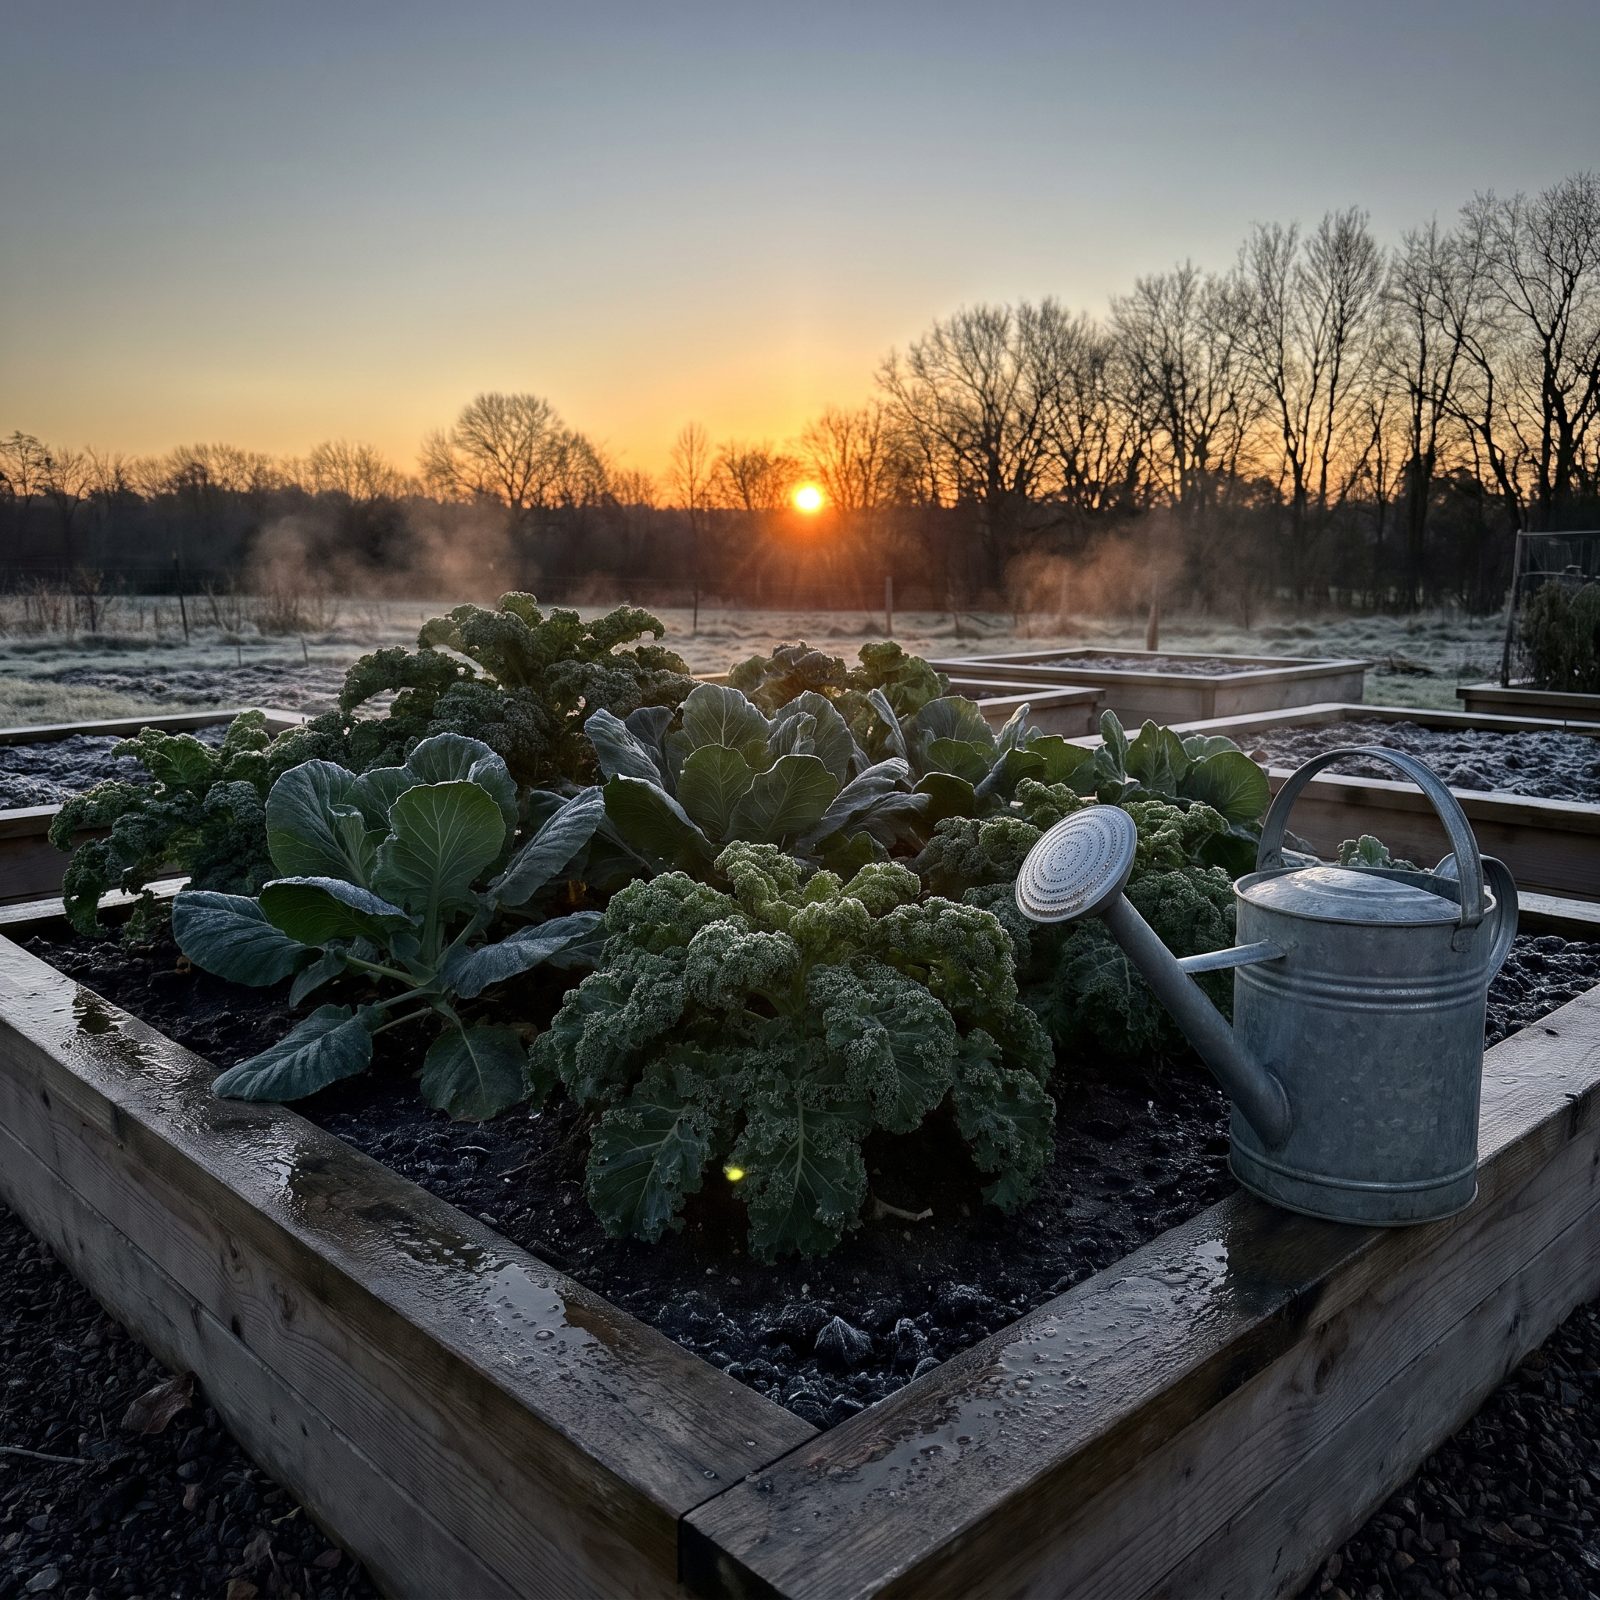
Dry soil is a terrible blanket. Moist soil is a good one, and this is physics, not folklore.
Water holds and releases heat far better than dry, airy ground. Soak the beds in the afternoon before a forecast light freeze and the soil banks the day’s warmth, then bleeds it back out overnight, lifting the temperature around your plants by a degree or two. On a borderline frost night, that margin saves tender growth.
Growers have leaned on this for citrus and strawberries for over a century, and modern frost-protection guidance still recommends it. Water earlier in the day, though, so the surface isn’t sheeting with cold water at nightfall.
33. Cover Rhubarb Crowns With a Forcing Pot for a Tender Early Crop
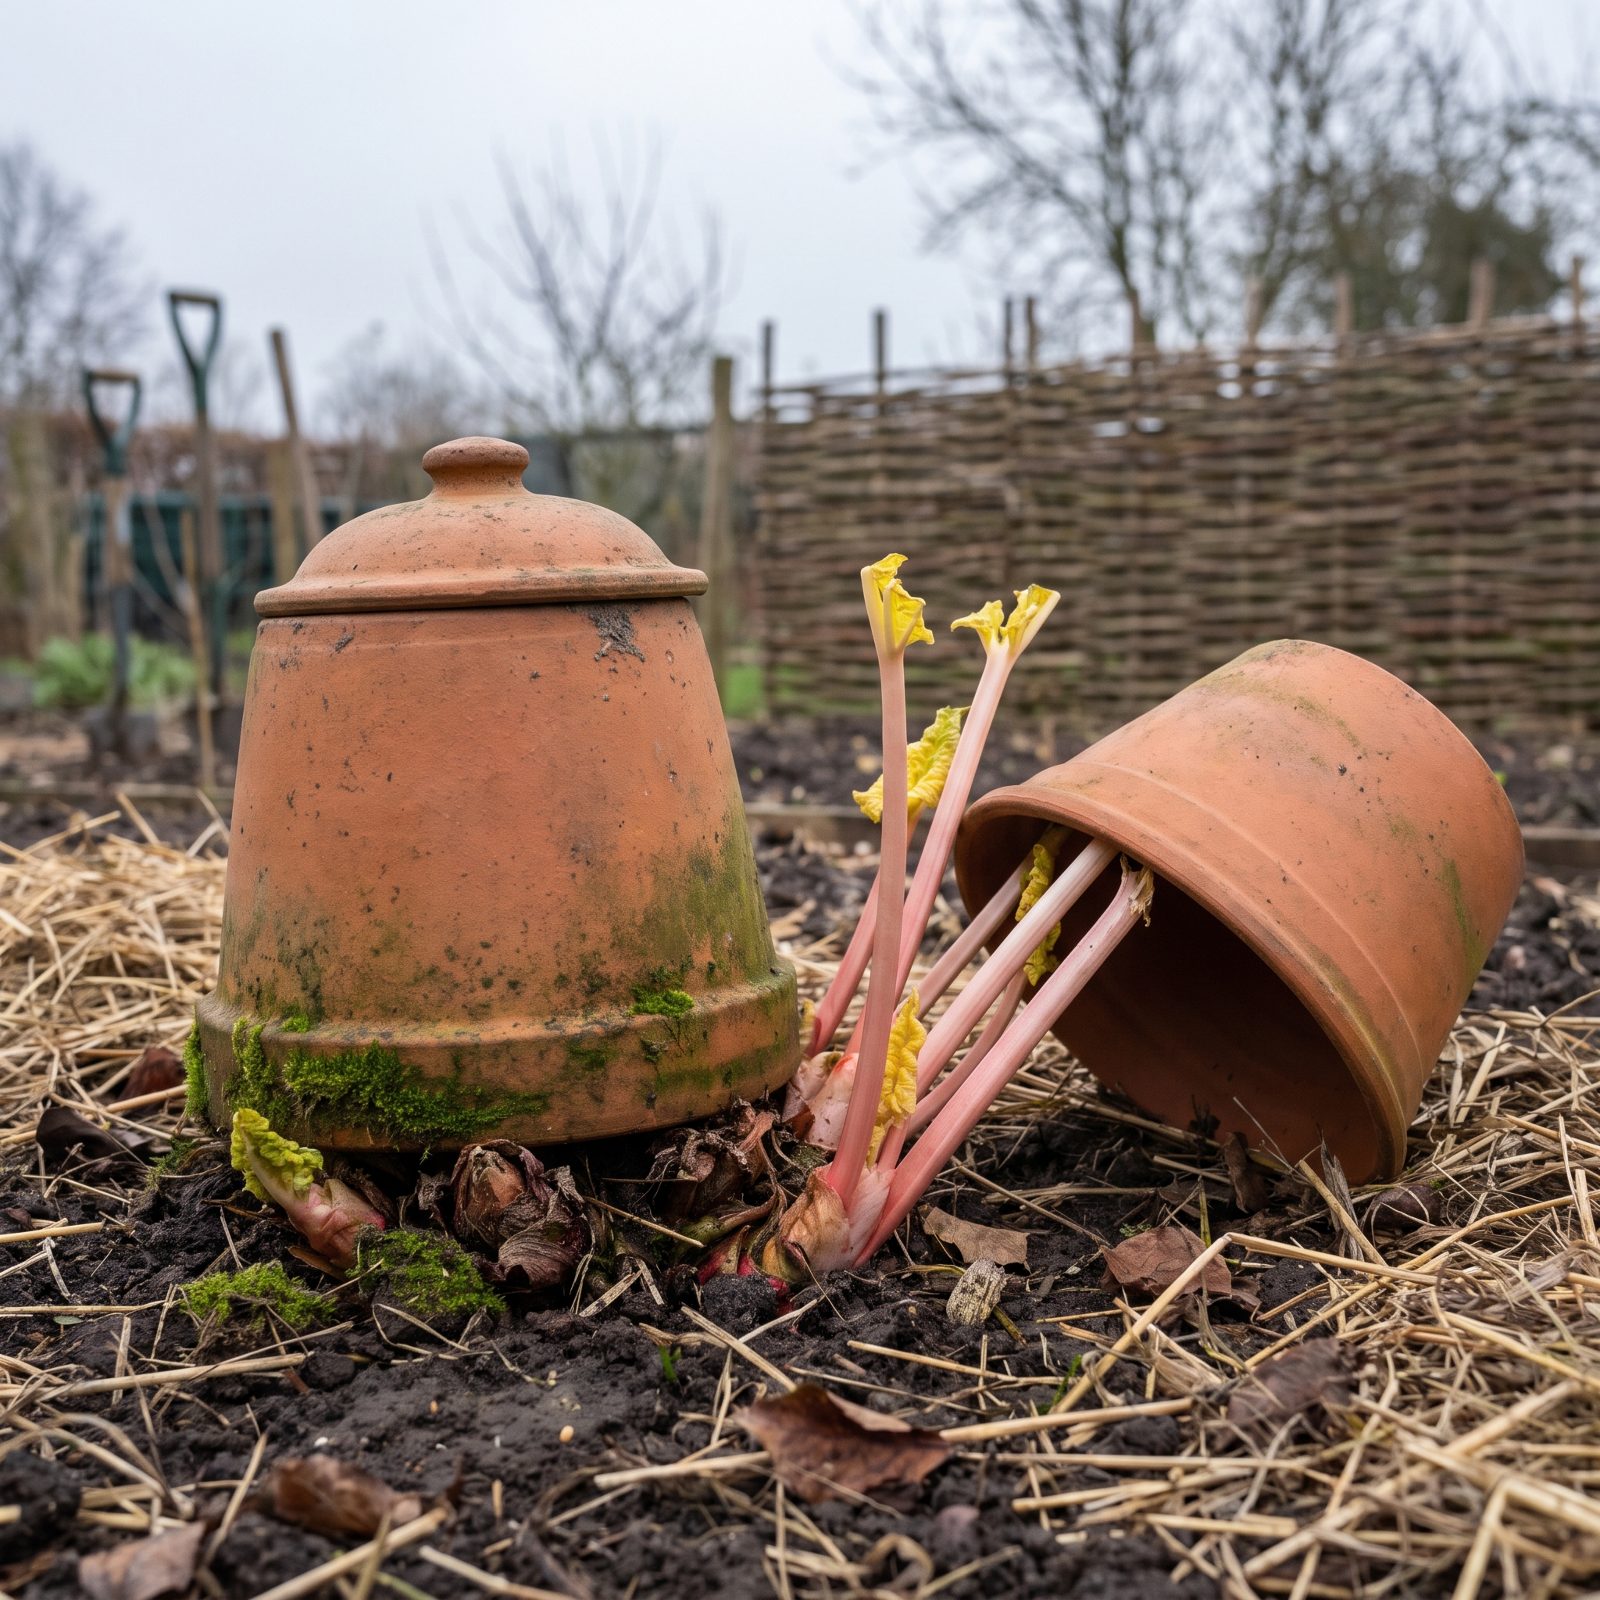
Forced rhubarb is one of those garden luxuries that costs almost nothing. Cover a dormant crown in late winter with a tall pot or a bucket, block the light, and the plant stretches for an exit it can’t find.
What you get is pale pink, tender, and sweeter than anything grown in the open, picked weeks ahead of the main crop. Yorkshire’s famous forcing sheds are built entirely on this trick.
One caveat worth taking seriously: forcing drains the crown. Give any plant you force a full season off afterward to rebuild, and never force the same crown two years running.
32. Sink Unglazed Clay Pots Into Beds for Slow Root-Zone Watering
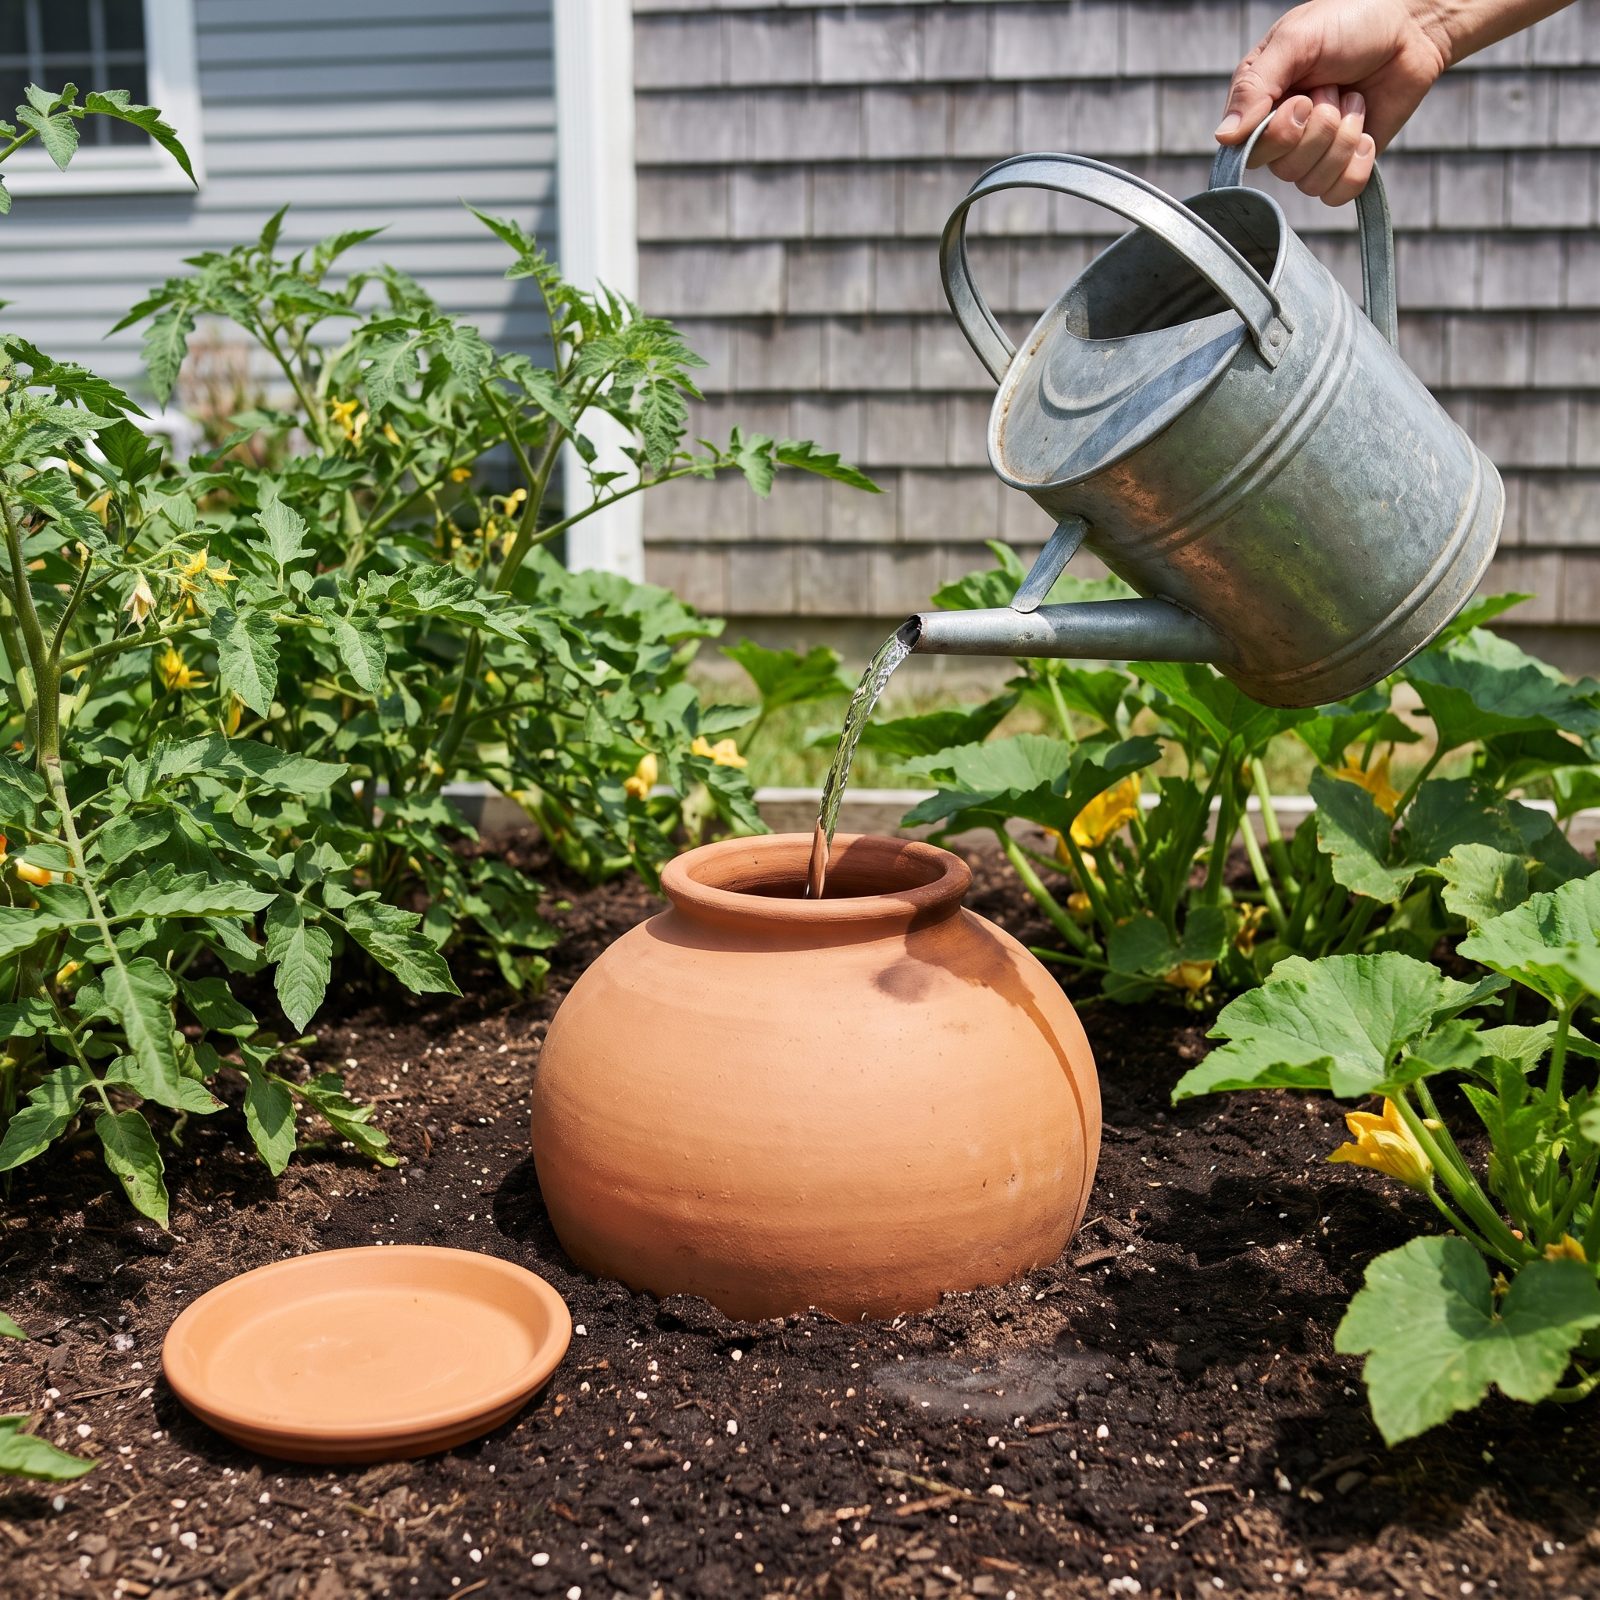
This one is ancient, and it’s one of the smartest watering methods ever devised. Clay pot irrigation, often called ollas, goes back thousands of years across North Africa and Asia.
You settle an unglazed terracotta vessel into the bed among your plants, fill it with water, and cap it. The porous clay seeps moisture straight into the root zone as the surrounding soil dries, putting water exactly where plants need it and losing almost nothing to evaporation.
- The soil pulls water out only as fast as it needs it, so there’s no waste.
- Roots grow toward the pot, building a deep, drought-tough network.
- Refilling once or twice a week beats dragging a hose out every evening.
Buy a purpose-made olla or improvise with two stacked clay pots sealed at the seam. Either way, the clay has to be unglazed or the whole thing fails.
31. Mulch With Rinsed Seaweed for Organic Matter and Trace Minerals
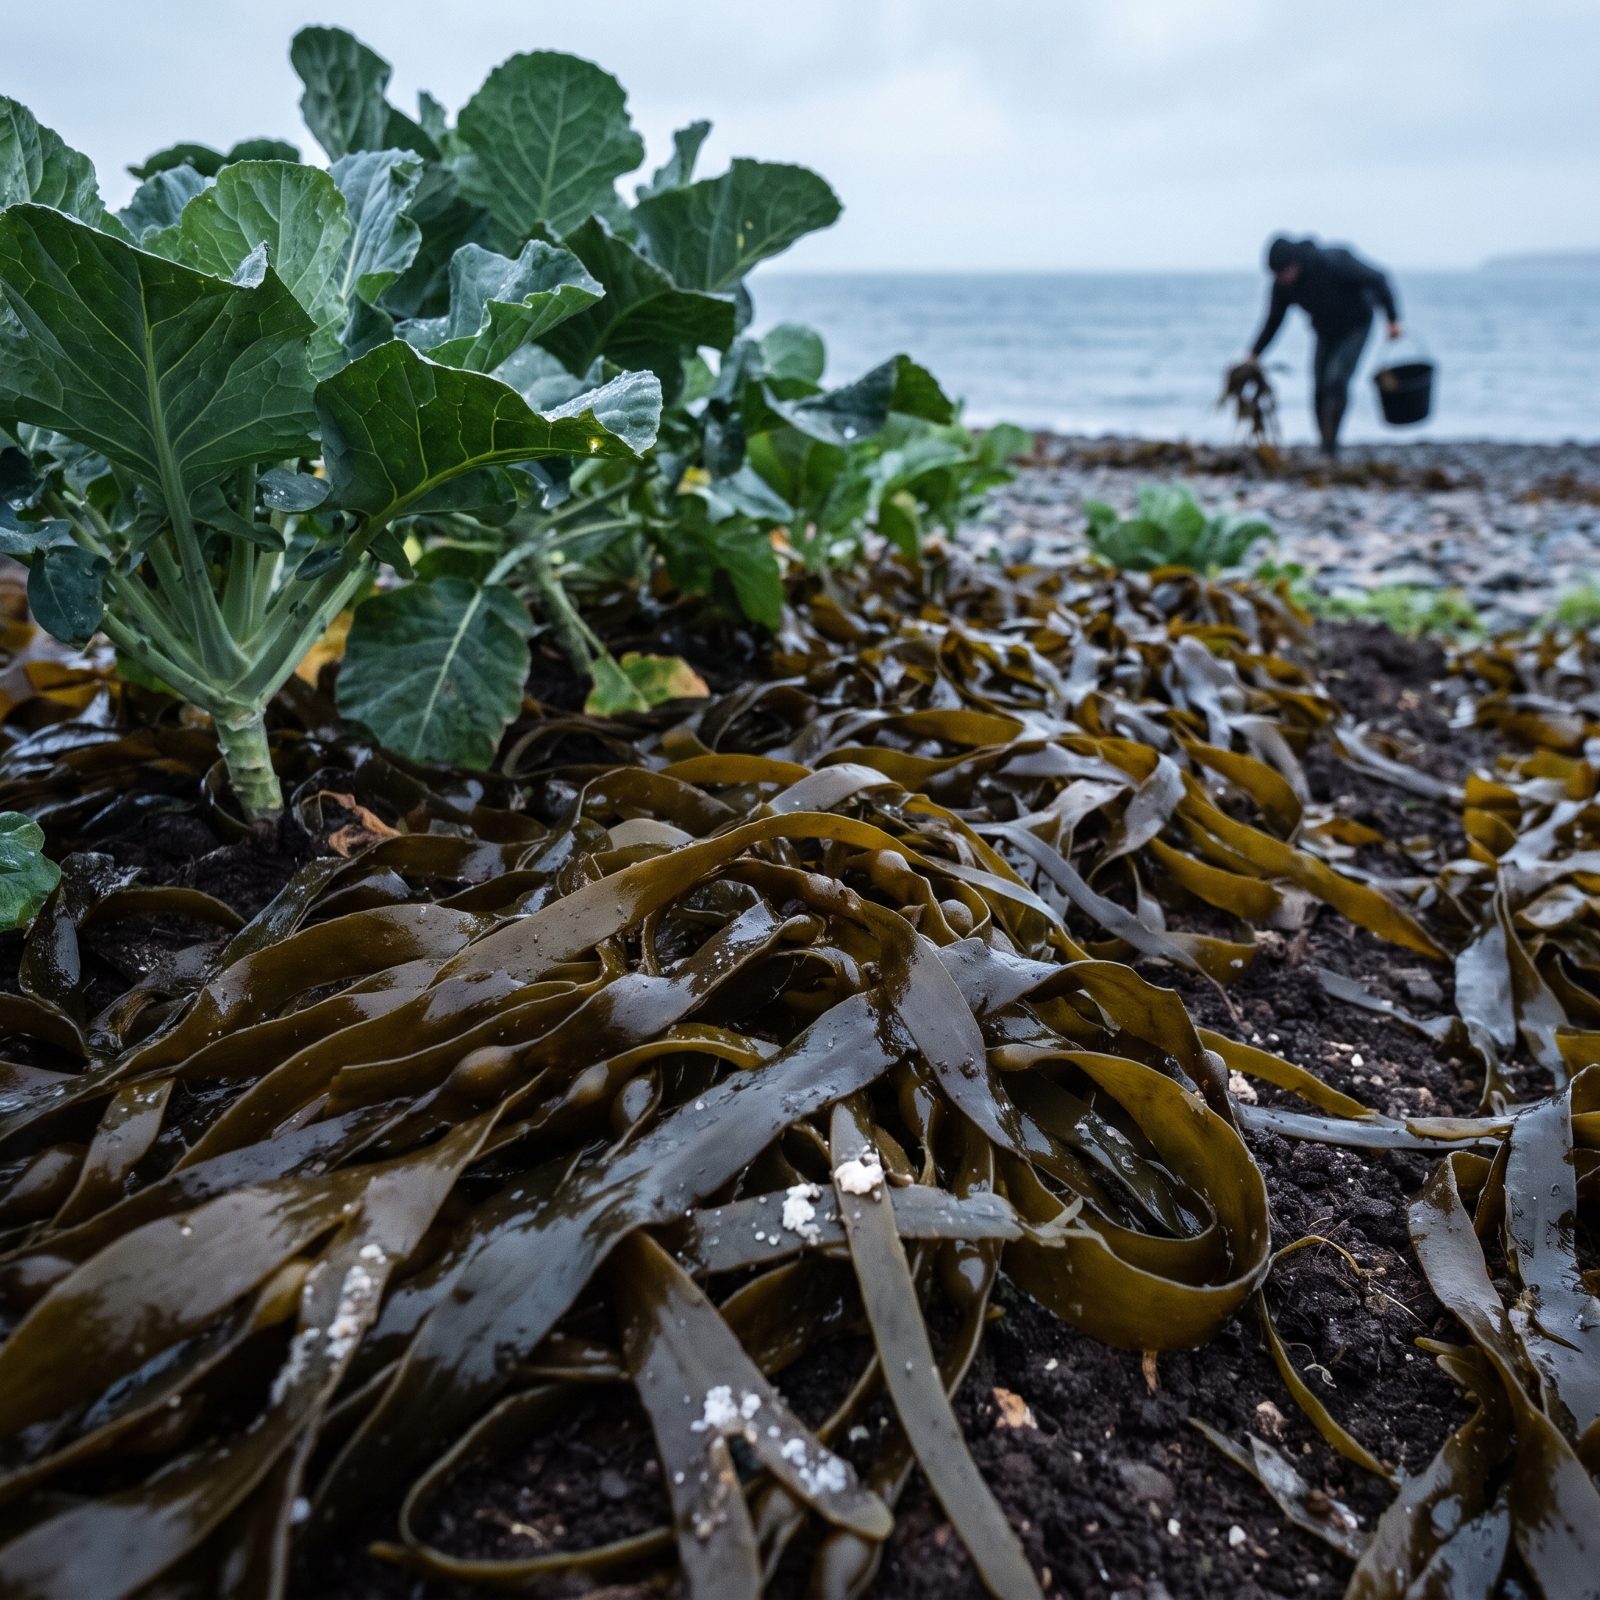
Coastal gardeners have hauled seaweed up from the tideline for centuries, and the chemistry backs them up. Kelp and wrack break down fast, feed soil life, and carry a spread of trace minerals and plant hormones you’ll never get from a bag of generic compost.
Rinse it first to knock back the salt, then lay it on as mulch or dig it into the bed. It rots away quickly, so you’ll reapply more than once, but slugs seem to hate crawling over it while it’s drying, which is a nice little dividend.
One thing before you fill a bucket: check local rules. In many places beach-cast seaweed is protected or restricted, and clearing it wholesale strips a habitat other creatures depend on.
30. Turn Fallen Leaves Into Fungal-Rich Leaf Mold
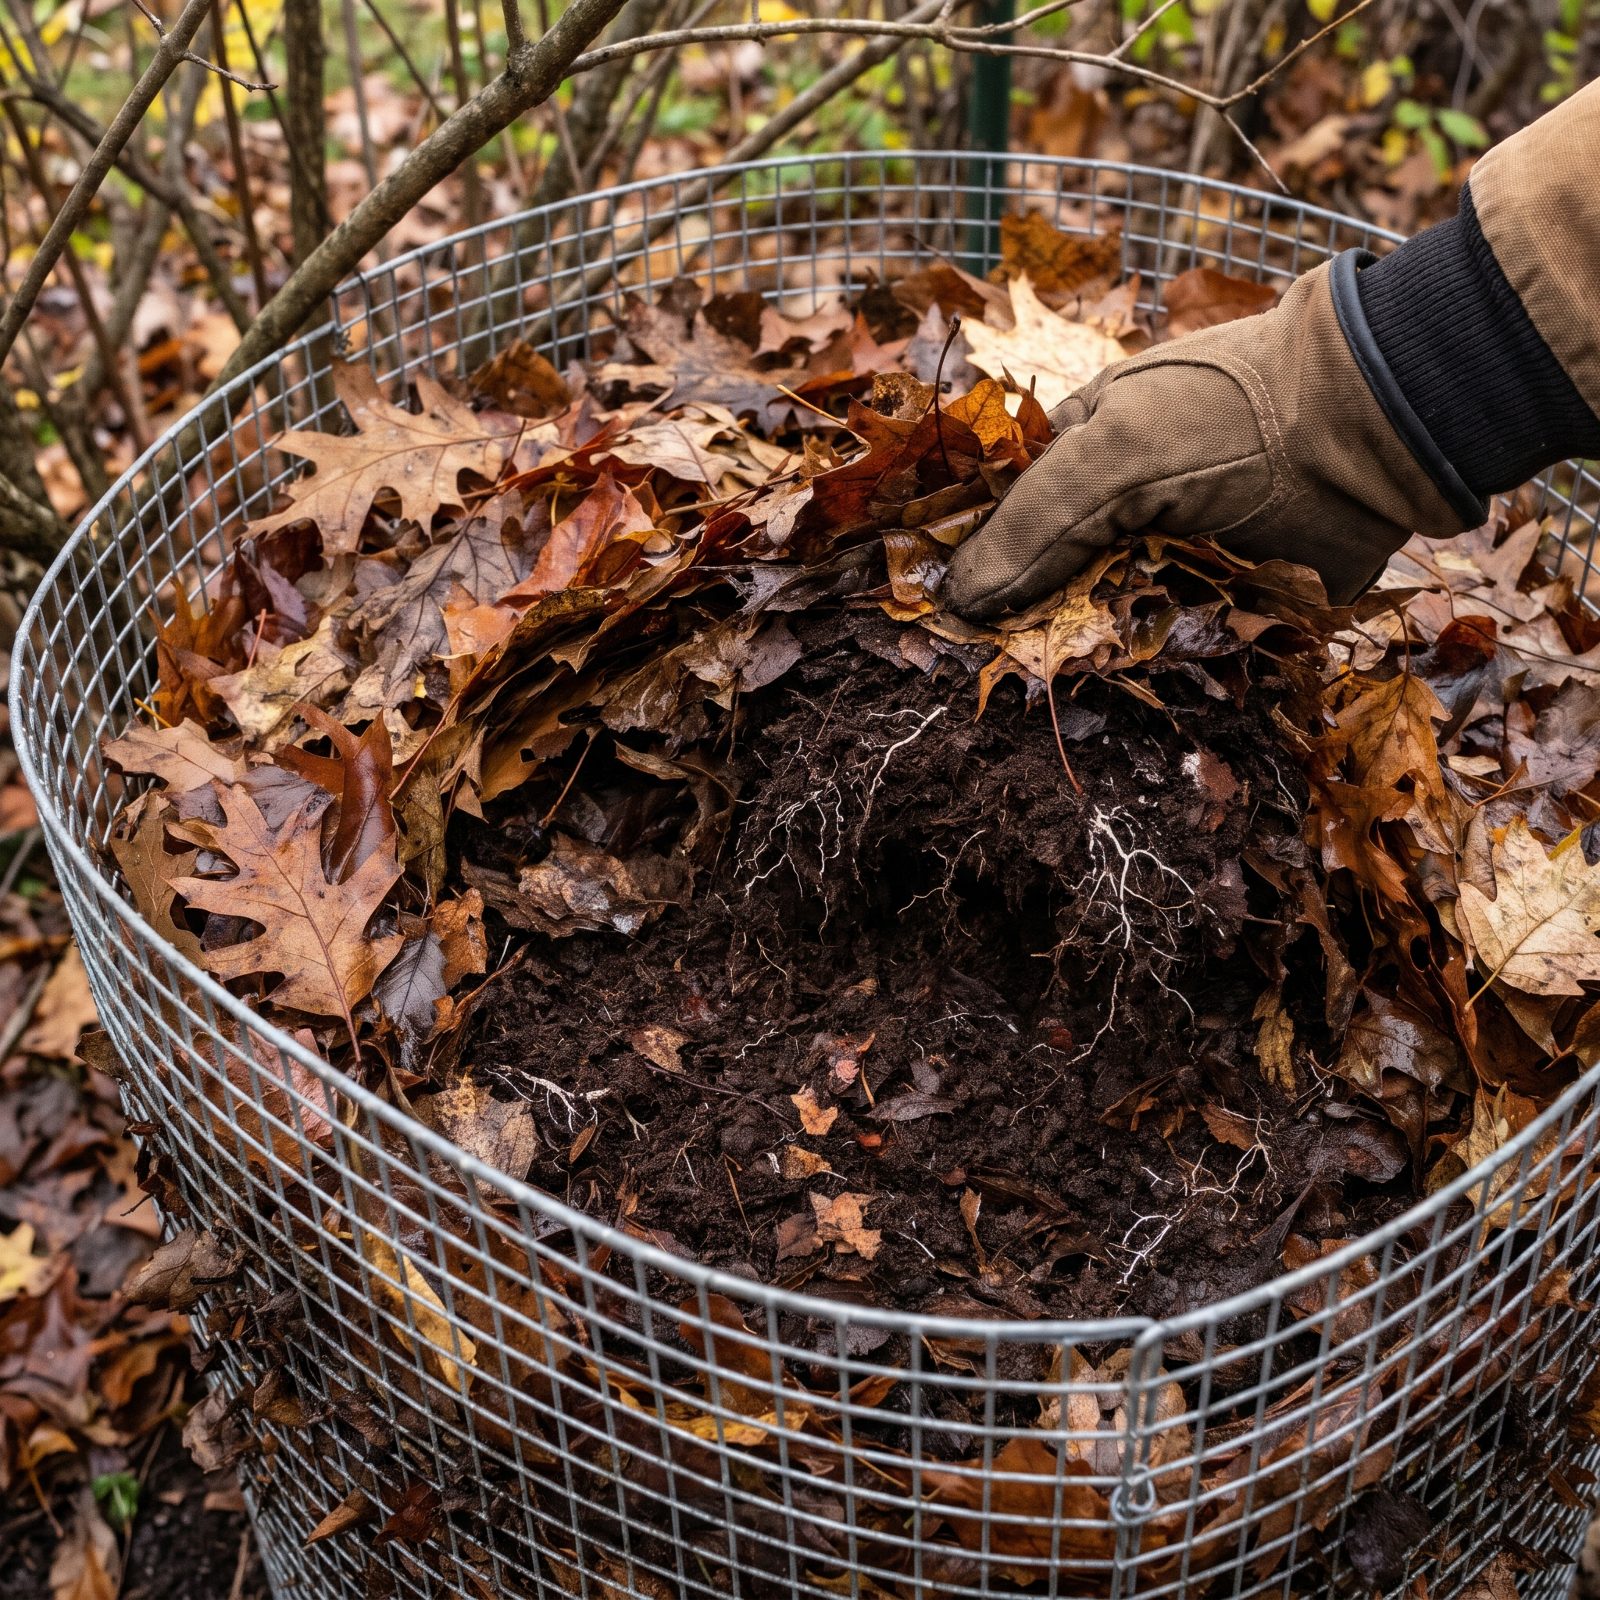
Leaf mold is the lazy gardener’s gold. No turning, no balancing greens and browns, no fuss whatsoever.
Pile up fallen leaves, keep them damp, and walk away. Compost runs on bacteria and heat; leaf mold works differently, breaking down slowly through cold fungal decomposition. The result is a dark, crumbly, spongy material that holds water like nothing else and makes a soil conditioner researchers rate highly for structure and moisture retention.
The only real cost is patience. Give it a year, maybe two. Shred the leaves with a mower first and you’ll speed things up while stopping the pile from matting into a sodden brick.
29. Bury Kitchen Scraps in a Trench Where Next Year’s Crops Will Grow
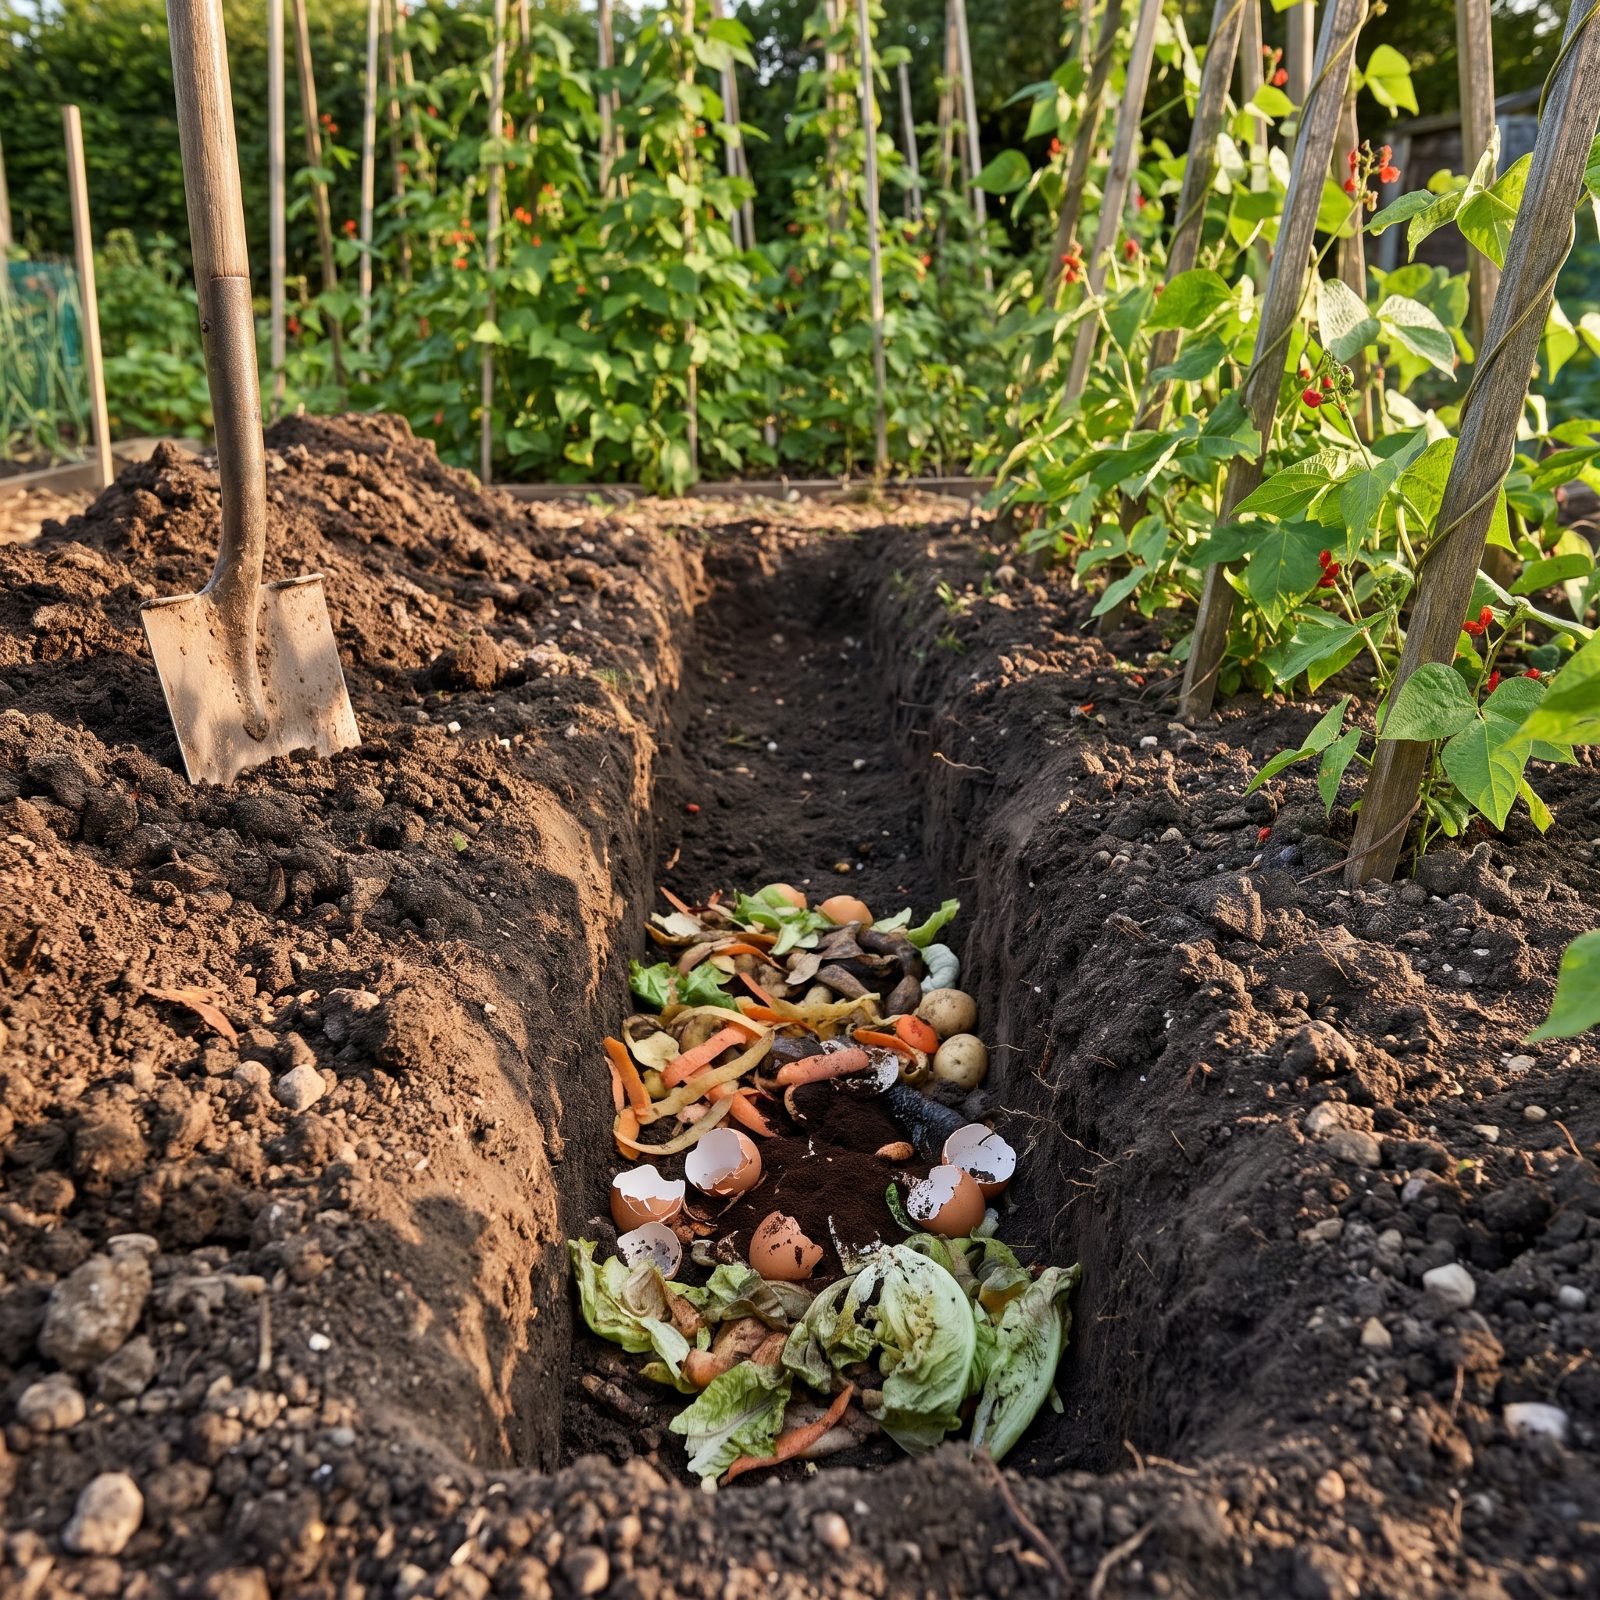
Trench composting skips the bin entirely. Dig a trench where you plan to plant hungry feeders next season, drop in your kitchen scraps, and cover them back over with soil.
Underground, worms and microbes handle everything, no odor, no turning, no visible pile. By the time beans or squash go in overhead, their roots reach straight down into a seam of enriched, moisture-holding soil.
For anyone who can’t stand the upkeep of a conventional heap, this is a genuinely good fit. Keep meat, dairy, and oils out, bury everything at least eight inches deep so nothing digs it up, and shift the trench position each year. Alright, that’s the whole technique. Go bury something.
28. Use Wood Ash Sparingly for Potassium and to Sweeten Acidic Soil
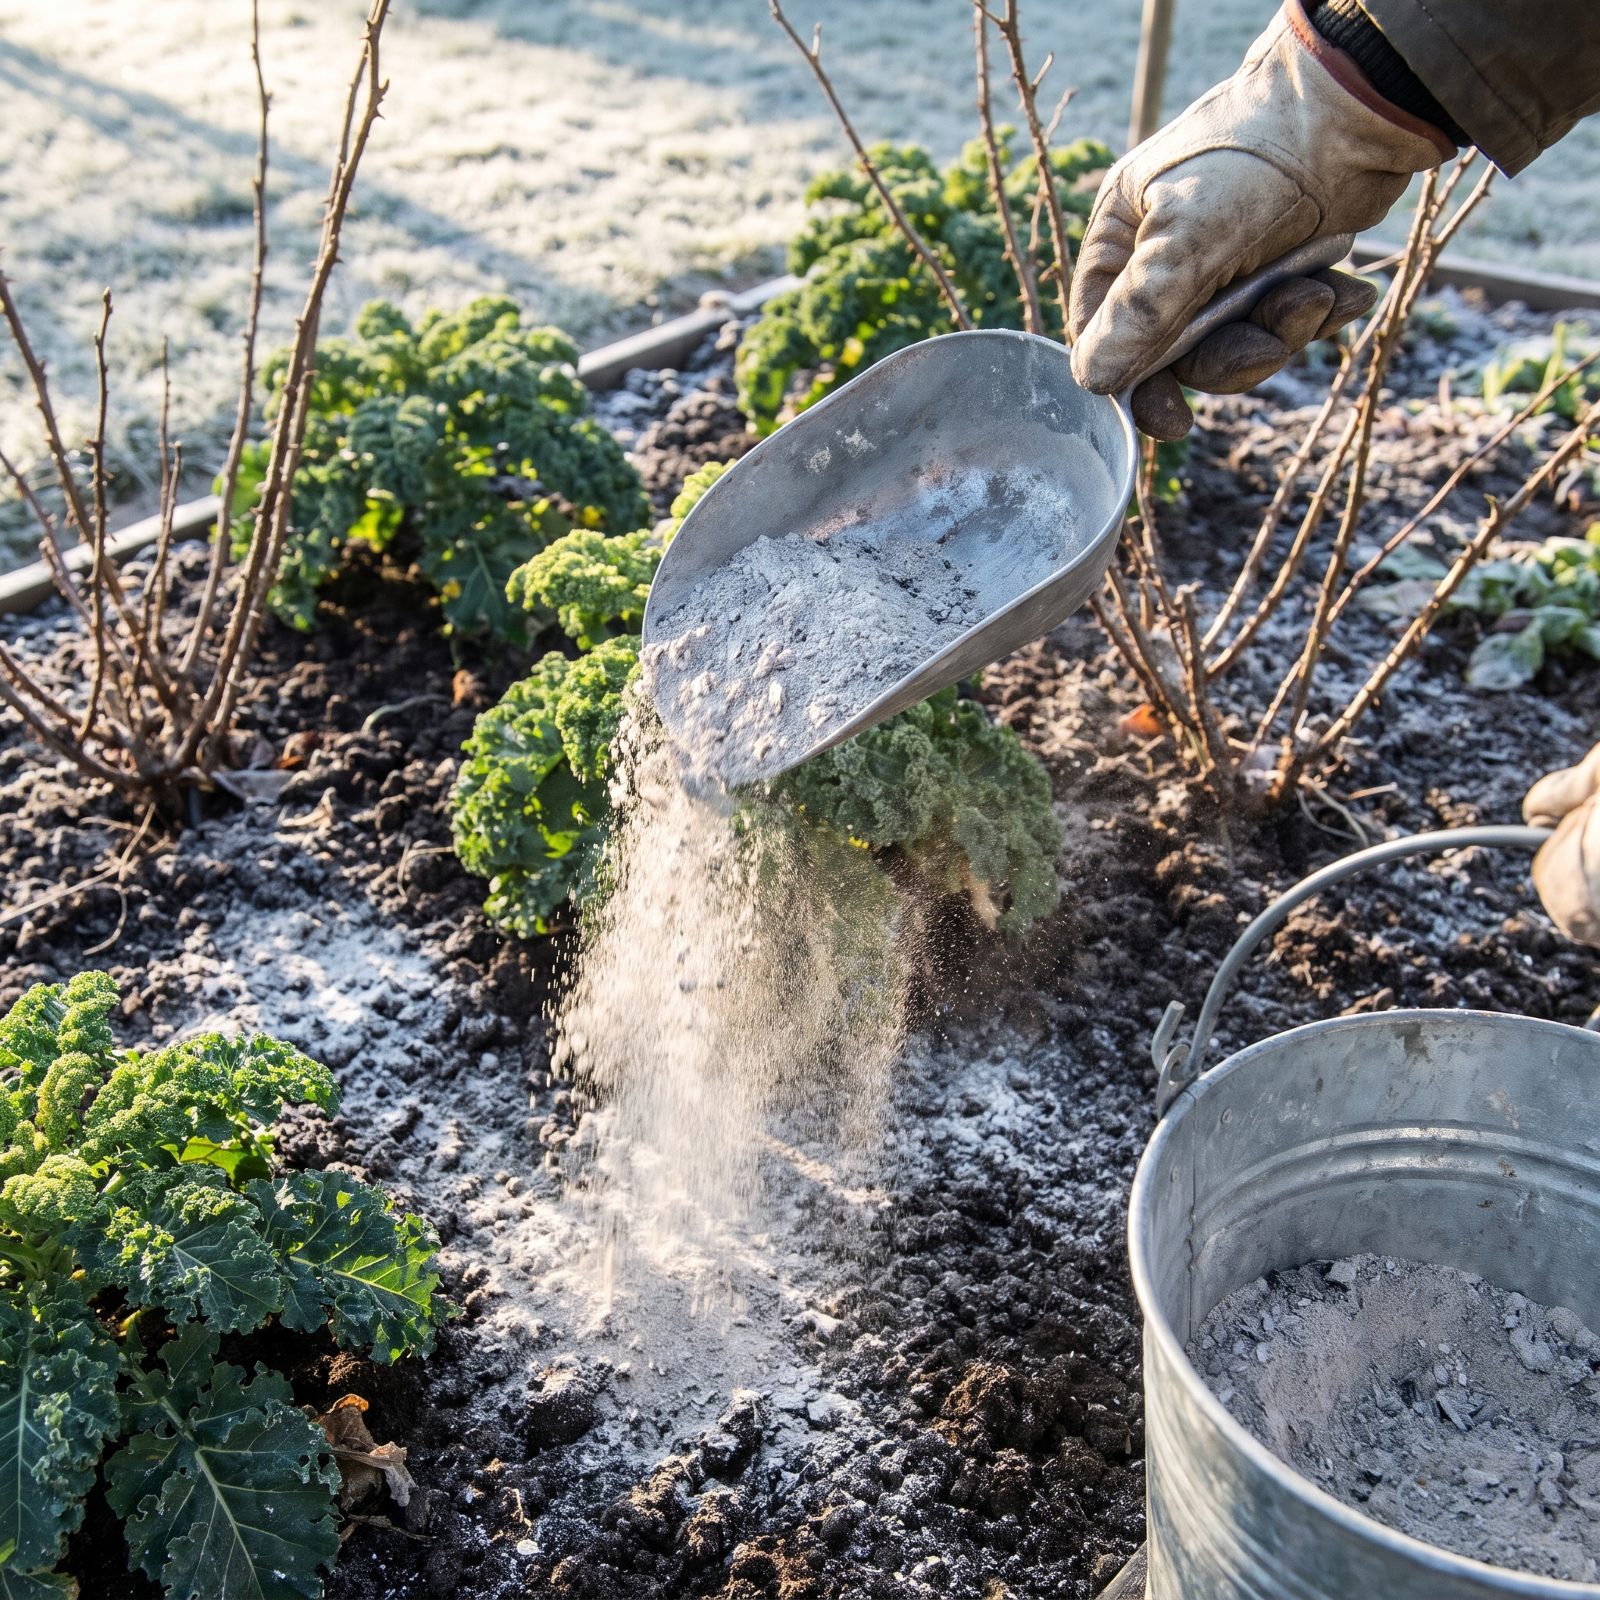
Wood ash is useful and easy to overdo, which is exactly why most advice gets it wrong.
Burned hardwood leaves behind potassium plus some calcium and phosphorus, and it raises pH much like lime does. A light scatter around fruit bushes, gooseberries, currants, apples, hands them the potassium they want for flowering and fruiting.
But it’s alkaline, and a little goes a long way. Pile it on and you’ll lock out nutrients and alienate anything that likes acid soil. Keep it well clear of blueberries, rhododendrons, and potatoes, where it can worsen scab.
27. Encourage Ground Beetles With Undisturbed Log and Stone Shelters
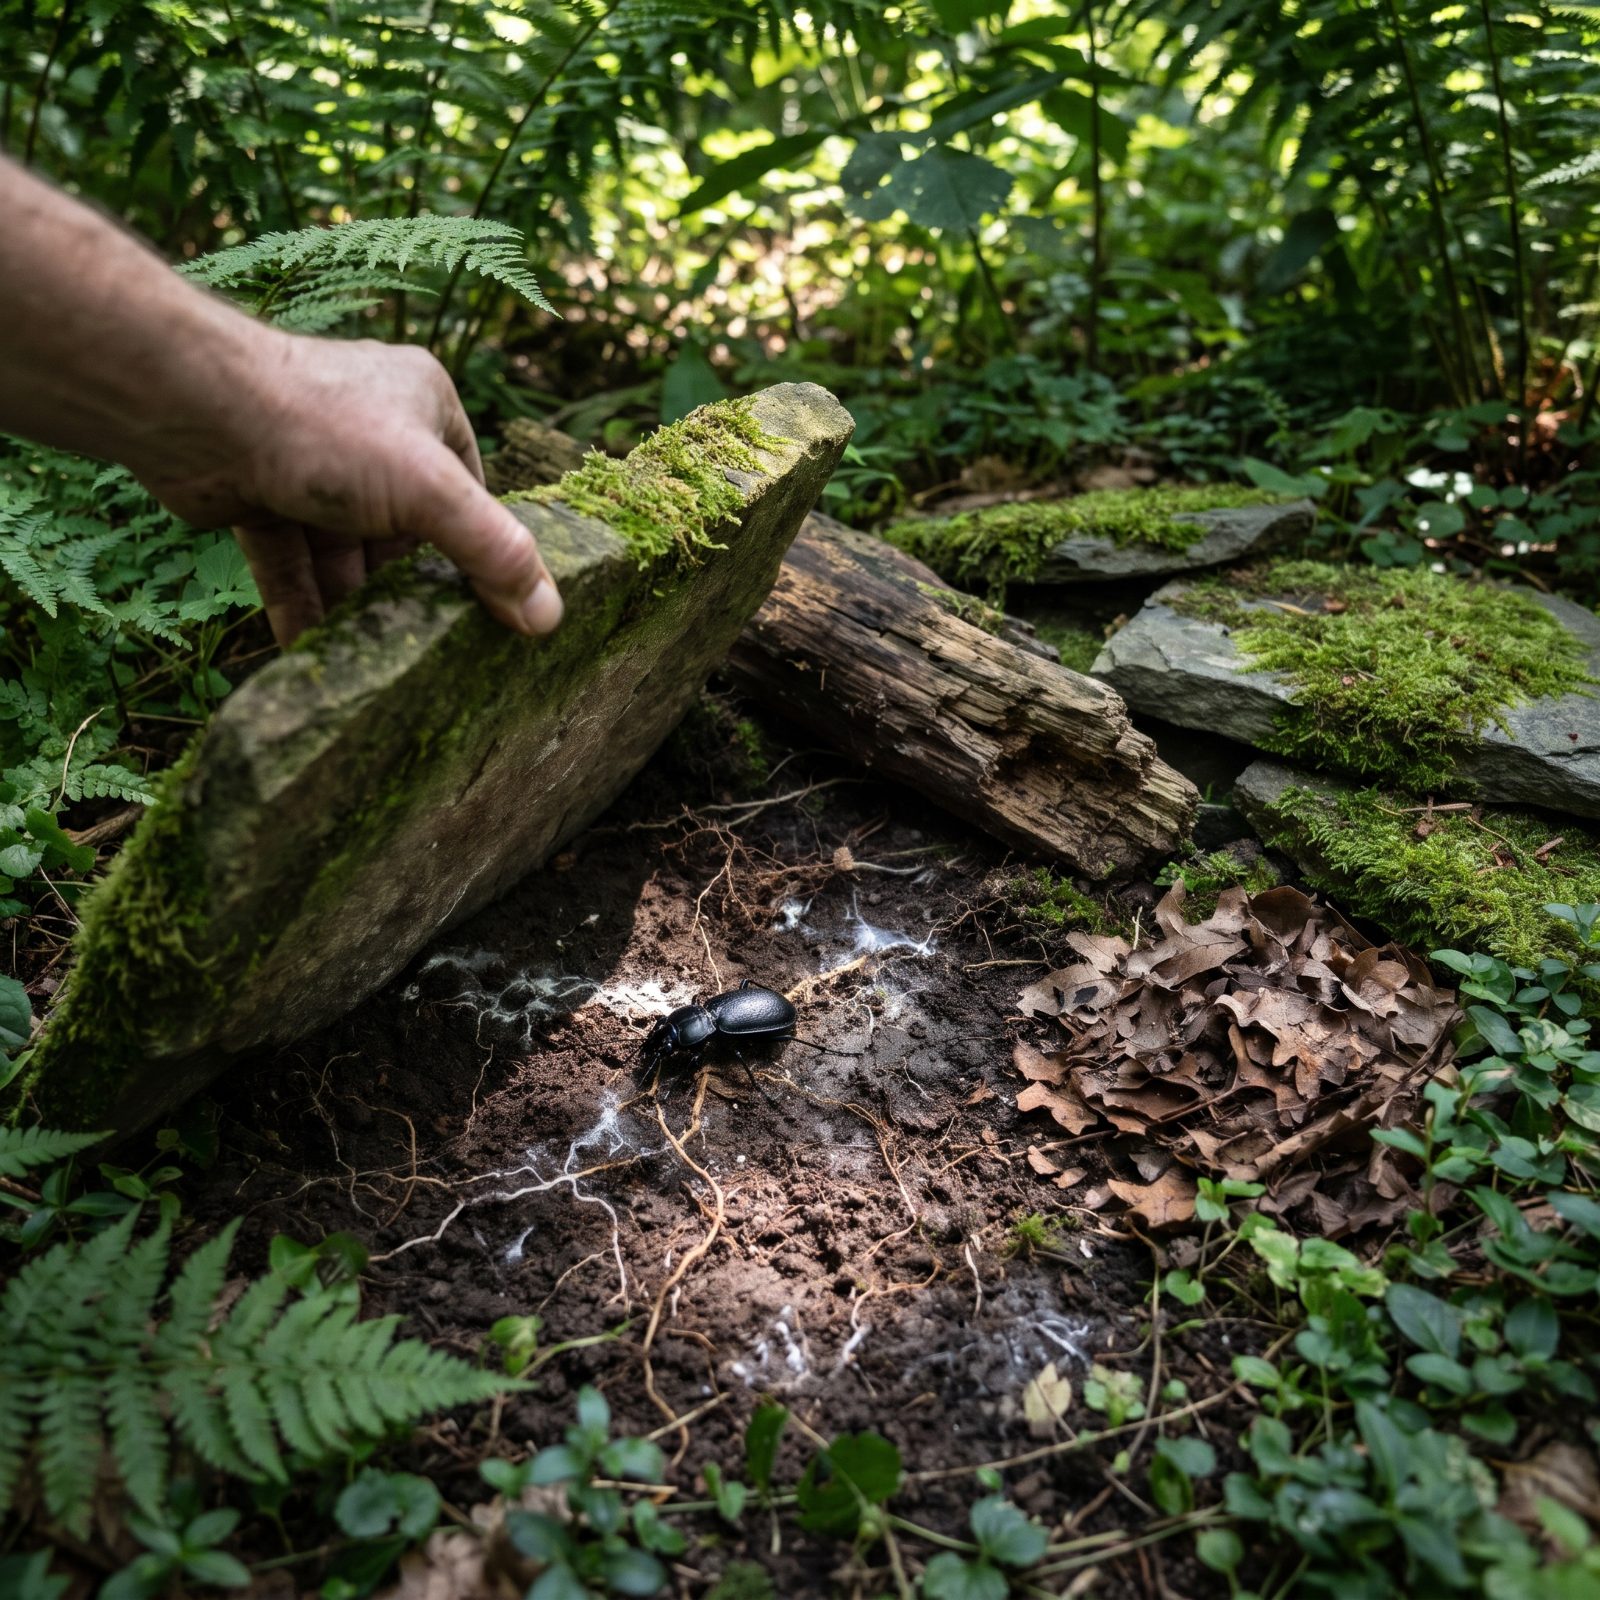
The best pest control in the garden is often the one already living there, if you let it.
Ground beetles are voracious nocturnal hunters, and a single one can put away hundreds of slug eggs, cutworms, and aphids over a season. Research into beetle banks and refuge habitat confirms what old gardeners always knew by instinct: give these predators somewhere to shelter and they’ll patrol your beds for free.
So leave a log, a flat stone, or a tussock of long grass in an undisturbed corner. Don’t tidy every square foot. That scruffy edge isn’t neglect, it’s a working habitat, and it quietly keeps the pest balance tipped your way.
26. Blast Aphids Off Stems With a Hard Stream of Water
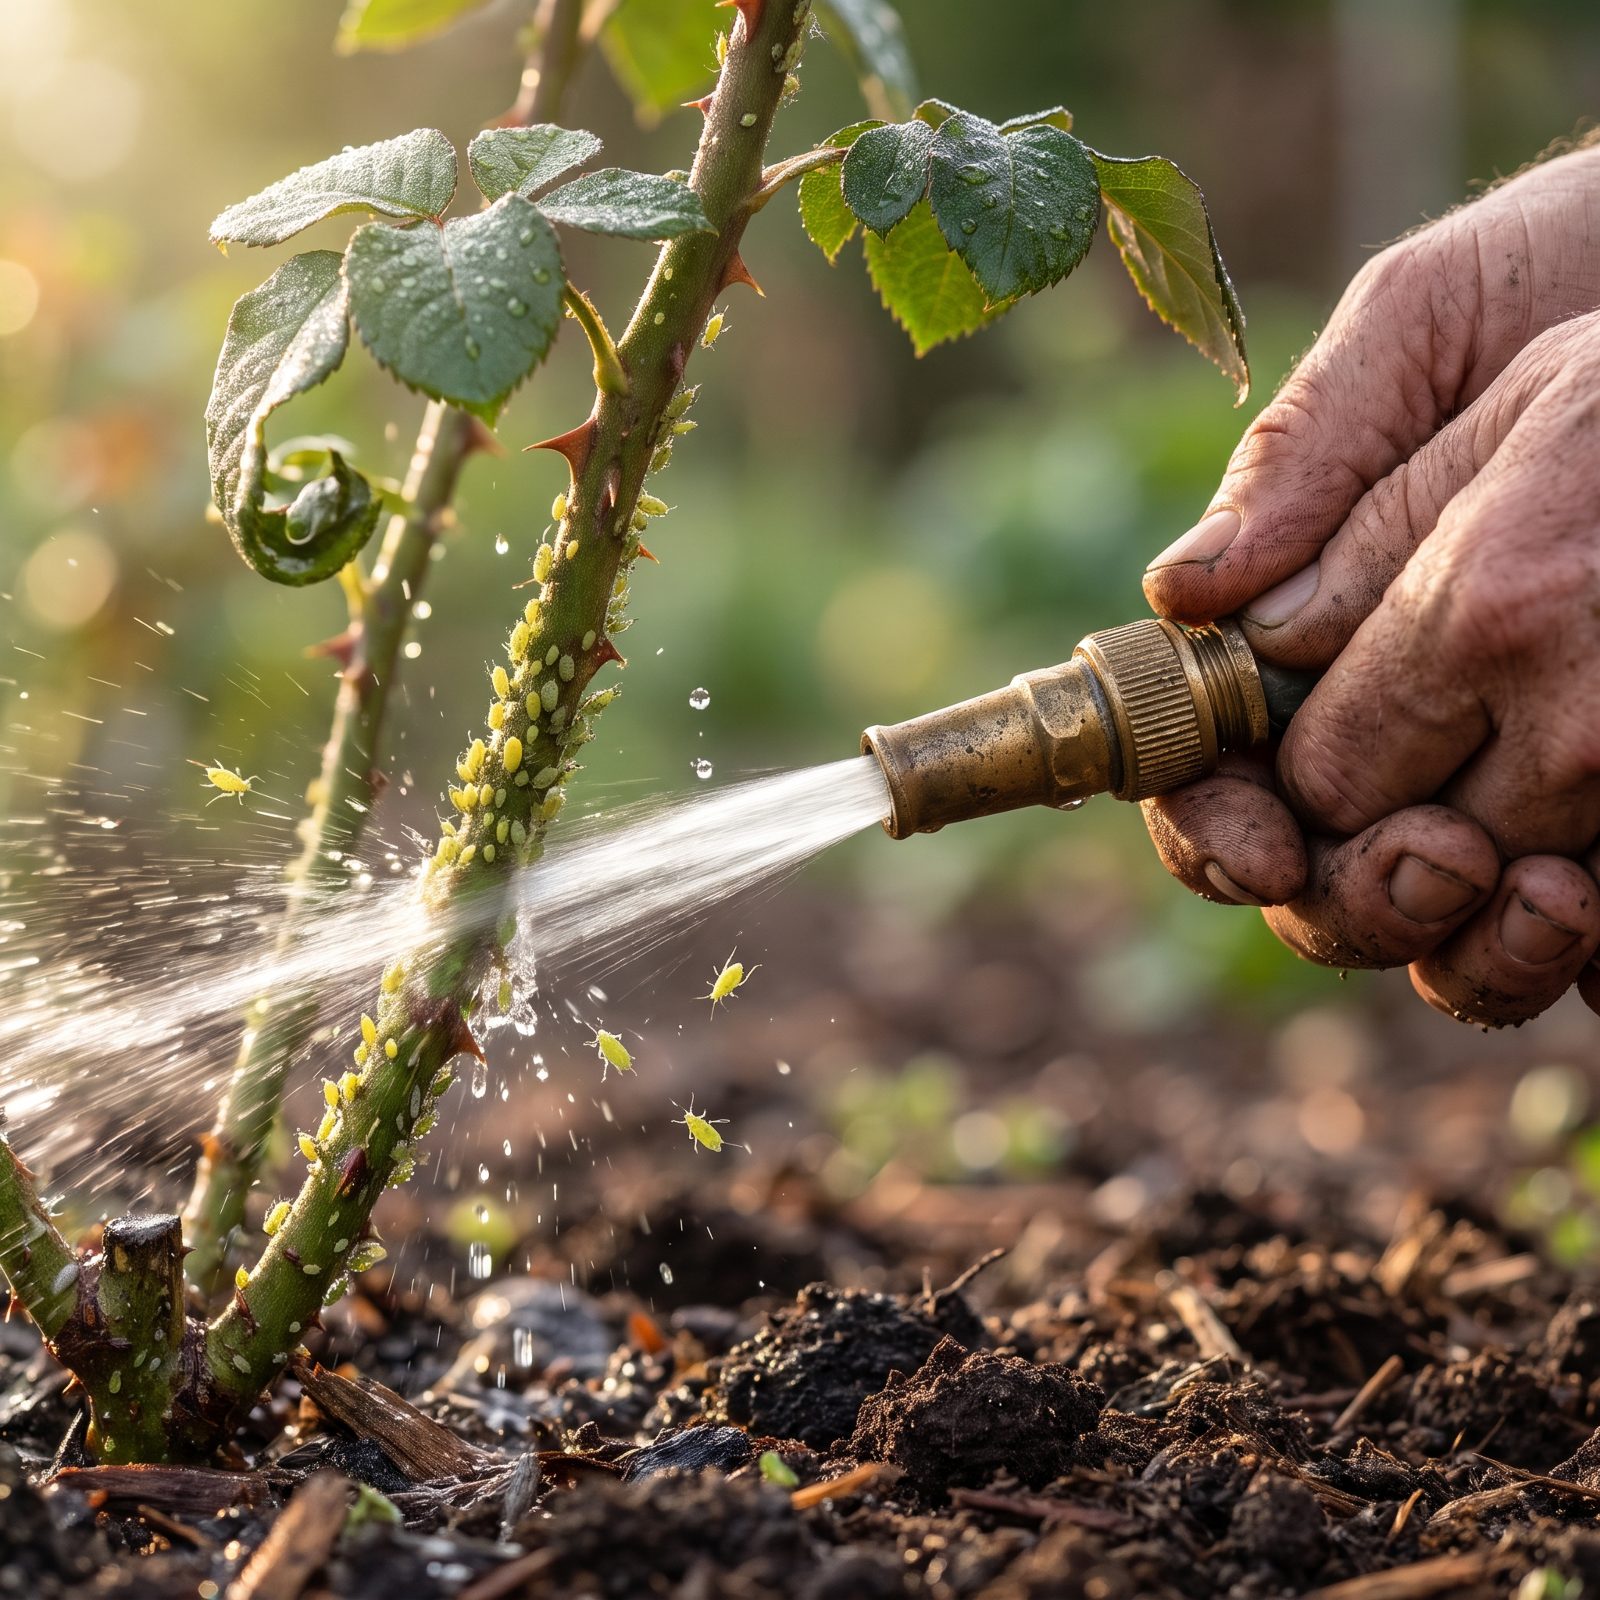
The oldest trick for aphids is also one of the best, and it costs nothing but the water already in your hose. A firm spray knocks the colony off the stem, and here is the part people miss: most of those dislodged aphids never make it back up. They land, get eaten, dry out.
Aim for the undersides of leaves and the tender new growth where they cluster thickest, then do it in the morning so foliage dries by evening and repeat every few days during an outbreak. No chemicals. No waiting period before you harvest. Nothing to measure.
25. Flick Beetles Into a Jar of Soapy Water at Dawn
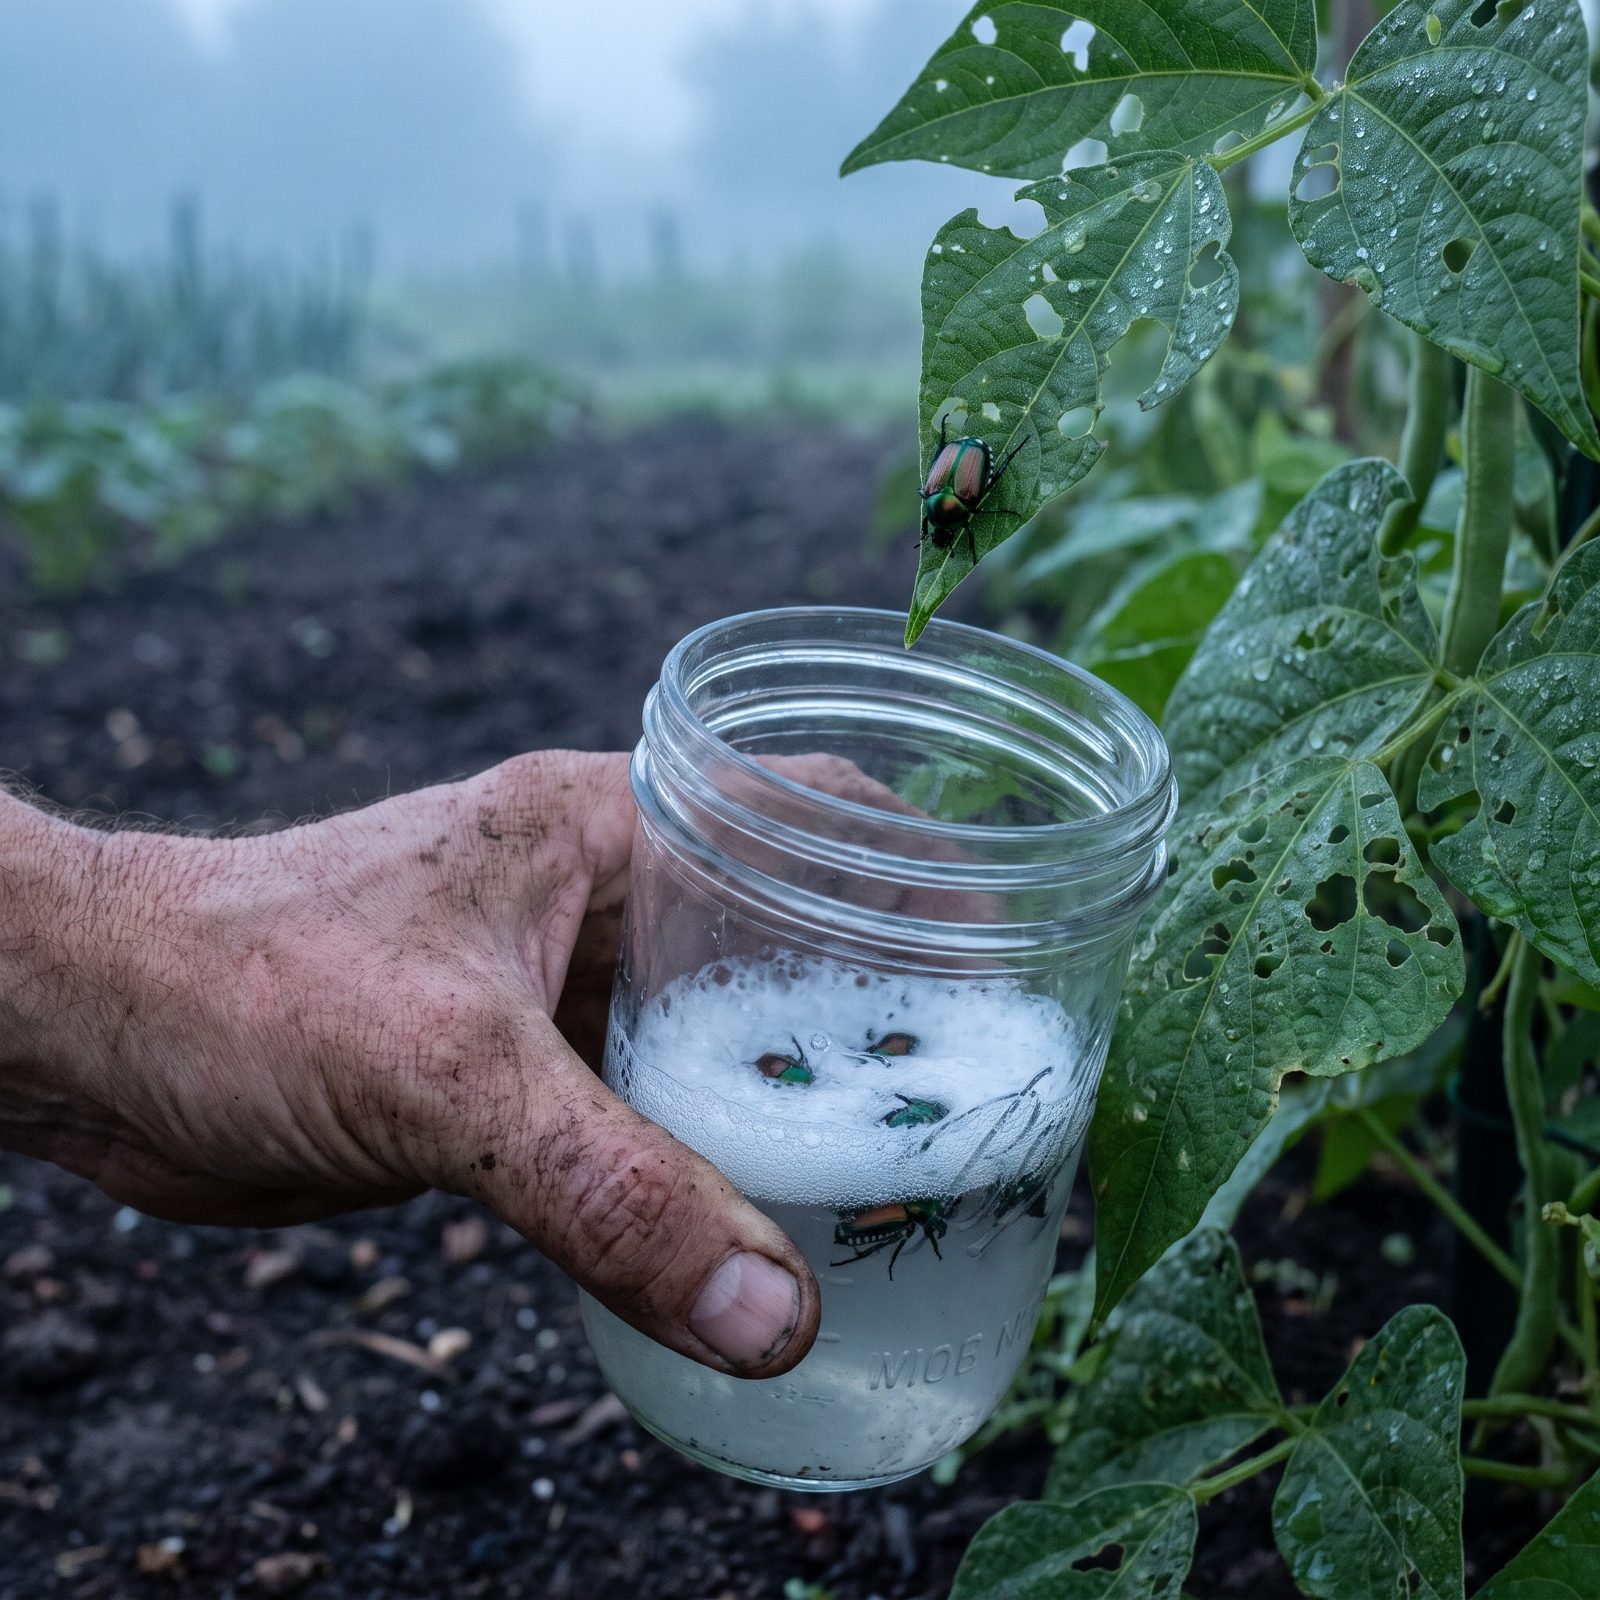
Beetles are sluggish in cool morning air. That’s the whole secret. Go out early, hold a container of soapy water under the leaf, and tap — they drop straight in before their wings warm up enough to fly off.
Japanese beetles, cucumber beetles, Colorado potato beetles, all of them fall for it. The soap breaks the water’s surface tension so they can’t climb out and sink instead of floating off. Research on handpicking confirms what every grandmother already knew: pull them off daily during the feeding window and populations never get the chance to explode. It’s tedious work. It also beats most sprays, and leaves zero residue on your food.
24. Ring Your Crops With Sunflowers as a Living Windbreak
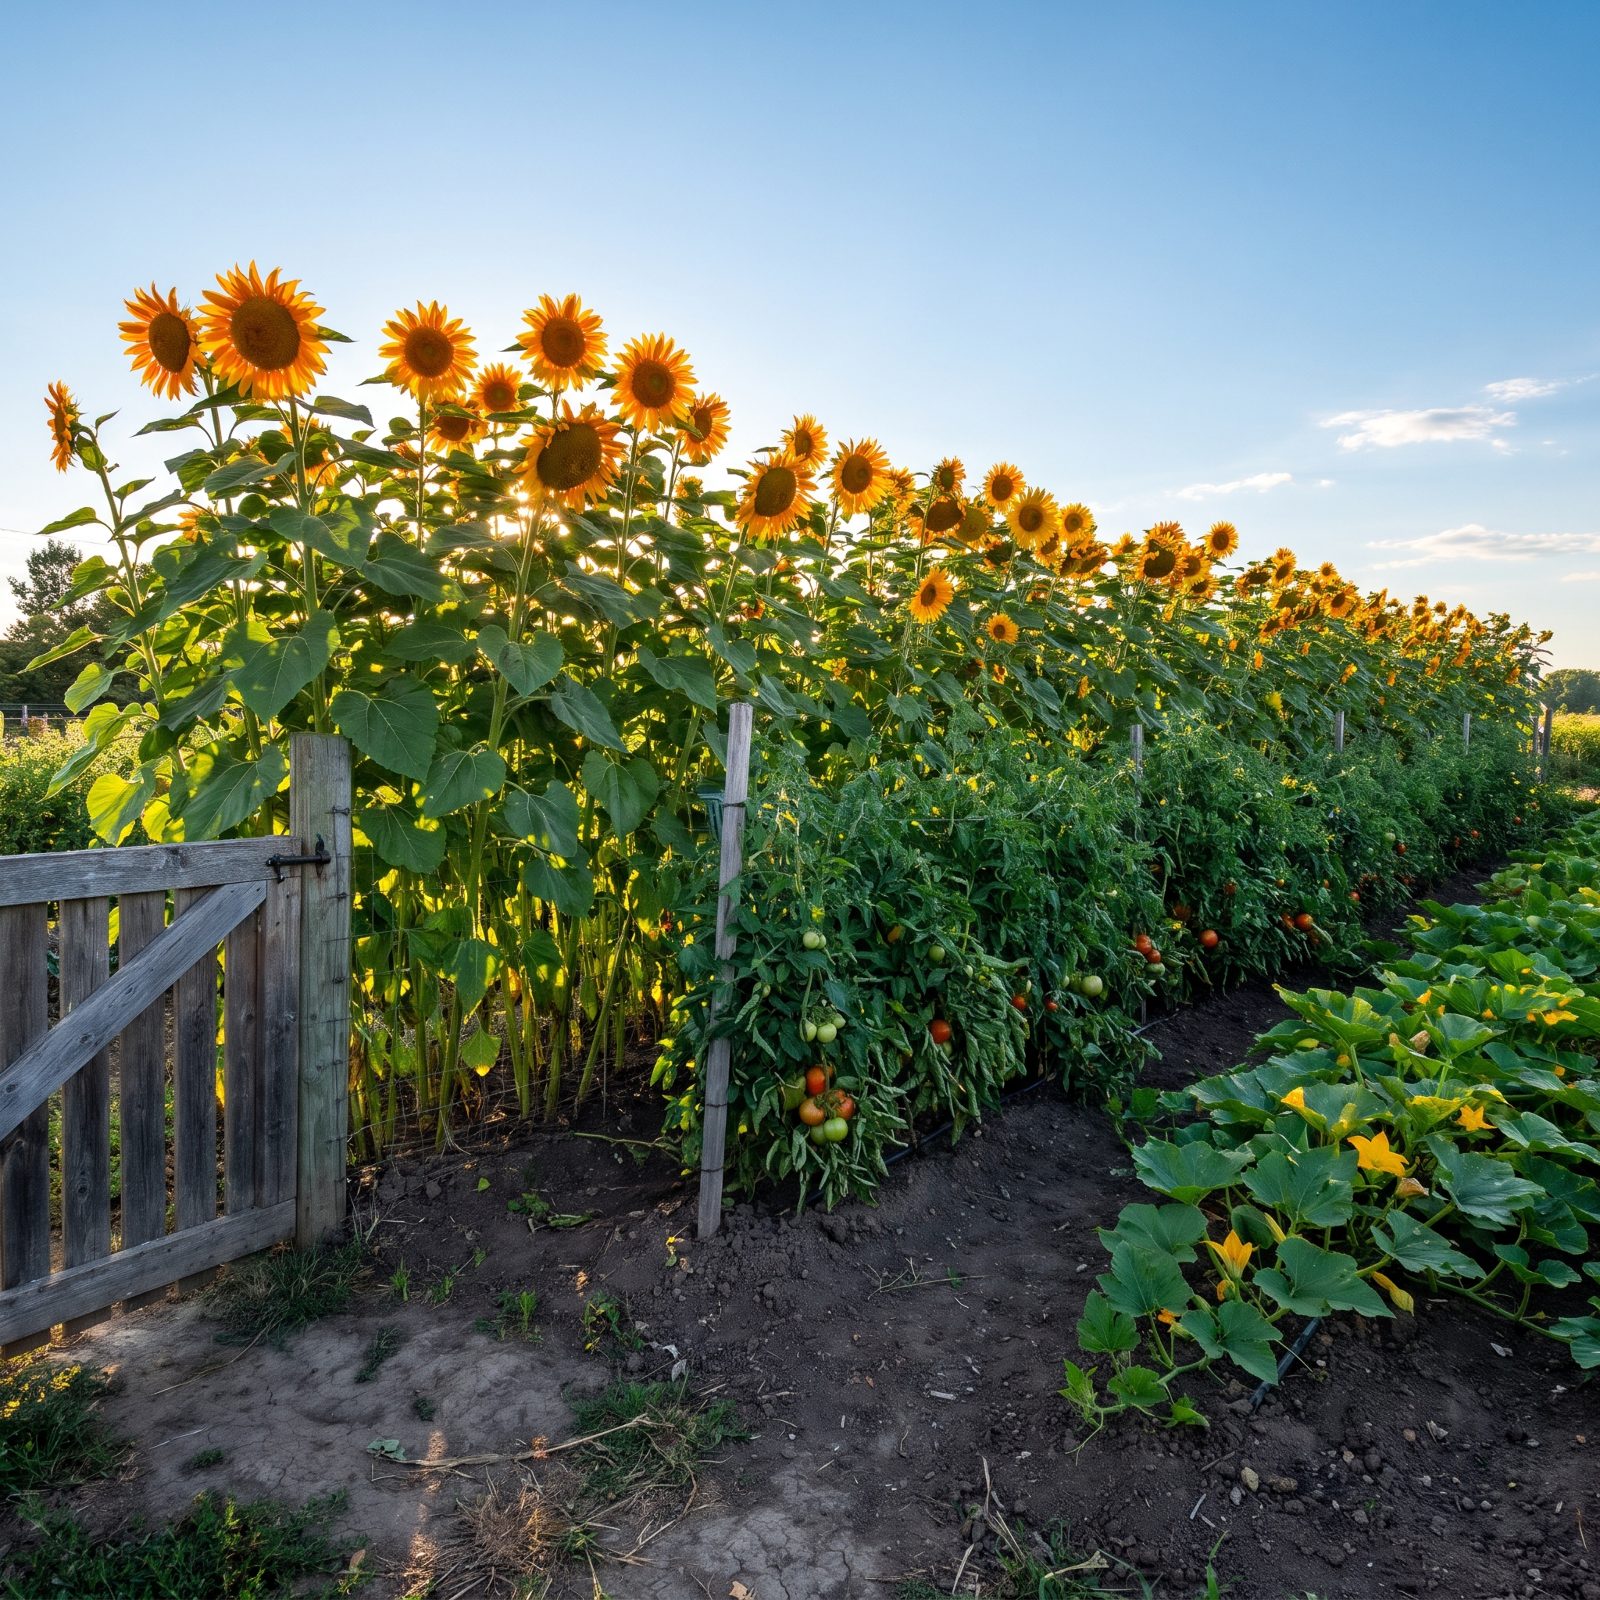
A wall of sunflowers does more than look cheerful. Planted thick along the windward side of a bed, those stout stalks cut the wind that otherwise dries out soil, snaps tender stems, and knocks pollen loose before bees can do their work.
Studies on windbreaks show sheltered crops hold moisture longer and grow steadier. And there’s a bonus the stalks throw in for free: the heads pull in pollinators all summer, then feed finches through winter. Go for the tall branching types for density, and give them a head start so they tower by the time your main crops need the cover.
23. Pack In Flower Strips to Hire an Insect Army

Pests have predators, and those predators need somewhere to live and something to eat when pests run scarce. A dense strip of small-flowered plants gives them exactly that.
Hoverflies, lacewings, parasitic wasps, and ladybugs all feed on nectar and pollen as adults before their young go hunting aphids and caterpillars. The science behind this is solid and even has a name — conservation biological control — and field trials keep turning up fewer pests in crops bordered by flower strips. Reach for the flat, tiny blooms: sweet alyssum, dill, yarrow, buckwheat, fennel. The big showy flowers? Pretty, sure, but their nectar sits too deep for these small helpers to reach.
22. Shuffle Plant Families Each Year to Break Pest Cycles
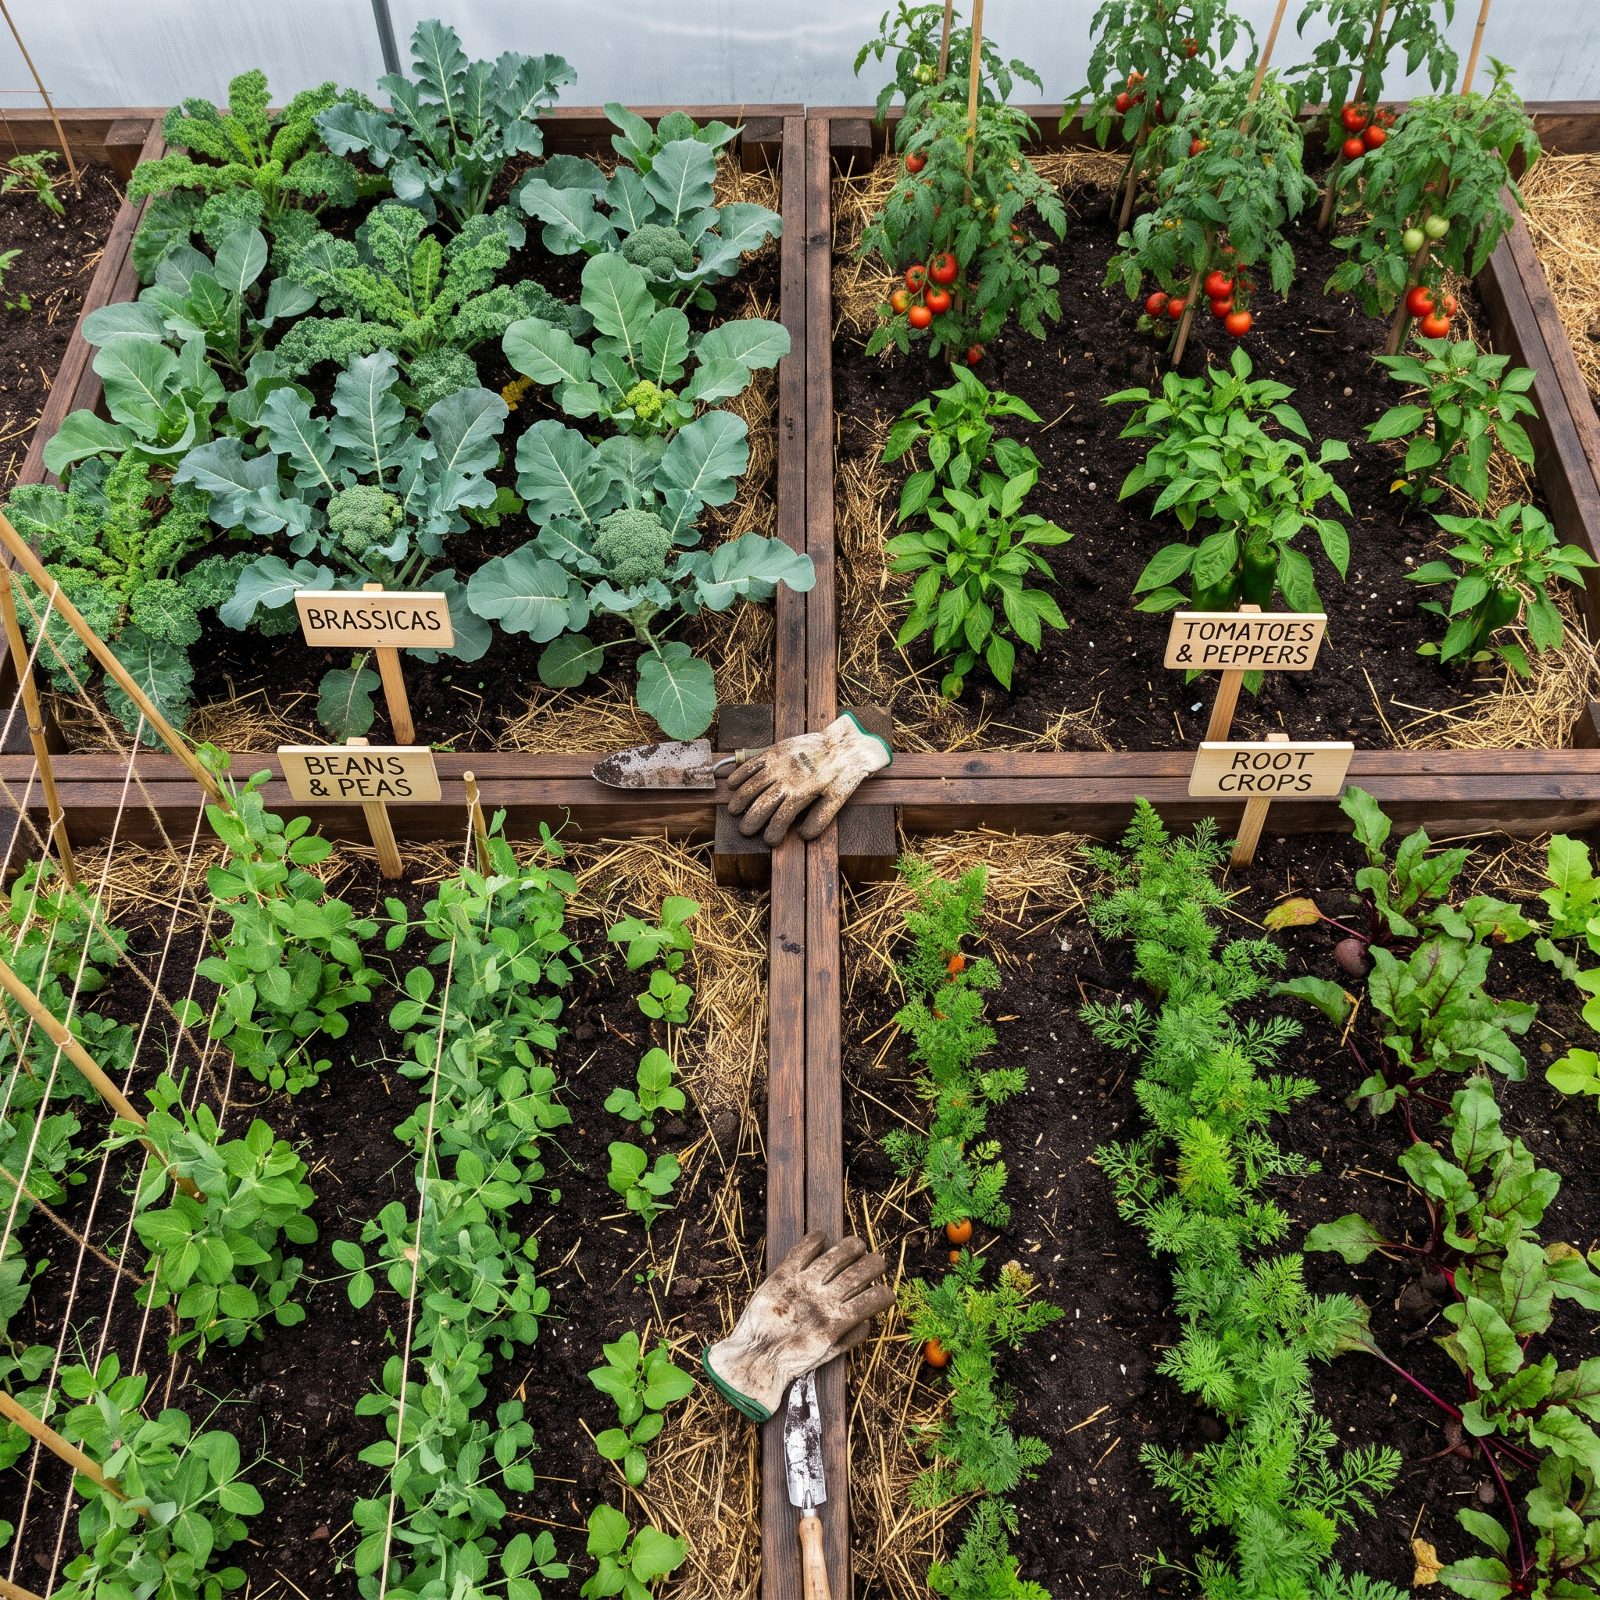
Plant the same tomatoes in the same corner every year and you’re feeding the exact pests and soil diseases that specialize in them. They overwinter right there, waiting.
Move each plant family to a new spot each season and those organisms wake up to find their host gone. Root-knot nematodes, clubroot, early blight, flea beetles — all take a hit when the dinner table keeps moving. A simple rotation groups crops by family (nightshades, brassicas, legumes, roots) and shifts them around on a three or four year cycle. Legumes leave nitrogen behind for the hungry greens that follow, so the order can pull double duty.
21. Mix Crops Together So Pests Can’t Find Their Target
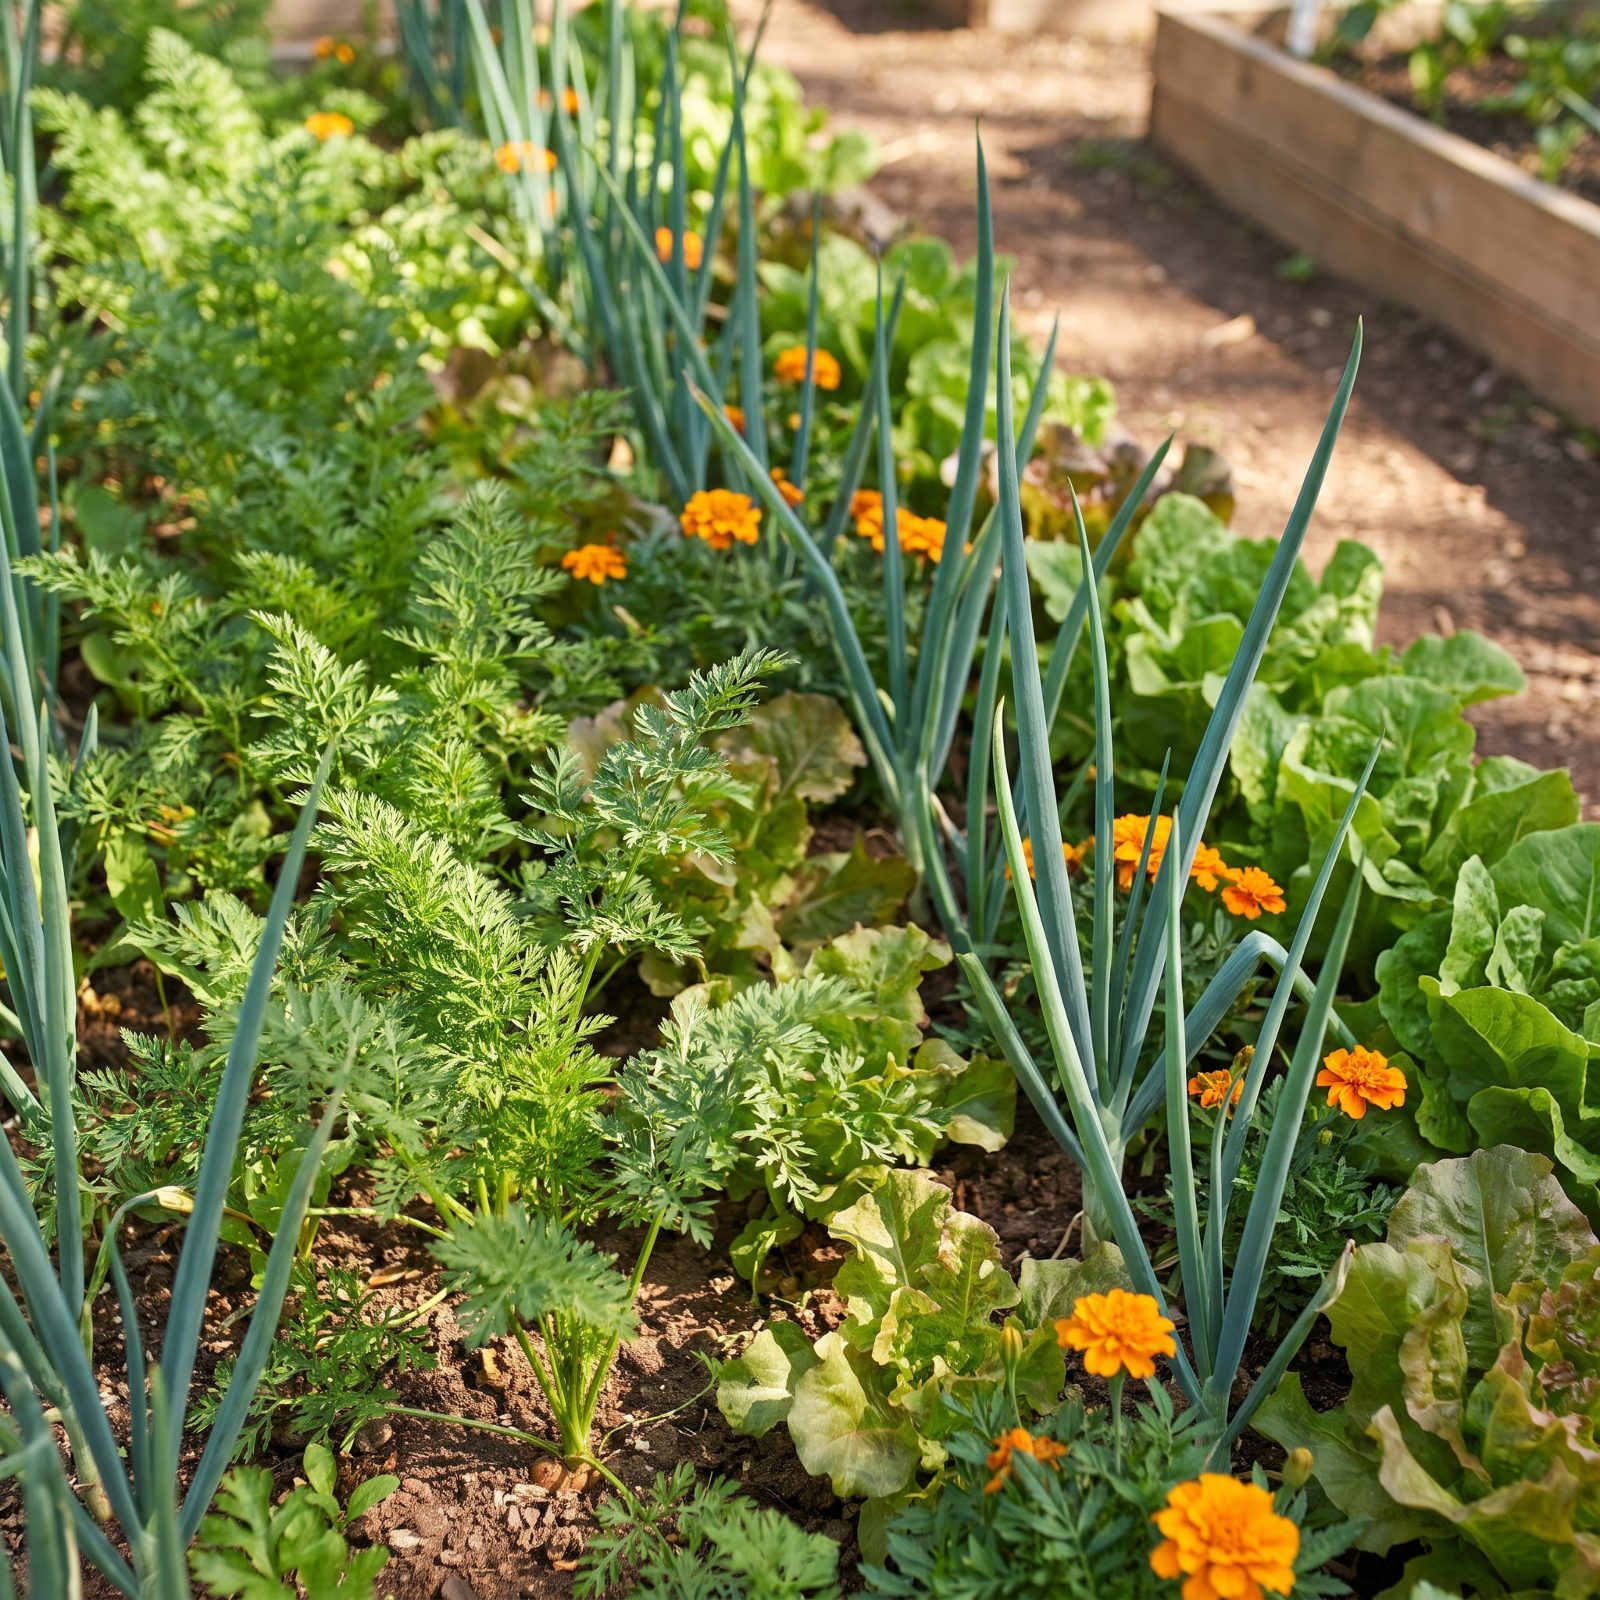
A single long row of cabbage is a billboard for cabbage pests. They find it by sight and smell, and once one arrives, the rest follow the chemical trail right in.
So break that signal. Mixing crops together — carrots among onions, lettuce threaded through brassicas — confuses pests that hunt by scent or color. Researchers call it the appropriate-nonhost theory, and it holds up: insects land, find the wrong plant, and wander off instead of settling in to breed. Strong-smelling neighbors like alliums and herbs mask the plants pests actually want. You lose a little tidy order and gain a bed that’s far harder to raid.
20. Let Manure Age Before It Goes Anywhere Near Roots
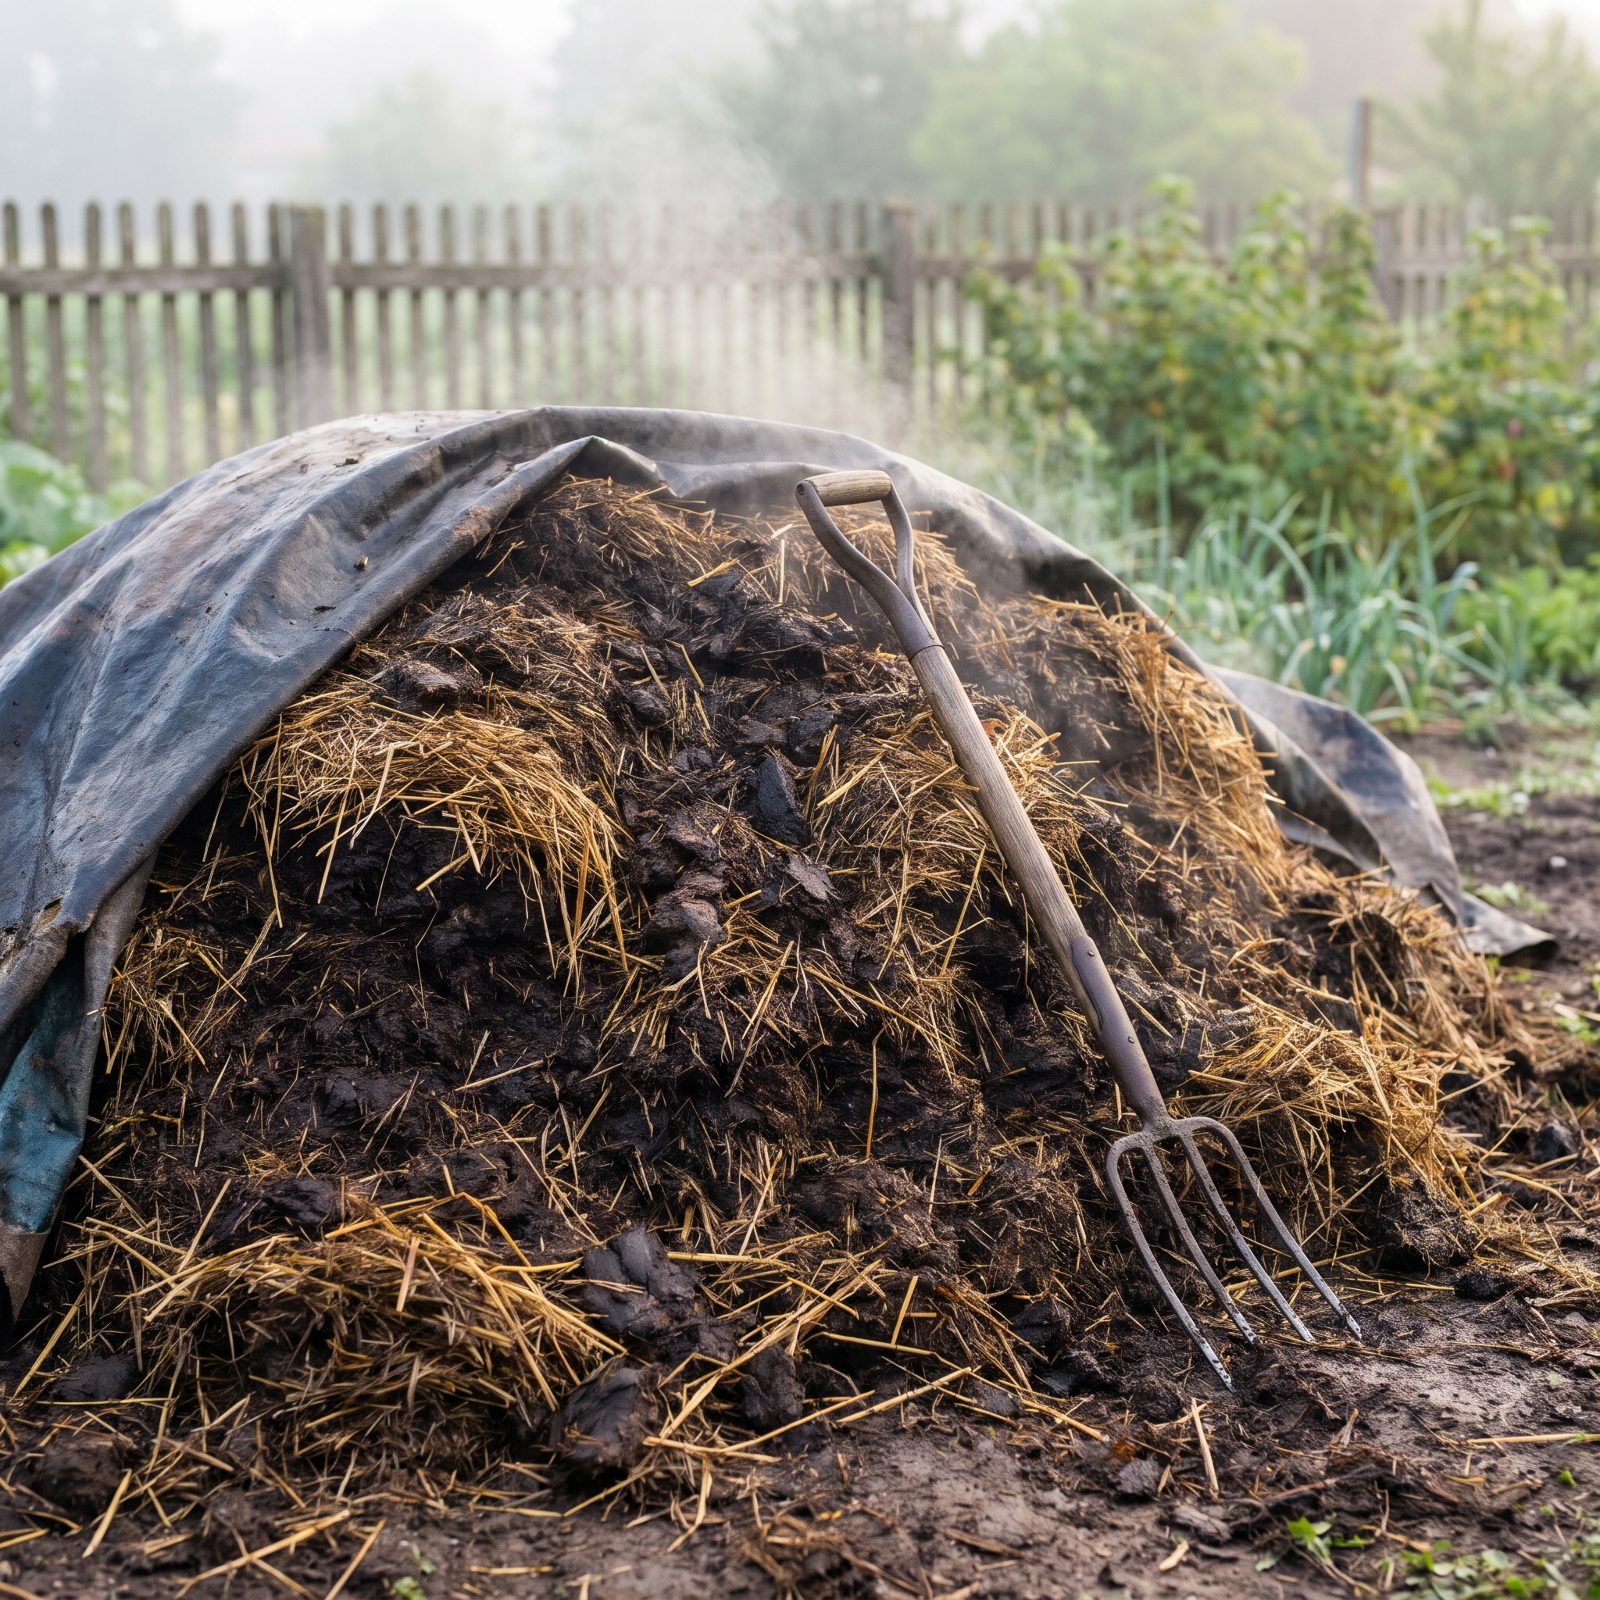
Fresh manure is too hot, and that’s not a figure of speech. The high ammonia and salts will scorch roots and burn tender seedlings outright.
Age it for a few months, or compost it properly, and both problems disappear. The ammonia settles into stable nitrogen, the pile cooks off harmful pathogens like E. coli, and raw weed seeds from the animal’s feed break down along the way. Food-safety guidance spells out the waiting period for a reason. Well-rotted manure smells earthy, not sharp, and crumbles dark and soft. Still stinks of the barn? It isn’t ready, and your lettuce will tell you so.
19. Cook Your Compost Hot Enough to Kill the Weed Seeds
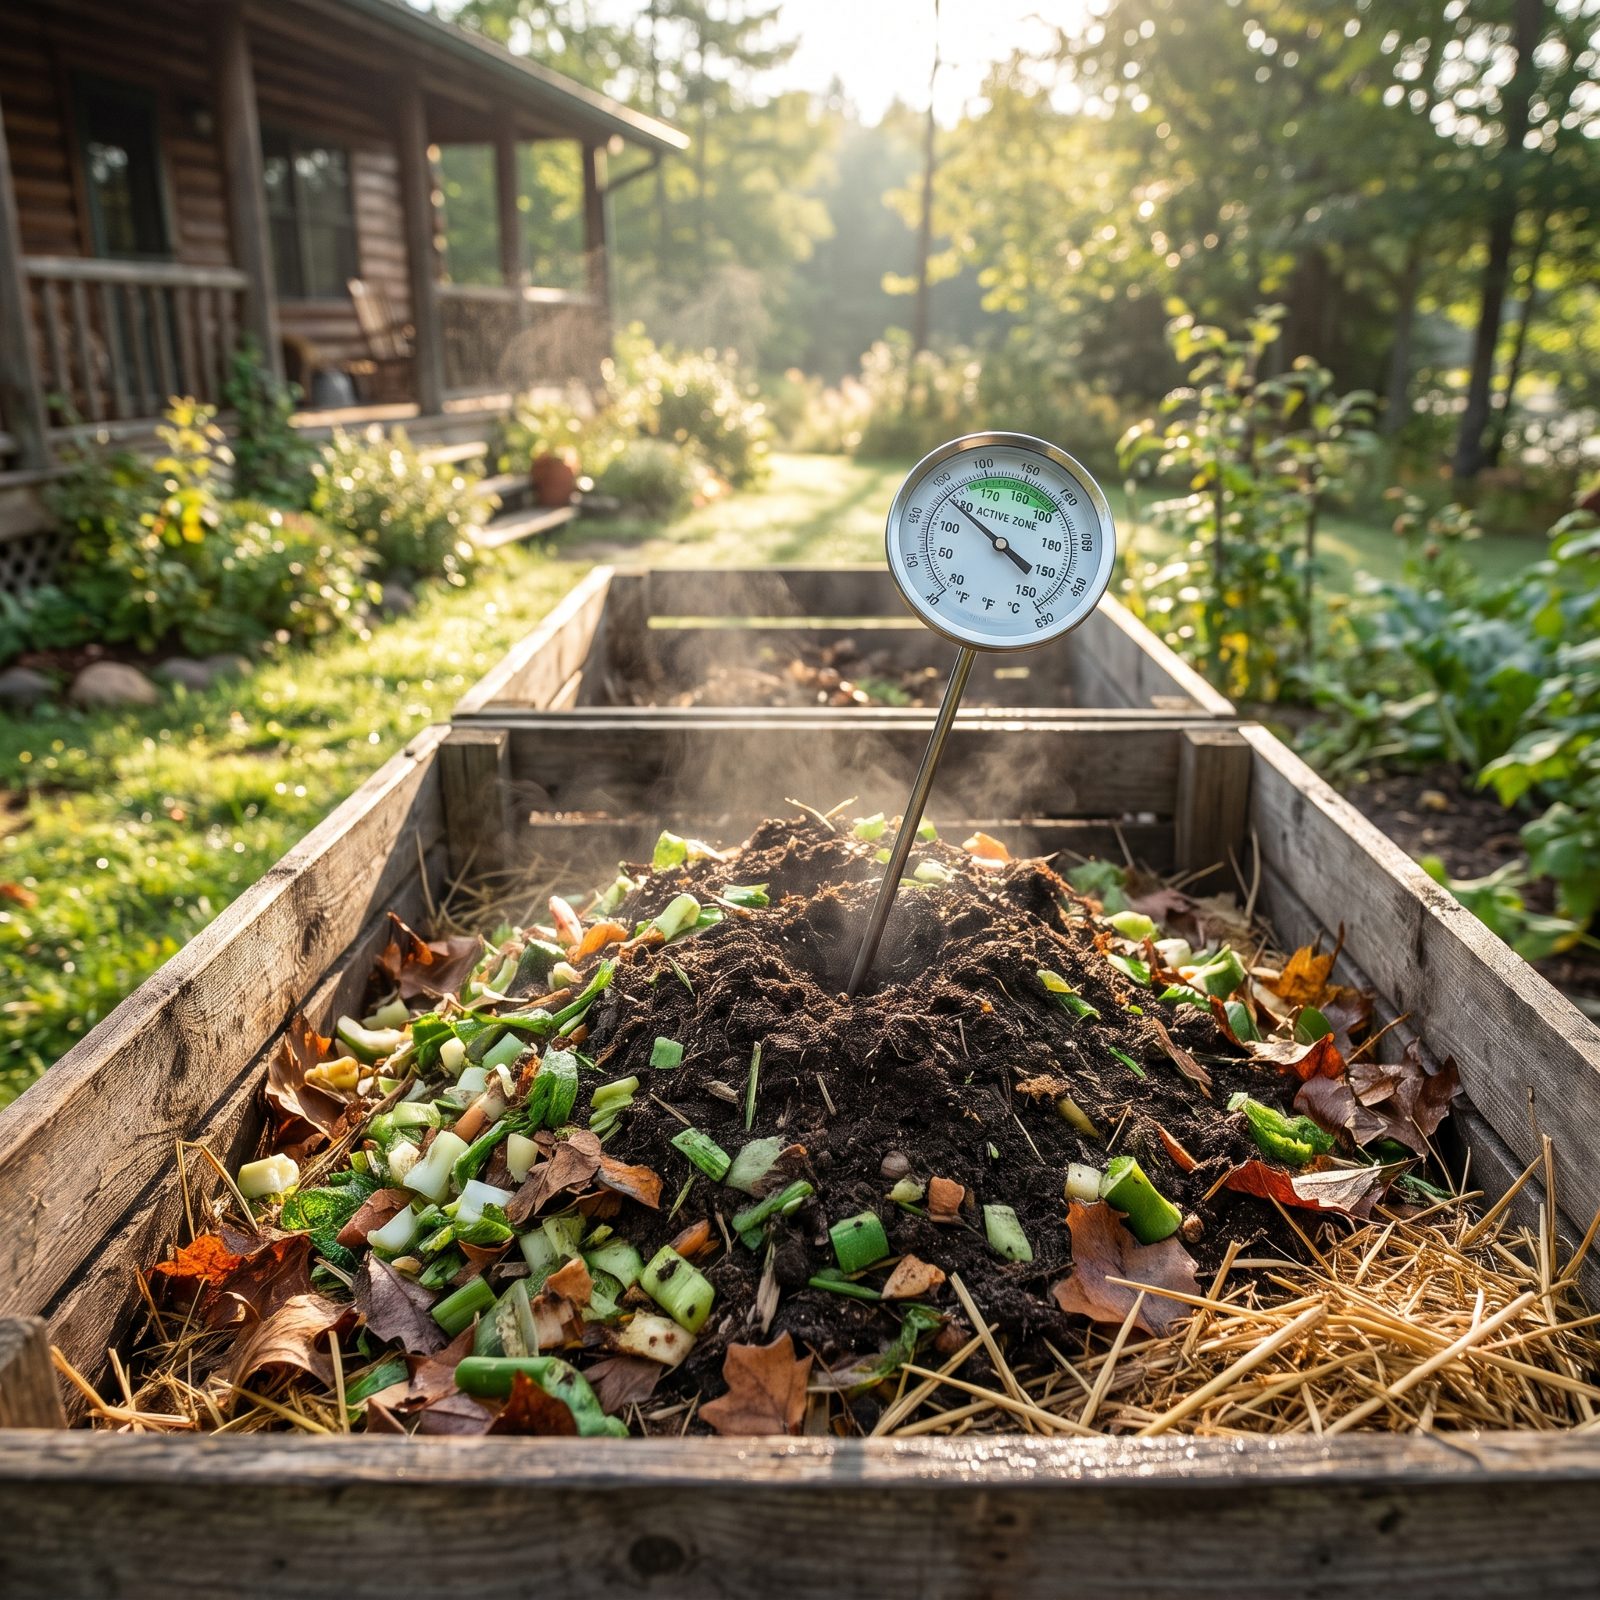
A cold compost pile breaks down eventually, but it hands you a problem: every weed seed and disease spore you threw in survives, and you spread it right back across your beds.
A hot pile is a different animal. When the center climbs into the range of 130 to 150 degrees Fahrenheit and holds there for several days, that heat kills most weed seeds and many pathogens. Getting there takes a big enough pile, the right mix of green and brown material, moisture, and a turn or two to feed the microbes oxygen. Stick a long-stemmed thermometer with a clear, readable scale in the middle and watch it climb. There’s something oddly satisfying about a pile running hot on a frosty morning.
18. Sow Clover or Vetch Instead of Letting Soil Sit Bare
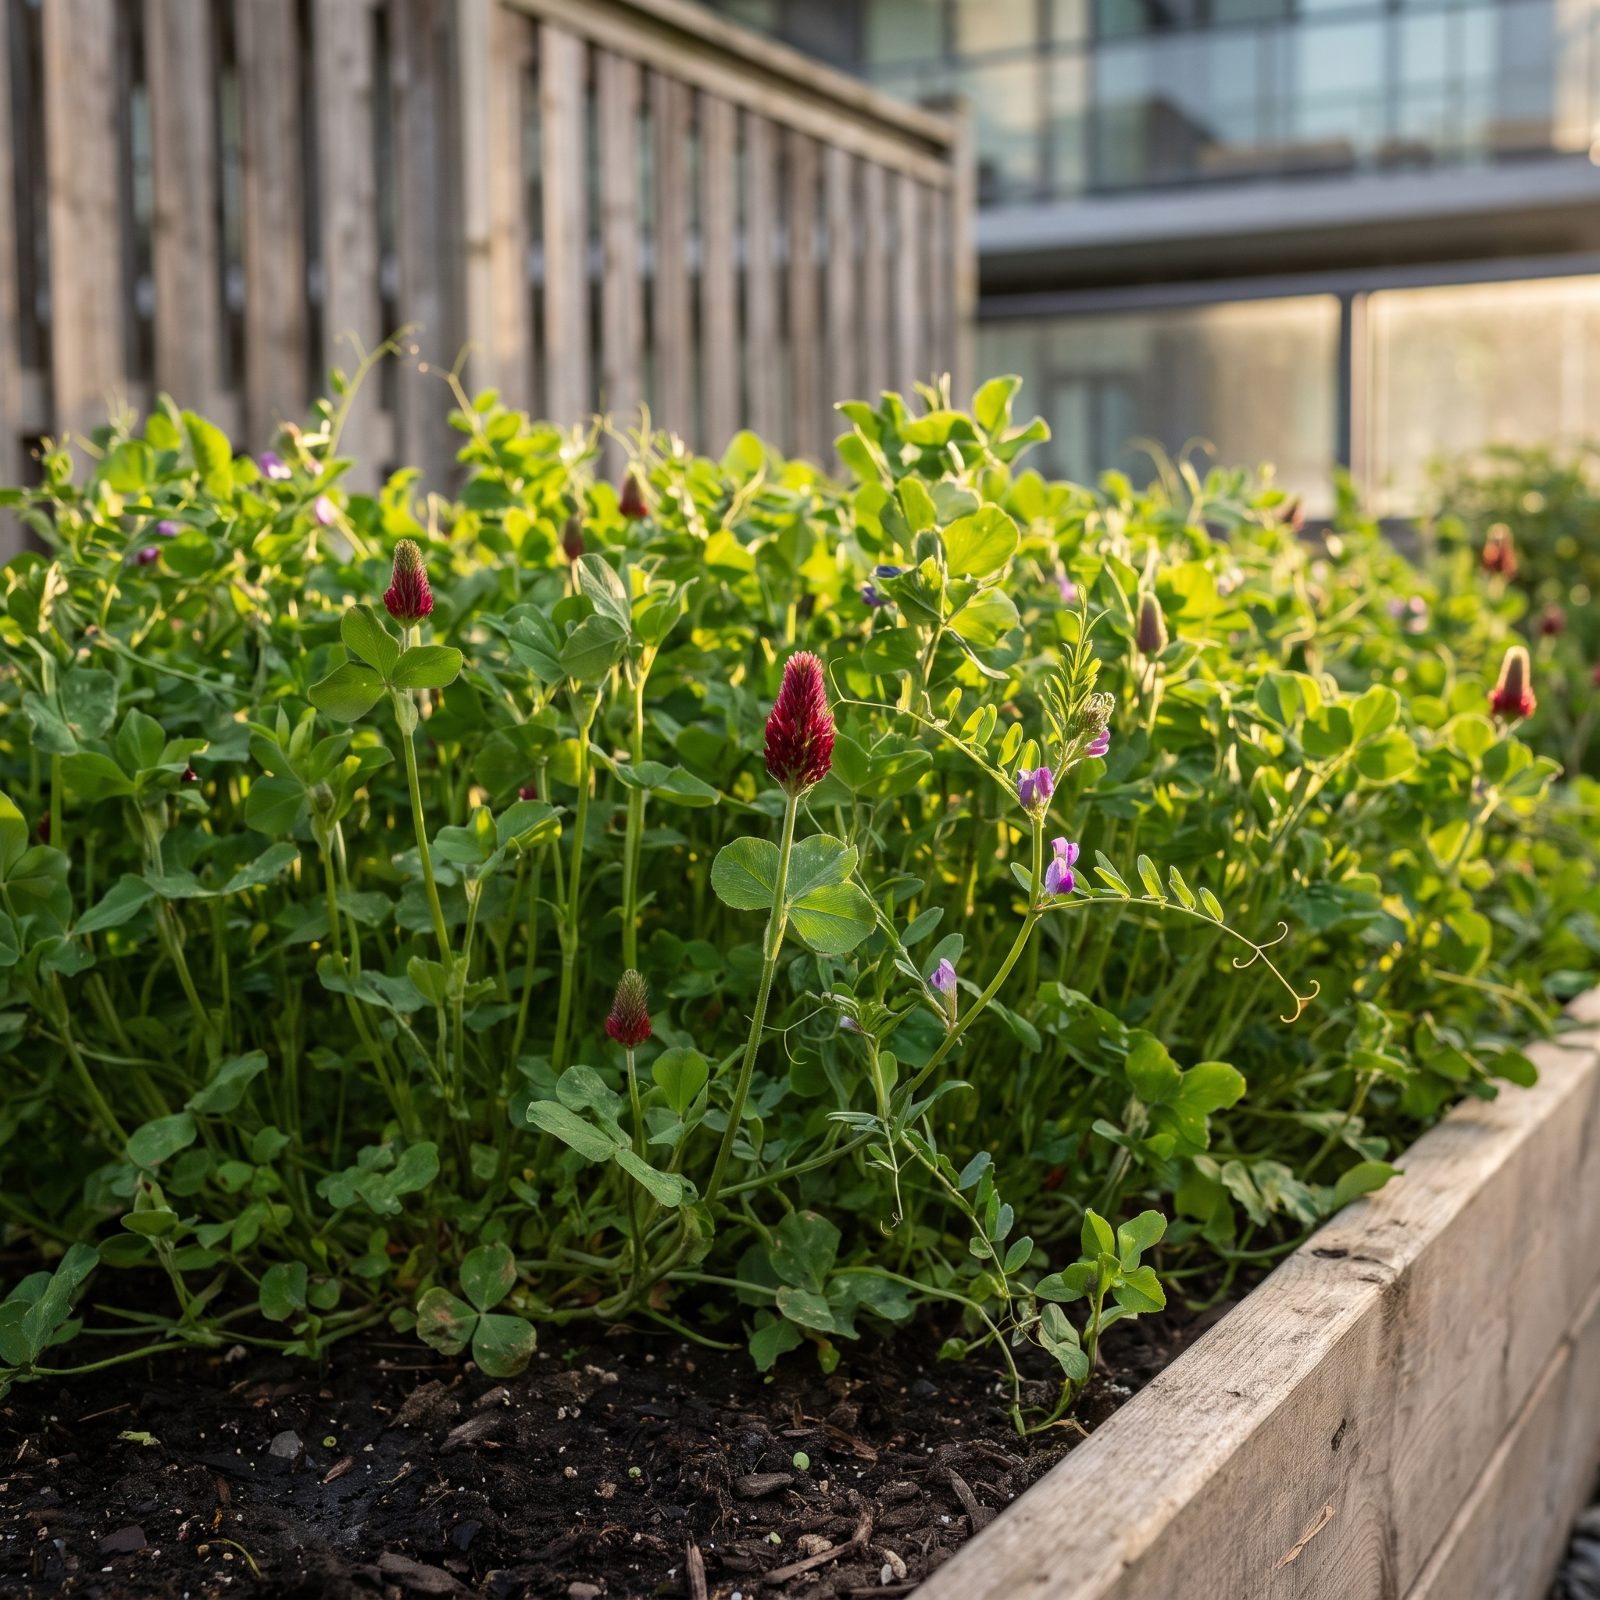
Bare soil over winter is a loss waiting to happen. Rain packs it down, washes nutrients away, and the whole underground food web goes quiet without roots to feed it.
Sow a cover crop instead. Clover and vetch are legumes, and with the right soil bacteria they pull nitrogen straight out of the air and bank it in the ground for next season’s crops, while their living roots hold the soil in place and keep the microbes fed. Cut the growth down in spring and it turns into a layer of green manure. Decades of research back all of this. It’s about the cheapest way to build fertility there is.
17. Lay Finished Compost on Top Instead of Digging It In Deep
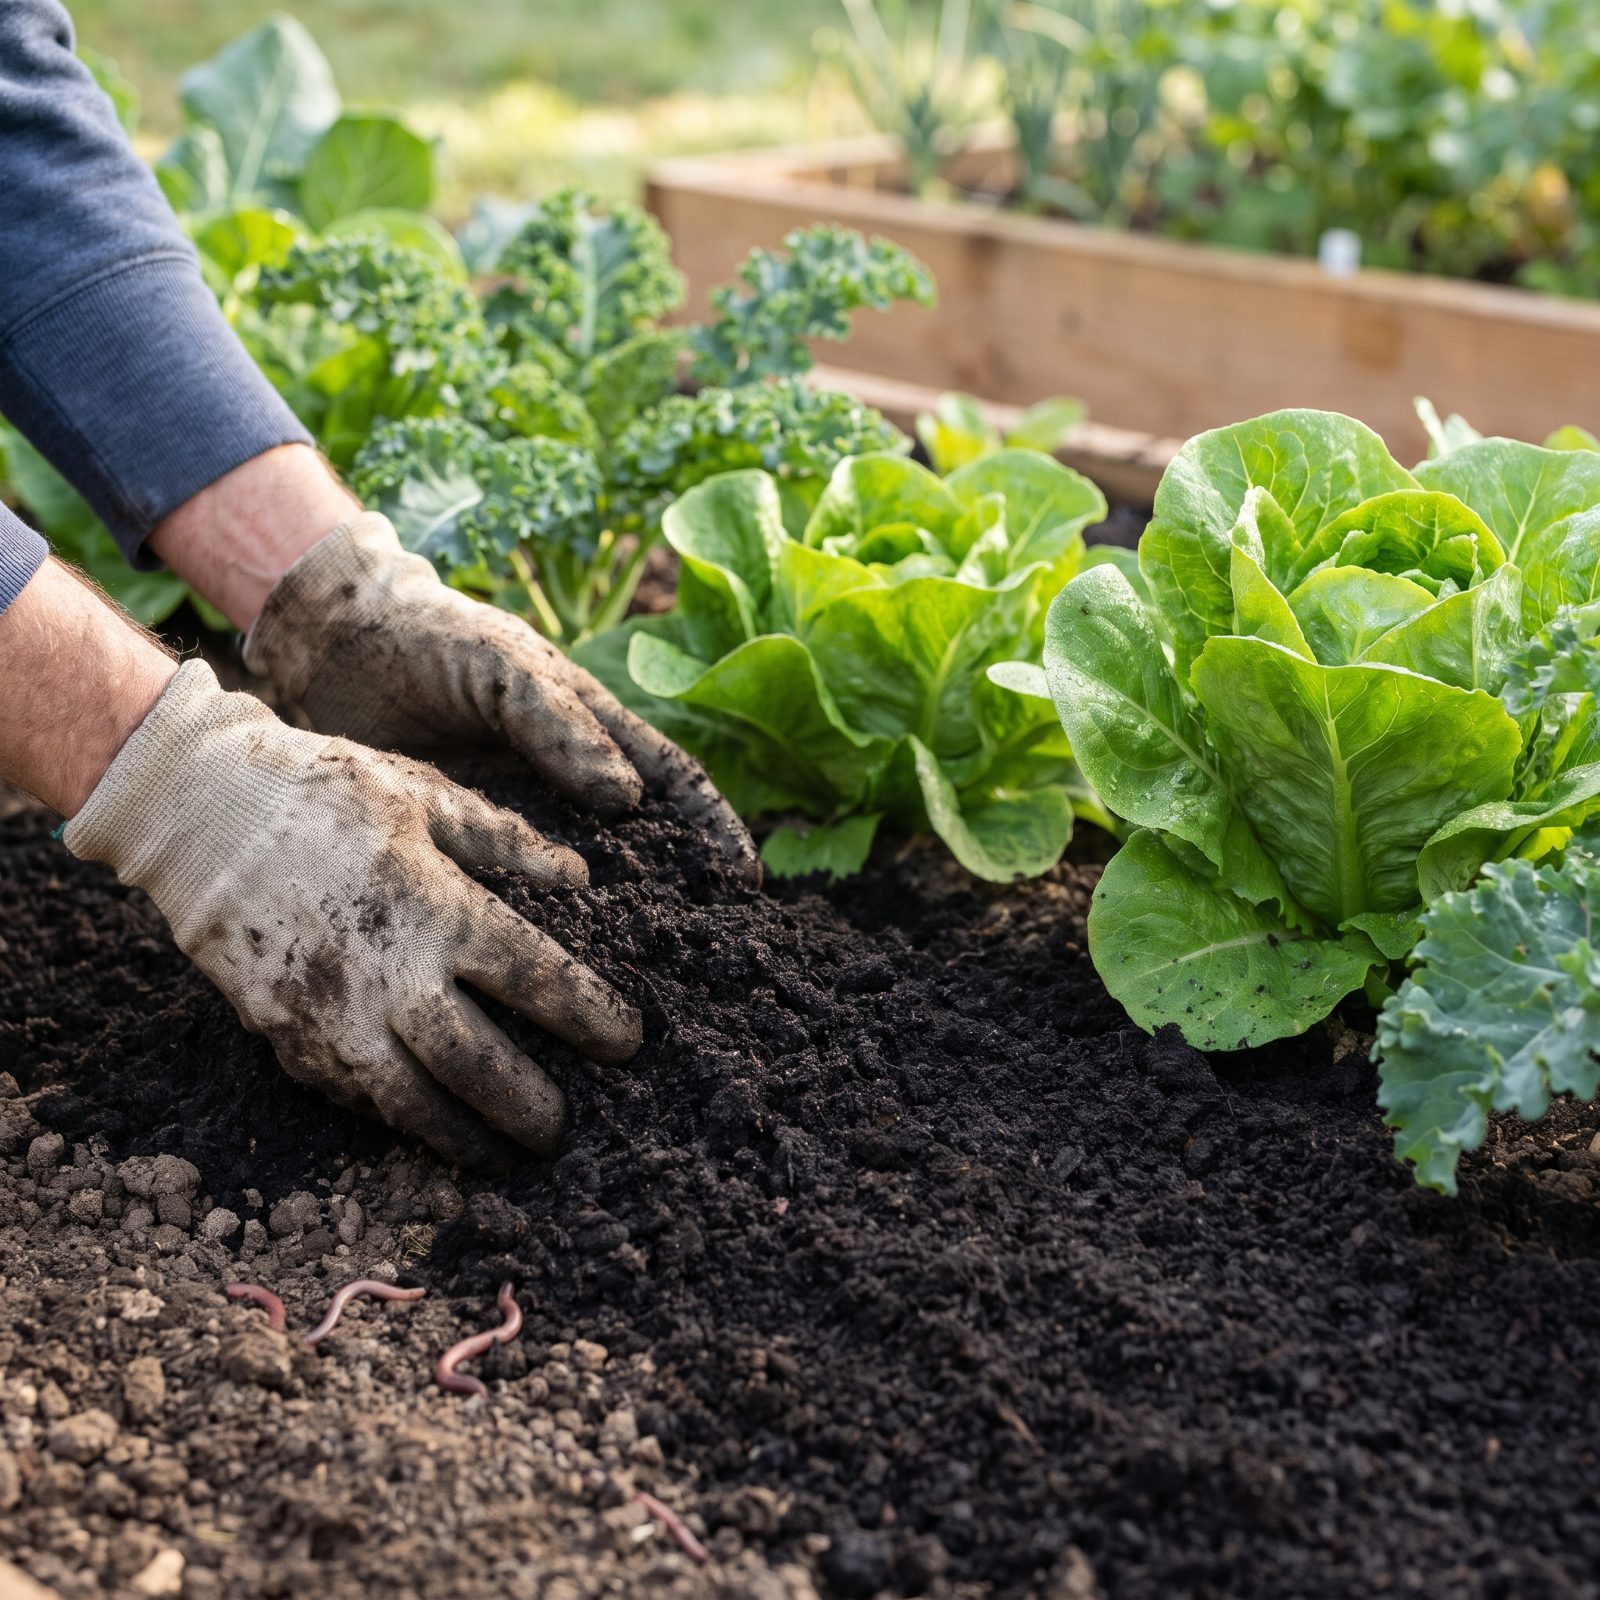
The old impulse to turn the soil over every spring does real damage. Deep digging shreds fungal networks, flips weed seeds up into the light, and burns through organic matter fast.
Lay finished compost on top and let the worms and rain carry it down — works better, asks far less of your back. No-dig growers have shown it for years, and soil scientists have caught up: undisturbed soil holds its structure, keeps more carbon, and drains better. Spread an inch or two across the bed each season. The underground life does the mixing for you, which, frankly, it’s been doing far longer than we have.
16. Spread Straw Around Plants to Reduce Evaporation and Weed Growth
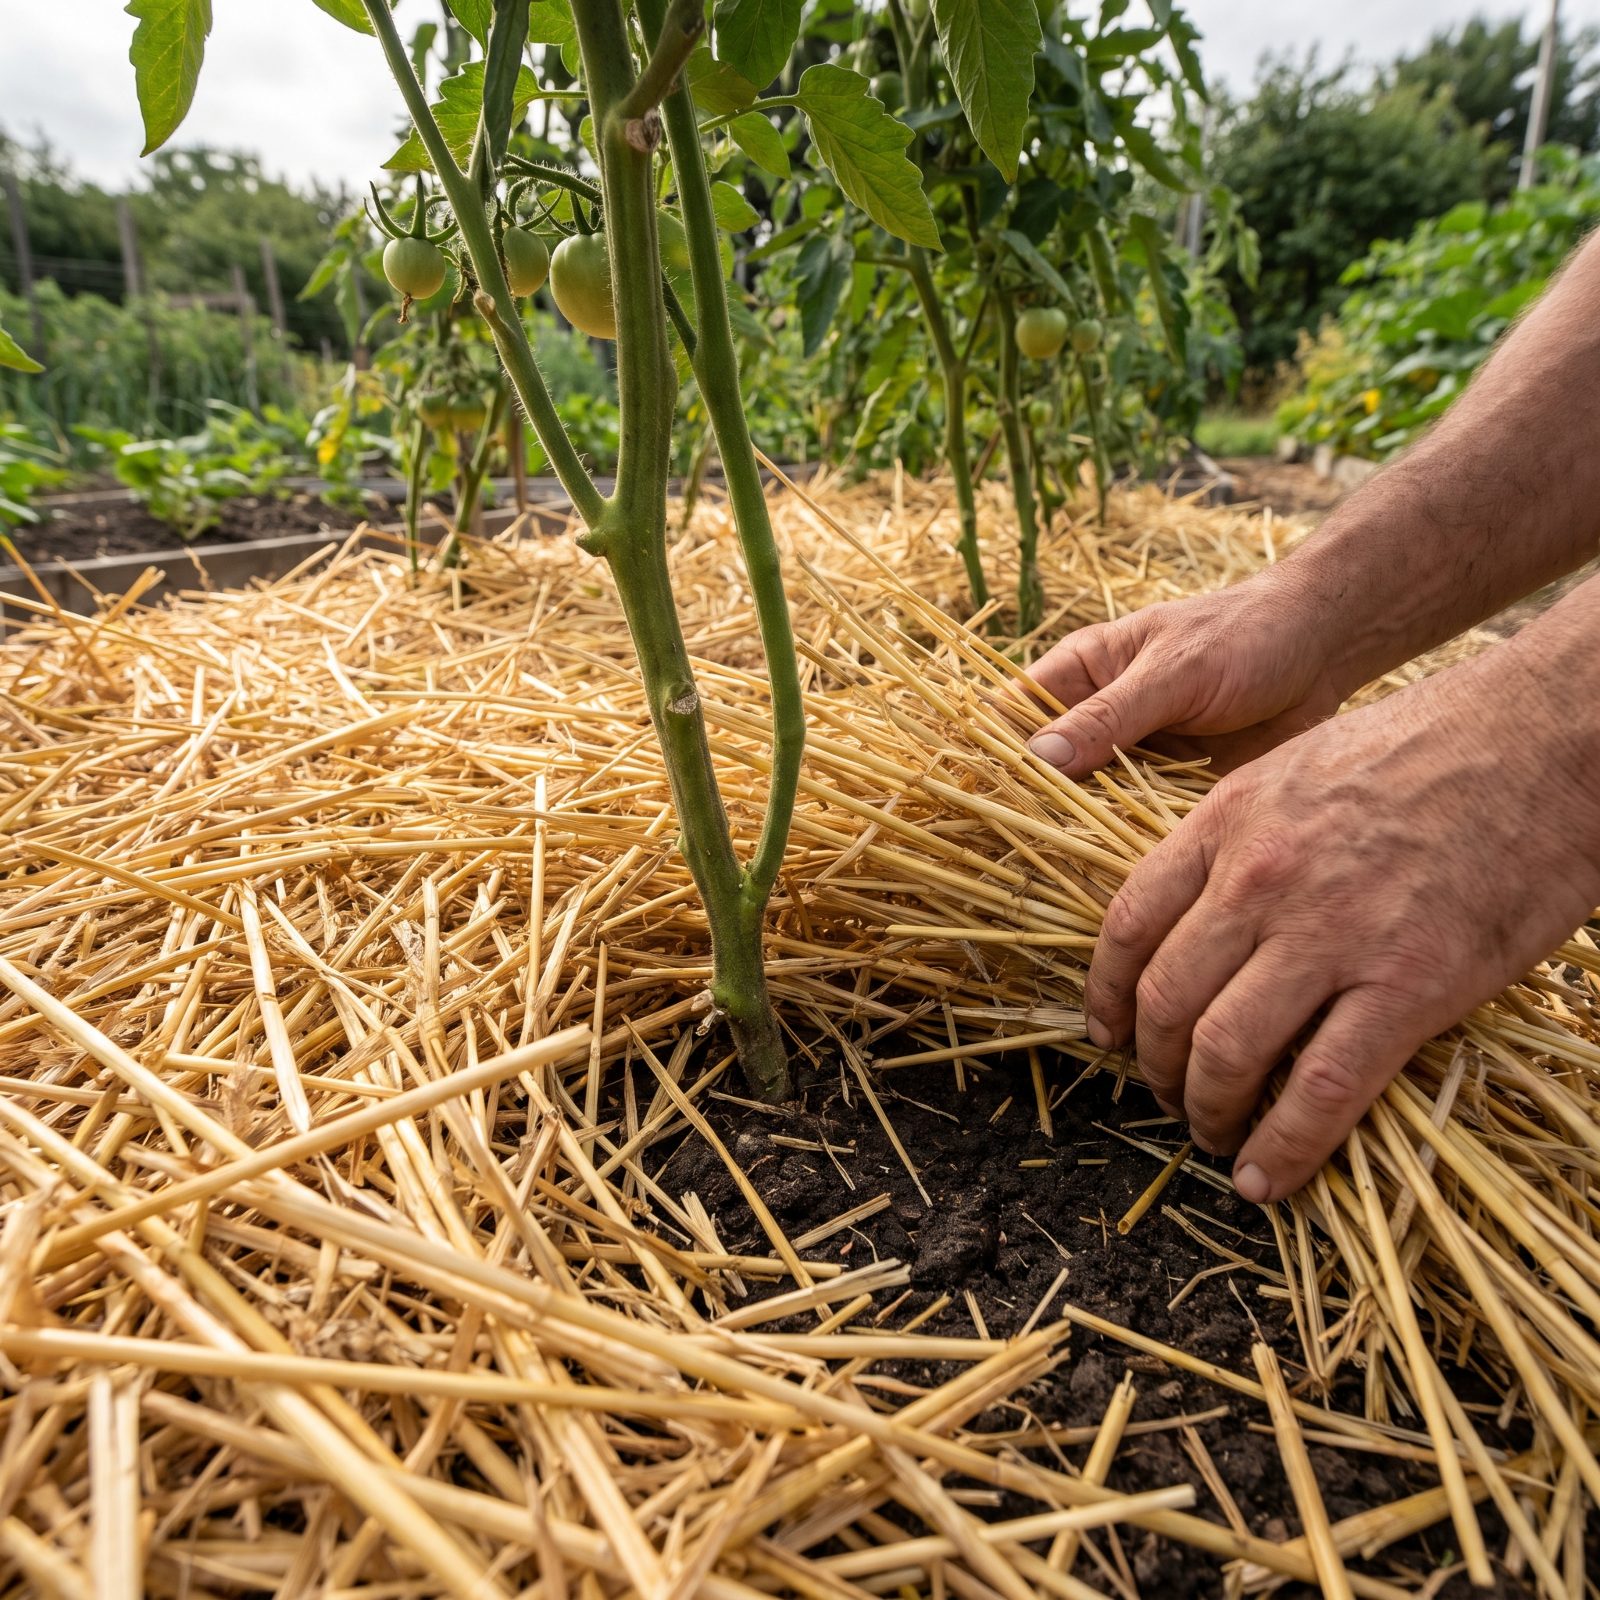
Straw holds moisture in the soil and keeps the surface shaded, which is exactly what weed seeds hate. They need light and warm bare dirt to germinate, so bury them under a few inches of straw and most simply give up.
Research on straw mulch backs up what gardeners worked out by hand generations ago: it cuts evaporation, moderates soil temperature, and feeds the soil as it breaks down. Lay it two to three inches deep. Keep it off the plant stems to avoid rot.
One warning, and it’s a real one. Buy straw, not hay. Hay is loaded with seed, and you’ll spend next summer pulling the grass you planted yourself.
15. Lay Cardboard Beneath Mulch to Smother Established Weeds
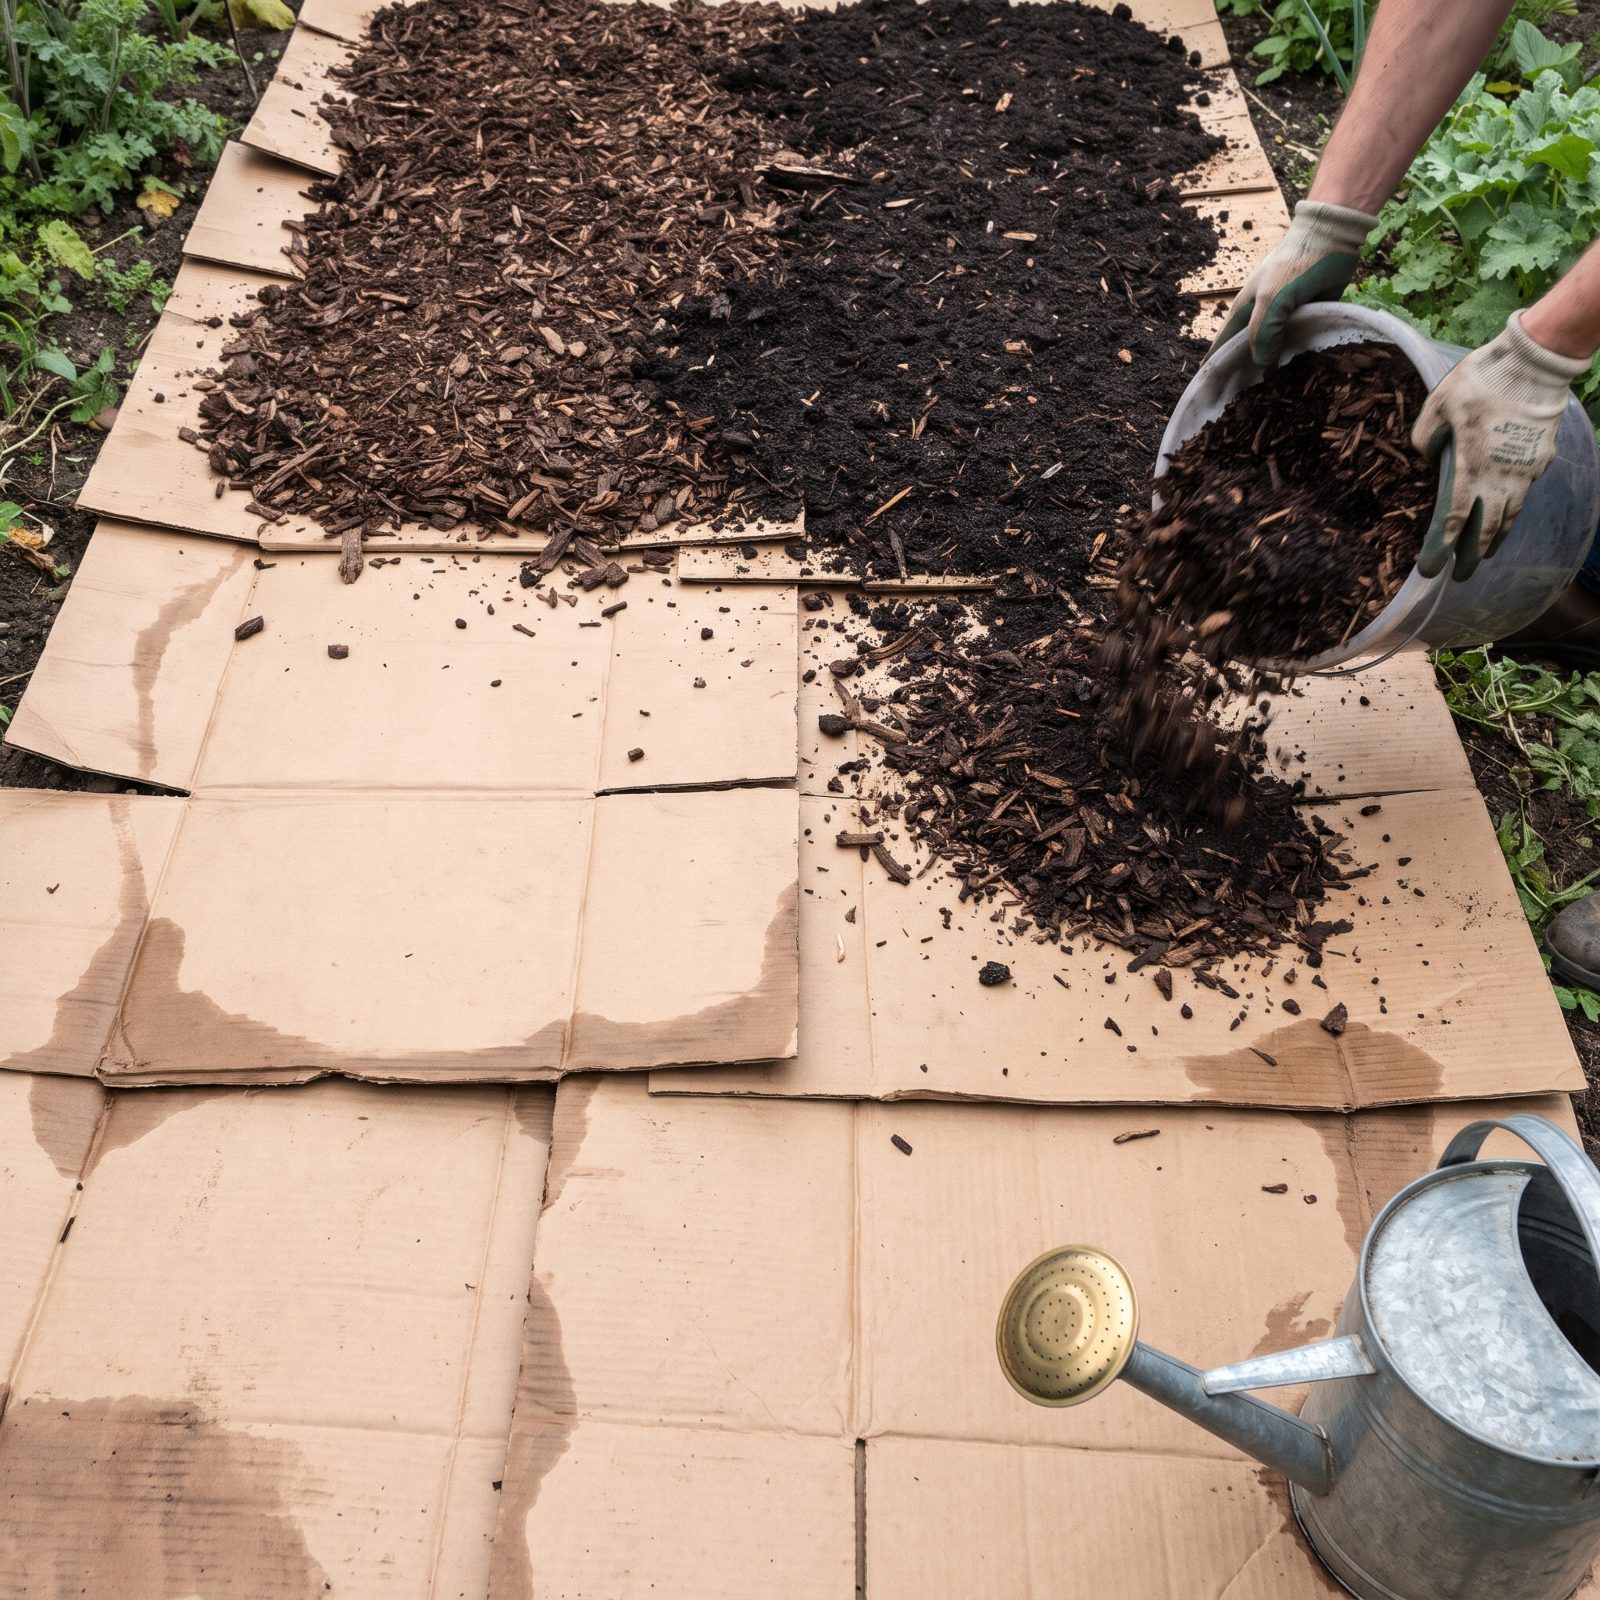
Cardboard works as a physical wall. The weeds underneath can’t reach light, so they exhaust themselves trying and die back. By the time the cardboard rots, usually within a season, the earthworms have dragged much of it down and the soil below is soft and dark.
Strip the tape and glossy labels first, then overlap the sheets generously, because weeds find any gap the way water finds a crack. Soak it. Bury it under several inches of mulch or compost so it stays put and breaks down evenly.
14. Water Deeply and Less Often to Encourage Deeper Root Systems
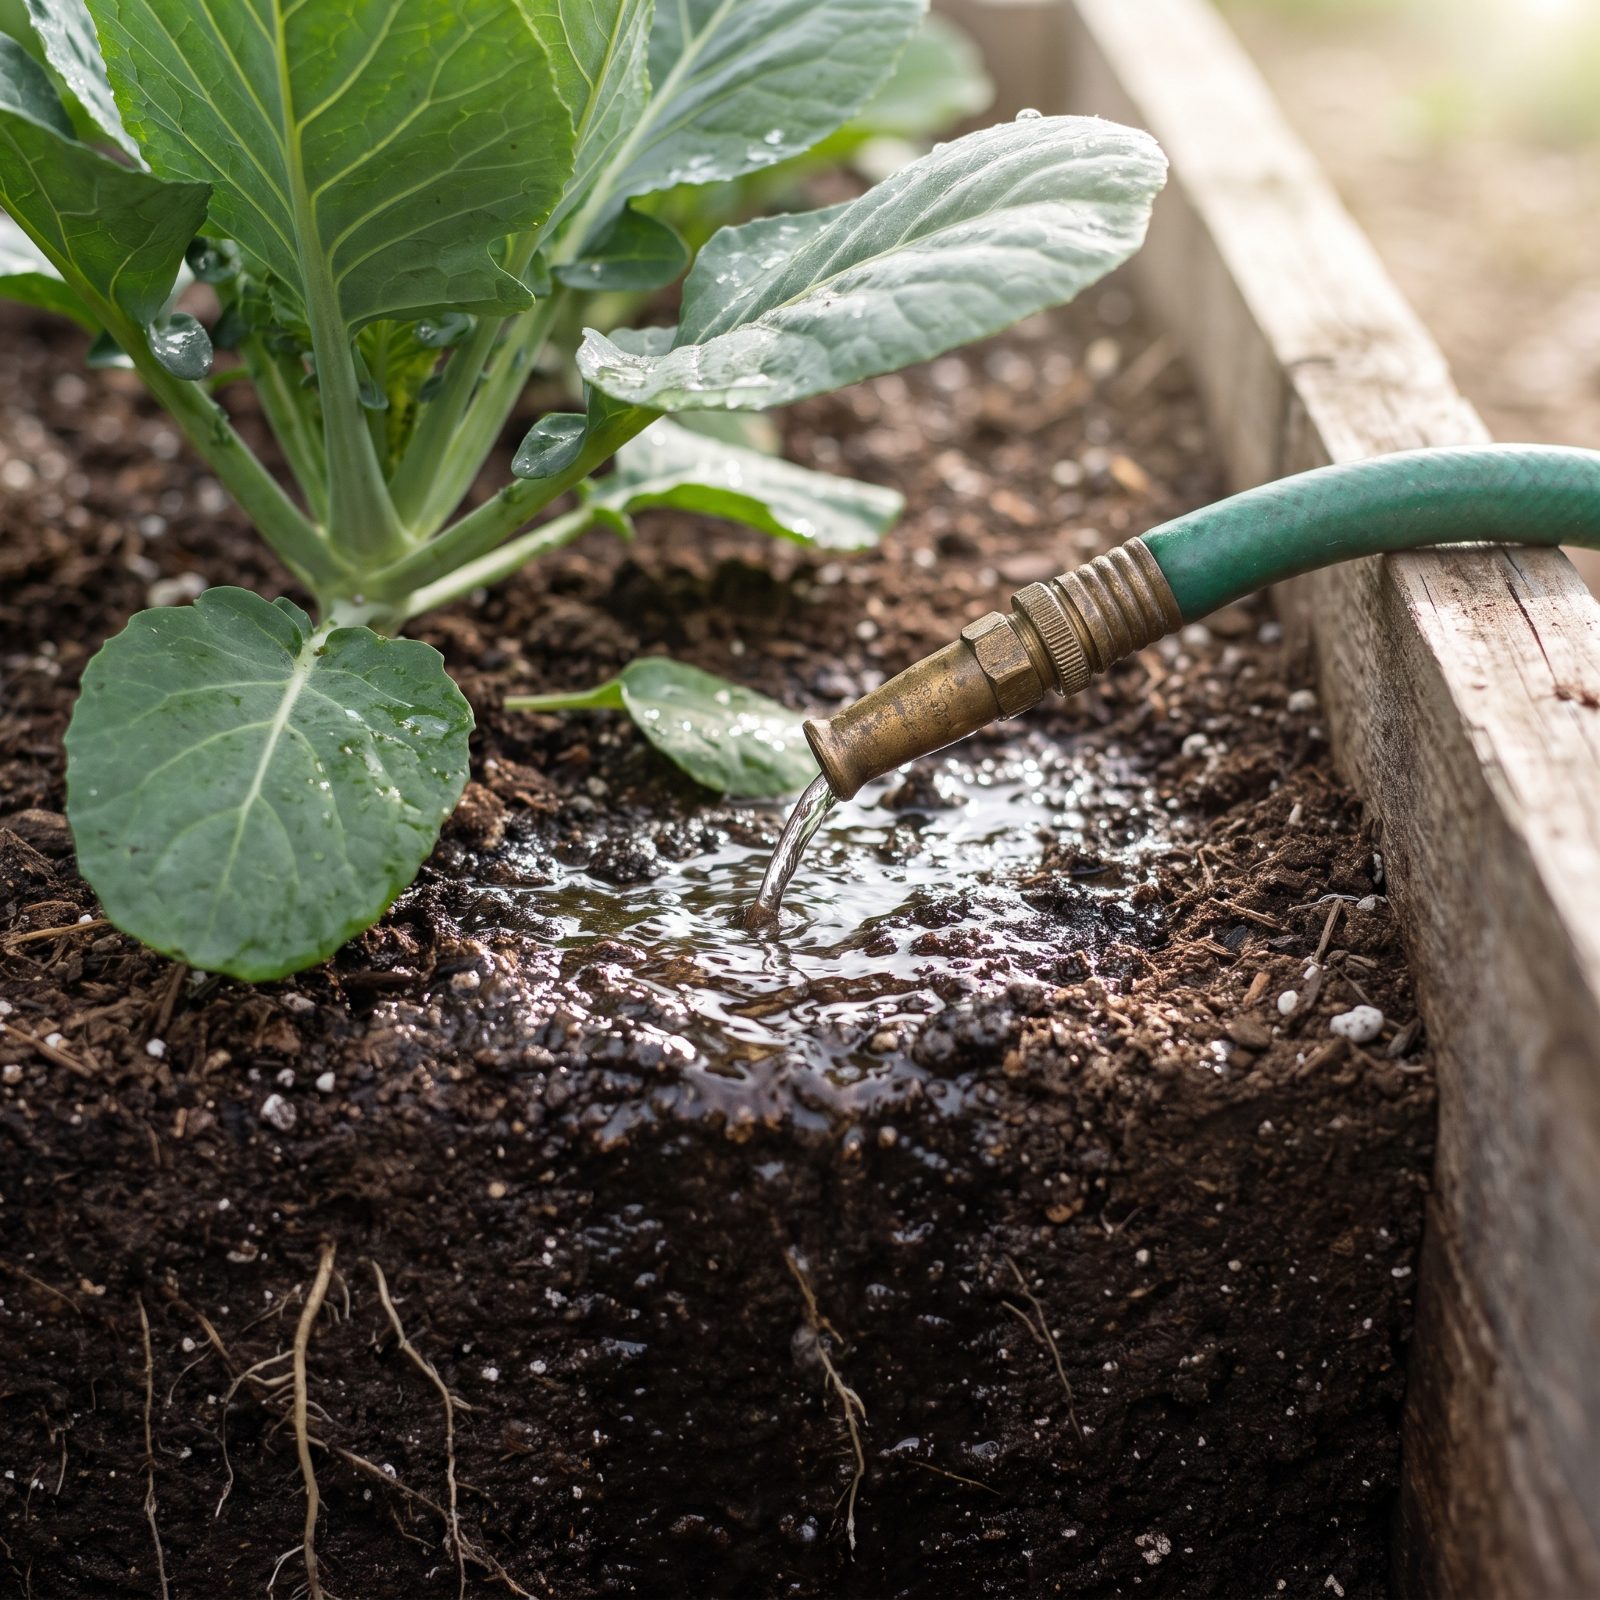
A light daily sprinkle trains roots to stay near the surface, where they bake the first hot afternoon you skip a watering. Soak the bed deeply and less often, and the roots chase the water down to where the soil stays cool and damp.
Modern irrigation studies agree. Deep, infrequent watering builds drought resilience and uses water more efficiently than frequent shallow passes, so aim to wet the soil six to eight inches down, then let the top dry before you go again. Stick a finger in to check. That beats any watering schedule you write on the calendar.
13. Build Shallow Watering Basins Around Thirsty Plants

This is one of the oldest water tricks there is, and it still beats a careless splash from the hose. A shallow ring of soil built around a plant holds water right over the roots instead of letting it run off downhill.
Fill the basin, let it drain, fill it again if the plant is a heavy drinker like a young fruit tree or a squash. The water goes down instead of sideways. For the plants that sulk the moment they dry out, it’s hard to beat, and it costs you nothing but a few minutes of shaping soil.
12. Direct Water Through Furrows Instead of Wetting the Entire Bed
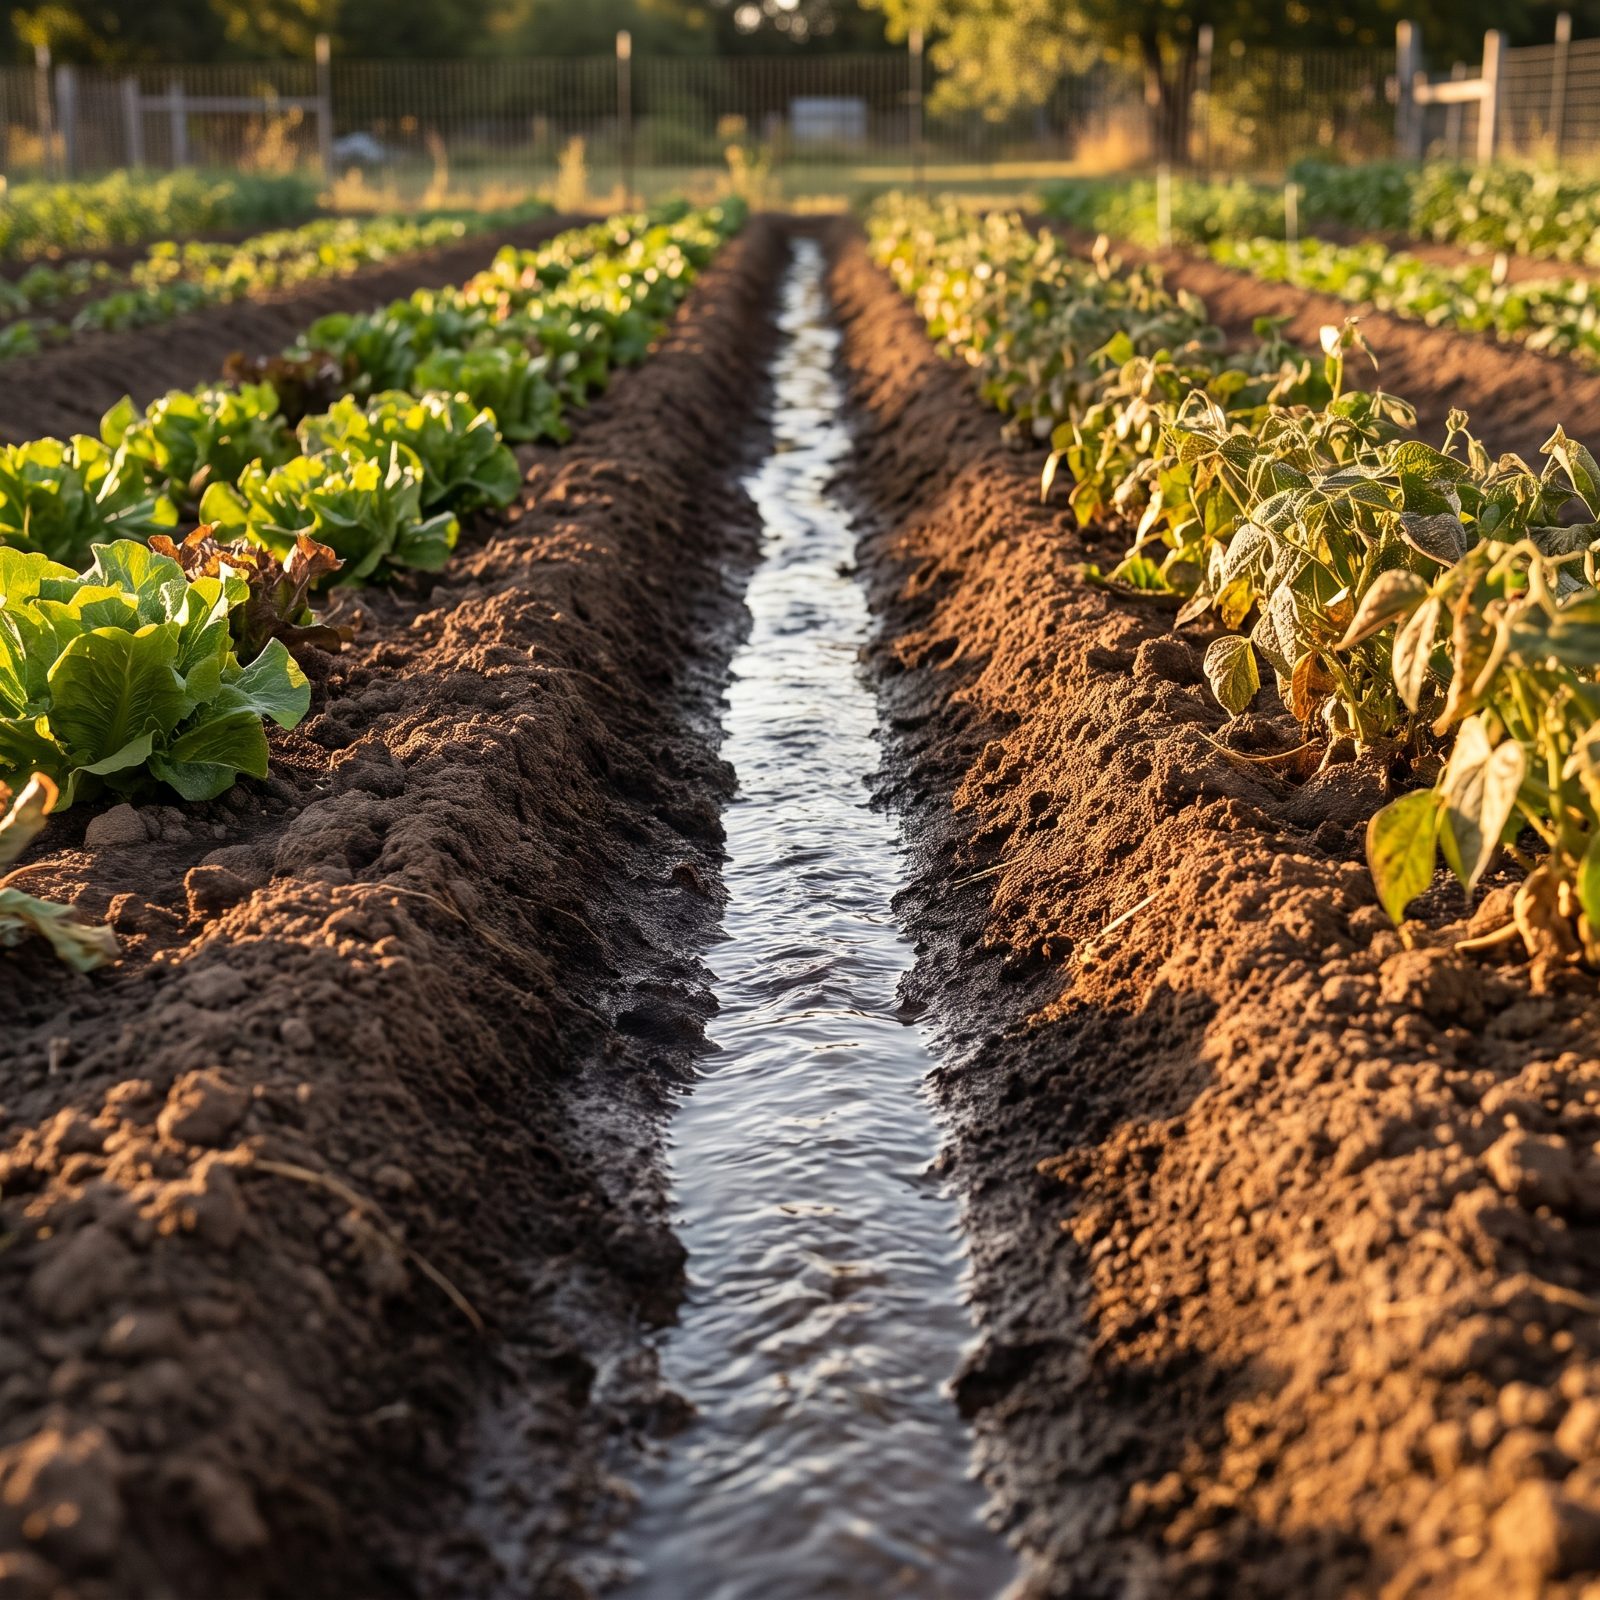
Wetting an entire bed feeds every weed seed and leaves the foliage damp, which is how mildew and blight get started. Running water down furrows between the rows delivers it straight to the root zone and keeps the leaves dry.
Dry leaves matter more than people expect. Many of the fungal diseases that ruin tomatoes and squash need moisture sitting on the foliage to take hold, and furrow watering sidesteps all of it. It also leaves the ridge tops drier, so fewer weeds sprout where you walk and work.
11. Shelter Tender Plants With Bell Jars or Glass Cloches
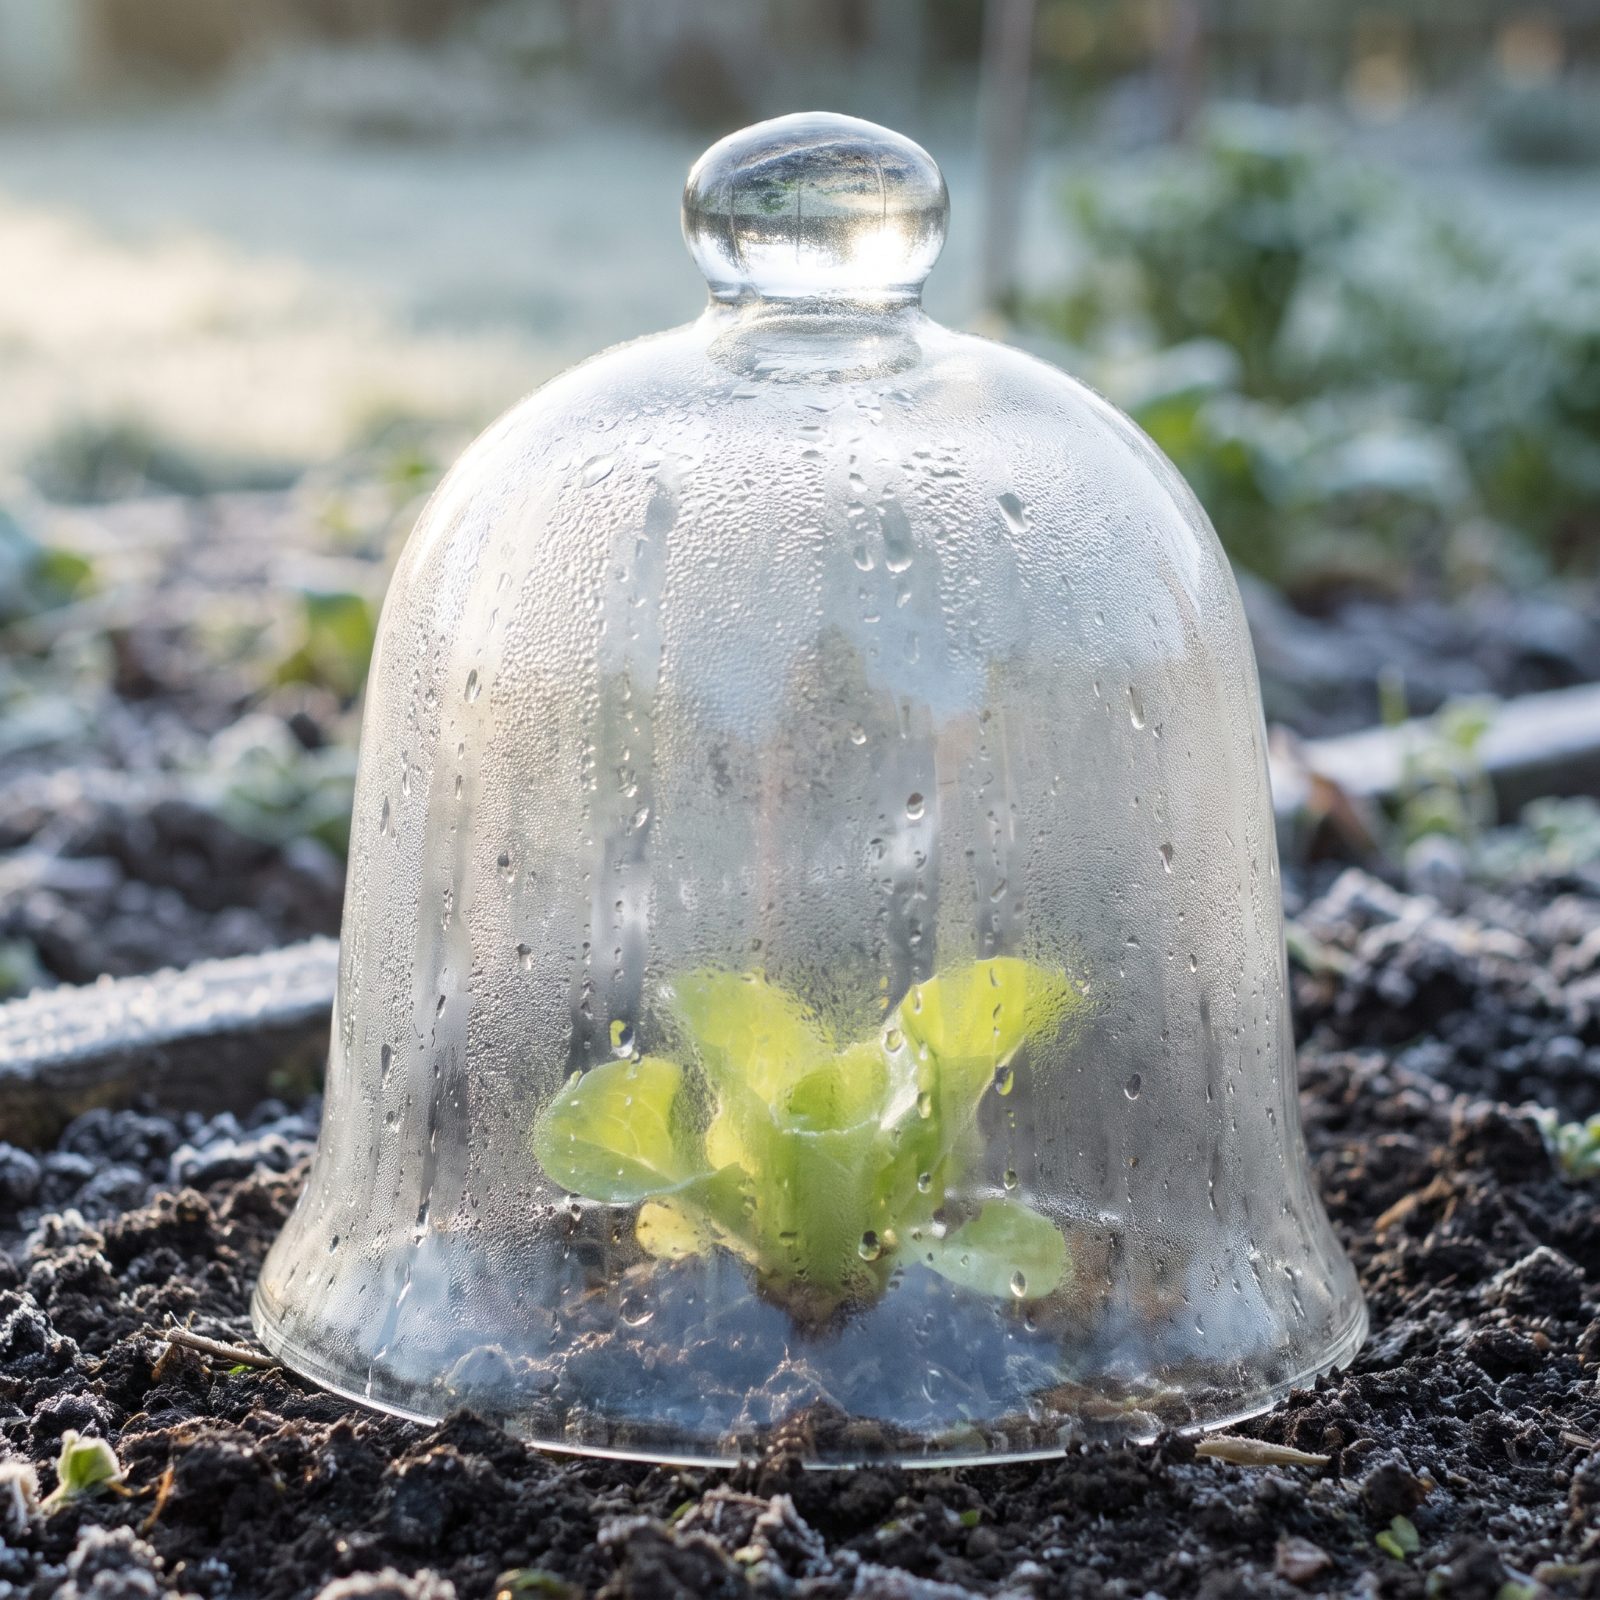
A glass cloche is a tiny greenhouse you set over one plant. It traps daytime warmth and holds it through a cold night, buying a tender seedling a few degrees of protection and a head start on the season.
The French market gardeners who popularized these knew their value, and the physics hold up: glass lets sunlight in, slows heat loss, and shields the plant from drying wind. Vent it on warm days or you’ll cook the very thing you meant to save. A jar or clear bottle with the bottom cut off does the same job on a budget.
10. Cover Frost-Tender Plants With Fabric Before Sunset
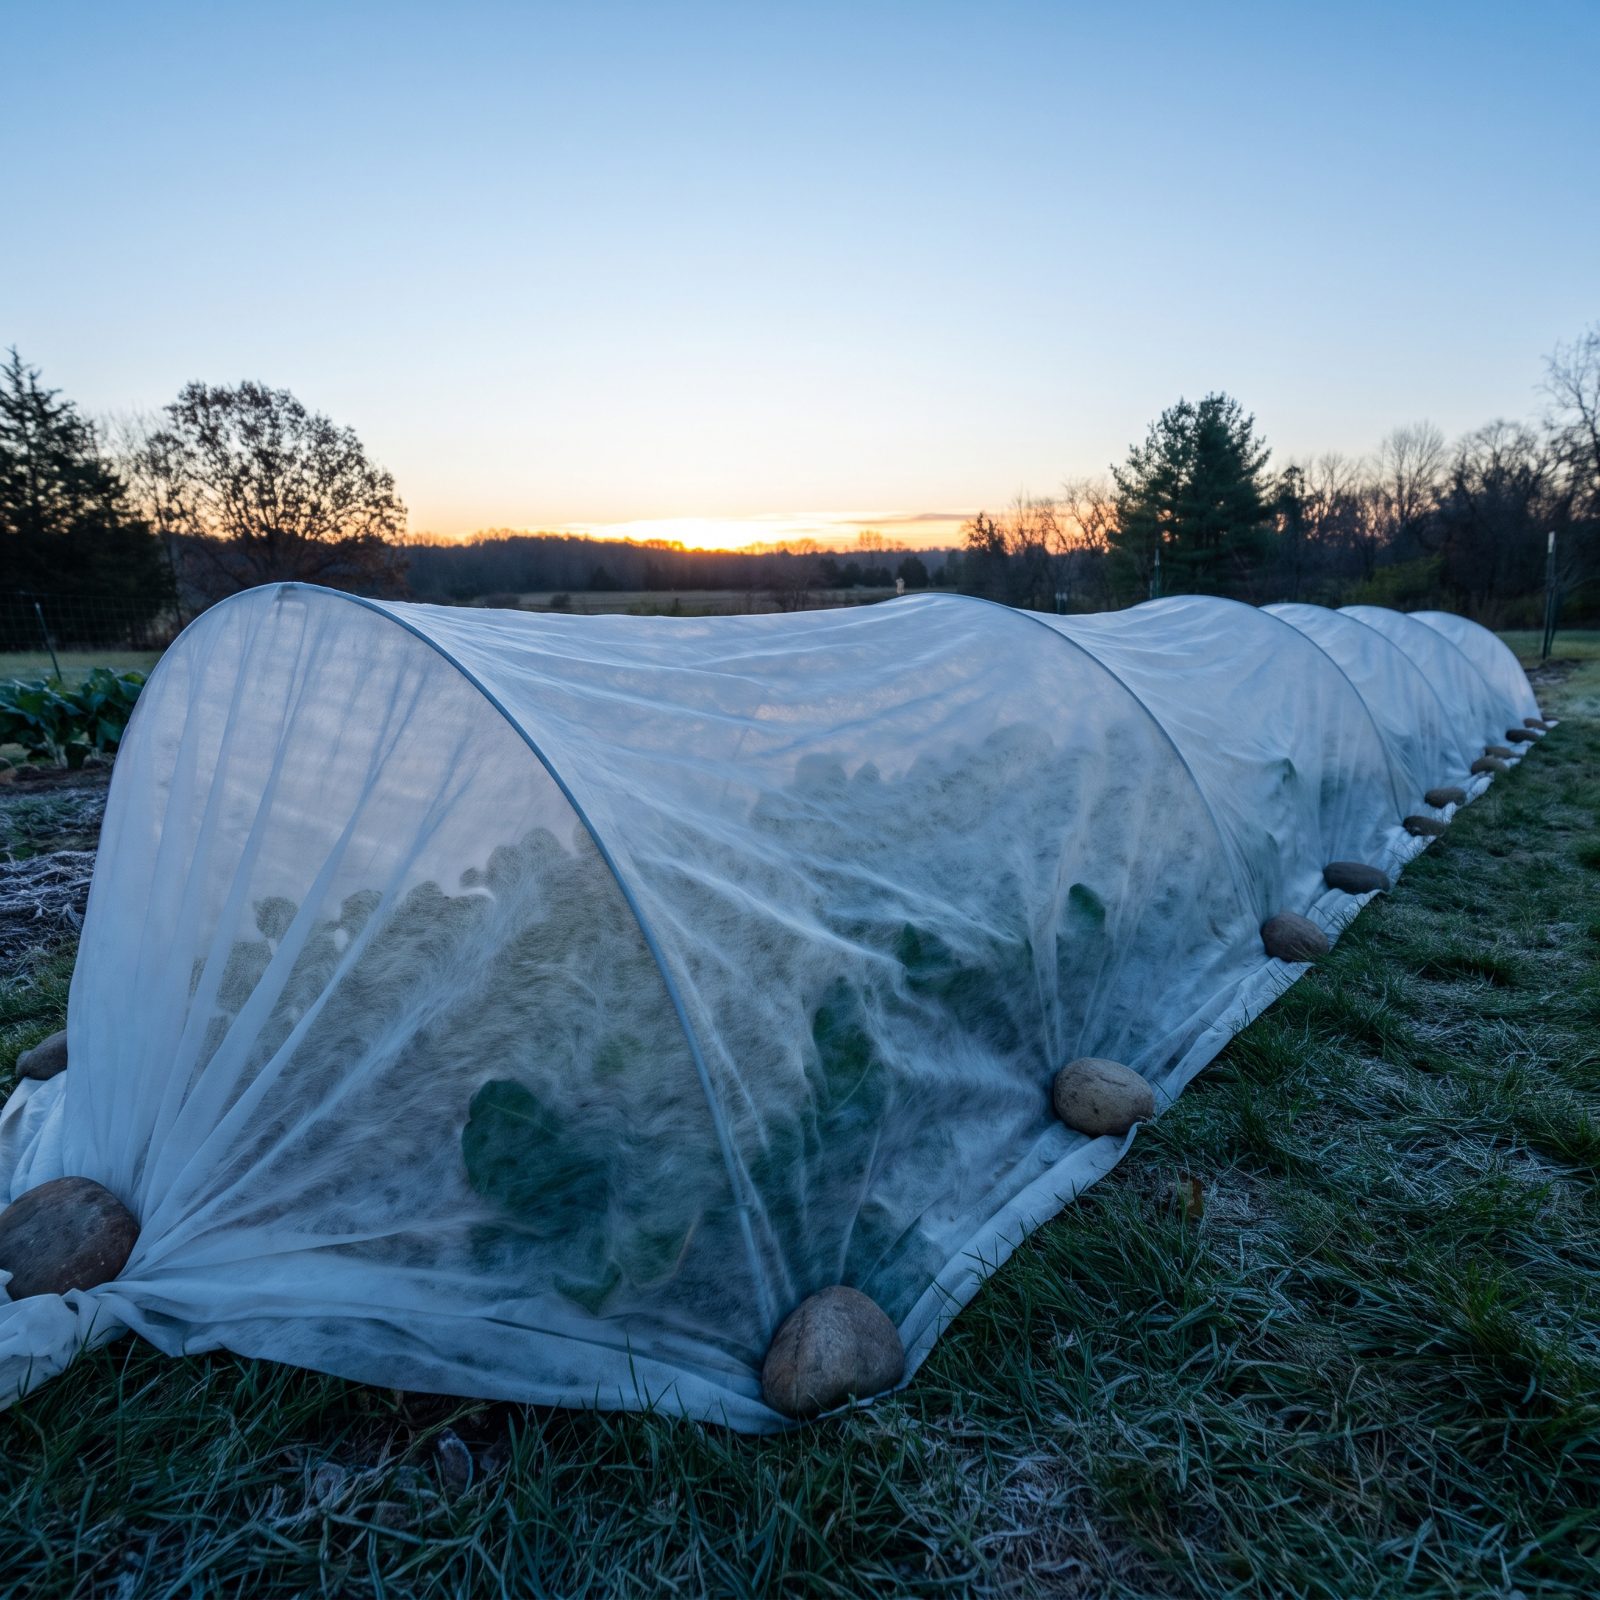
The timing is the whole trick. Cover tender plants in the late afternoon while the soil still holds the day’s warmth, not after dark when the heat has already escaped.
That warmth radiates up overnight, and the fabric traps it against the leaves the way a blanket holds the heat of a sleeping body. Old bedsheets, burlap, or purpose-made row cover all work. Here’s the rule people miss: the cover has to reach the ground on all sides to seal in the warmth. Wire hoops are fine for holding the fabric off the leaves, but if a section is folded back and gaping open to the soil, the warmth escapes and that part is barely protected.
9. Use a Cold Frame to Harden Seedlings and Extend the Season
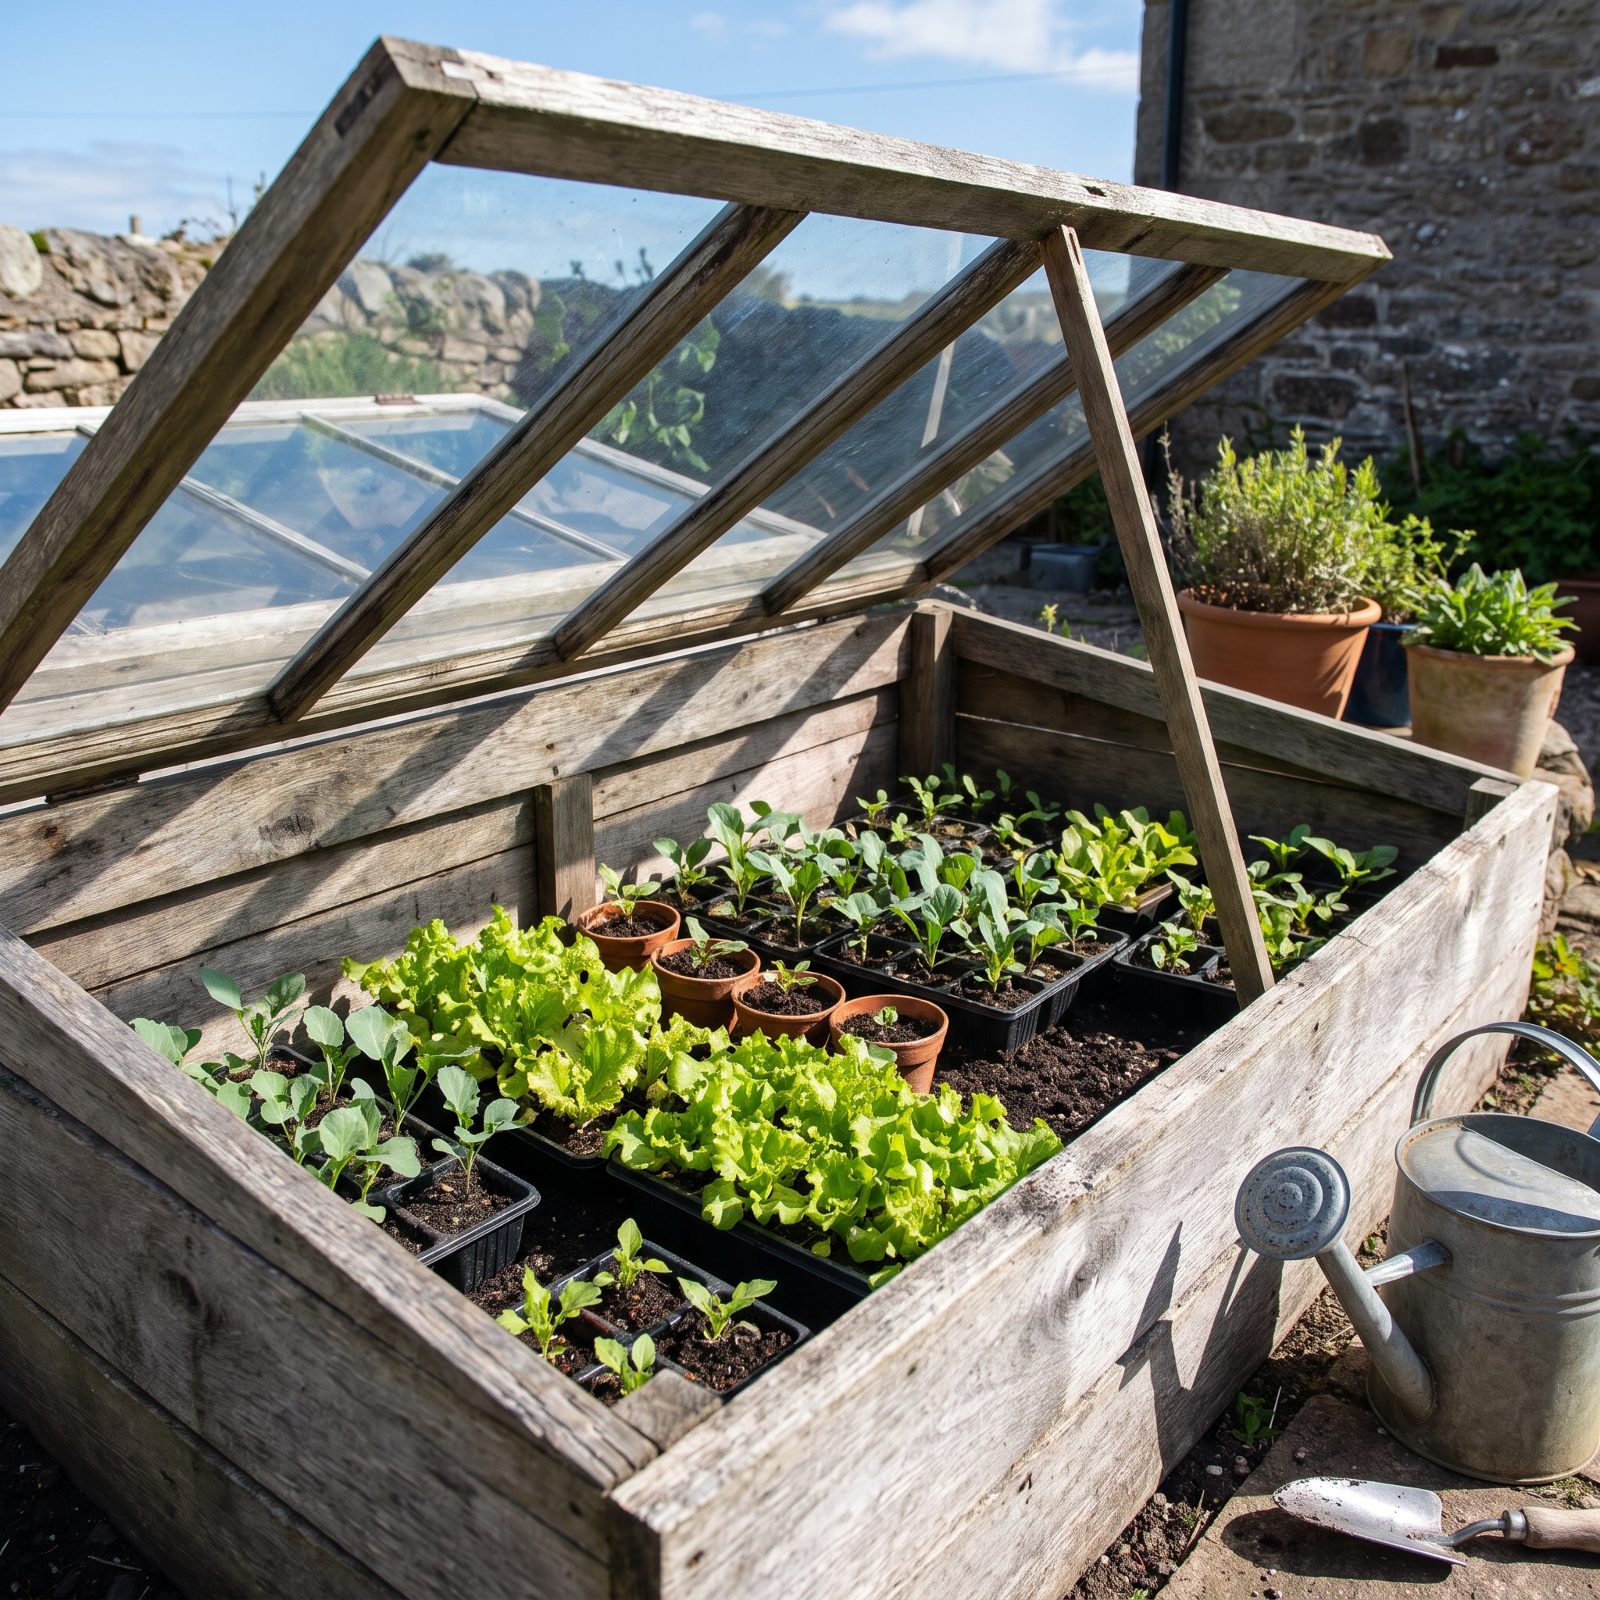
A cold frame is a bottomless box with a clear lid, set on the ground to make a pocket of warmer, calmer air. It does two jobs well: it hardens off indoor-raised seedlings by easing them into real outdoor conditions, and it stretches the growing season on both ends.
Prop the lid on warm days and close it at night. The soil inside stores heat and the glass holds it, so hardy greens keep going well past the first frosts. Build the back wall taller than the front so the sloped lid faces the low winter sun. Many gardeners keep theirs stocked with lettuce into December.
8. Pre-Sprout Seed Potatoes in Bright, Cool Conditions
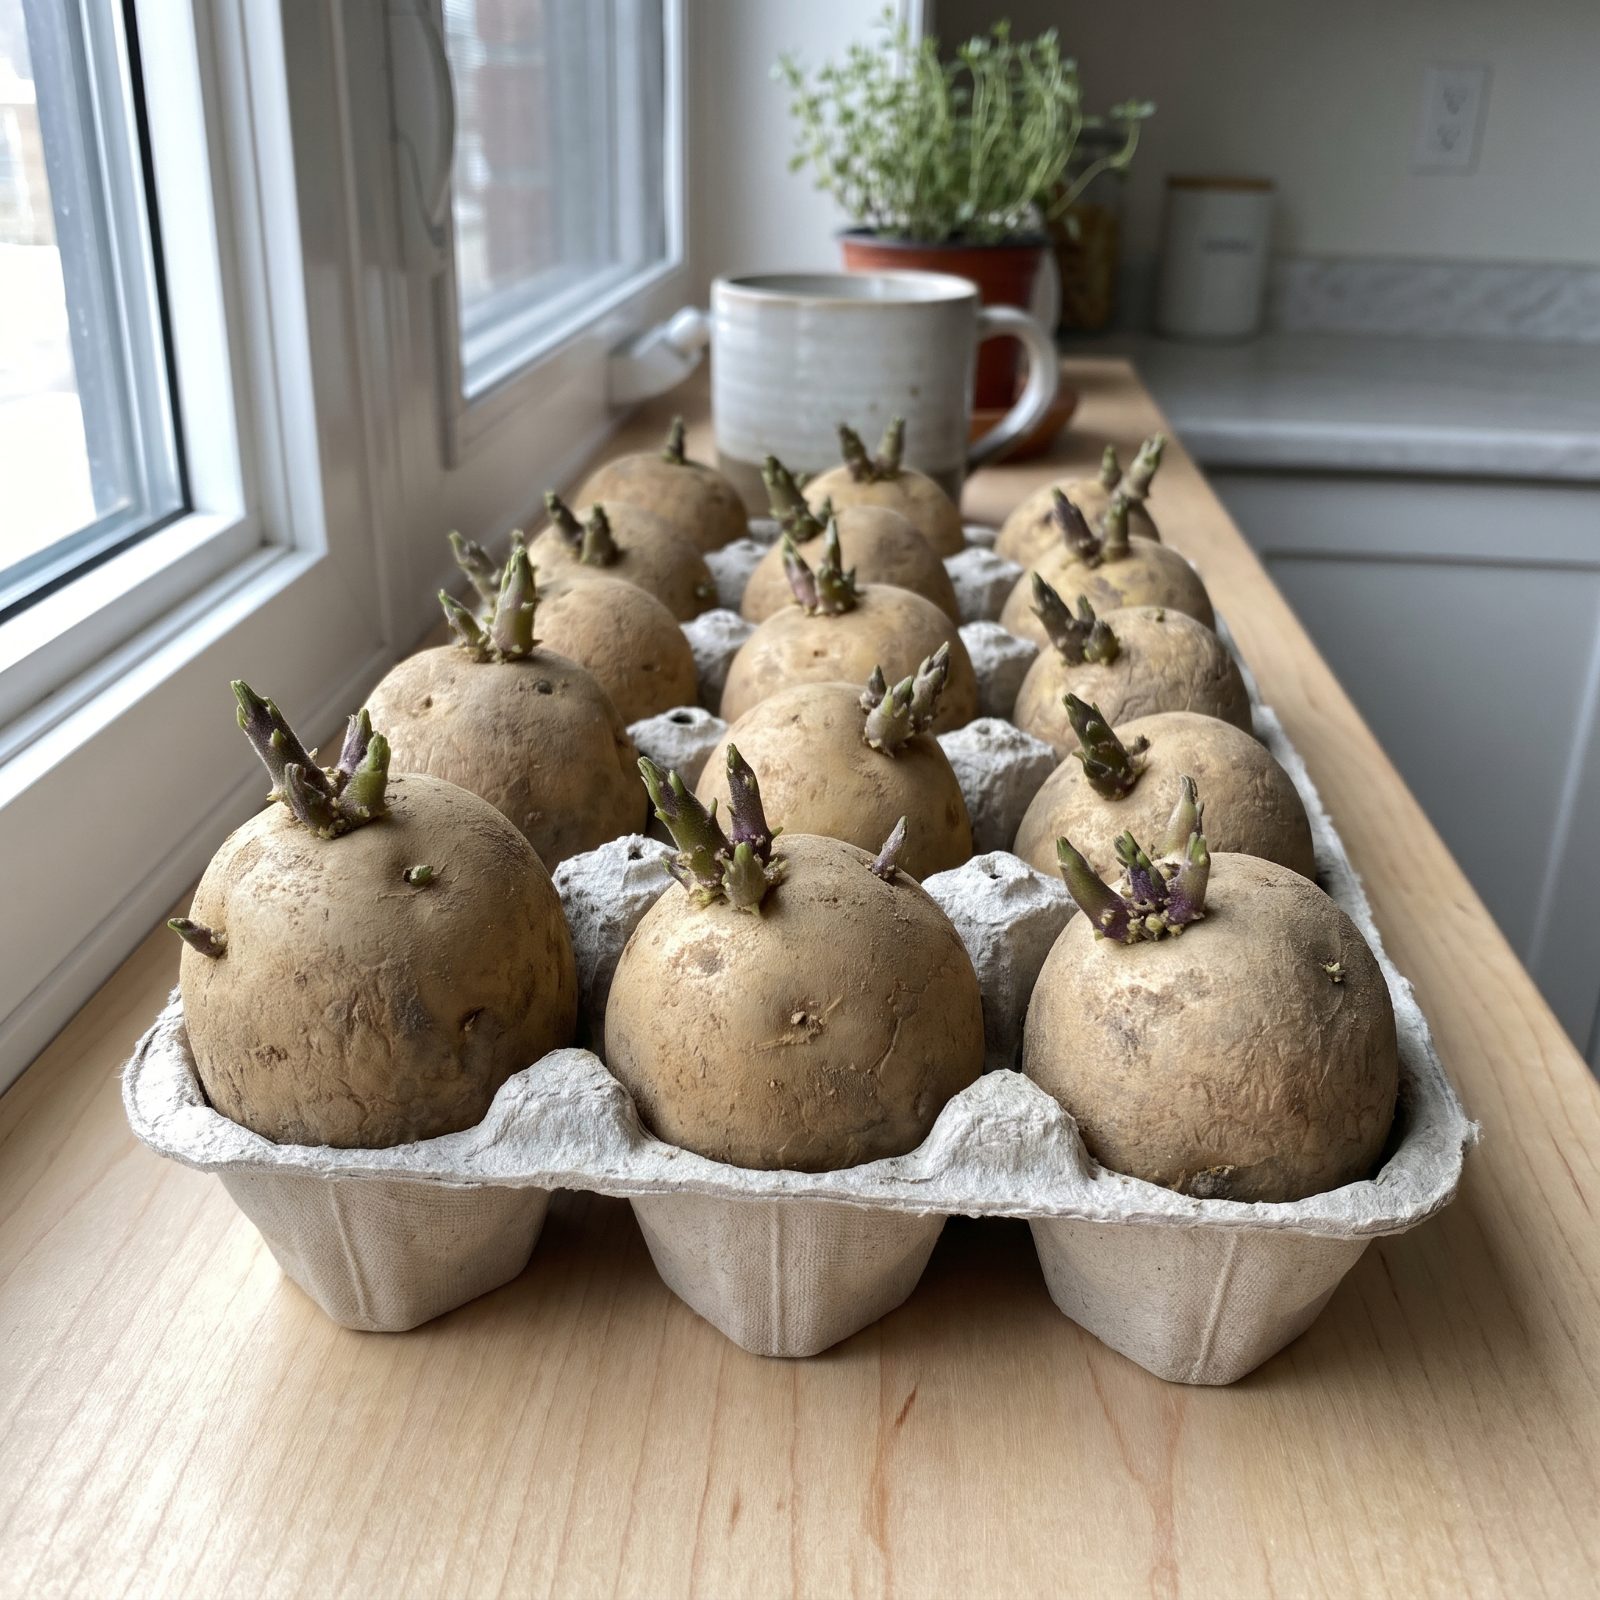
Pre-sprouting, or chitting, gives seed potatoes a running start. Set them eye-end up in a bright, cool spot a few weeks before planting and they grow short, stocky green shoots that get the crop out of the ground faster once they’re in.
Bright and cool is the detail that matters. Warm and dark gives you long, pale, brittle shoots that snap off the moment you handle the potato. You want the stubby green kind, barely an inch long. Early and second-early varieties benefit most, and chitting can bring a harvest forward by a couple of weeks.
7. Hill Soil Around Potato Plants to Protect Developing Tubers From Light
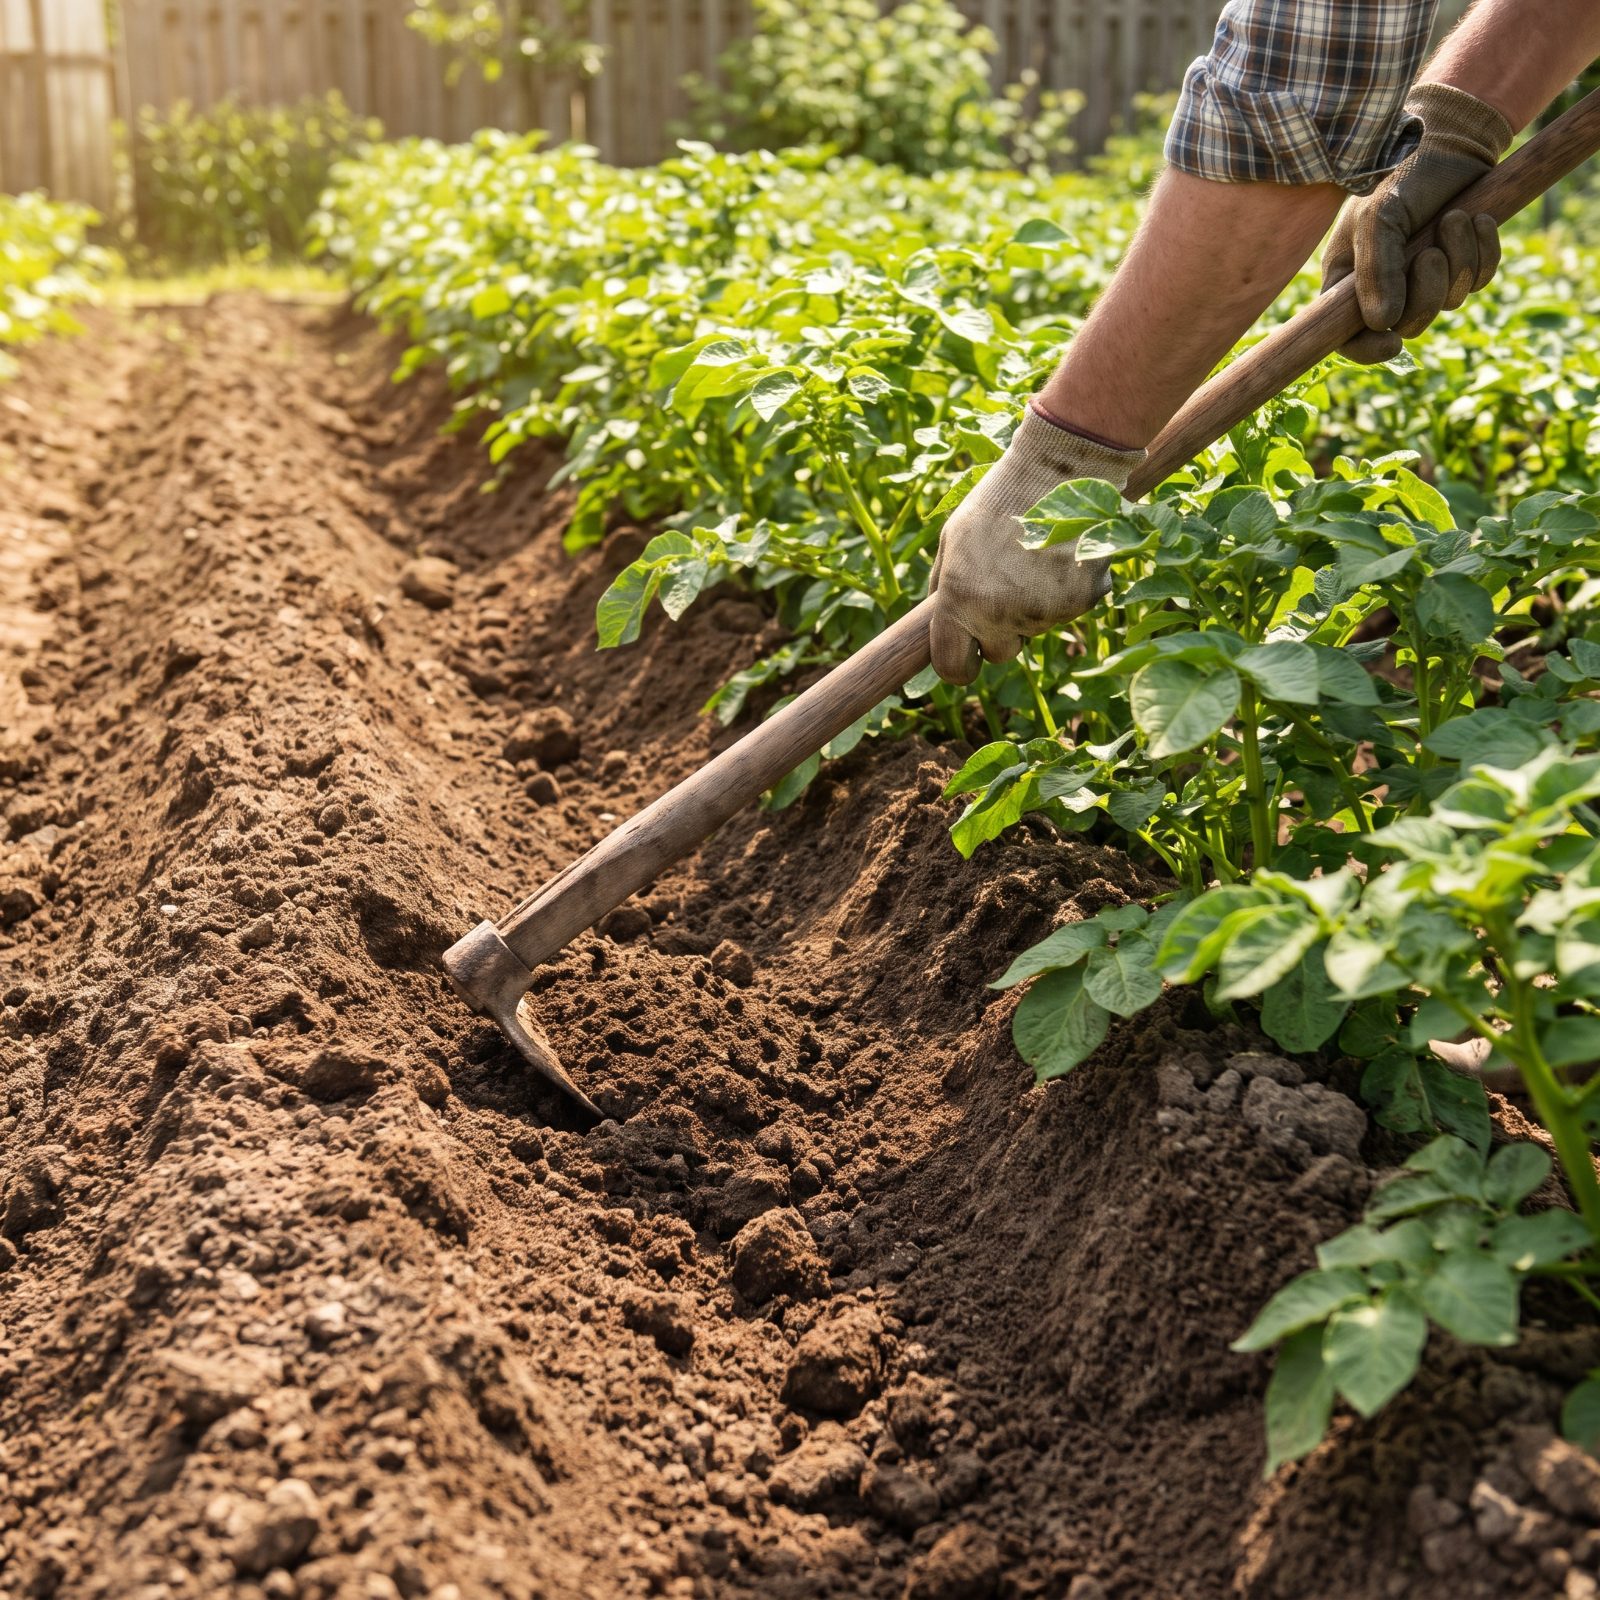
Potatoes form near the surface, and any tuber that catches sunlight turns green. That green is chlorophyll, a sign the tuber is also building solanine, a natural toxin that makes the potato bitter and unsafe to eat. Hilling buries the developing tubers under a mound of soil, keeping them in the dark where they belong.
Pull soil up around the stems a couple of times as the plants grow, covering the lower leaves. You get more usable potatoes and a longer stretch of underground stem to produce them along. Skip it and you’ll dig up a disappointing number of green, wasted spuds.
6. Plant Tomatoes Deeper So Buried Stems Grow Fresh Roots
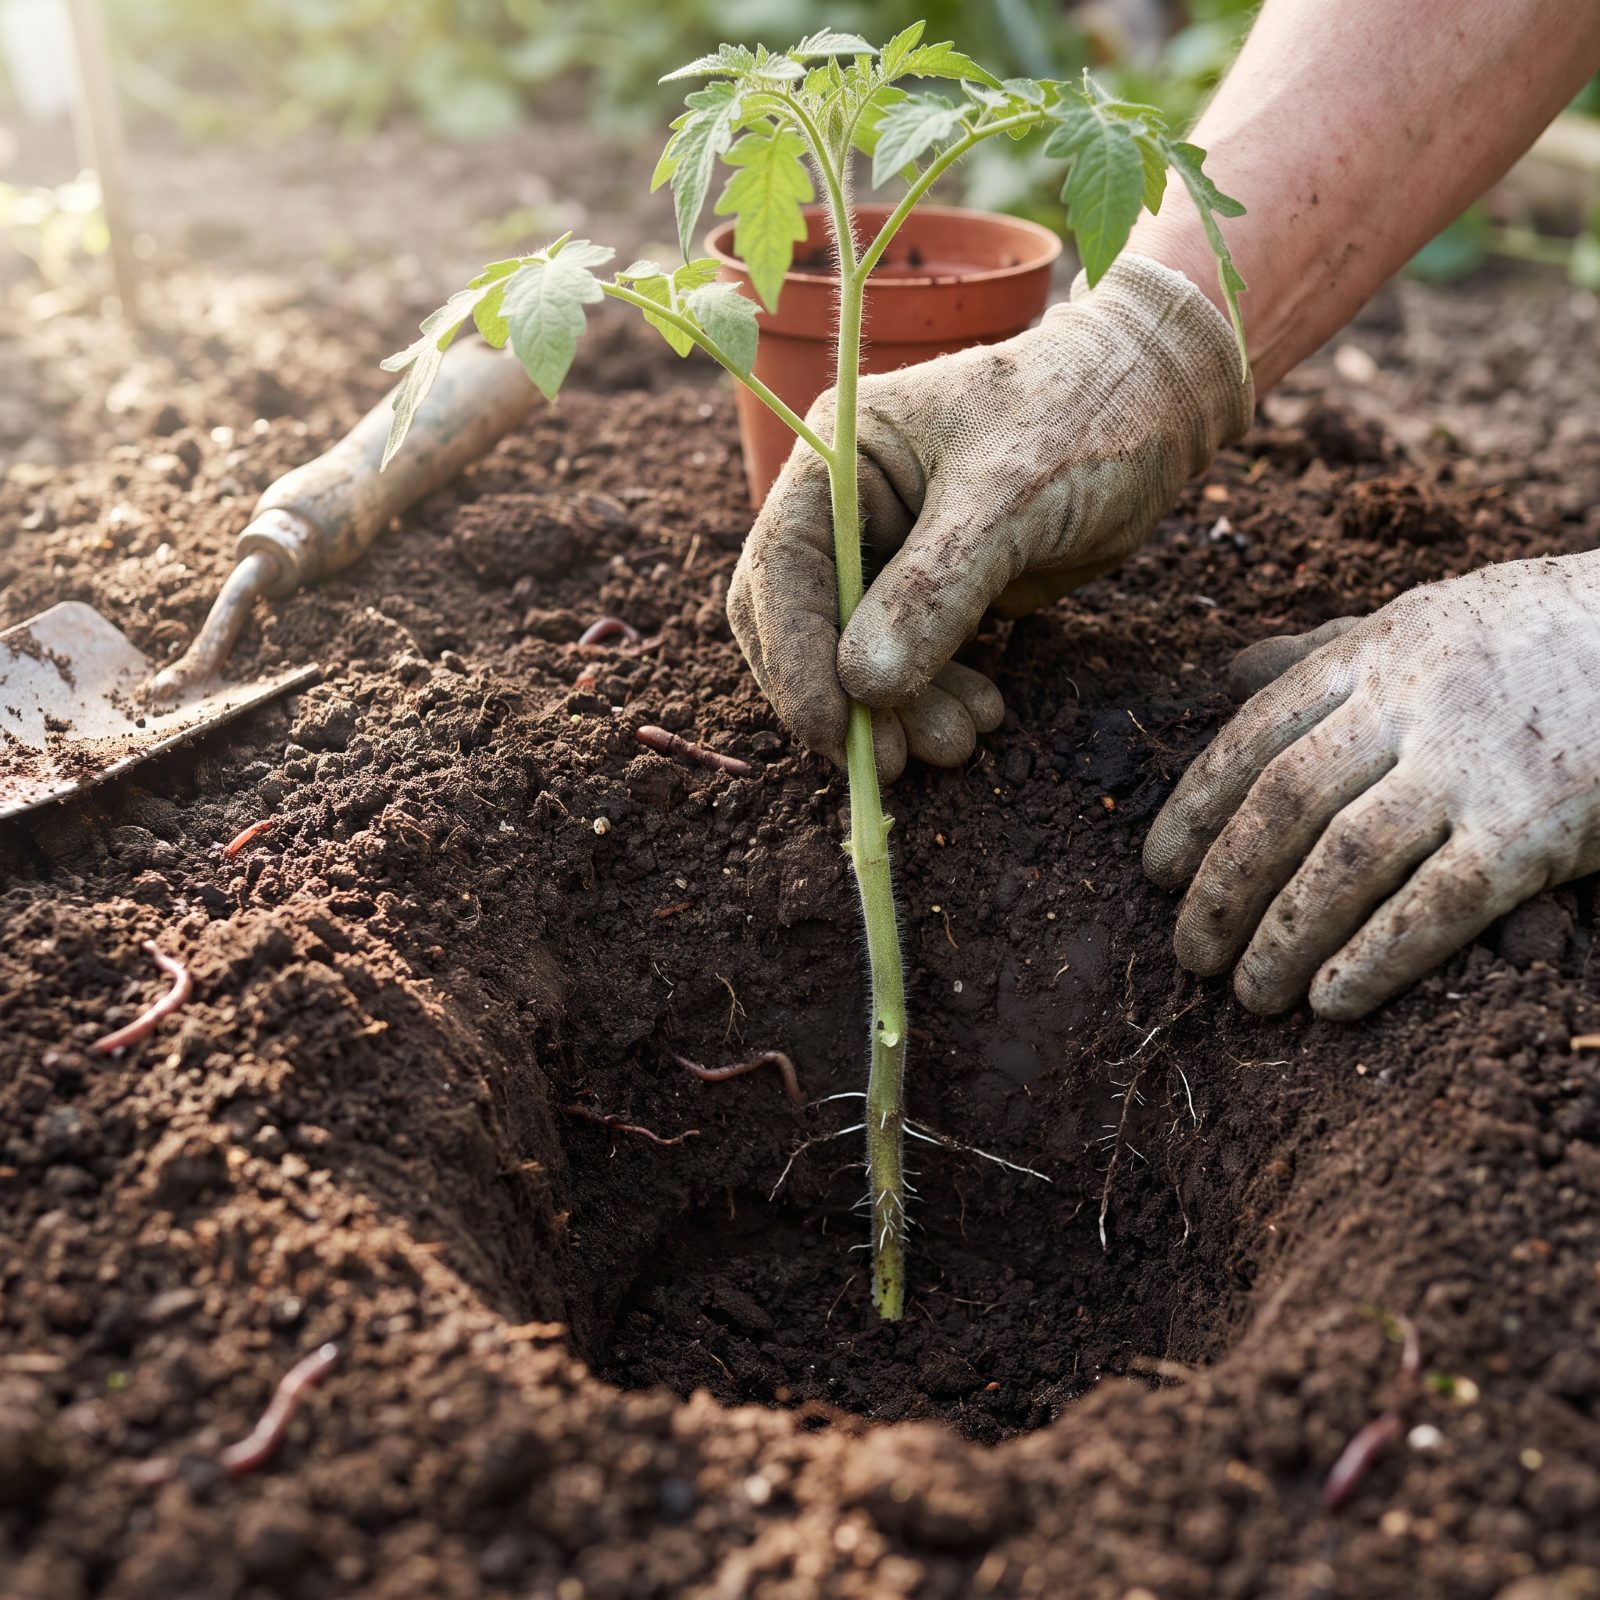
Tomatoes cheat. Bury a tomato stem and those tiny hairs along the stalk turn into roots, which is something most plants simply refuse to do. More roots means more water, more nutrients, and a sturdier plant that shrugs off a dry spell without so much as a wilt.
So when you’ve got a seedling that stretched too tall on a windowsill, don’t panic. Strip the lower leaves and sink it deep, leaving only the top few inches above ground. The leggy one often outperforms its tidy, compact neighbor by the time midsummer rolls around, which always feels like getting away with something.
Research on adventitious root formation backs this up for tomatoes and their nightshade cousins. The trick fails on most other vegetables, so don’t go burying your lettuce.
5. Nick or Scarify Hard-Coated Seeds Before You Soak Them
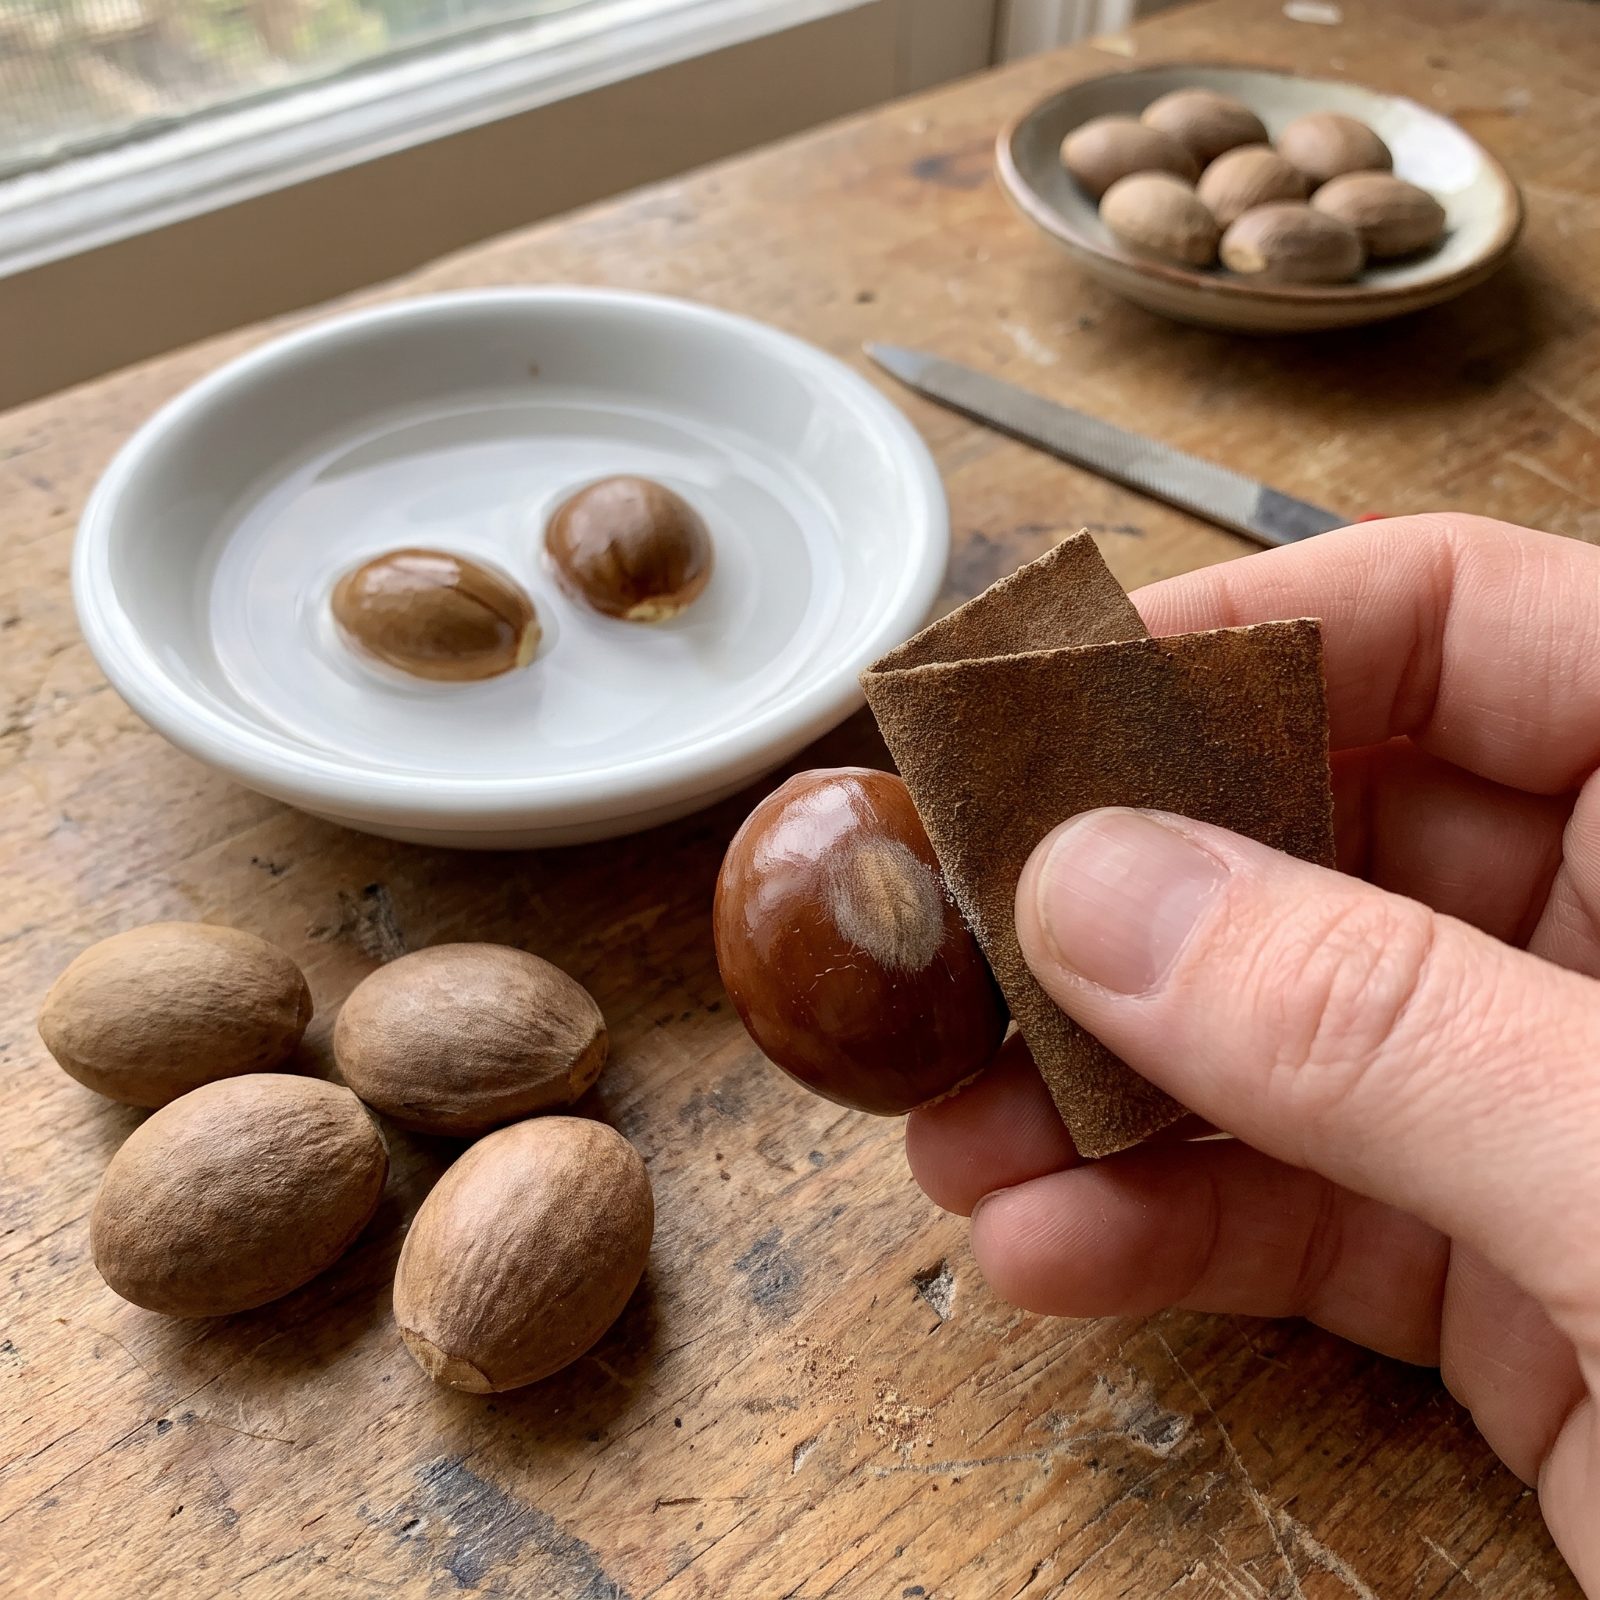
Some seeds wear armor. Morning glories, sweet peas, lupines, nasturtiums: their coats are built to resist water for months, sometimes years, so that out in the wild germination spreads itself out and hedges its bets against a bad season.
In a garden bed, all that patience just works against you. Rub the coat on sandpaper, nick it with a nail clipper, or file a notch opposite the little scar where it once attached to the pod. Then soak overnight. Water finally gets in, and seeds that might have sulked for weeks sprout in days.
Go easy, though. You’re scratching the surface, not cracking the embryo inside.
4. Cold-Stratify Stubborn Seeds in a Bag of Damp Sand
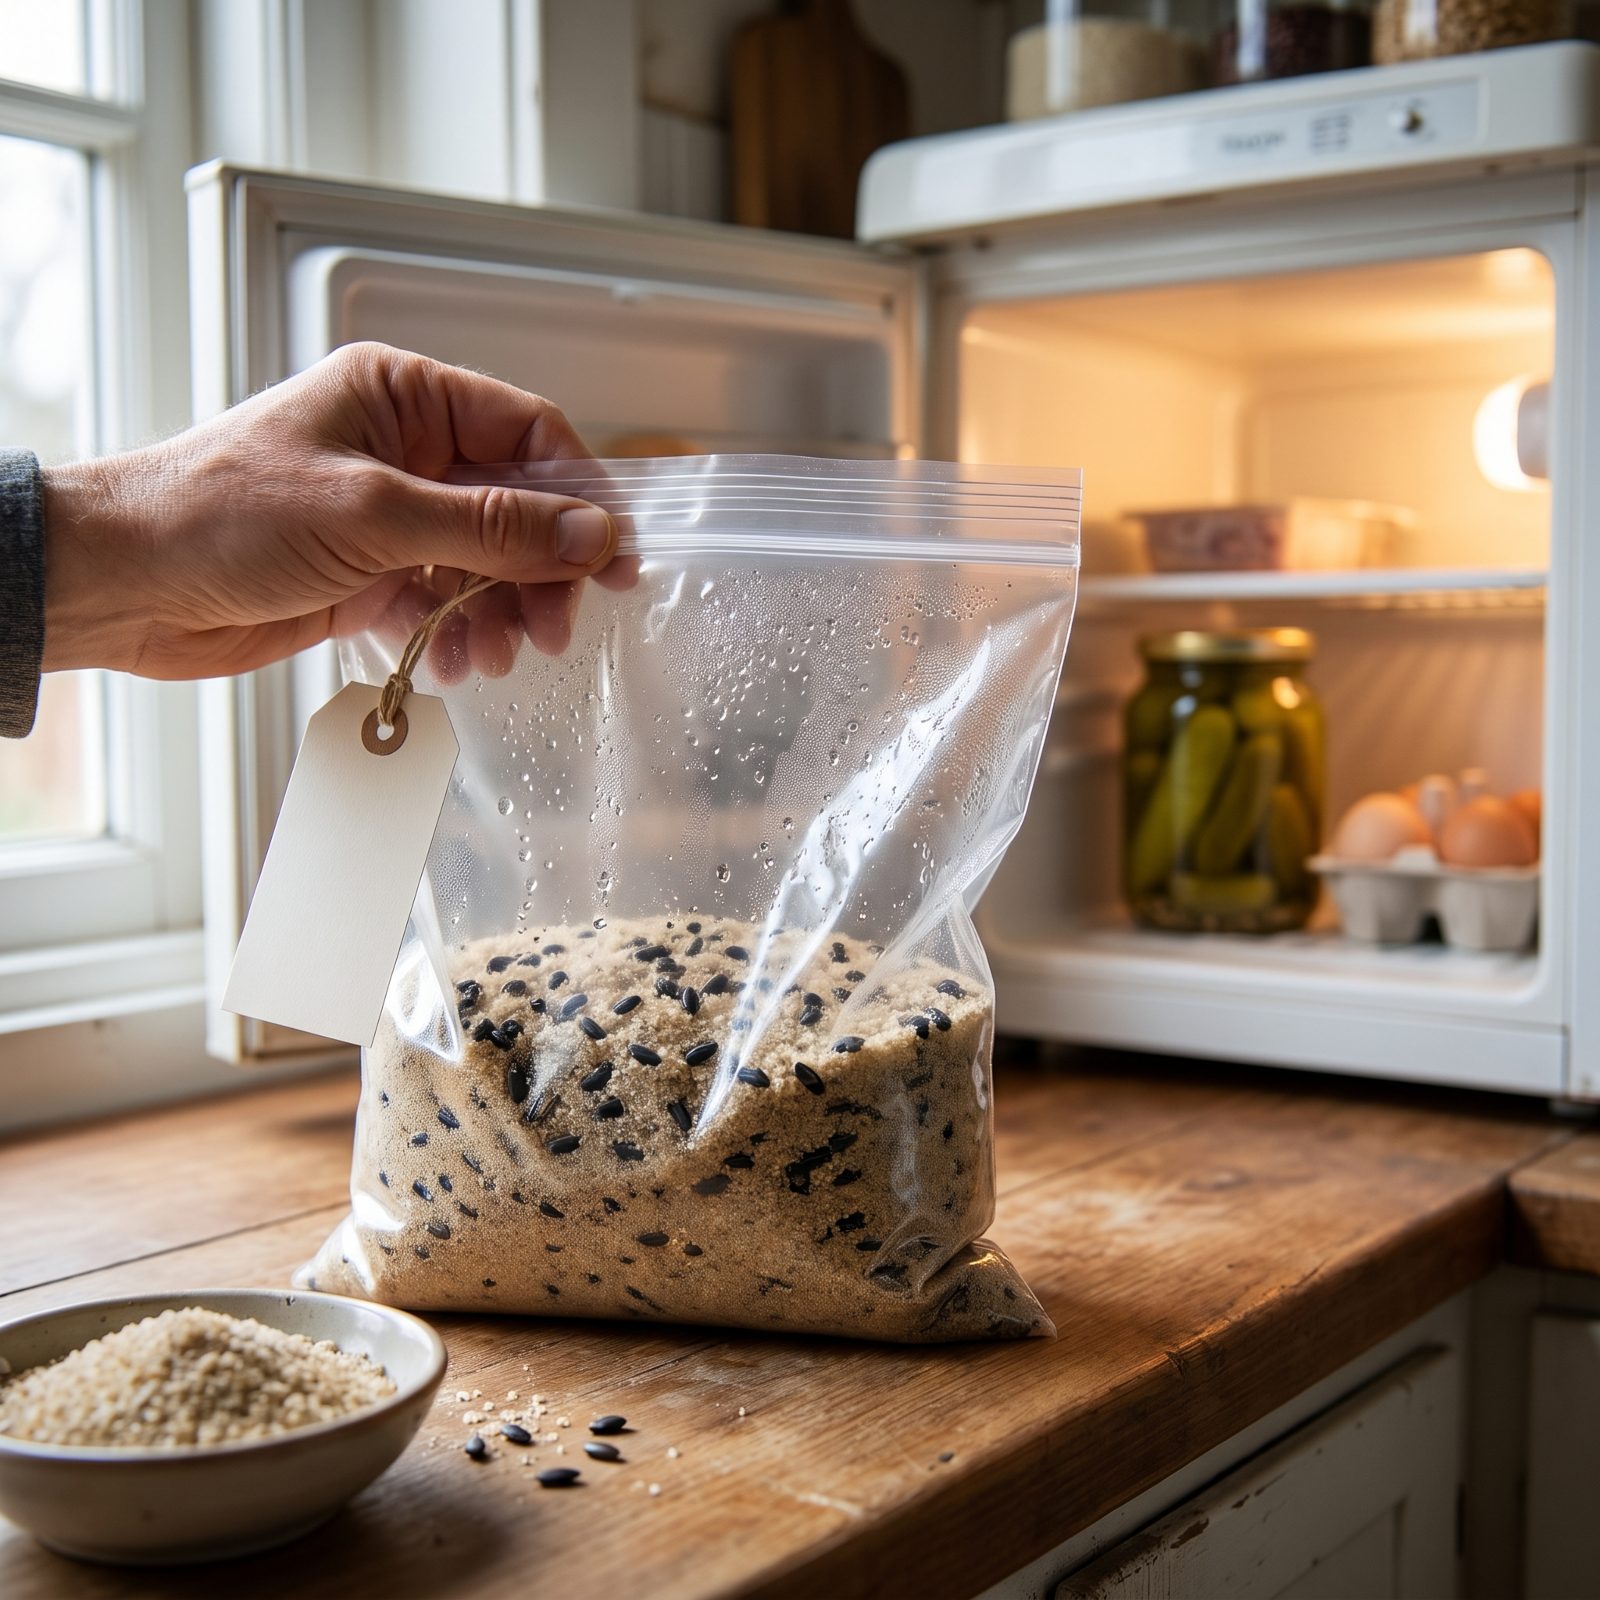
Native perennials, many trees, milkweed, certain poppies: these seeds expect a winter before they’ll grow. Skip the cold and they just sit there, stubbornly unconvinced that spring has arrived.
Here’s the workaround. Mix them into damp (not soggy) sand in a bag, label it, and tuck it into the fridge for several weeks. The chilling period breaks dormancy chemically, mimicking the frozen ground these plants evolved to wait out, and peat moss or a damp paper towel do the same job if you’ve got no sand around.
Honestly? The hardest part is remembering they’re in there. A lot of good seed has met its end behind the leftovers.
3. Harden Off Seedlings Gradually Before Moving Them Outdoors
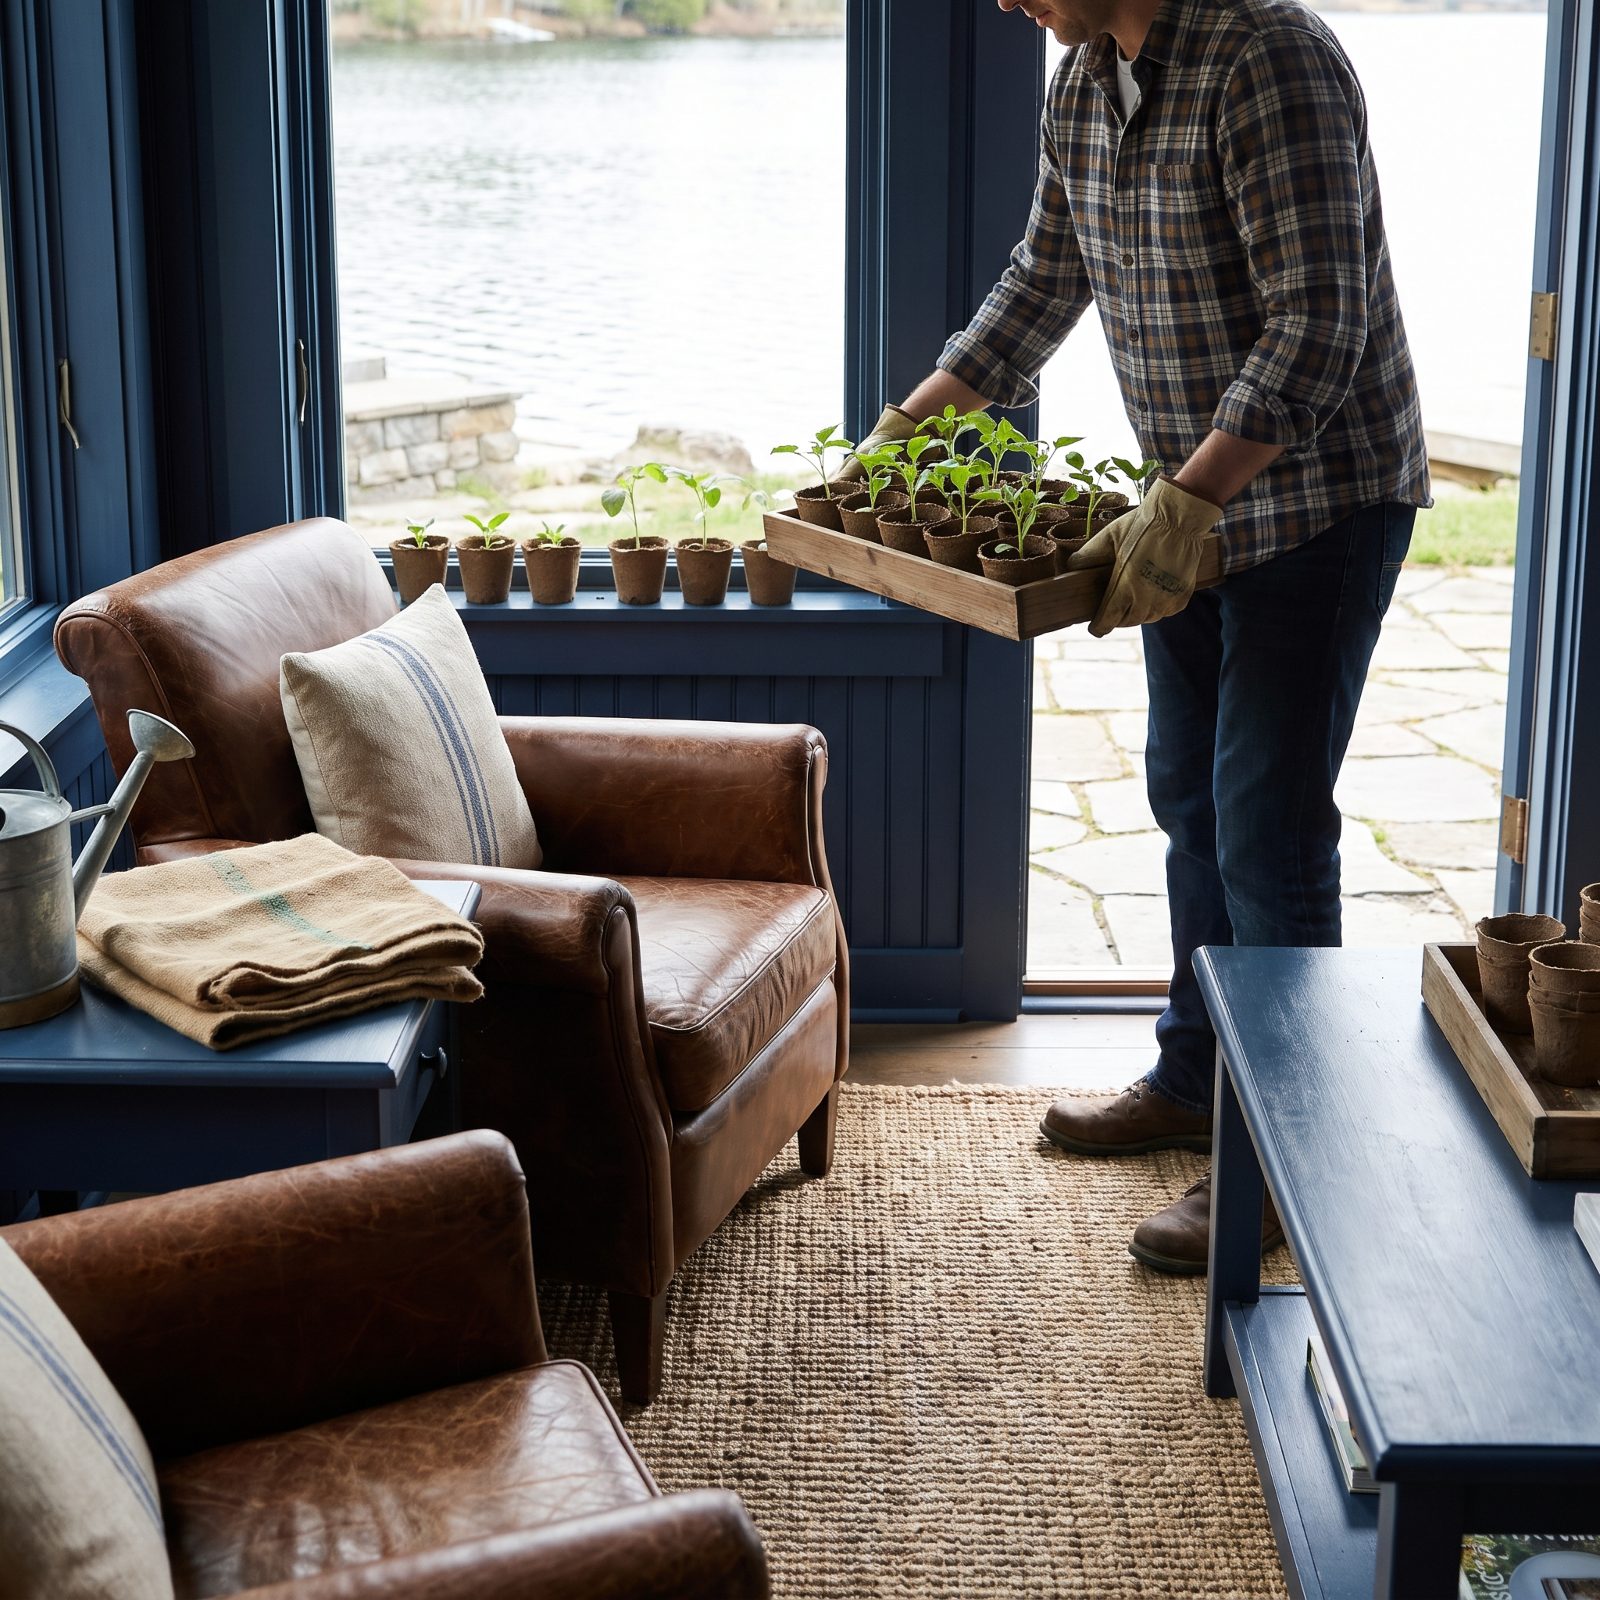
Indoor seedlings are soft. Grown under still air and filtered light, they’ve never once felt real sun, wind, or a cold night, so set them straight into the garden and they’ll scorch, wilt, or flat-out collapse within a day.
Hardening off fixes that. Start with an hour outdoors in shade, then stretch the time and the sun over a week or so, carrying the tray back inside at night until the final stretch. The plants respond by thickening their cuticles, stiffening their stems, and getting used to the temperature swings they’ll face for good.
Skip it and you’ll learn why the hard way. This is the most common route from a windowsill full of promise to a tray of translucent, flopped-over disappointment.
2. Propagate Flexible Shrubs by Pegging a Stem Into the Soil
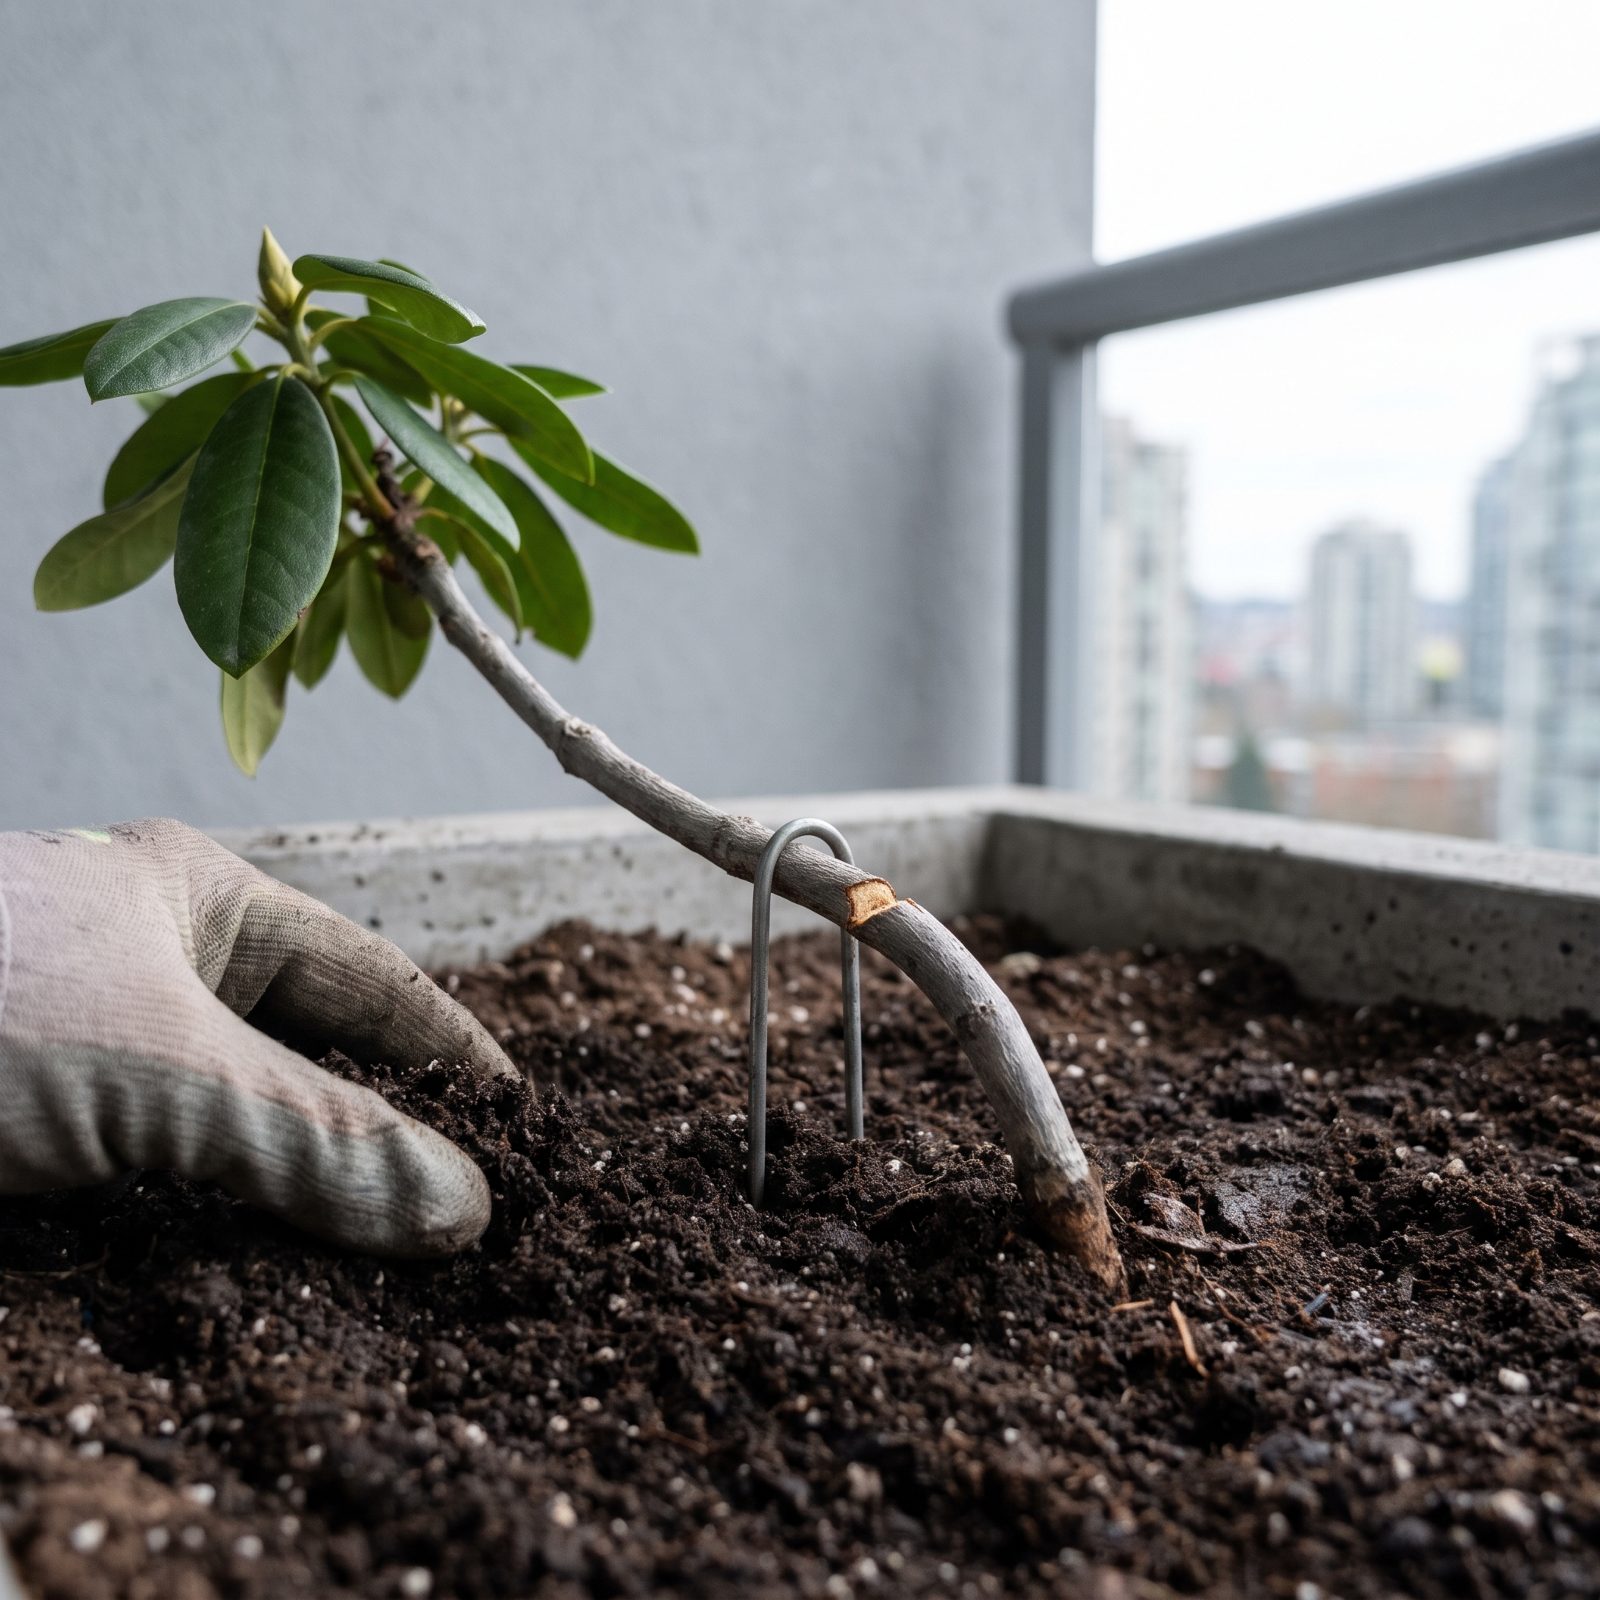
This one feels like a card trick, and it costs you nothing. Bend a low, flexible branch still attached to the shrub down flat to the ground, scratch a shallow nick in the bark a little above the soil, and pin it into loose soil with a wire staple. Leave the leafy end sticking out.
Over a season, the pinned section grows its own roots while its leaves keep quietly feeding it. Once it’s rooted, you sever it from the parent, lift it and walk away with a brand-new shrub, identical to the mother in every way.
Gardeners have rooted forsythia, rhododendrons, climbing roses, and currants this way for centuries. It works because the pinned stem stays in snug contact with moist soil until it’s good and ready.
1. Heel In Bare-Root Plants Until You’re Ready to Plant for Good
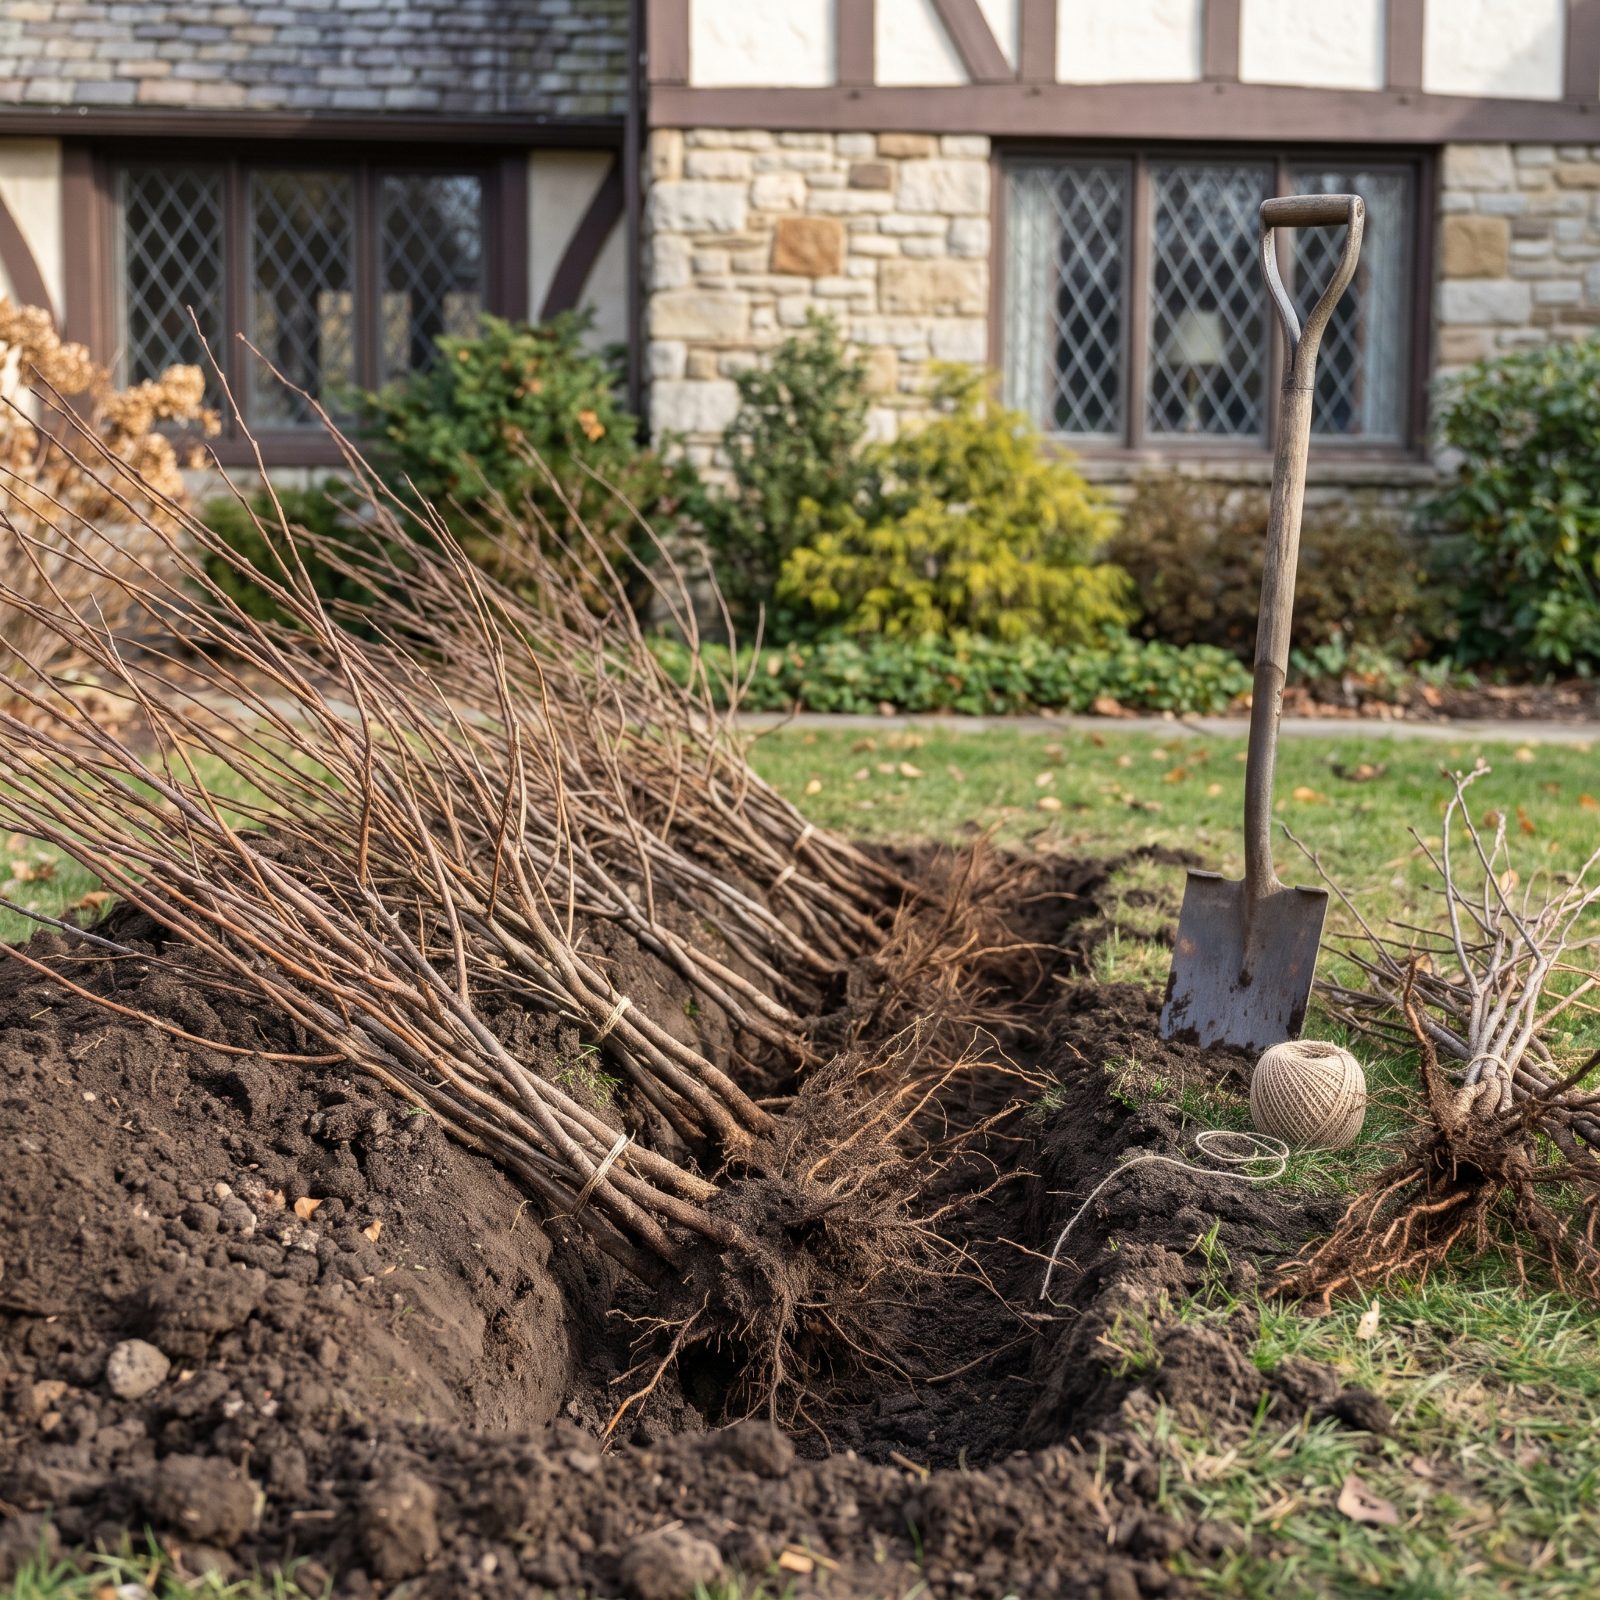
Bare-root trees and shrubs arrive dormant, cheap, and in a terrible hurry. The clock starts ticking the moment those roots hit the open air, and they certainly can’t sit in the garage waiting around on your schedule.
Heeling in buys you time. Dig a shallow trench, lay the plants at an angle, cover the roots and lower stems with loose soil, and firm it down with your boot. The roots then stay cool, moist, and sheltered from drying wind or hard frost for weeks, right up until the ground and the weather finally cooperate.
A holding pattern, not a home. But it has rescued countless mail-order orders that turned up mid cold snap, or during one of those soggy weeks when real planting was simply out of the question.