The trimmer line snaps on the third pass, the mower deck clogs halfway down the lawn, and the wheelbarrow tips the moment your guard is down. Most yard work isn’t hard because of the grass. It’s hard because the tools fight back. The best shortcuts aren’t gadgets you buy — they’re small tricks experienced hands pass around quietly, the kind that shrink a two-hour chore to forty minutes and leave your back intact. A few sound too simple to matter. Try them once and the doubt vanishes.
Please note that some of the images in this article were created with the assistance of AI.
40. Soak Brittle Trimmer Line Overnight So It Stops Snapping
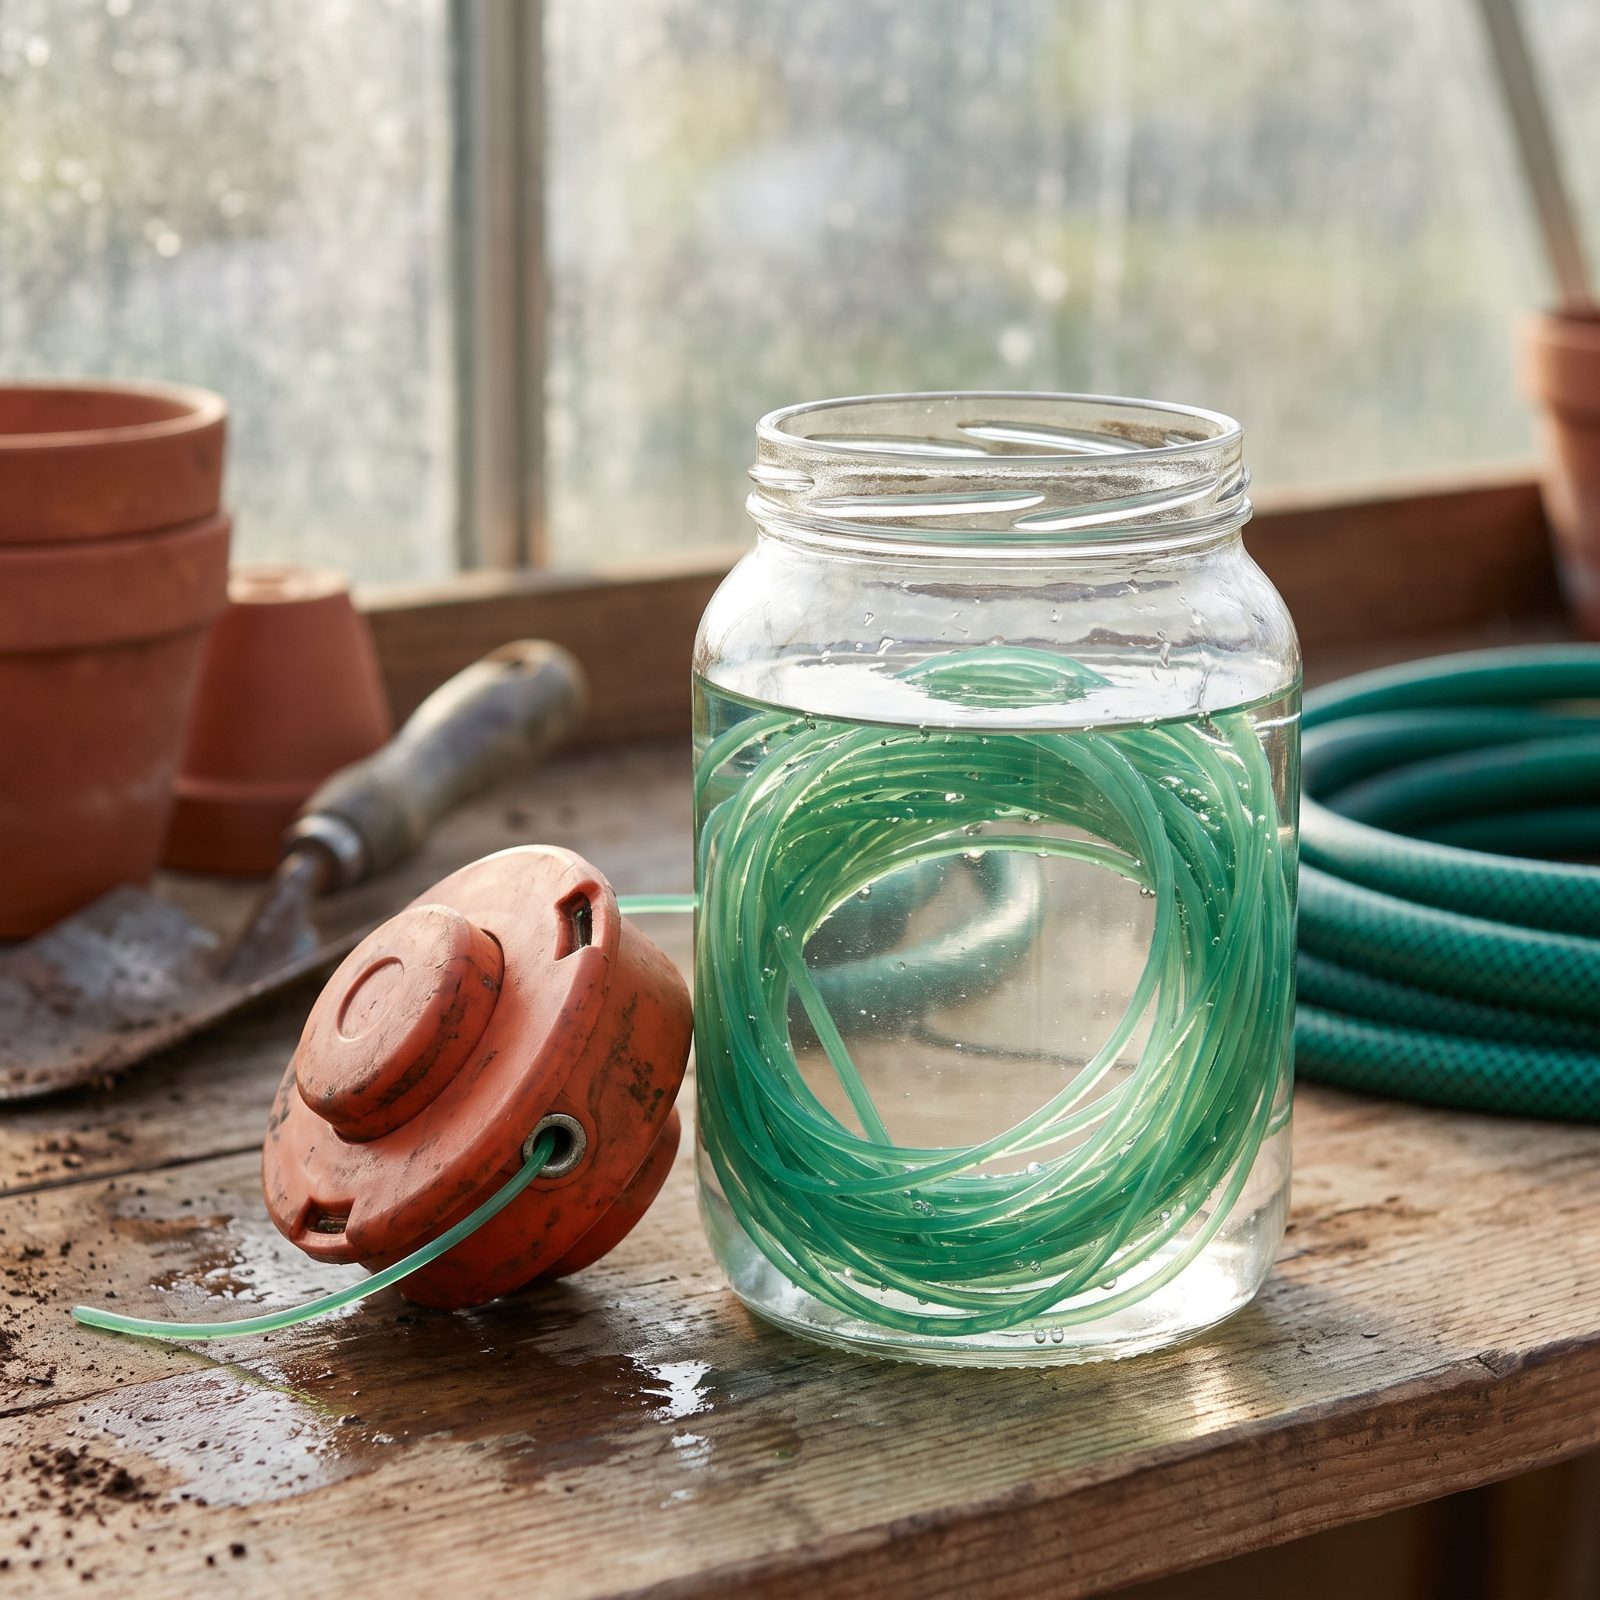
Nylon trimmer line dries out. A spool that’s been sitting in the garage since last summer turns brittle, and brittle line shatters on the first fence post it touches. You feed out more, it snaps again, and half the spool is gone before the trimming’s done.
Drop the spool in a bucket of water overnight. The nylon reabsorbs moisture, regains its flex, and takes a hit instead of crumbling. Sounds made up right until you watch your usual breakage disappear.
39. Wax the Underside of the Mower Deck So Clippings Fall Away
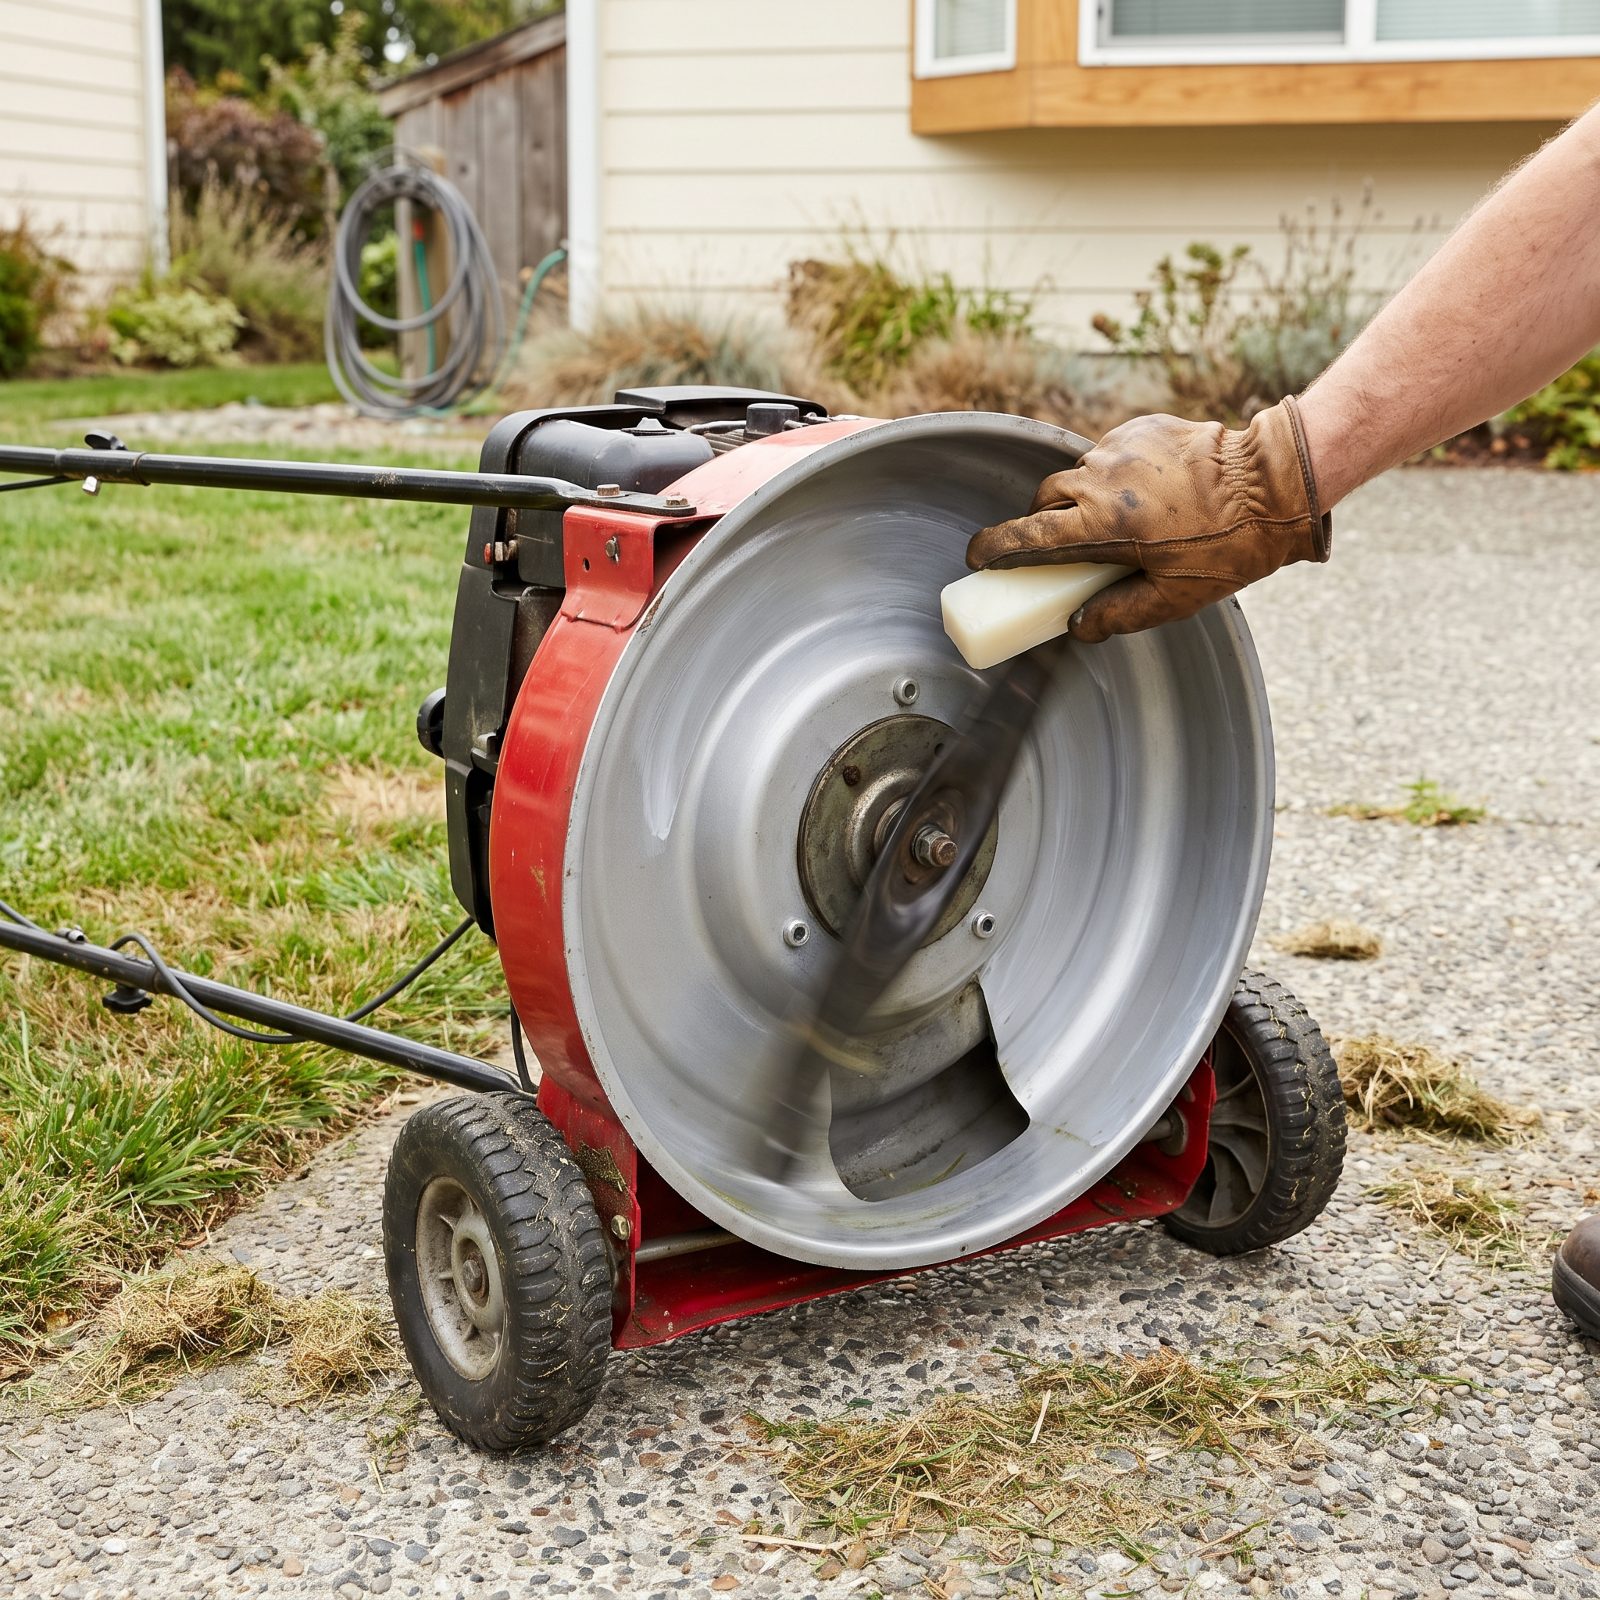
Wet grass cakes onto a mower deck like glue, choking airflow and dropping ragged clumps across the lawn. So you stop, scrape, start again, and stop once more.
Wipe a coat of paraffin wax or an old candle stub across the clean, dry underside of the deck. Clippings slide off instead of building up — less stopping, better mulching, a tidier cut. Spray-on dry silicone works too. Just disconnect the spark plug and make sure the blade has come to a complete stop before you reach in there — never wax a deck while the engine is running or the blade is turning.
38. Clamp a Tarp Inside the Wheelbarrow for One-Pull Unloading
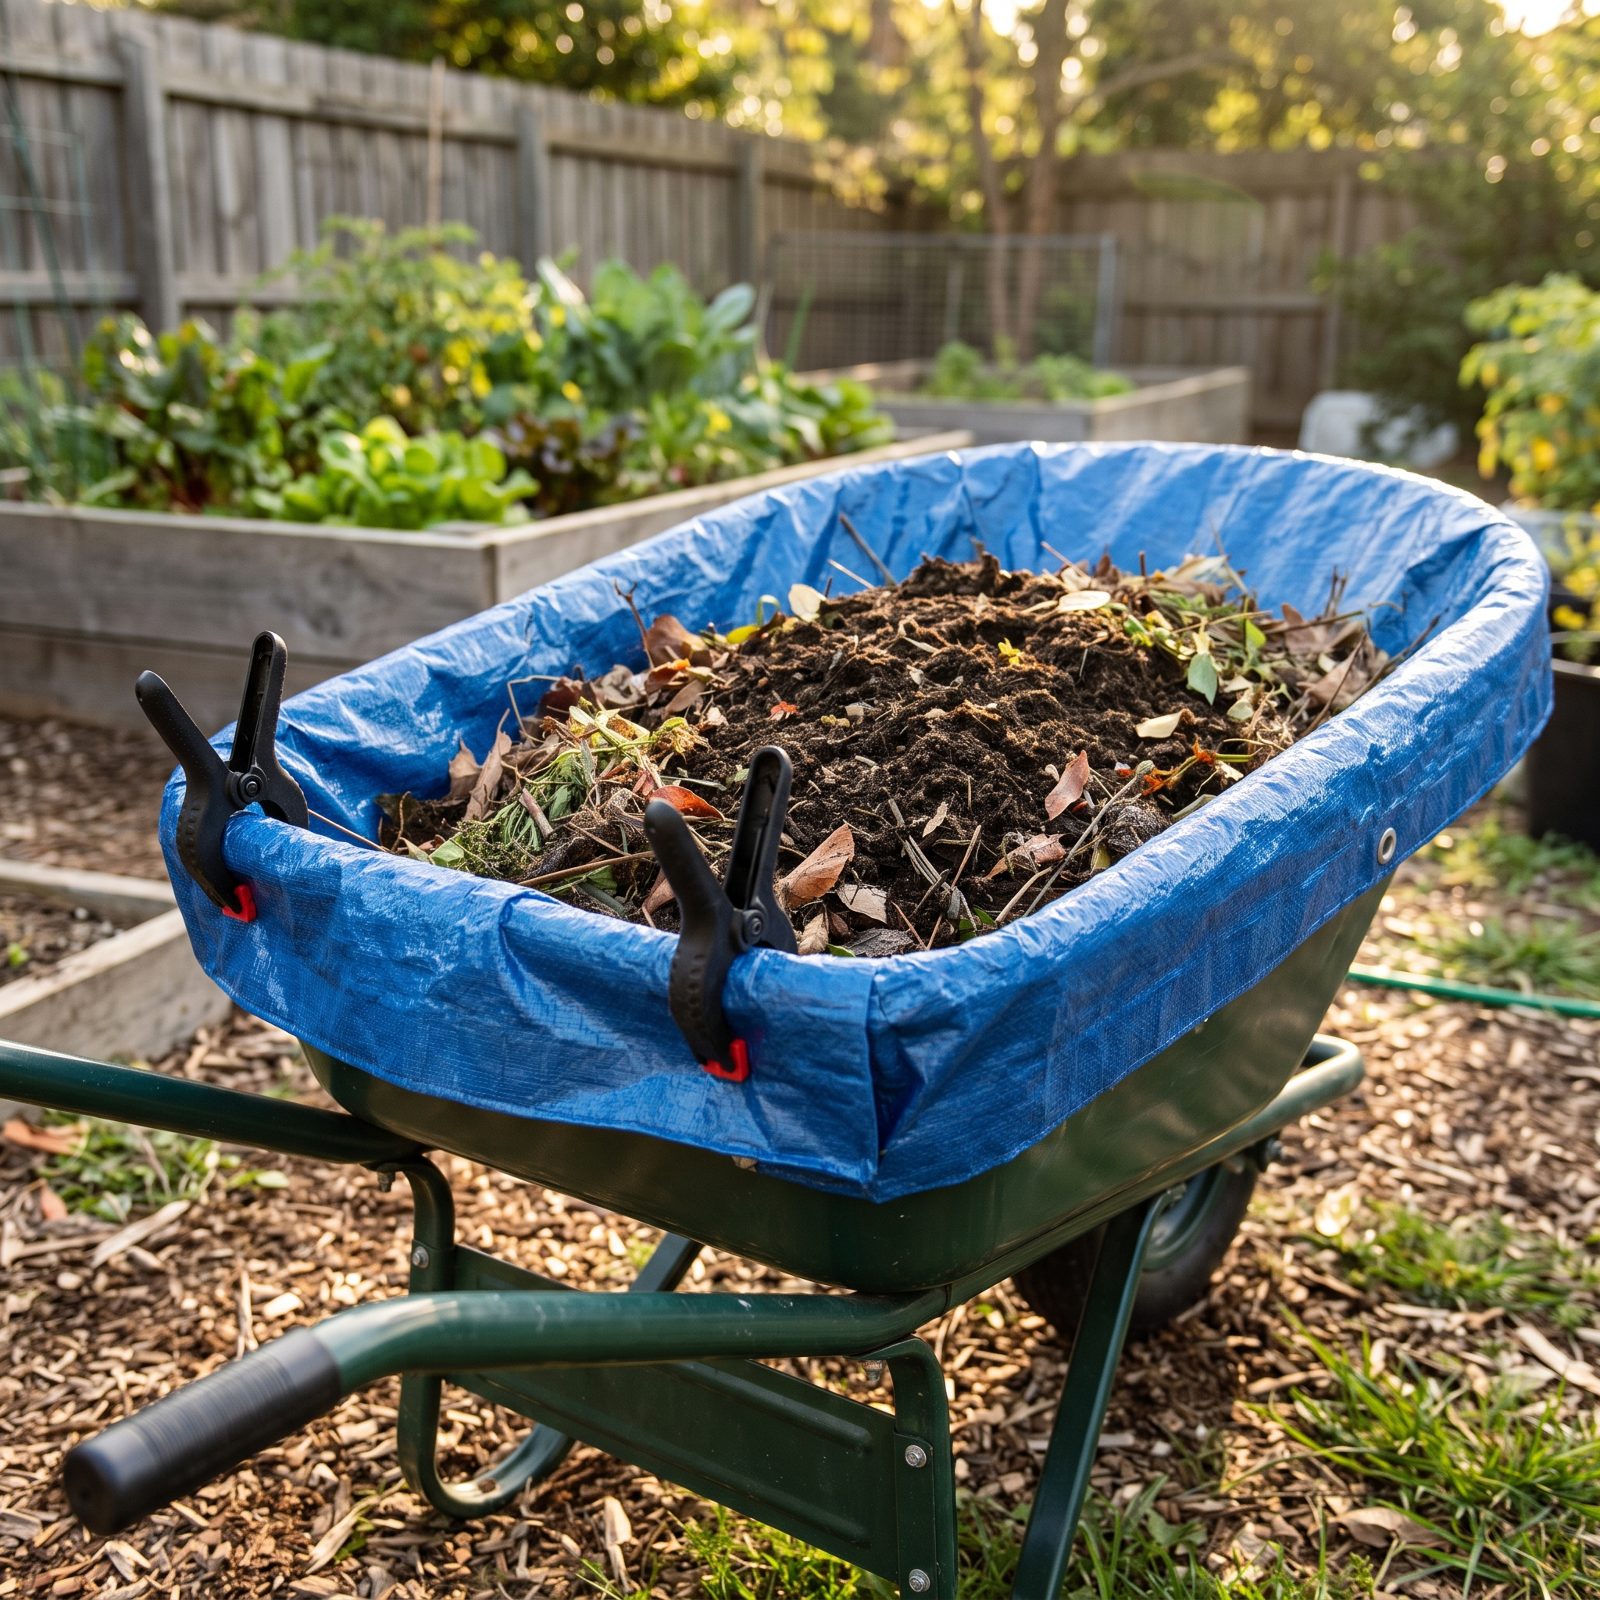
Shoveling wet soil or sticky leaves back out of a wheelbarrow is its own second chore. Half of it clings to the bed, and you end up scraping corners by hand.
Line the barrow with a tarp and clip it to the rim with two spring clamps. At the dump spot, grab the far edge and pull the whole load out at once — soil, clippings, leaves, gone in one motion. It spares your lower back on compost days, which adds up over a season.
37. Sink a Nursery Pot Beside Thirsty Plants to Water the Roots Directly
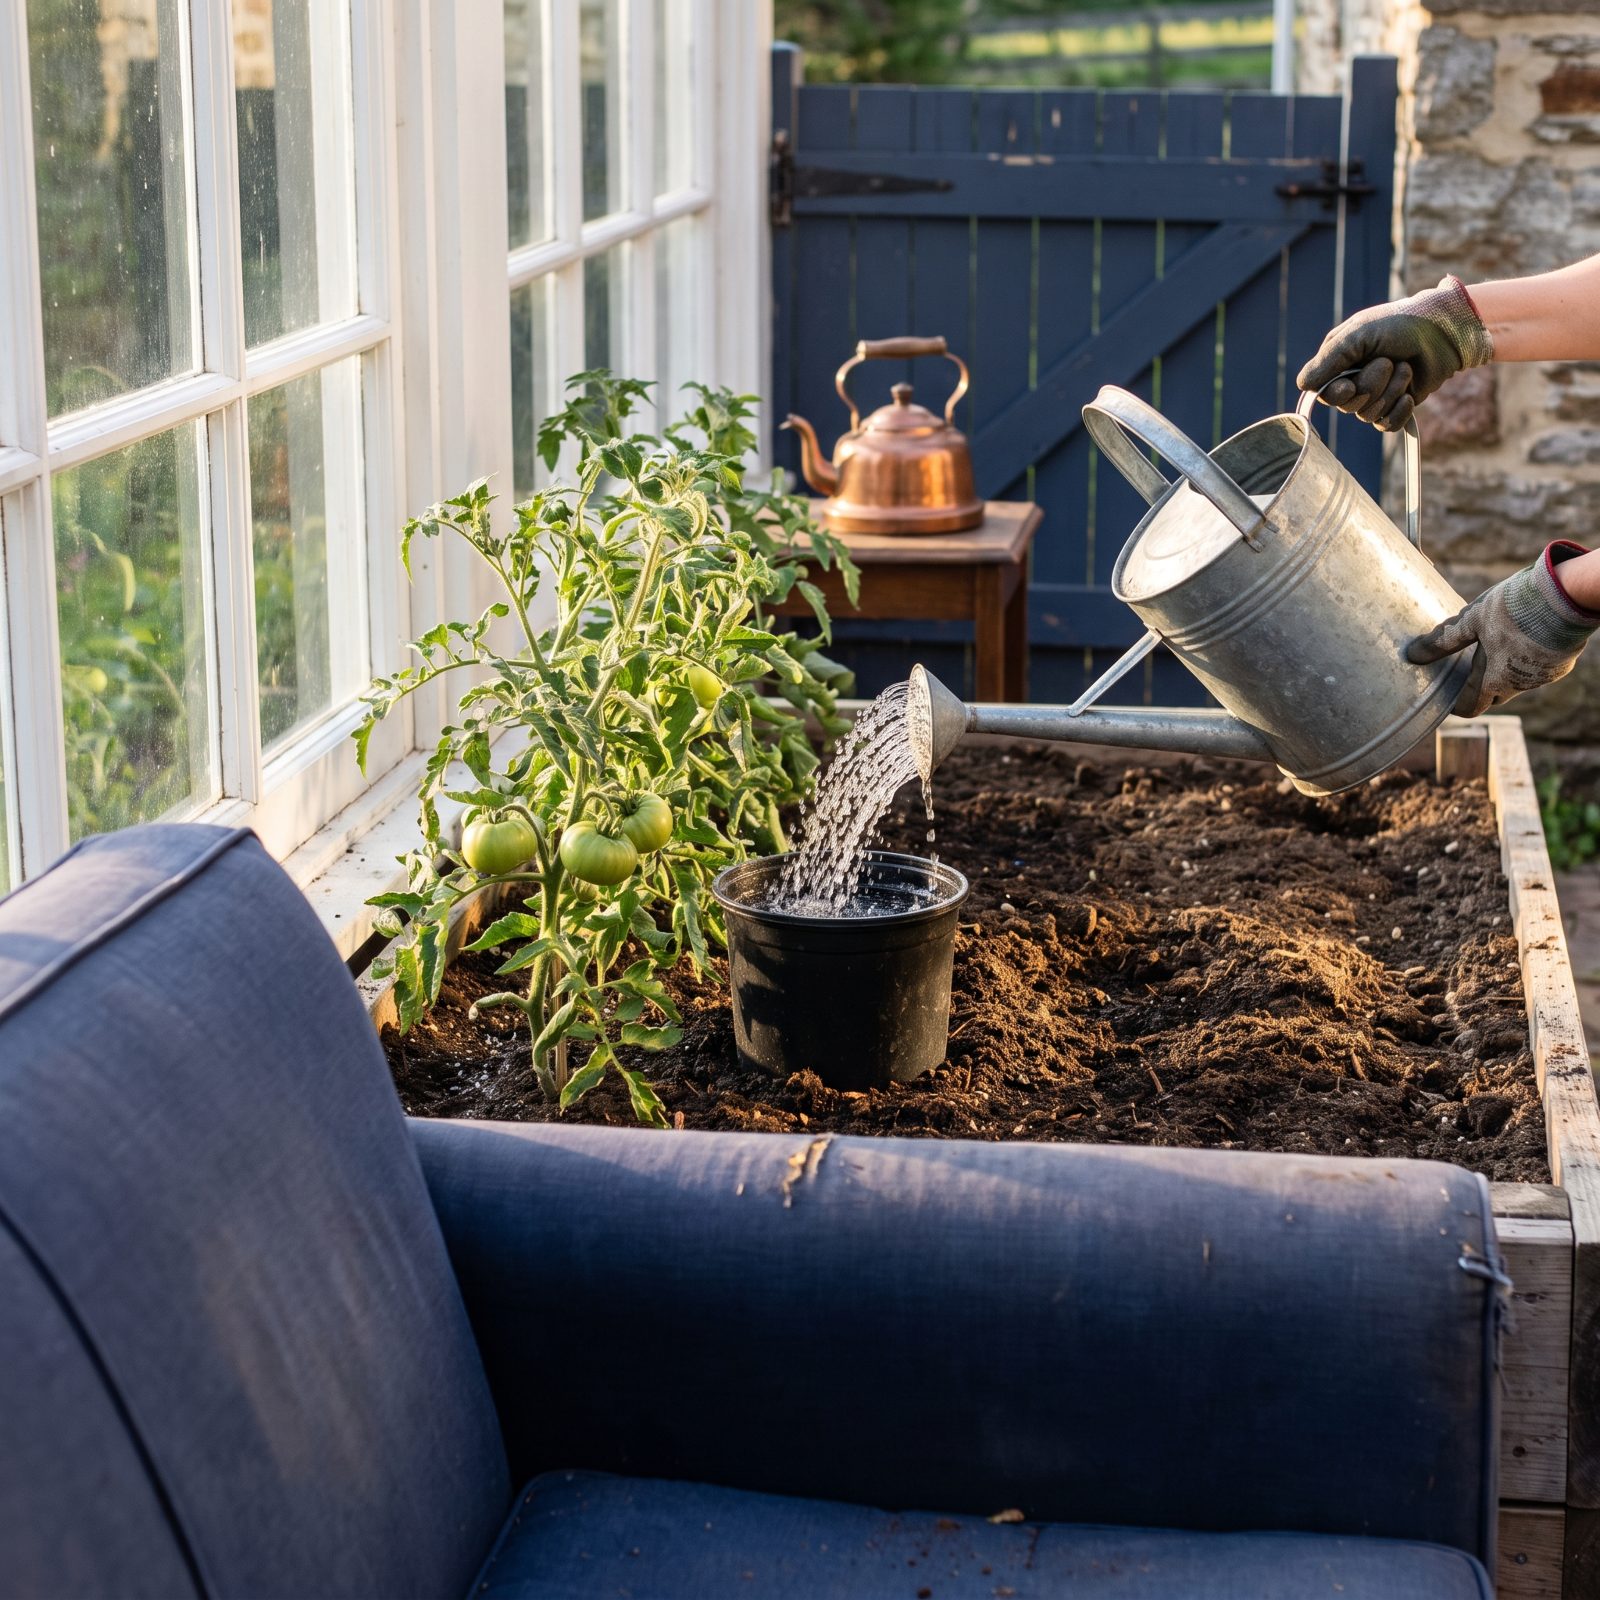
Water poured on the surface near a big tomato or squash plant mostly evaporates or runs off before it ever reaches the roots that need it.
Sink an empty nursery pot into the soil beside the plant, leaving its rim just above the surface, and fill that pot when you water. The water pools inside, then the drainage holes in the bottom let it seep straight down to the root zone, deep and slow, where it counts. You water less often because nothing’s wasted up top, and the surface stays drier — which weeds hate. A buried length of perforated pipe does the same job for shrubs.
36. Set Hose Guides at Bed Corners to Stop Crushed Plants
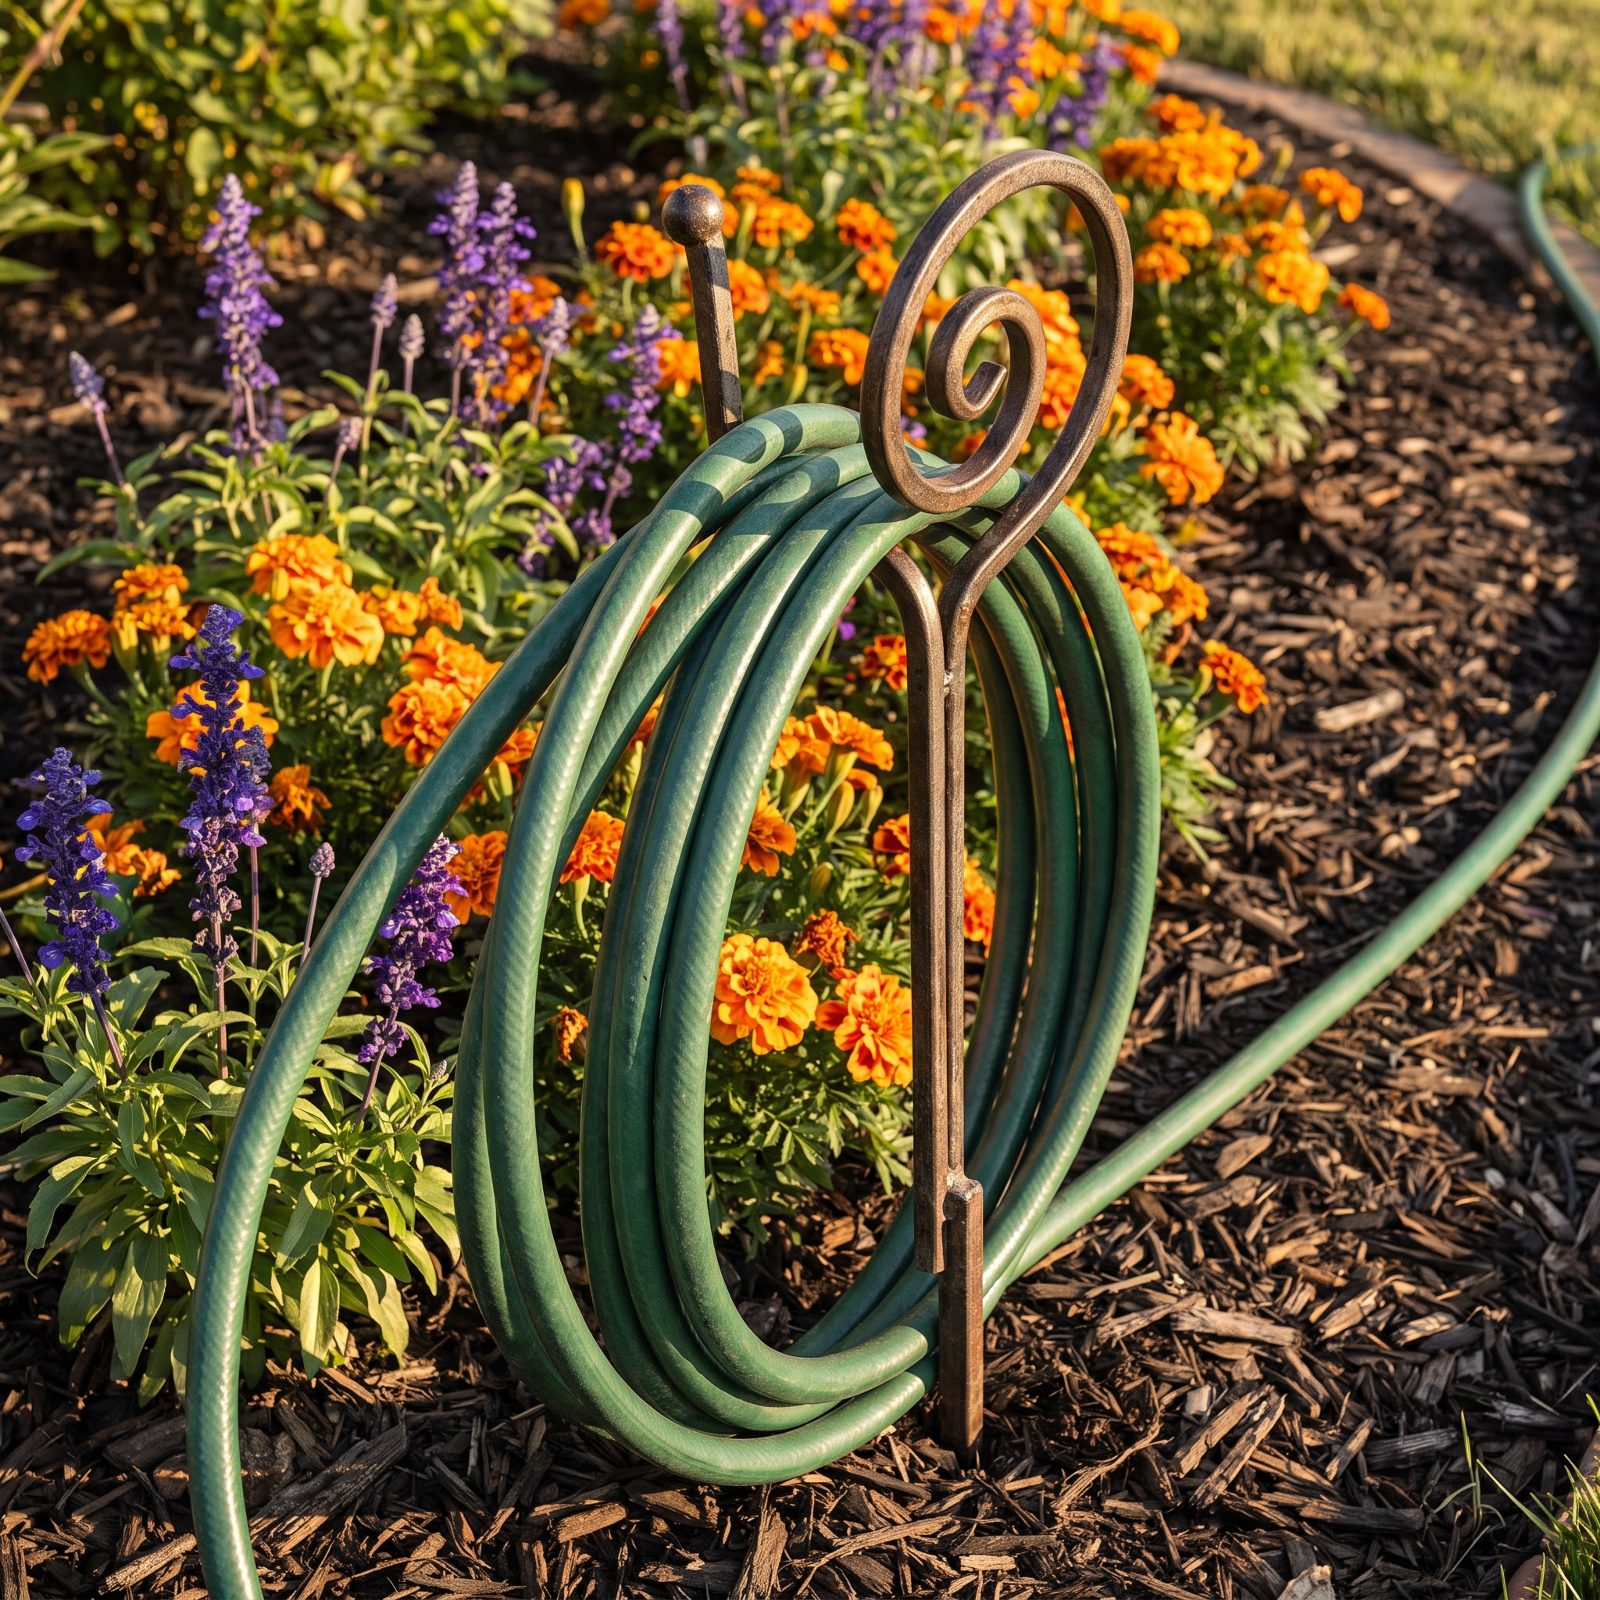
You’ve seen the aftermath. You drag the hose across the yard to water the far bed, and on the way back it swings wide and flattens a whole row of marigolds you spent an hour planting.
Drive a hose guide stake into the ground at each corner of the bed. Now the hose slides around the guides instead of swinging wide across your plants. Decorative guides with a curled metal scroll on top look nice, but any sturdy stake works fine. And you stop replacing the same crushed border plants every July.
35. Walk the Trimmer the Right Direction So Debris Flies Inward
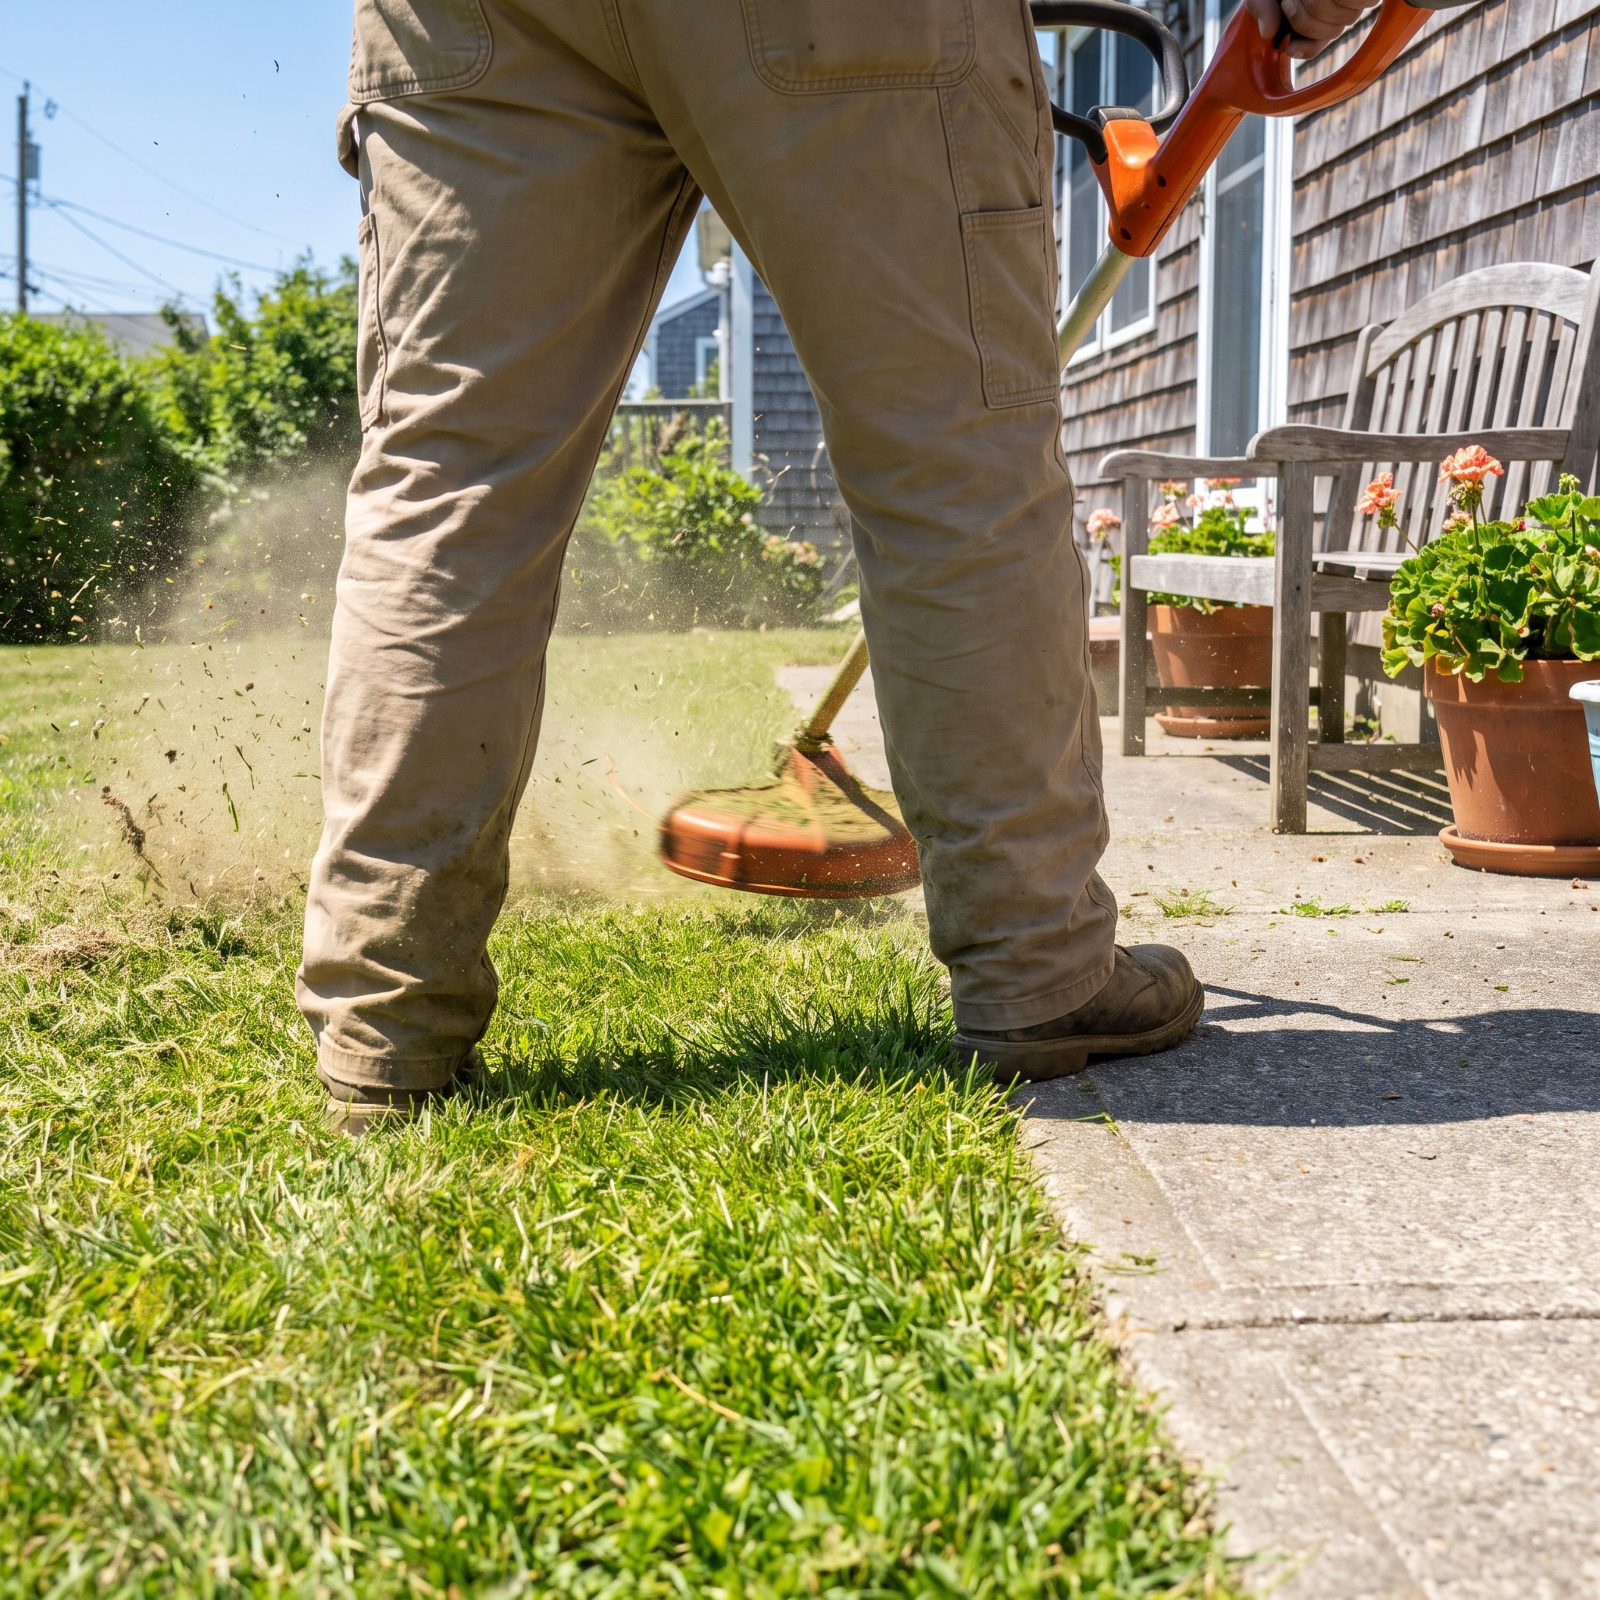
A spinning trimmer head always throws debris to one side. Which side depends on the rotation, and most people never notice.
Walk the machine so the discharge sprays clippings back onto the lawn or into the bed, not all over the clean driveway and your pant legs. For a head spinning counterclockwise, keep the right side of the arc against the edge you’re cutting and move so the throw goes inward. Get it backwards and you’ll spend ten minutes sweeping up what you just flung everywhere. Sort out your trimmer’s direction once and you never sweep edges again.
34. Mow Leaves into Windrows Before You Collect Them
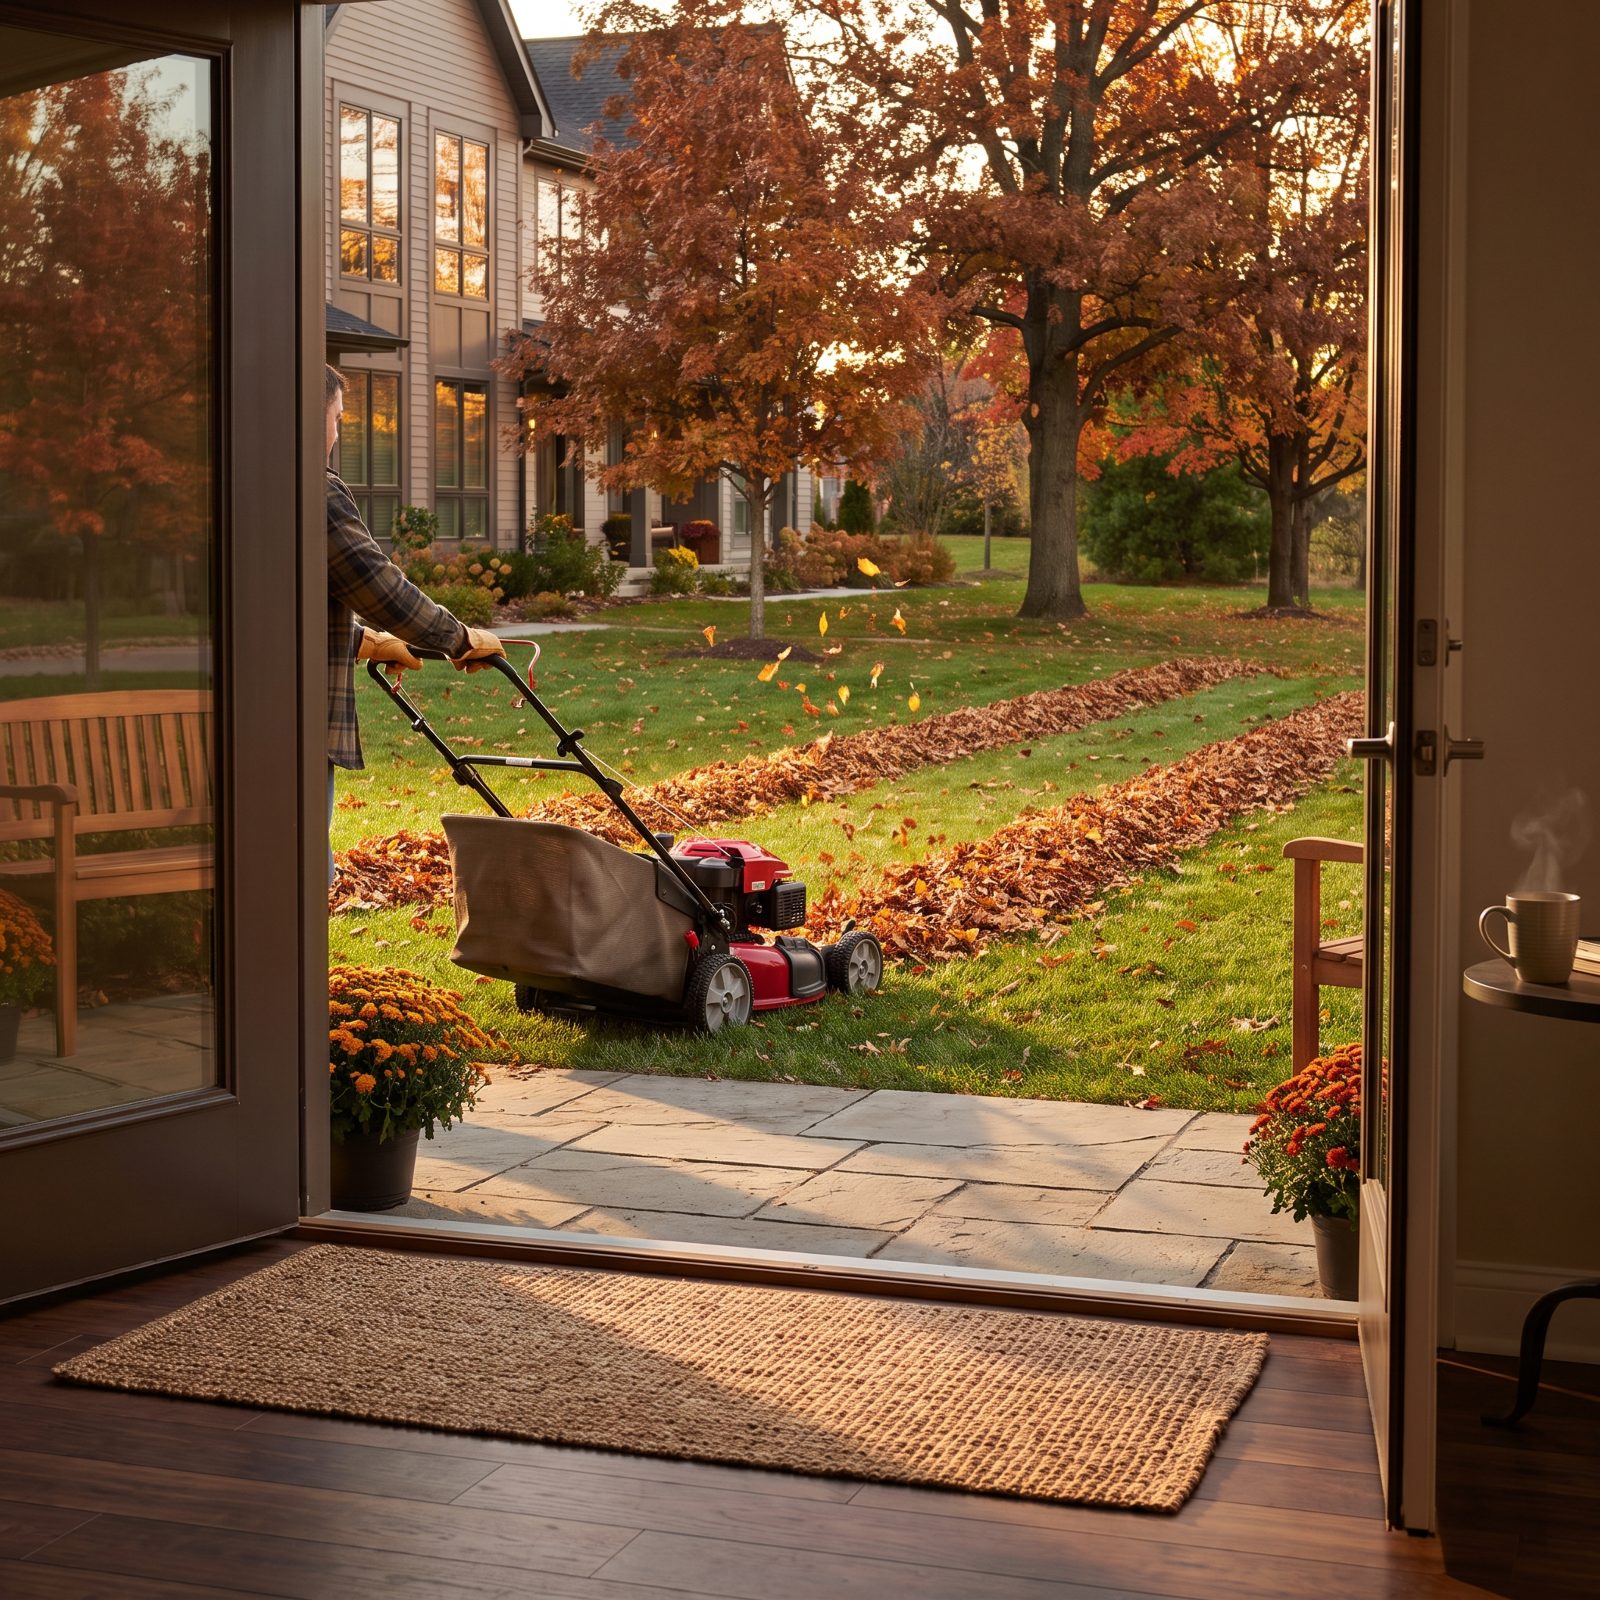
Raking a whole lawn of leaves is a punishment. Bagging them one armful at a time is worse.
Run the mower with the grass-catcher bag removed and push the leaves in long overlapping passes so they heap into windrows — the same way a farmer rows hay before baling. The mower shreds them smaller as it goes, which cuts the volume dramatically, so you only rake or scoop the rows instead of the entire yard. Shredded leaves also break down fast as mulch or compost, meaning a lot of them never need to leave the property at all.
33. Line Up Straight-Sided Cans to See Where Your Sprinkler Misses
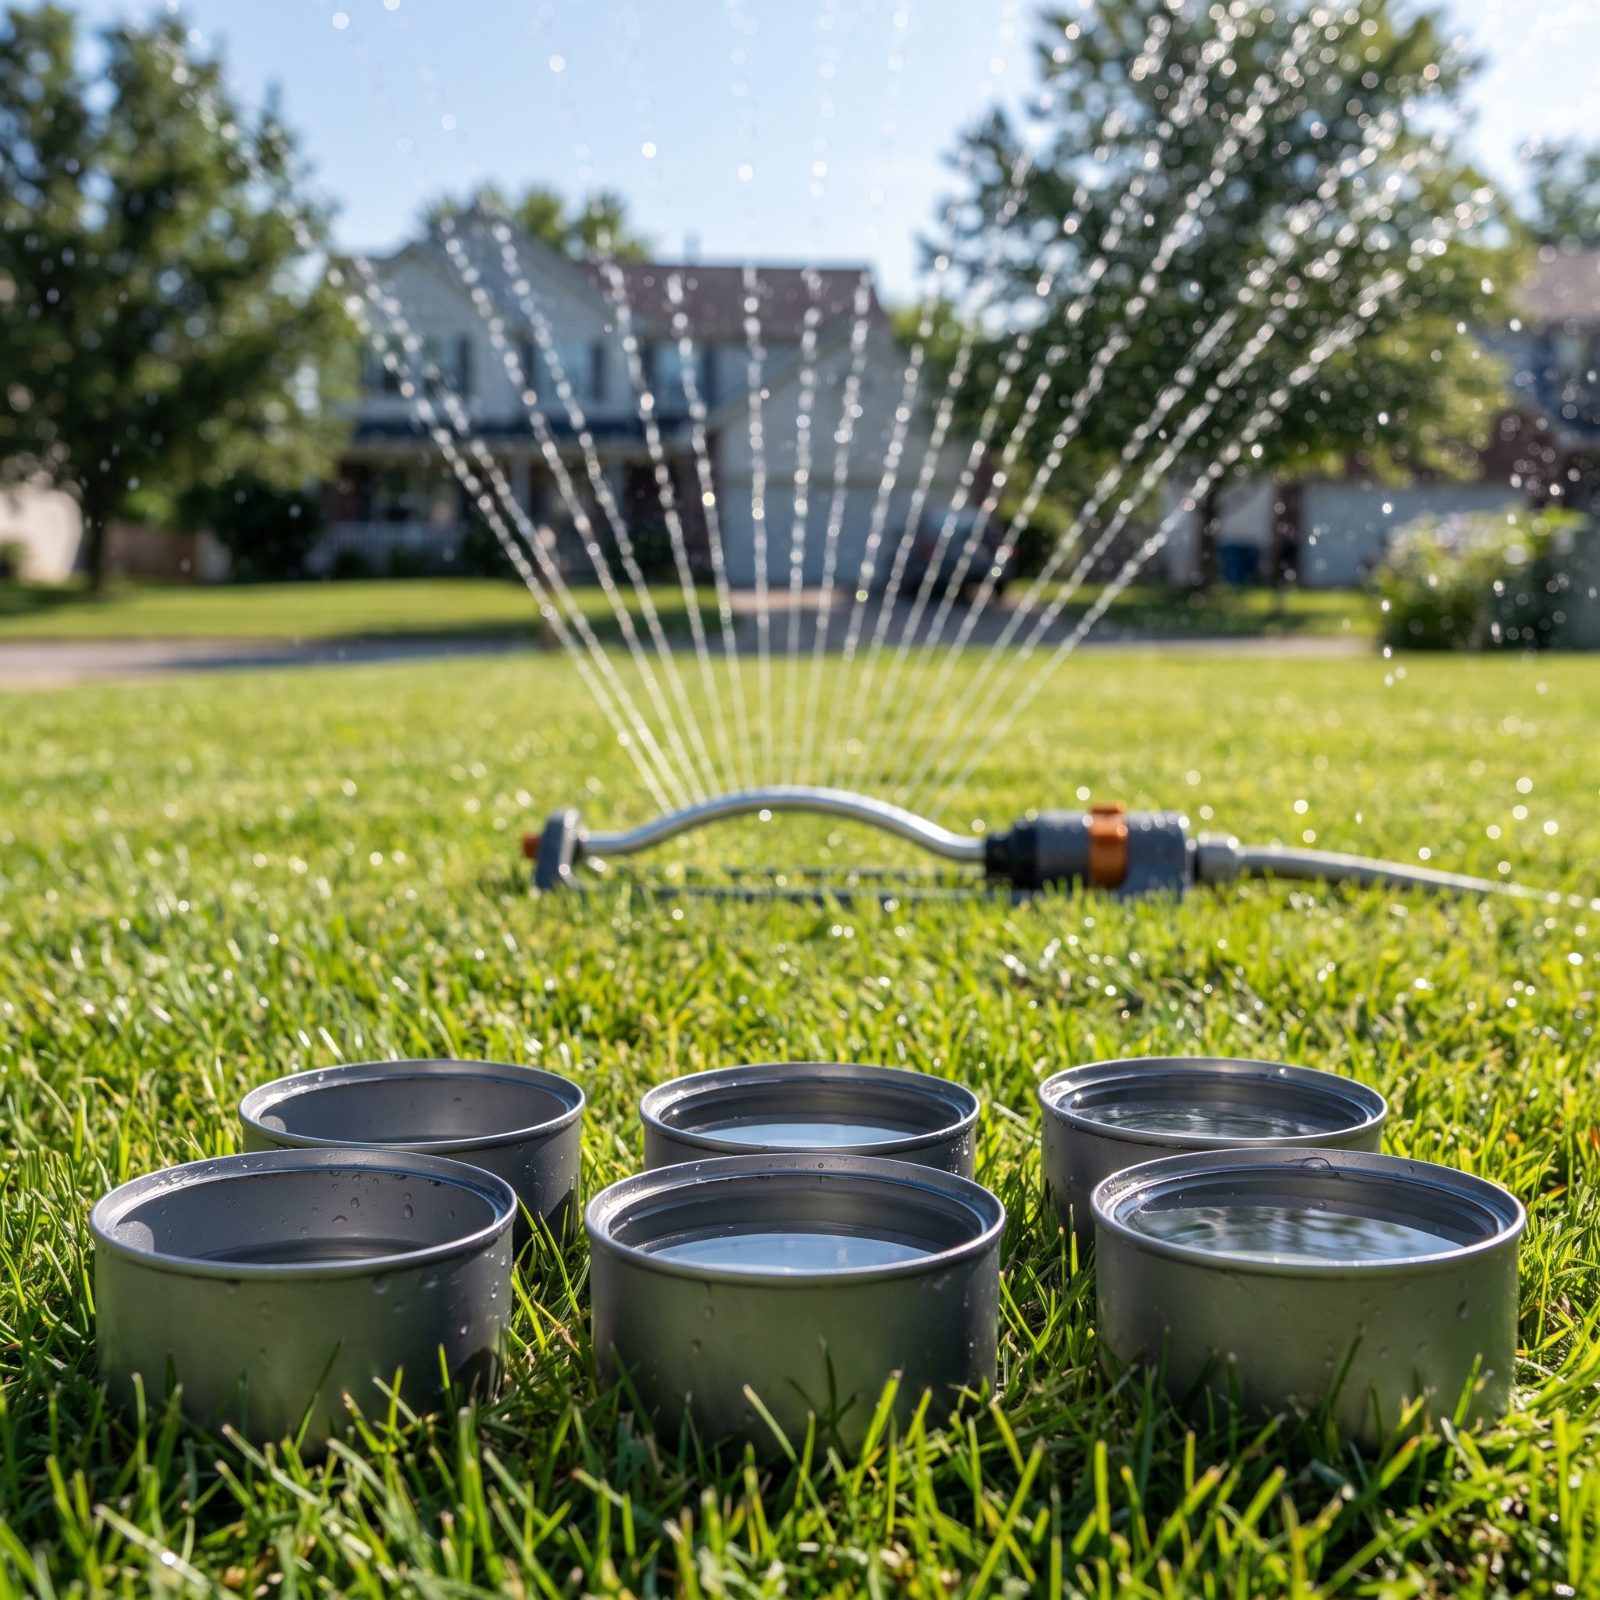
You assume the sprinkler covers the lawn evenly. It almost never does. Some patches drown while others go thirsty, and you won’t see it until a brown stripe shows up in August.
Set straight-sided cans in a grid spread across the lawn and run the sprinkler for fifteen minutes. Tuna cans are the standard here, and the straight sides matter — tapered ones skew the reading. Check the water depth in each. The uneven ones tell you exactly where to adjust heads or shift the sprinkler, and roughly how long to run it to hit an inch. It’s the only honest way to know what your system actually does.
32. Spread a Tarp Under Hedges Before the First Clip
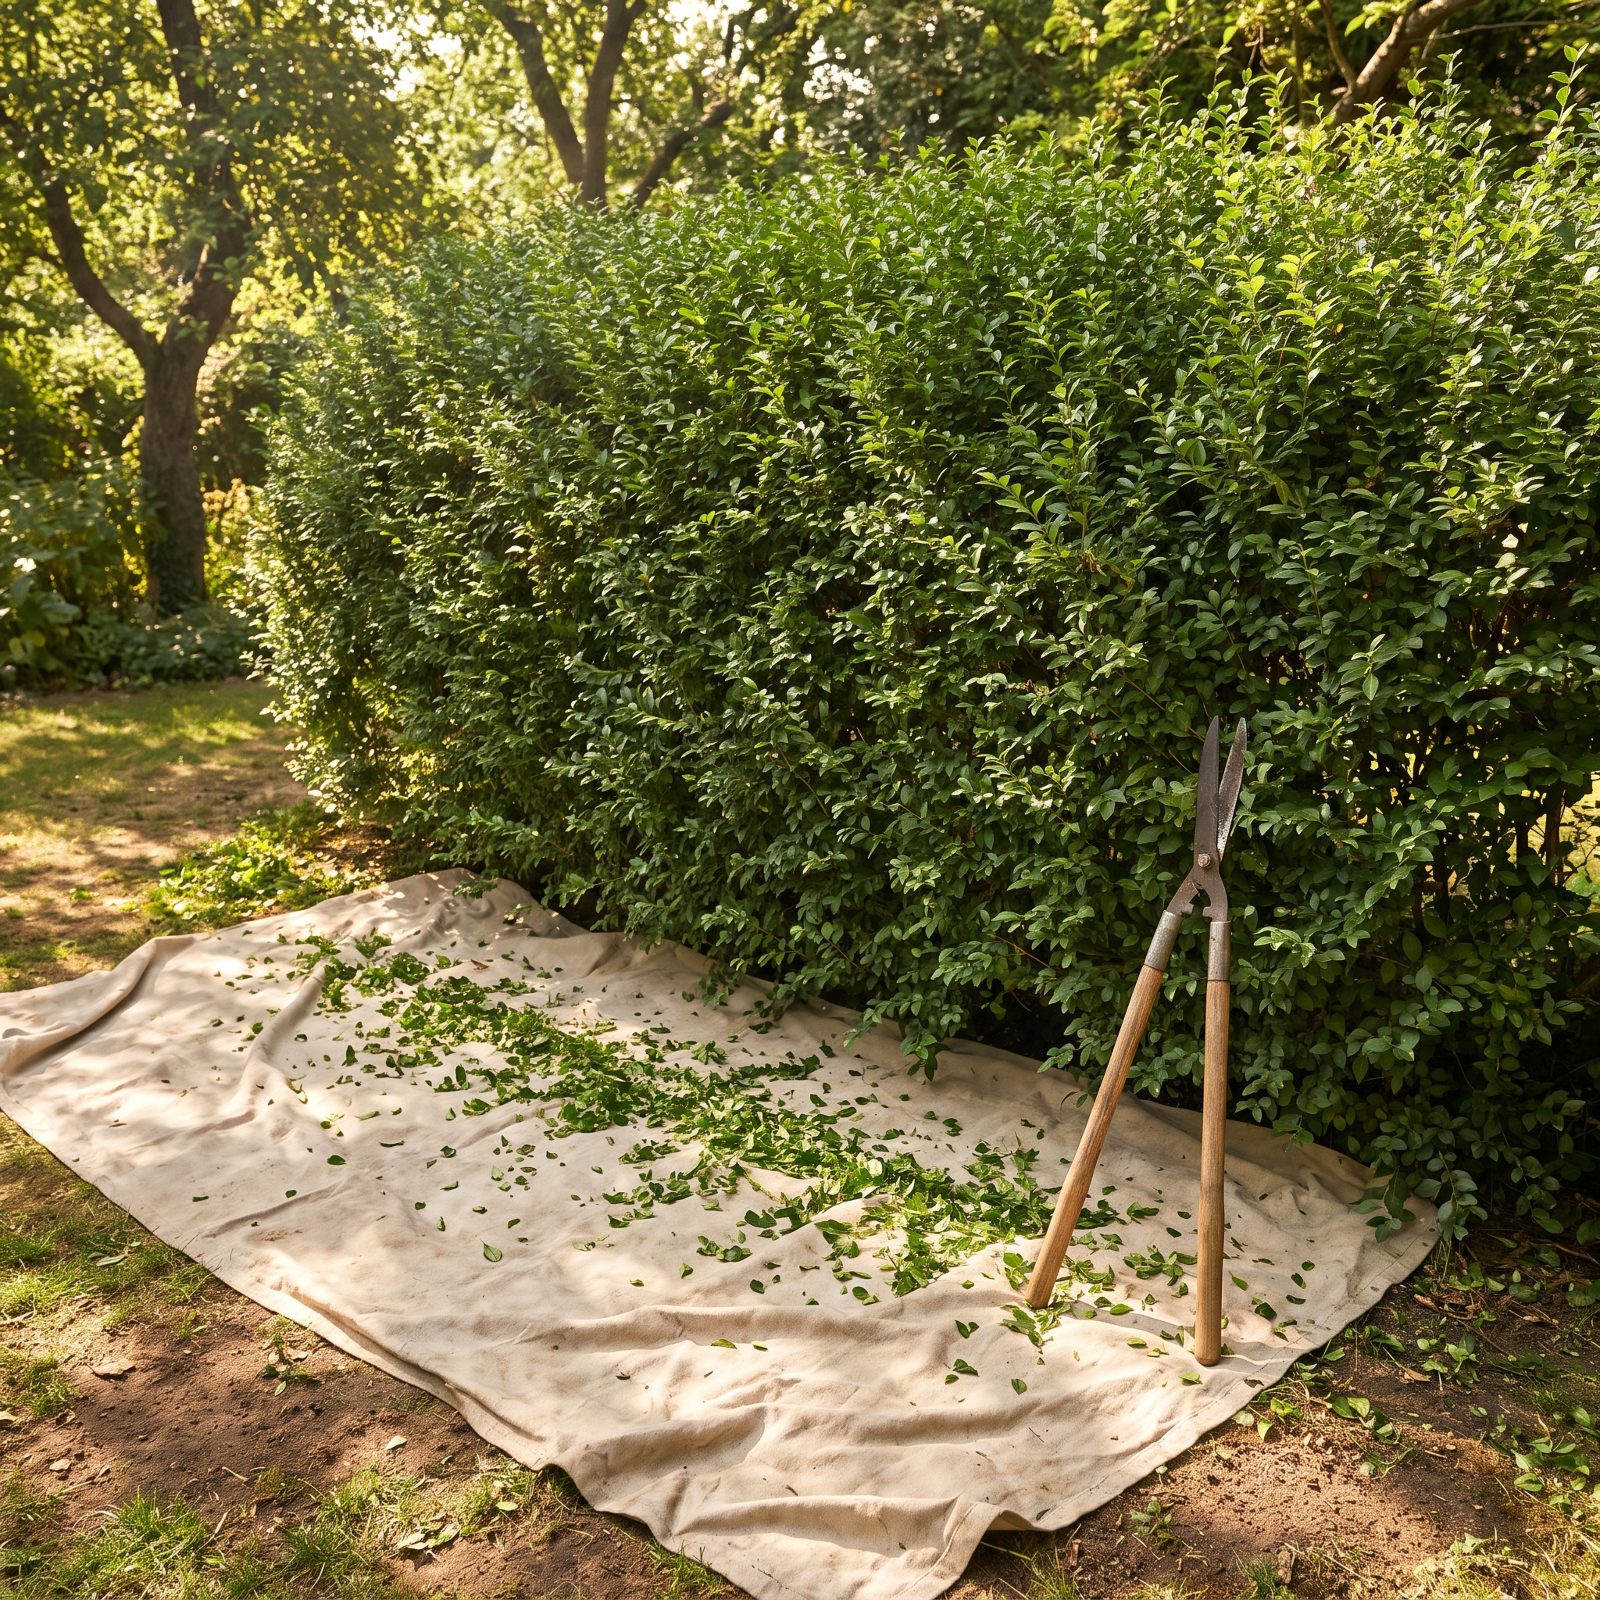
Hedge clippings scatter into the lawn and the bed below, and picking them out of the grass blade by blade afterward takes longer than the trimming did.
Lay a tarp under the hedge before you start, and every clipping lands on it. When you’re done, lift the corners, carry the whole thing to the compost, and the ground underneath stays clean. On a long run, slide the tarp along as you go rather than trying to cover it all at once.
31. Use a Rubber Squeegee to Pull Grass Off Hard Surfaces
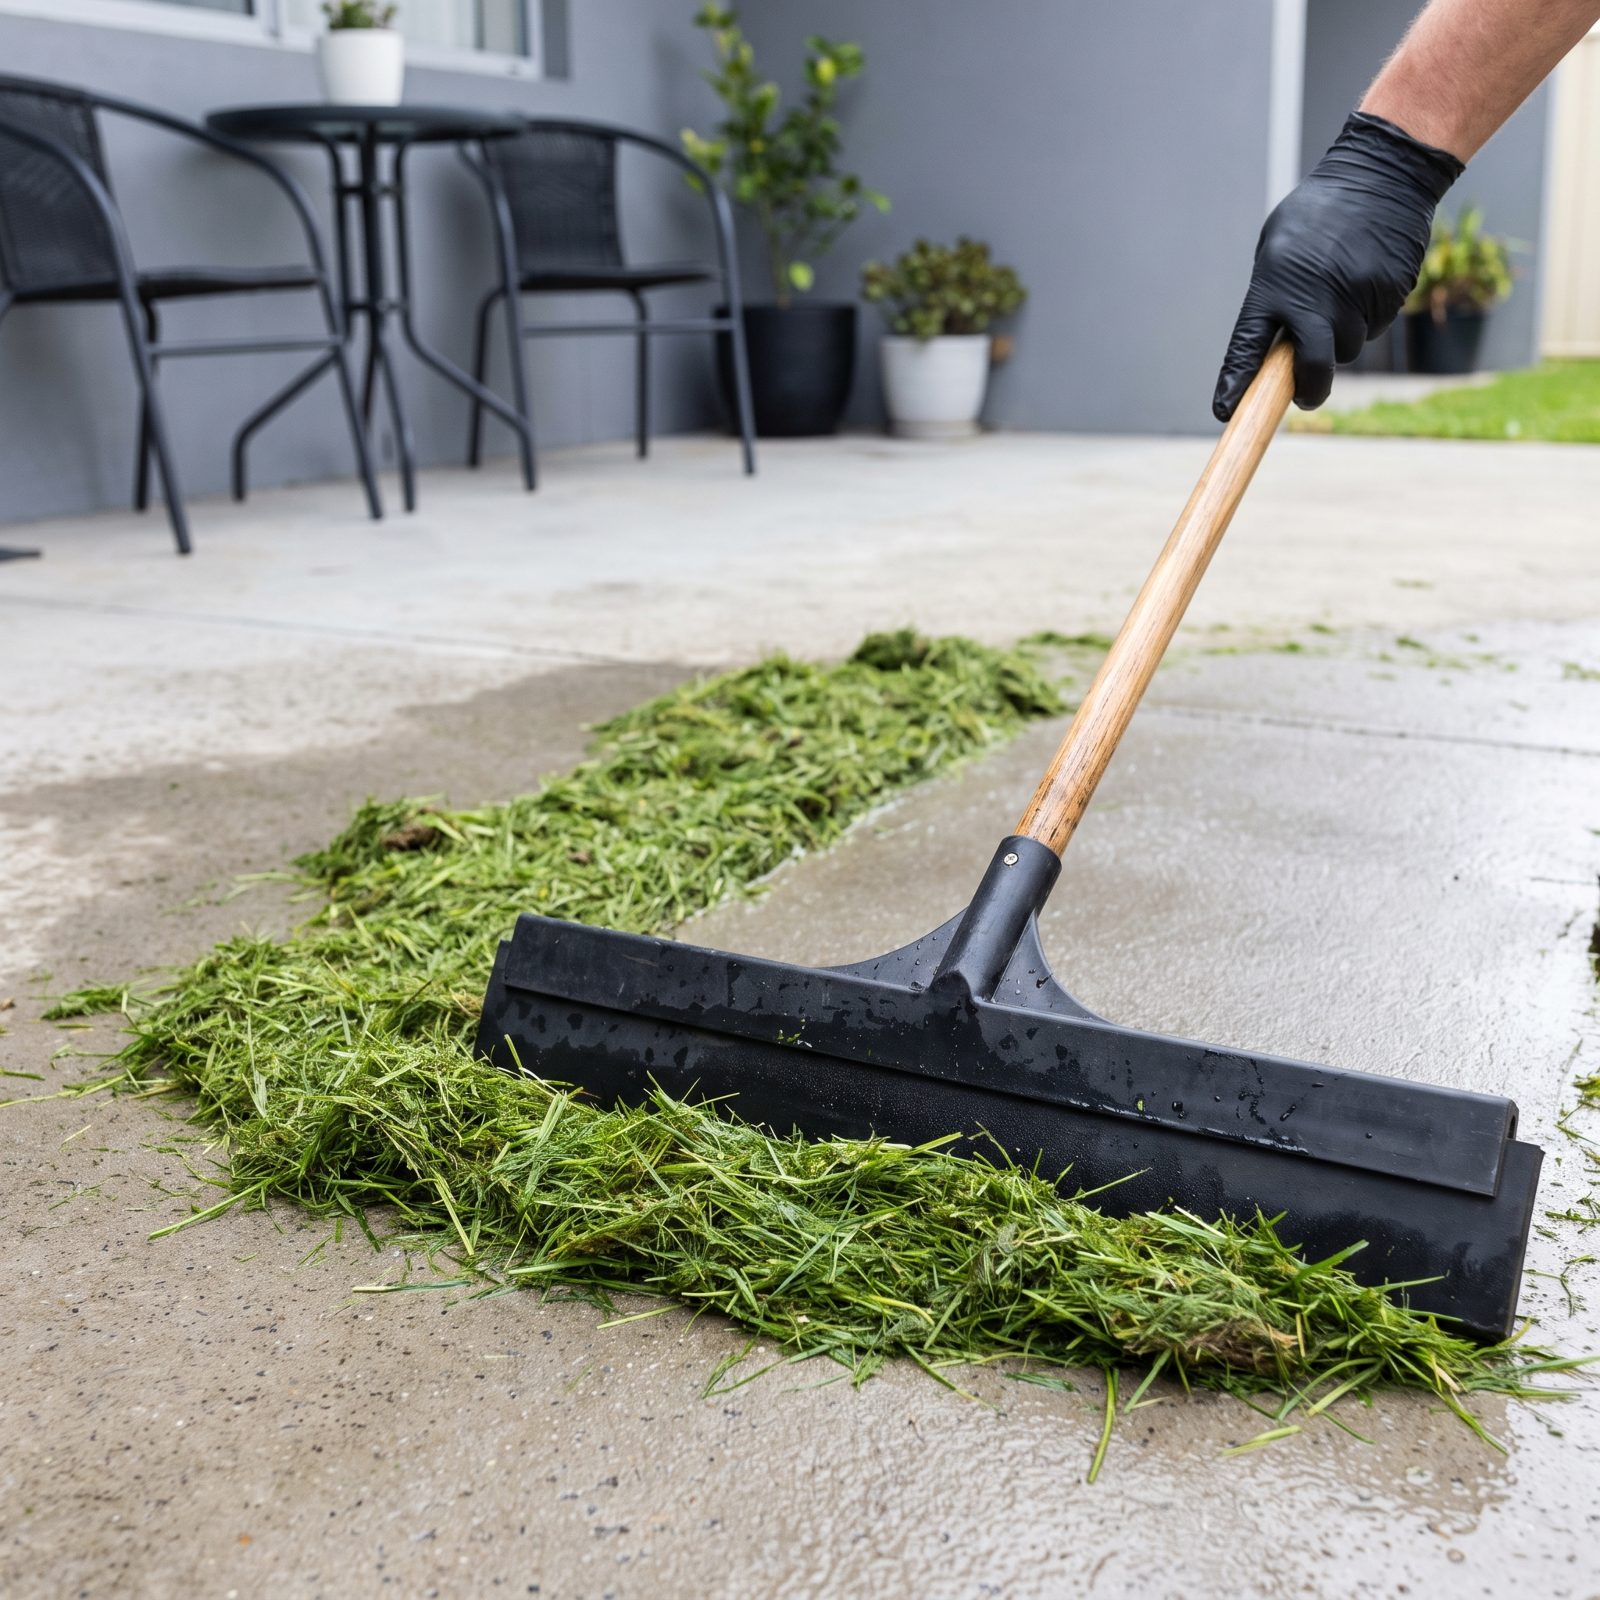
A broom hates wet grass. It shoves half the clippings around and smears the rest into the concrete, leaving green streaks you’ll stare at for a week.
A rubber-bladed squeegee or a flexible rubber-tined rake pulls matted wet clippings off a patio or driveway in one clean sweep, gathering them into a tidy row you can scoop up. The rubber grips what bristles skate over. Works on soggy leaves too. One of those tricks that feels obvious the second you try it — and faintly annoying nobody mentioned it years ago.
30. Walk a Hose Downhill Before Storage to Empty It Fast
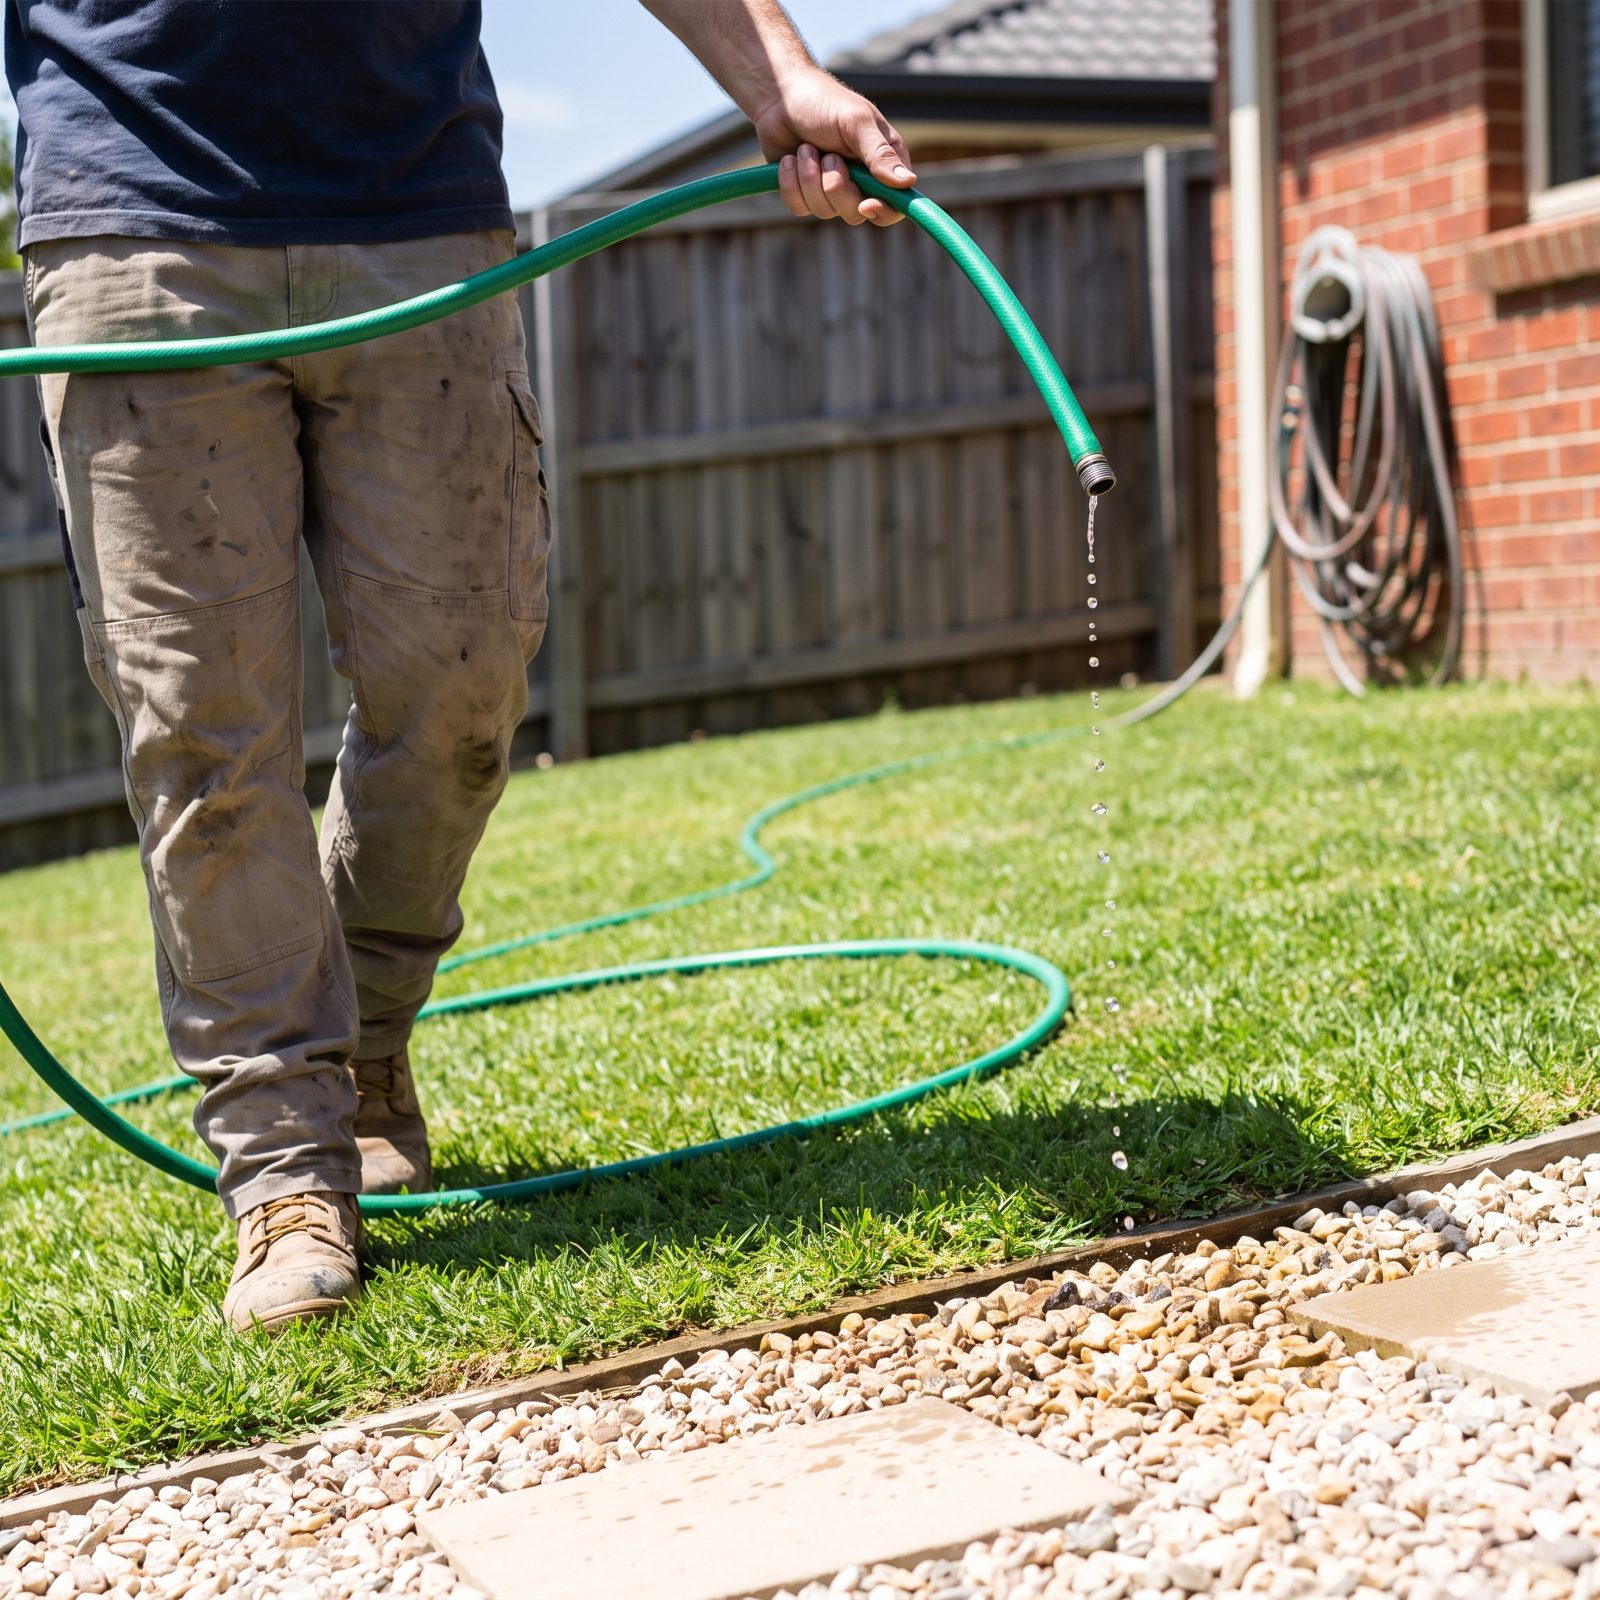
Water left sitting in a coiled hose goes stagnant, then freezes and splits the wall, and every spring uncoiling becomes a soggy wrestling match. The fix costs nothing. Disconnect the hose, pick up the spigot end and hold it at about waist height, then walk toward the open end, lifting it hand over hand so each stretch rises above the one before, and the water runs toward the open end and drips out before you coil it.
Thirty seconds of walking spares the hose from winter cracking and spares your back from hauling something that weighs twice what it should. Most folks coil it where it lies, then wonder why the thing’s so heavy.
29. Mark Planting Depths Directly on a Shovel Handle
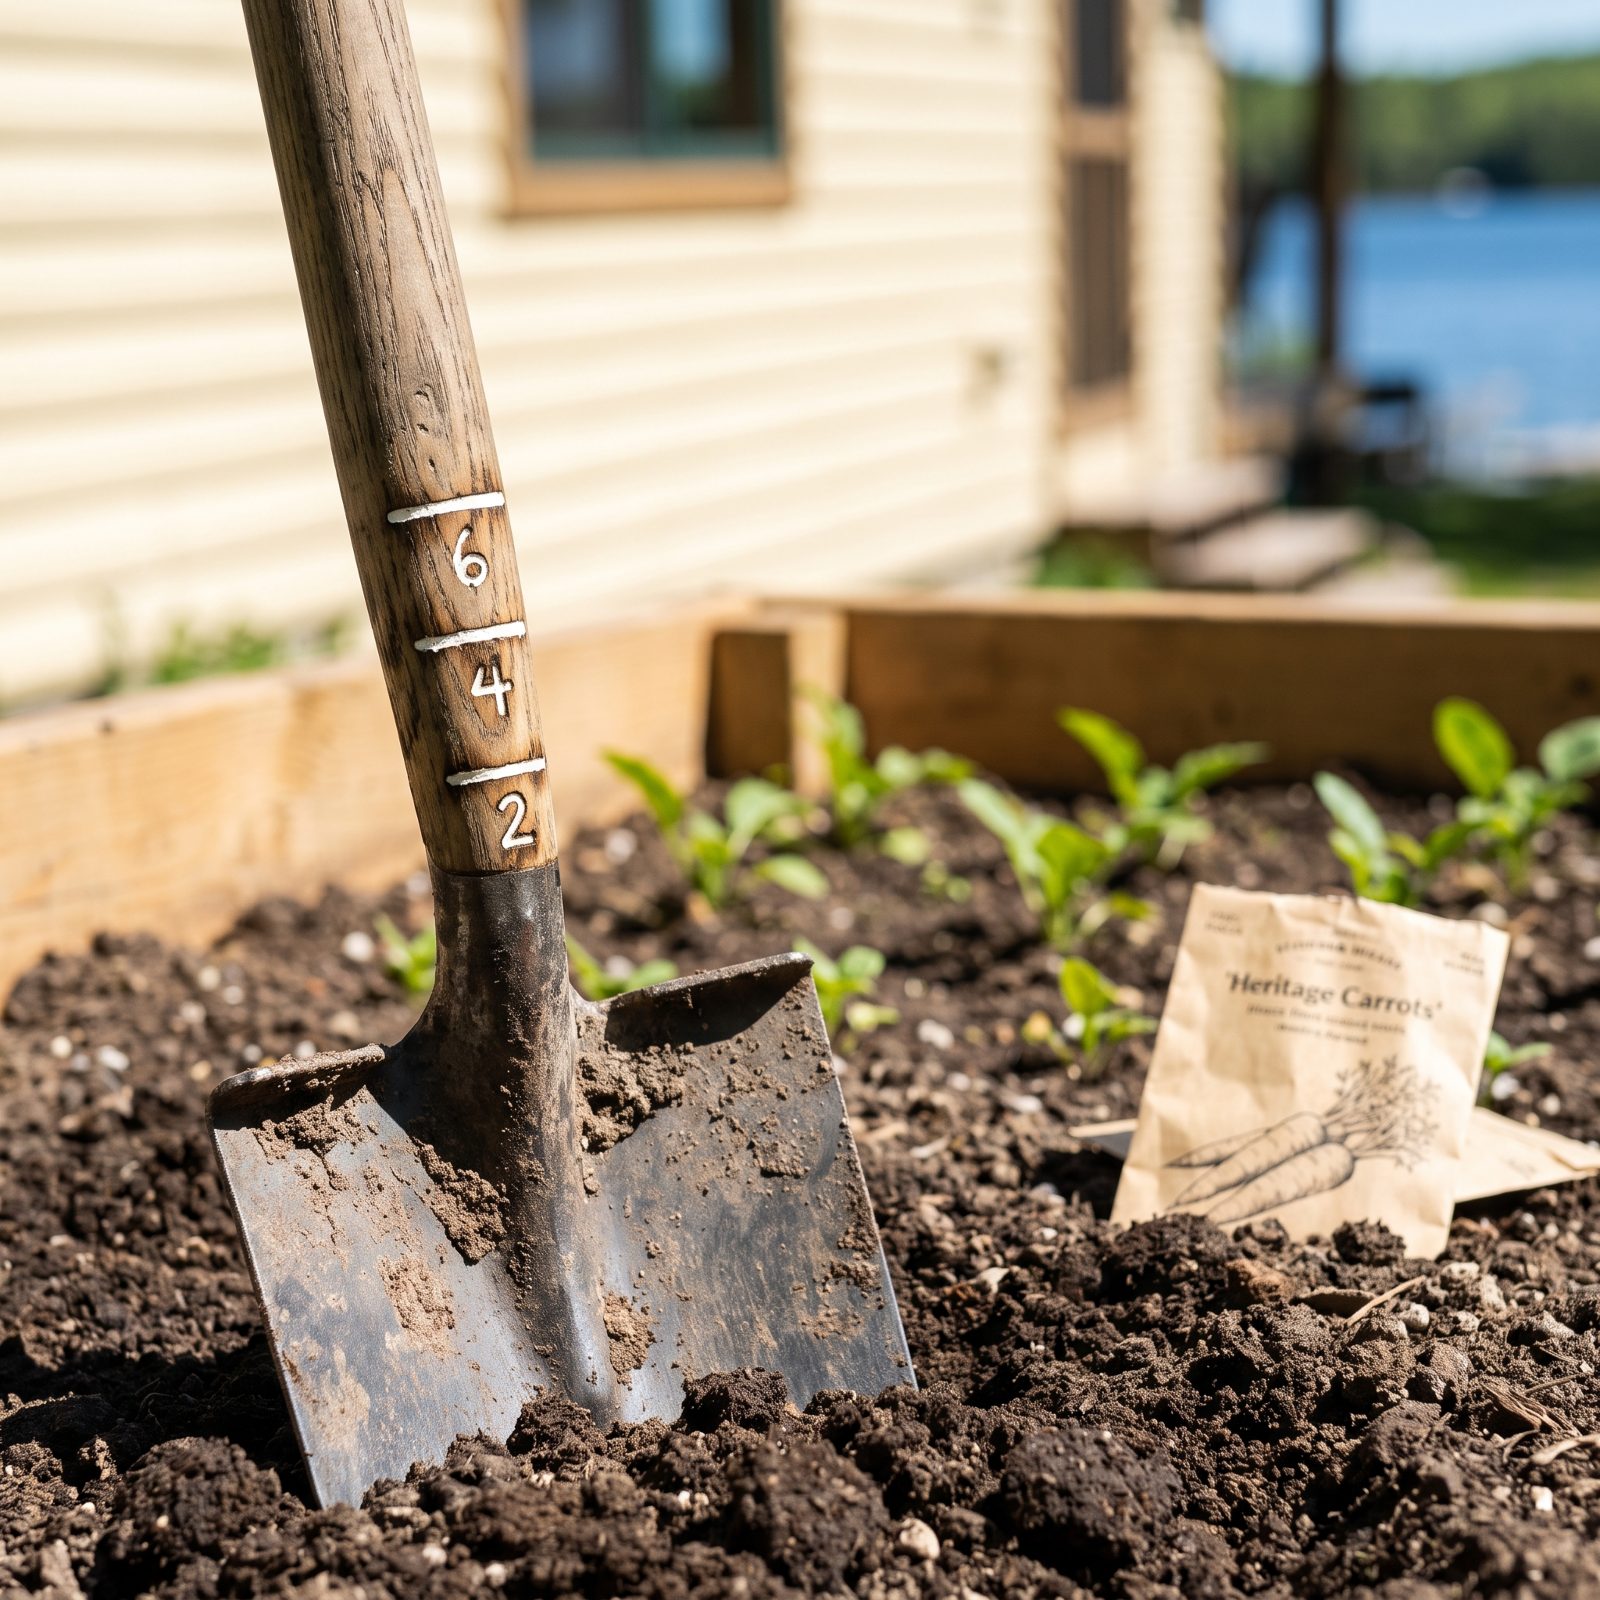
A measuring tape in the garden is a tool you always set down and never find again. So move the measurements onto something already in your hand.
Burn or paint a few lines up the shovel handle at the depths you plant most — two inches for large seeds, four for potatoes, six for bulbs. Now every hole gets dug right without guessing or trudging back to the shed.
28. Use an Old Baking Tray as a Portable Potting Surface
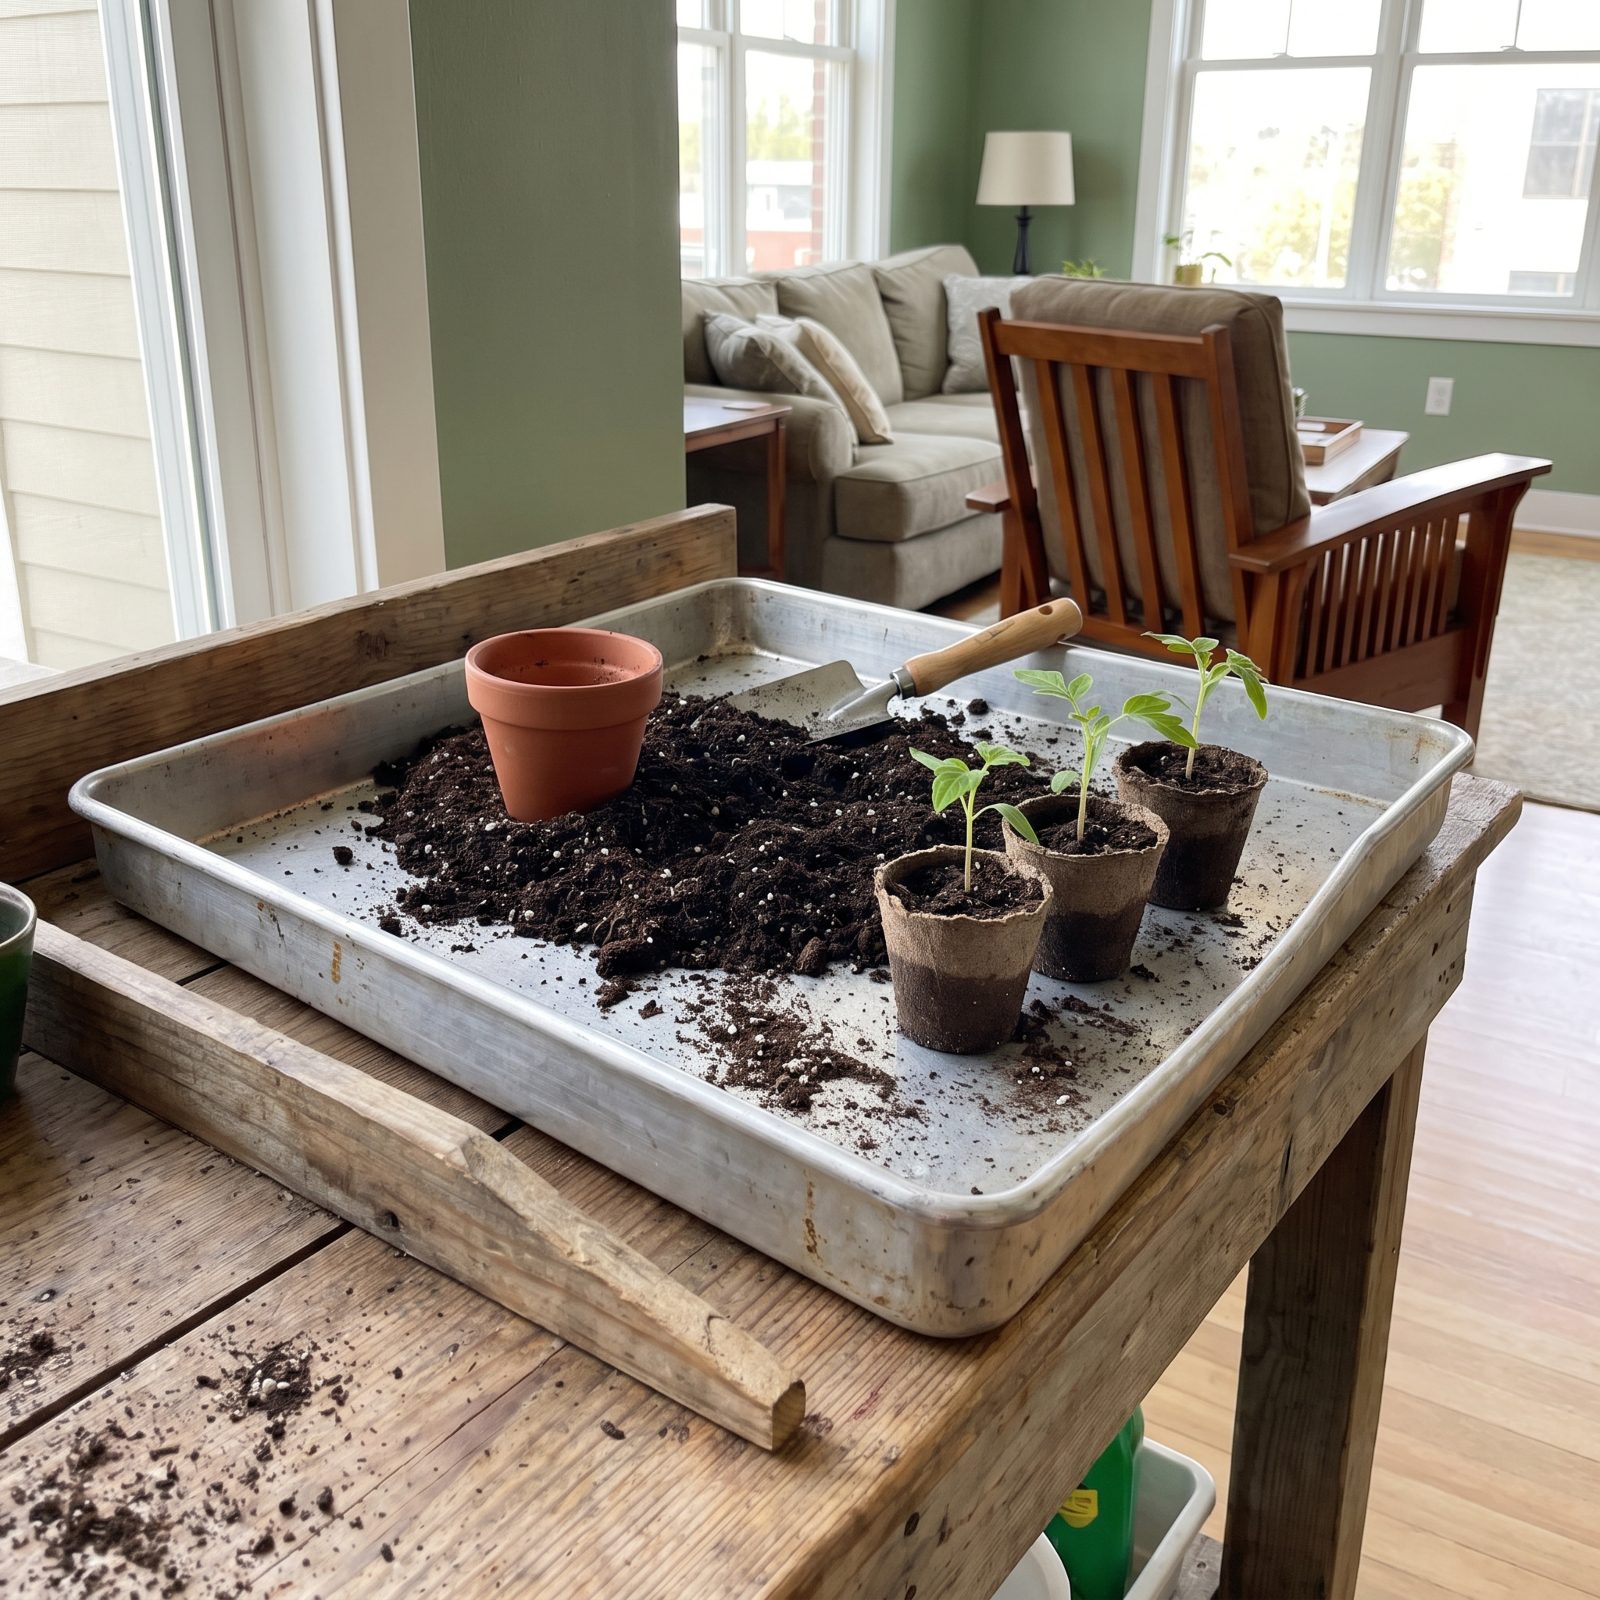
Potting on a flat bench scatters soil everywhere — in the cracks, down the legs, onto the floor. A baking tray with a raised lip turns any surface into a contained workstation that catches most of the spills. When you’re done, tip the leftover mix straight back into the bag.
Use the dented one that quit doing cookies any favors years ago. Hang it by the bench and your cleanup after repotting shrinks to a quick brush of the bench.
27. Keep a Second Mower Blade Sharpened and Ready to Swap
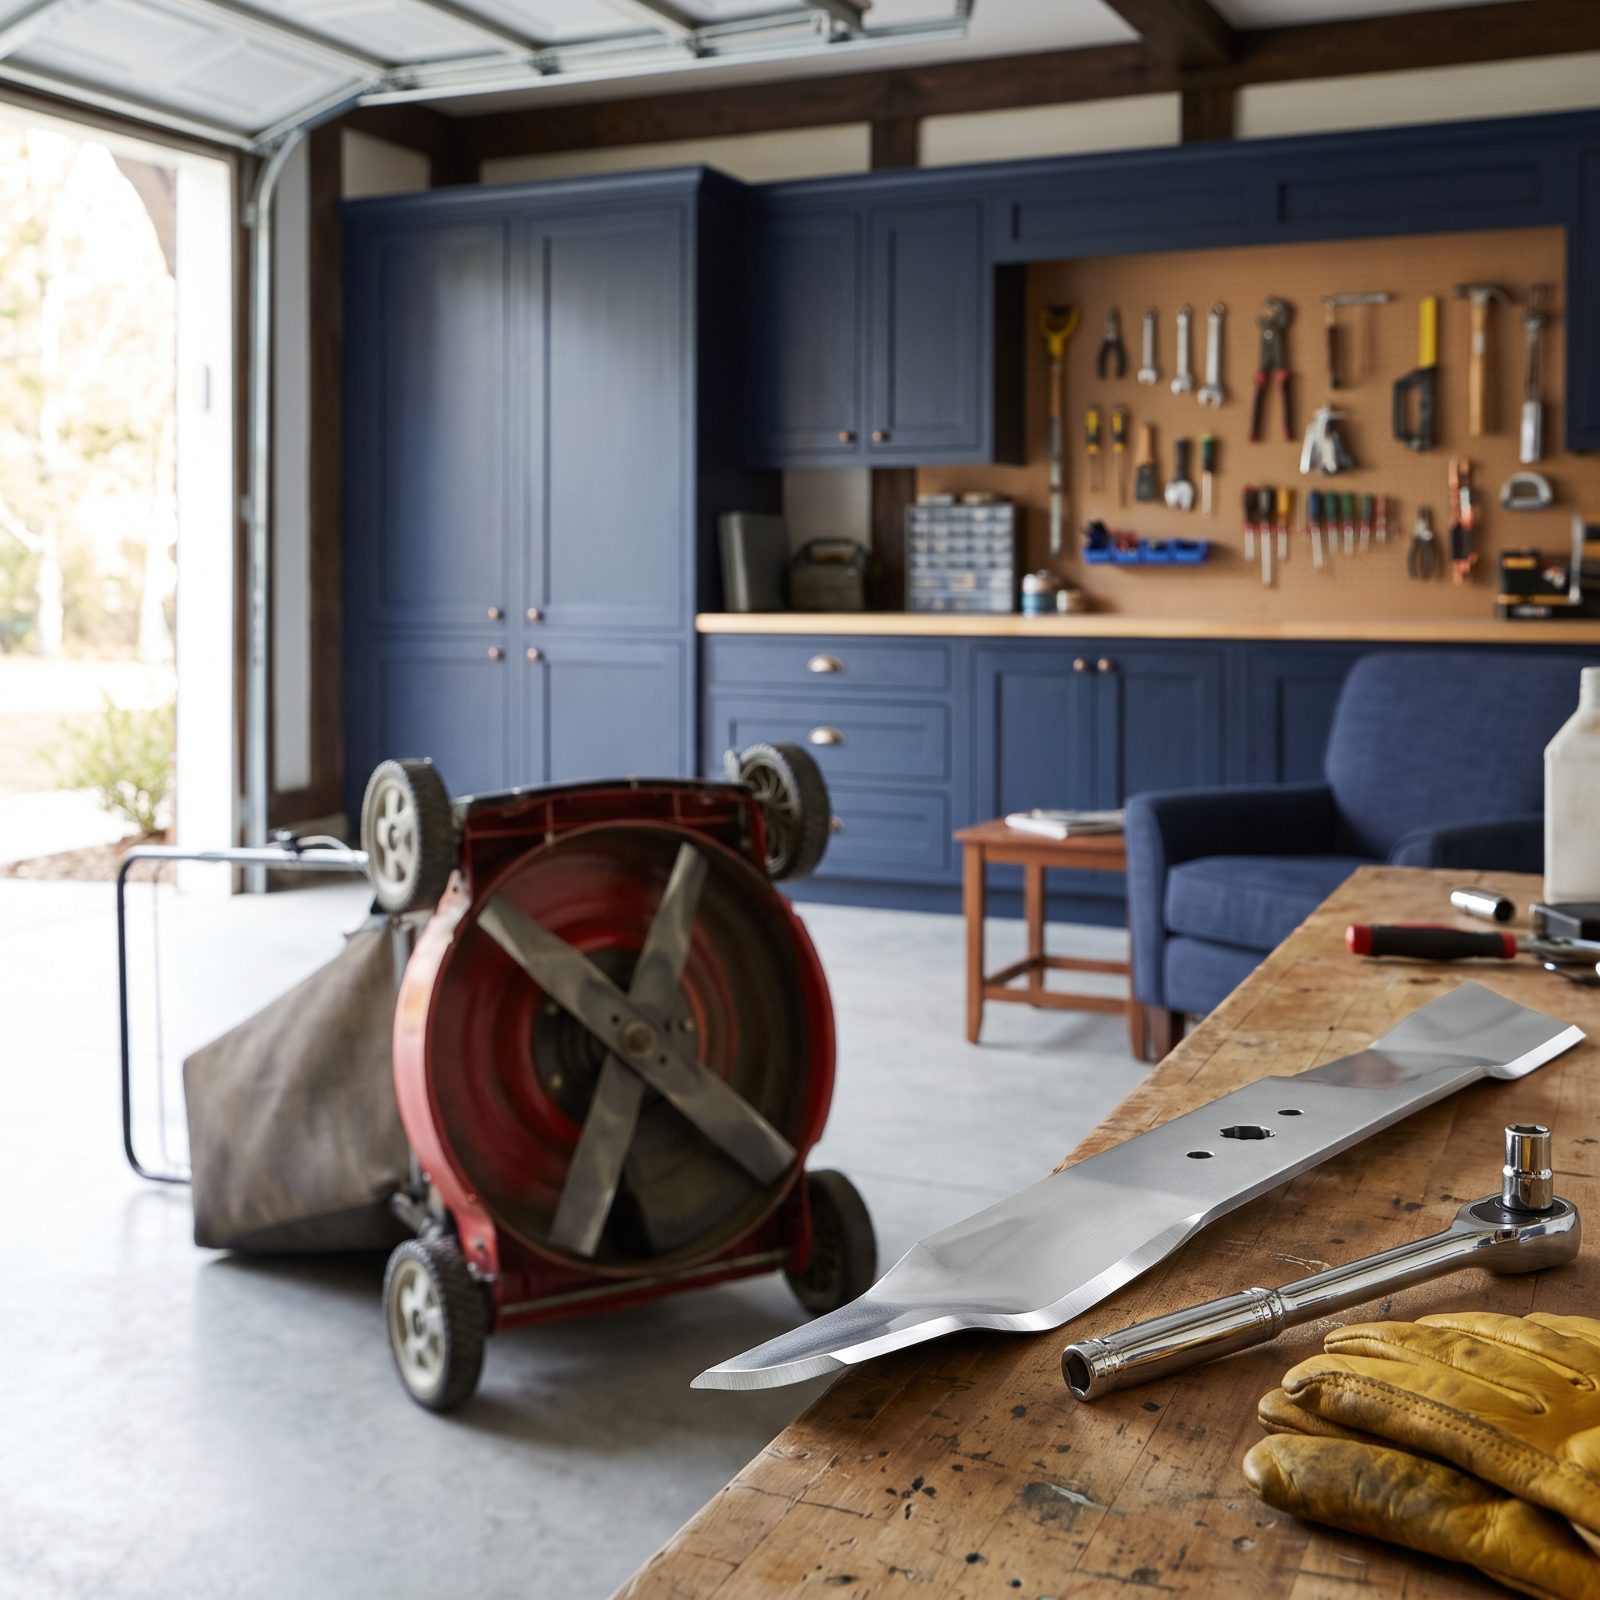
A dull blade tears grass instead of slicing it, and a few days later the whole lawn looks sick with brown, frayed tips. Sharpening mid-season means pulling the blade, driving somewhere to get it done (or filing it yourself), and kissing the afternoon goodbye.
Owning a second blade changes the math. One goes dull, you swap in the sharp one in five minutes, and you sharpen the dull one whenever the mood strikes. No downtime at all. A spare costs about the price of a couple of coffees and earns it back the first summer.
26. Add Quick-Connect Fittings to Every Hose Attachment
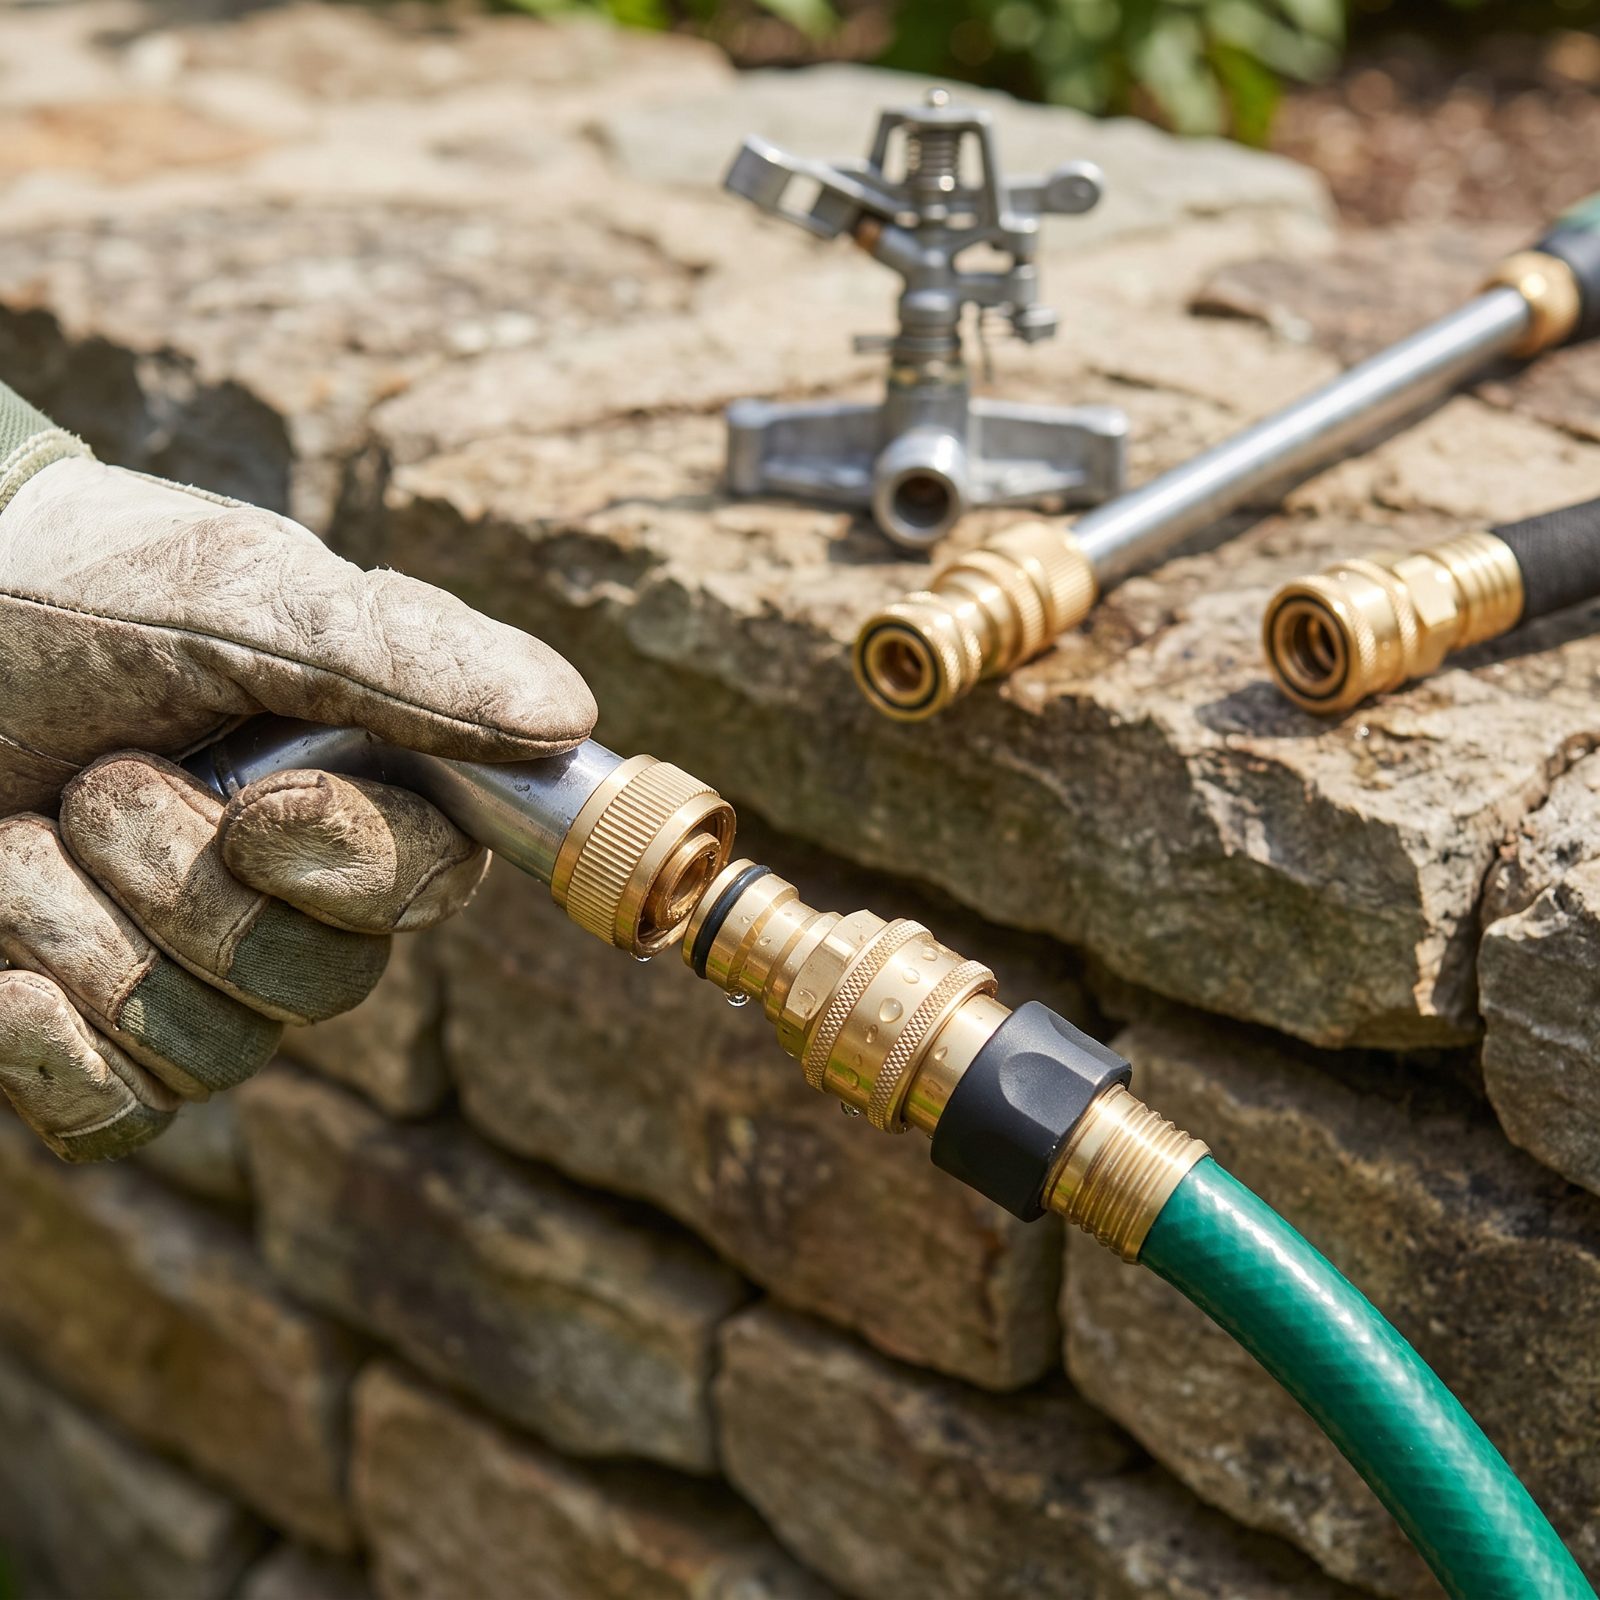
Threading a sprinkler onto a hose, cross-threading it, backing it off, then repeating the whole dance for the nozzle and the wand — that’s a pile of fiddly minutes you never get back. Quick-connect fittings end it.
Put a male connector on the hose and a female one on every attachment. Switching from sprinkler to nozzle becomes a single click, fast as popping a camera lens on and off. The whole set costs little, and over a watering season the saved time adds up to something real.
25. Keep Yard-Waste Bags Open with a Collapsible Bag Ring
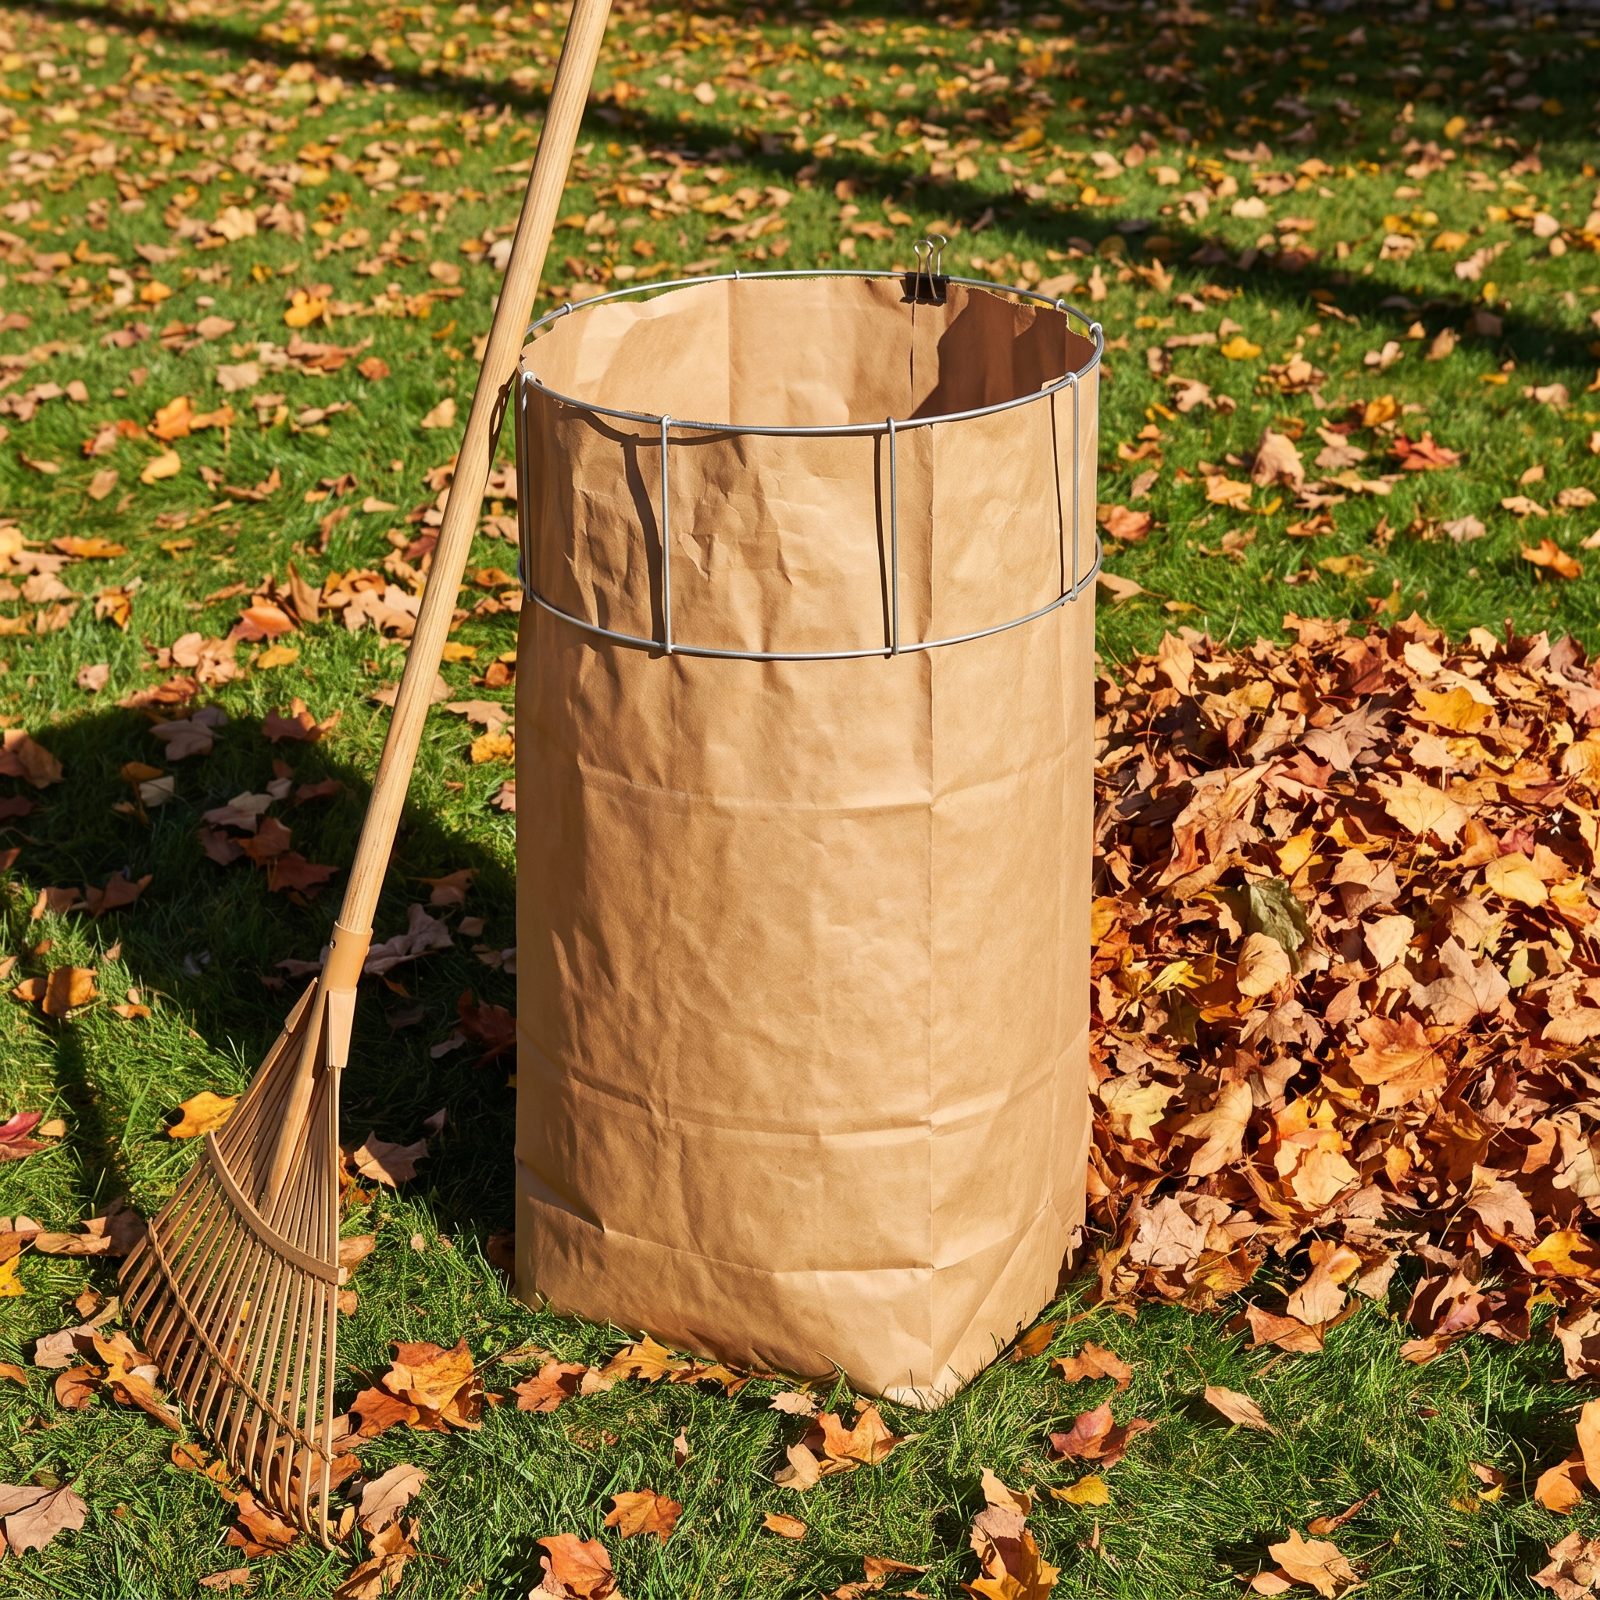
Anyone who has filled a paper leaf bag knows the fold. You let go, the bag collapses, you scoop leaves in and half of them miss the mouth, and before long you’re crouched holding it open with one hand while raking with the other. A two-person job that never seems to have two people around.
A collapsible bag ring clips over the rim and holds the mouth wide open on its own. Both hands free, the bag stays rigid until it’s packed, and it folds flat for storage when the season’s done.
24. Use Two Lightweight Leaf Scoops as Oversized Hands
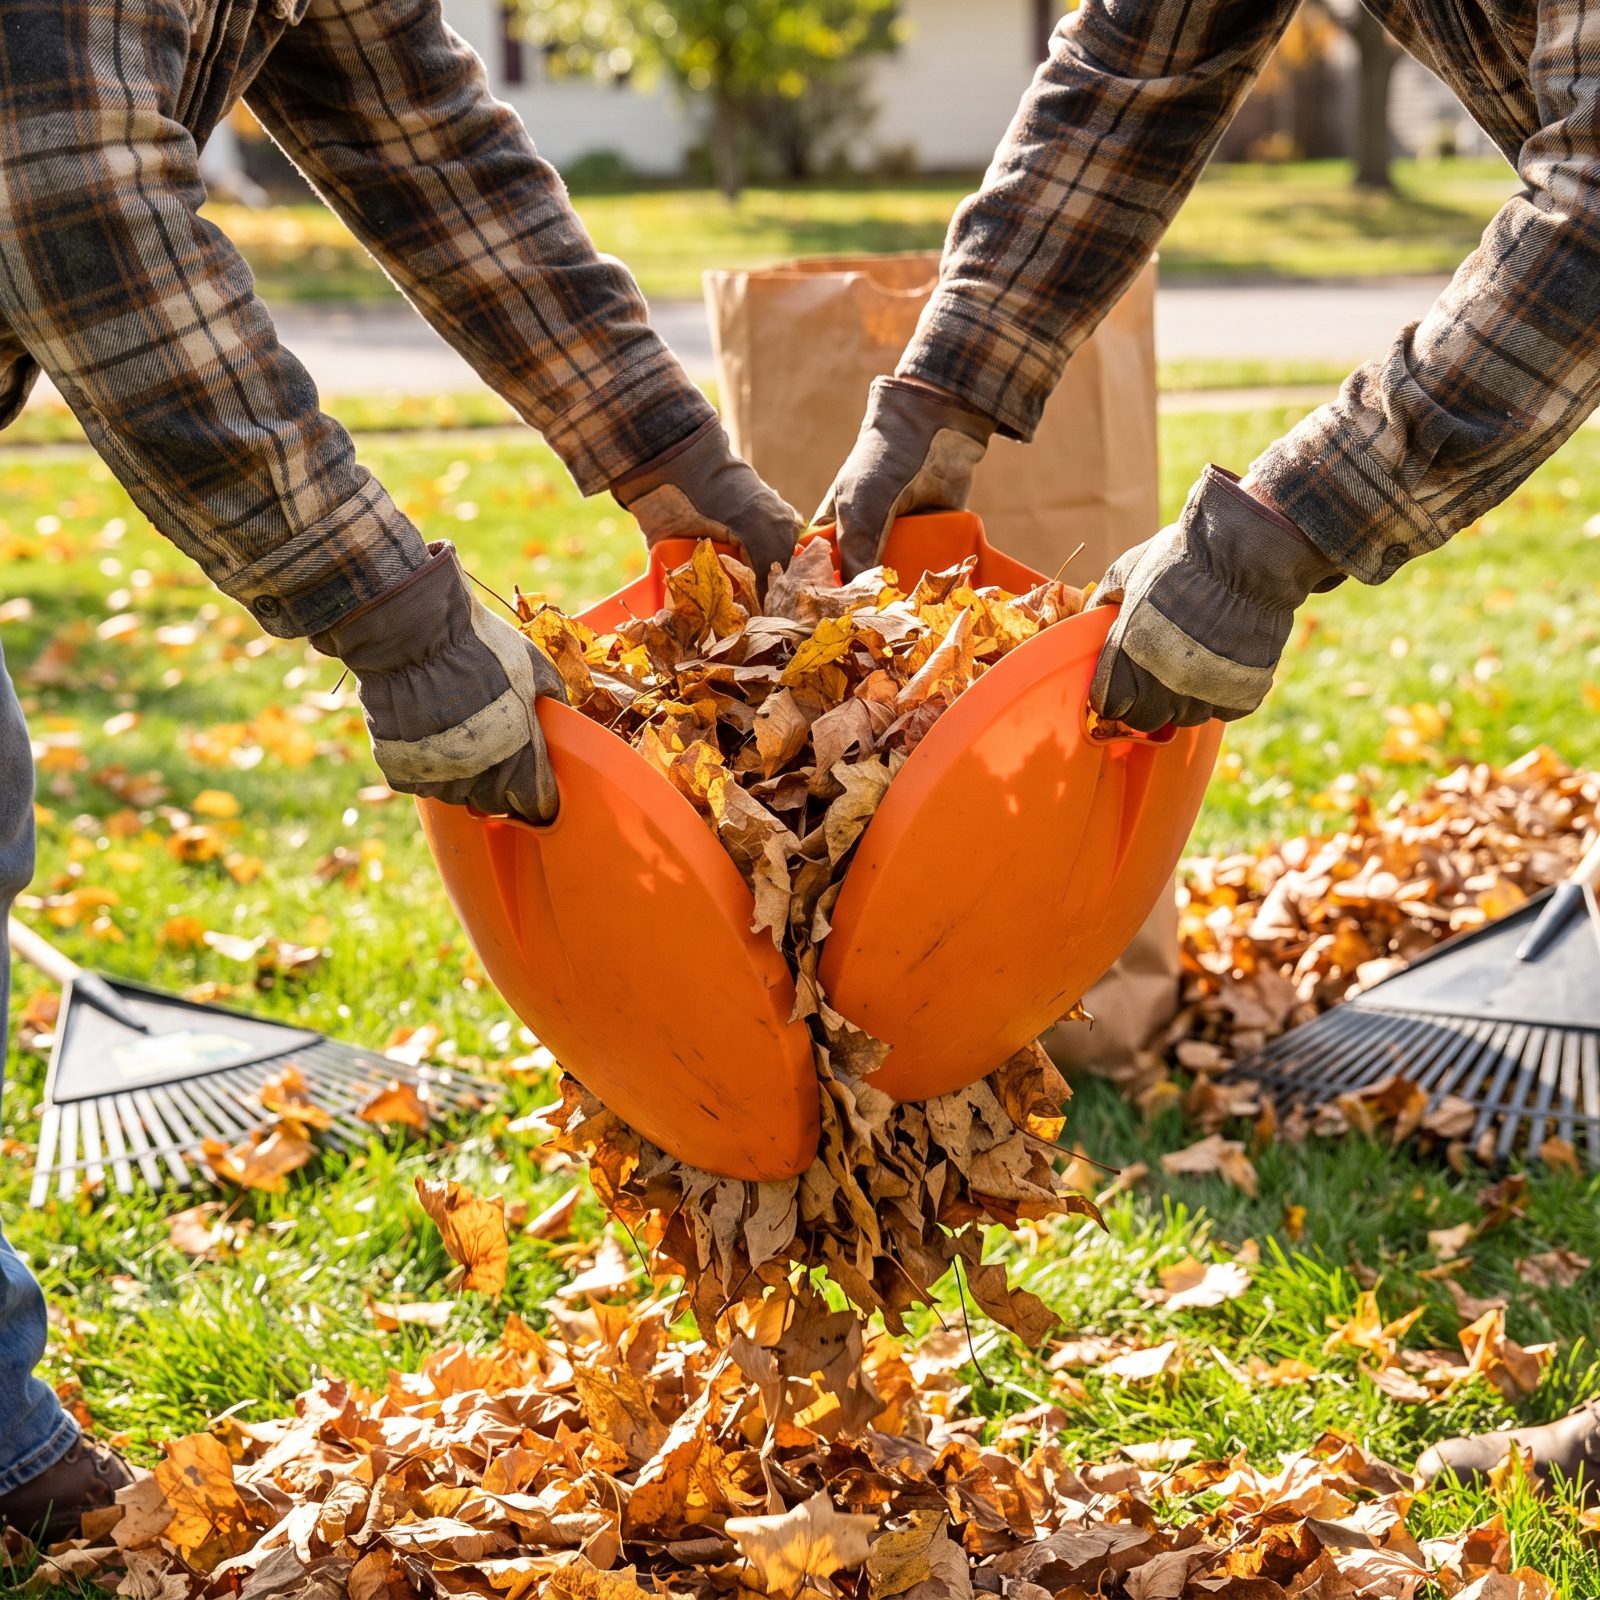
Scooping leaves by hand means bending, grabbing a pathetic double handful, and straightening up a hundred times until your lower back files a formal complaint. Leaf scoops are a pair of curved plastic shells with built-in hand slots you grip with gloved hands, and pressing them together traps an armload that would’ve cost you a dozen grabs the old way.
You go from piles to packed bags in a fraction of the trips. Cheap, light, and they hang on a nail all winter. Odd-looking things. Genuinely useful ones.
23. Push Leaves with a Wide Snow Shovel on Flat Surfaces
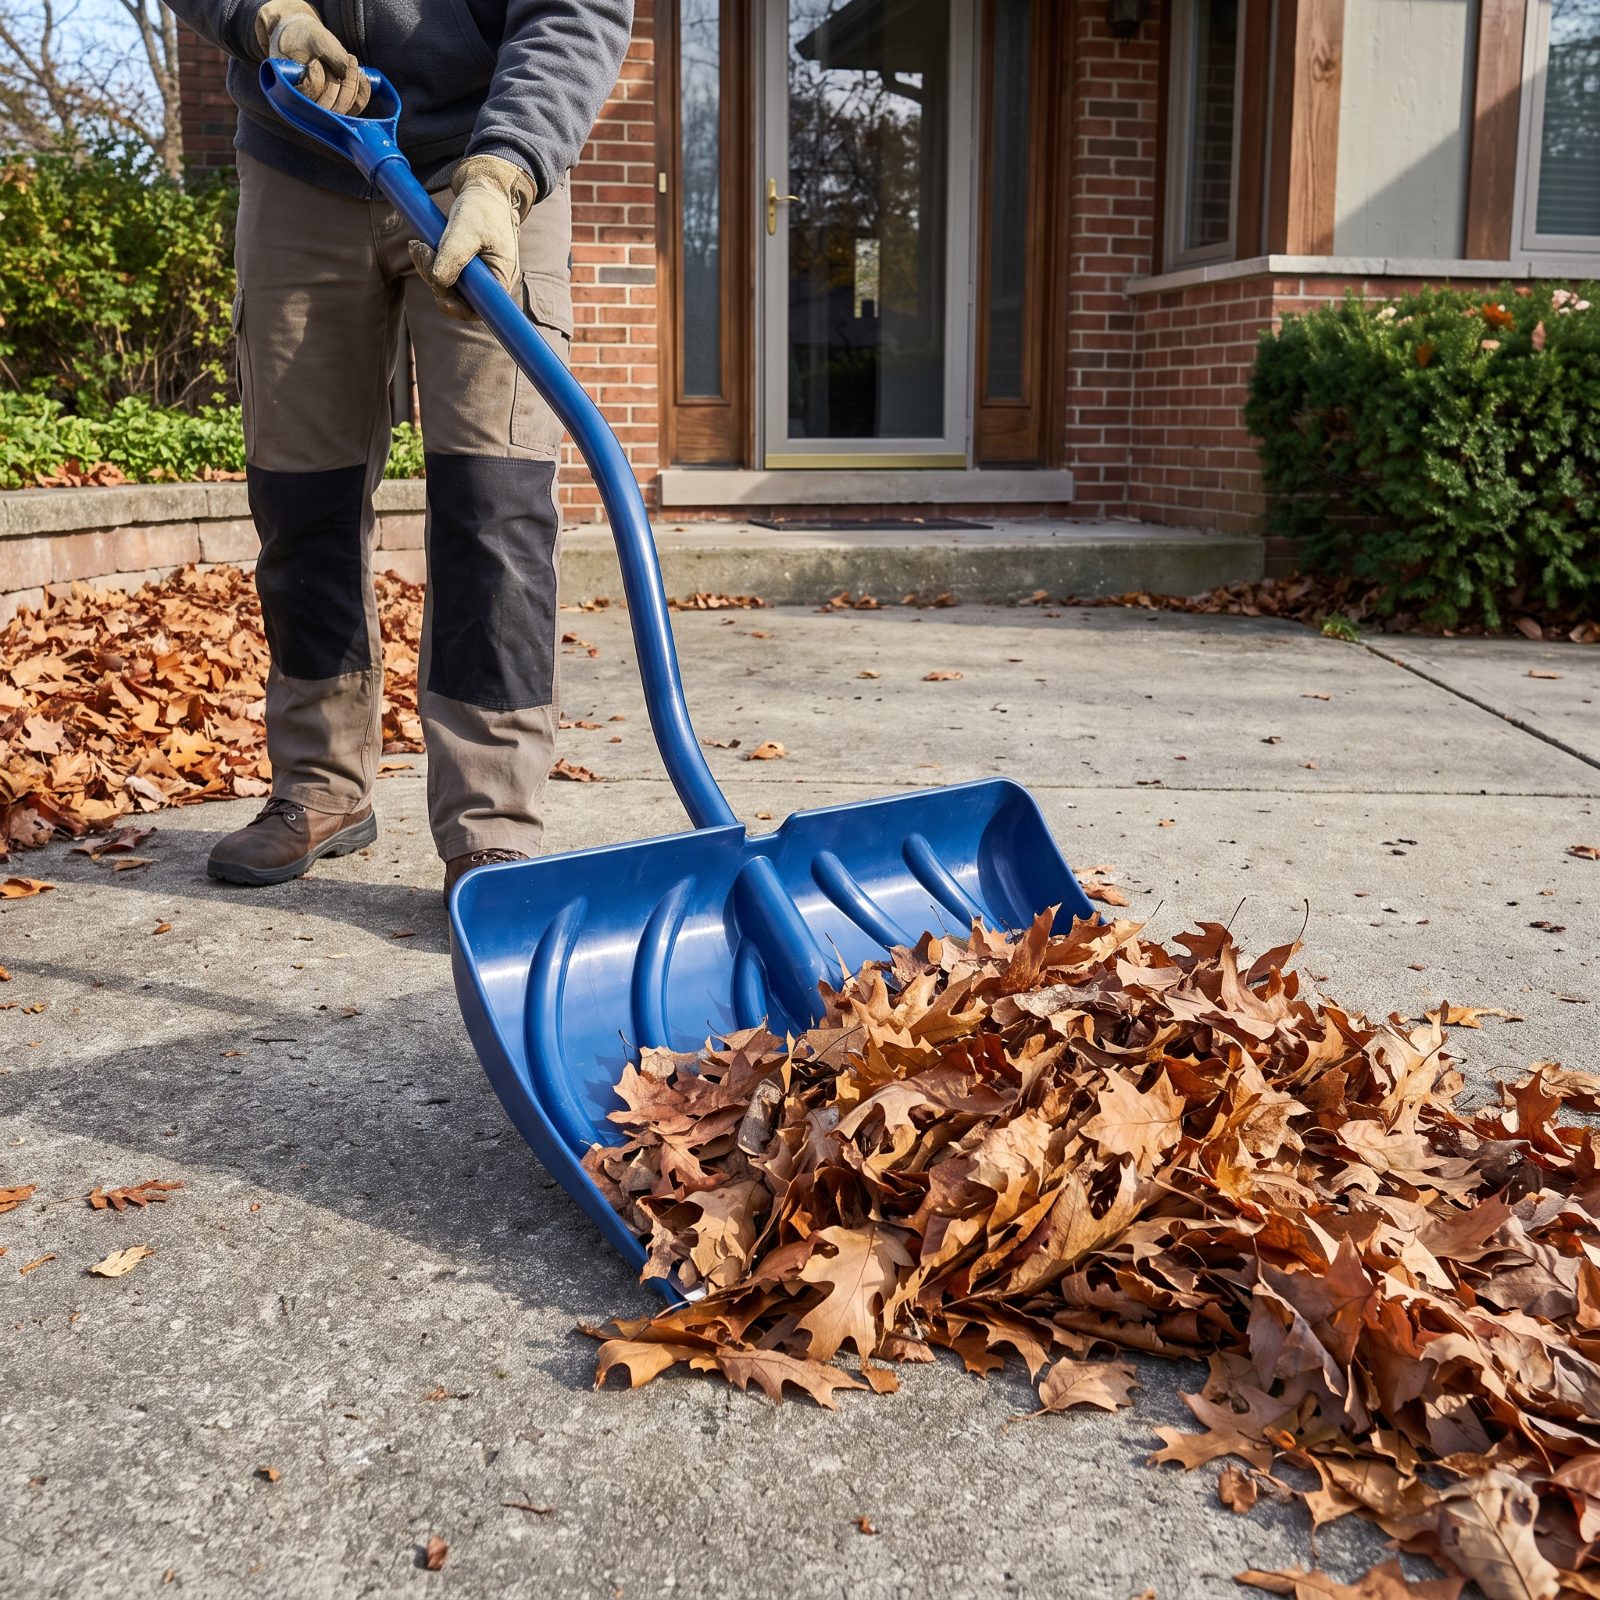
Raking leaves off a patio or driveway crawls along because the tines snag on the hard surface and only grab a thin line at a time. A wide snow shovel has no such trouble.
On flat concrete or pavers, push it like a plow and it herds a wall of leaves ahead of itself, clearing a two-foot swath every pass. One push moves more than five pulls of a rake. It’s useless on lawn, mind you — only works on smooth hard surfaces. But out on the hardscape, nothing you own beats it.
22. Mow Dry Leaves into Small Pieces Instead of Bagging Them
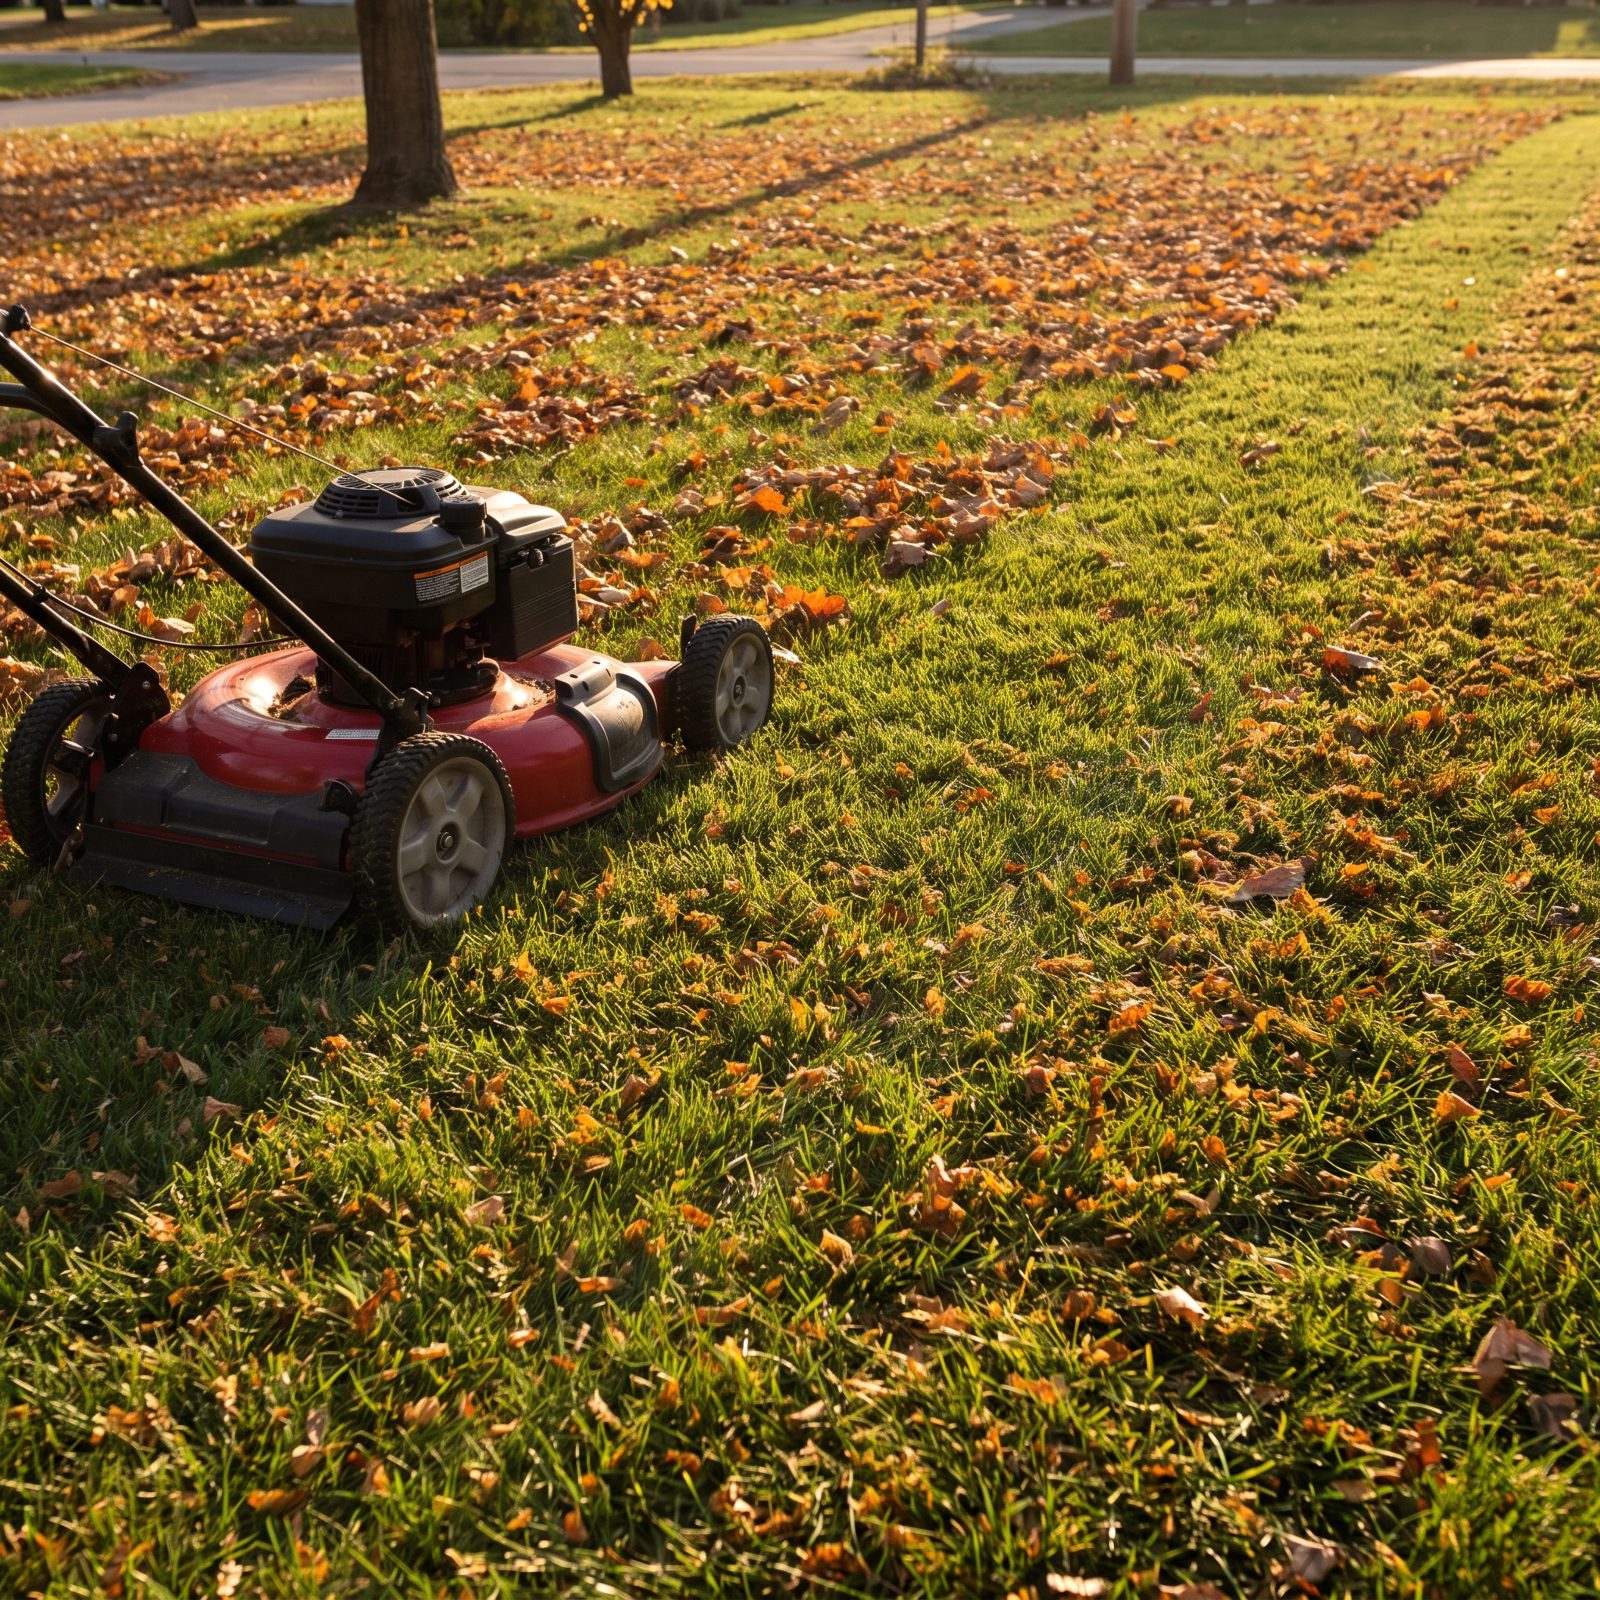
Raking, bagging, and hauling leaves to the curb is the biggest chore of fall, and it throws away free fertilizer while you’re at it. Run the mower over a dry leaf layer instead. The blade chops them into confetti that drops down between the grass blades, breaks down over winter, and feeds the lawn come spring. No bags, no hauling, no curb.
Do it when the leaves are dry and the layer isn’t thick enough to smother the turf. Whole leaves matted wet will choke a lawn. Shredded dry ones feed it.
21. Aim Side-Discharge Clippings Toward the Uncut Grass
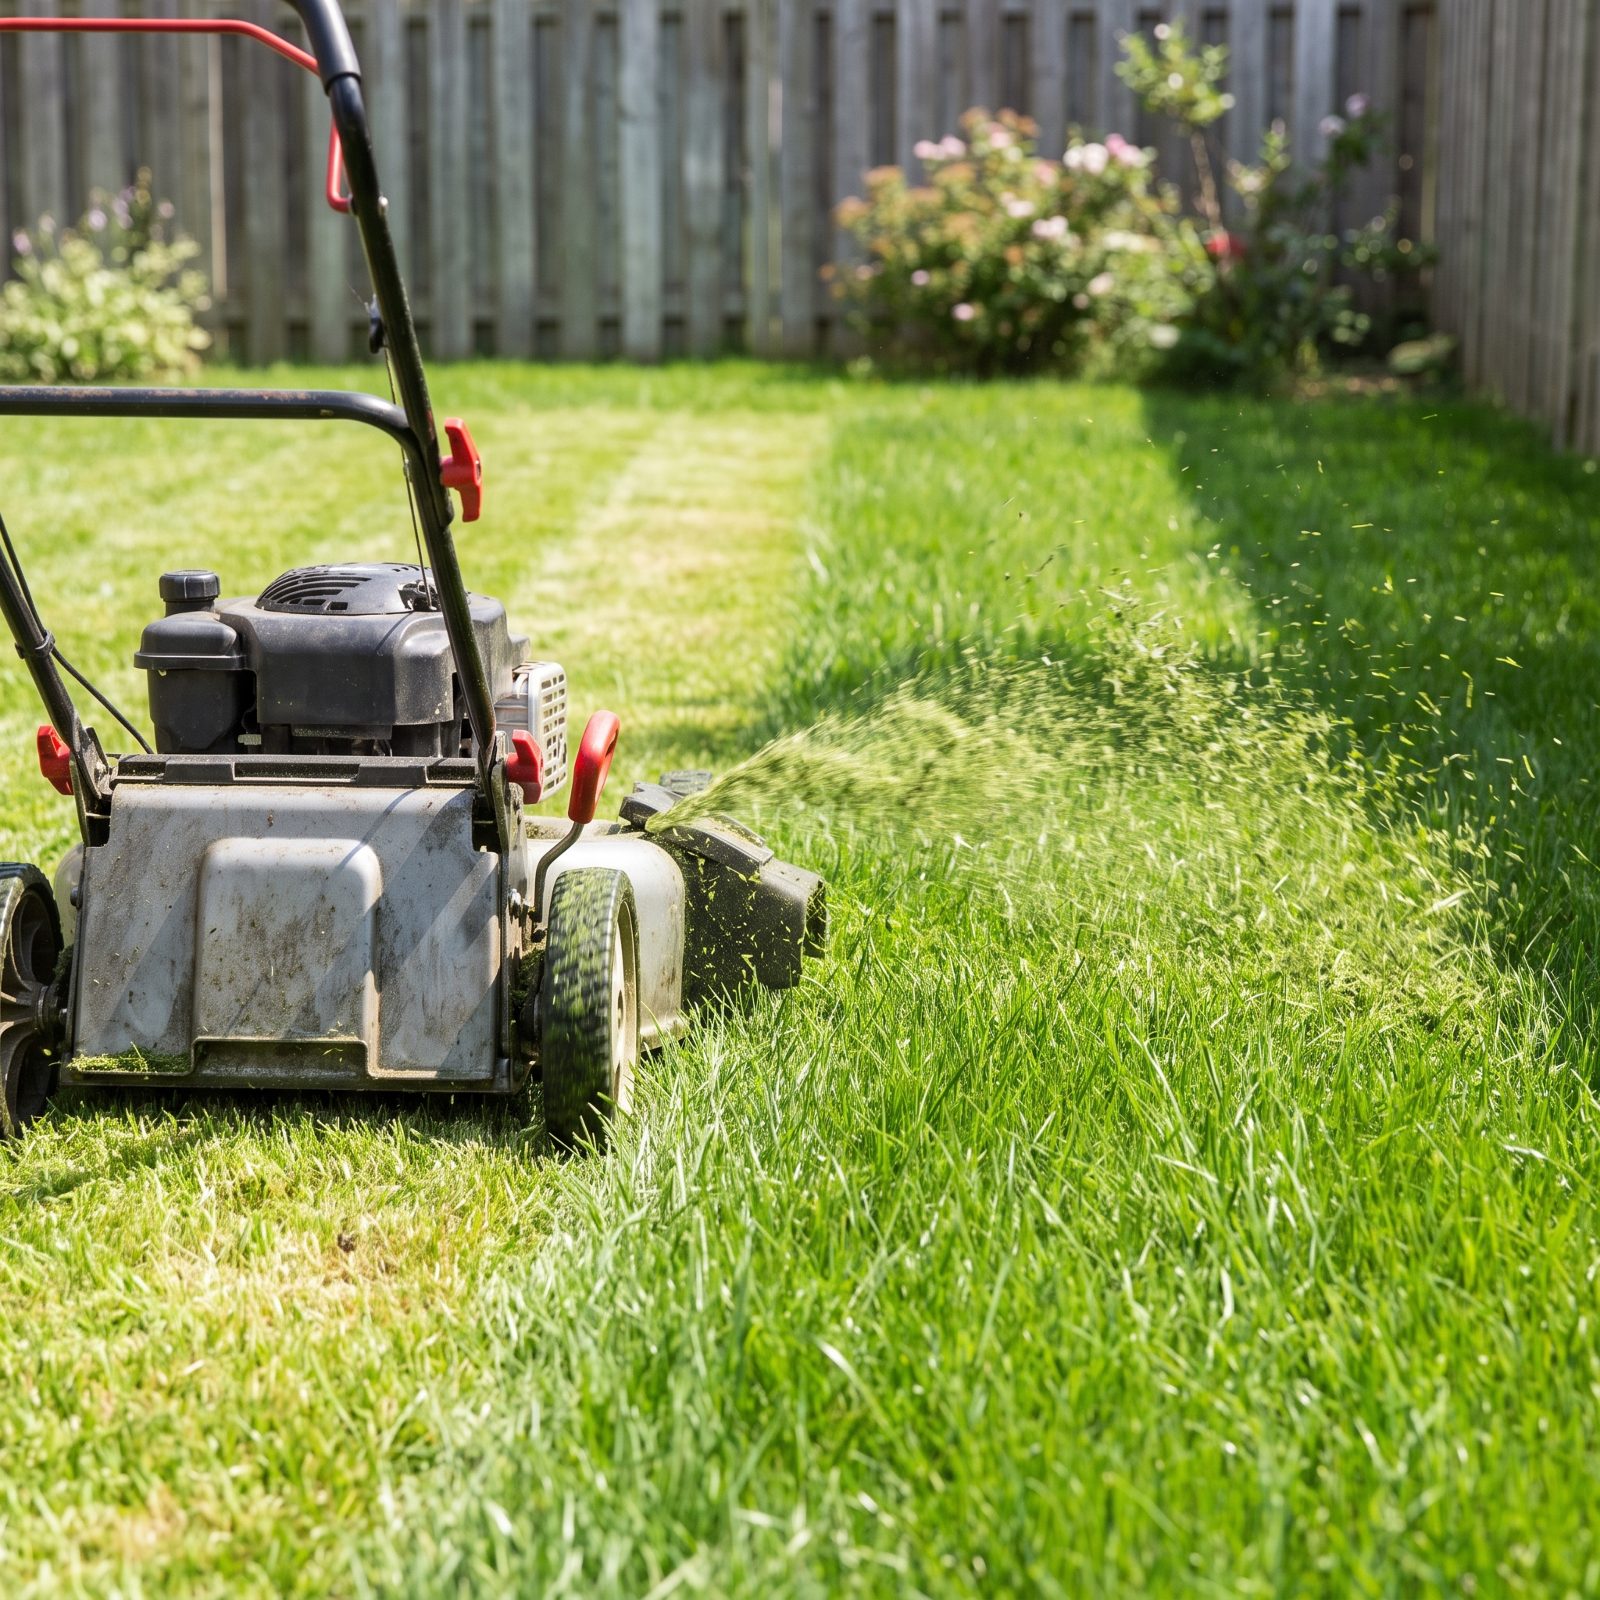
Most people mow so the side chute fires clippings onto the grass they already cut, which leaves clumps sitting on top looking like a mess and sometimes smothering the patches underneath. Flip the direction.
Mow with the discharge pointing at the taller uncut grass. The clippings land in the thick stuff, get picked up and chopped finer on your next pass, and scatter rather than clump. Cleaner cut, no raking after, and the clippings feed the lawn instead of sitting on it. All from one small change to which way you circle the yard.
20. Mow a Cleanup Lap Around the Perimeter Last
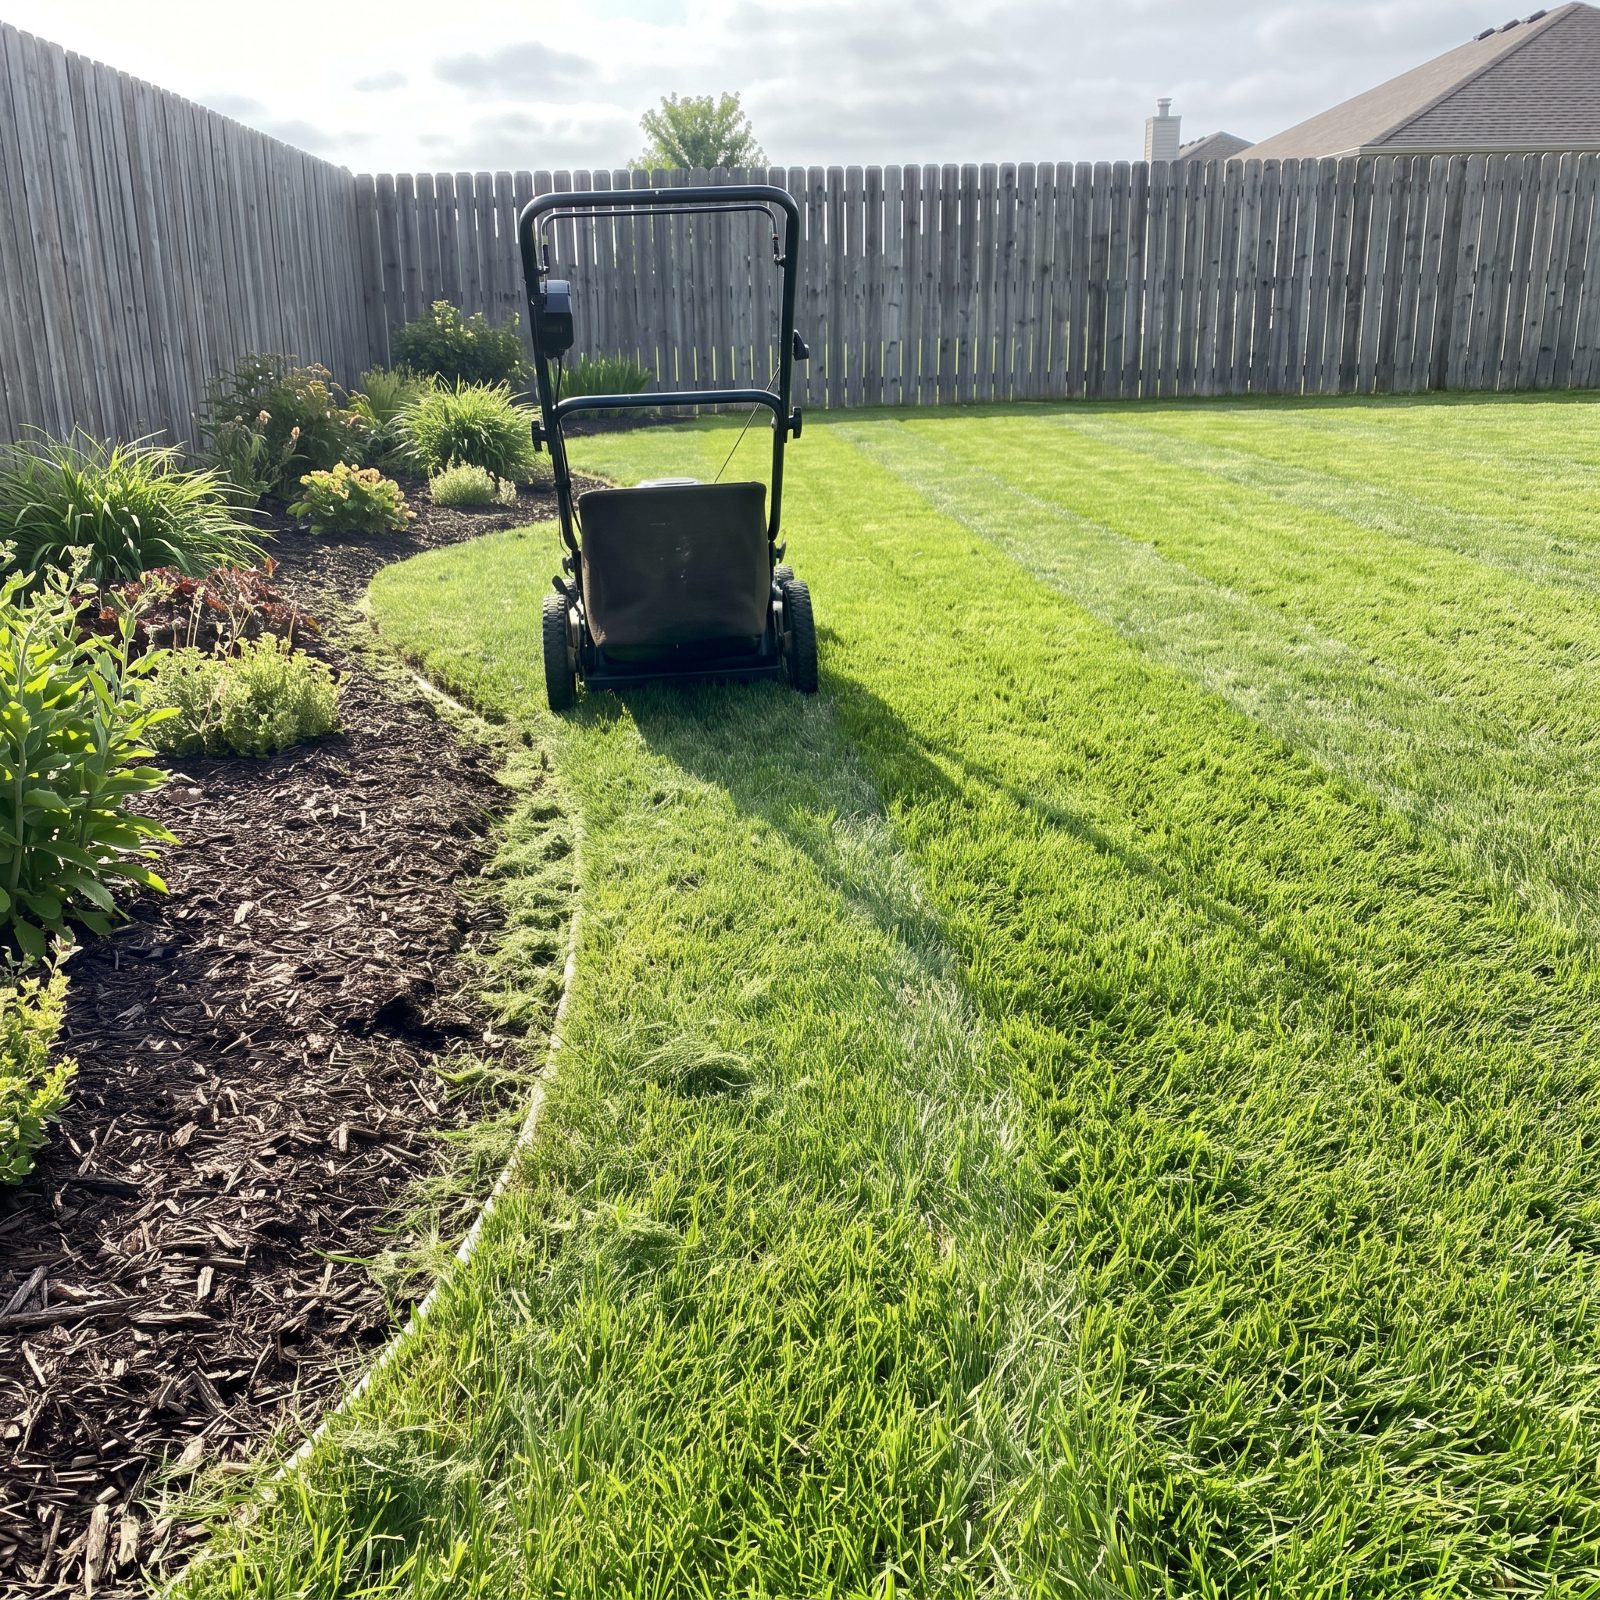
Every lap of mowing throws clippings. Circle the whole yard first and you’ll spend the rest of the session re-cutting the mess you just flung across your beds. So flip it: mow the open middle in rows, then make one final lap around the edges with the discharge aimed back onto the lawn you’ve already cut.
That last pass earns its keep. It sweeps up stray clippings along the borders and leaves a crisp finished line against beds and fences, so there’s no raking afterward and no trail of green confetti across the patio.
19. Install Flush Paver Edging That Mower Wheels Can Cross
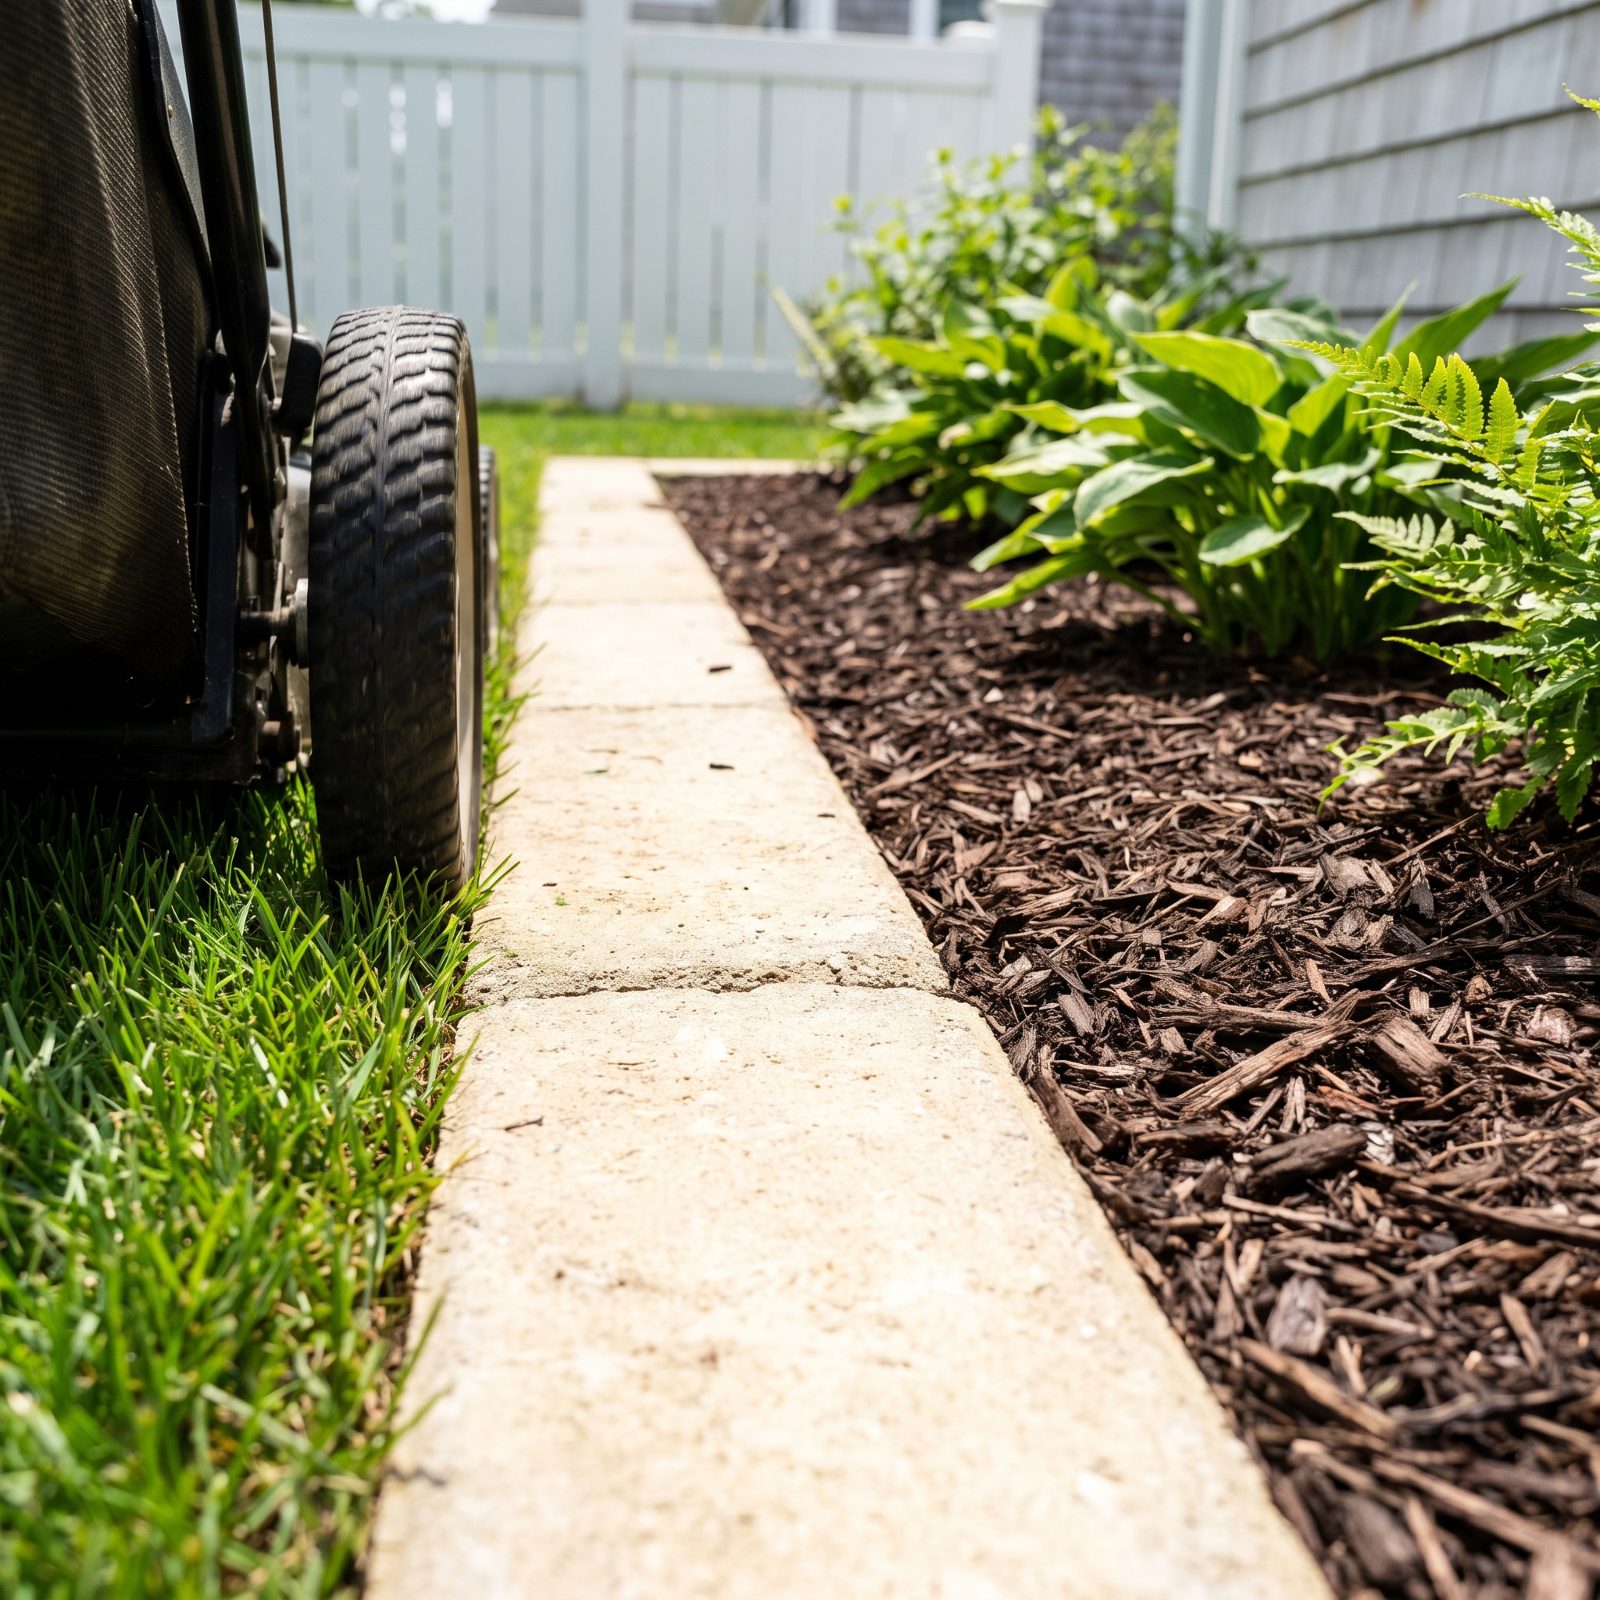
Mowing strip edging works because it sits level with the soil, not proud of it. Set a row of pavers or a poured concrete band flush with the grass line, and your mower’s wheels ride right across the top while the blade trims every blade to the very edge.
No string trimming along that bed. None. The trimmer is the slowest, most tedious thing in the shed, and this move retires it for the whole stretch of border. Pavers run a few dollars each at any garden center. Spend a weekend digging and leveling, and you’re paid back for years.
18. Cut a Crisp V-Shaped Trench Instead of Installing Loose Edging
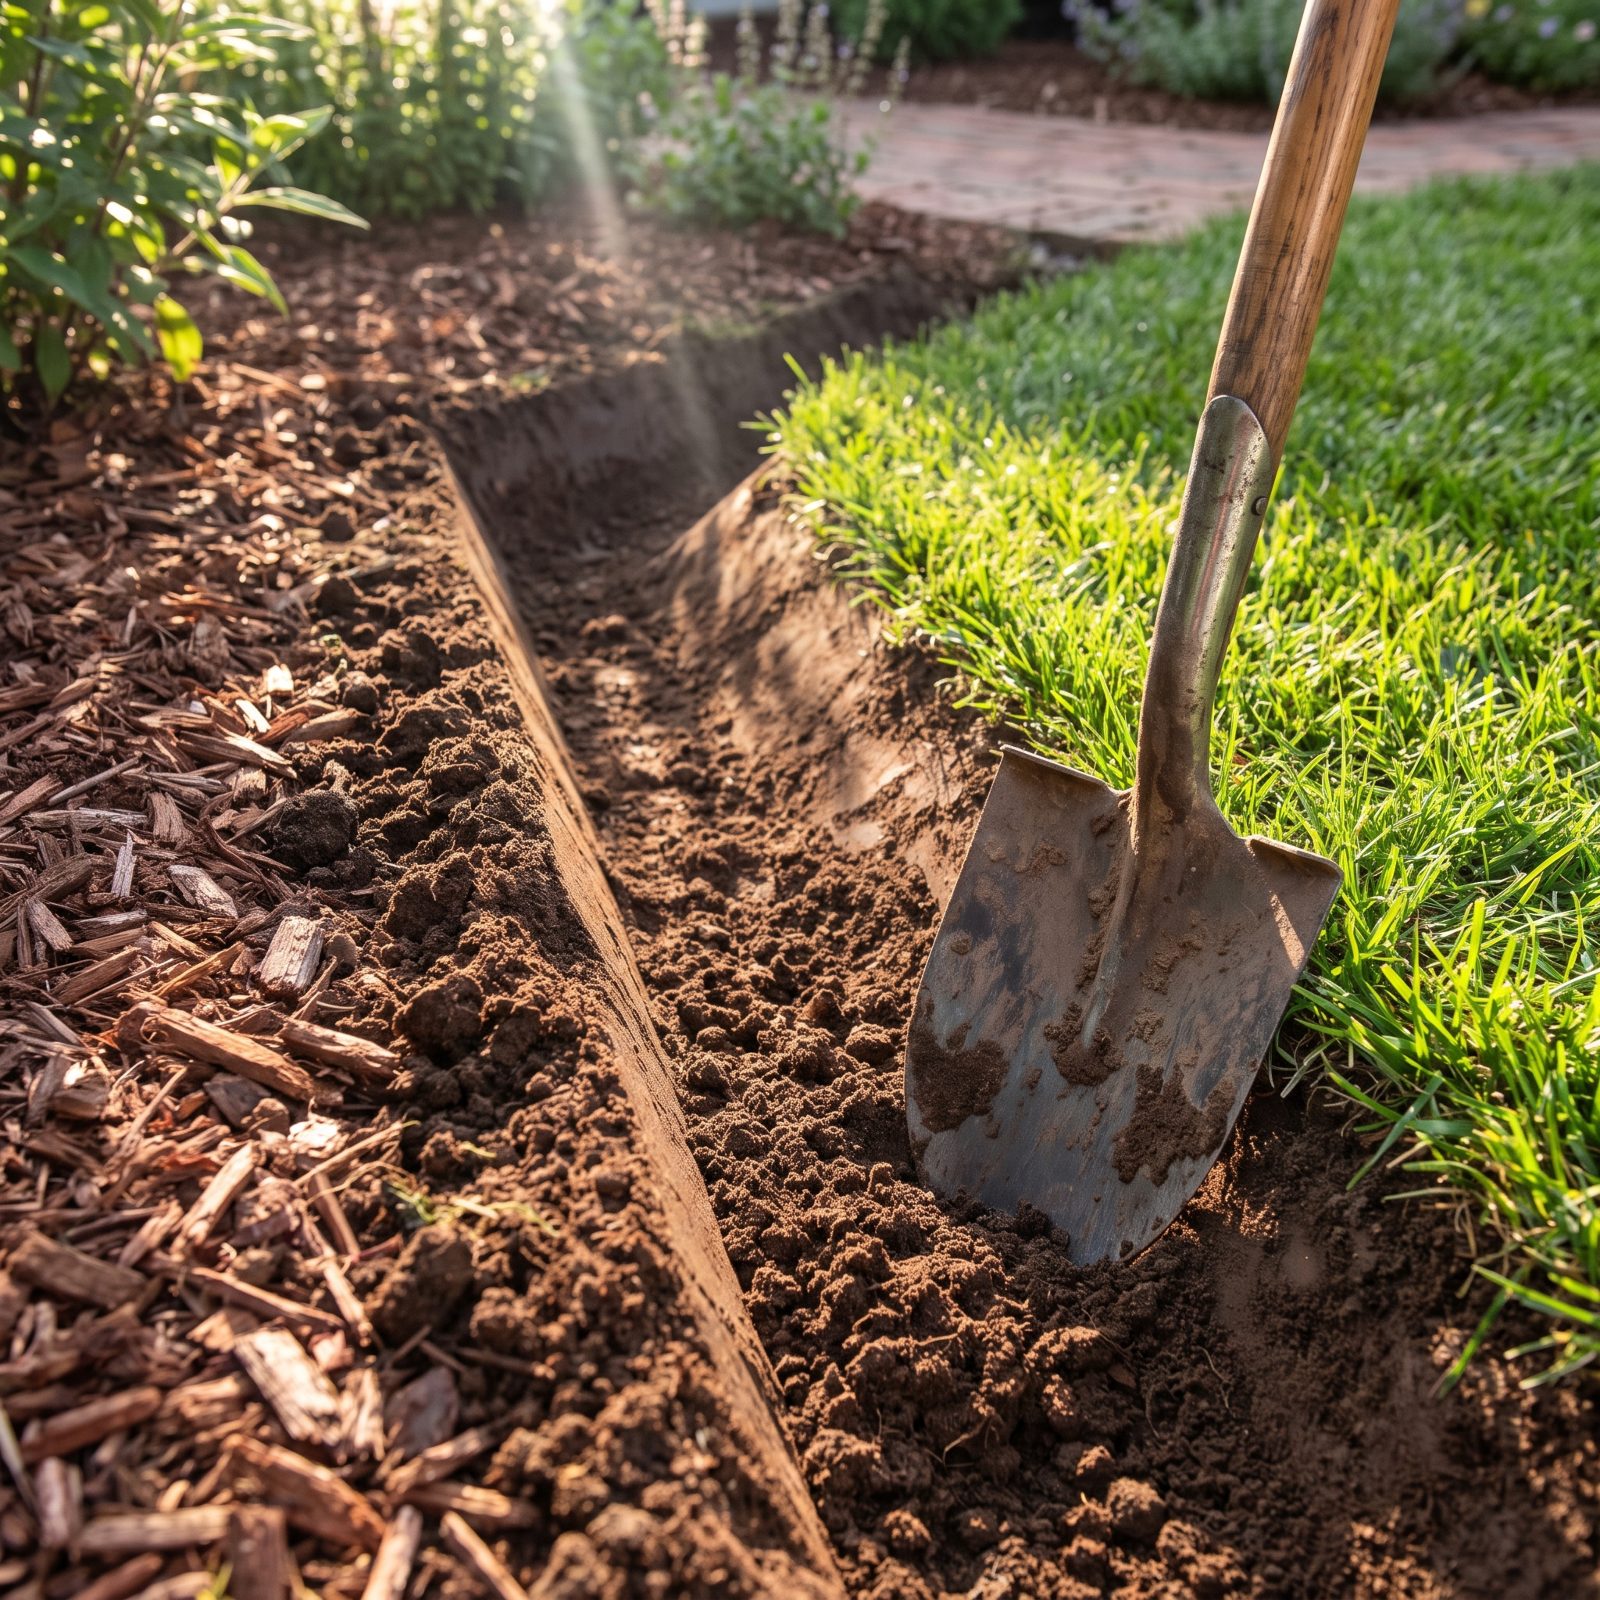
Plastic edging warps, heaves in frost, and pops out of the ground by its second winter. Metal edging costs real money. A trench costs nothing but an afternoon with a half-moon spade.
Cut a clean V between lawn and bed — a vertical wall on the grass side, a gentle slope on the bed side, four inches or so deep. Grass roots stop at the air gap, mulch stays put, and the line looks sharper than anything you can buy off a rack.
Honest downside? You’ll re-cut it once a season. Ten minutes a stretch. That’s the trade.
17. Add a Narrow Mowing Strip Around Fences and Trees
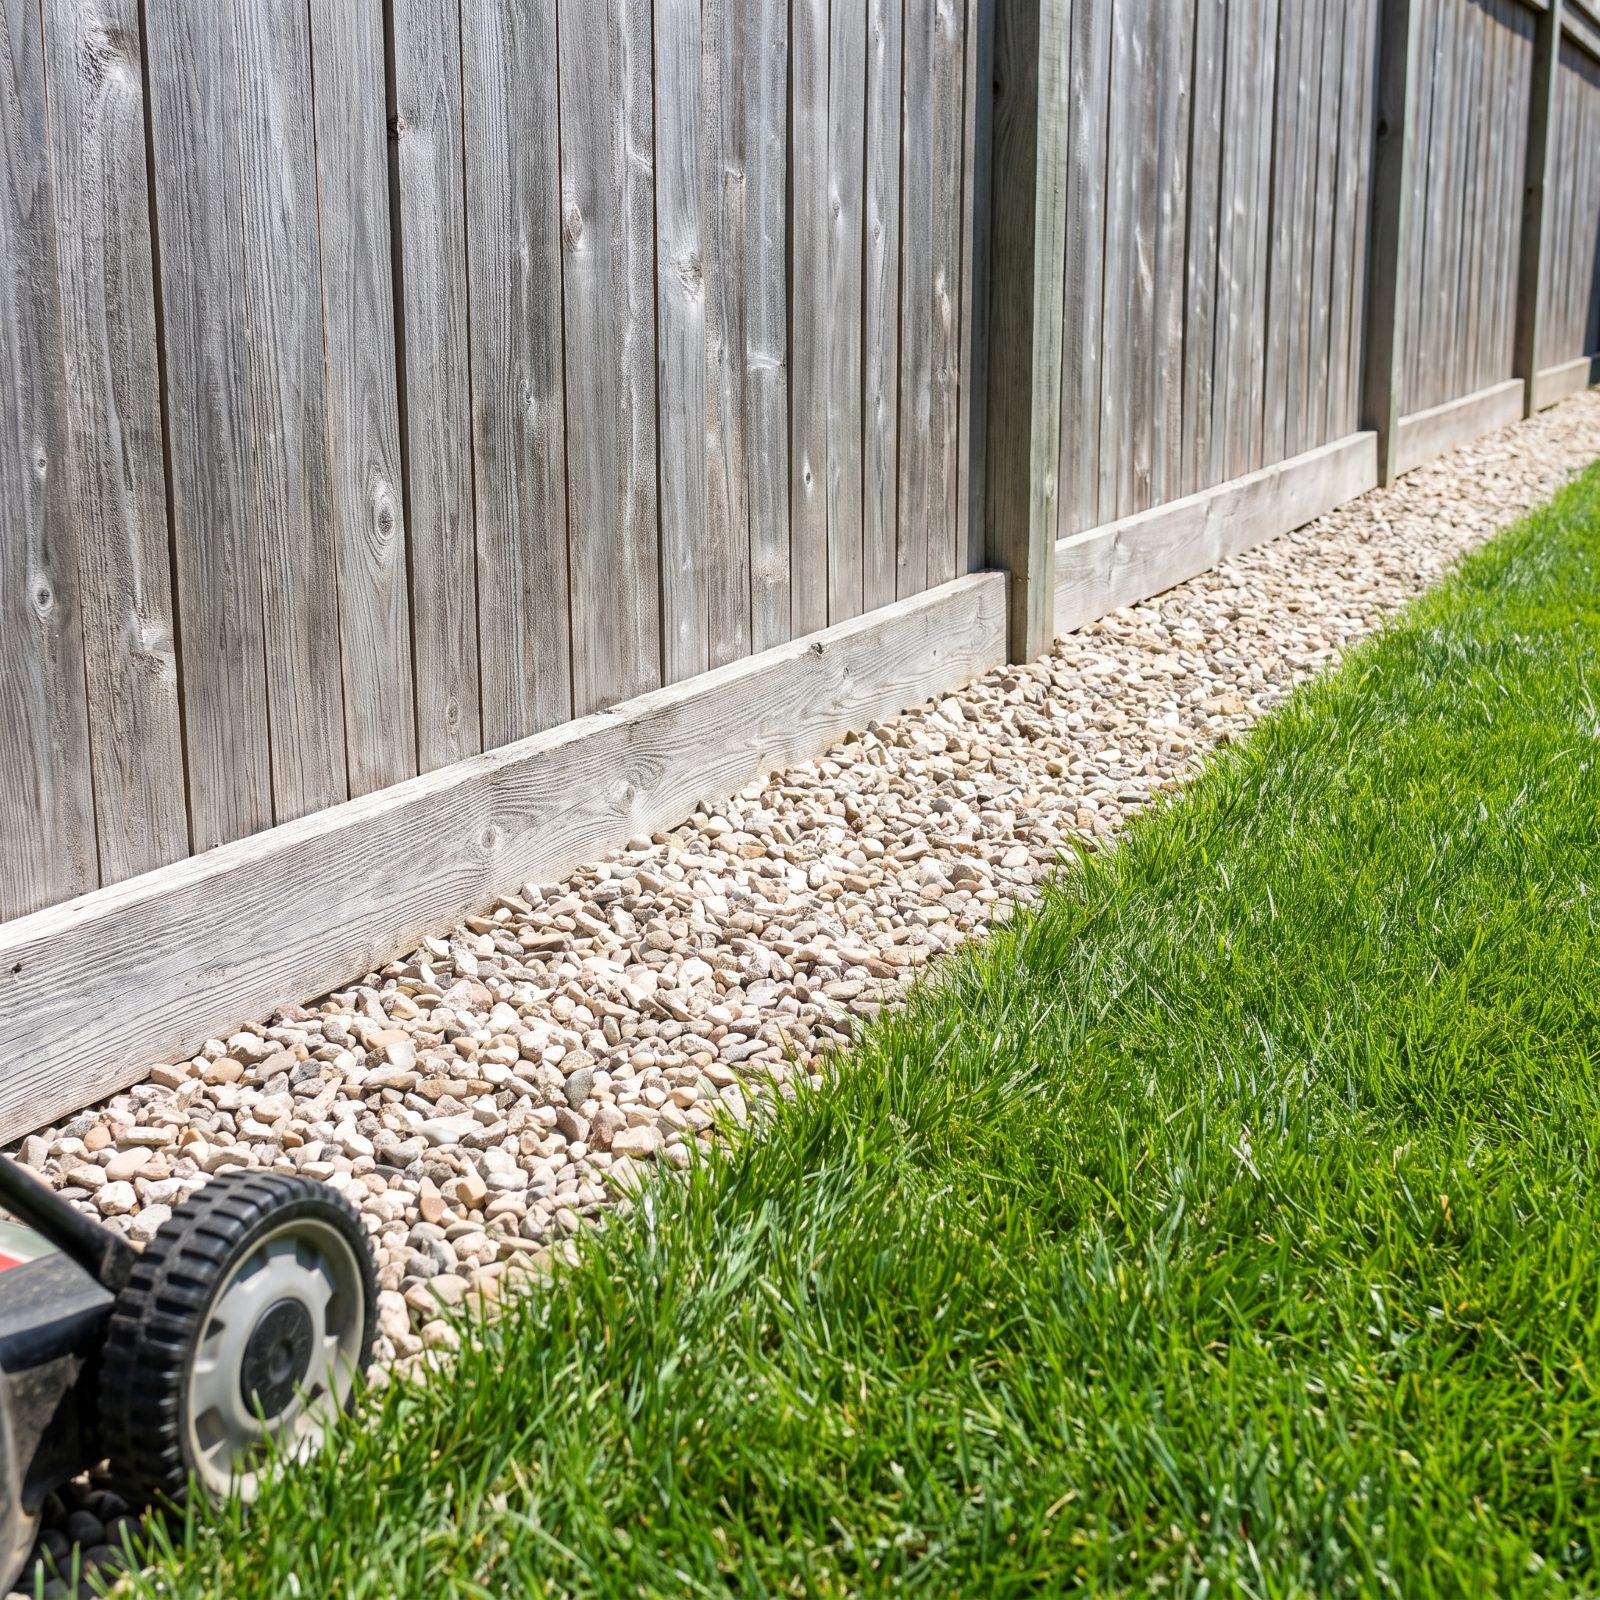
Grass growing tight against a fence or tree trunk is a trimming tax you pay every week. The mower can’t reach it, so out comes the string trimmer, and you end up nicking bark or chewing up fence boards in the bargain.
Lay a slim band of gravel, mulch, or flat stone along the base instead. Six inches is plenty. The mower rolls right up to the clean edge, cuts everything, and there’s nothing left to hand-trim.
16. Remove Tiny Lawn Islands That Require Separate Trimming
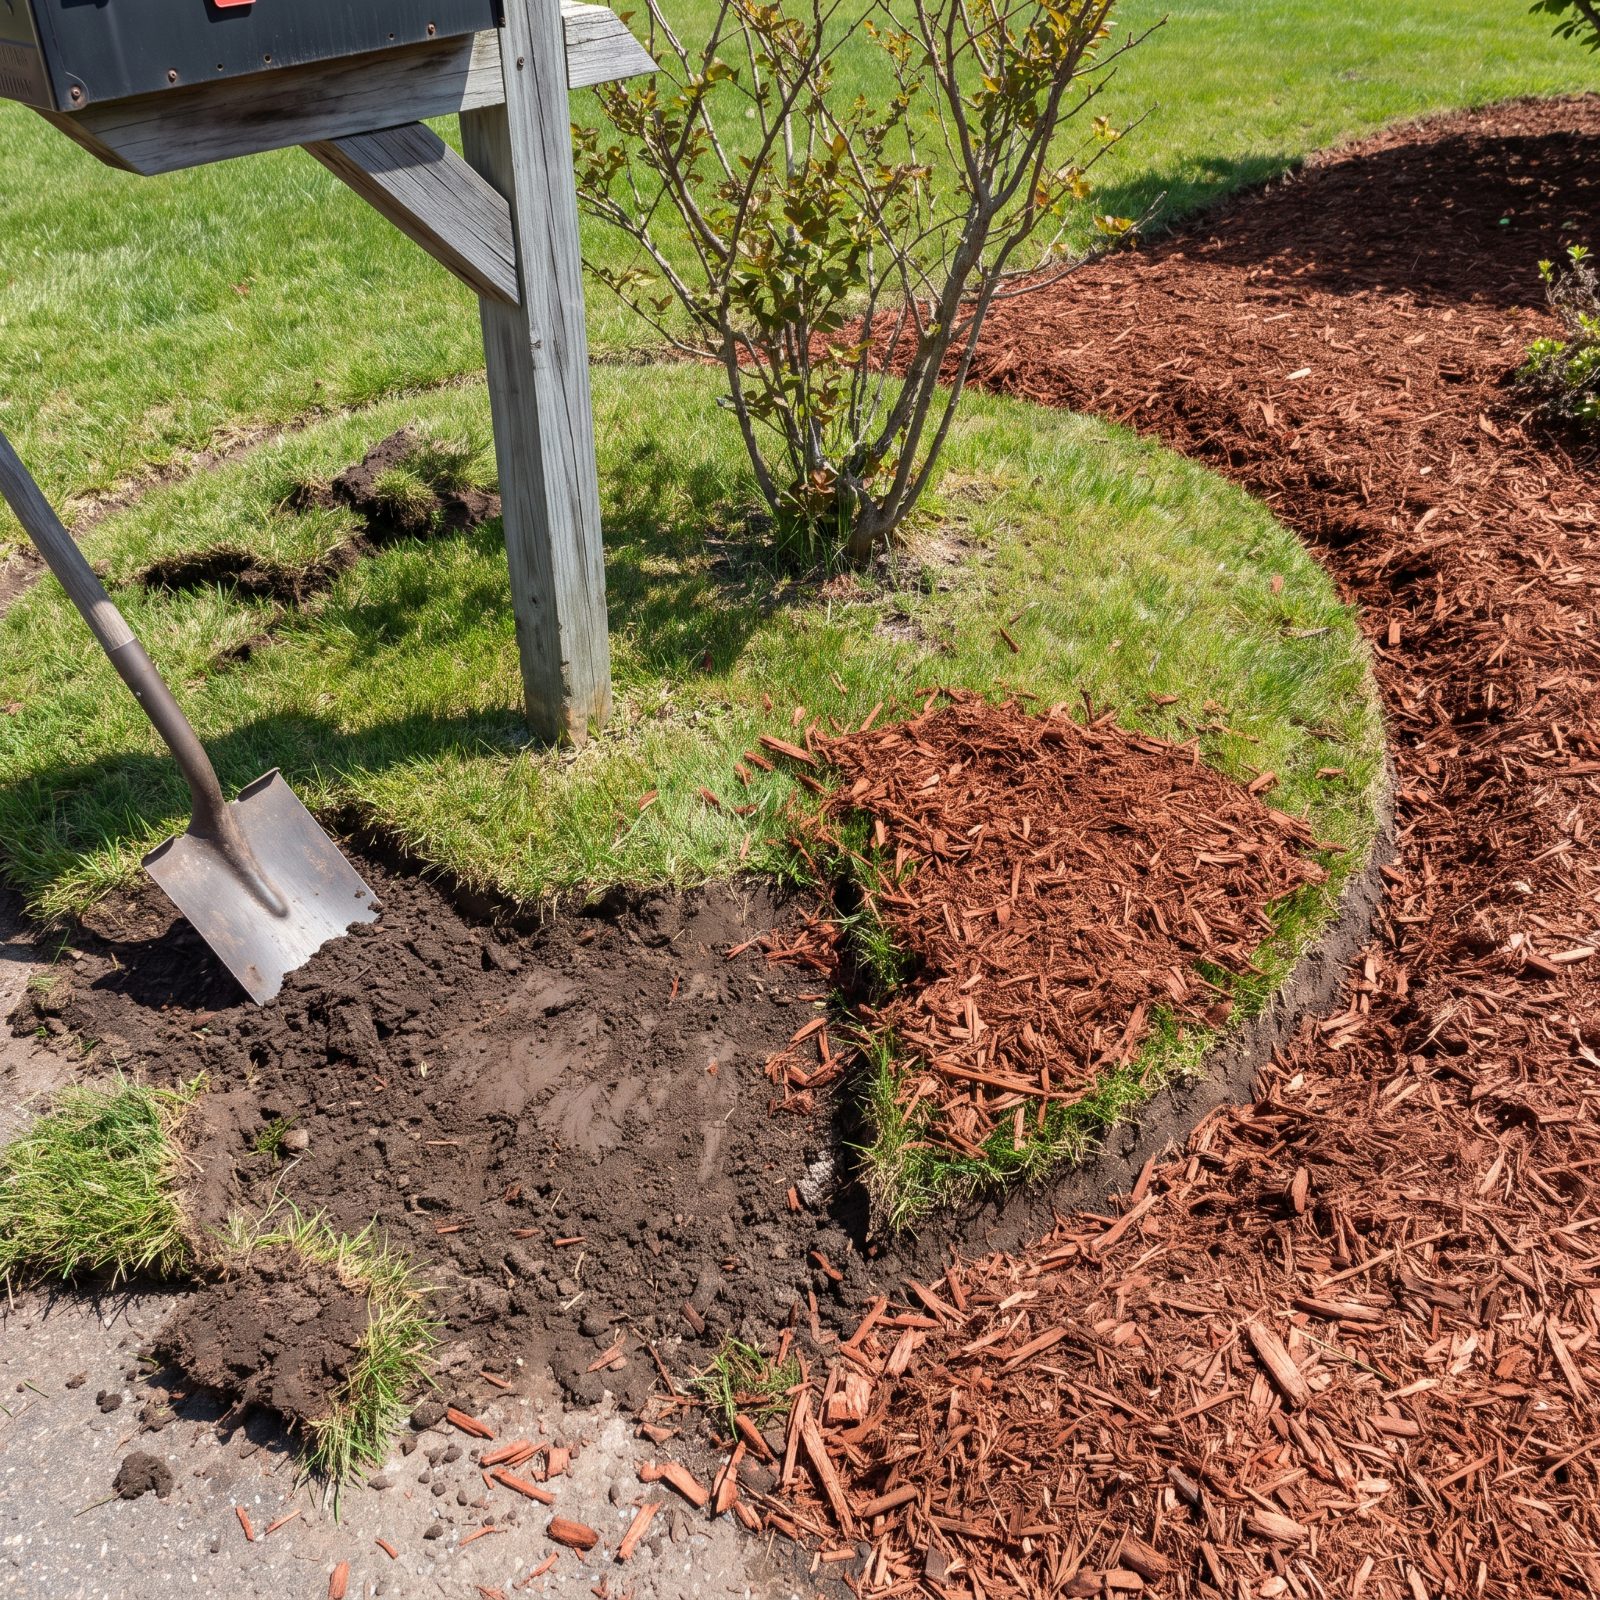
That little triangle of grass stranded around the mailbox. The skinny ribbon of lawn between the driveway and the bed. These islands are maintenance sinkholes — too small to mow properly, so they demand a separate pass with a trimmer or a tight push around a curve every single time.
Absorb them. Cut the sod out and fold the patch into the nearest bed with mulch and a plant or two. One less fiddly spot to circle, forever.
15. Make Tree Mulch Rings Wide Enough to Eliminate Close Mowing
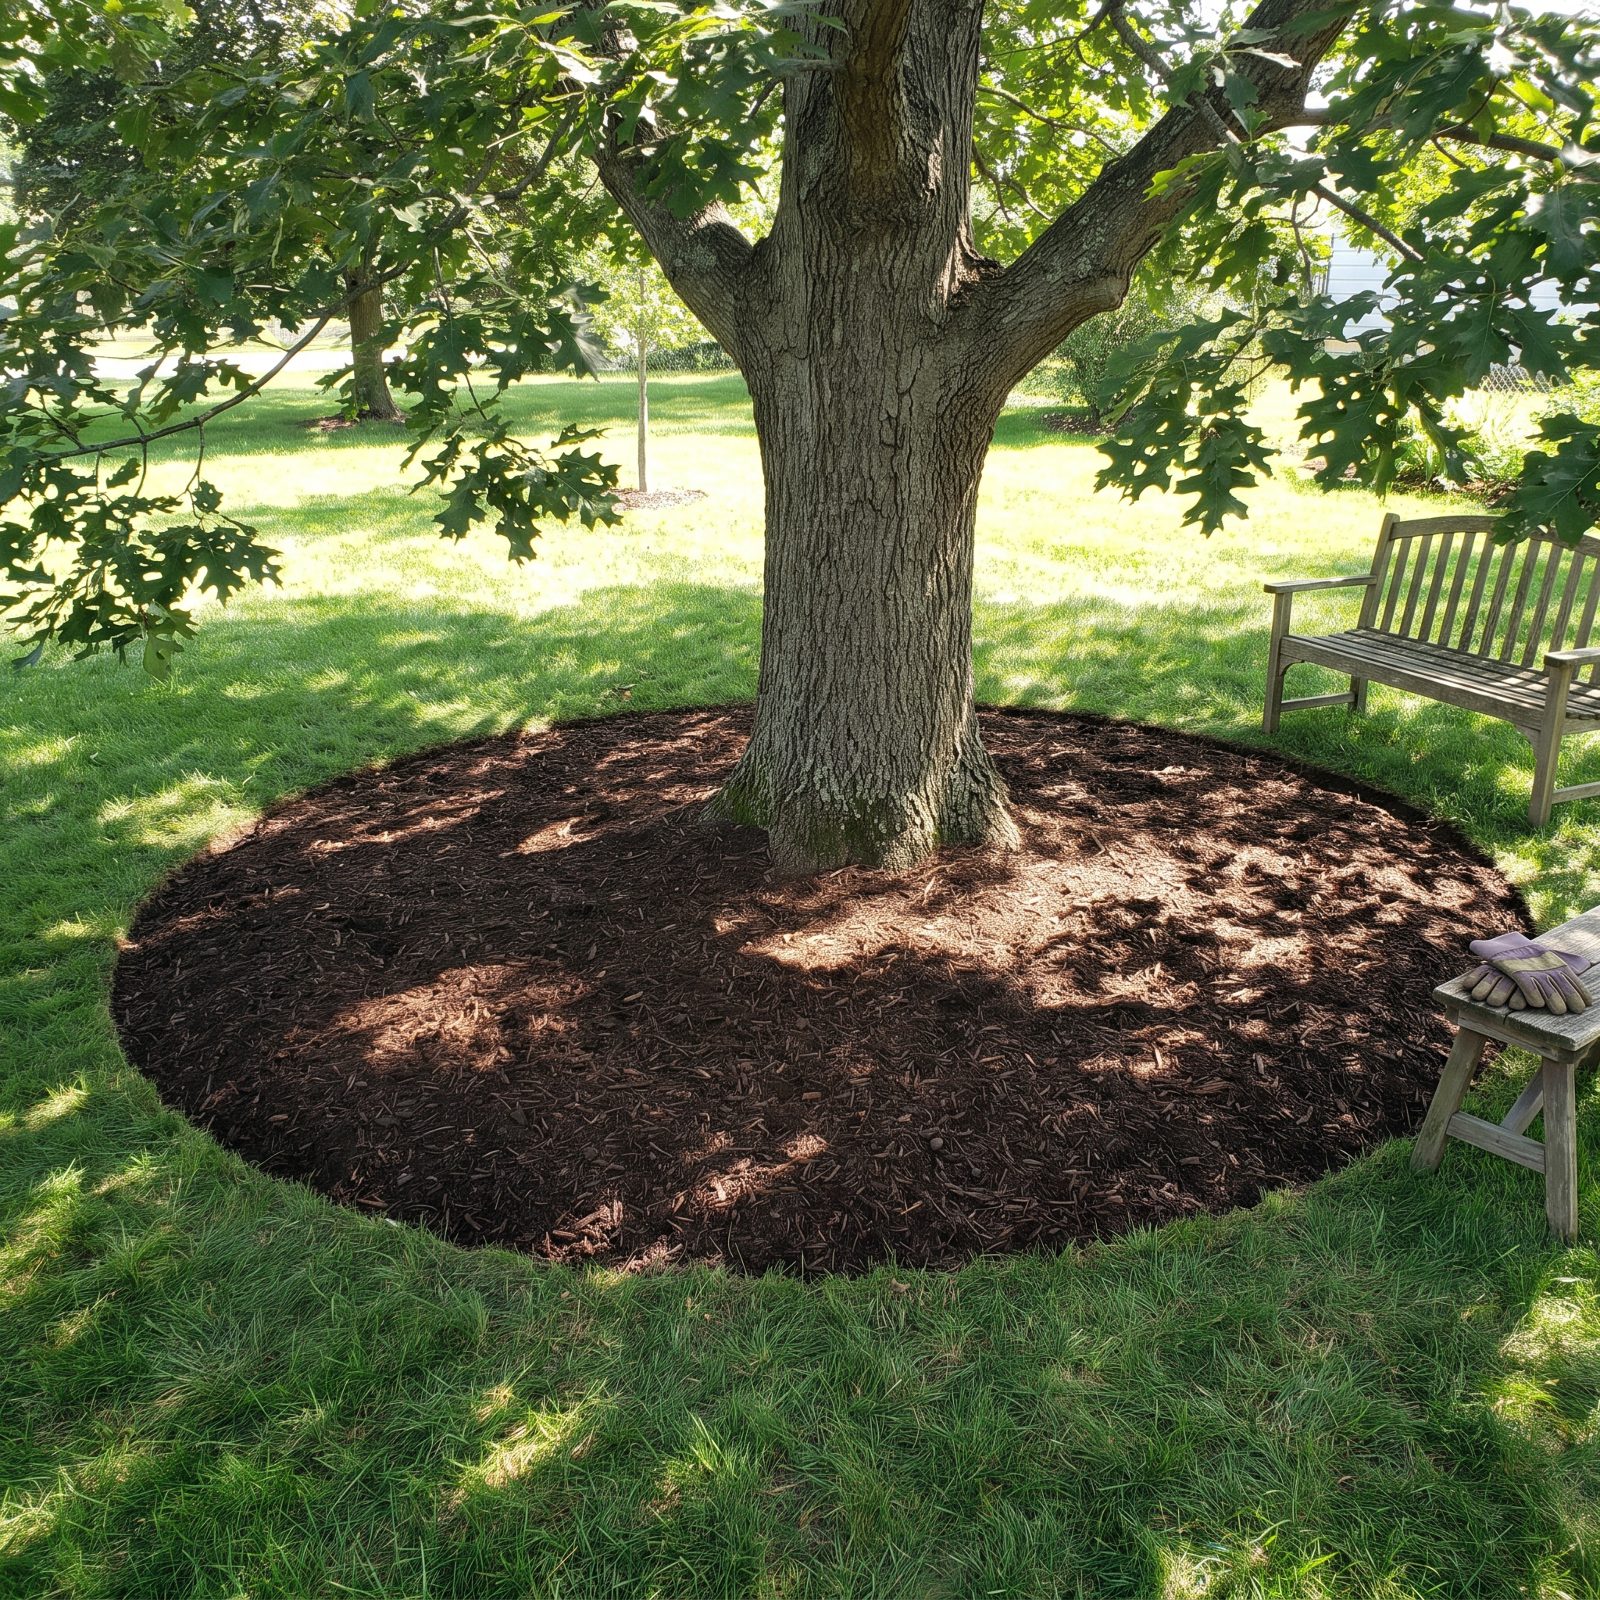
A stingy little mulch ring just means you still have to inch the mower around the trunk and trim the grass that creeps up to the bark. Make the ring bigger than feels necessary — four or five feet of radius on a decent-size tree.
Now you mow a clean circle at full speed and never slow down. The tree comes out ahead too: its roots aren’t competing with turf, and the mower never gets close enough to scar the trunk.
14. Lay Stepping Stones Through Deep Beds for Easy Access
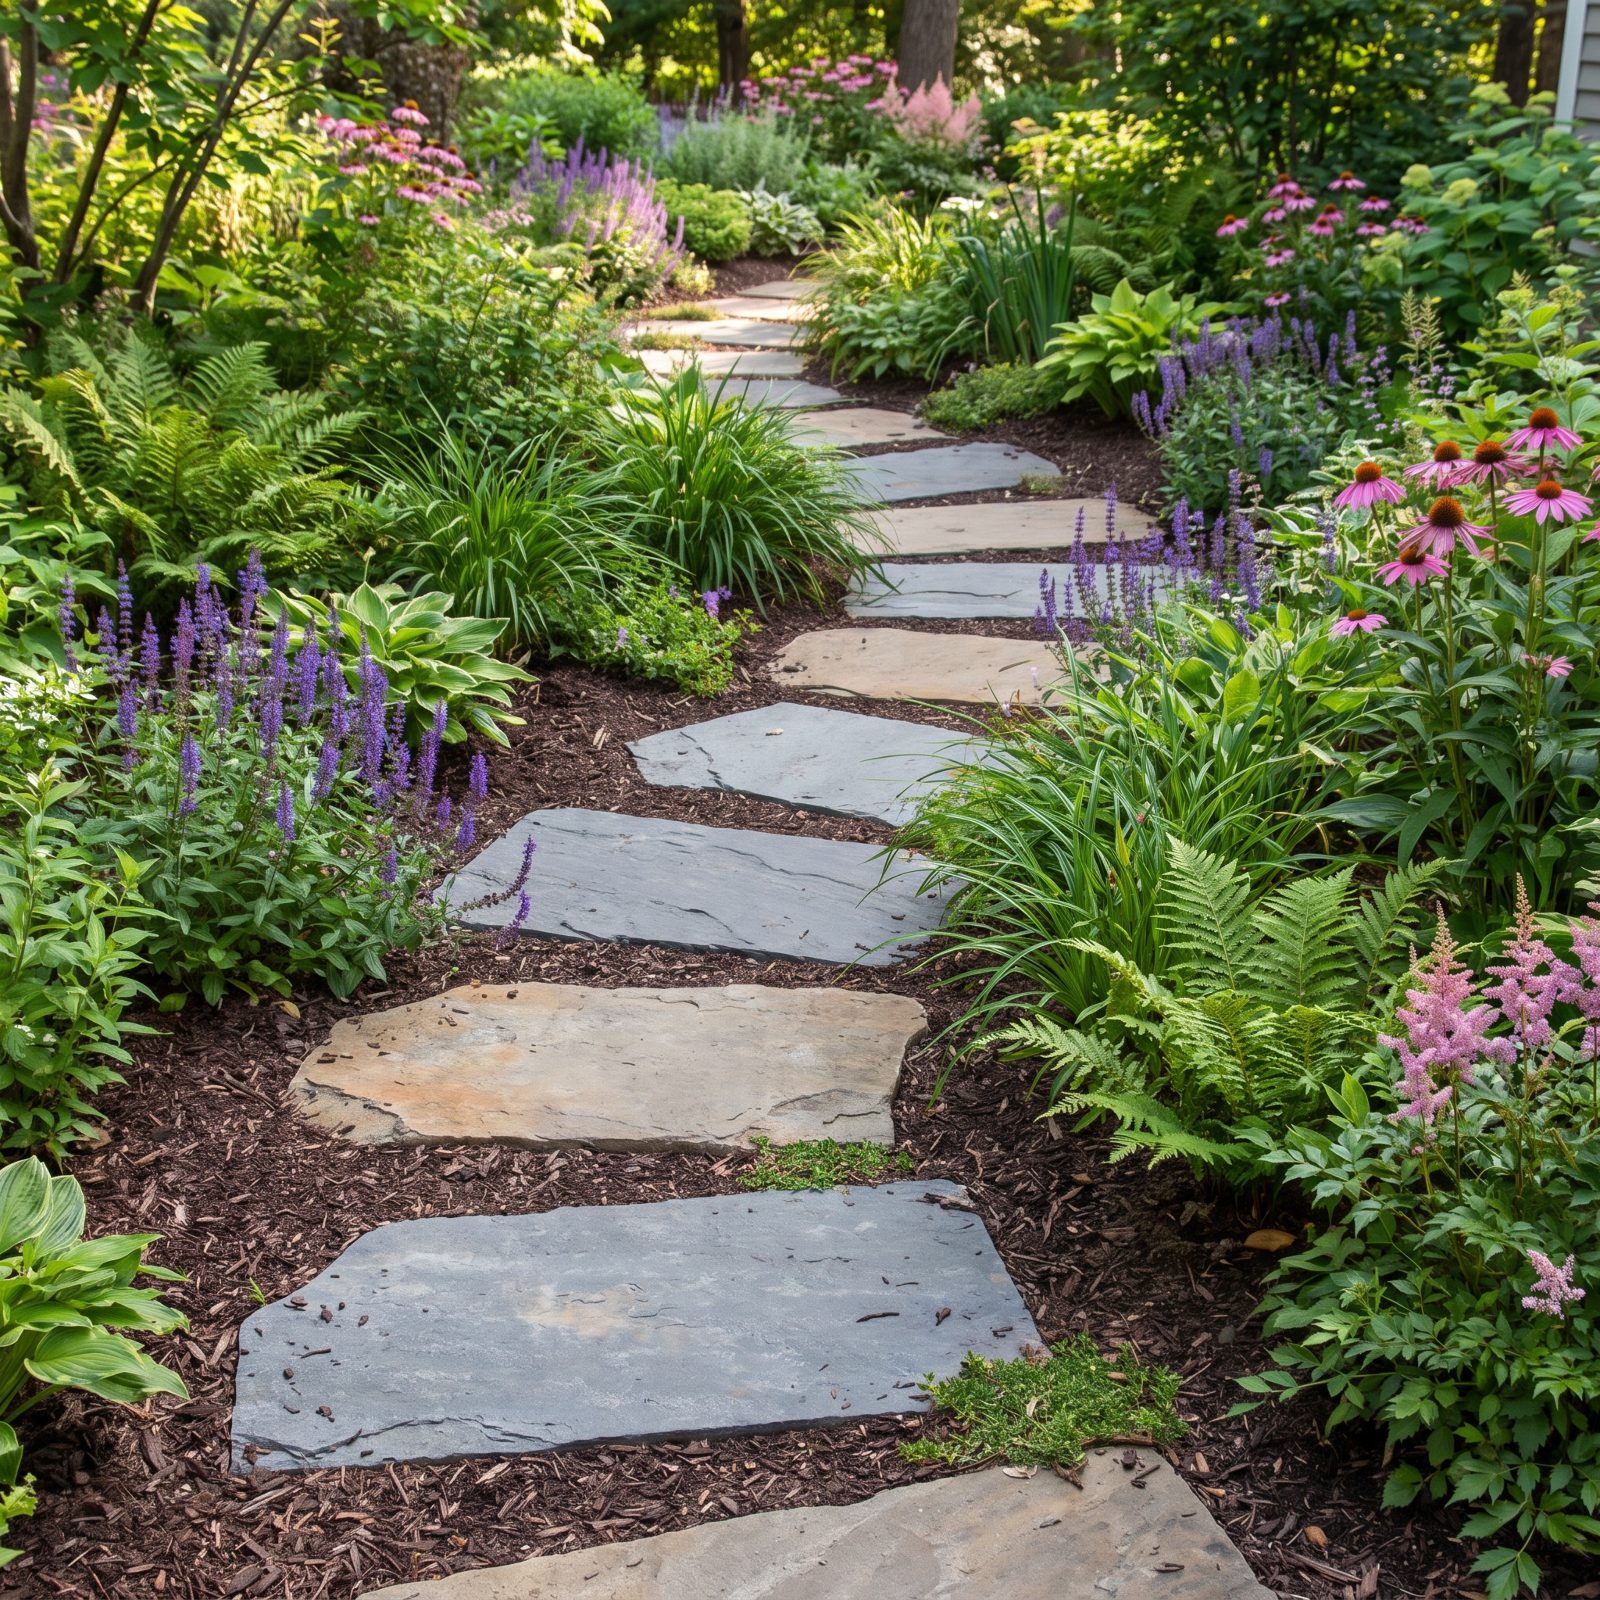
You plant a deep bed and then spend two seasons trampling your own perennials trying to reach the ones in back. Compacted soil, broken stems, and you still can’t get at the weeds without a stretch and a wobble.
Drop a few flat stones through the bed, a comfortable stride apart, and the whole dance changes. You walk in, kneel, weed, and deadhead without crushing a thing. The soil stays loose everywhere except where you step — which is exactly backward from what happens when you freelance it on tiptoe.
13. Plant Ground Cover Beneath Awkward Low Branches
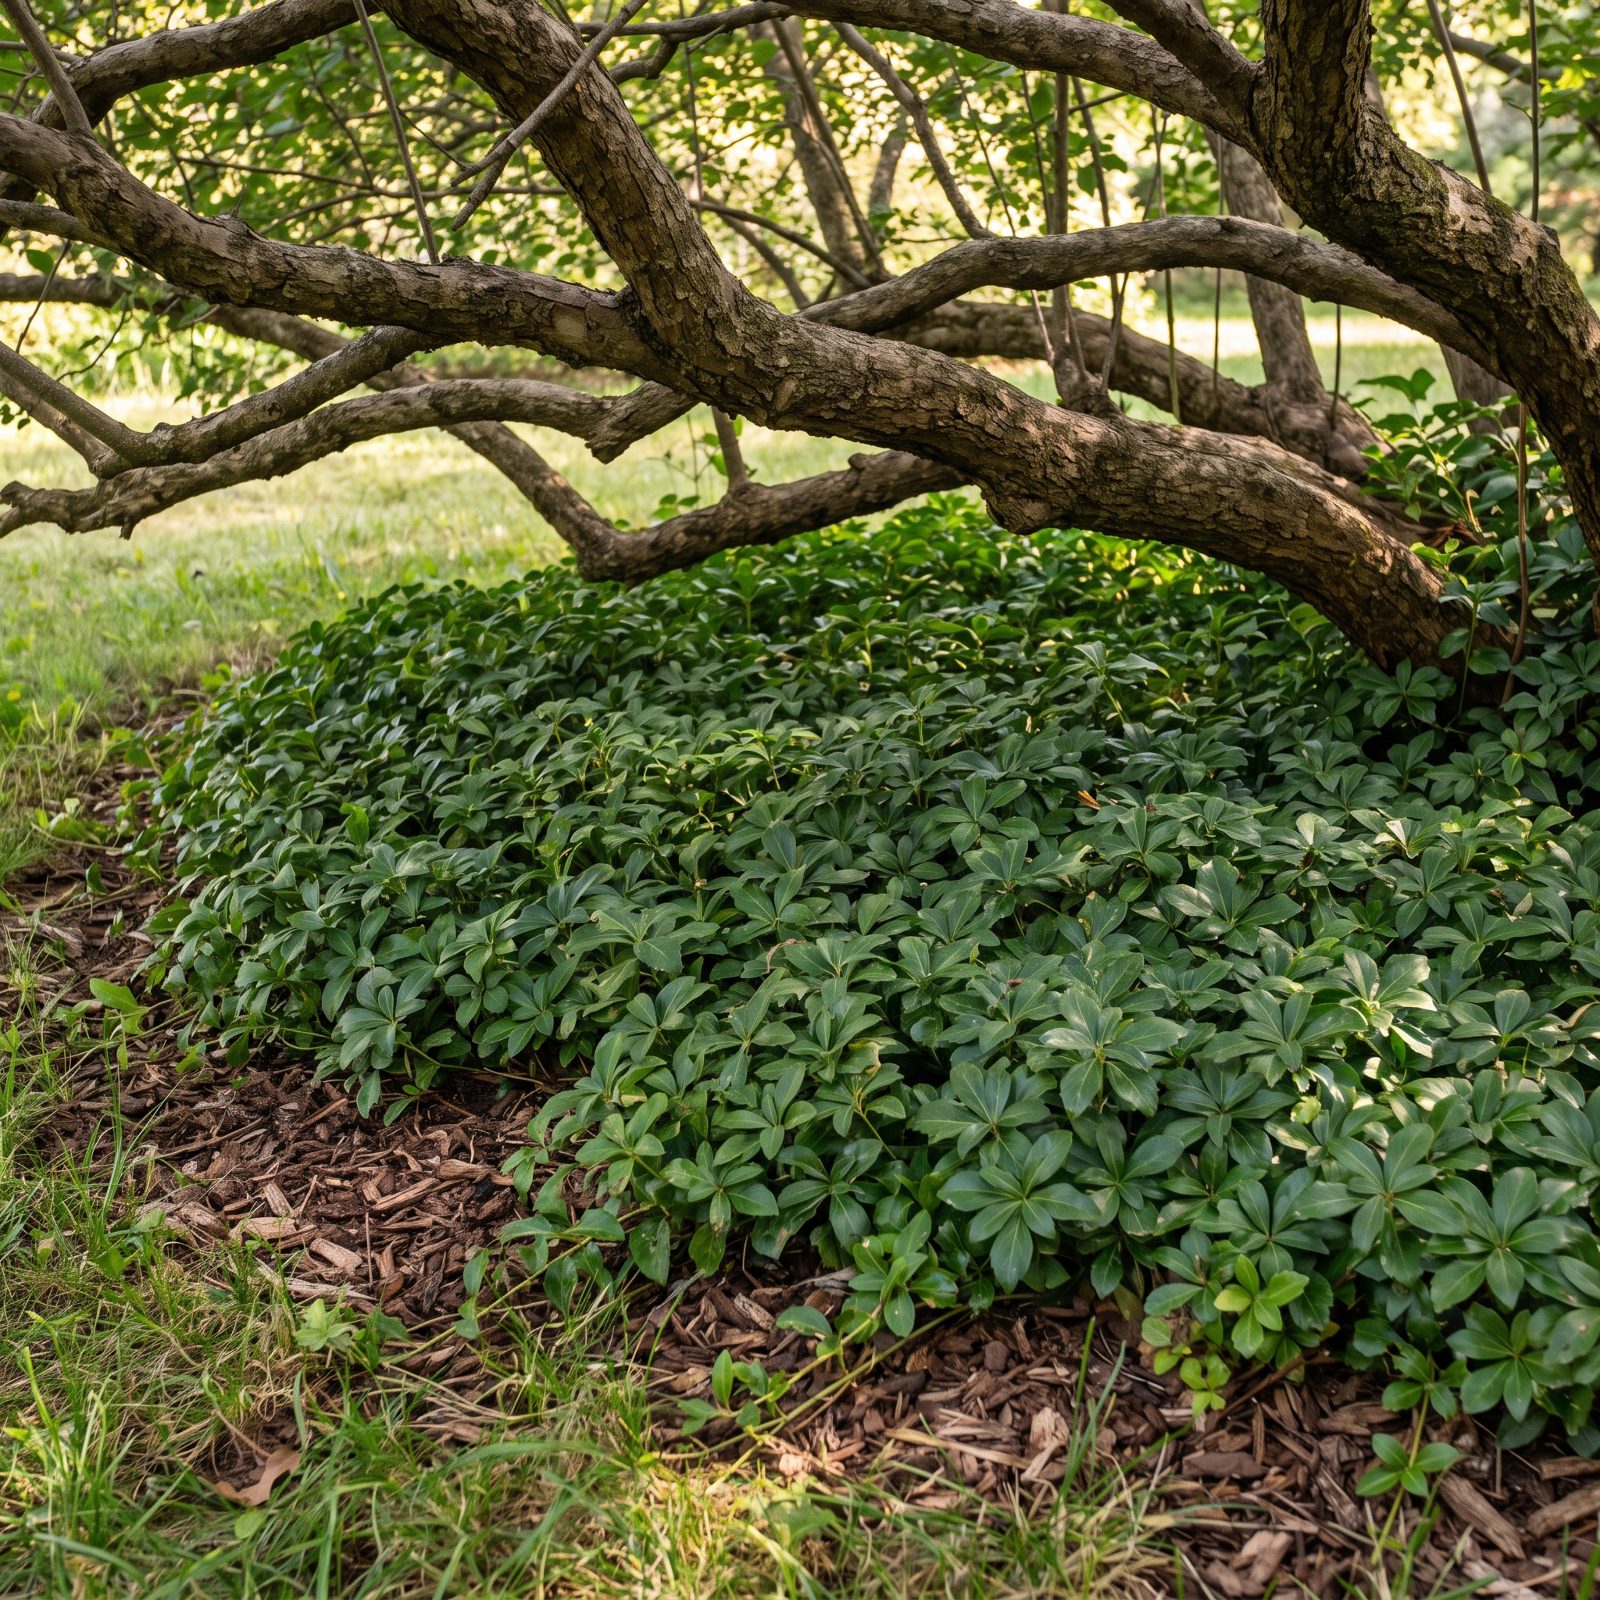
Grass under low branches is a lost cause. Shaded, awkward to mow, impossible to trim without crawling, and thin and sad no matter what you throw at it.
Plant ground cover there instead — something that spreads and stays low. Creeping thyme in sun, pachysandra or vinca in shade, sweet woodruff under trees. Once it fills in, there’s no mowing and no trimming, and the ugly bare patch becomes the one part of the bed that looks after itself.
12. Group Containers by Watering Needs
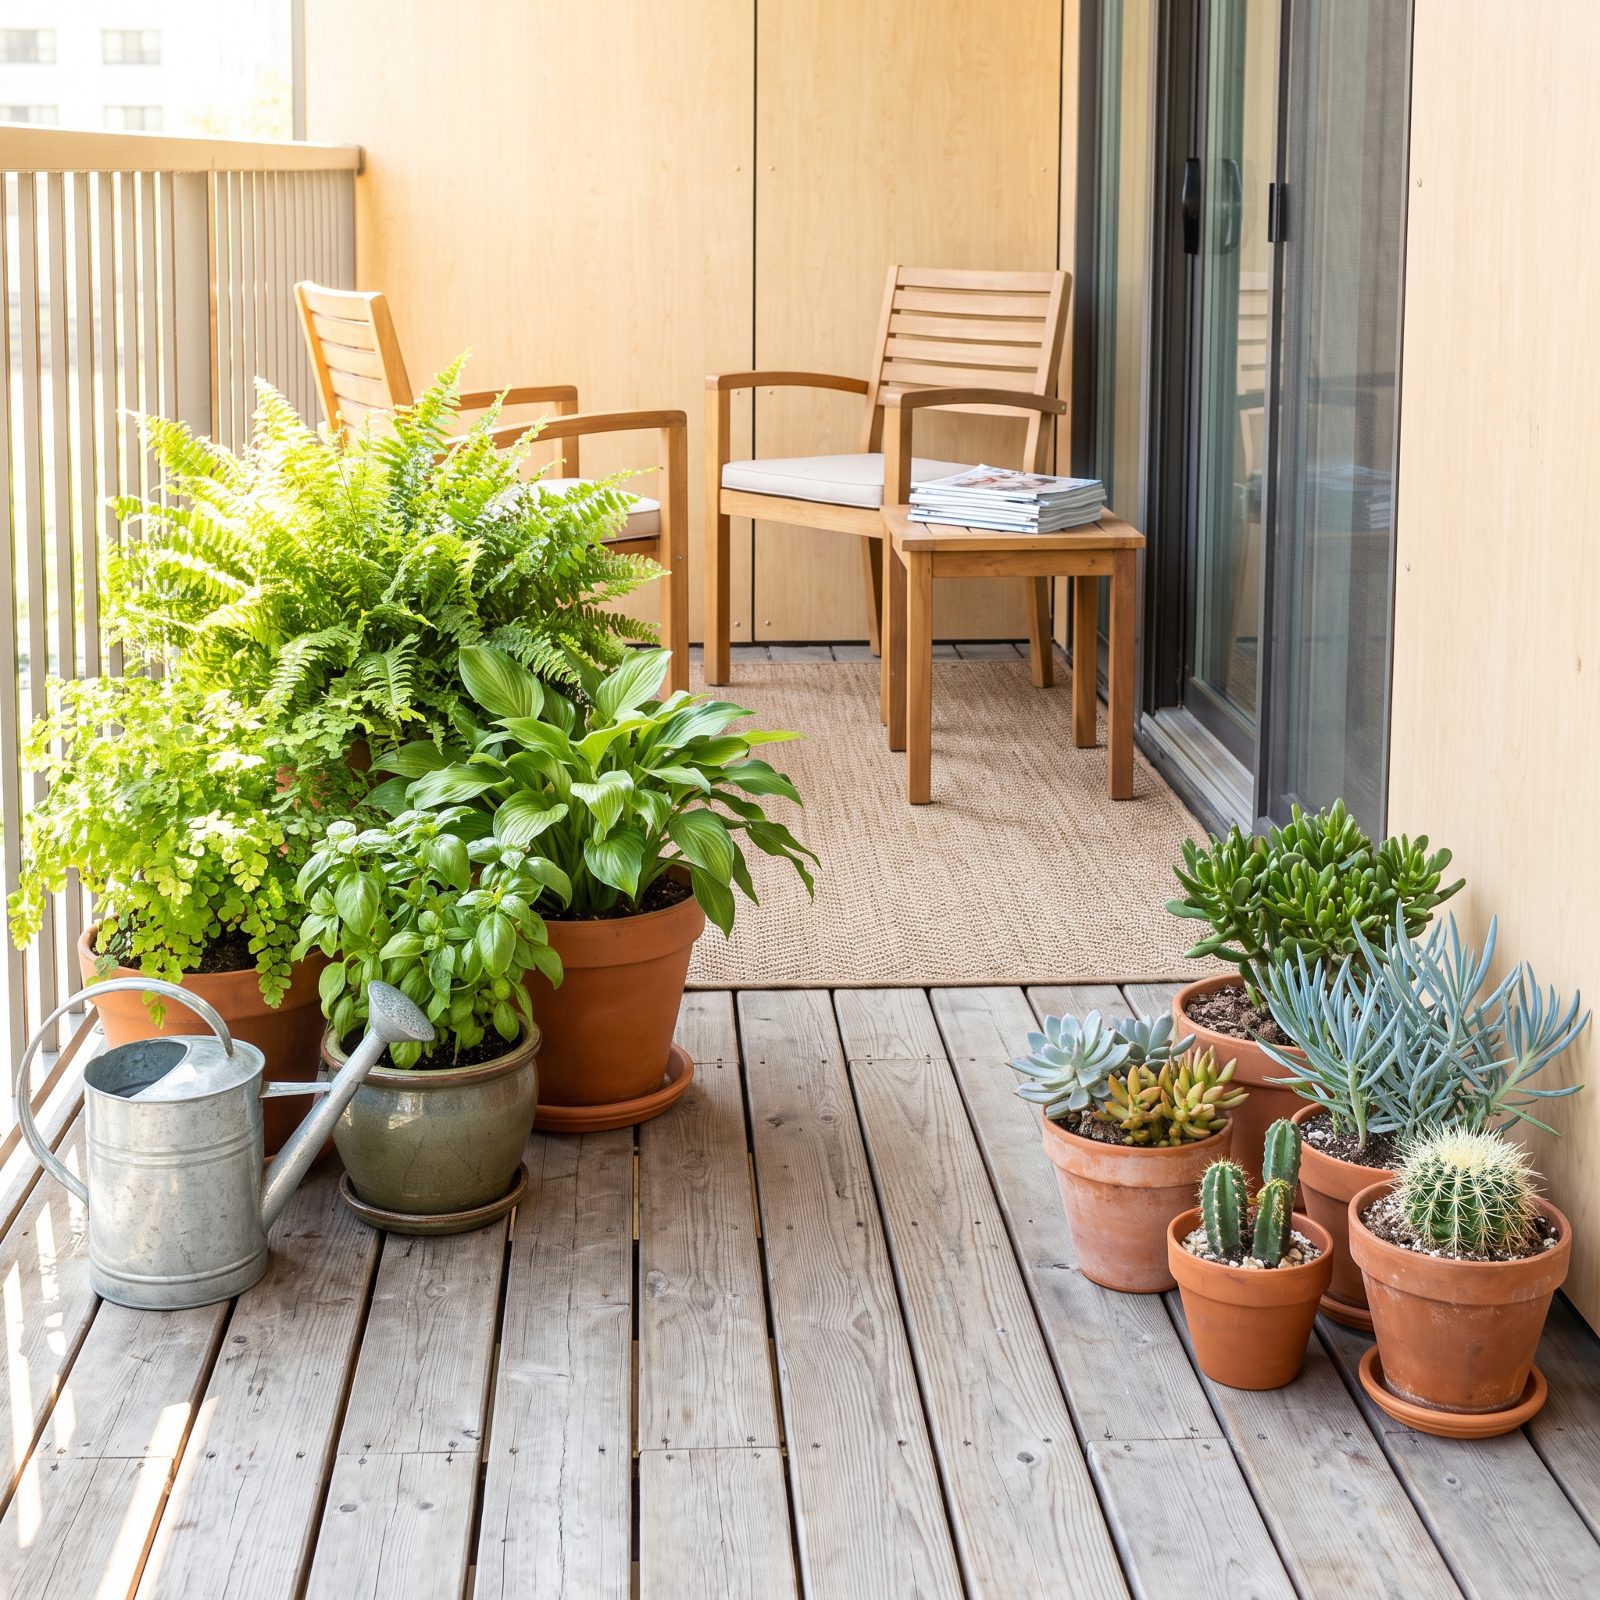
Scattered pots turn watering into a scavenger hunt. You haul the can to a dozen spots, drown the succulents, starve the ferns, and still miss the one tucked behind the grill.
Cluster them by thirst instead. Leafy annuals and herbs in one group, drought-tolerant stuff like succulents and lavender in another, and water each group on its own schedule in a single stop. The thirsty cluster shades its own soil, too, so those pots dry out slower than they would standing alone in the sun.
11. Set Heavy Pots on Rolling Plant Caddies
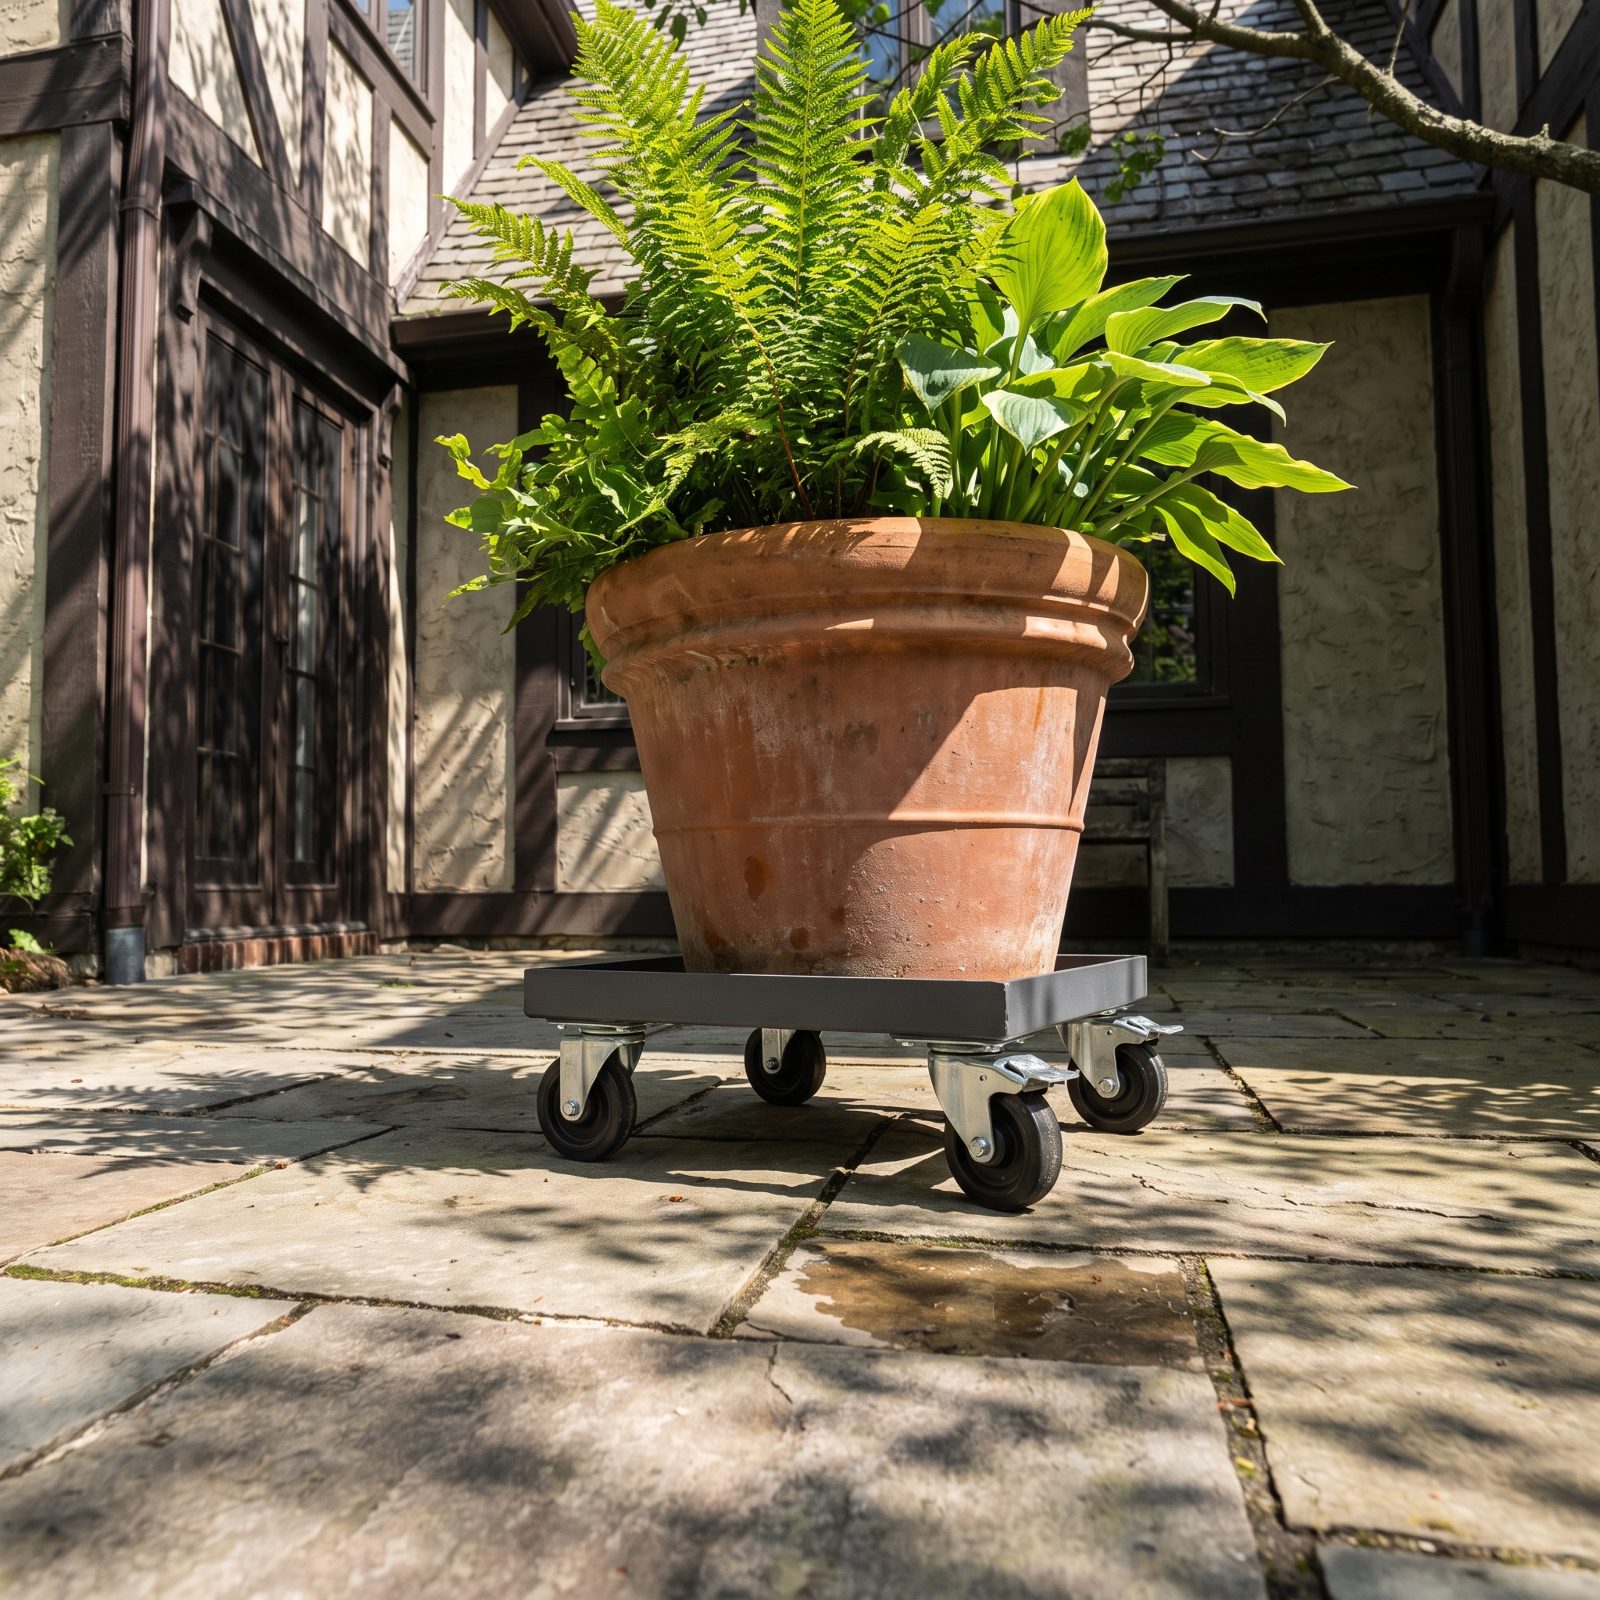
A big glazed pot full of wet soil can outweigh you, and dragging it scratches the patio and wrecks your back. So it never moves — not when the July sun scorches it, not when October wind batters it.
Put it on a wheeled caddy from the start, before you fill it. Then you roll it into shade, tuck it under the eaves before a freeze, or shove it out of the way when you need the space. A plant you can move is a plant you can actually keep alive through a rough spell of weather. One warning: buy the caddy rated well above the pot’s full weight. The cheap ones buckle under wet soil, and then you’ve got a tipped pot and a mess to show for the shortcut.
10. Run Soaker Hoses Beneath Mulch to Limit Evaporation
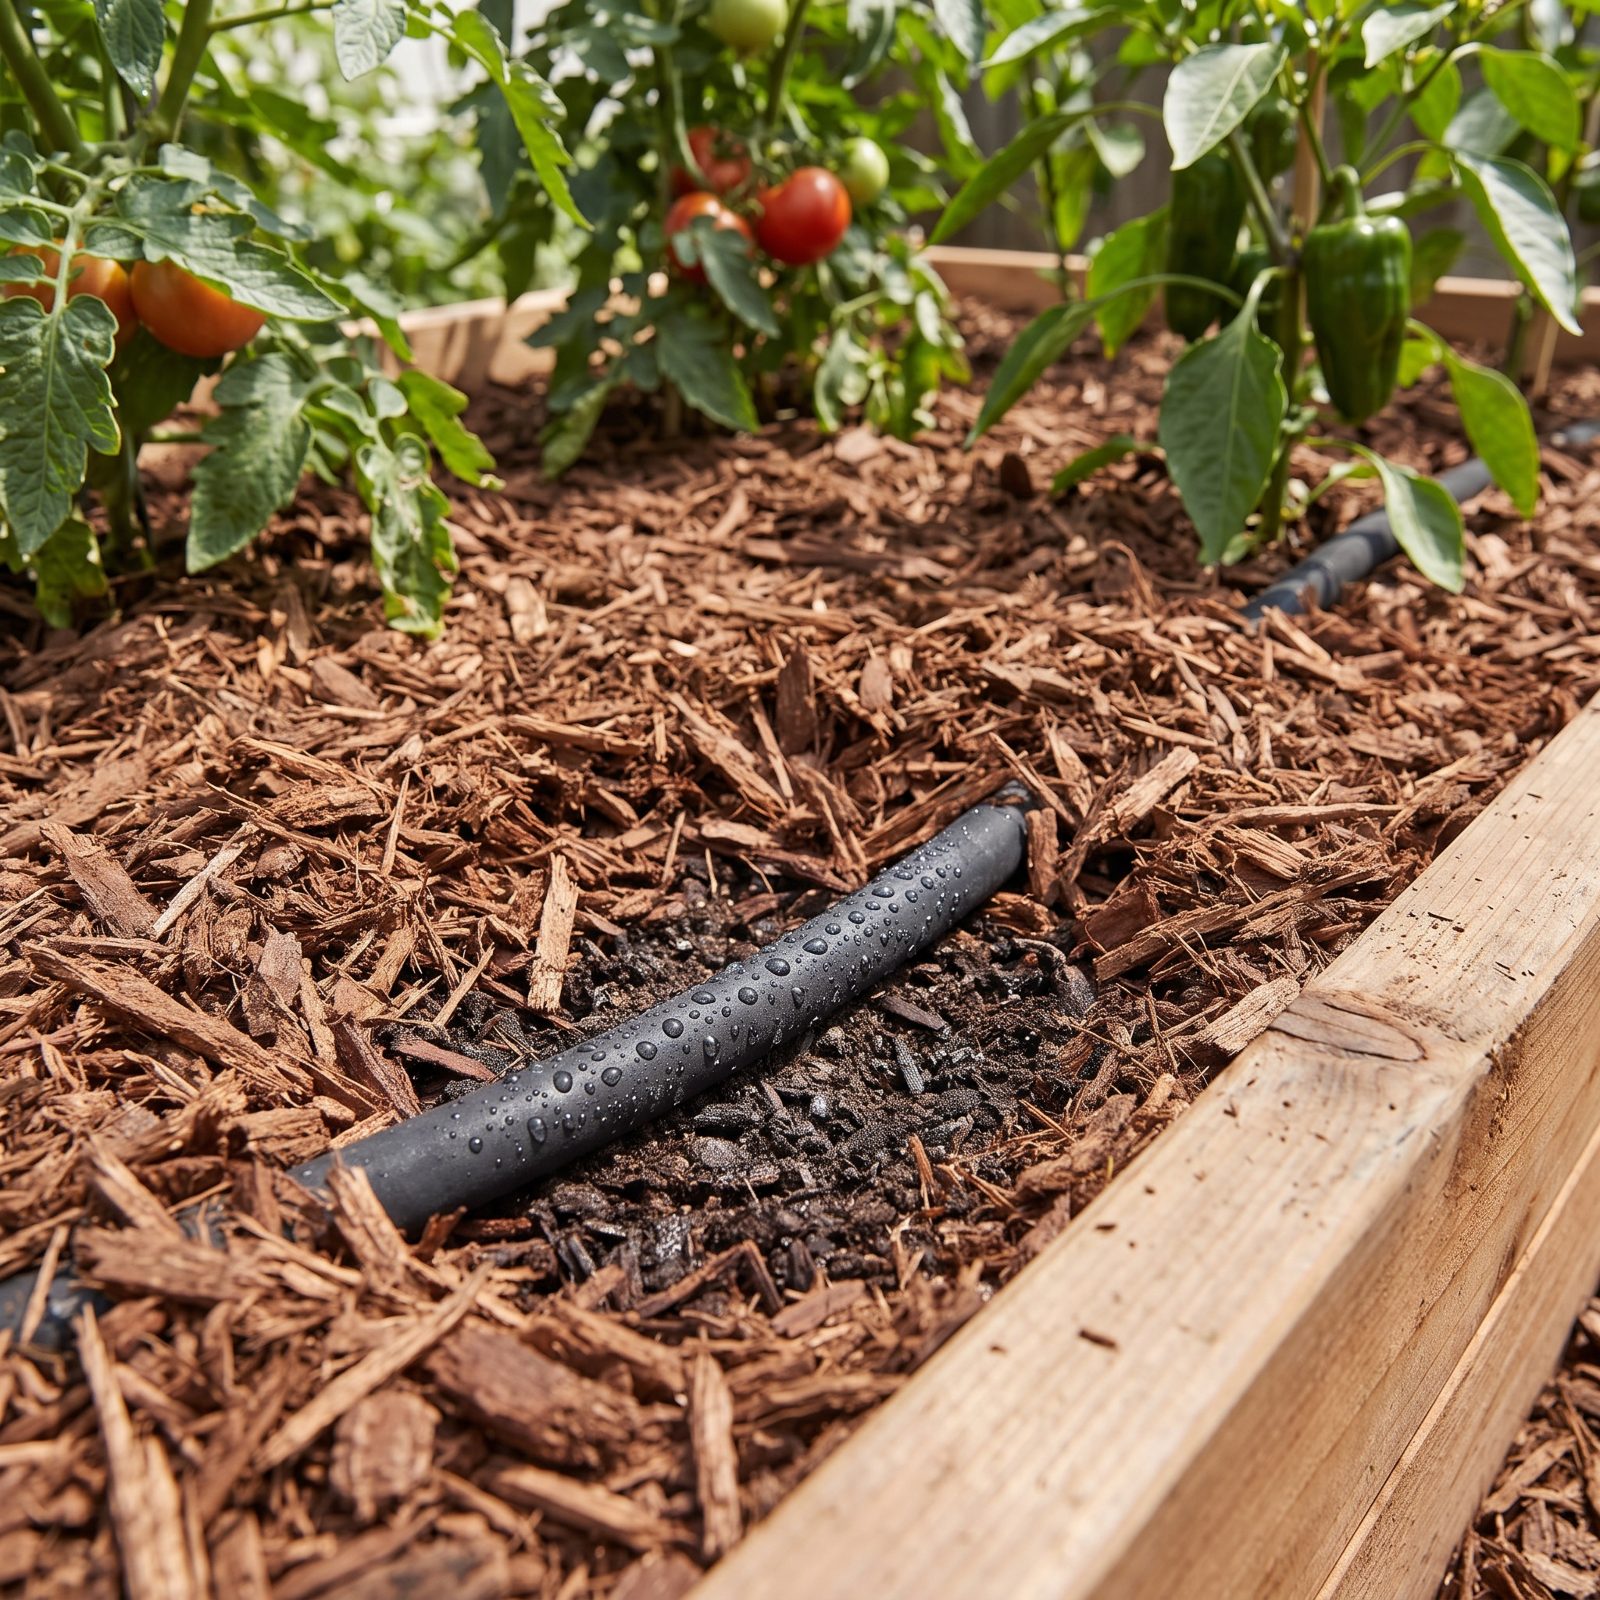
Spray water on bare soil in July and a surprising share of it leaves before a root ever gets a sip. Lay a soaker hose along the base of the plants, settle it down onto the soil and cover it with mulch, and the water goes sideways into the soil instead of straight up into the air.
The mulch pulls double duty. It shades the ground so the dampness lingers, and it holds the hose in place, even where a stretch of it still shows on top of the chips. Set it once in spring and the watering more or less runs itself all season.
9. Add a Timer at the Spigot to Prevent Forgotten Watering
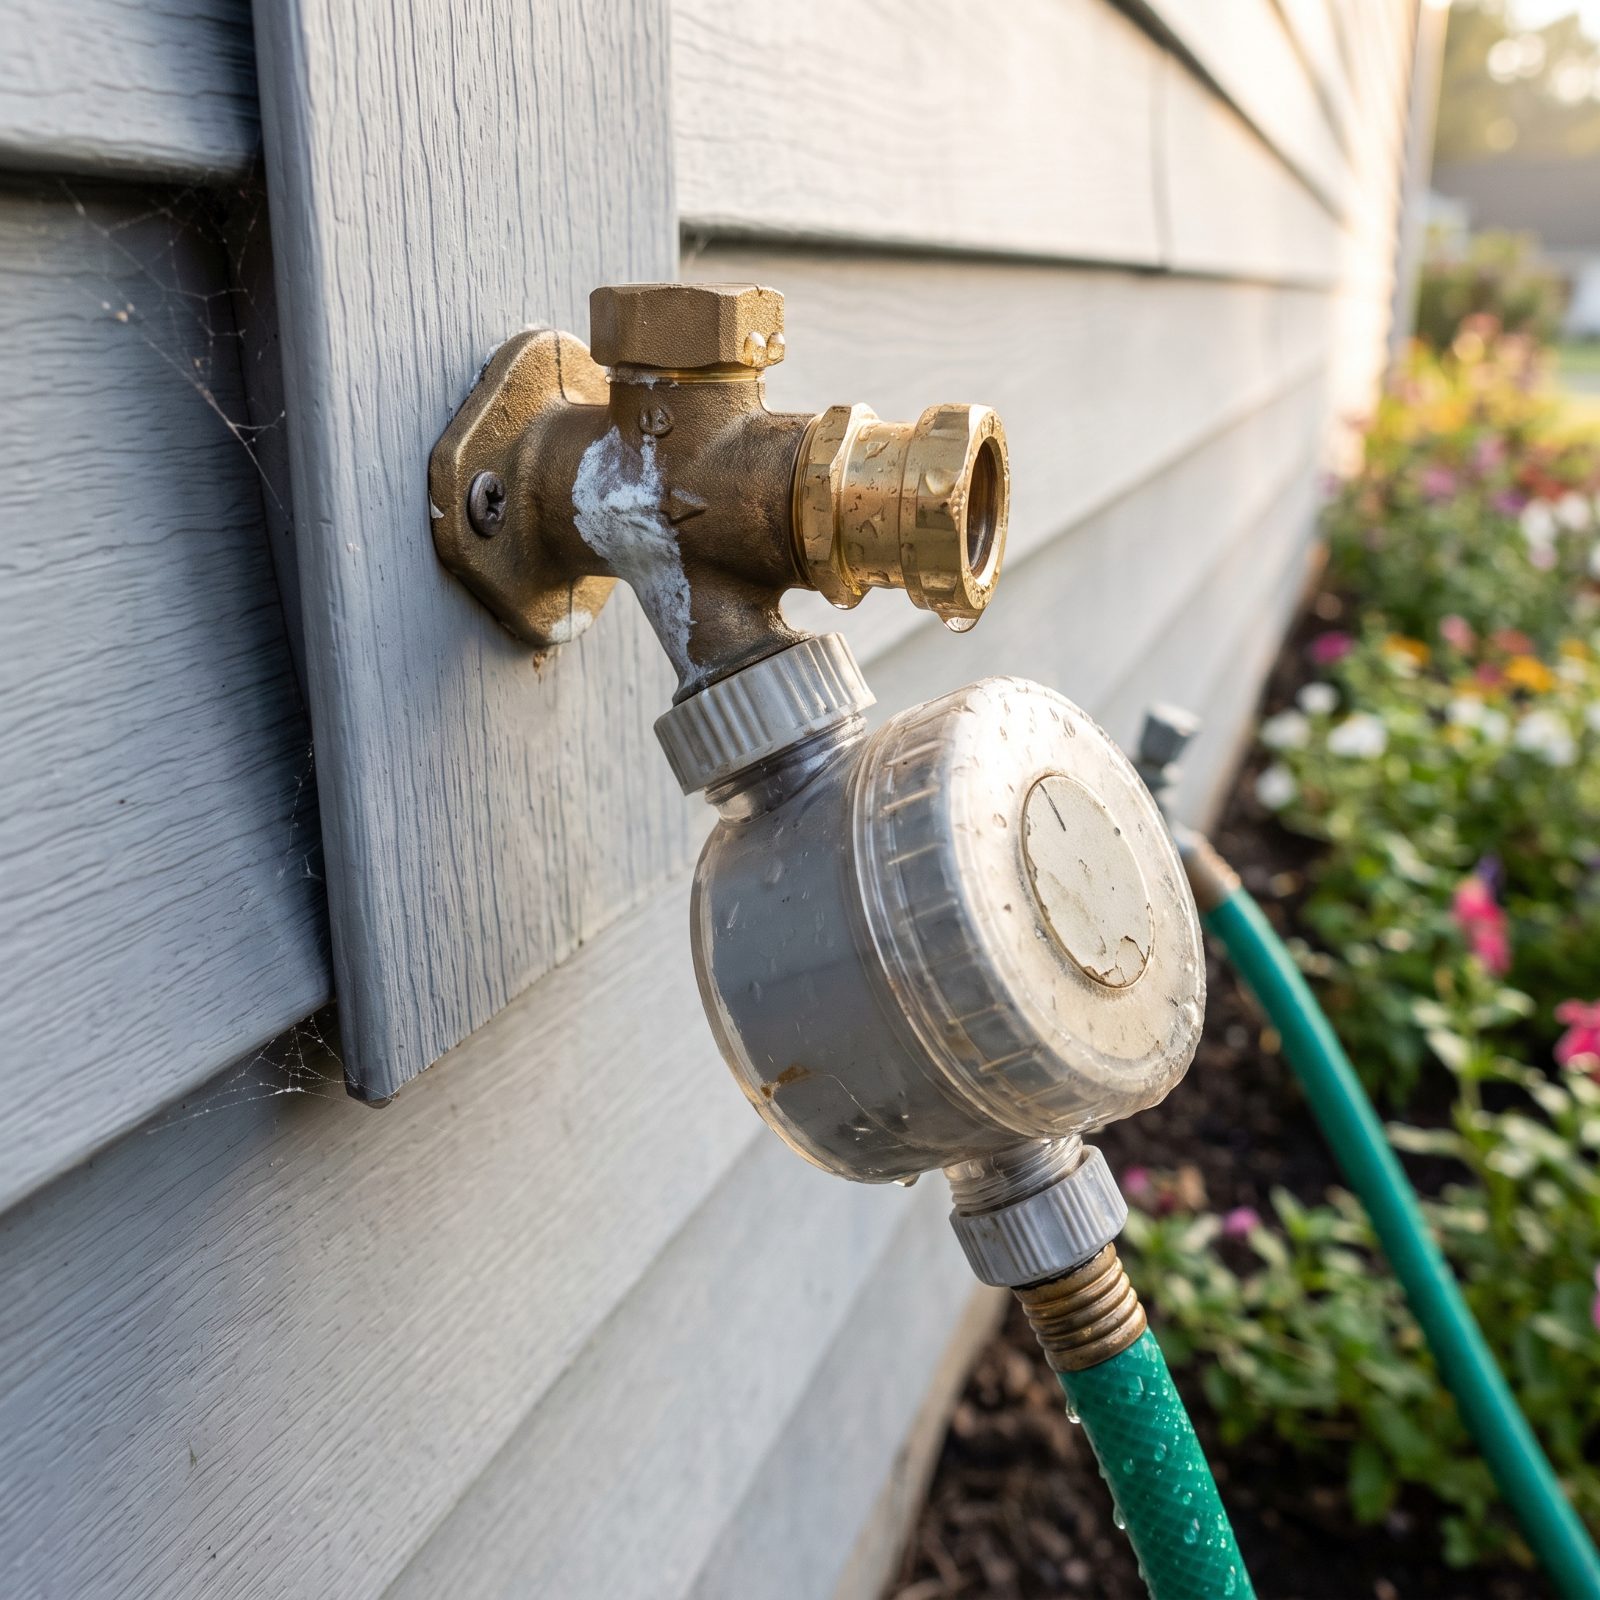
The watering you forget is worse than the watering you skip. Plants get drowned one week and parched the next, and nothing ever settles into a rhythm. A simple timer that screws onto the spigot ends all that for the price of a couple of restaurant lunches.
Set it for twenty minutes at dawn, before the sun pulls the moisture back out, and the bed drinks on schedule whether anyone is home or not. The cheap basic kinds are honestly fine for most yards. No app, no phone, nothing fancy. Just a simple timer and a hose.
8. Cover New Beds with Cardboard Before Adding Mulch
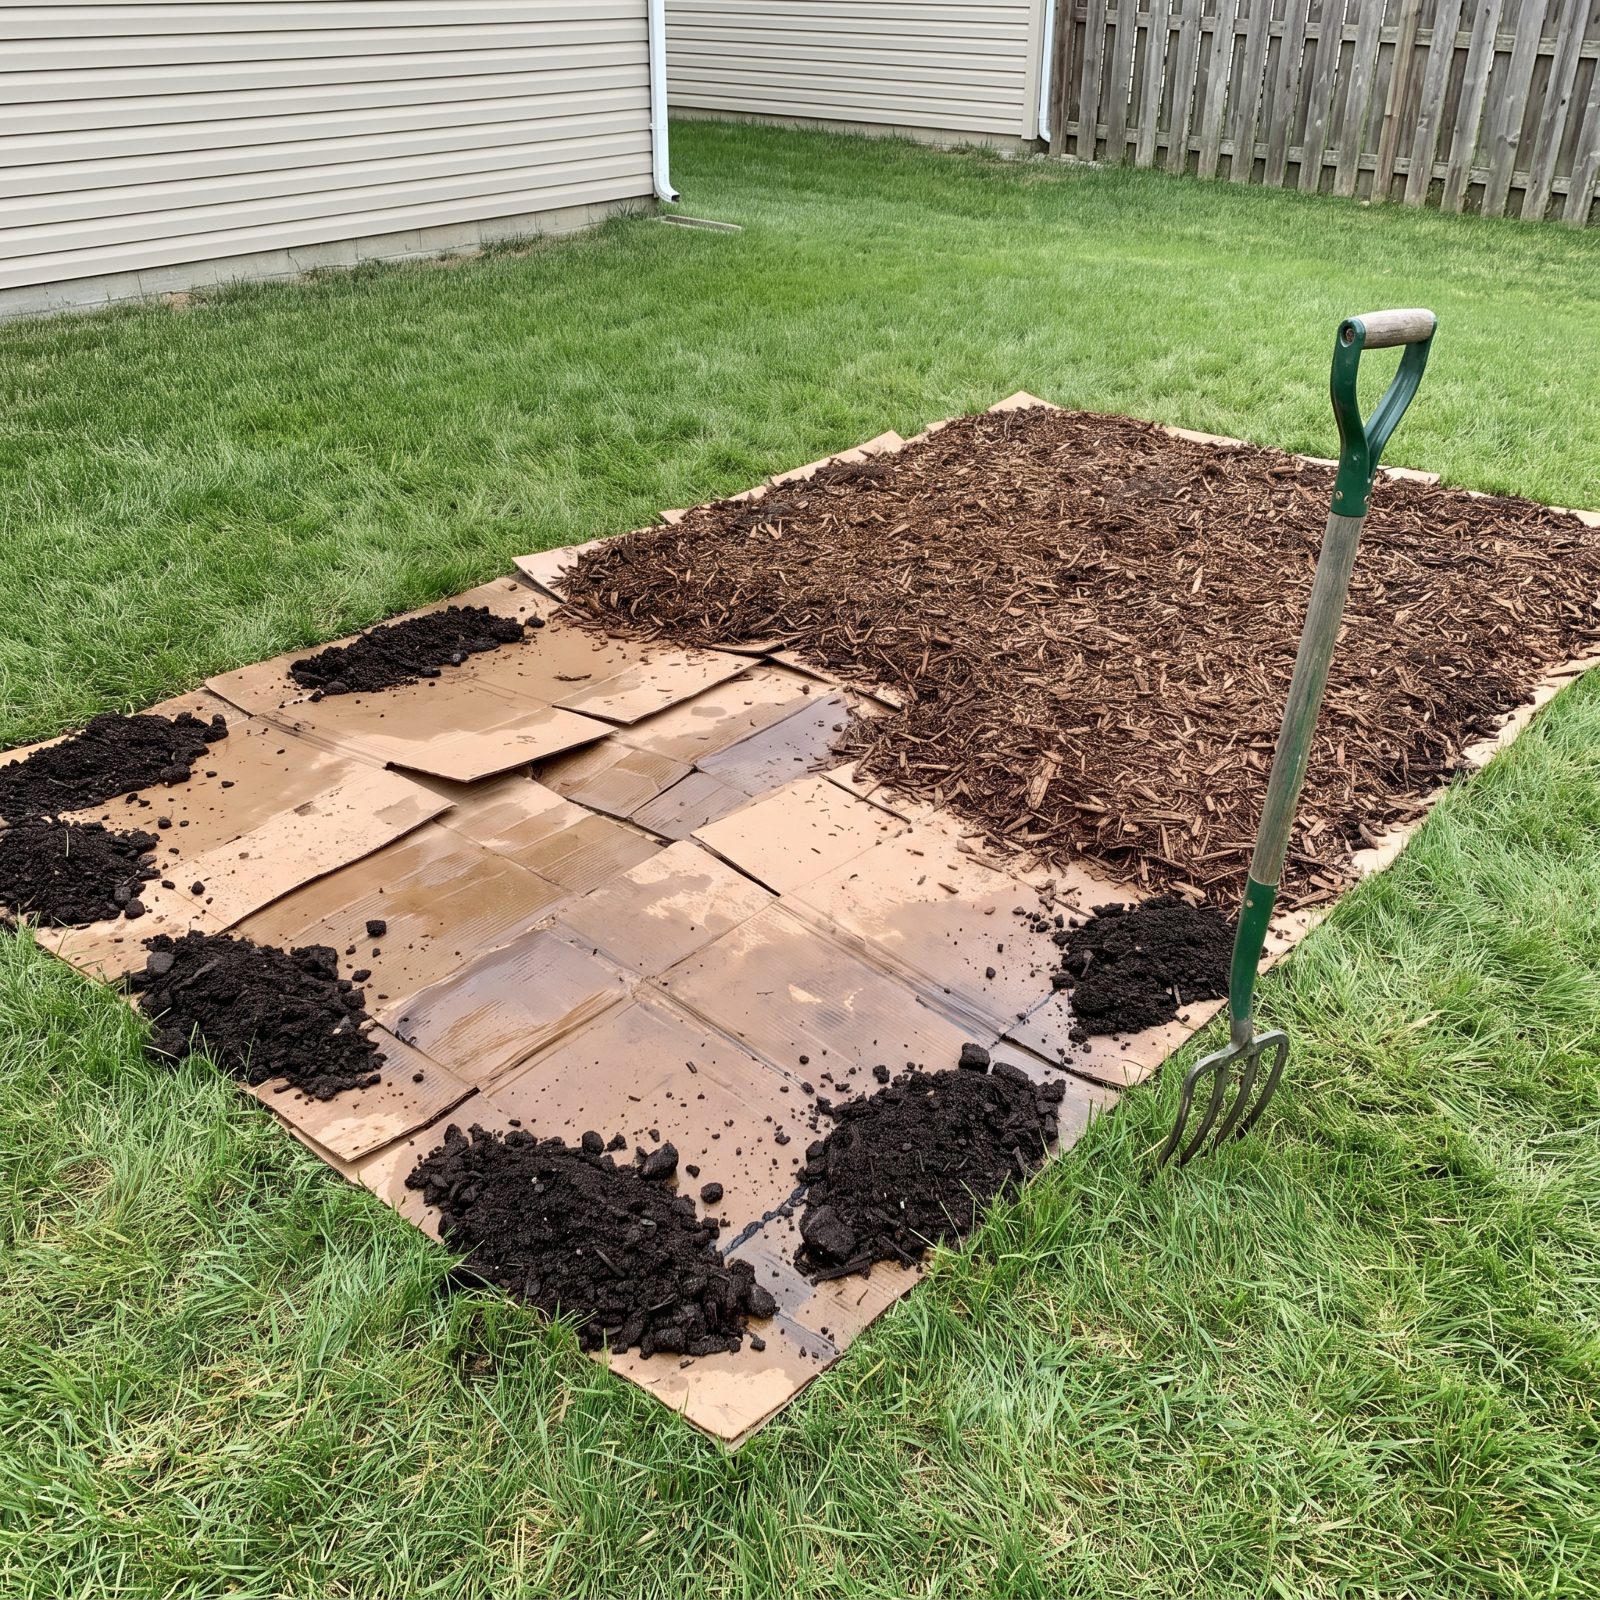
Digging up sod is the worst job in the yard, and it is almost never necessary. Lay flattened cardboard right over the grass, wet it down, pile mulch on top, and the lawn underneath smothers and composts in place. By the time you plant, the cardboard has gone soft enough for roots to push straight through.
Peel off the plastic tape first. It does not break down, and you will be fishing it out of the soil for years. Fair warning: a bed done this way looks like a recycling heap until the mulch goes on.
7. Pull Weeds Immediately After Rain Softens the Soil
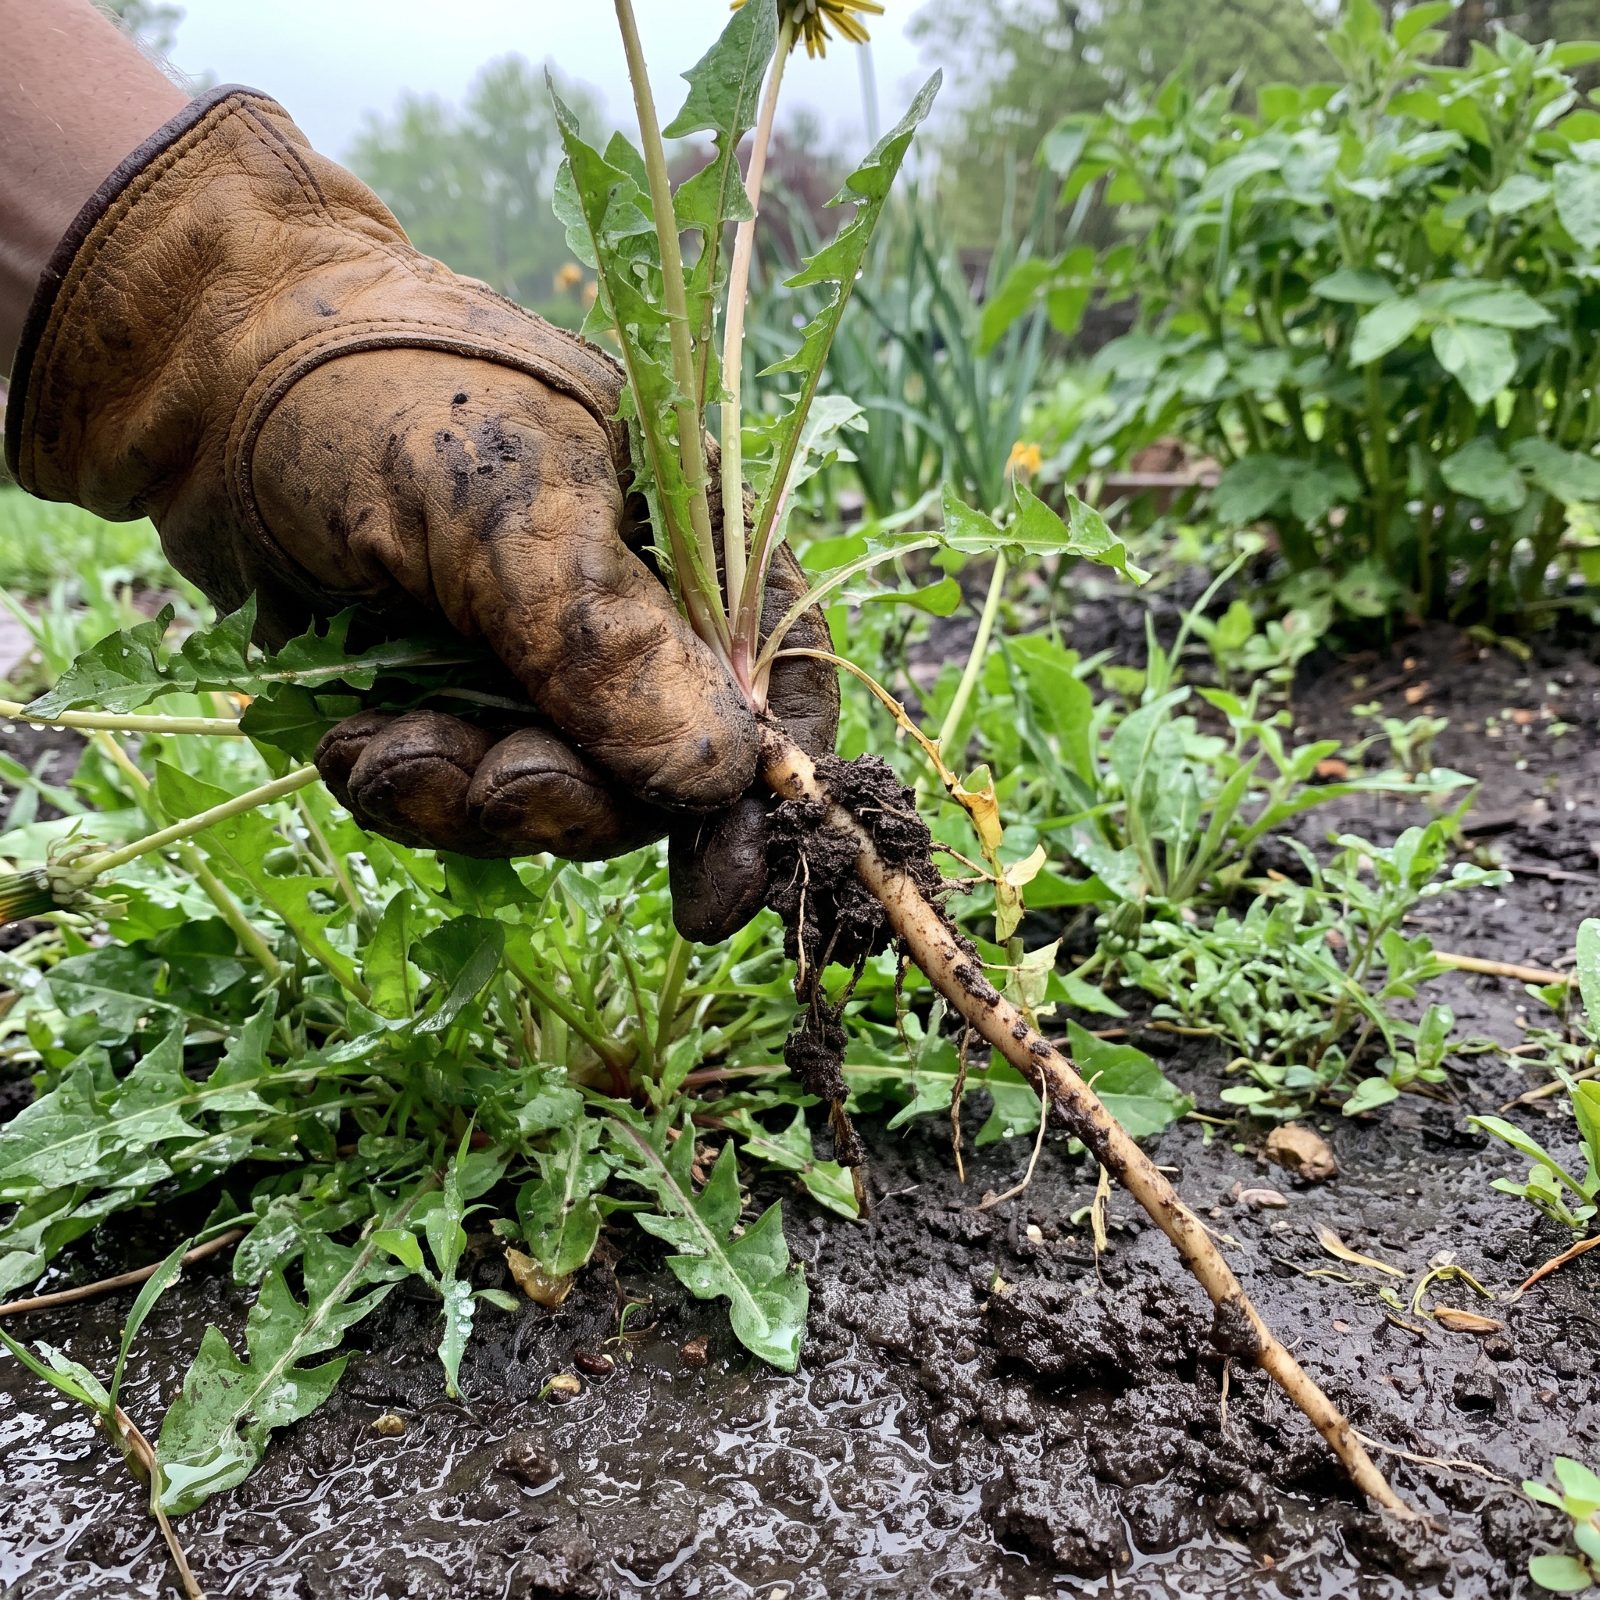
Try yanking a dandelion from baked August clay and the top snaps off while the root stays put, laughing at you. Wait an hour after a good rain and that same weed slides out whole, taproot and all. Wet soil lets go.
Treat it less as a chore and more as a habit worth building: when the rain stops, grab the gloves. The weeds are loose, the air is cool, and ten minutes clears what would take forty in dry dirt. Wait for the ground to harden again and every one of them breaks off to regrow.
6. Slice Seedling Weeds with an Oscillating Hoe
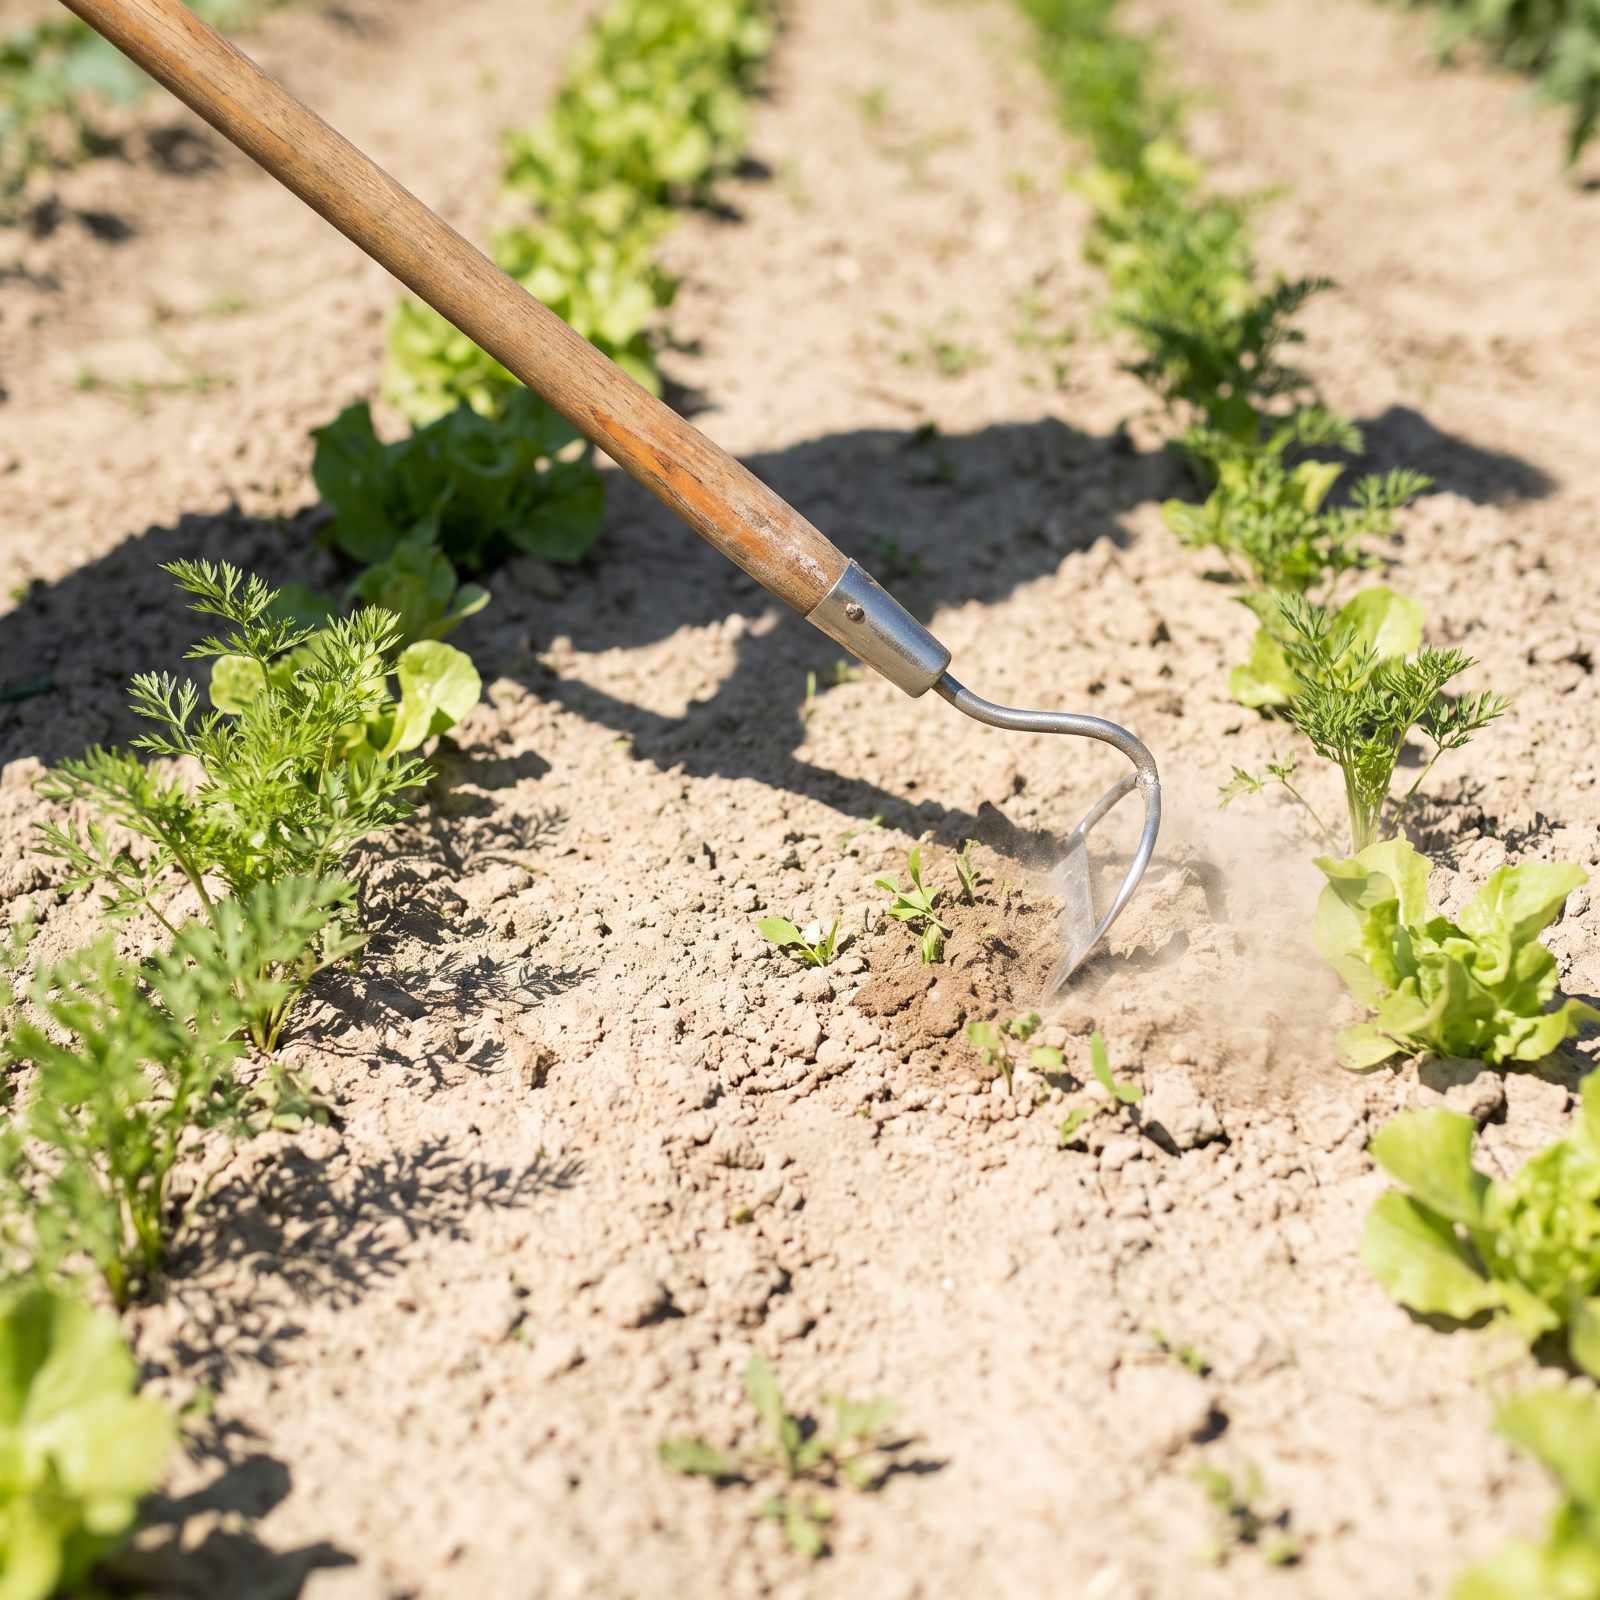
Most gardeners wait too long to weed, then spend a whole weekend on their knees paying for it. The fix is to never let weeds grow up in the first place.
An oscillating hoe, the kind with a hinged stirrup-shaped blade that rocks back and forth, slices just under the soil surface and severs thread-thin seedlings before they are even recognizable. You walk the beds standing upright, push and pull, done. No bending, no pulling, no dirt jammed under the nails.
5. Deadhead Flowers Directly into a Carried Bucket
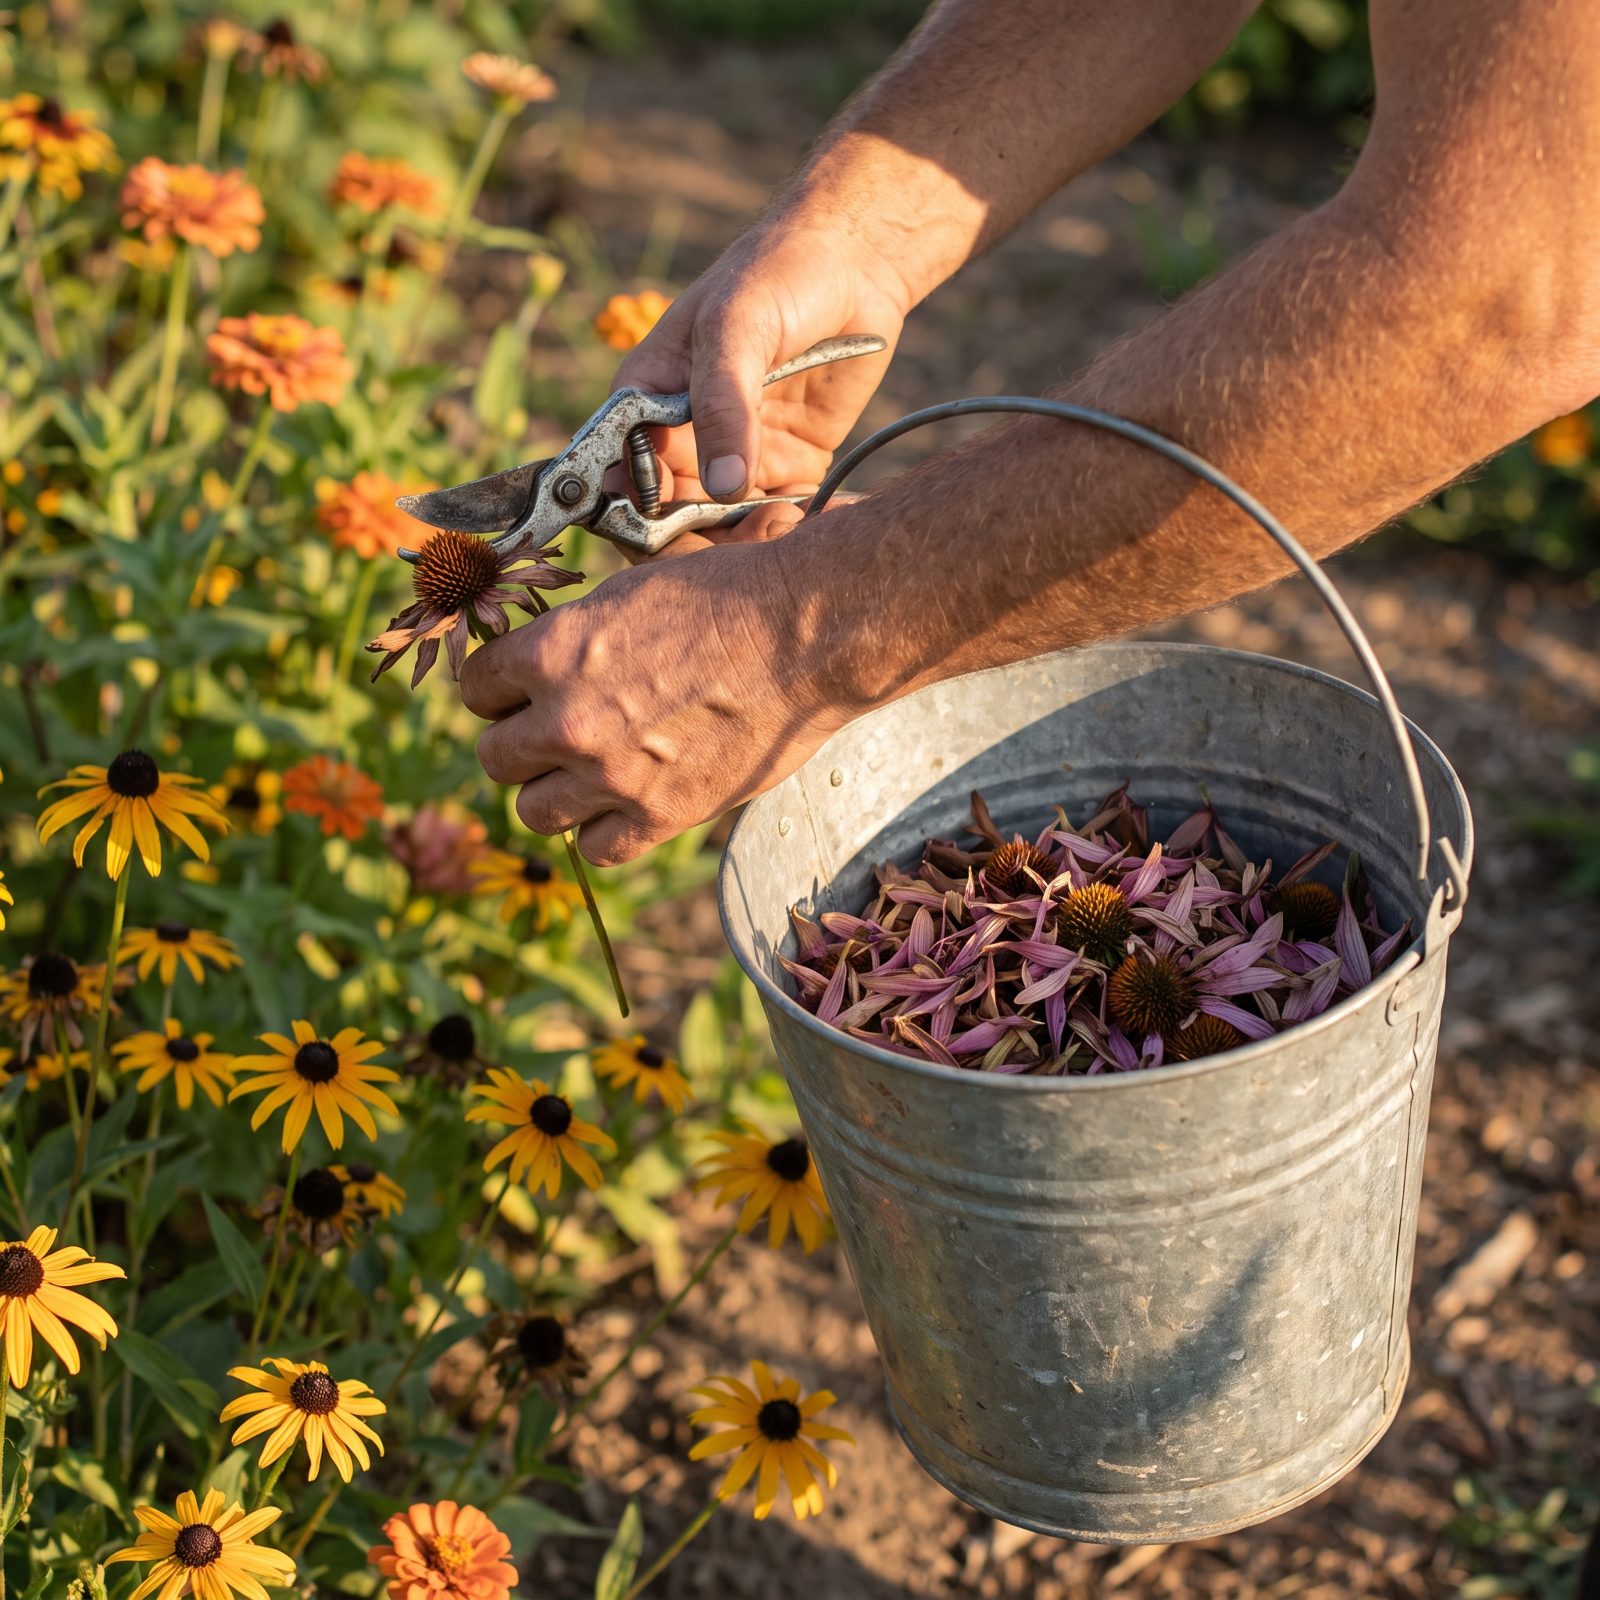
Snip a dead bloom, drop it on the ground, move on. Multiply that by a couple hundred flowers and you have scattered a second job across the whole bed: picking it all back up.
So carry the bucket with you. Clip straight into it, and when the border is done, the cleanup is too. One trip to the compost and that’s it. Sounds almost too obvious to say out loud, but watch most people deadhead and they are busily making a mess they will have to revisit later.
4. Cut Back Perennials in Bundles with Hedge Shears
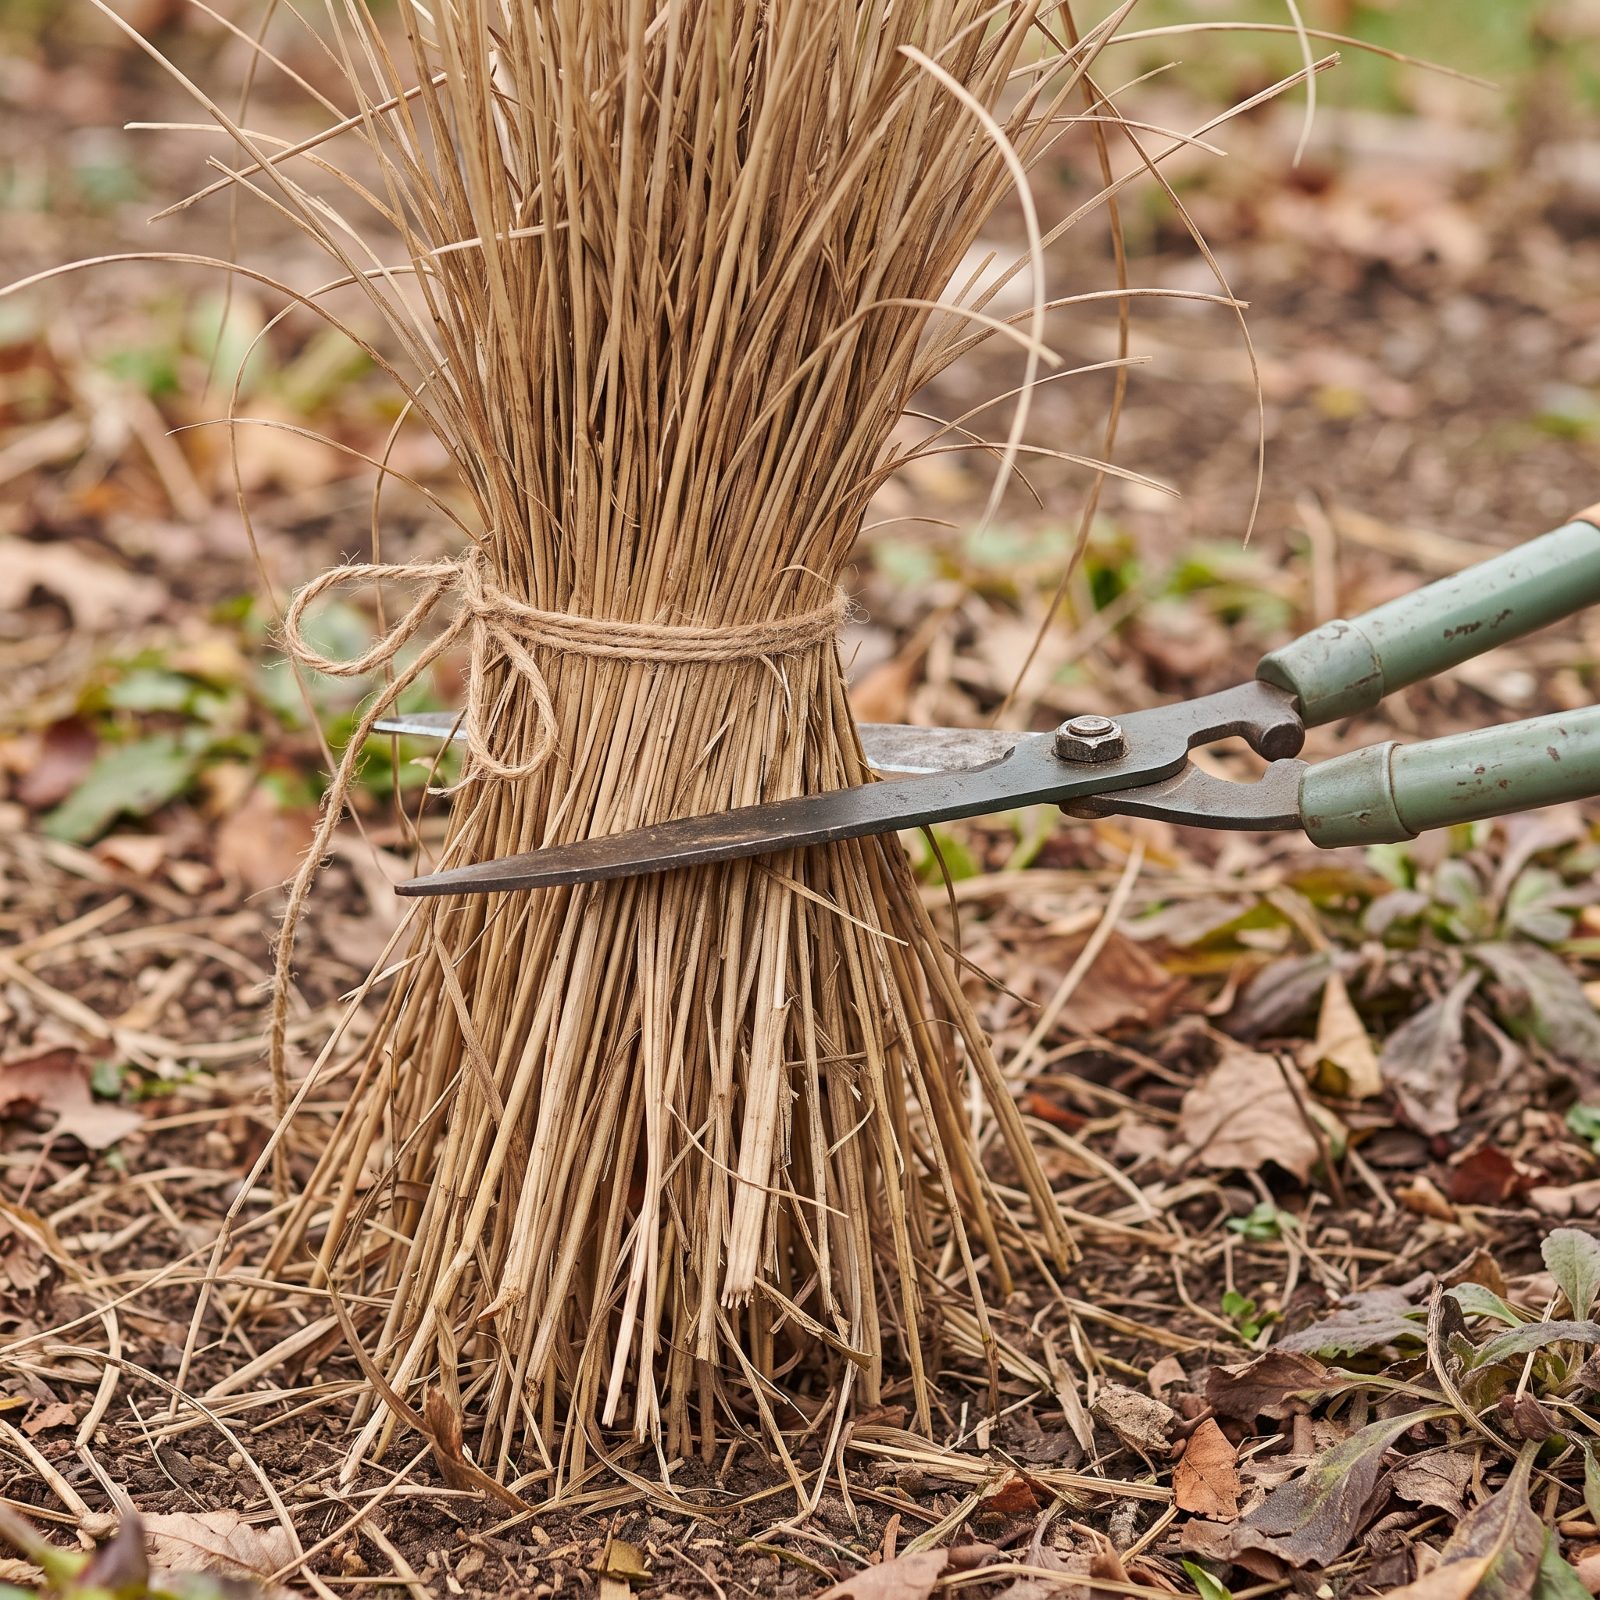
Cutting perennials back stem by stem in fall is how a twenty-minute job turns into an afternoon.
Gather a clump into one handful, loop a bit of twine around it to hold it upright, then take it off just below the twine with hedge shears in a single slice, leaving a short stubble of stems behind. The whole top tips over together, already collected, ready to carry off. Nothing to rake up afterward, and you can tidy the remaining stubble lower down later.
Works best on clumping perennials and ornamental grasses that grow in tidy mounds. For the sprawling, woody things, the shears are overkill and you are back to pruners anyway. Horses for courses.
3. Top-Dress Beds Instead of Digging In Compost
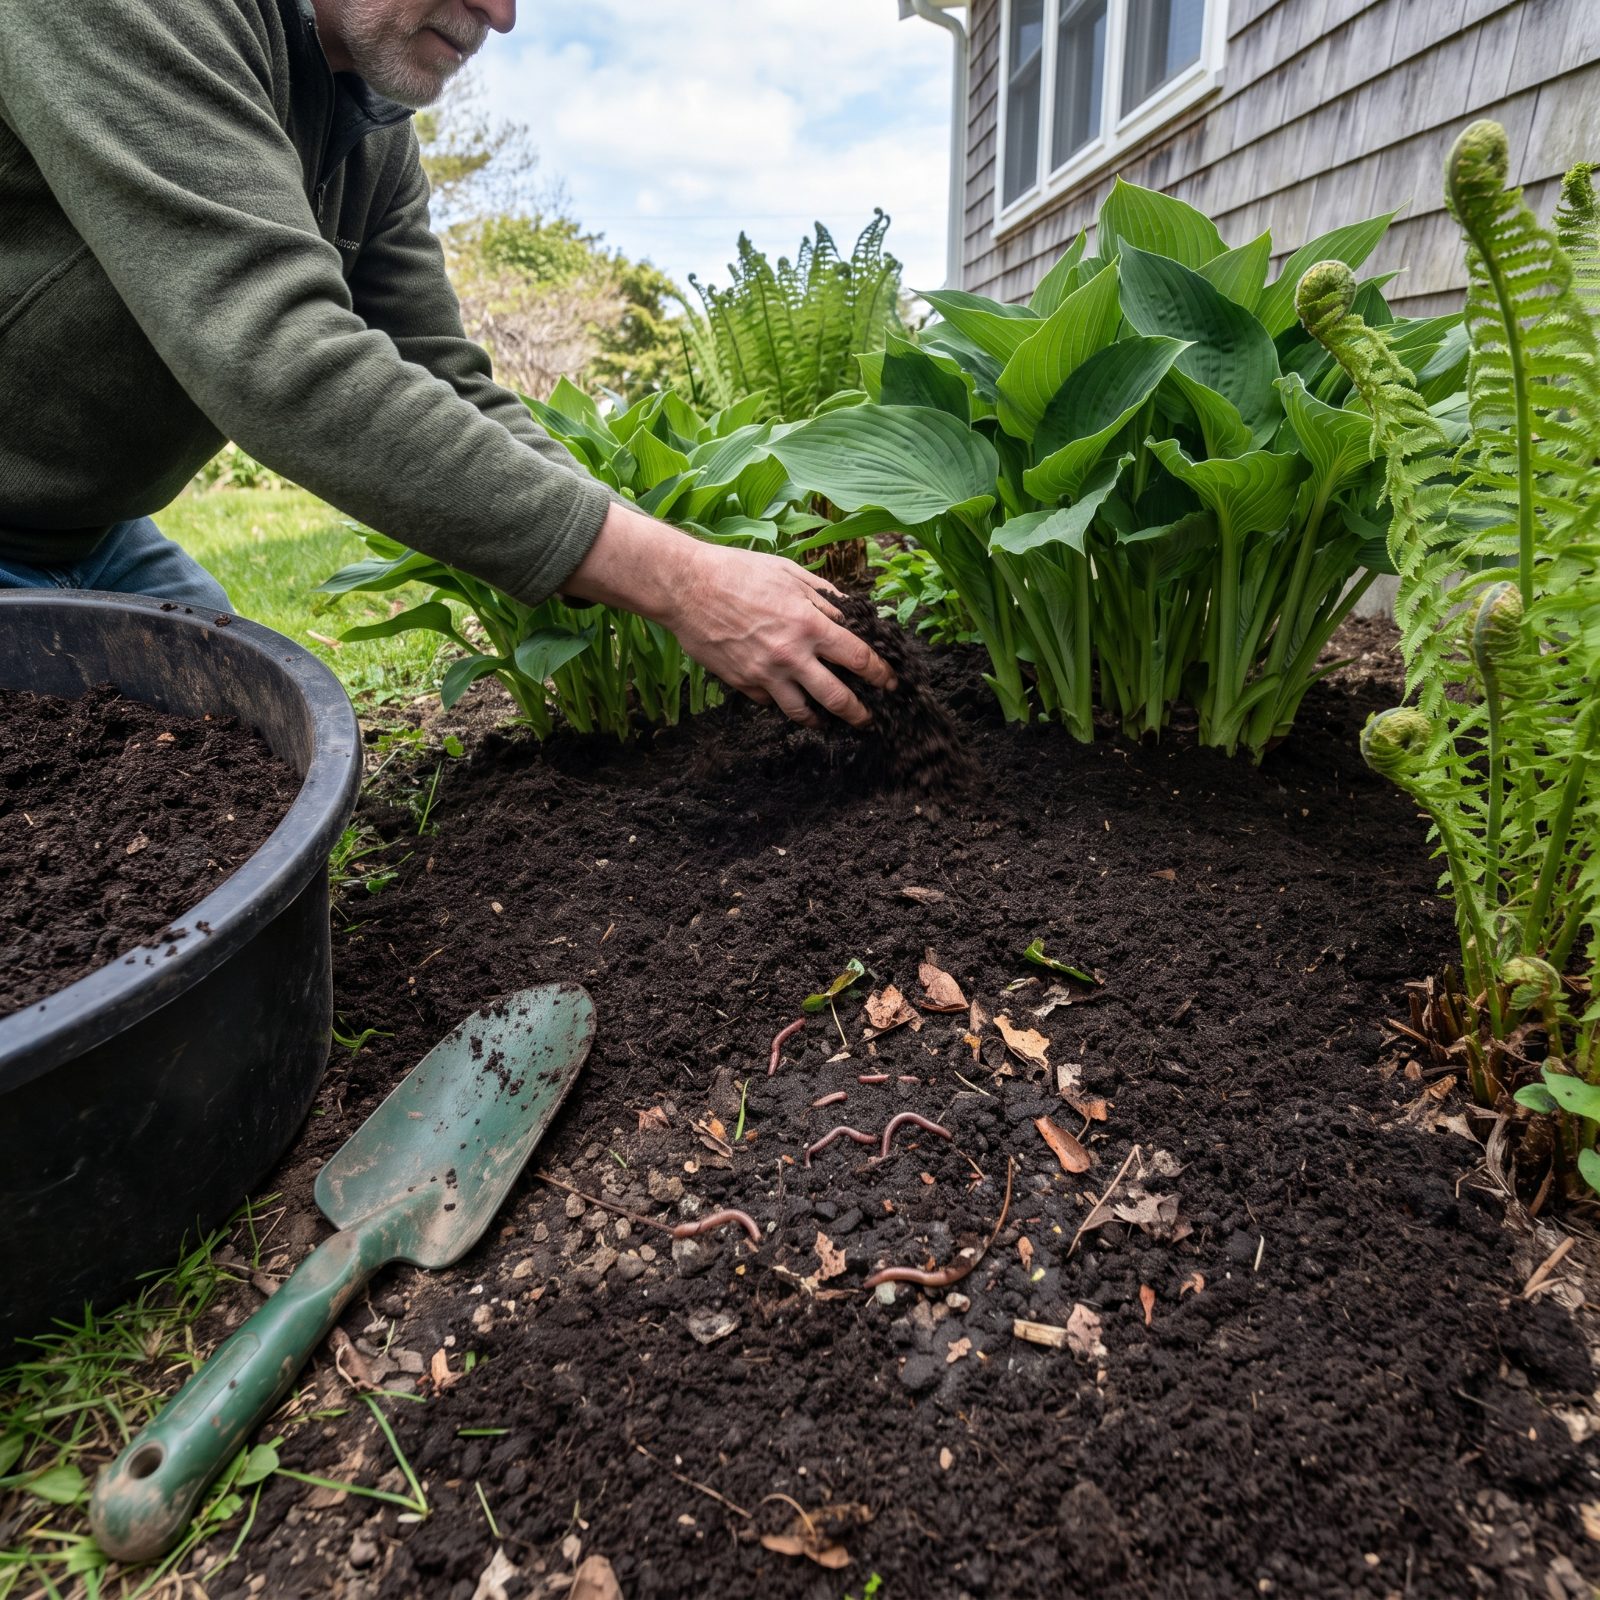
The old advice was to dig compost deep into the bed every spring, forking and turning until your back filed a formal complaint. Turns out the soil never wanted that.
Spread an inch of compost right on top, around the plants, and walk away. Worms and rain carry it down over the following weeks, which is exactly the job worms were built for. Digging it in just chops up the fungal threads and worm tunnels that make soil work in the first place. Less effort, better results, and nobody has to own a tiller.
2. Place the Compost Bin Near the Main Source of Yard Waste
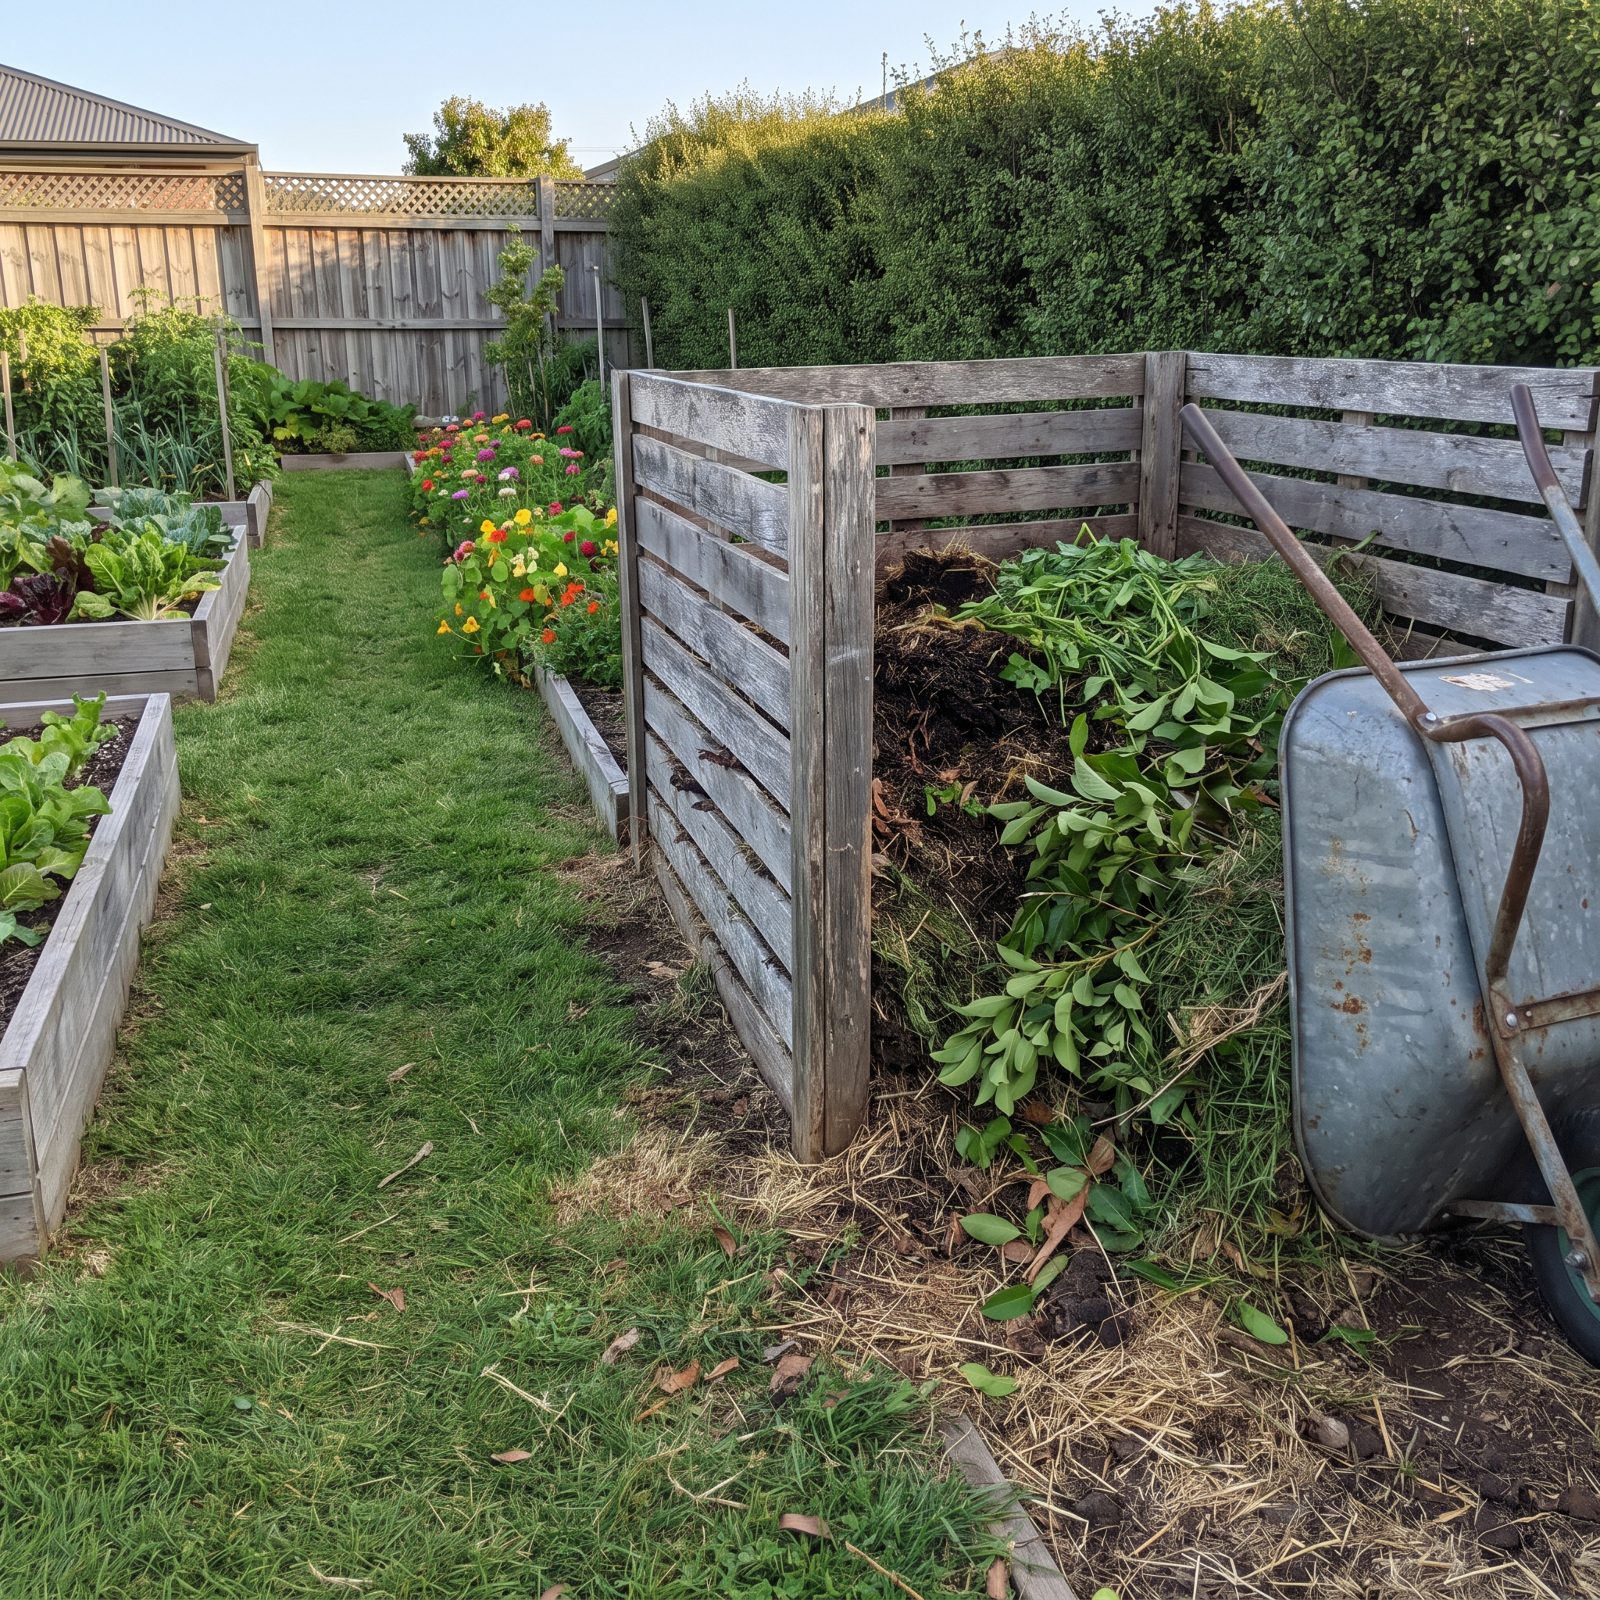
This one gets ignored for sounding too simple to matter: put the compost bin where the waste actually comes from.
Tuck it in a far tidy corner and every handful of trimmings becomes a hike, which means half of them end up in the trash instead. Put it a few steps from the vegetable beds and the kitchen door, and composting becomes the path of least resistance. People do the easy thing. Make the right thing the easy thing and it gets done. A bin ten feet from the garden fills up. A bin a hundred feet away just collects spiders.
1. Plant Dwarf Shrubs That Hold Their Shape Without Annual Pruning
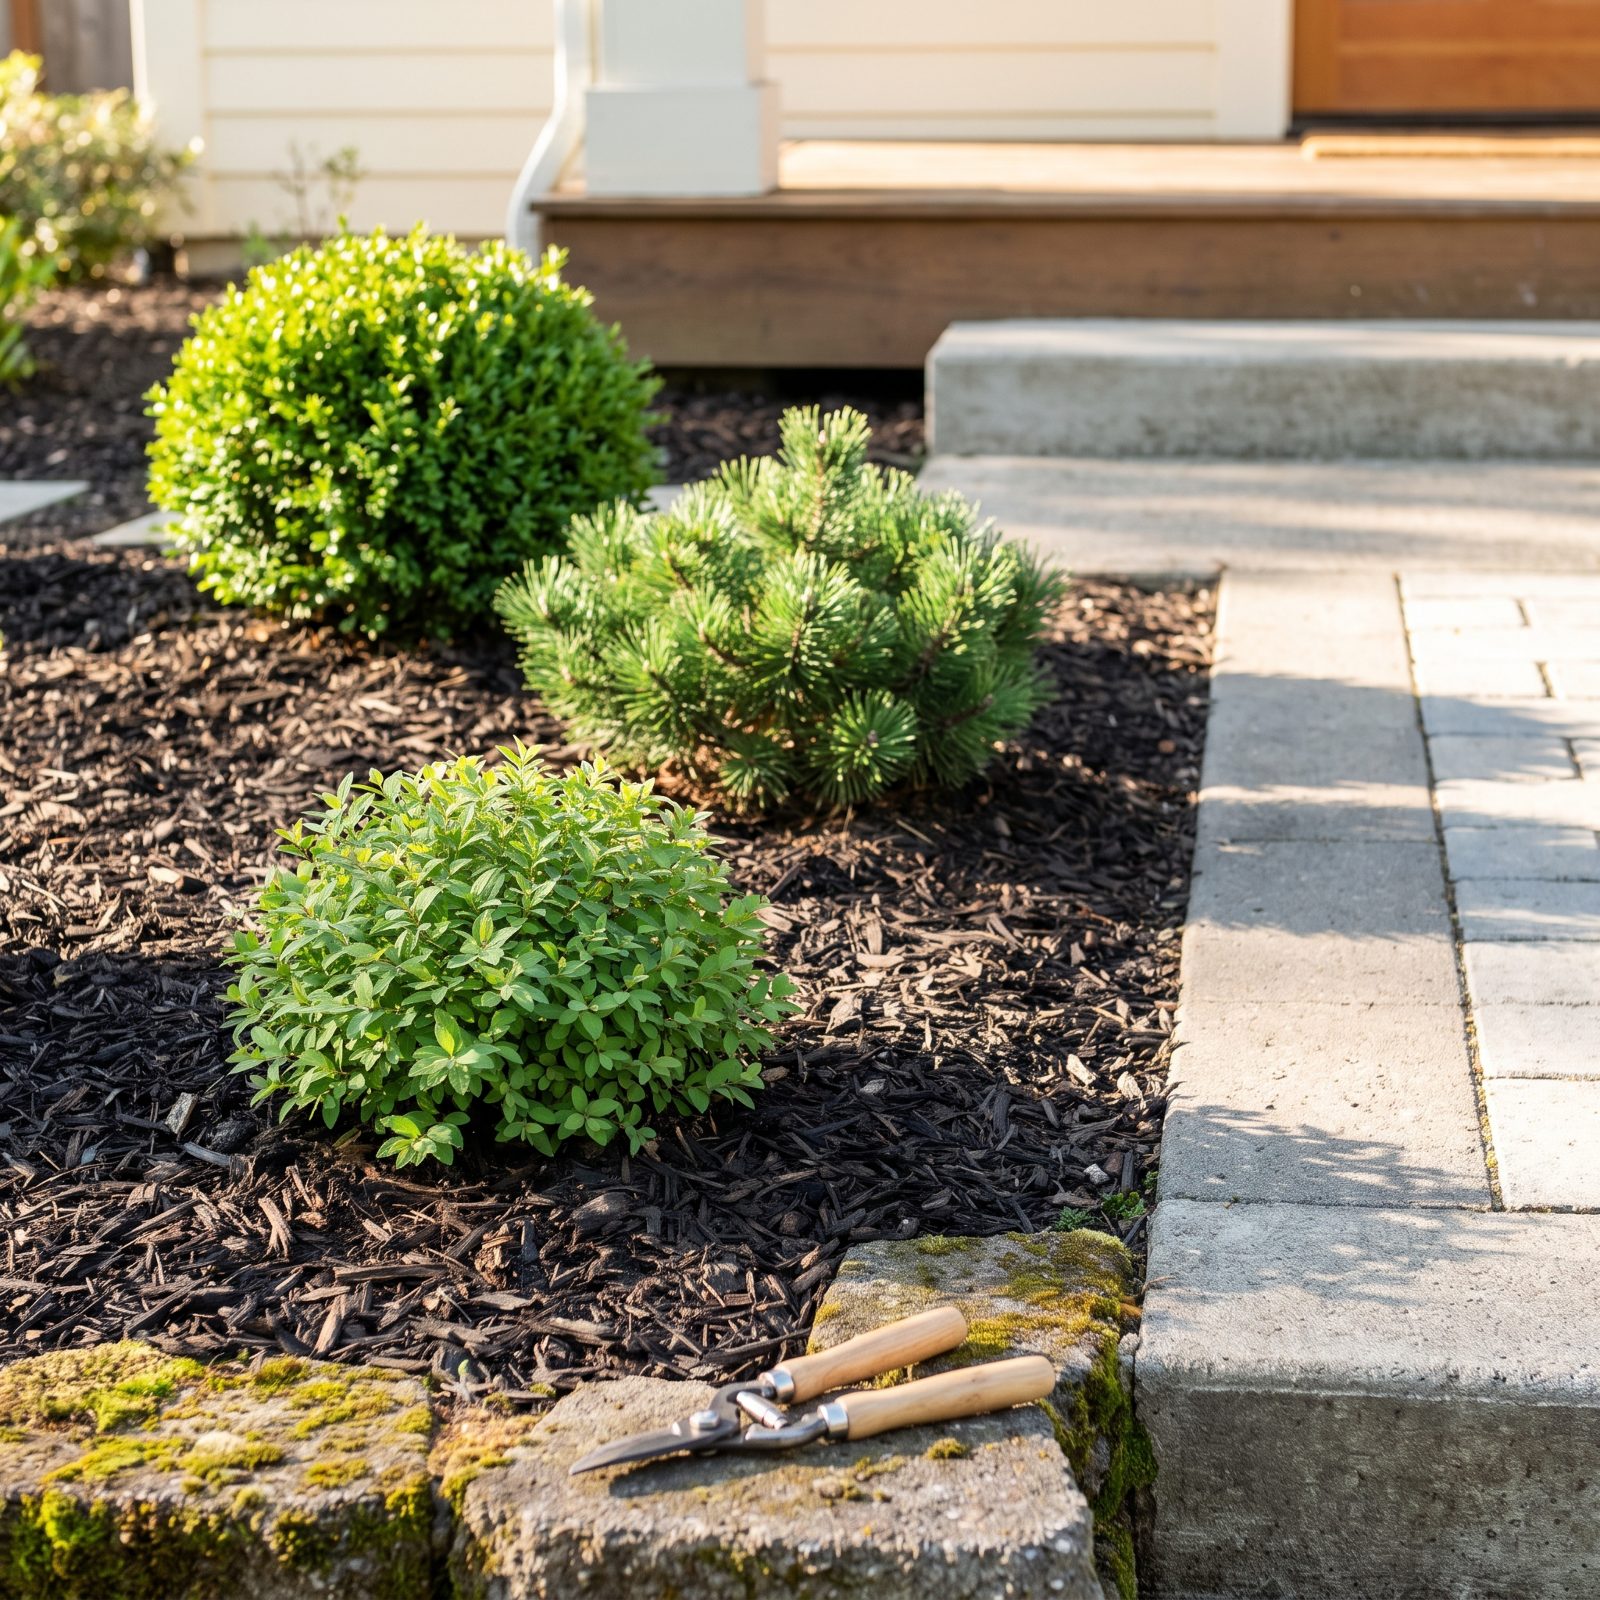
Most of the pruning people do every spring is really just paying off a mistake made back at the nursery. A regular boxwood or a vigorous privet wants to be eight feet tall, and if you stick it under a window you’ve signed up for shearing it back twice a season for the rest of your natural life.
Dwarf cultivars skip that fight entirely. A dwarf mugo pine, a globe boxwood, a ‘Little Princess’ spirea — these settle into a rounded shape and stay close to the size printed on the tag, asking for one light cleanup a year, sometimes none.
The trade is patience. Dwarfs grow slow, so your beds look a little sparse the first year or two — which, fine, is a bit deflating when you’ve just spent money on them. But stick with it. You get a decade of shrubs that mind their own business while the neighbor is out there every weekend sweating over a hedge that fights back.