A bag of forty tulip bulbs looks like a sure thing in October. By April, half of them never show, and the ones that do come up crooked, stubby, or chewed. The bulb wasn’t the problem. The planting was.
Please note that some of the images in this article were created with the assistance of AI.
Spring bulbs are forgiving right up until they aren’t. Most of what goes wrong happens underground, in the first two weeks, long before anyone could notice. These are the quiet errors that cost you the show, and the fixes are easier than the digging.
36. Planting Bulbs Too Early in Warm Soil
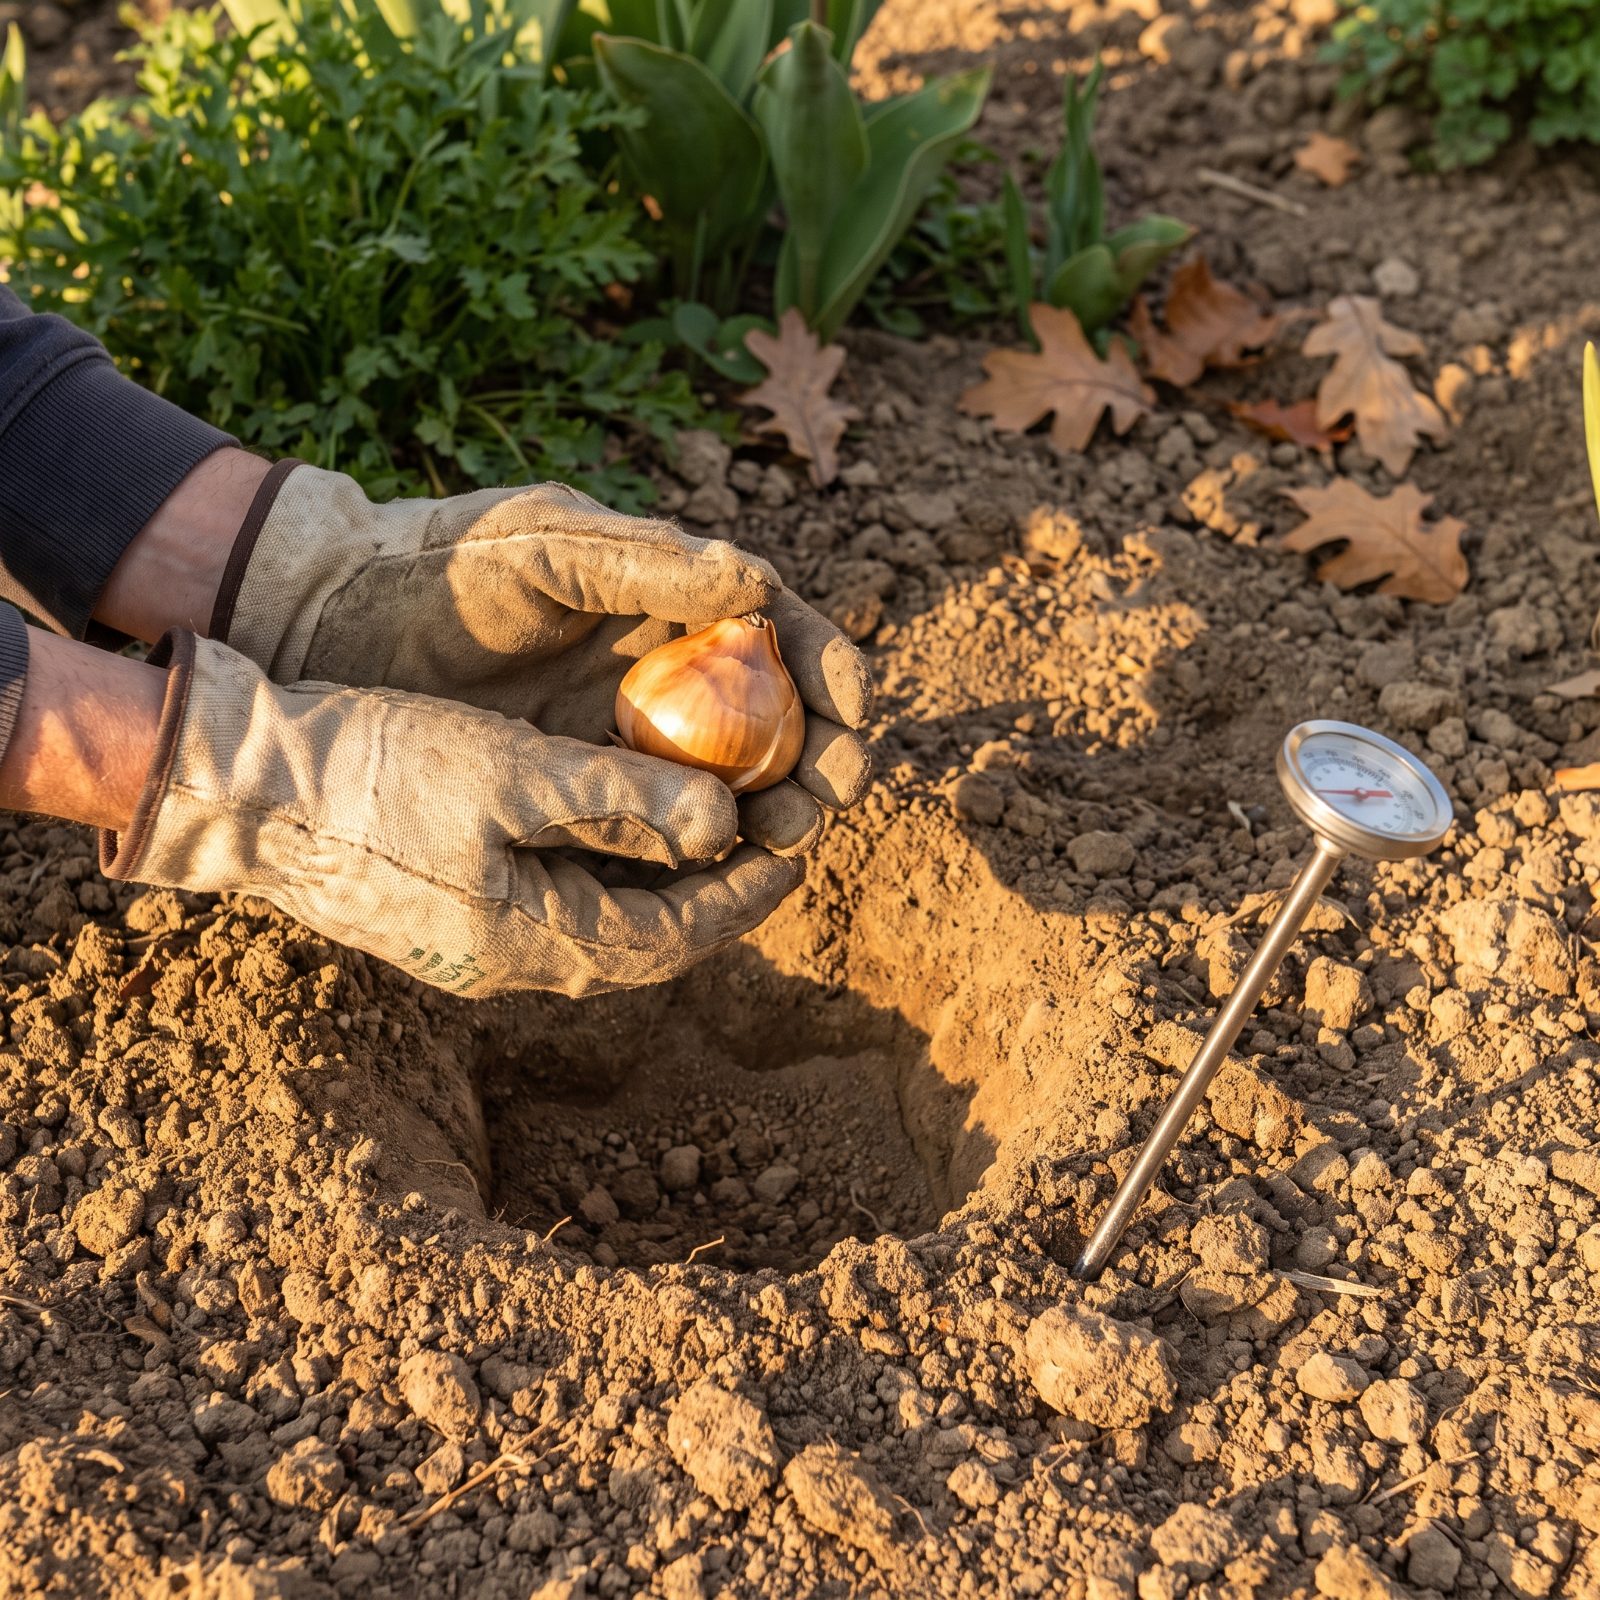
Warm soil tells a bulb the wrong season is coming. Plant tulips and daffodils while the ground still holds summer heat, and the bulb pushes out early top growth or soft premature roots that get fried or confused before winter even arrives.
What you get for it is a weak bulb that limps into spring, if it shows at all. Fungal rot loves warm, moist bulbs sitting in warm dirt too.
Wait until the soil cools to around 55 degrees, usually several weeks after the first real chill at night. Stick your finger in. If it feels like bathwater, give it time.
35. Waiting Until the Ground Is Frozen Solid
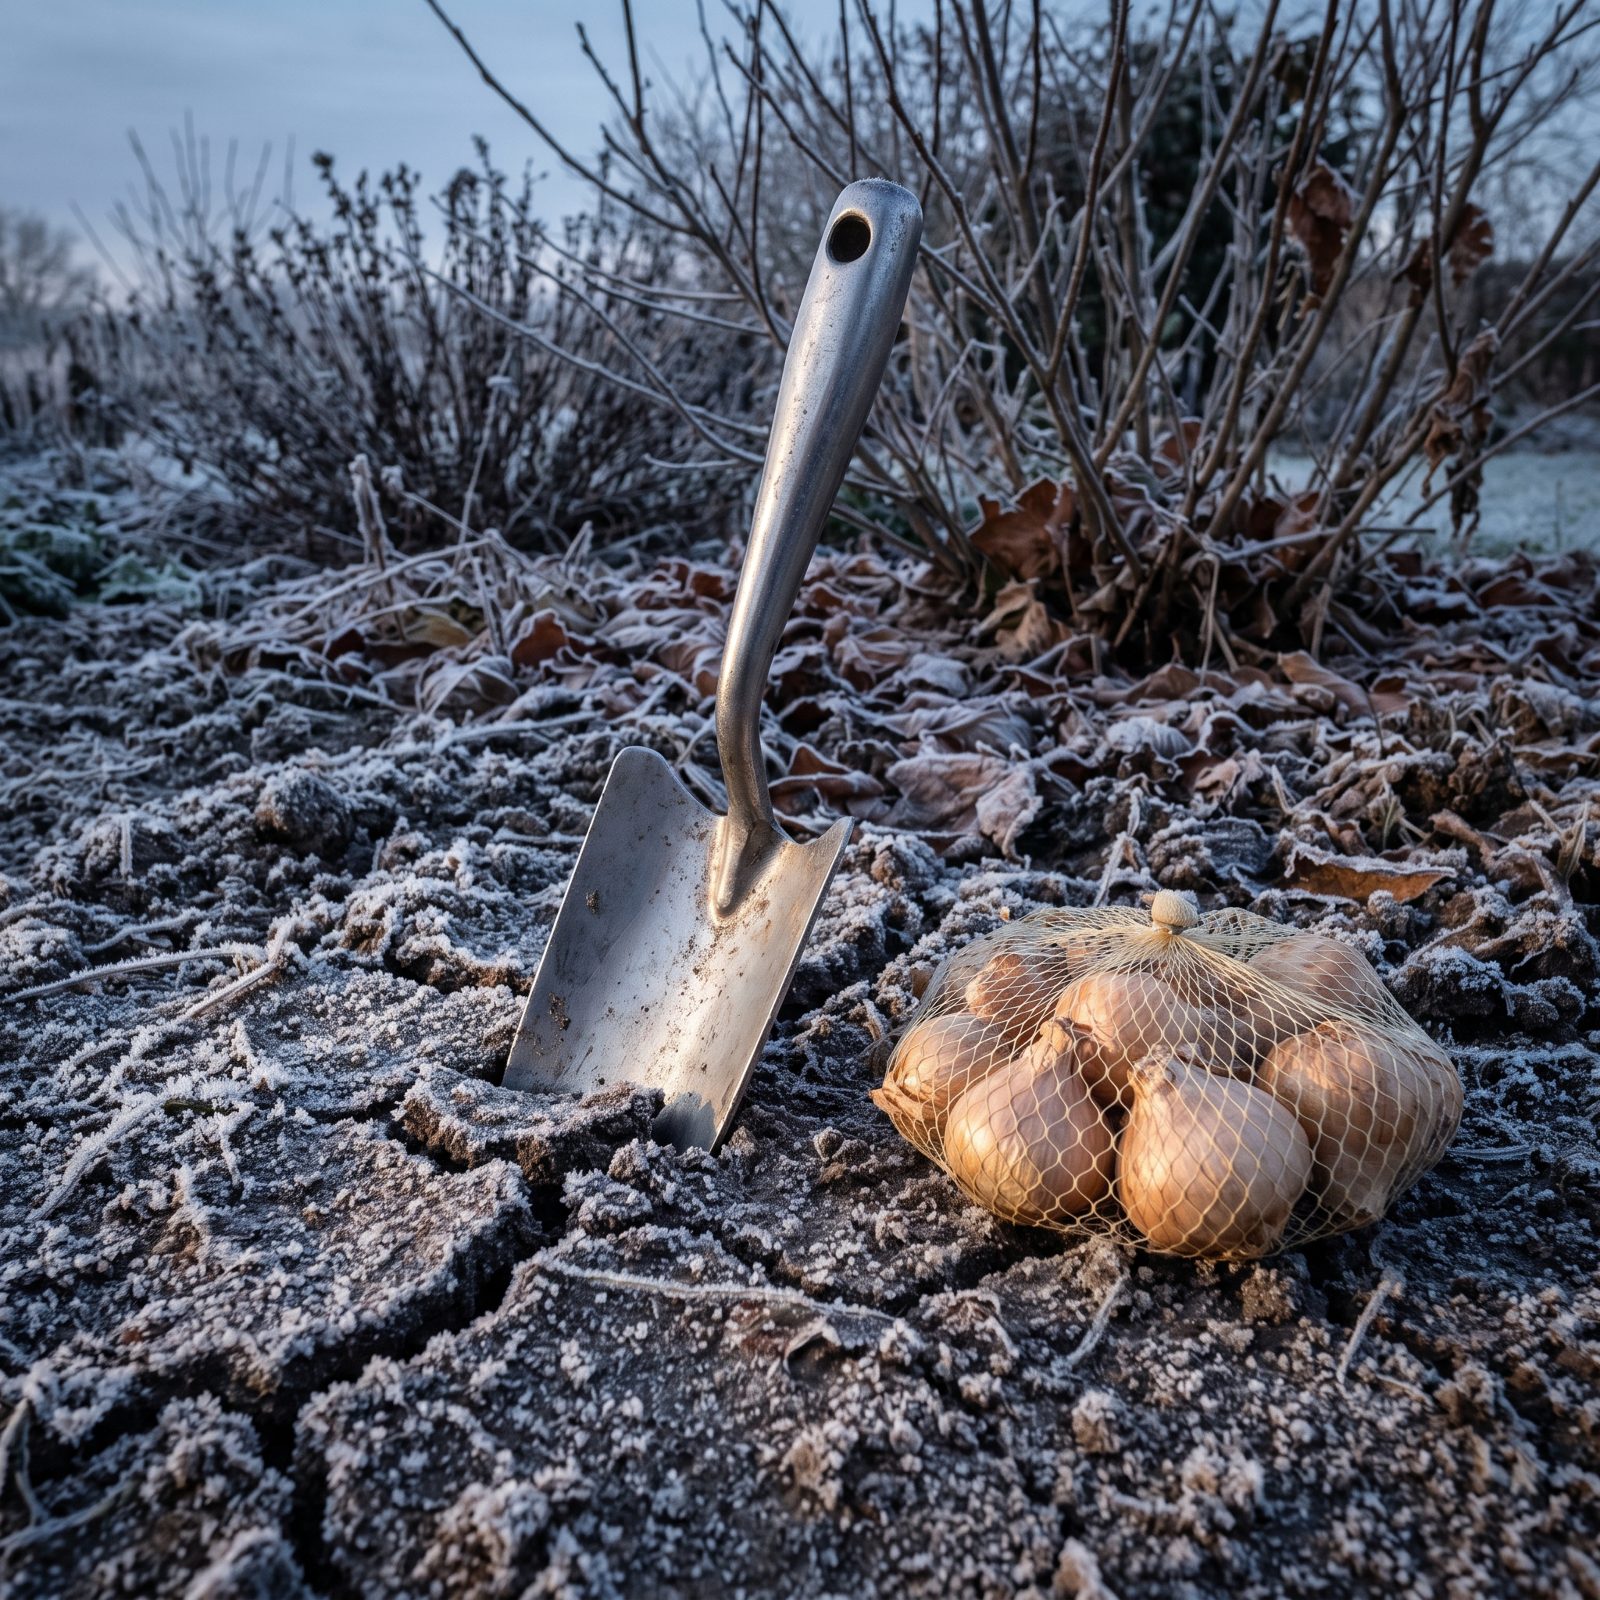
The other extreme is just as costly. Bulbs need weeks of root growth before the ground locks up solid, and if you wait until the soil is frozen, they go in with no time to anchor.
Shallow, rootless bulbs heave up through the surface during freeze-thaw cycles and either dry out or rot. You end up with empty patches come spring.
If frost has already arrived, plant anyway, deeper and mulched, rather than leaving bulbs in a bag until March. A late-but-planted bulb beats a perfectly stored one every single time.
34. Planting Soft, Moldy, or Shriveled Bulbs
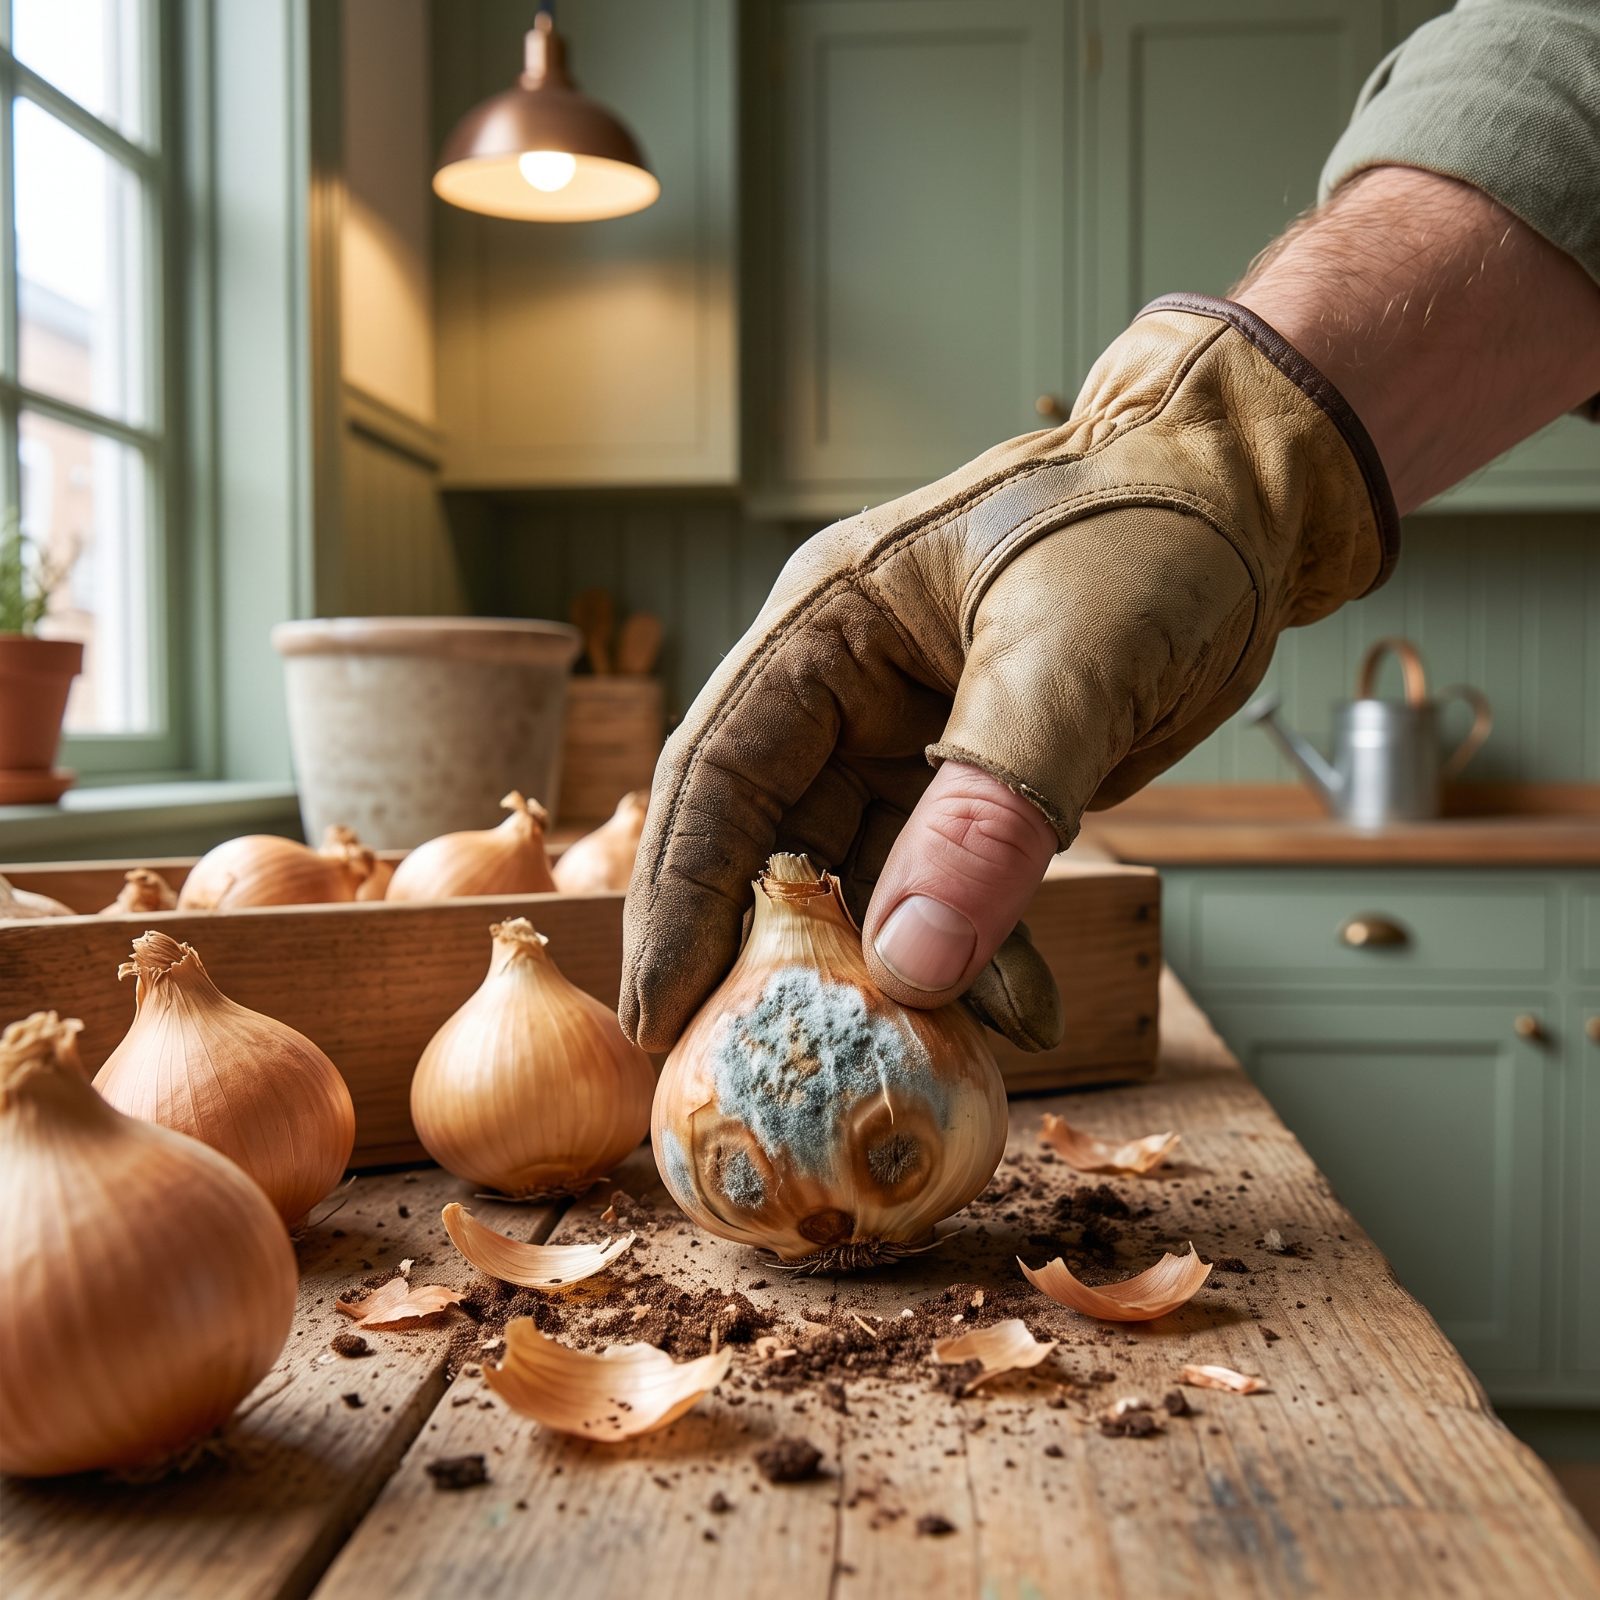
A bulb is a packed lunch for next spring’s flower. Everything that plant needs to bloom is already inside it, which means a soft, moldy, or shriveled bulb has nothing left to give.
Plant a rotten one and you get nothing, except maybe fungus spreading to the healthy bulbs beside it.
Squeeze every bulb before it goes in the ground. A good one feels firm and heavy, like a small onion. Toss anything mushy, lightweight, hollow, or fuzzy with mold. A little loose papery skin is fine. Soft spots are not.
33. Assuming Every Bulb Is Winter-Hardy
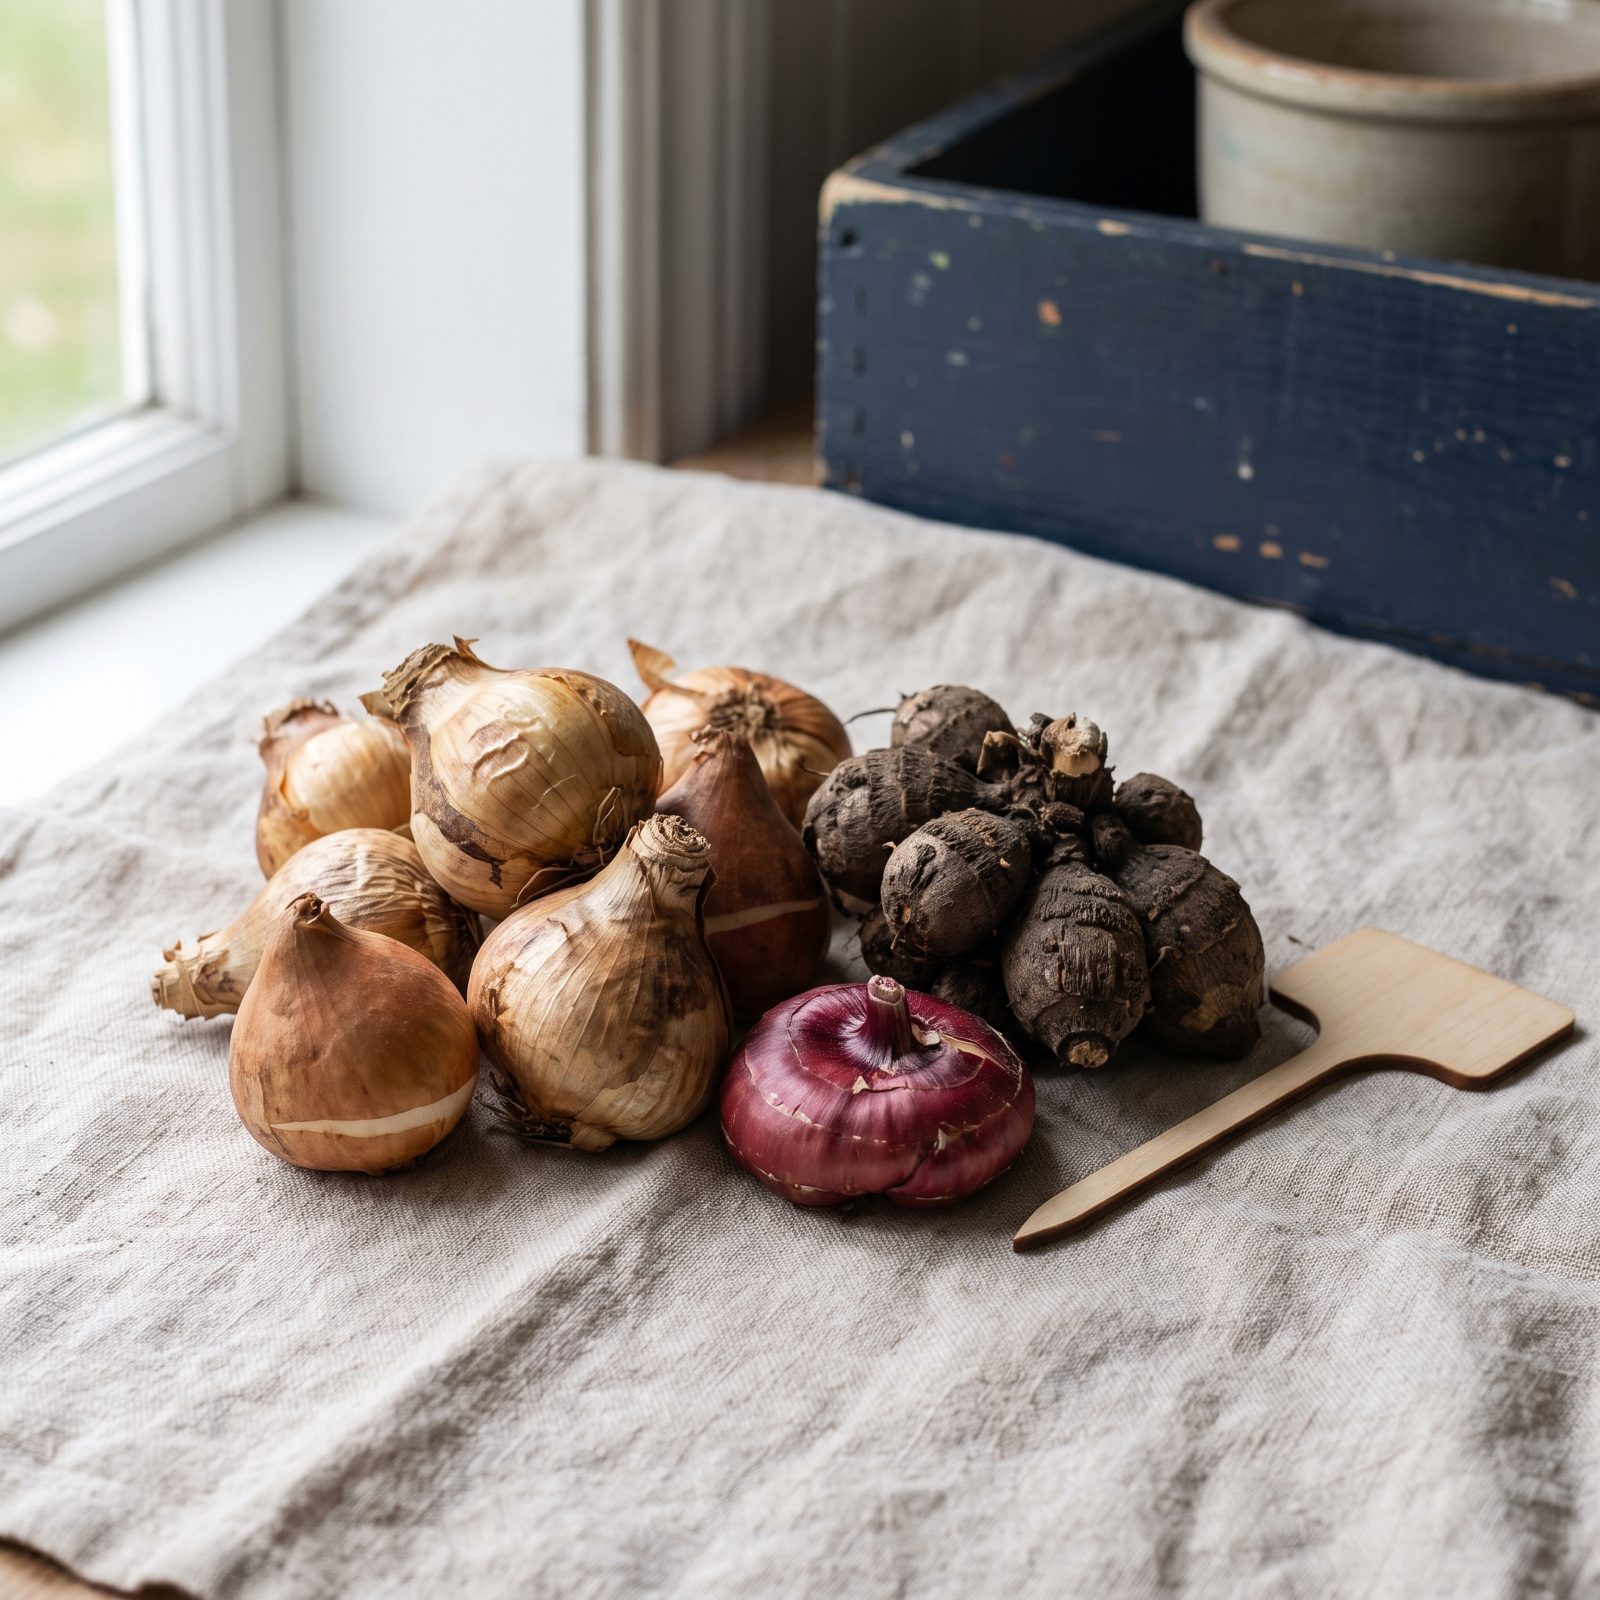
Here’s where a lot of good intentions go sideways. Daffodils, crocuses, and most tulips sail through a frozen winter in the ground. Dahlias, gladiolus, caladiums, and tuberous begonias do not, and nobody tells you at the garden center.
Leave a tender bulb outside through a hard freeze and it turns to mush. You planted it, watered it, waited, and it was dead by January.
Read the tag or look up the hardiness zone before anything goes in permanently. Tender types get dug up after the first frost, dried, and stored somewhere cool and dark until spring.
32. Choosing Tulips That Need More Chill Than Your Climate Provides
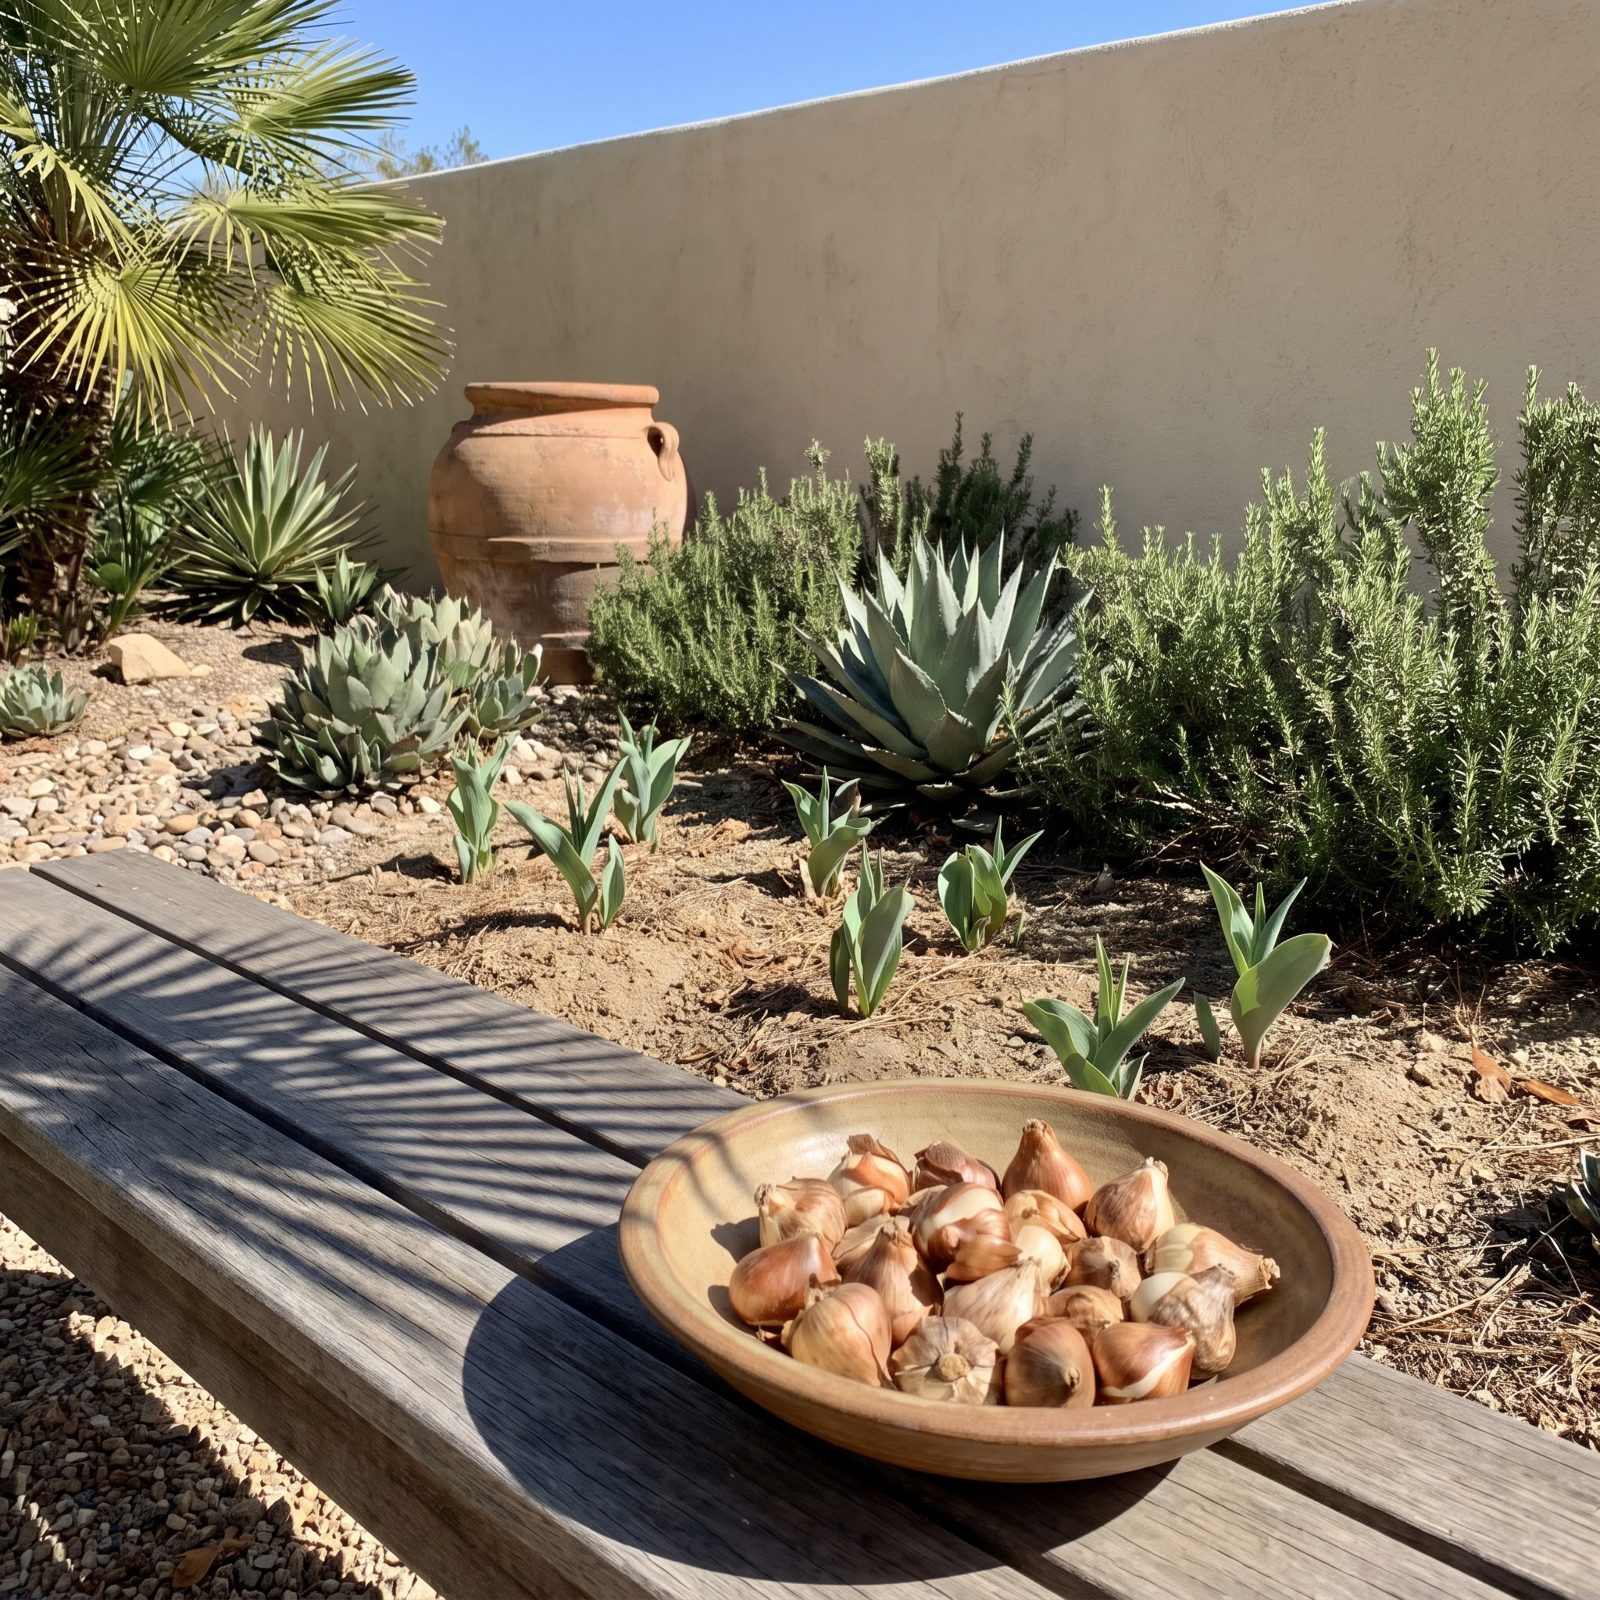
Tulips are the drama queens of the bulb world. Most want a long stretch of cold, somewhere around 35 to 45 degrees, to set a flower. Garden in the Deep South or coastal California and your winter never delivers that chill.
Skip the cold and you get a flush of floppy leaves and no bloom. All leaf, no show.
In warm zones, pre-chill tulip bulbs in the fridge for a couple of months before planting, kept away from ripening fruit. Or choose daffodils, species tulips, and crocuses that forgive a mild winter. Too many gardeners fight their climate and lose.
31. Putting Sun-Loving Bulbs in Deep Shade
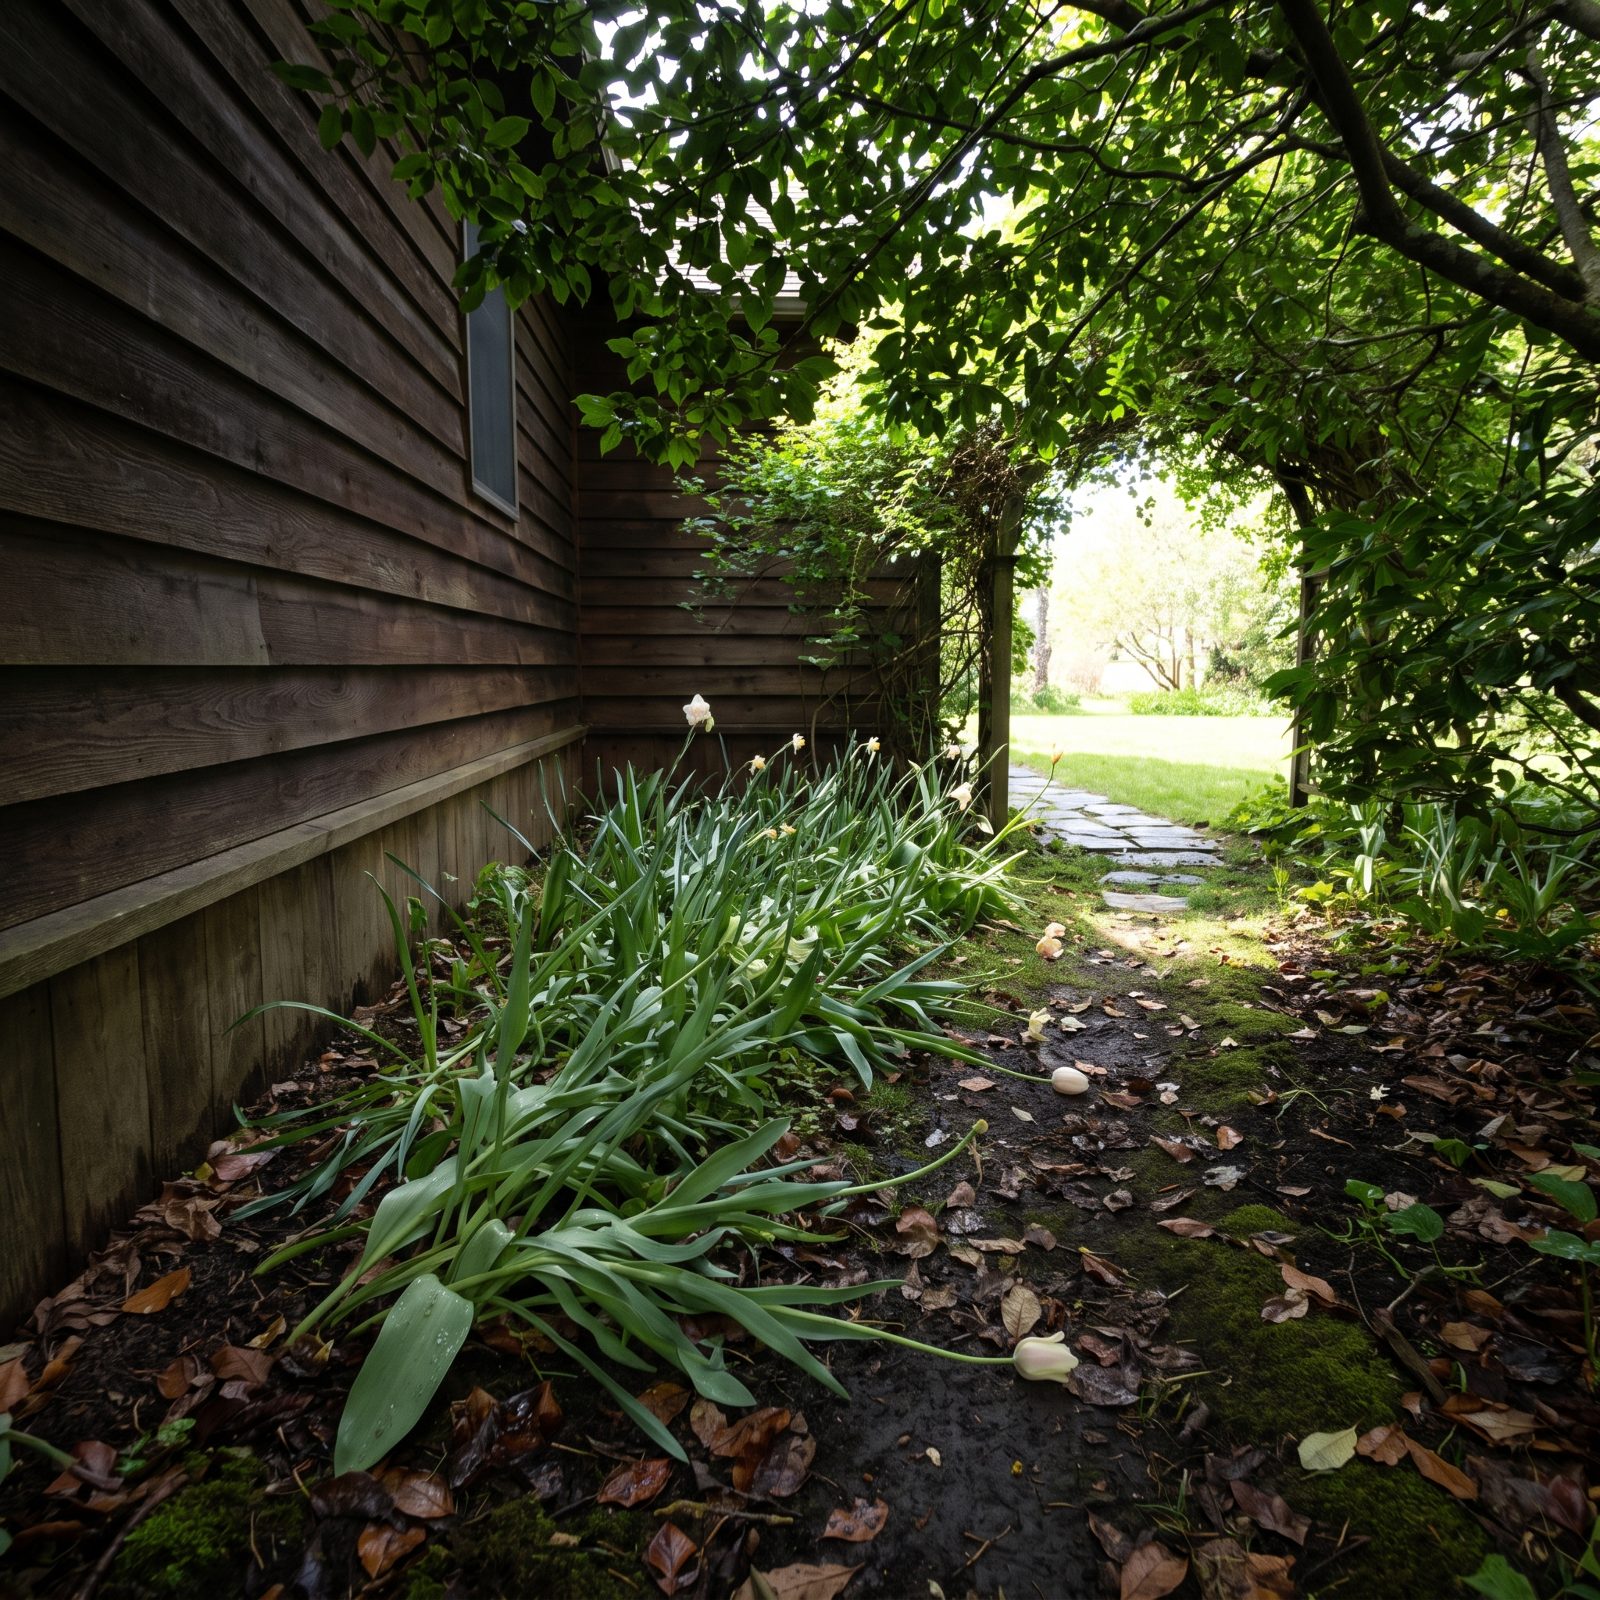
Tulips, daffodils, and crocuses are sun plants. They want at least six hours of direct light to charge up for bloom. Tuck them in deep shade on the north side of the house and they reach, stretch, and give up.
What follows is pale, floppy foliage and few flowers, and every year the bulb gets weaker because it never stores enough energy.
Here’s a trick: most spring bulbs bloom before the trees leaf out. A spot that’s shady in July can be bright and sunny in March. Watch where the early-spring light actually falls, not where the summer shade sits.
30. Choosing a Site That Stays Soggy After Rain
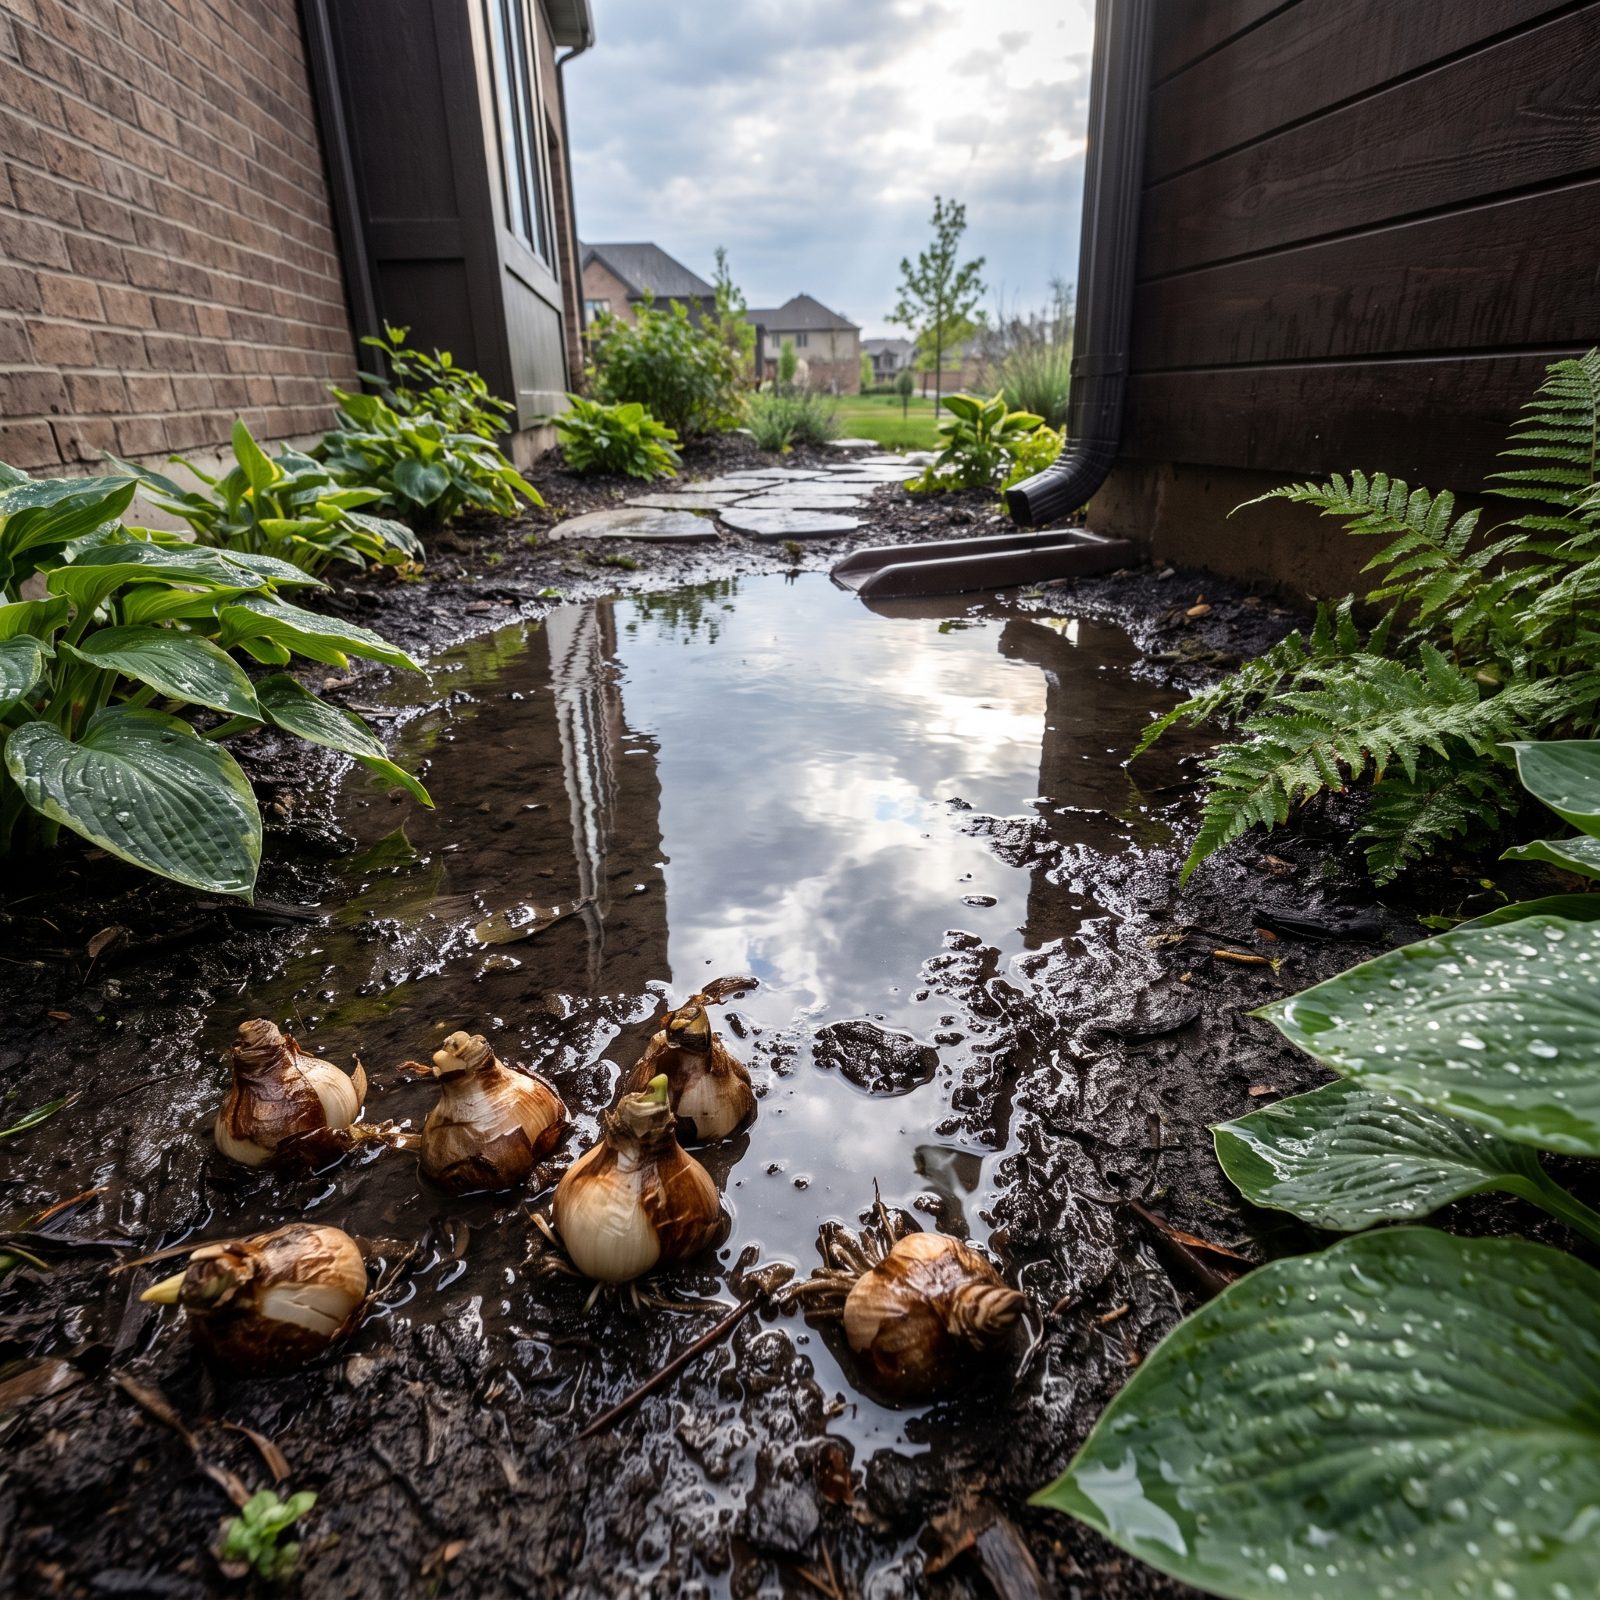
Walk your yard an hour after a hard rain. The low spot where water sits, the base of the downspout, the dip by the fence, those puddles are bulb graveyards.
Spring bulbs sit dormant in the ground for months, and constant moisture rots them before they ever wake up. Daffodils are tough, but even they drown.
Plant on higher ground or a gentle slope where water moves through. If the whole bed stays wet, raise it a few inches or route the drainage elsewhere before you plant a single bulb.
29. Planting in Heavy Clay Without Improving Drainage
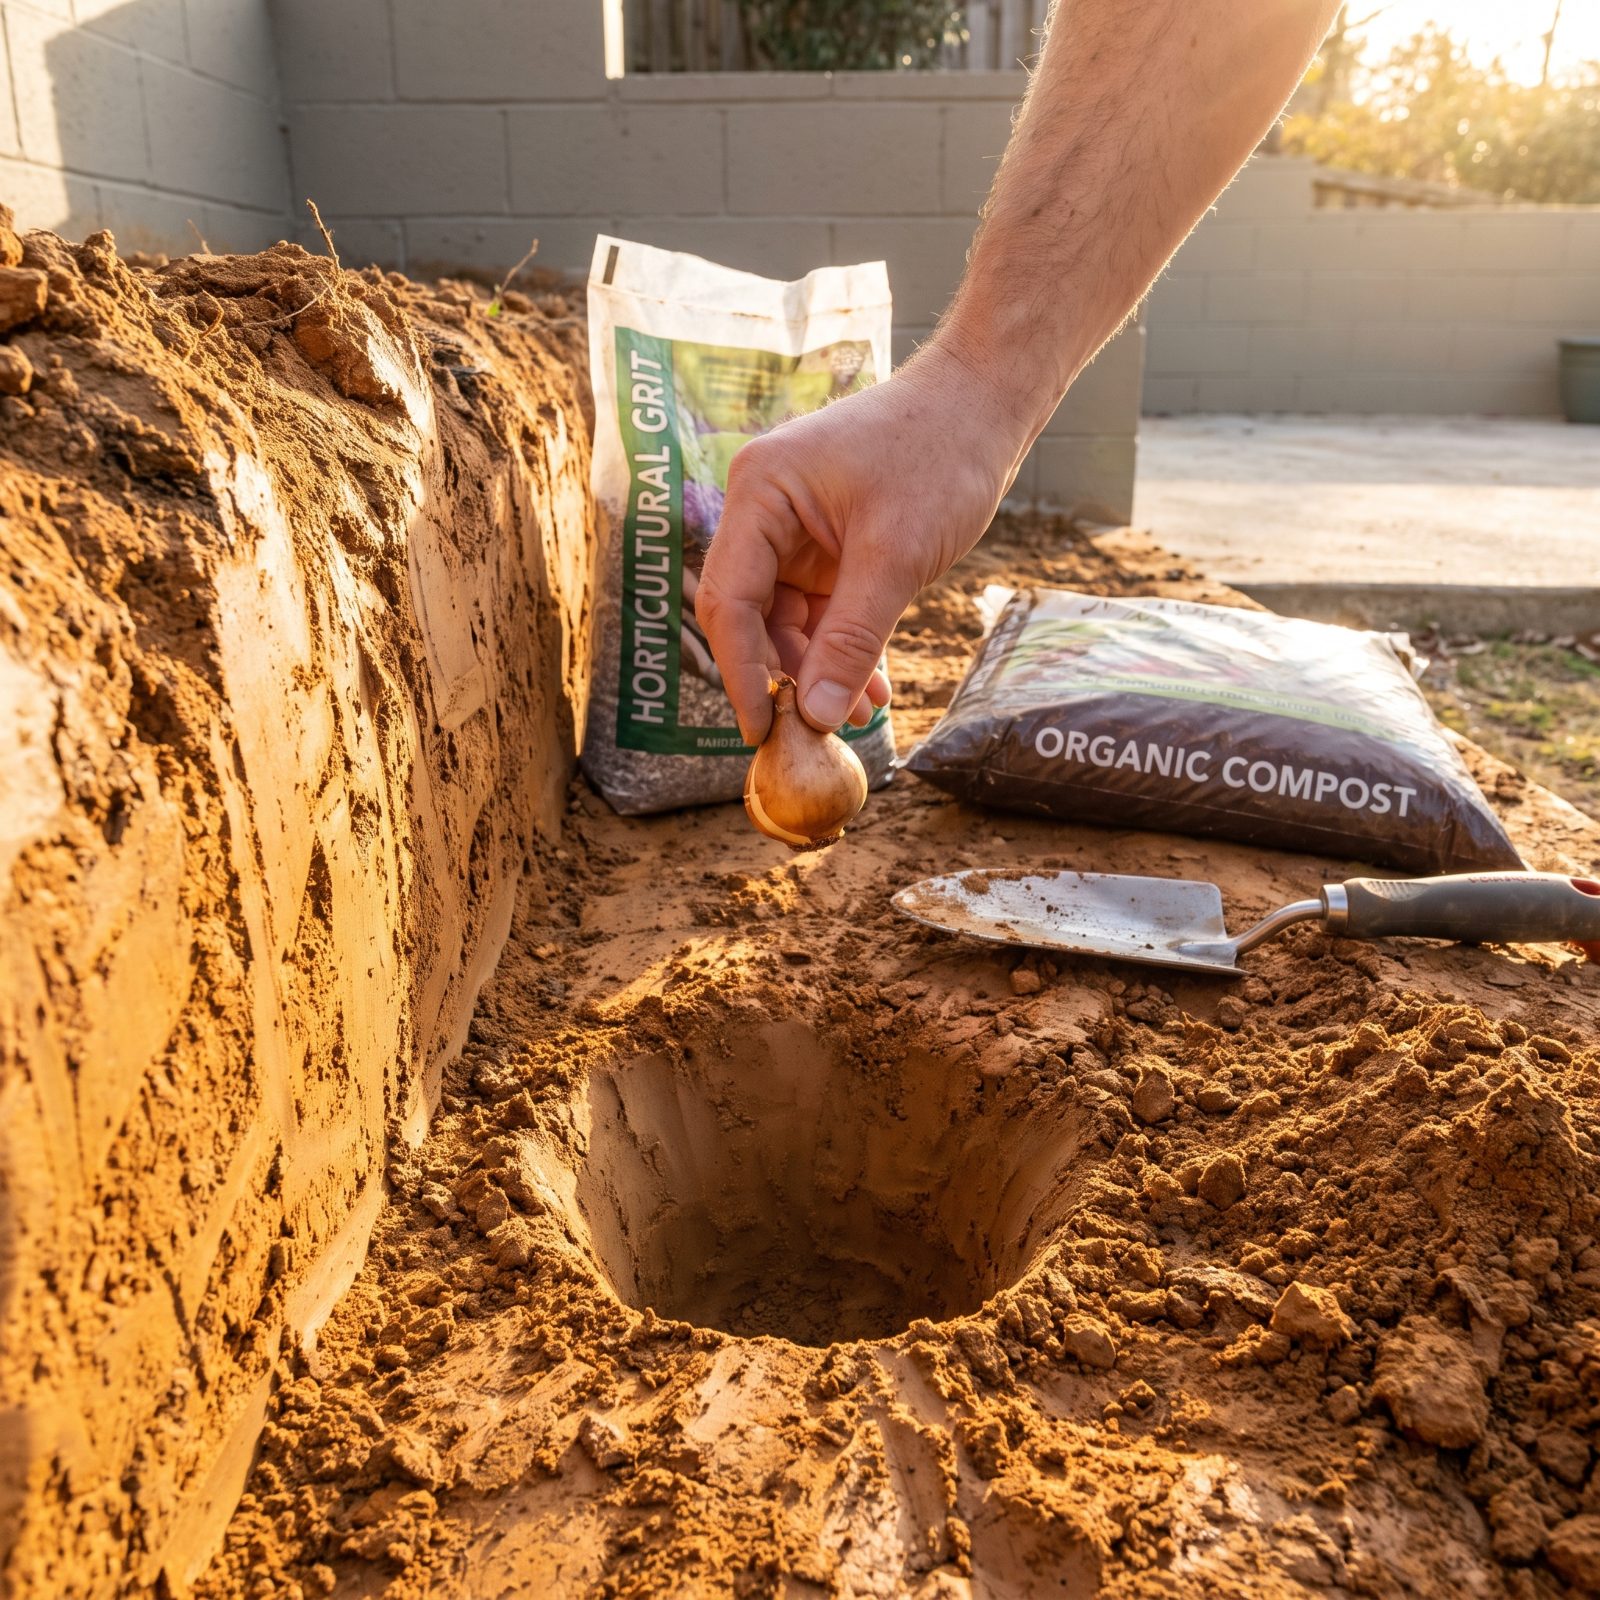
Clay holds water like a bucket, and it holds it right around the bulb. Plant into unimproved heavy clay and the bulb sits in a cold, wet pocket all winter, which is a recipe for rot.
Plenty of gardeners on clay lose whole plantings before they realize the problem isn’t the bulbs. It’s the slick orange mud they’re drowning in.
Loosen the planting area and work in coarse grit, sharp sand, or compost to open it up. A handful of grit under each bulb gives the roots a dry landing pad. Raised beds solve clay almost entirely.
28. Adding Fresh Manure Directly to the Planting Hole
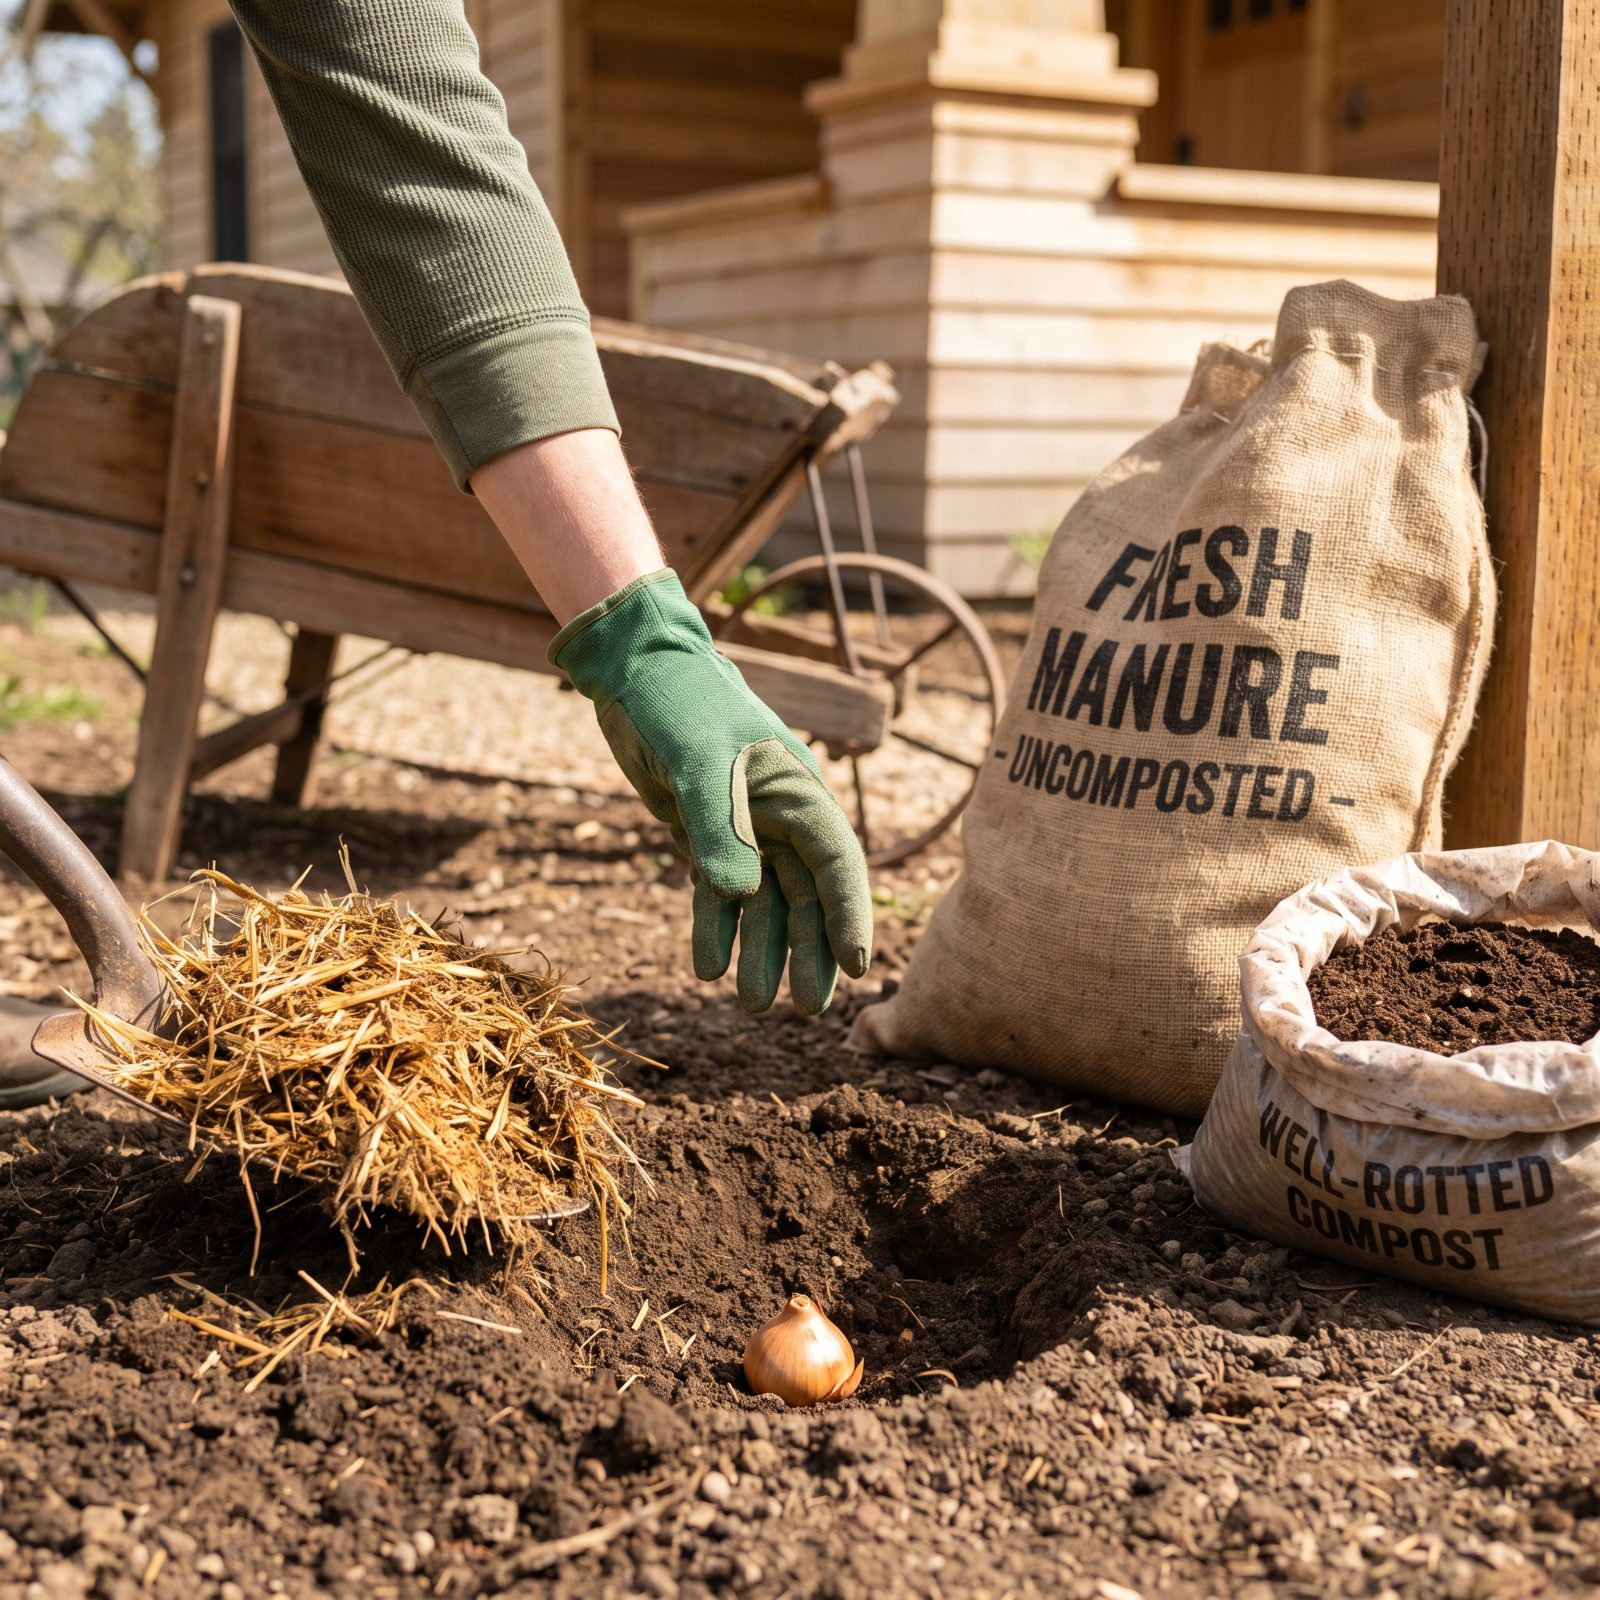
Fresh manure feels generous. It’s also a quiet bulb killer. As it breaks down it heats up and releases ammonia, and it carries fungus and bacteria that scorch and rot a dormant bulb pressed right against it.
You think you’re feeding the plant. You’re actually burning it.
If you want manure in the bed, use well-rotted stuff that’s aged a good six months, and work it into the soil weeks ahead so it isn’t touching the bulb. Better yet, feed with a low-nitrogen bulb fertilizer or bone meal mixed into the backfill instead.
27. Filling the Planting Hole With Rich Potting Soil
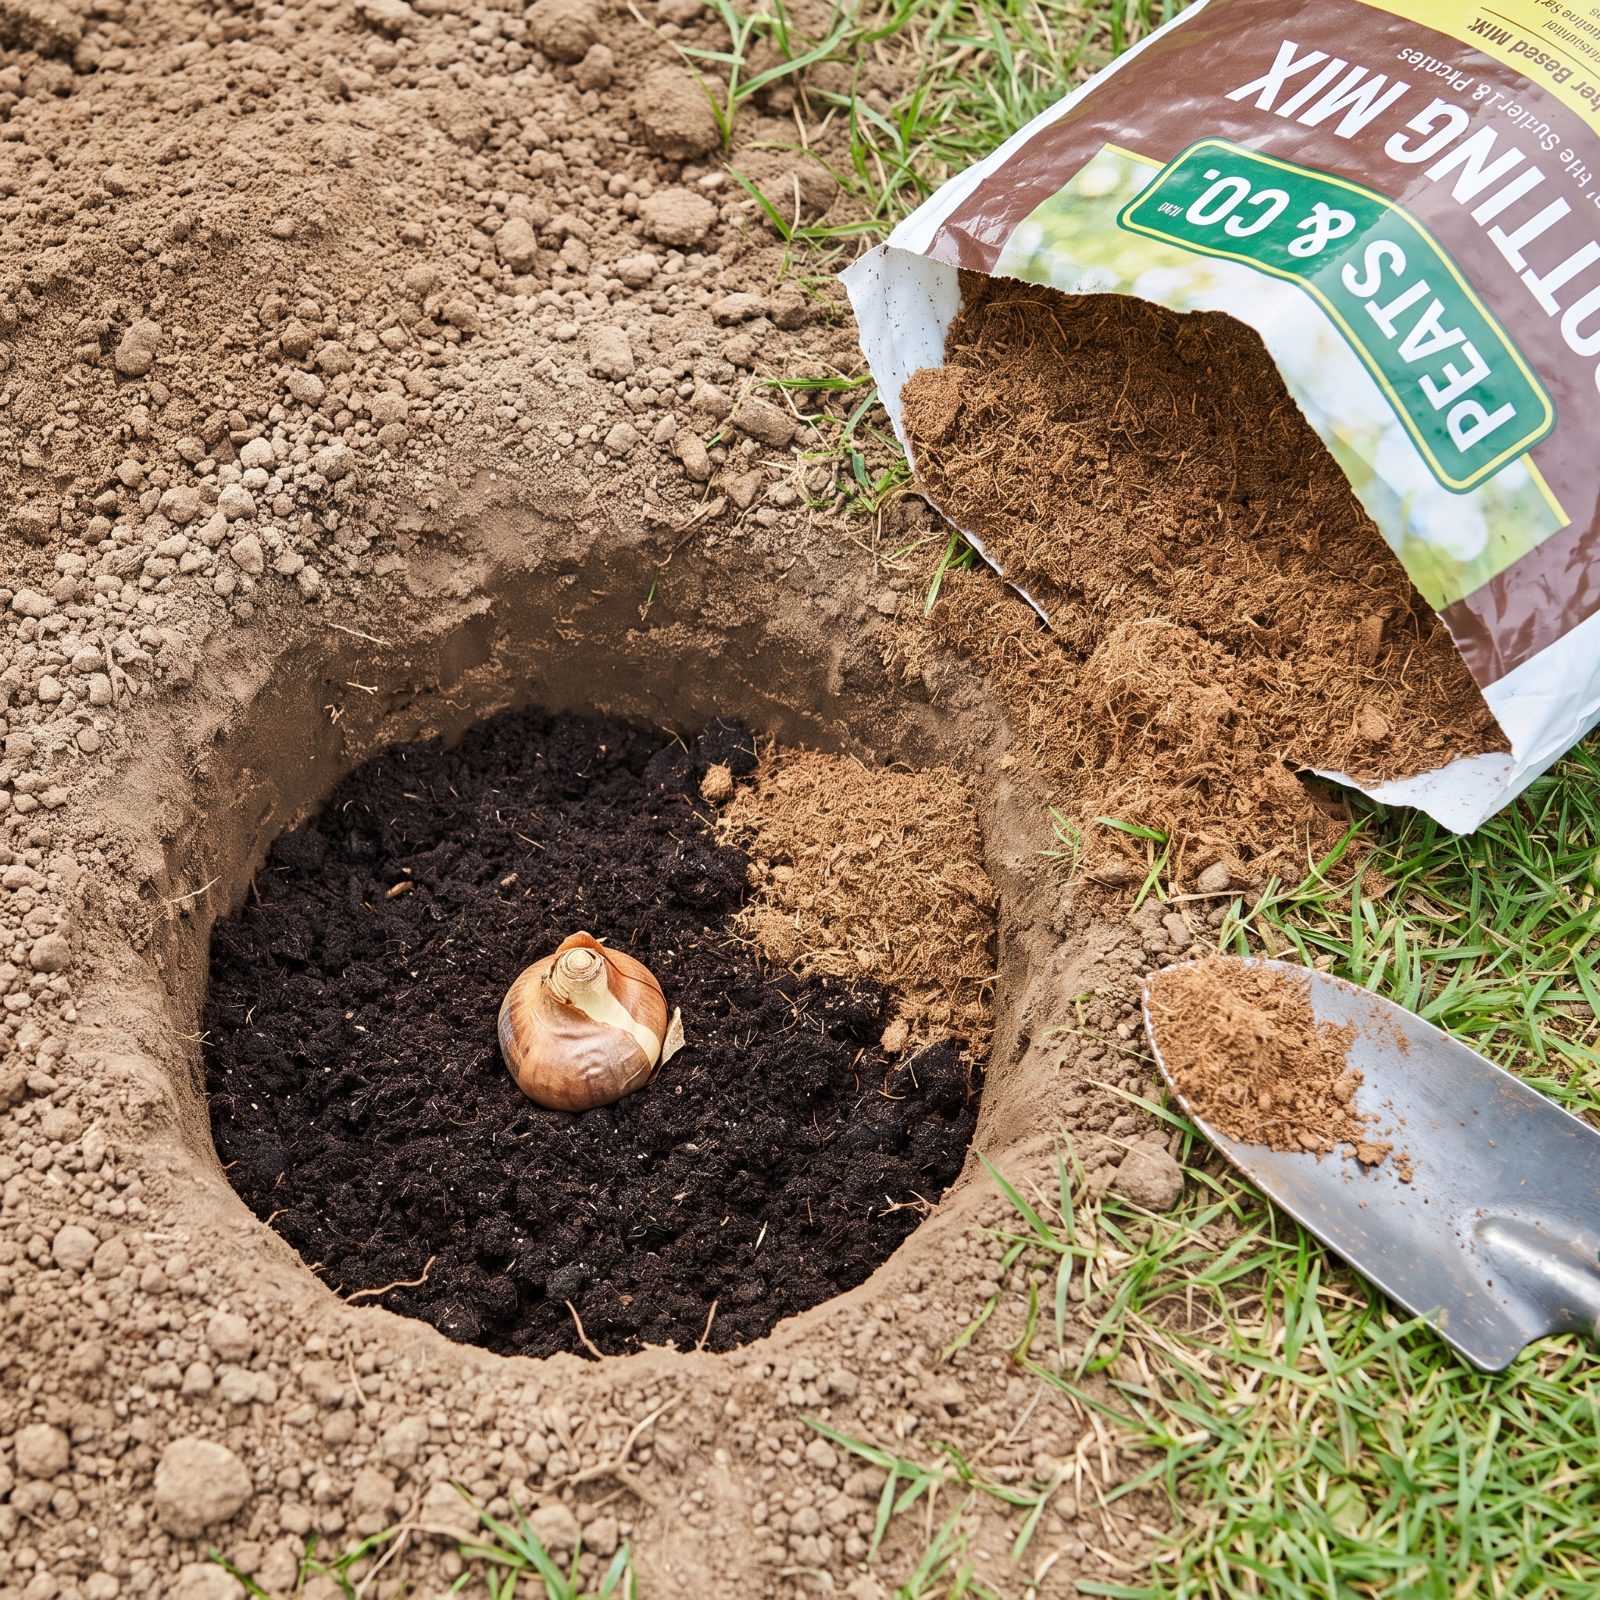
This one surprises people, because it feels like kindness. Dump fluffy, water-retentive potting mix into the planting hole and you’ve built a sponge that holds moisture around the bulb all winter.
The rich mix stays soggy long after the surrounding ground drains, and the bulb rots in its own cozy little bog. All that nitrogen pushes leafy growth at the expense of flowers, too.
Backfill with your own garden soil, loosened and improved with a little grit or compost if it needs it. Bulbs evolved in lean, fast-draining ground. They don’t want a pampered bed. They want a dry one that lets them rest until spring. Go check your hole before you fill it.
26. Dumping High-Nitrogen Fertilizer Into Every Hole
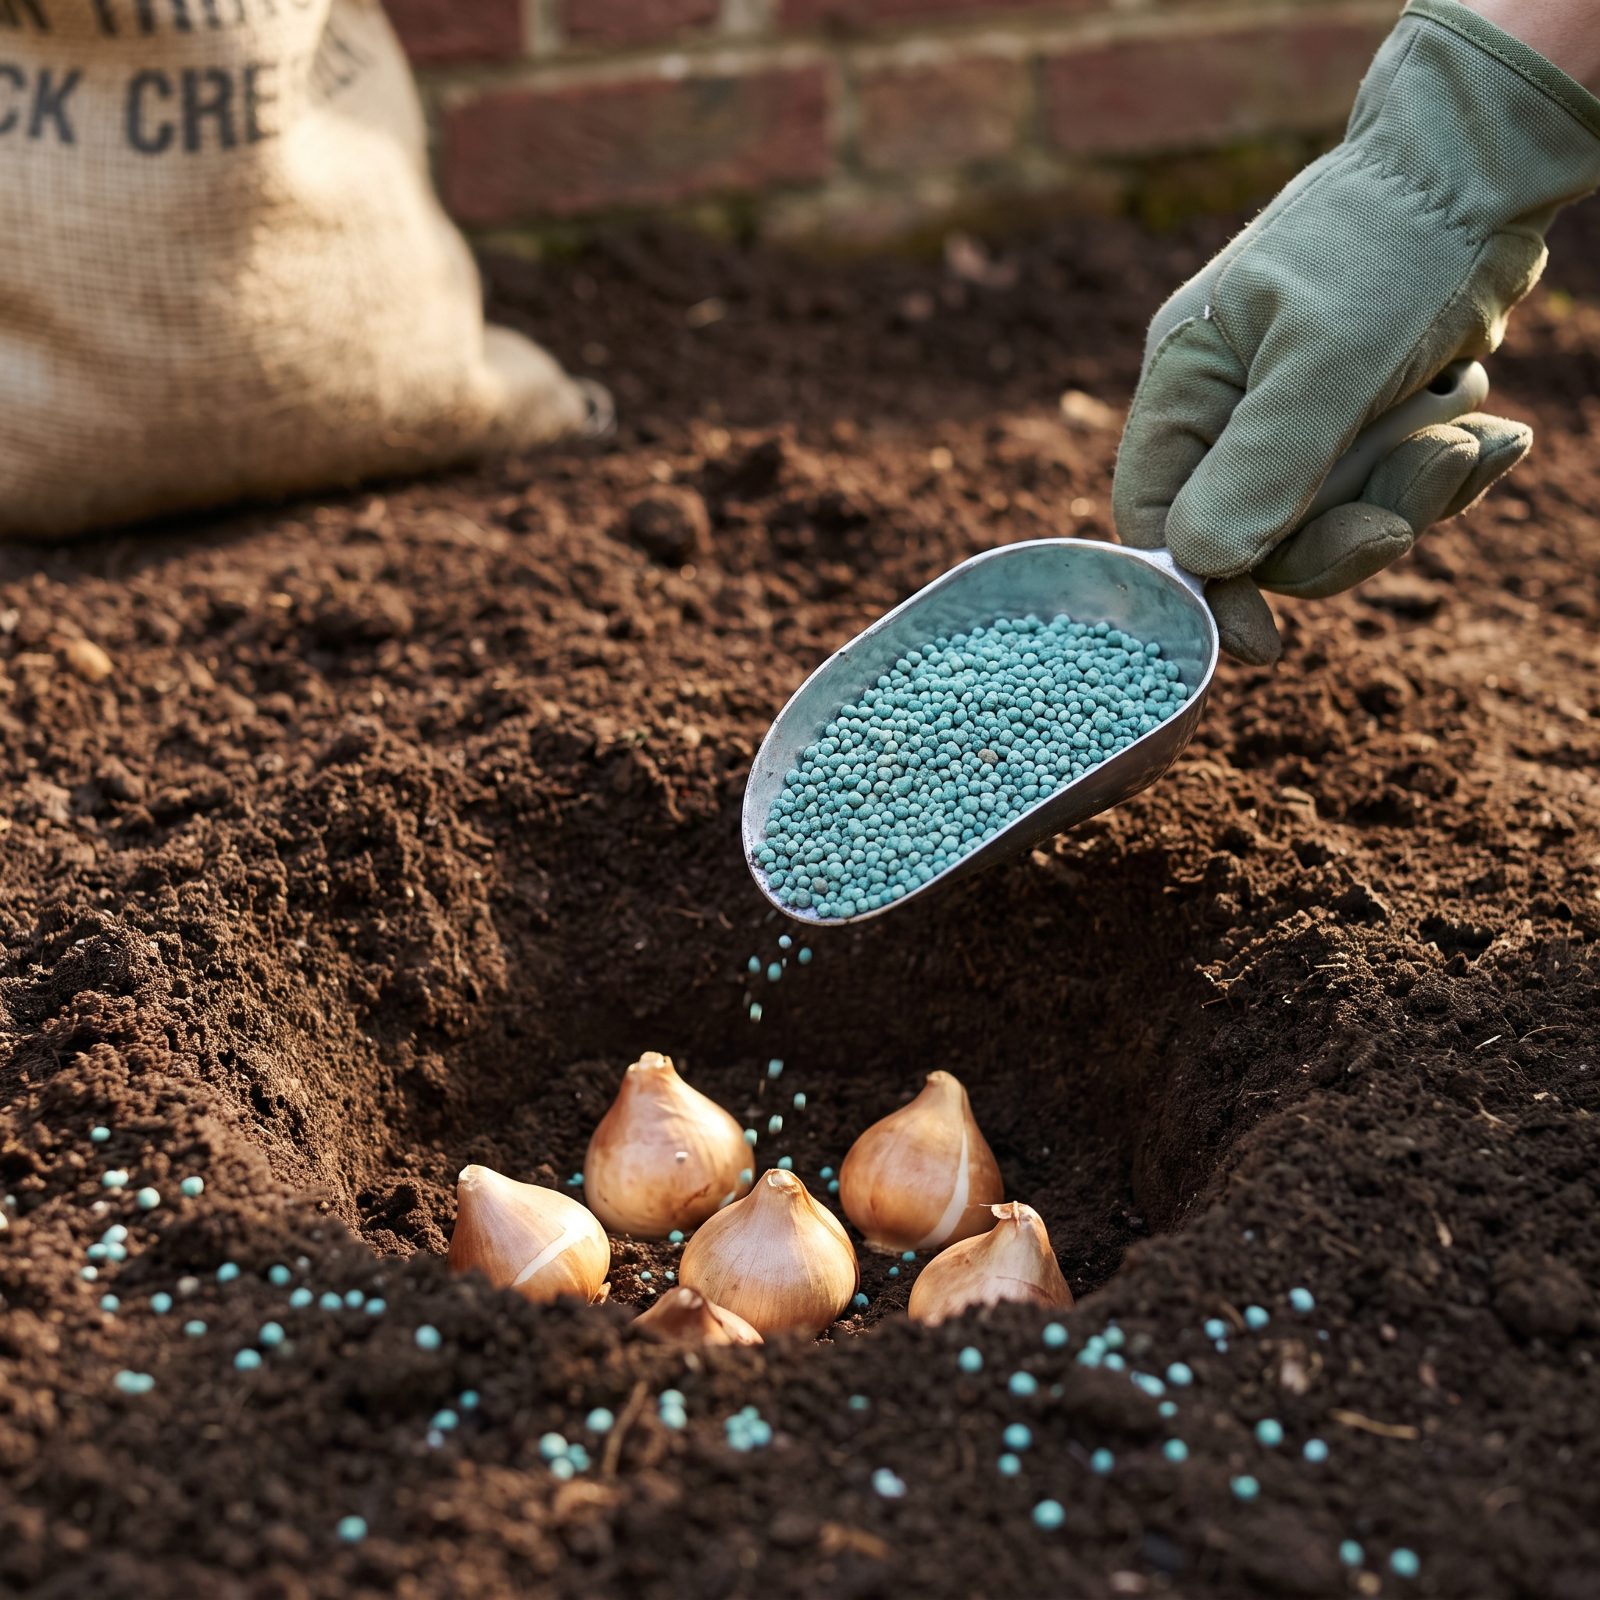
You want blooms, so you reach for the strongest bag in the shed — the one that greened up your lawn like a golf course. Big mistake.
High-nitrogen feed tells a bulb to grow leaves, lots of them, floppy and lush, at the expense of the flower hiding inside. You get a tuft of greenery in spring and barely any color. Nitrogen chases foliage; it doesn’t build buds.
What bulbs actually crave is phosphorus and potassium — one for roots, one for flowers. Grab a low-nitrogen bulb food or a balanced mix with the first number smaller than the other two, then work it into the soil below the bulb rather than piling it on top.
25. Setting Bulbs Right on Top of Concentrated Feed
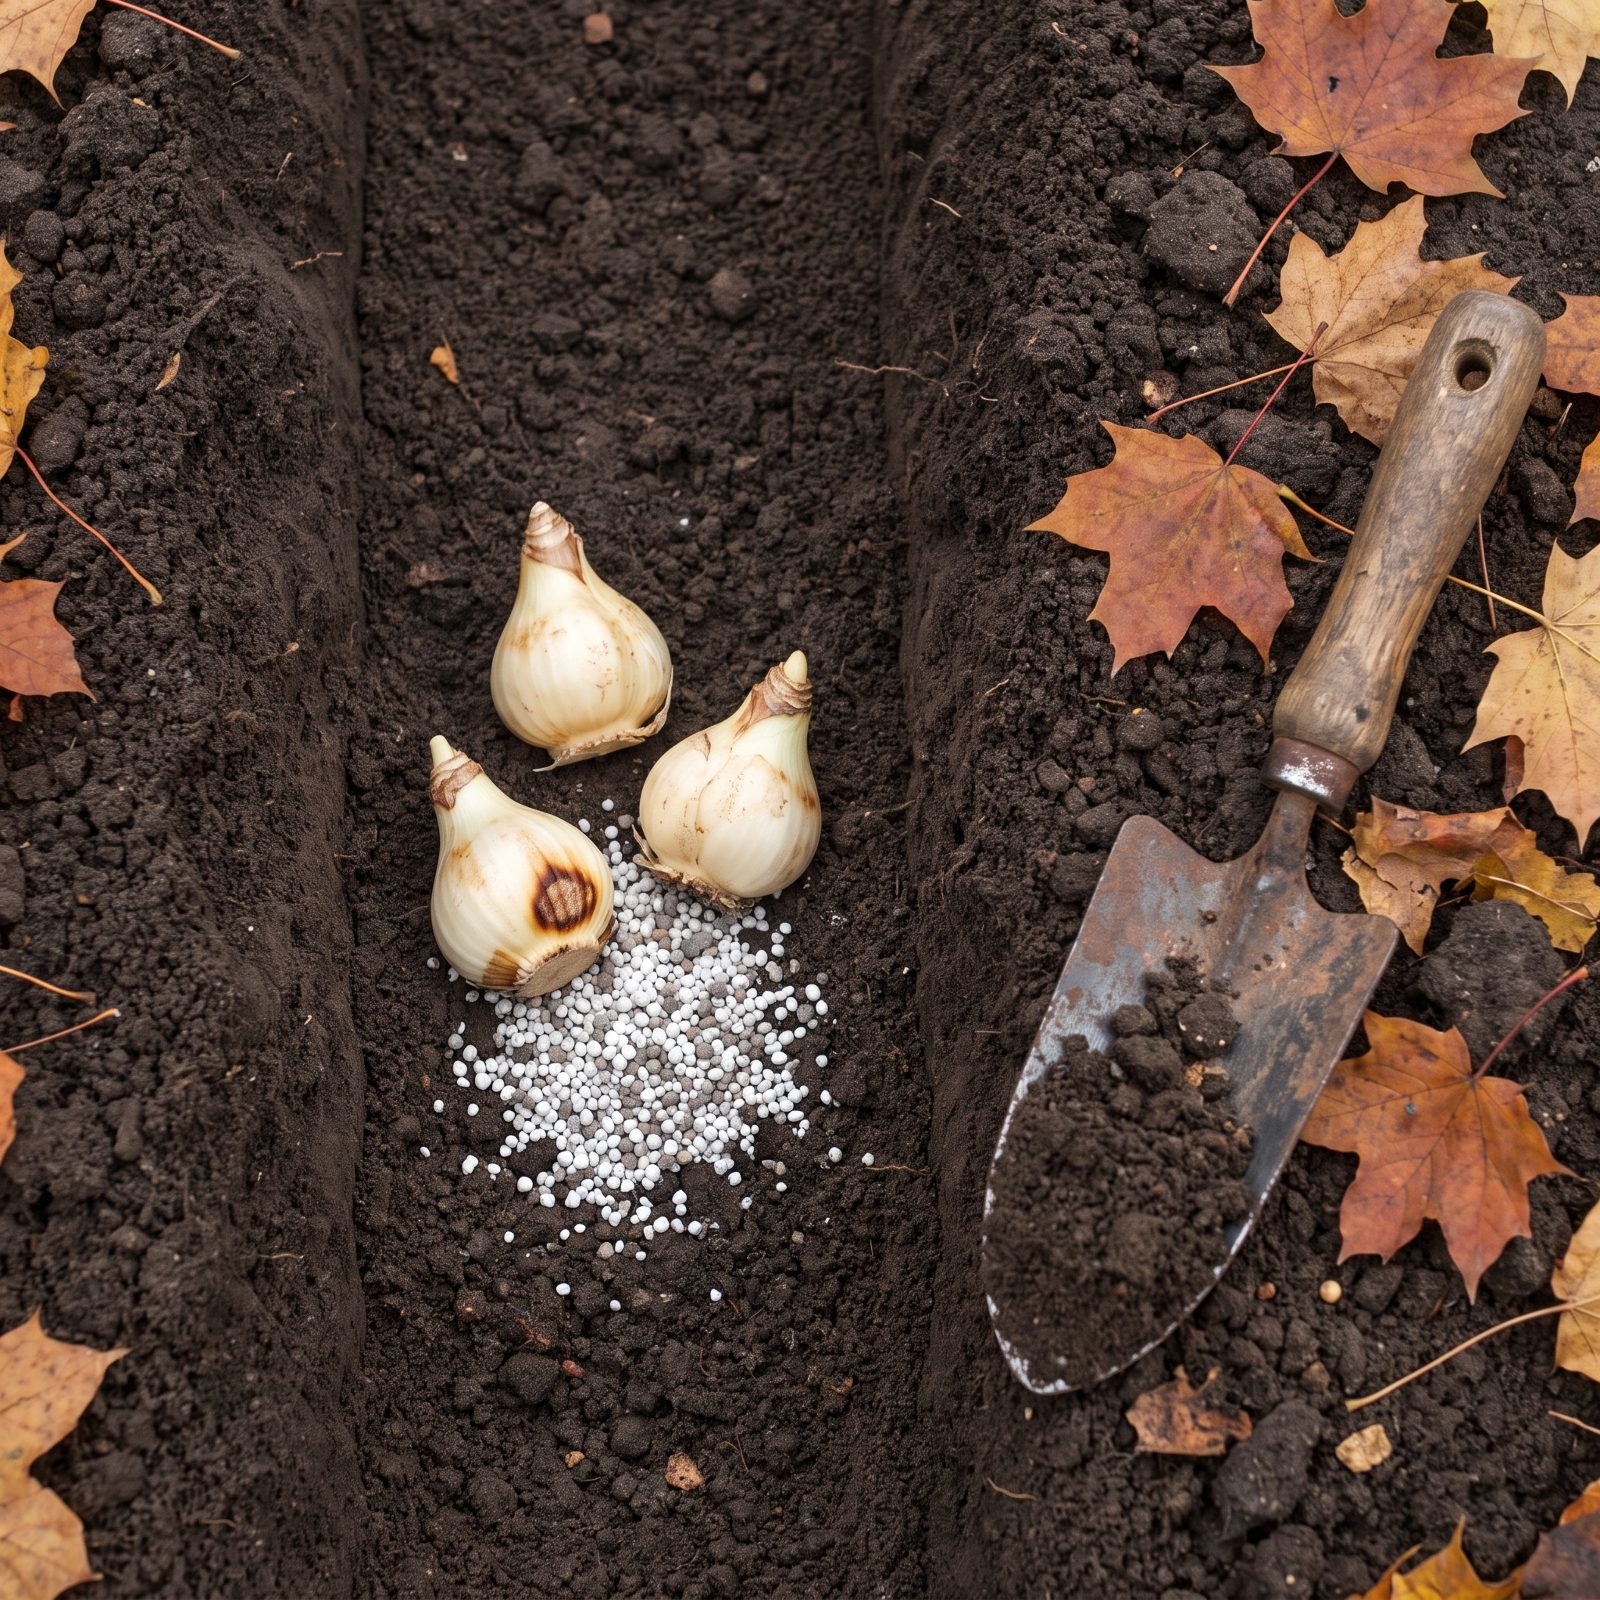
A quiet killer, this one. You drop a handful of fertilizer in the bottom of the hole and nestle the bulb straight onto it, feeling efficient. You’ve just set up a chemical burn.
Concentrated granules pull moisture and sit hot against the tender basal plate — the exact spot where every root is supposed to emerge. Scorch that and the bulb rots, or it simply sulks and never roots in at all.
Put a buffer between them. Scratch the feed into the soil, cap it with a couple inches of plain dirt, then set the bulb down. Roots will find the nutrients on their own schedule, which is exactly how you want it.
24. Burying Every Bulb at the Same Depth
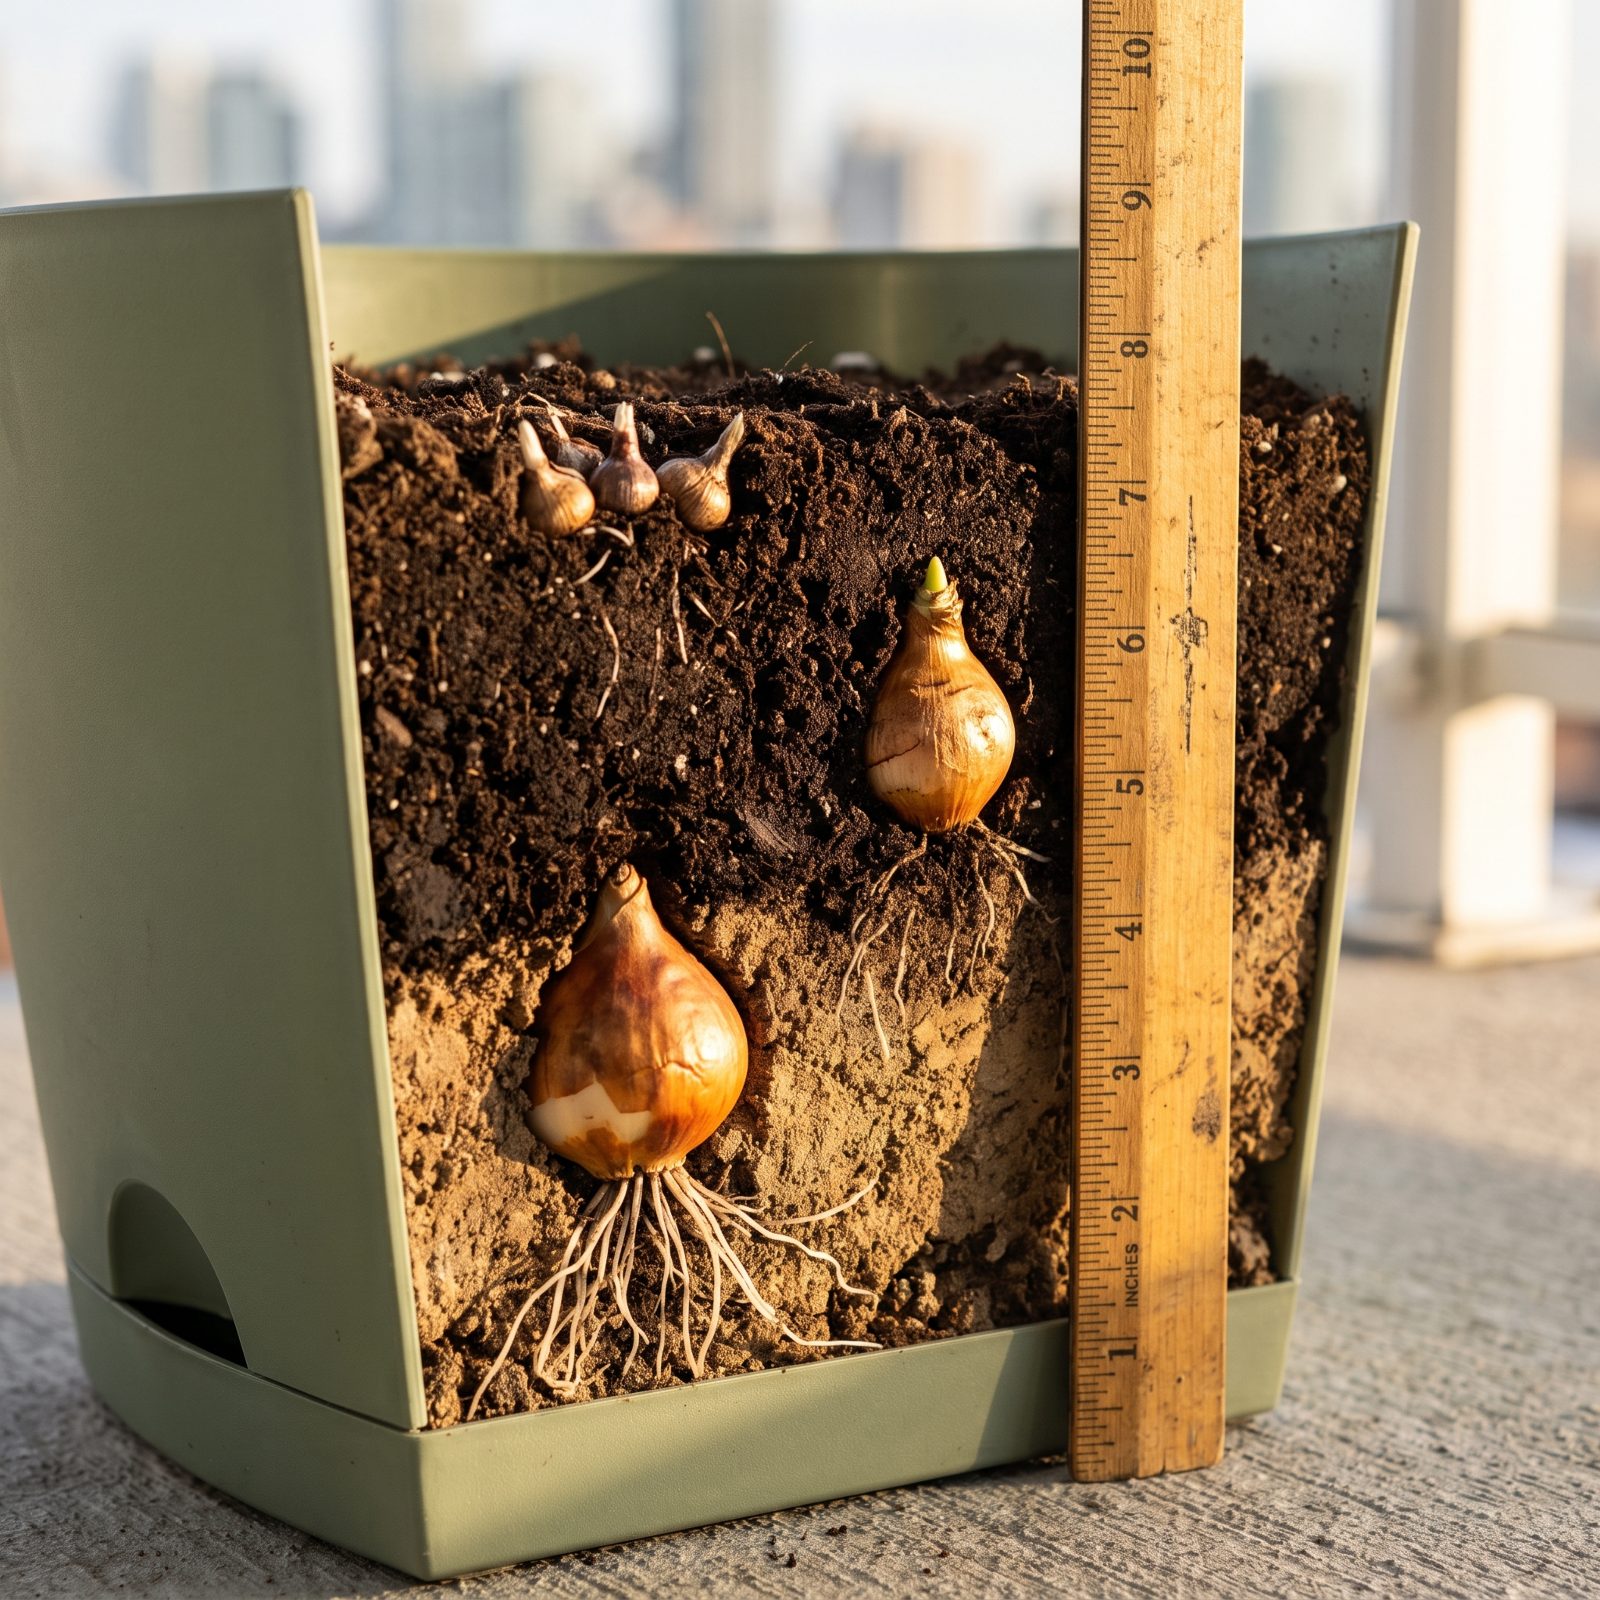
Not all bulbs want the same seat. Plant a crocus corm as deep as a tulip and it may never claw its way up to the light; plant a big daffodil too shallow and it heaves itself out of the ground with the first hard frost.
The old rule holds up. Set a bulb about three times as deep as it is tall, measured from the base, which drops tulips and large daffodils down around six to eight inches and little crocus and snowdrops closer to three.
Planting everything at one trowel-length is faster, but the crocuses mostly vanish. Depth isn’t fussiness — it’s the difference between a drift of color and a confused bare patch.
23. Crushing Bulbs Down a Skinny Dibber Hole
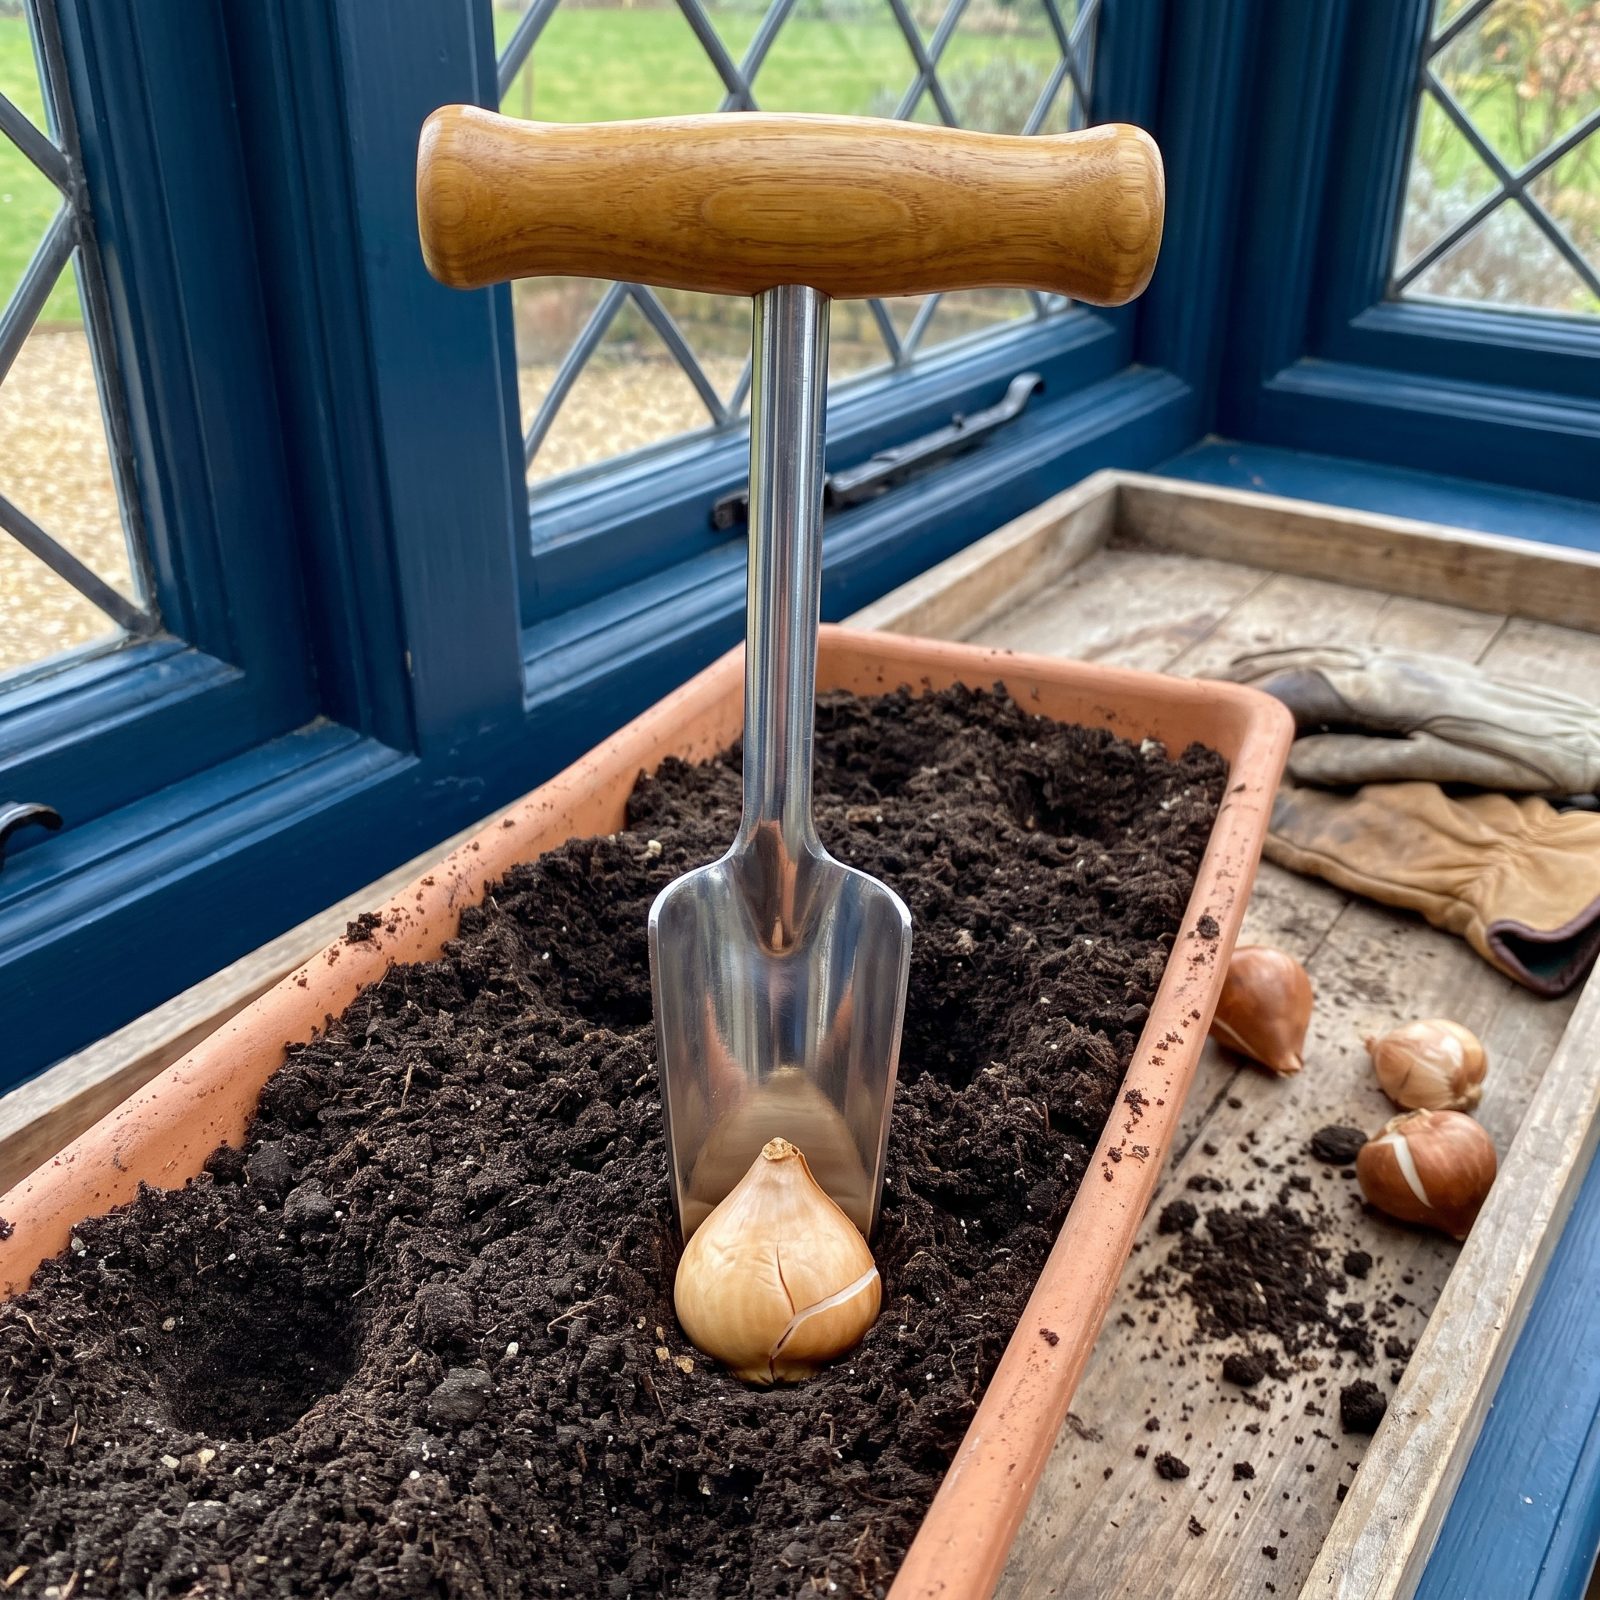
A bulb dibber feels like the right gadget until you jam a plump tulip into a hole built for a pencil. You hear a soft crunch and tell yourself it was a pebble. It wasn’t.
Force a bulb into too tight a pocket and you fracture the basal plate or dent the growth tip — either one invites rot, and a rotting bulb drags its neighbors down with it.
Match the hole to the bulb, not the tool. A trowel or a proper bulb auger gives you room, and the base should sit flat on firm soil with no air gap underneath. Snug, never crammed.
22. Tucking Tiny Bulbs Under Thuggish Ground Cover
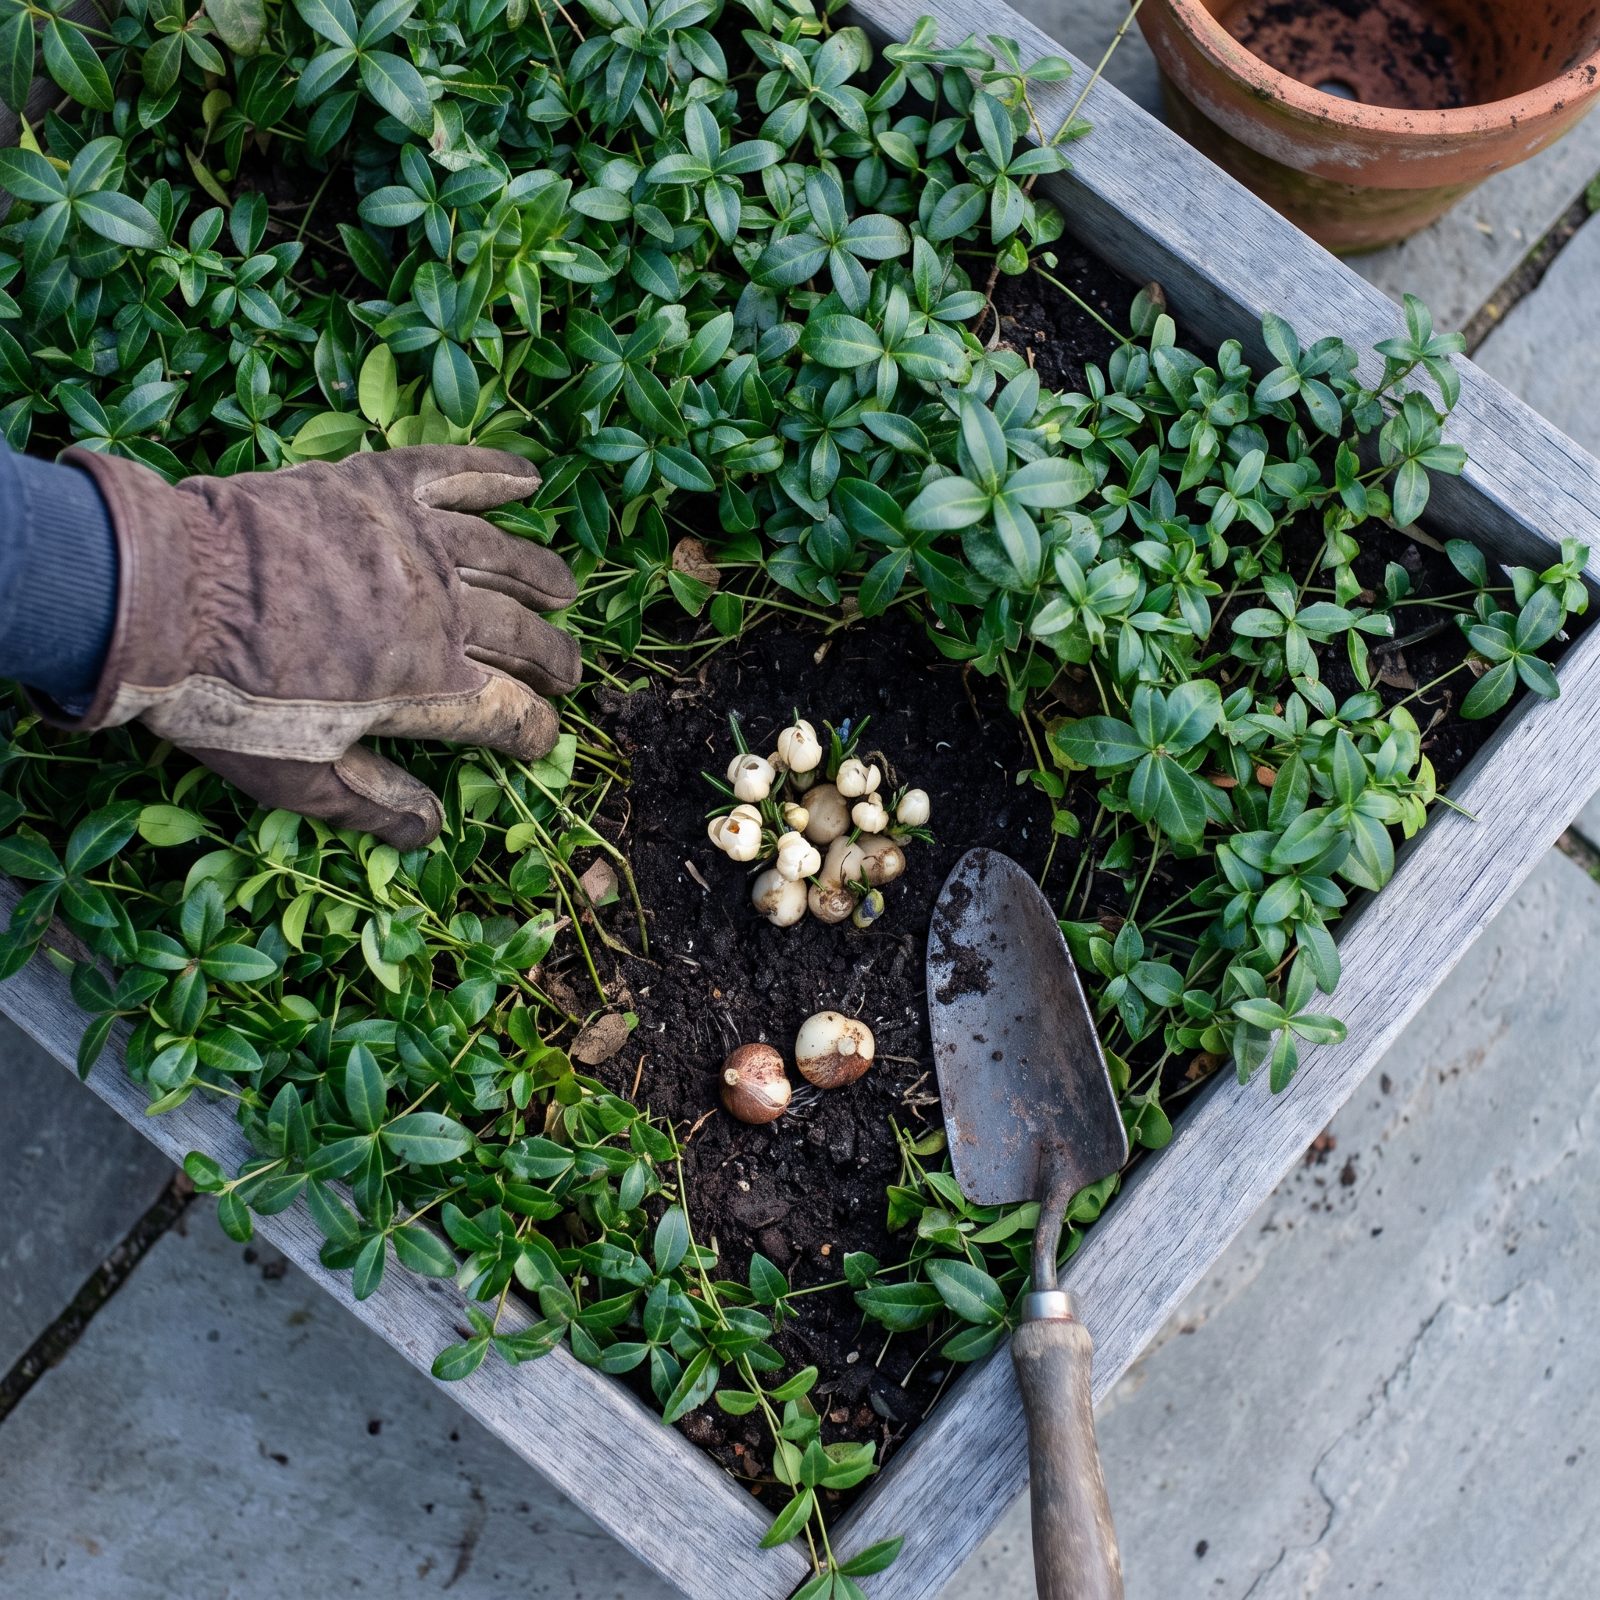
Little bulbs look charming peeking through ground cover in catalog photos. In your actual yard, aggressive carpets like vinca, ivy or mature creeping Jenny treat crocus and scilla as a minor inconvenience to smother.
The ground cover wins every round — light, water, root space. Your delicate bulbs push up a weak leaf or two, then quietly give up over a season or two.
Pair small bulbs with tame companions: low thyme, moss, open mulch. Give them a patch where nothing is outmuscling them. And if you’re devoted to a vigorous carpet, dedicate a separate spot to the bulbs and let both thrive apart.
21. Spearing Last Year’s Bulbs While Planting New Ones
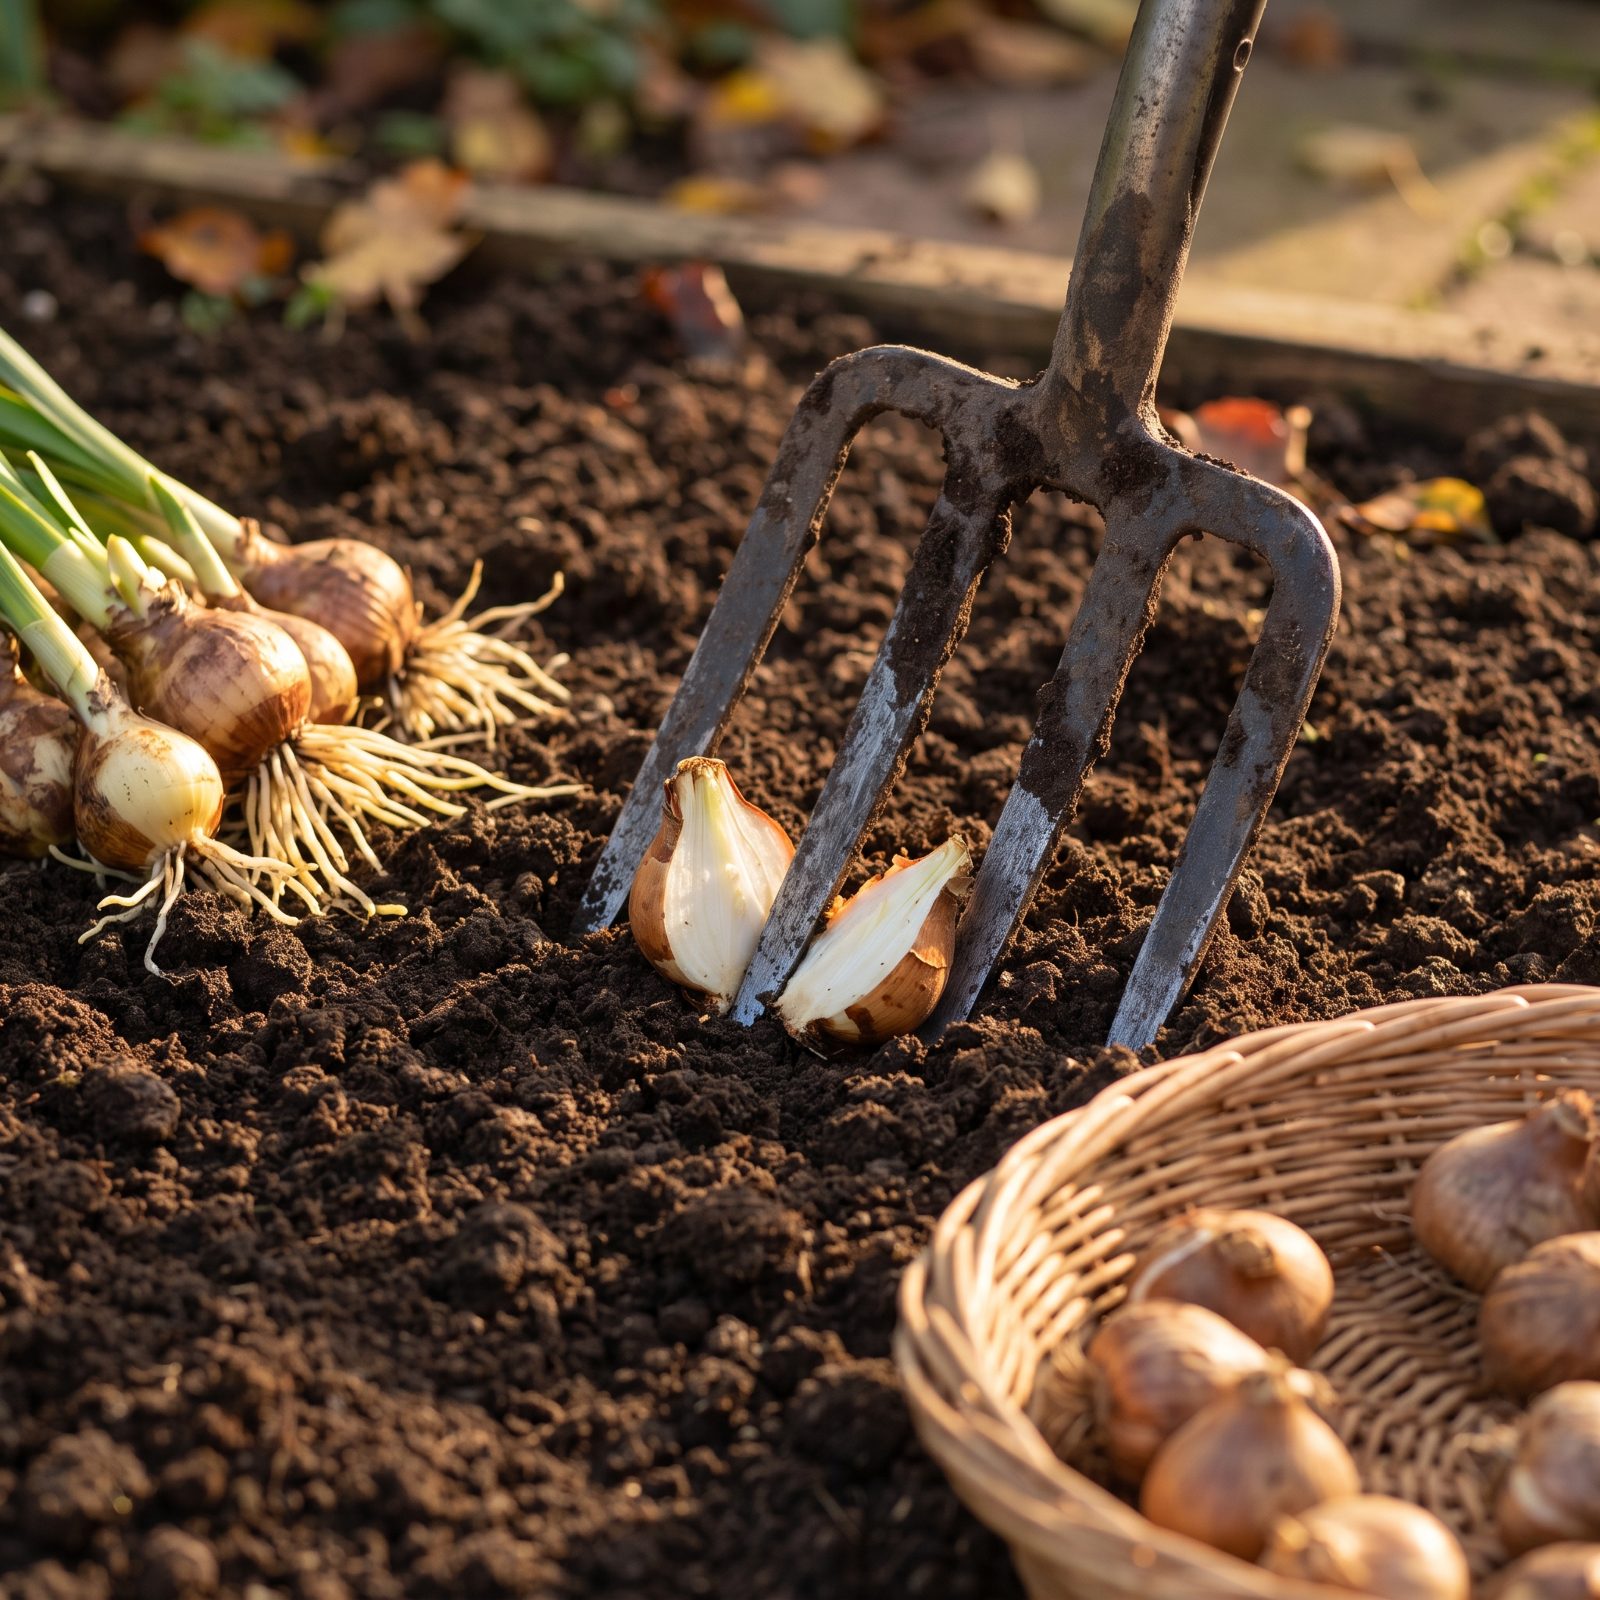
You go in to add tulips near the daffodils you planted three autumns ago, and your trowel comes up with a sliced bulb stuck to it. That wet white wound is a plant you’d forgotten about, now a casualty.
Established clumps spread underground, so they often sprawl wider than the spot where they bloomed last spring. Chop into them and you lose years of settling-in for a few minutes of careless digging.
Mark your existing drifts in spring, before the foliage dies back and you lose the map entirely. When fall planting comes around, work the edges with care and lift with a fork rather than stabbing blind.
20. Leaving Tulips as an Open Buffet for Squirrels
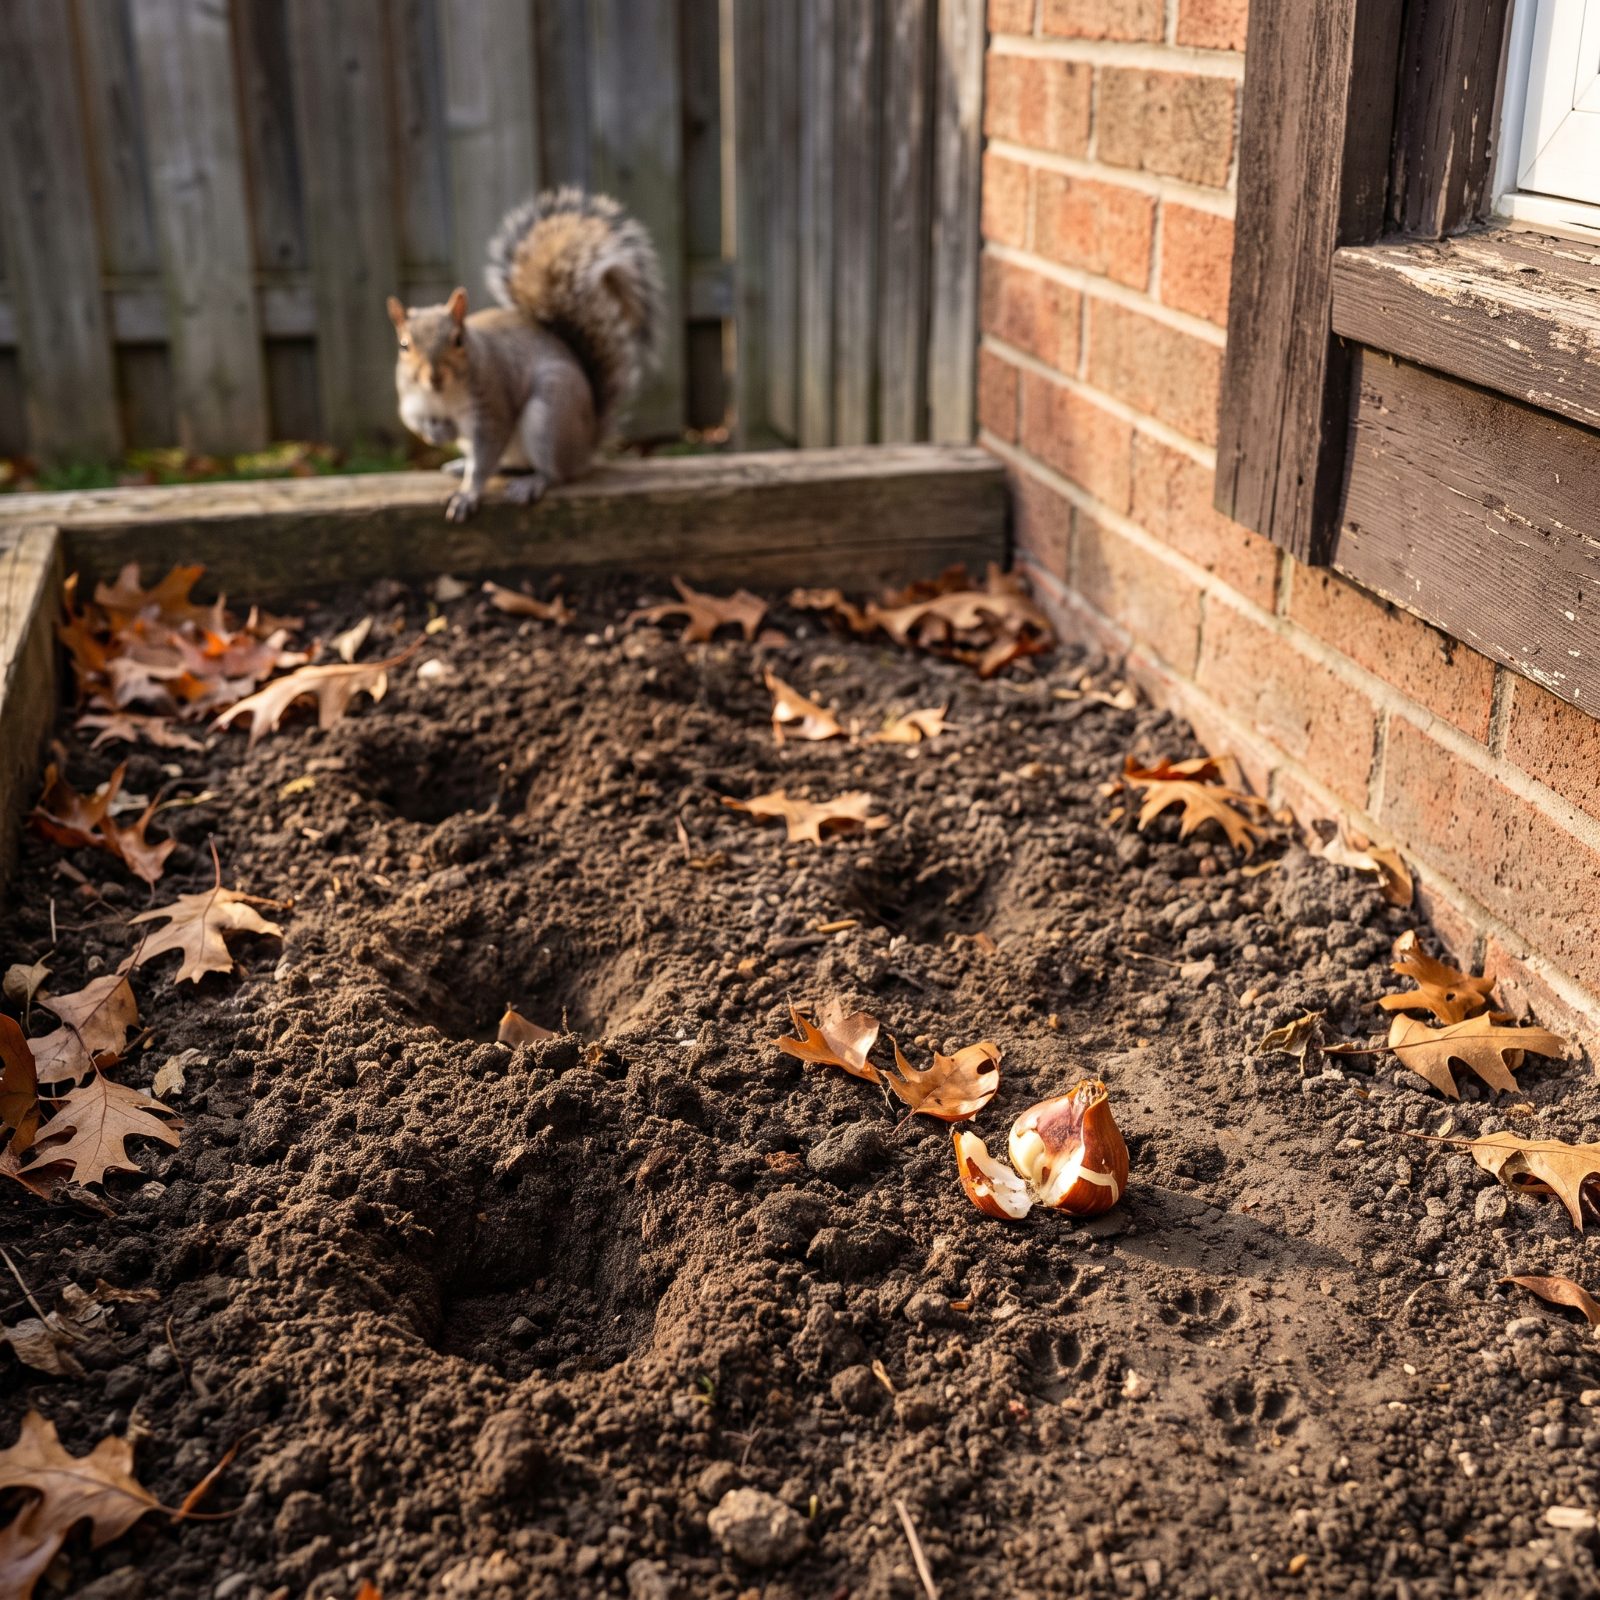
Tulip bulbs might as well come with a squirrel invitation stapled on. You plant a tidy row on Saturday and wake Sunday to craters, scattered skins, and a smug rodent on the fence.
Squirrels smell freshly turned soil and the bulbs beneath it, and tulips happen to be their favorite takeout. One night of digging can empty a whole bed.
Lay a sheet of chicken wire or hardware cloth flat over the planted area, just under the mulch, so shoots grow through but paws can’t dig down. Firm the soil well. Scatter the telltale papery skins far from the bed. And plant daffodils alongside — squirrels won’t touch them, so they make excellent bodyguards.
19. Sprinkling Bone Meal That Calls in Diggers
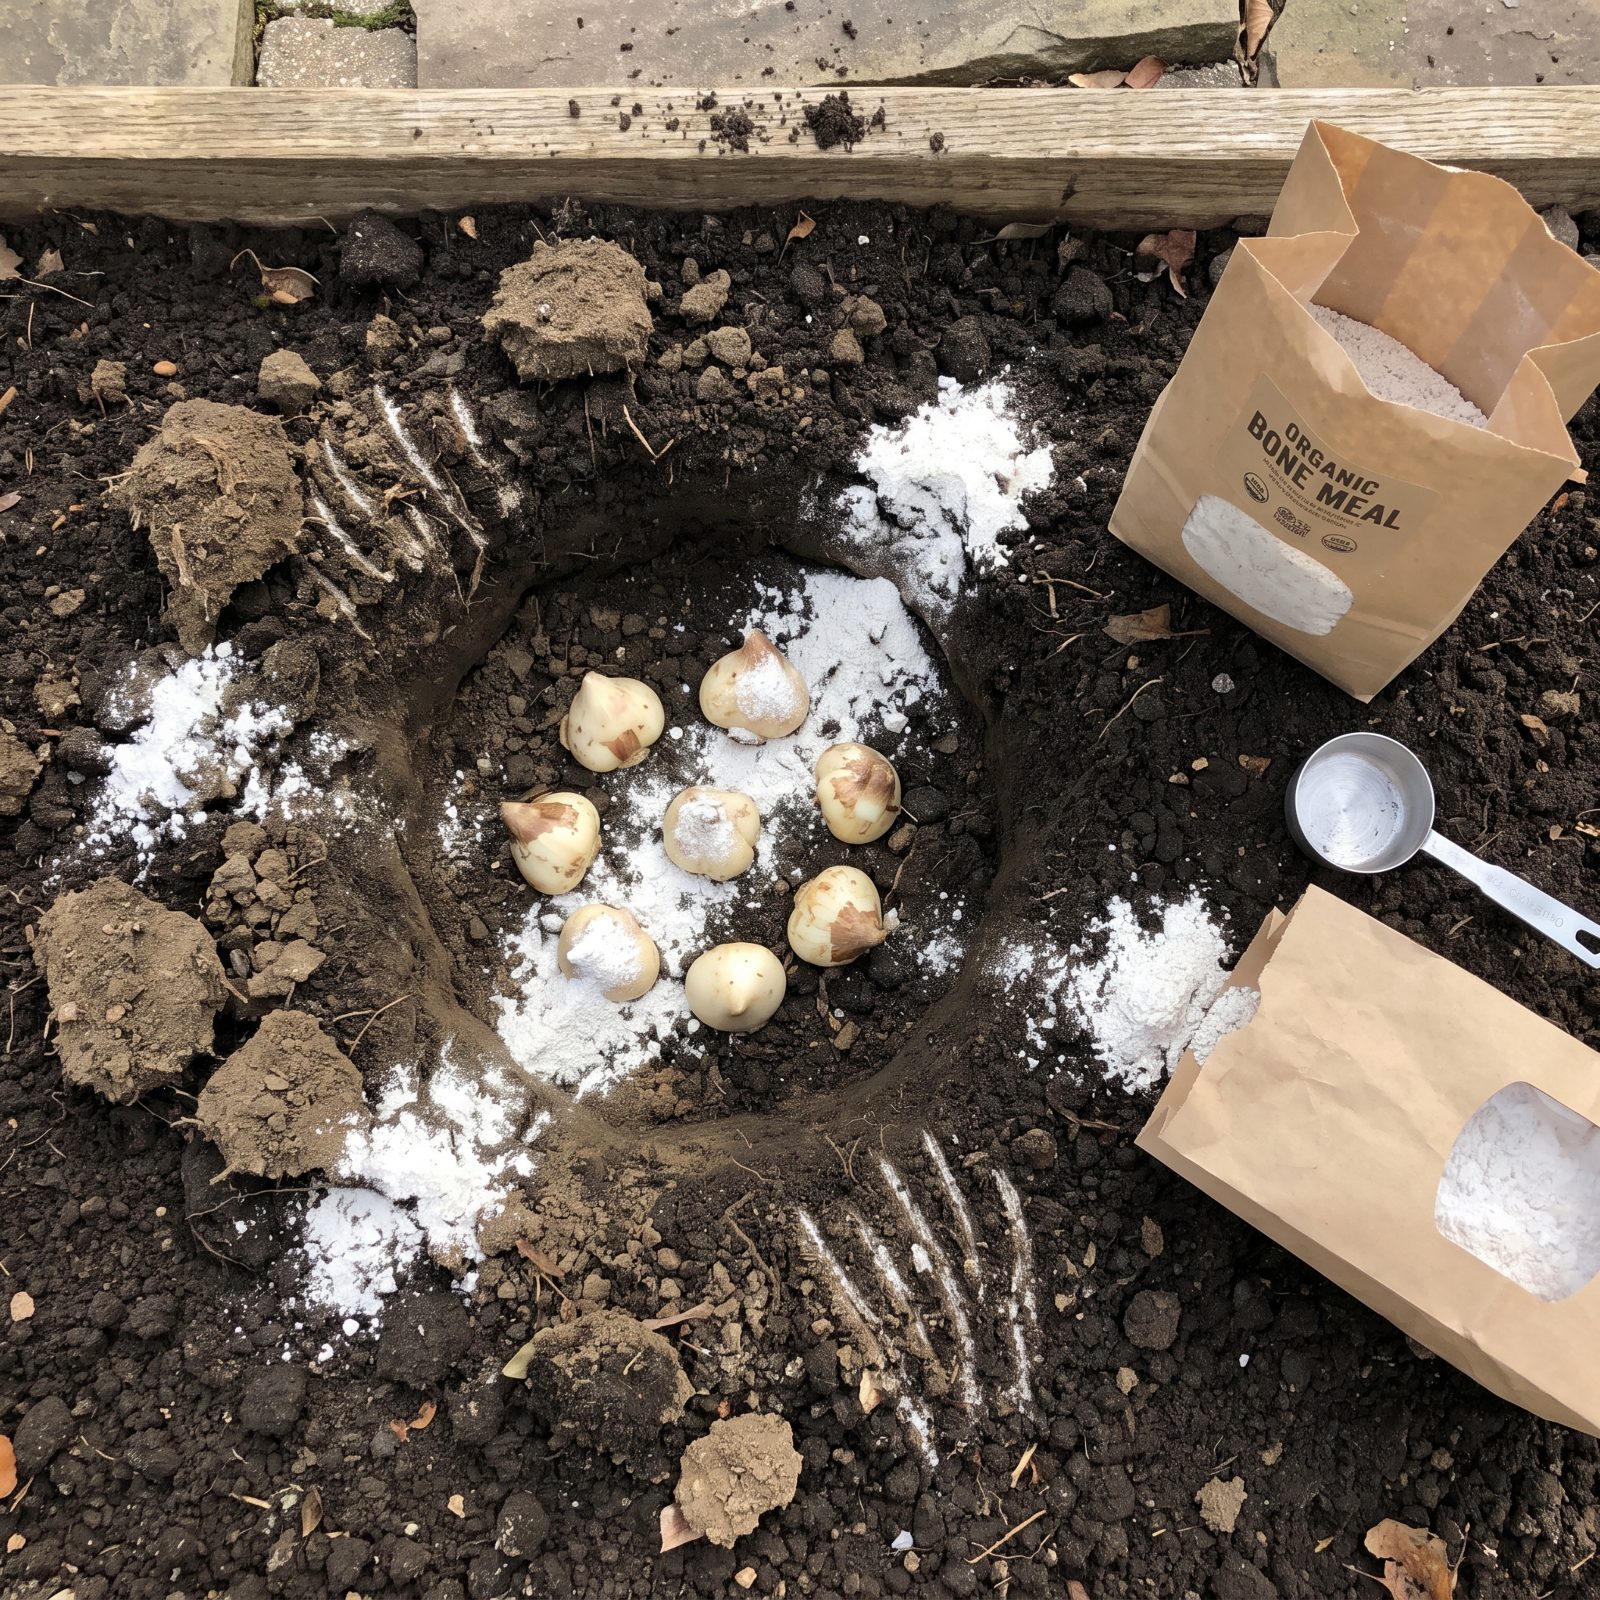
Bone meal carries a grandmotherly reputation as the bulb-planting ritual: dig the hole, dust in the white powder, feel virtuous. Then the dog, the raccoon, or a wandering skunk smells dinner and excavates the lot.
That bony scent reads as buried food to animals. You wind up with a churned bed and bulbs tossed across the lawn — the opposite of what you set out to do.
If your soil already has decent phosphorus, you may not need bone meal at all. When you do use it, mix it thoroughly into the soil well below the bulbs rather than leaving it near the surface, then cover with a topper of plain soil to mute the scent.
18. Planting Rodent Candy in Containers Left Wide Open
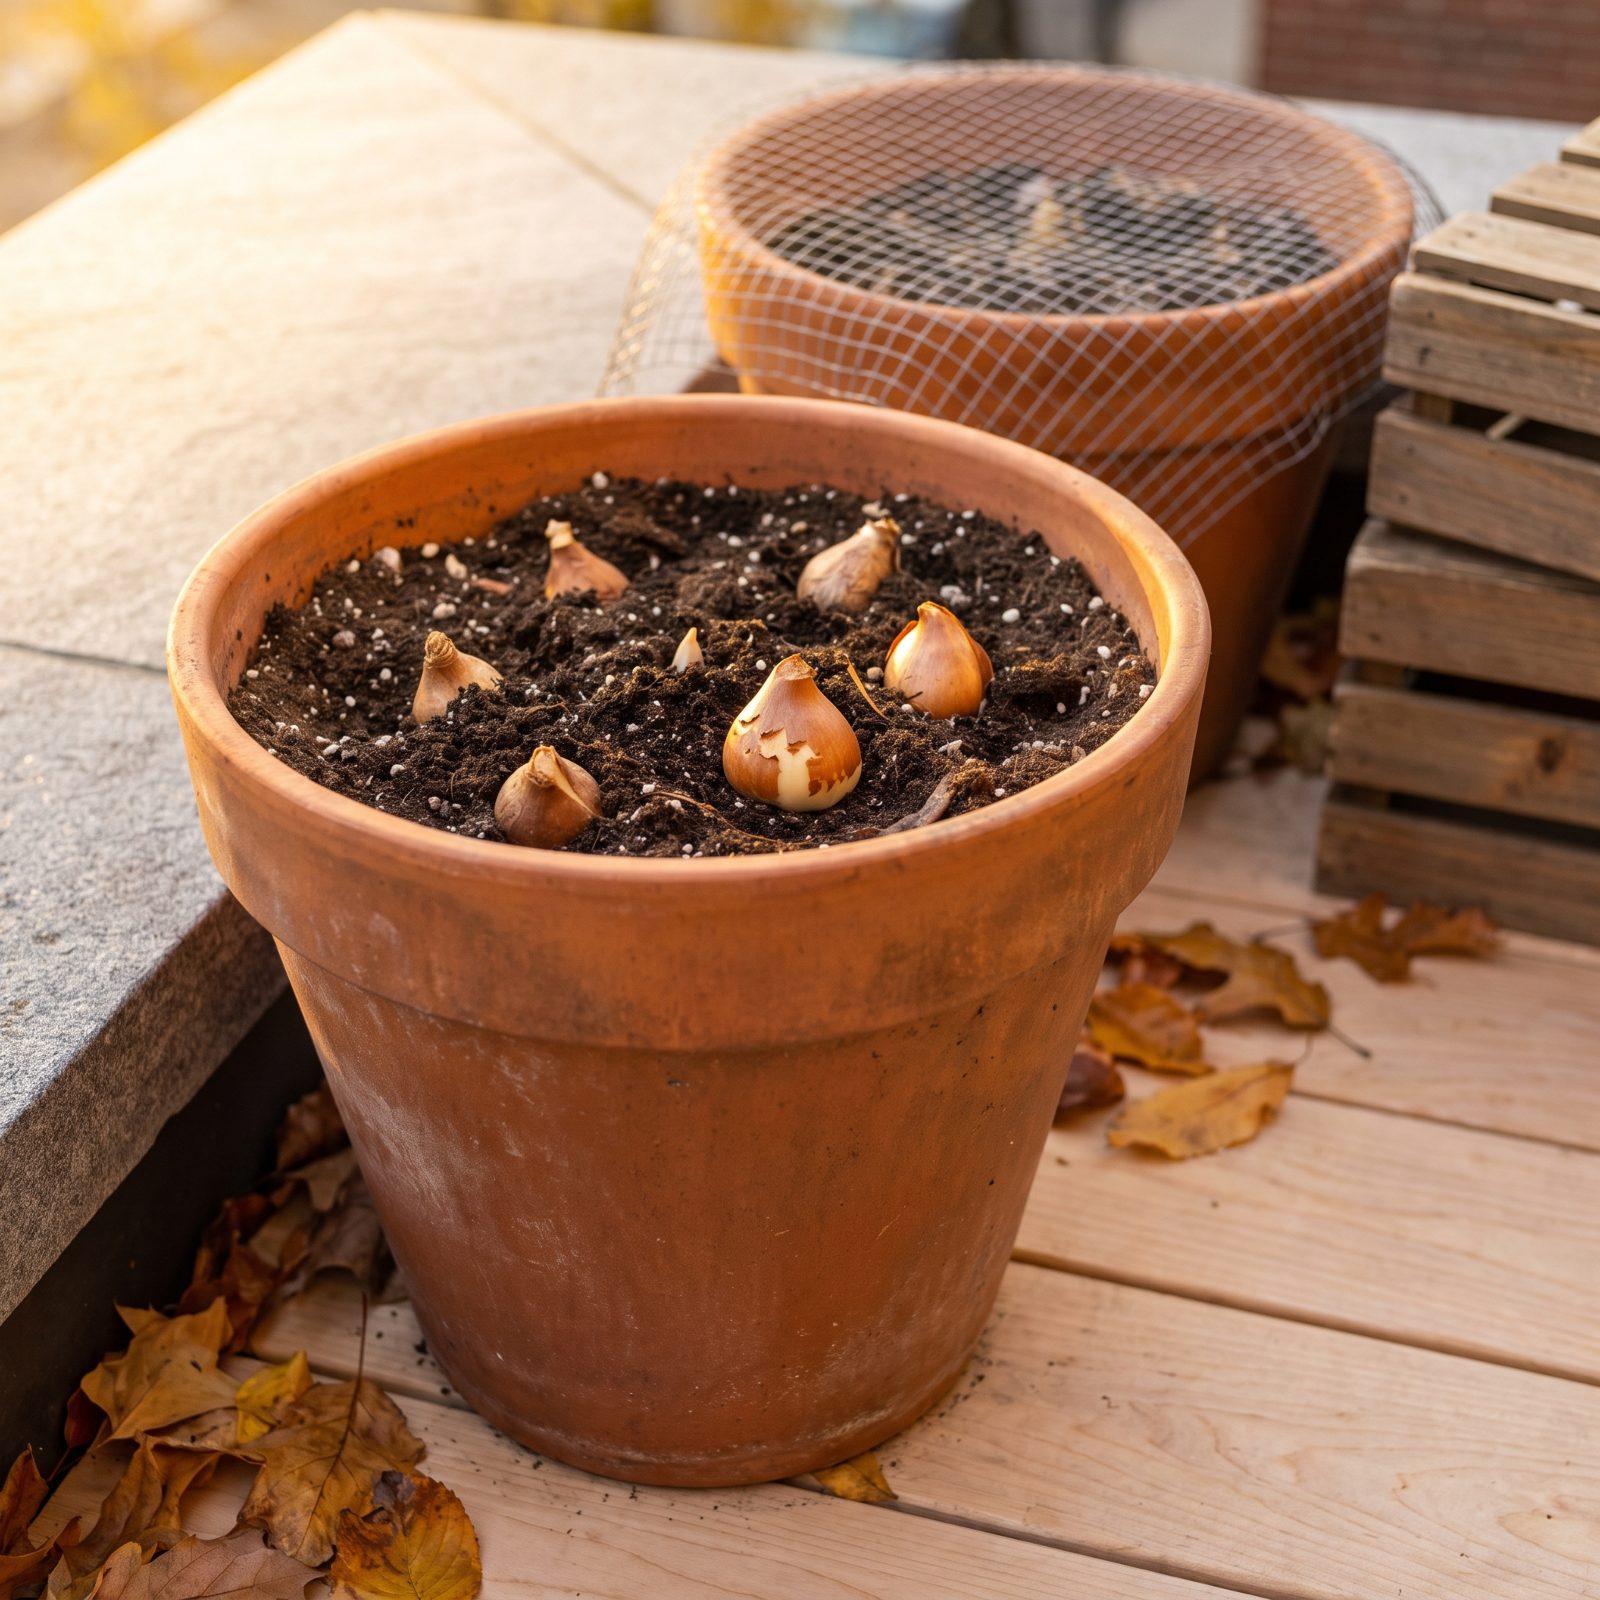
A pot of tulips on the patio looks like a contained, tidy project. To a mouse or vole, it’s a lunchbox with the lid off and everything conveniently in one spot.
Containers crowd the most tempting bulbs — tulips, crocus, lilies — into a small warm volume that rodents raid at their leisure, often through winter when other food runs thin.
Cap the soil with a layer of sharp grit and lay fine metal mesh across the top until shoots push through. For pots wintering in a shed or garage, keep them off the floor and check on them now and then. A little grit scratches digging paws and buys your bulbs the time they need.
17. Mounding Loose Straw That Becomes a Vole Hotel
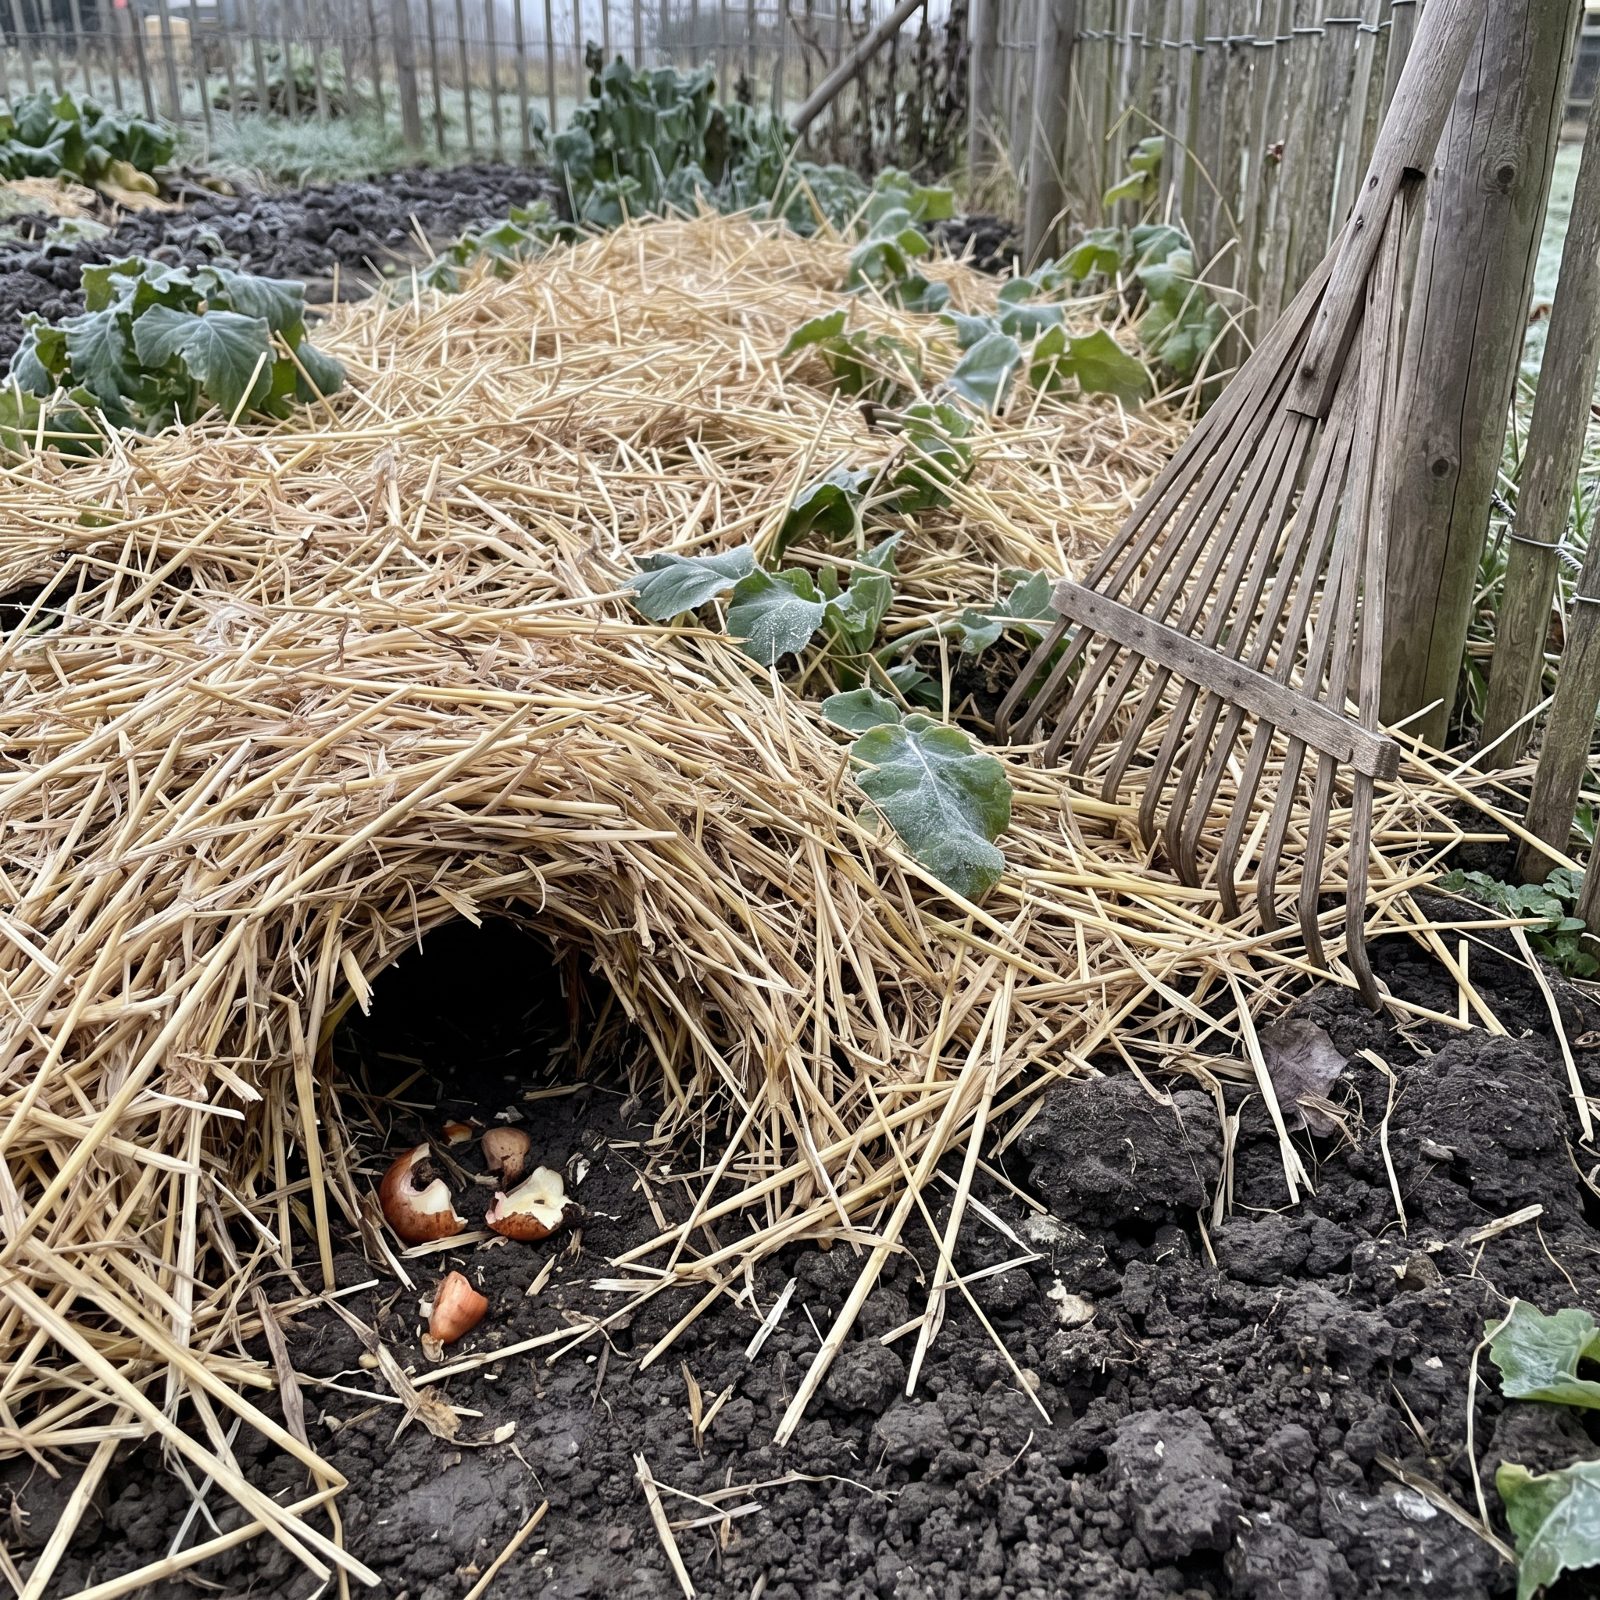
Piling on a fat blanket of loose straw feels like tucking the bulbs in for winter. What you’ve really built is a cozy, hidden runway where voles feast all season long, invisible under the fluff.
Voles adore cover. Loose straw hands them warmth, a hiding place from hawks, and a straight line to the bulbs below. They’ll strip a bed clean and you won’t find out until nothing comes up in spring.
Wait until the ground has chilled before you mulch, which discourages nesting, and go with a thinner layer of shredded bark or chopped leaves instead of deep loose straw. Pull whatever you use back a little from the crowns, too. No sense handing rodents a furnished apartment.
Mulch is meant to insulate the soil, not to roof a rodent’s winter den.
16. Using Containers Without Drainage Holes
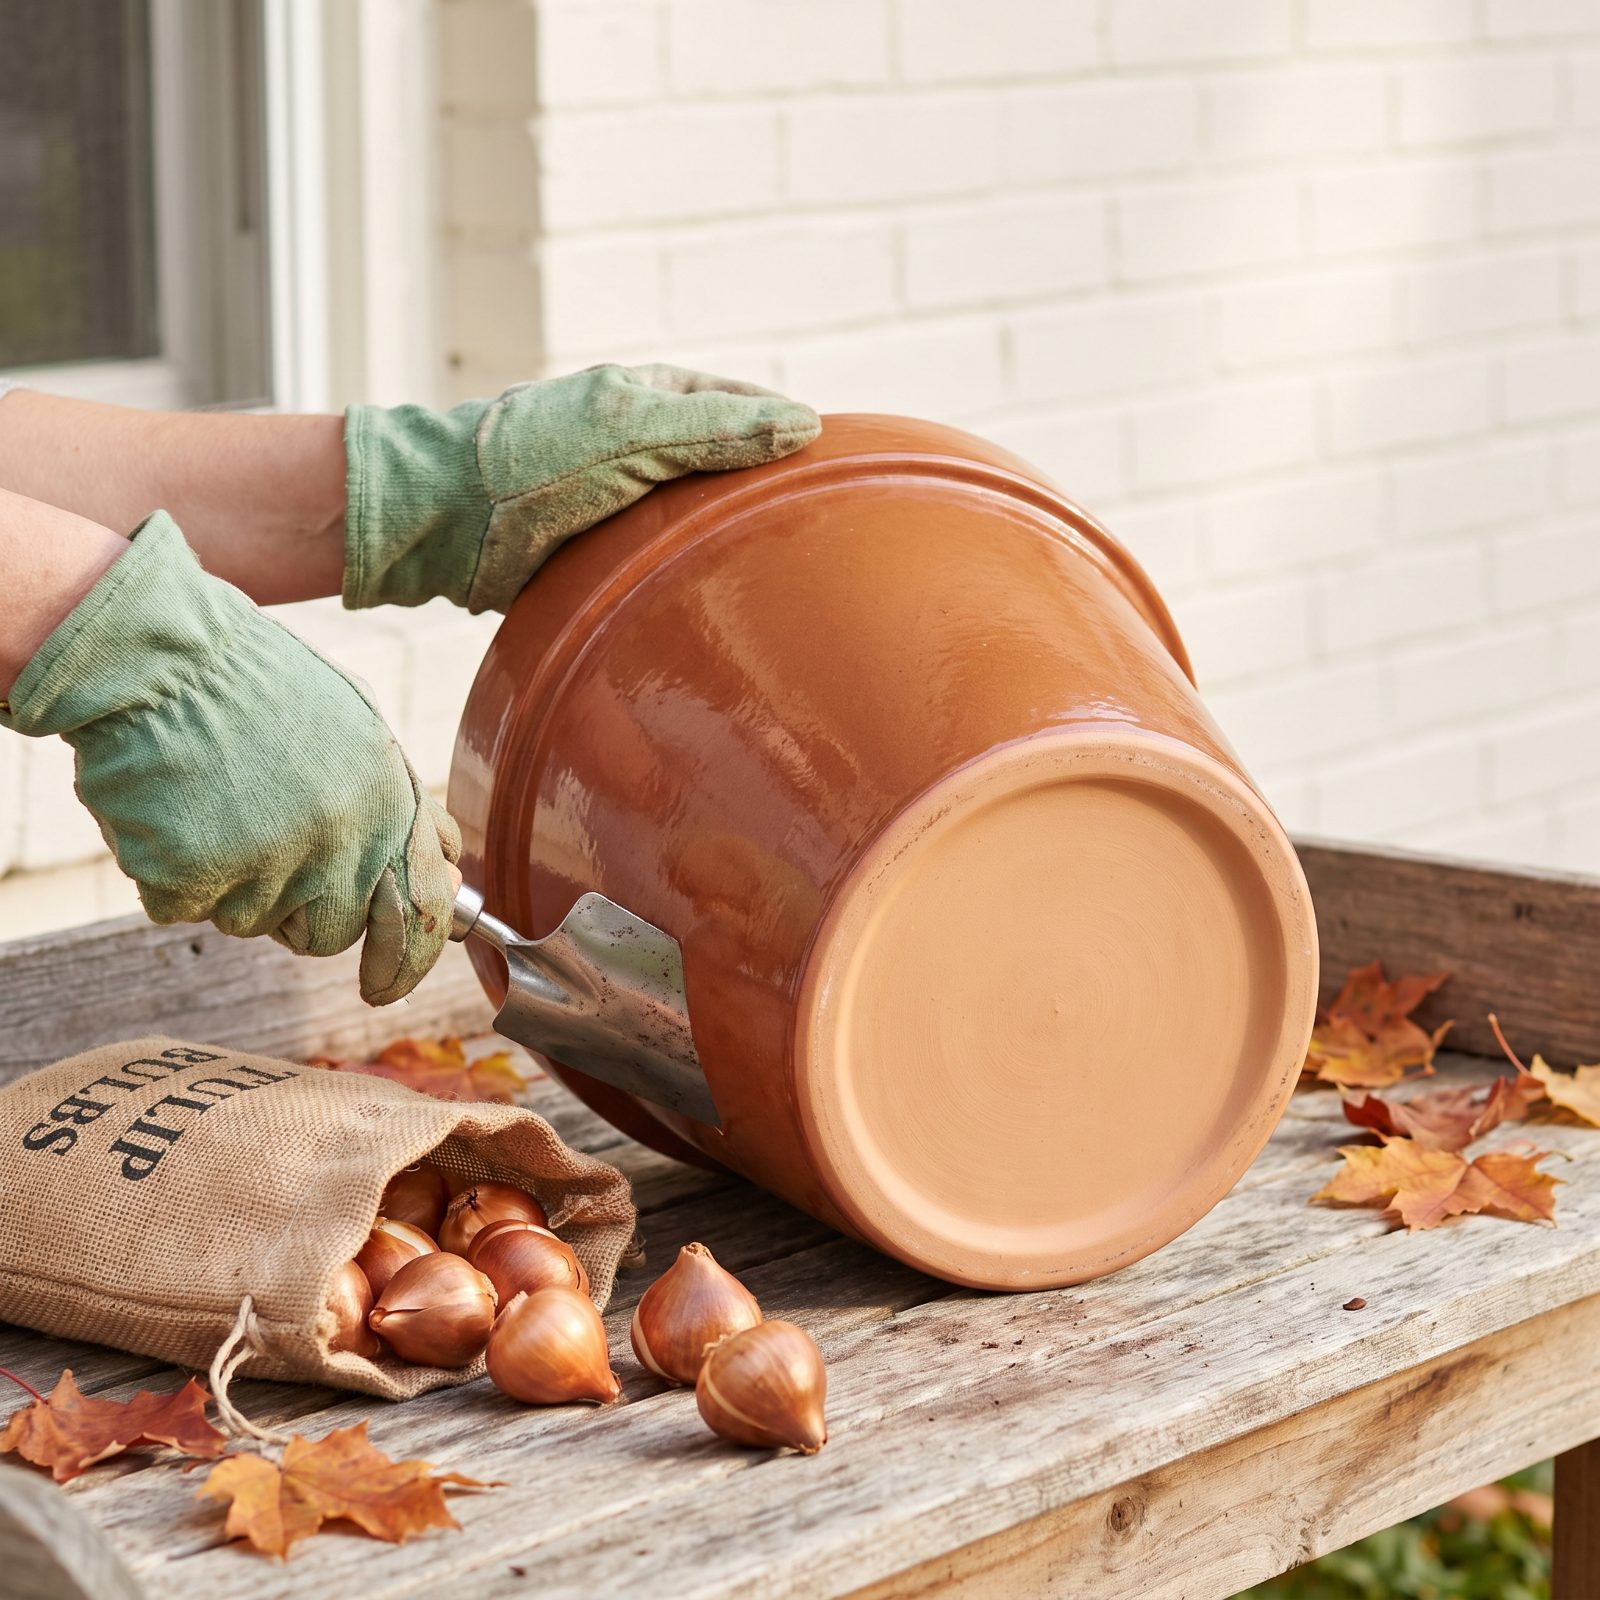
A pot with no hole in the bottom is a bathtub with the plug in. You water, the water sits, and your bulbs sit in it. Tulips especially hate wet feet, and by February the base of each bulb goes soft and brown. Come spring you get leaves, if that, and no flower.
So check before you plant. Flip the container over, and if you don’t see at least one hole, drill one, or several — terracotta and plastic both take a masonry or spade bit easily. Then add a couple inches of coarse grit or gravel at the bottom so the holes don’t clog with soil.
15. Choosing Pots Too Small to Insulate Bulbs
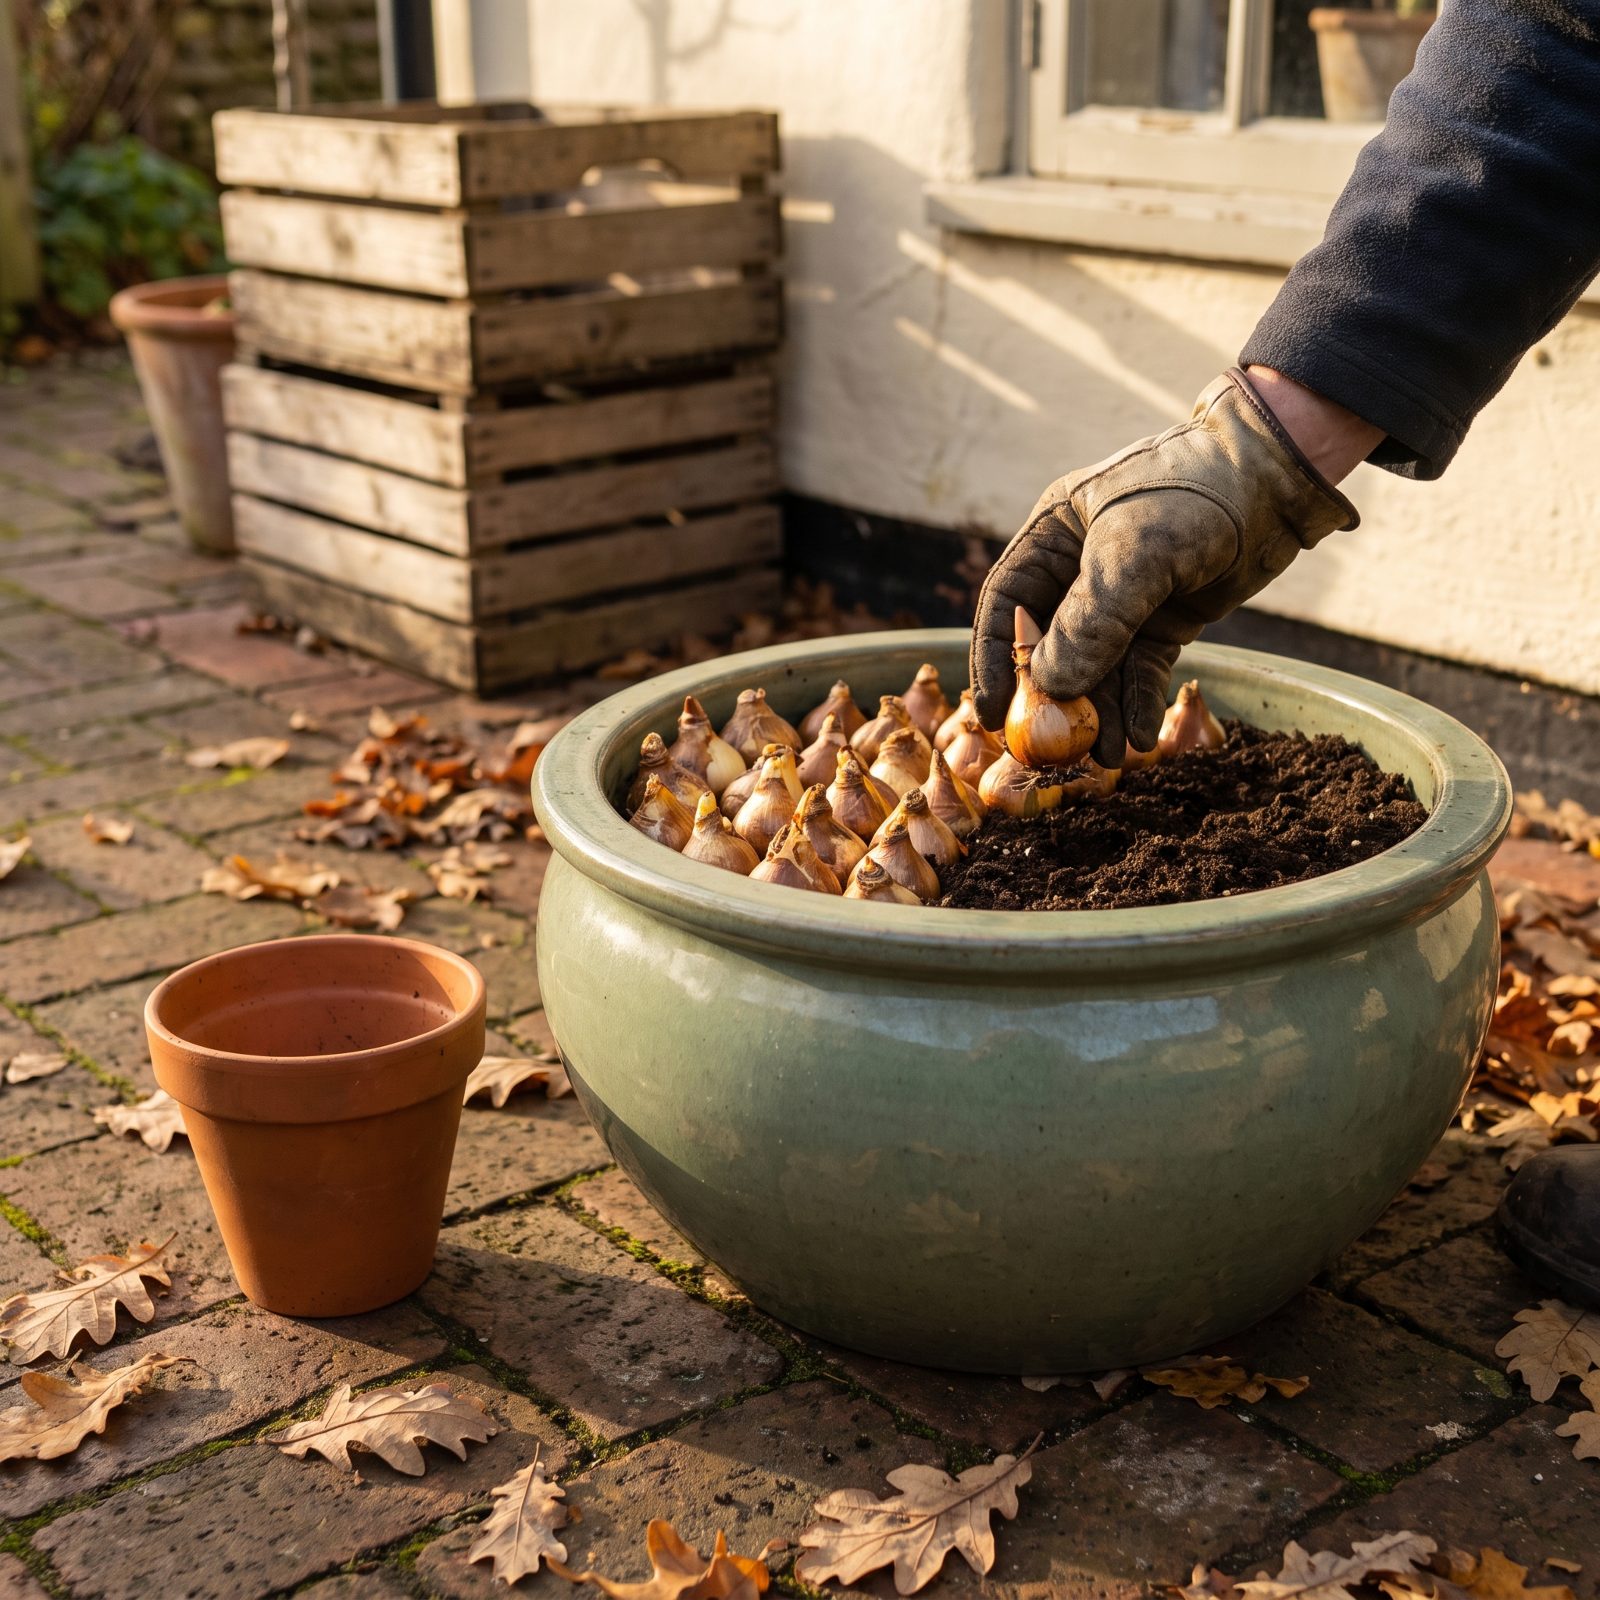
Small pots freeze solid. All of it, straight through, because there isn’t enough soil mass to buffer the cold, and a bulb in a six-inch pot through a hard winter is basically living in a tiny freezer. The roots can’t survive that swing.
Go bigger than feels necessary. A wider, deeper container holds more soil, and more soil means the temperature shifts slowly instead of whipping from a mild afternoon to a brutal night in the space of a few hours. For most spring bulbs, fourteen inches or more across is a safe floor. That extra soil does the insulating your bulbs would get for free if they were tucked into open ground.
14. Leaving Terracotta Bulb Pots Exposed to Hard Freezes
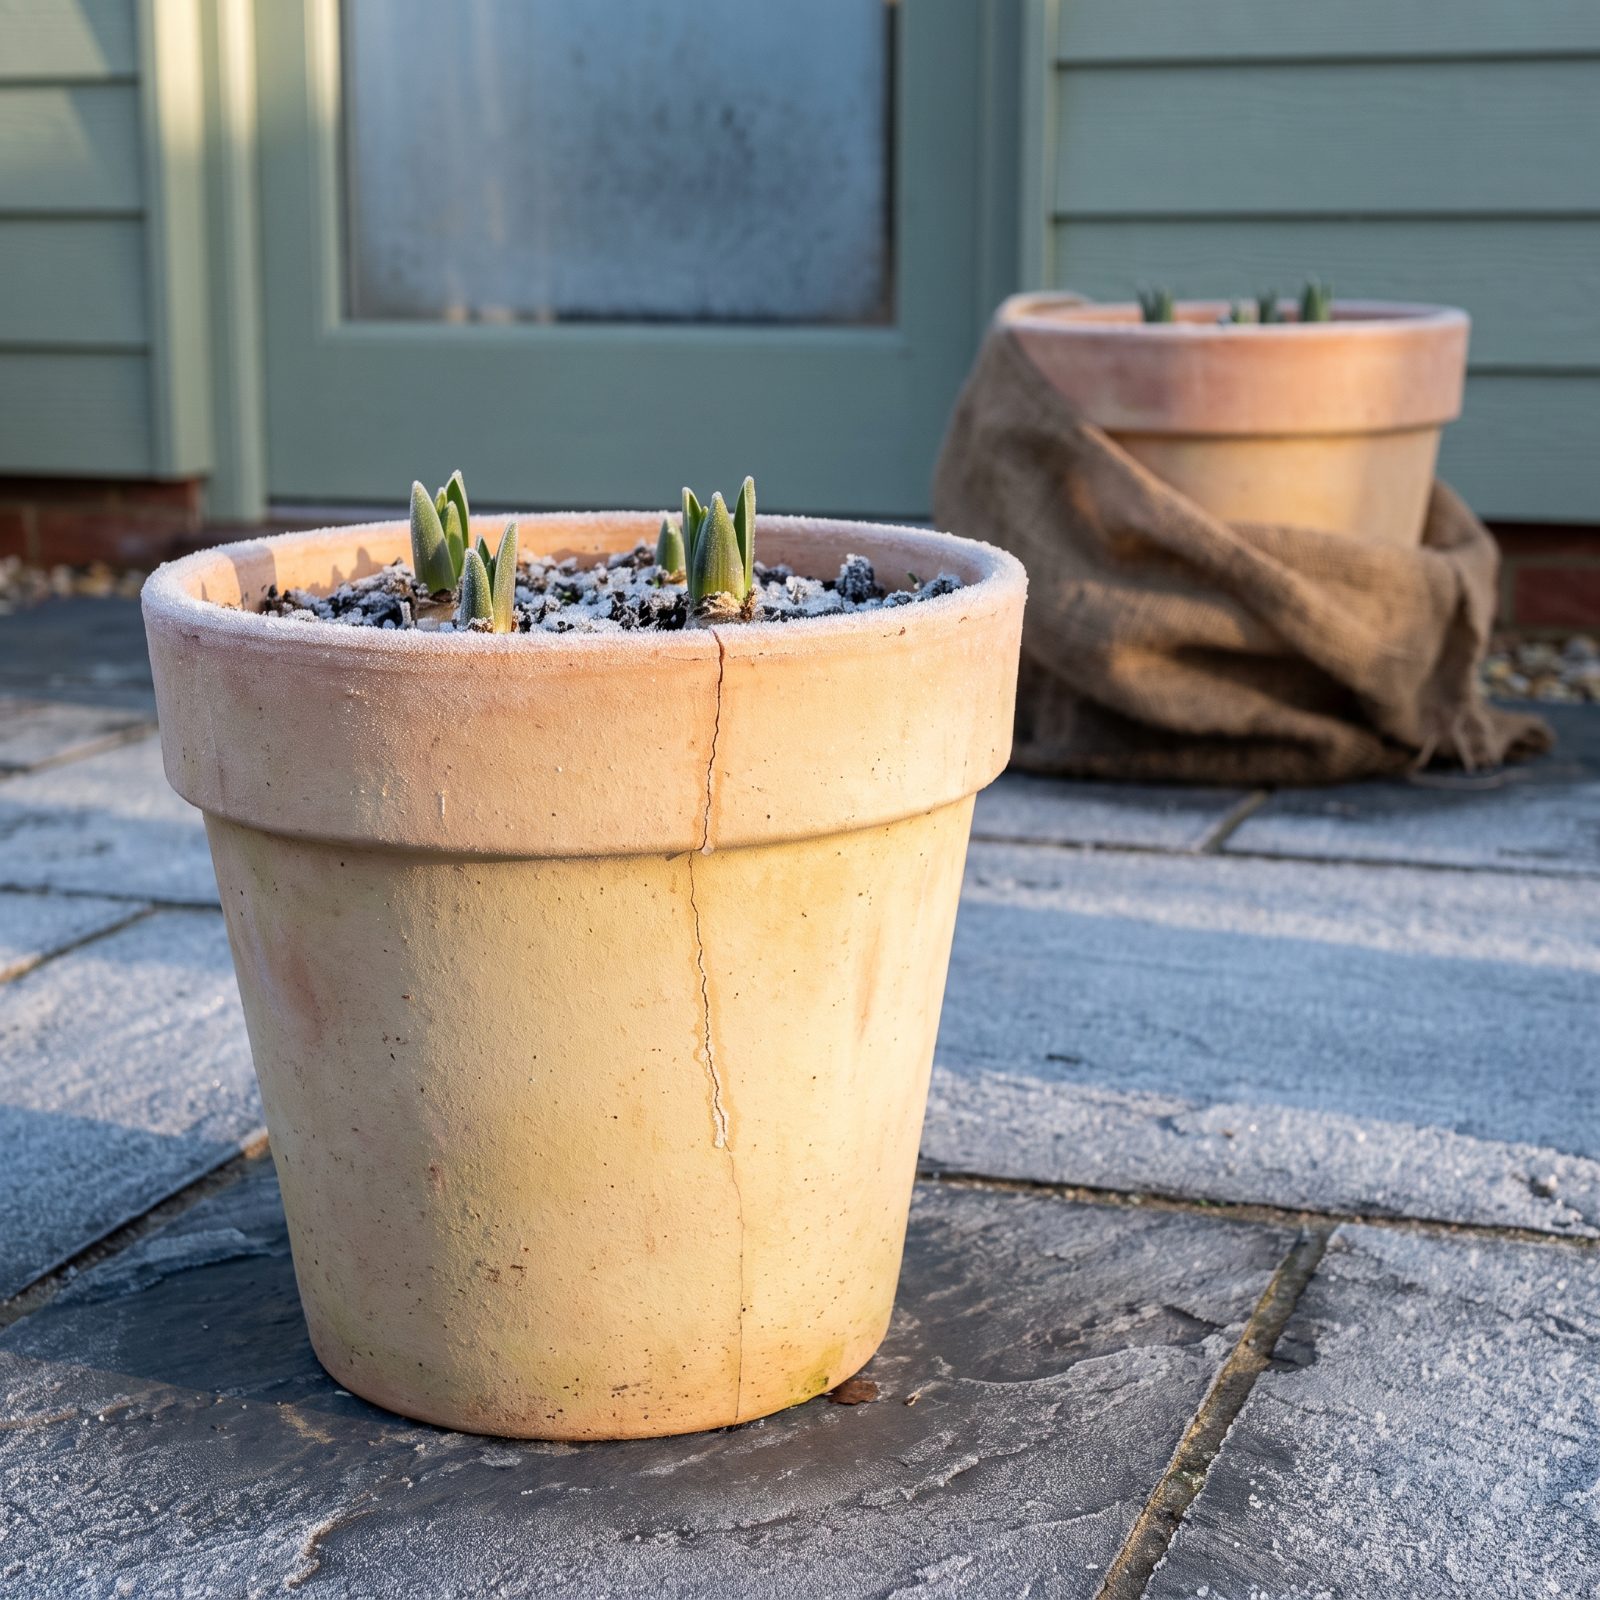
Terracotta drinks water. The clay is porous, it soaks up moisture, and when that moisture freezes and expands the pot cracks. You find it in spring, split down the side, bulbs exposed and dead. We’ve lost a few good pots this way, and it stings every single time.
Move terracotta somewhere the temperature stays above a hard freeze — an unheated garage, a shed, up against the house under an eave. Can’t move it? Wrap it in burlap or bubble wrap, or sink the whole pot into a garden bed and let the ground do the insulating. Glazed and plastic pots shrug off freezes better when hauling everything indoors isn’t realistic.
13. Allowing Container Bulbs to Dry Out All Winter
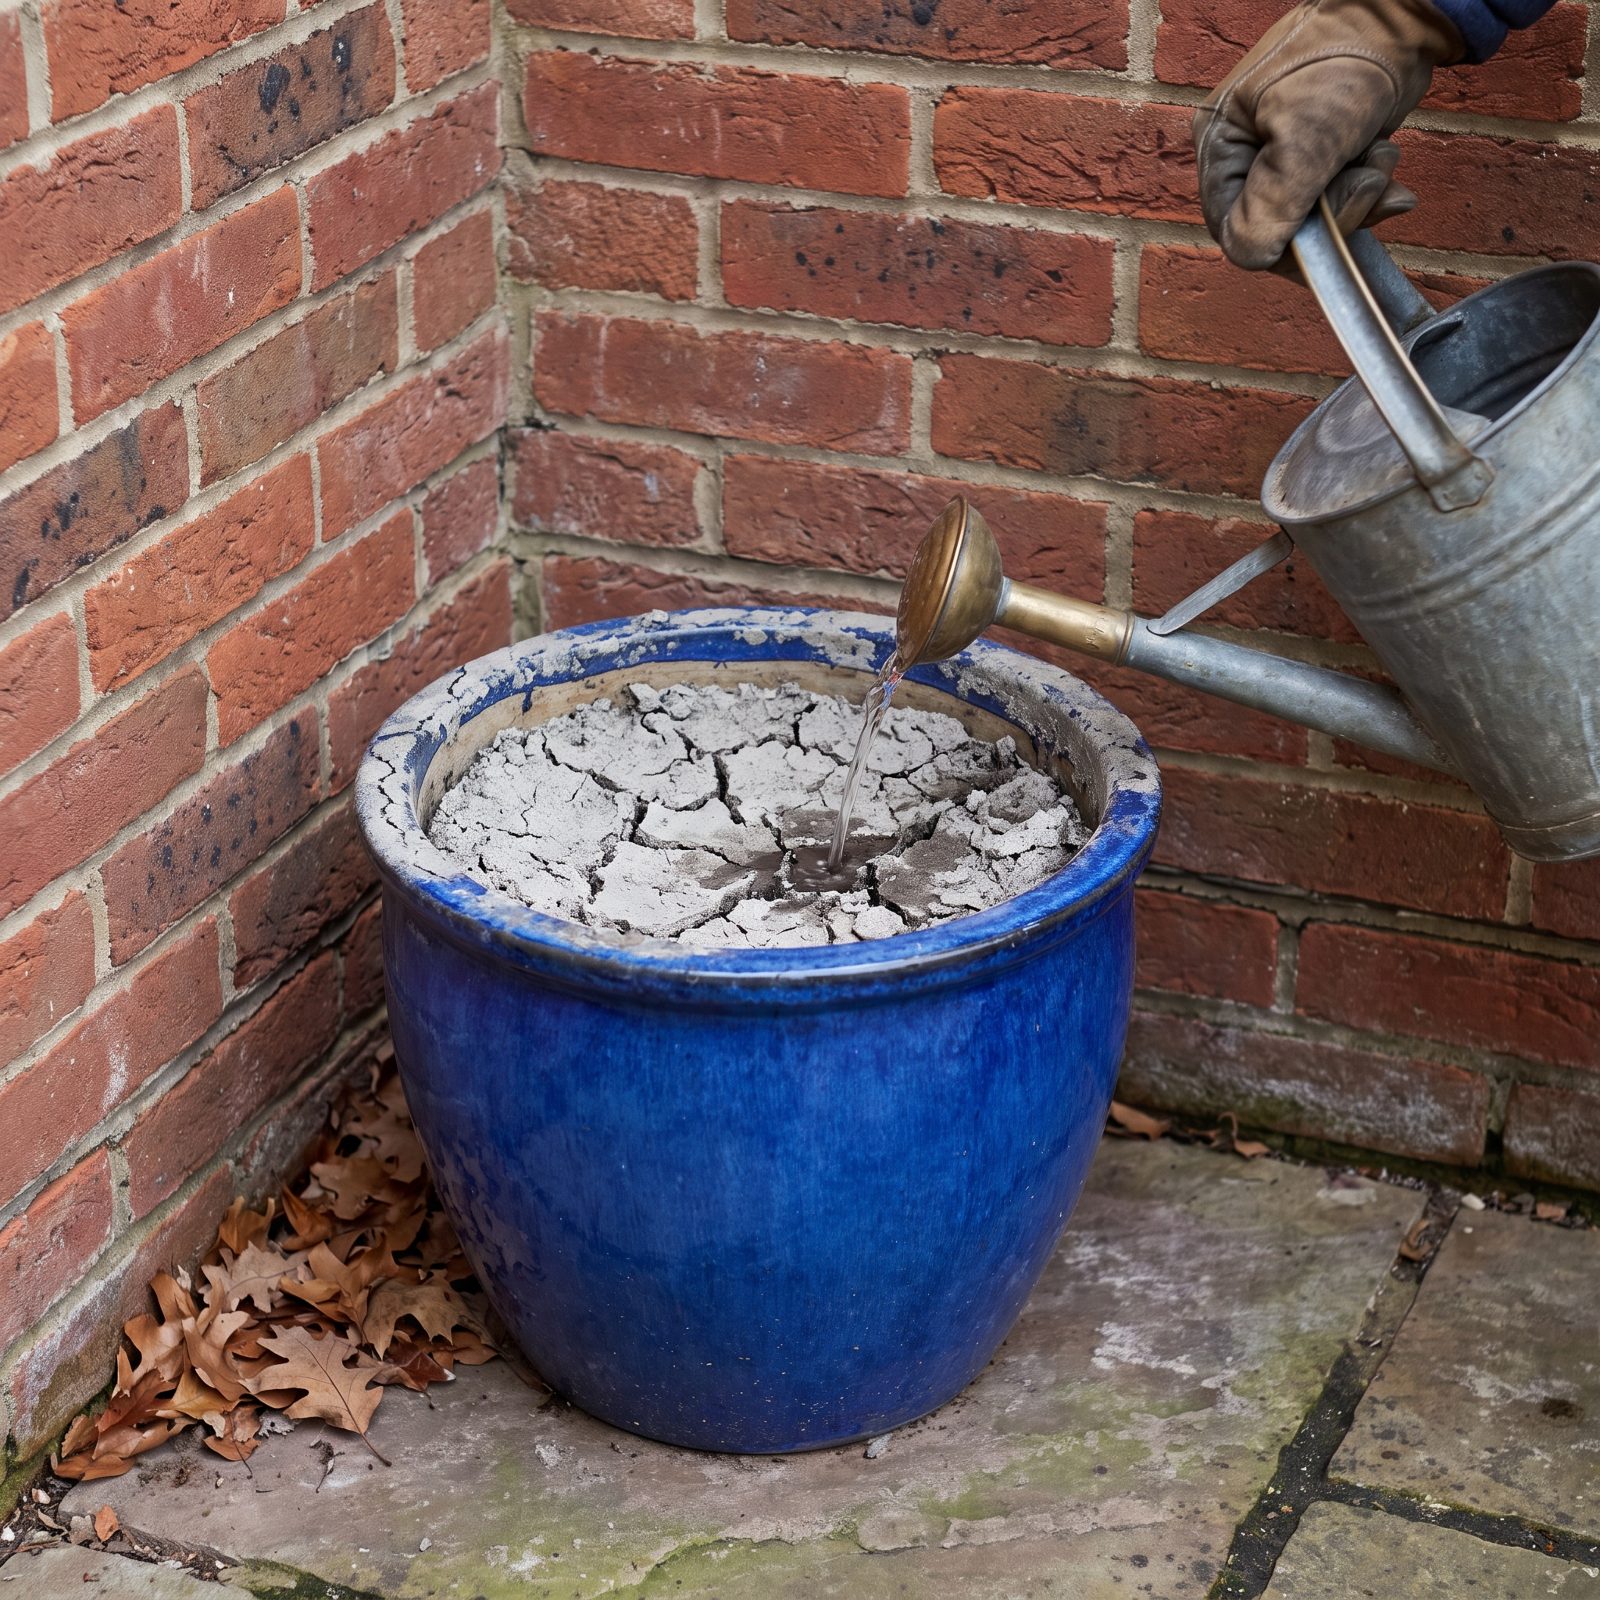
People stop watering their containers the moment the weather turns cold, and it feels sensible — the bulbs are dormant, right? Not quite. They’re growing roots down there all winter, quietly, in the dark, and roots need some moisture to keep inching along.
A container under an eave or against a wall often catches no rain or snow at all. The soil turns to dust and the young roots shrivel. So check your pots through the season. When the top inch is dry and the soil isn’t frozen, give them a modest drink — not a soaking, just enough to keep the soil barely damp.
12. Storing Unplanted Bulbs in Sealed Plastic Bags
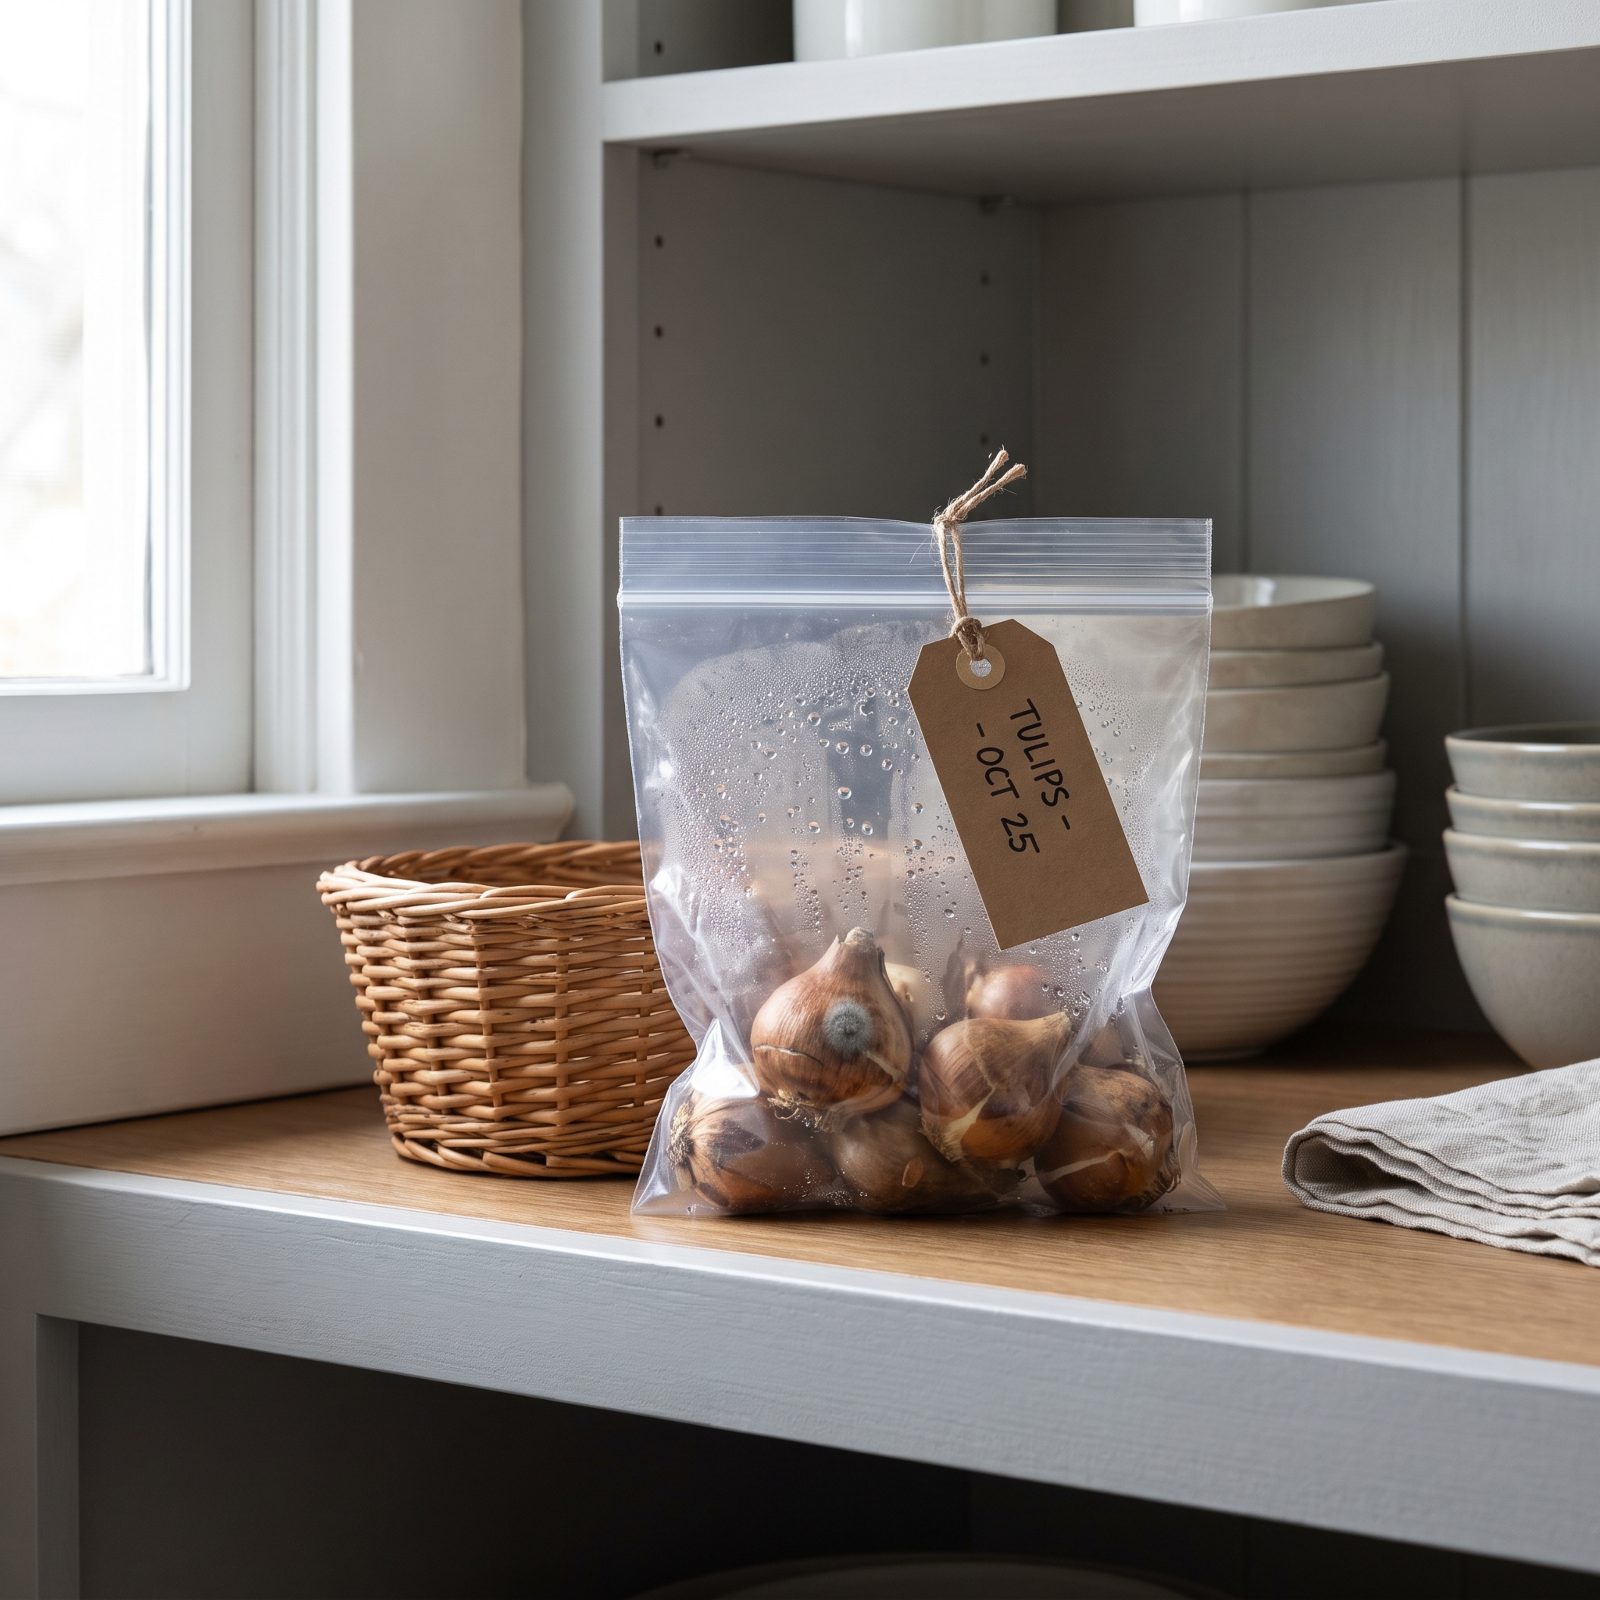
Bulbs breathe. Seal them in a plastic bag and they can’t, so moisture collects, and moisture plus a warm dark bag equals mold. You open the thing weeks later to a fuzzy gray mess and that faint sour whiff of rot.
Give them air instead. Store unplanted bulbs in a paper bag, a mesh sack, or an open crate lined with newspaper, somewhere cool and dry, around 50 to 60 degrees, out of direct sun. Spread them in a single layer if you can, so no bulb sits trapped against another holding in dampness. They want to feel like they’re resting in a dry autumn field, not stuffed in a lunchbox.
11. Keeping Bulbs Beside Ripening Apples
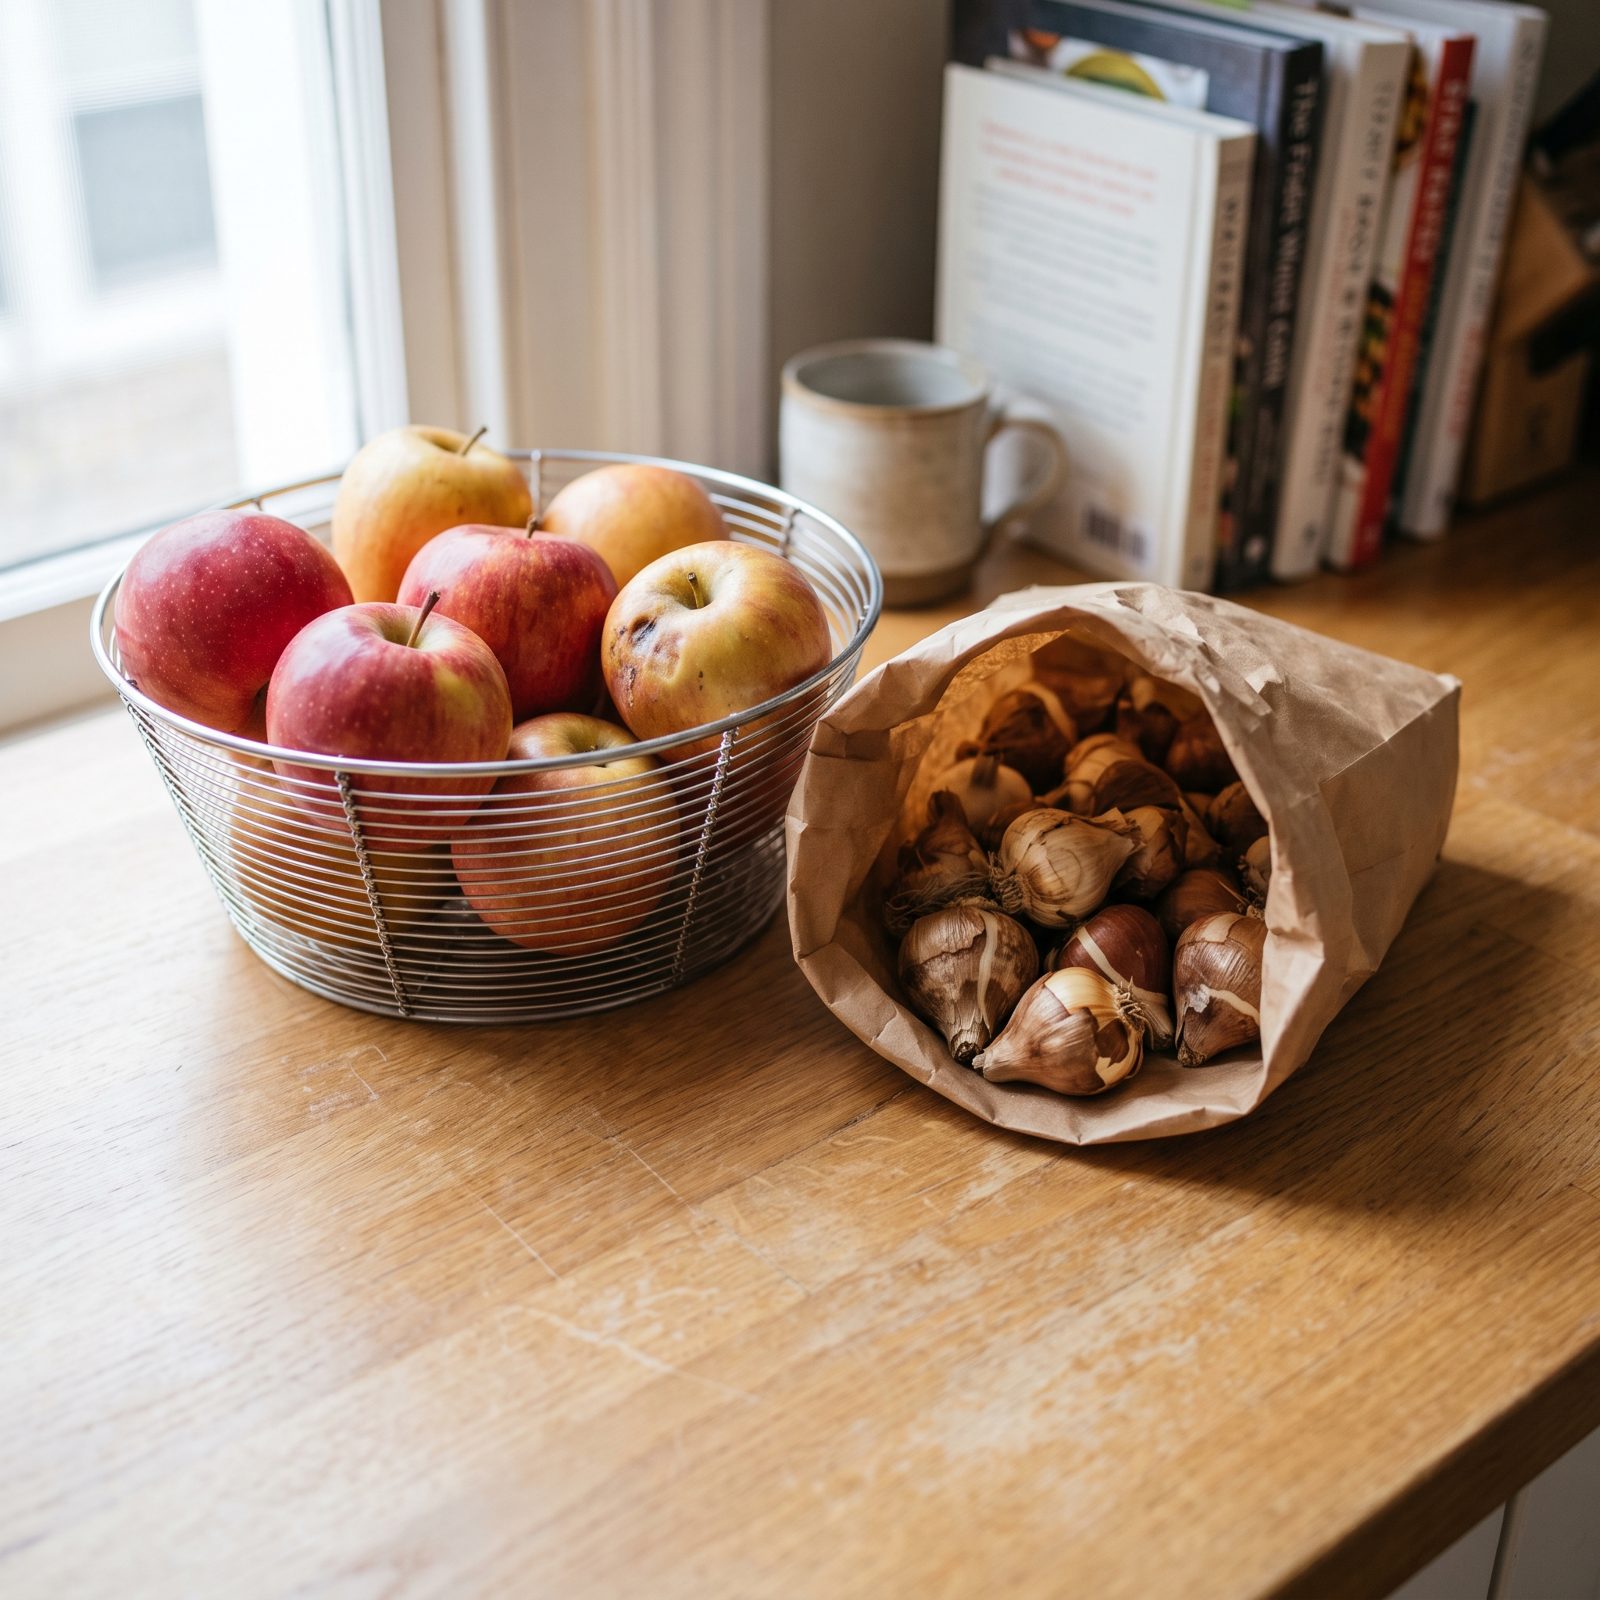
This one surprises people. Ripening apples release ethylene gas, and ethylene quietly kills the flower bud forming deep inside a dormant bulb. You tuck your tulips in the cool pantry right next to the fruit bowl, feeling clever about it, and in spring you get healthy green leaves and not a single bloom.
Keep fruit and bulbs apart — different shelf, different room, as far as you can manage. This matters most if you’re chilling bulbs in a refrigerator that also holds produce, which is exactly where most of us trip up.
10. Storing Bulbs in a Warm, Heated Room
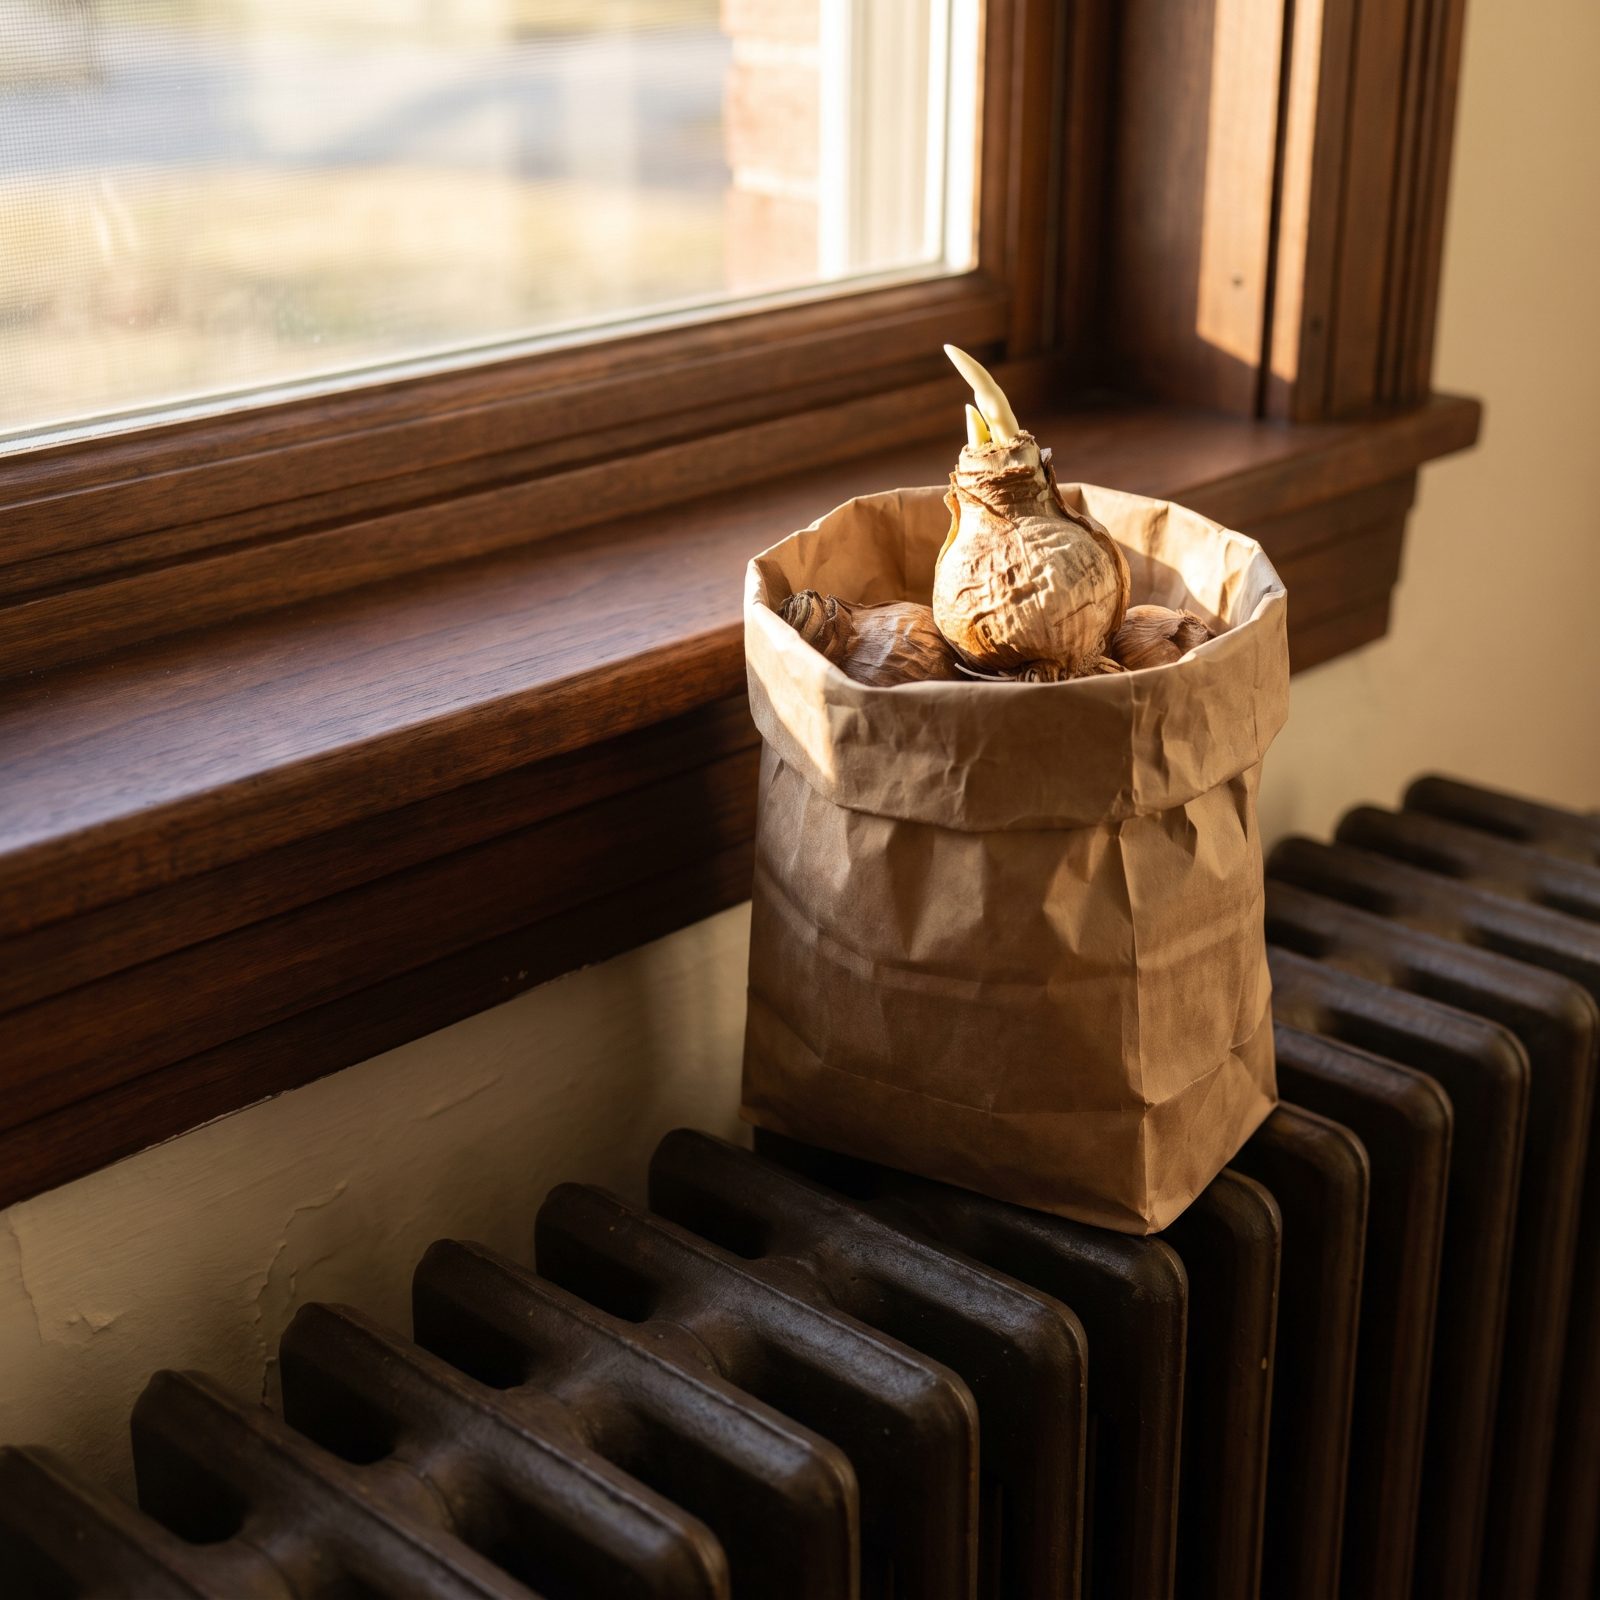
A bulb left in a heated room thinks spring has arrived. It dries out, shrivels, and sometimes throws a weak pale sprout months too early, burning through the stored energy it needed for an actual flower. By planting time it’s a soft, spent husk.
Cool and dark is the rule — an unheated garage, a basement, a cellar, a cool closet, anywhere that holds around 50 to 60 degrees and stays well out of the sun. The forgotten corner of a mudroom works fine. Your bulbs are not houseguests. They don’t want the warm spot by the window.
9. Freezing Pre-Chilled Bulbs Instead of Refrigerating Them
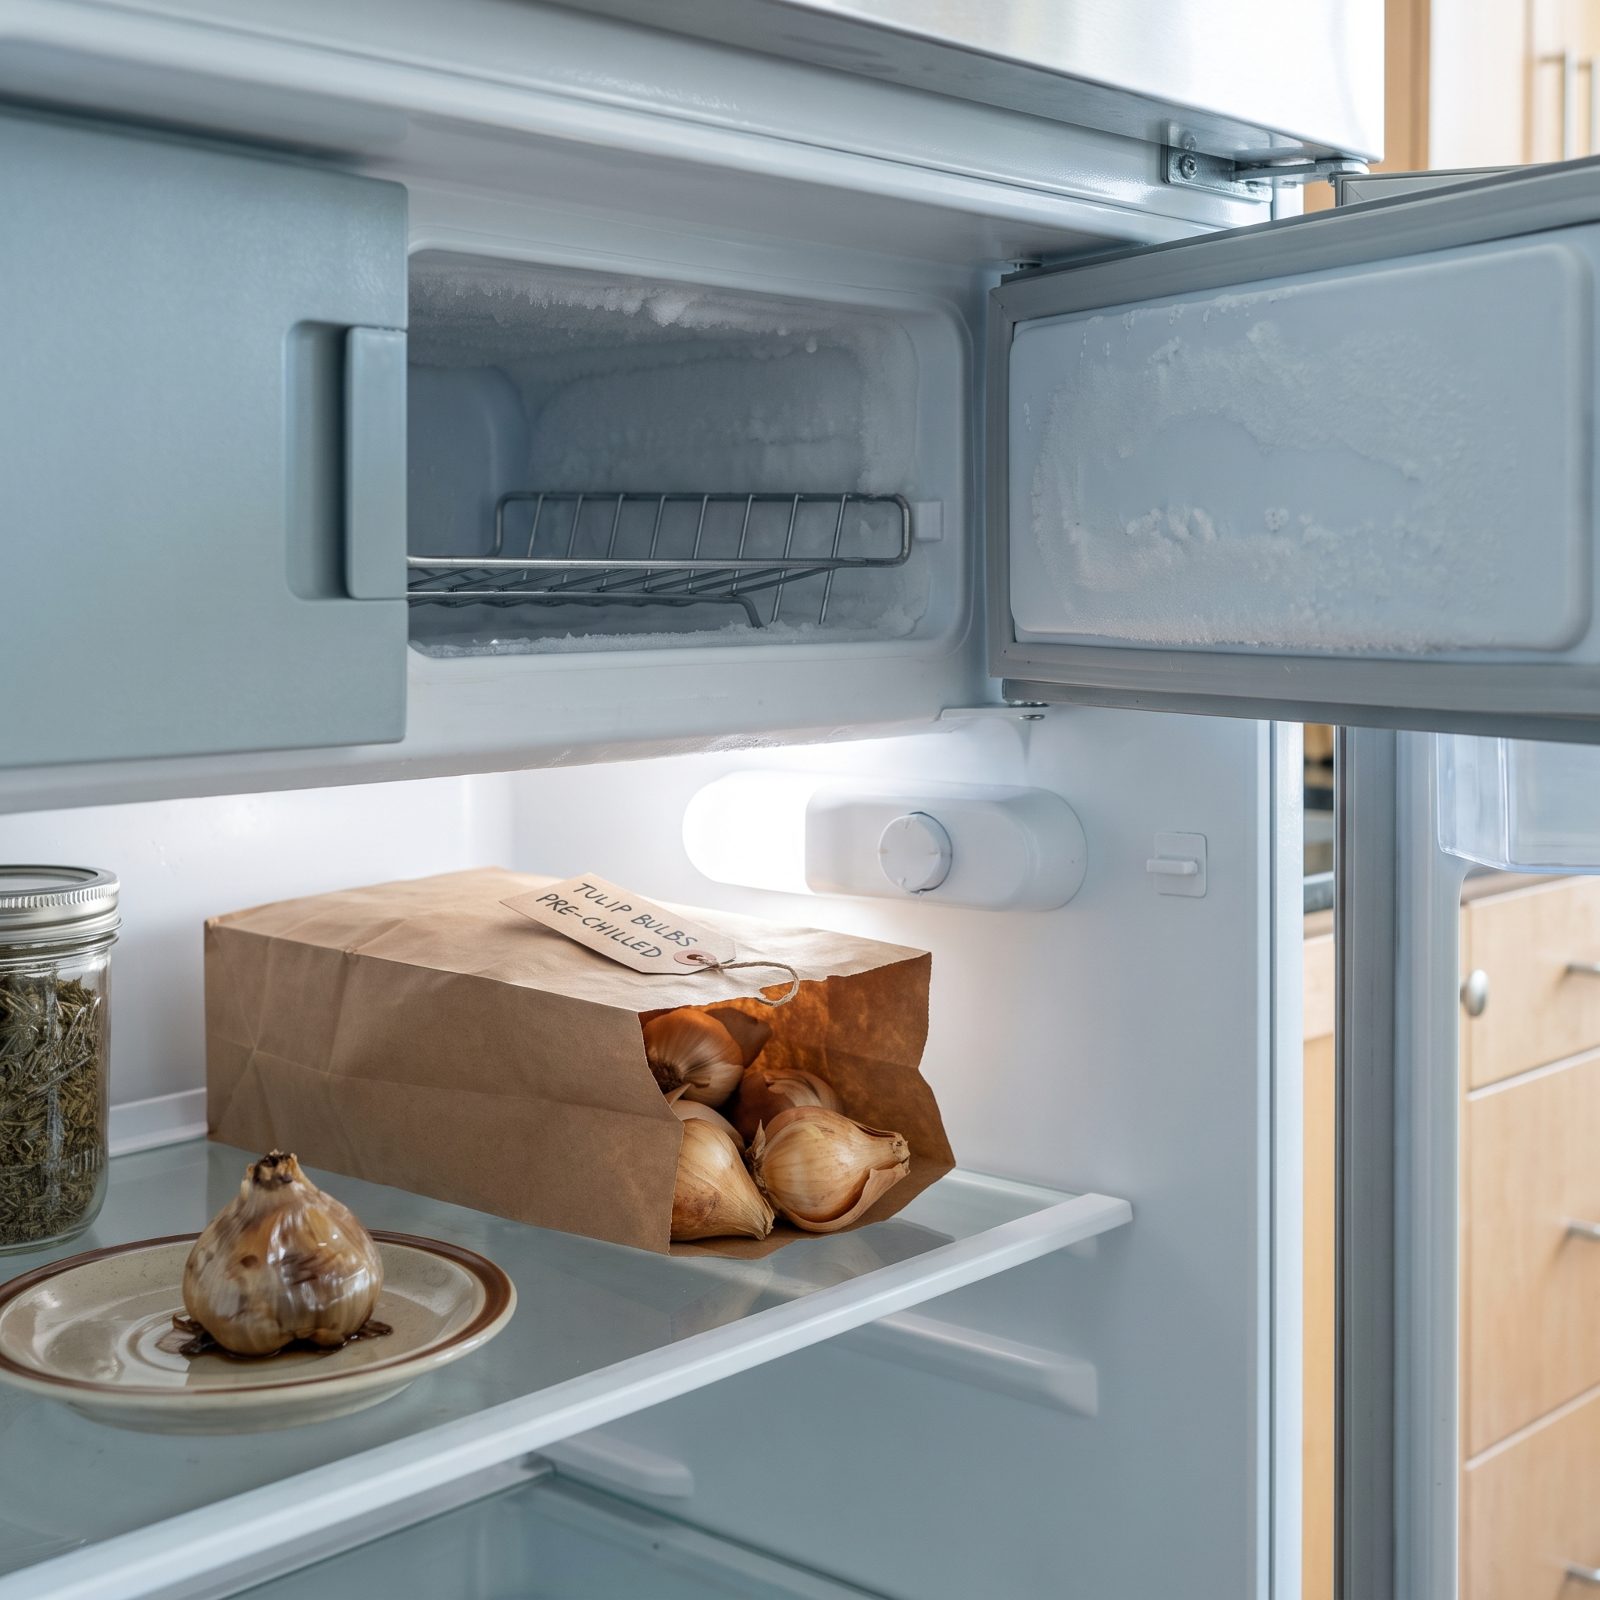
Chilling and freezing are not the same thing, and the difference is your whole crop. A bulb wants cold — somewhere around 35 to 45 degrees, steady. Push it below freezing and the water inside the cells crystallizes, the cells rupture, and you’re left with a mushy, darkened bulb that will never grow.
Refrigerator, not freezer. Keep pre-chilling bulbs in the main compartment, never the freezer section and never pressed against the back wall where the coldest air blows and a thin skin of frost forms. A middle shelf, in a paper bag, is exactly right. Cold enough to fool them, warm enough to keep them whole.
8. Watering So Heavily That Newly Planted Bulbs Rot
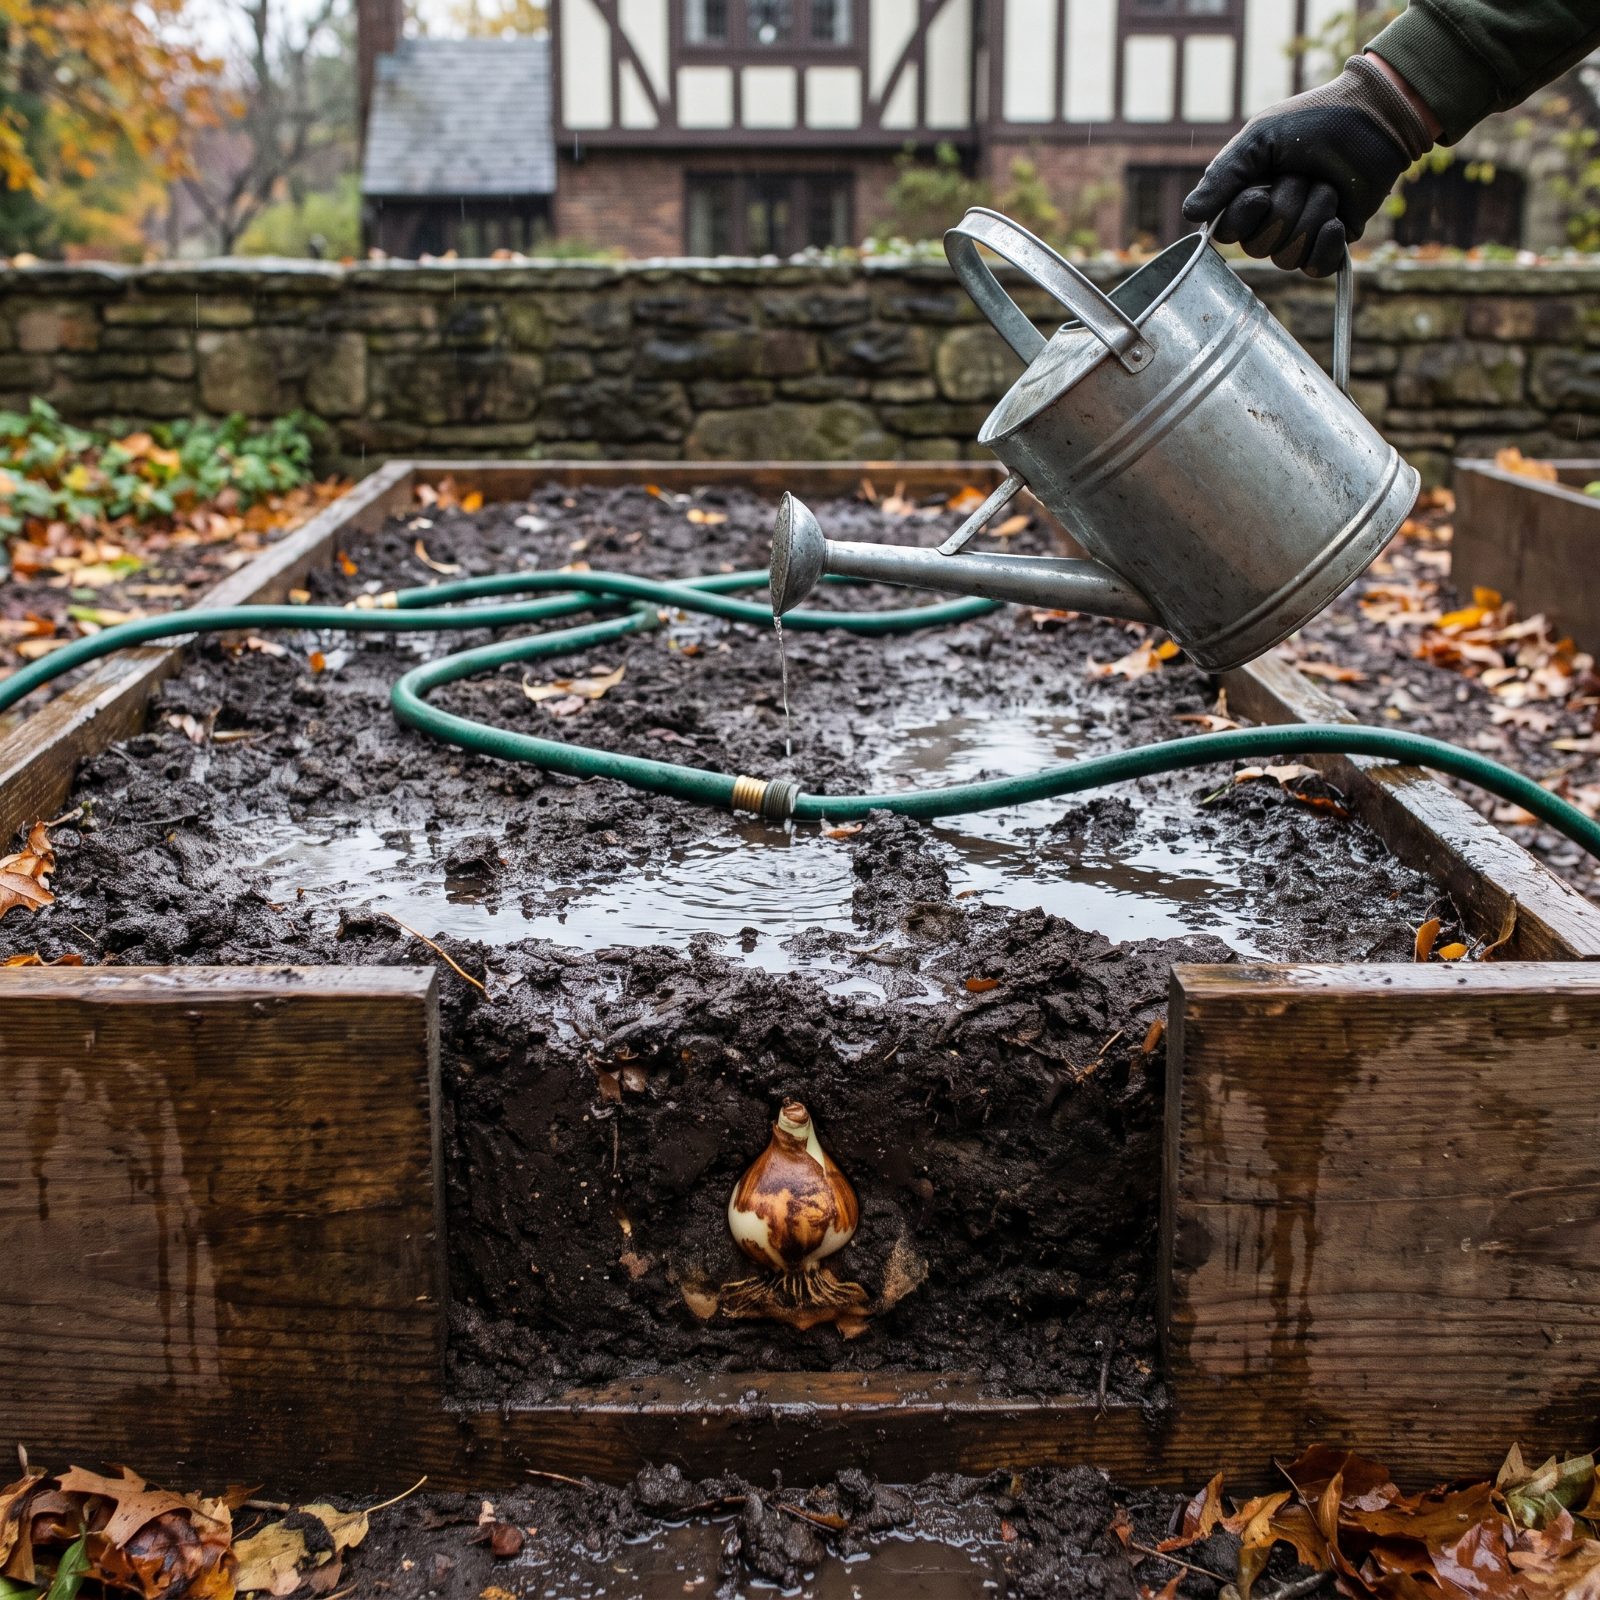
Bulbs come with their own packed lunch. Everything they need to root is already inside, so they ask for very little water to get going. Drench a freshly planted bed, keep drenching it, and the bulbs sit in cold wet soil until they rot from the base up. No roots, no spring.
Water once at planting to settle the soil around them and chase out air pockets, then leave them alone unless the ground goes genuinely dry for weeks on end. Fall rain usually handles the rest. Far more bulbs drown than die of thirst — overwatering is the kind of kindness that kills. Go easy. The bulb knows what it’s doing.
7. Skipping the First Watering in Bone-Dry Soil
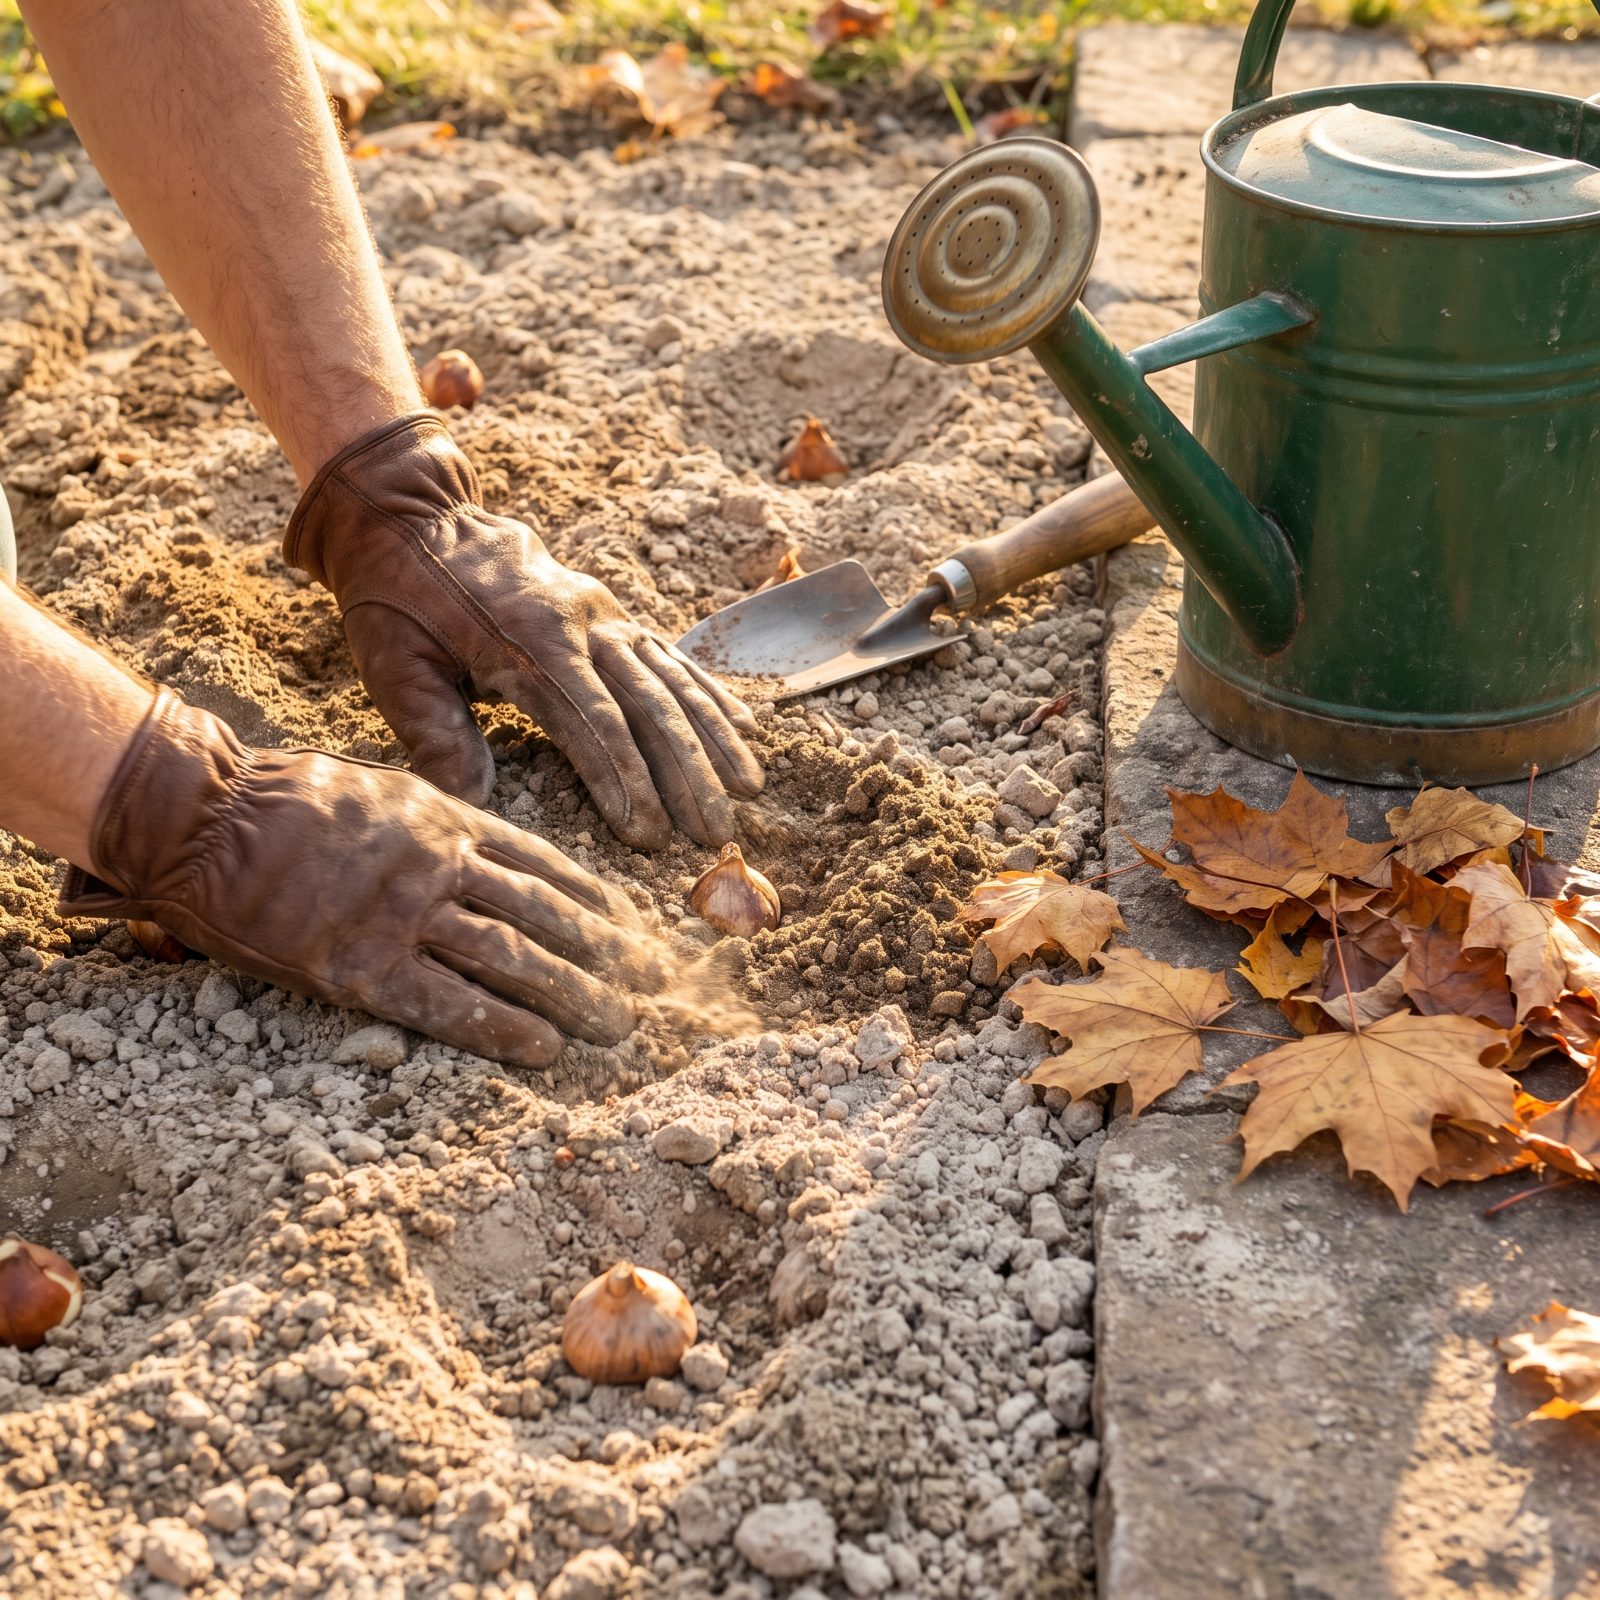
Dry autumn soil looks fine on top, but dig down and it’s dust. You tuck the tulips and daffodils in, pat the surface, walk away satisfied — and nothing down there has the faintest clue it’s supposed to start growing.
Bulbs need moisture to trigger root growth before the ground freezes. No roots in fall means a weak, sulking plant come spring, if it shows at all. We learned this the hard way one October when we assumed the rains would come. They didn’t until December.
So soak the bed right after planting. One deep watering, enough to settle the soil and wet the full depth where the bulbs sit, then let the season take over.
6. Running the Sprinklers All Winter Long
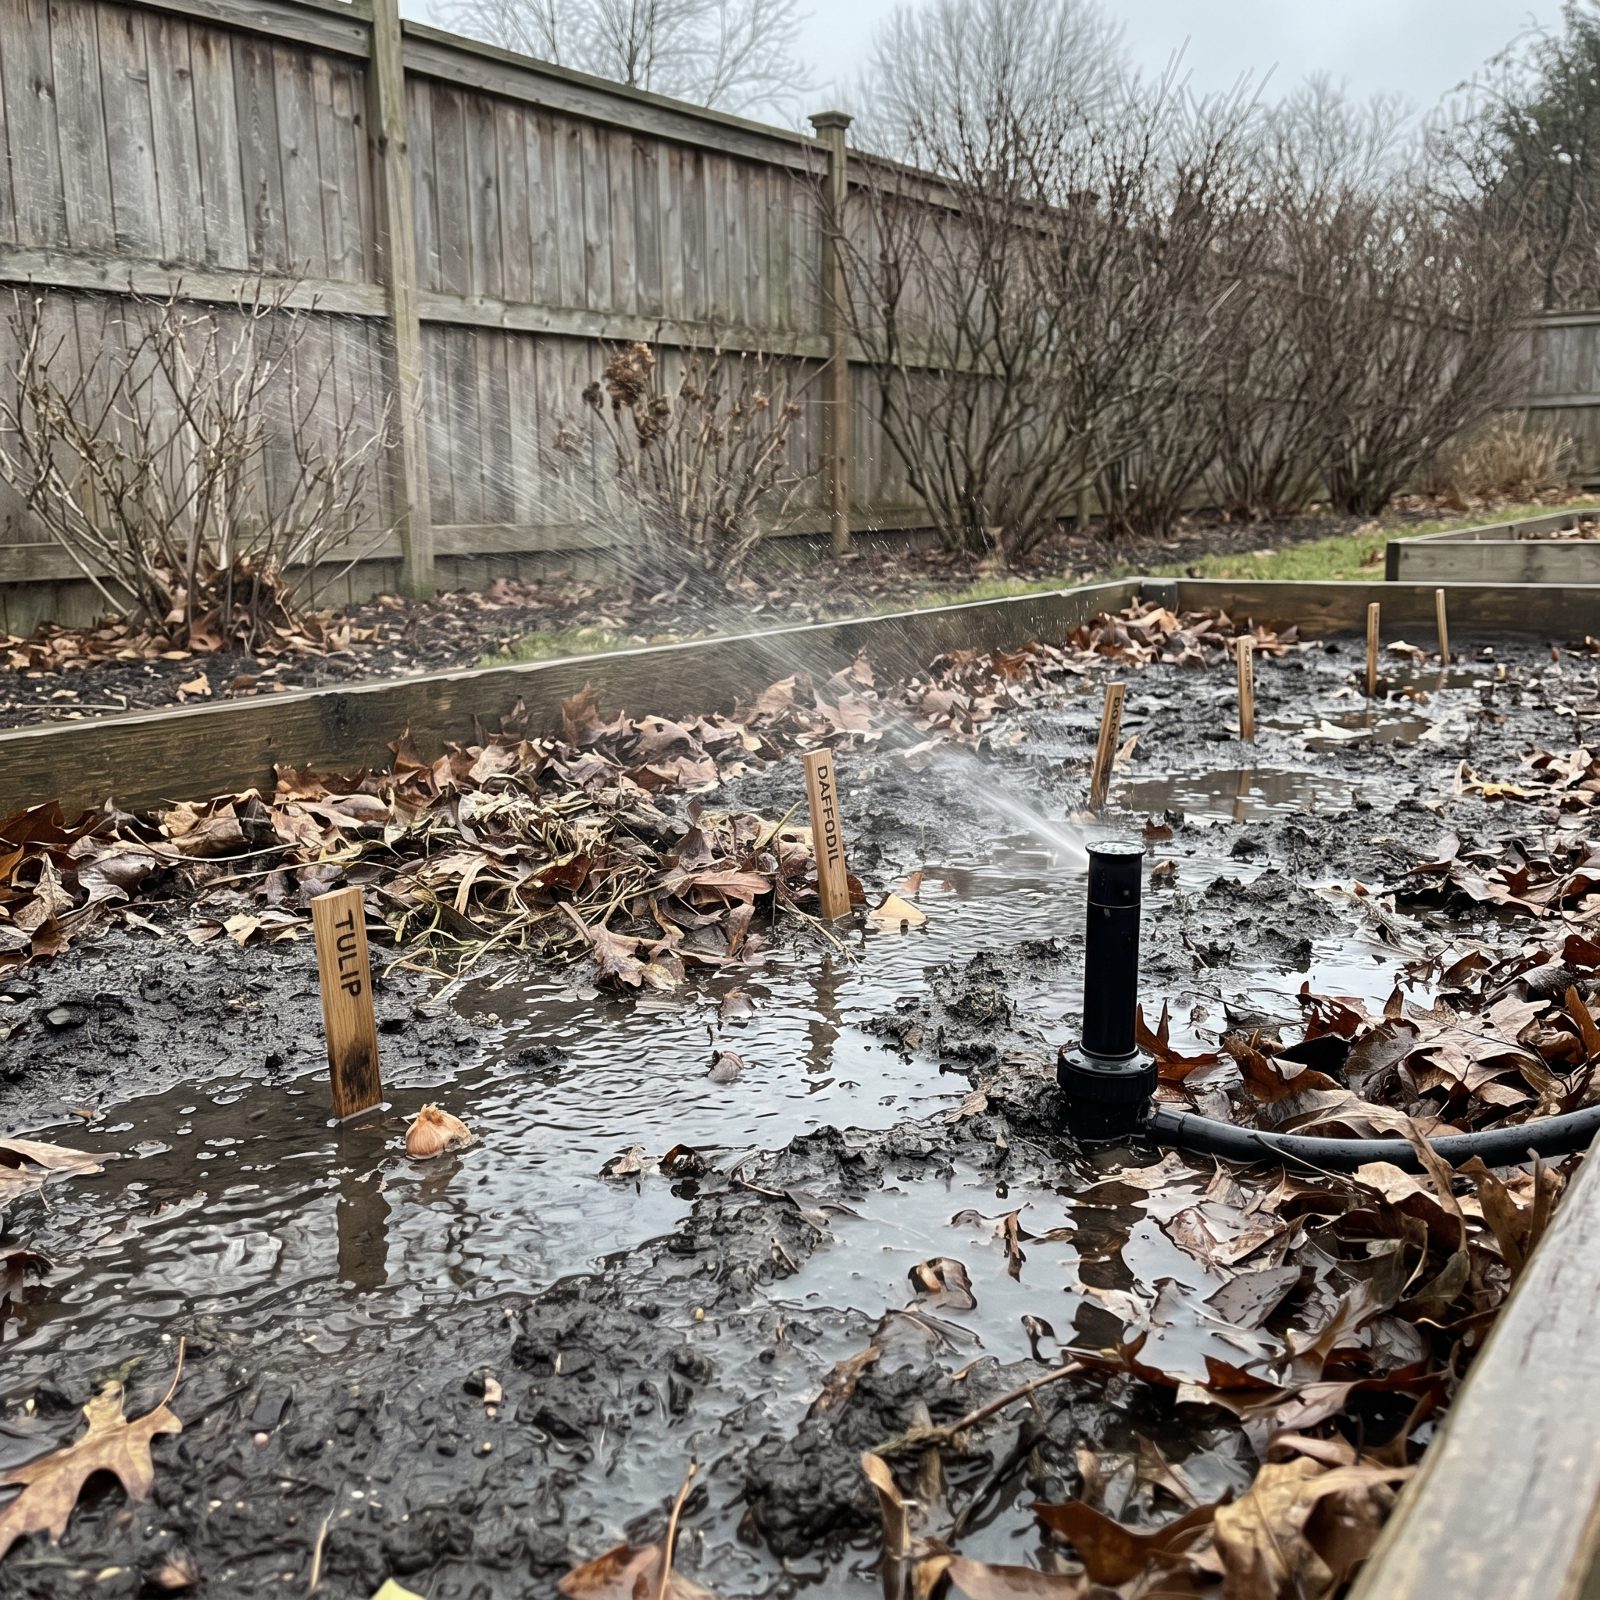
Your irrigation timer doesn’t know the season changed. It keeps delivering summer-sized gulps to a bed that’s already cold and wet from rain and snowmelt, and that’s where the trouble starts.
Bulbs sitting in soggy, oxygen-starved soil rot. Simple as that. A tulip bulb that mushes over winter gives you a hole in the ground and a shrug in April. Daffodils are tougher, but even they draw the line at a swamp.
Shut the automatic system off once the bulbs are settled and the rains return. Let winter moisture do the job it does for free.
5. Piling the Mulch on Far Too Thick
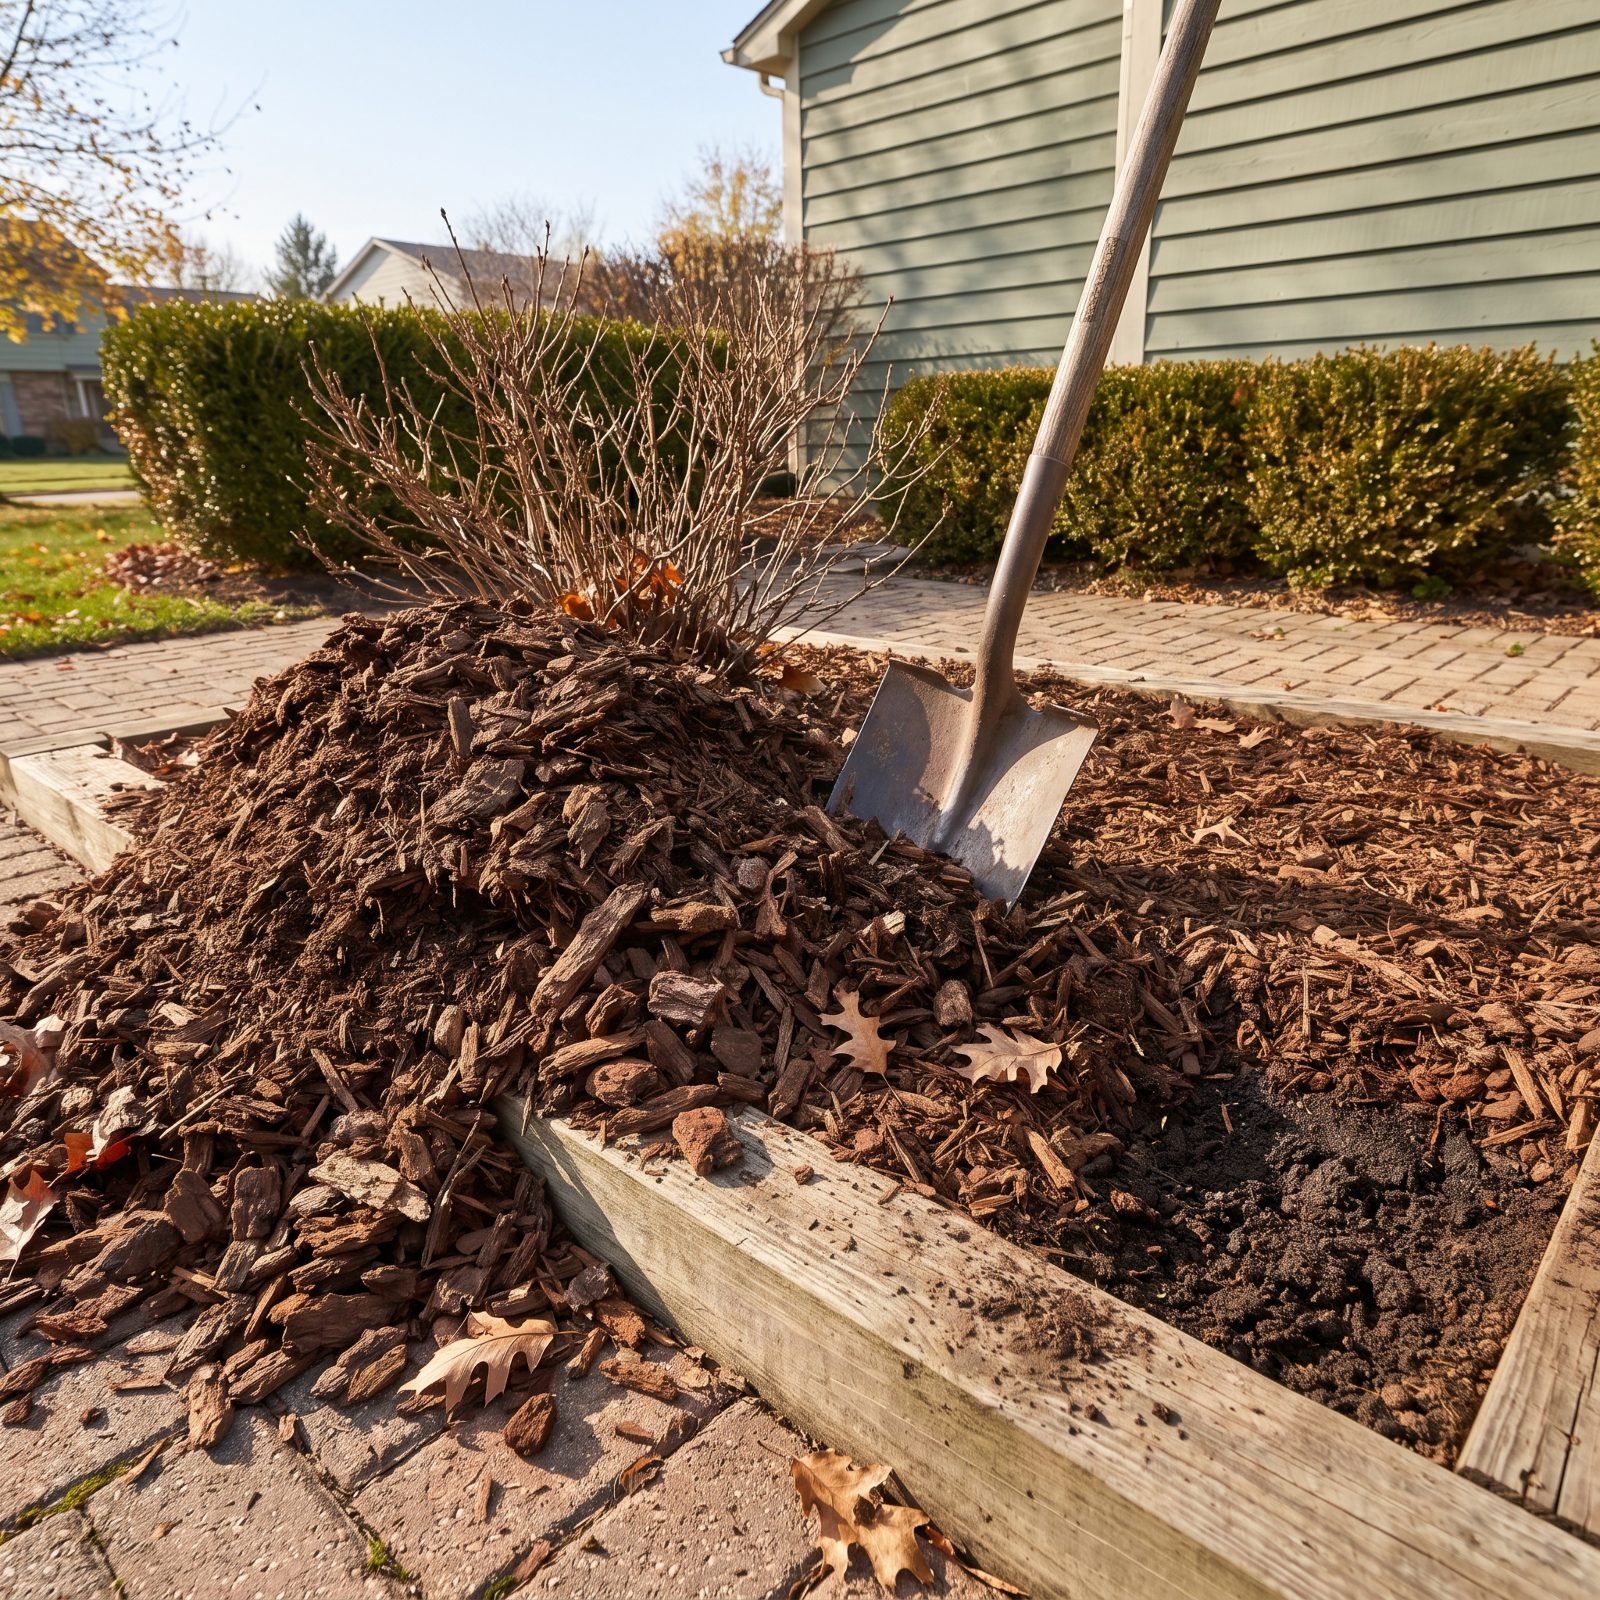
More mulch feels like more protection. It isn’t. A blanket piled six or eight inches deep becomes a wall, and in spring those tender shoots have to claw through all of it before they ever see light.
Thick mulch also traps too much moisture against the bulbs and invites rot. You end up smothering the very plants you meant to shield.
Two to three inches is plenty — enough to steady the soil temperature and slow the freeze-thaw heaving that shoves bulbs toward the surface. Spread it even and keep it loose.
4. Mulching Before the Ground Has Actually Cooled
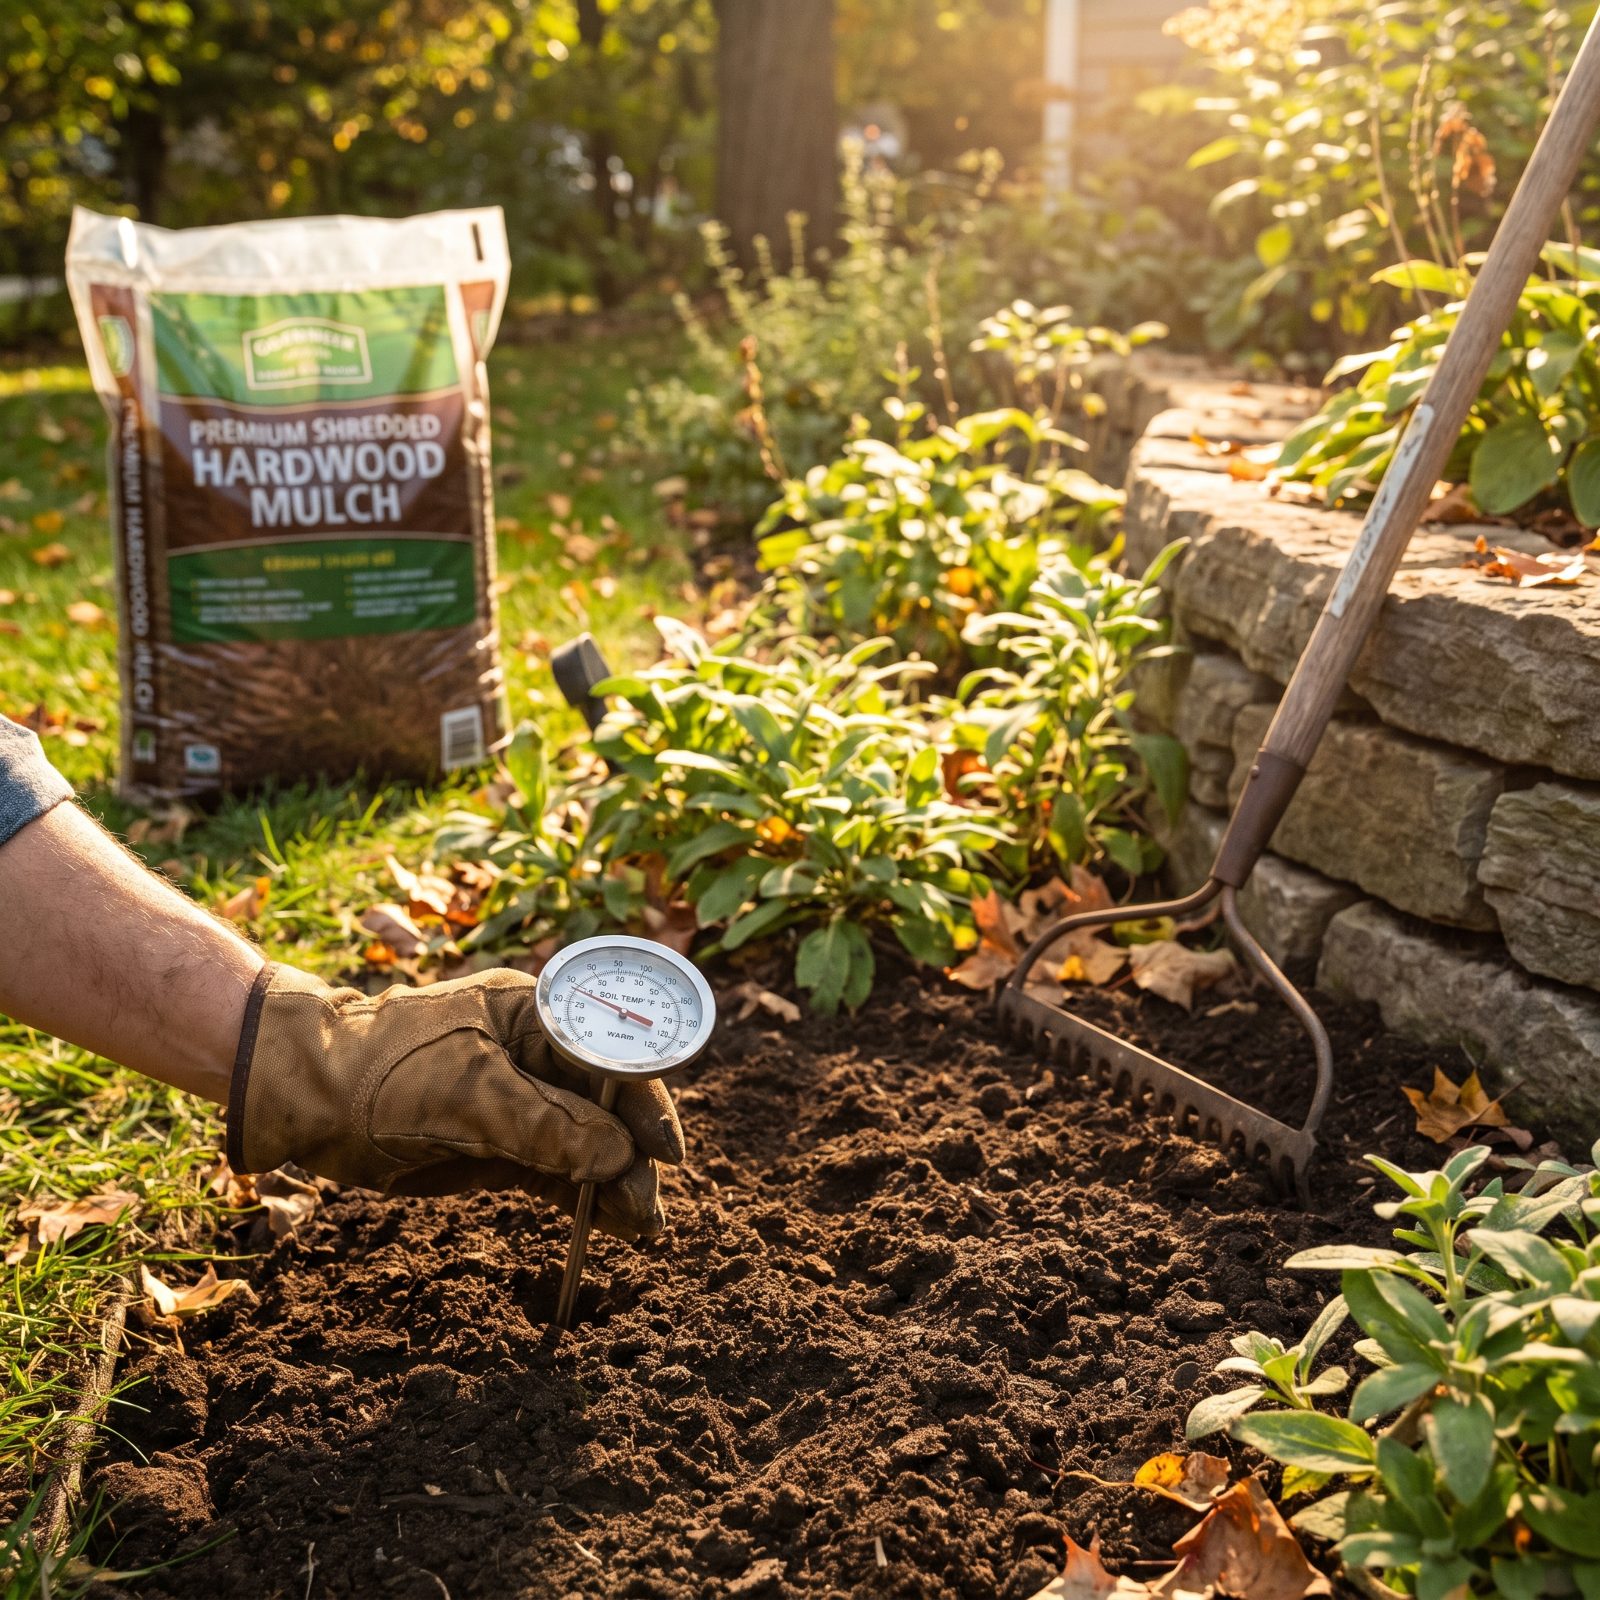
Eager gardeners mulch the moment the bulbs go in, often while the soil still holds summer’s warmth. That’s the mistake.
Mulch is insulation. Lay it over warm ground and you lock that warmth in, which can coax bulbs into premature root or shoot growth right before a hard freeze does real damage. You’ve essentially told them to start early, then slammed the door.
Wait until the top few inches have genuinely cooled and the first light frosts have passed — usually weeks after planting. Winter mulch is there to keep the ground consistently cold, not to warm it.
3. Yanking the Mulch Off Once Shoots Are Tall
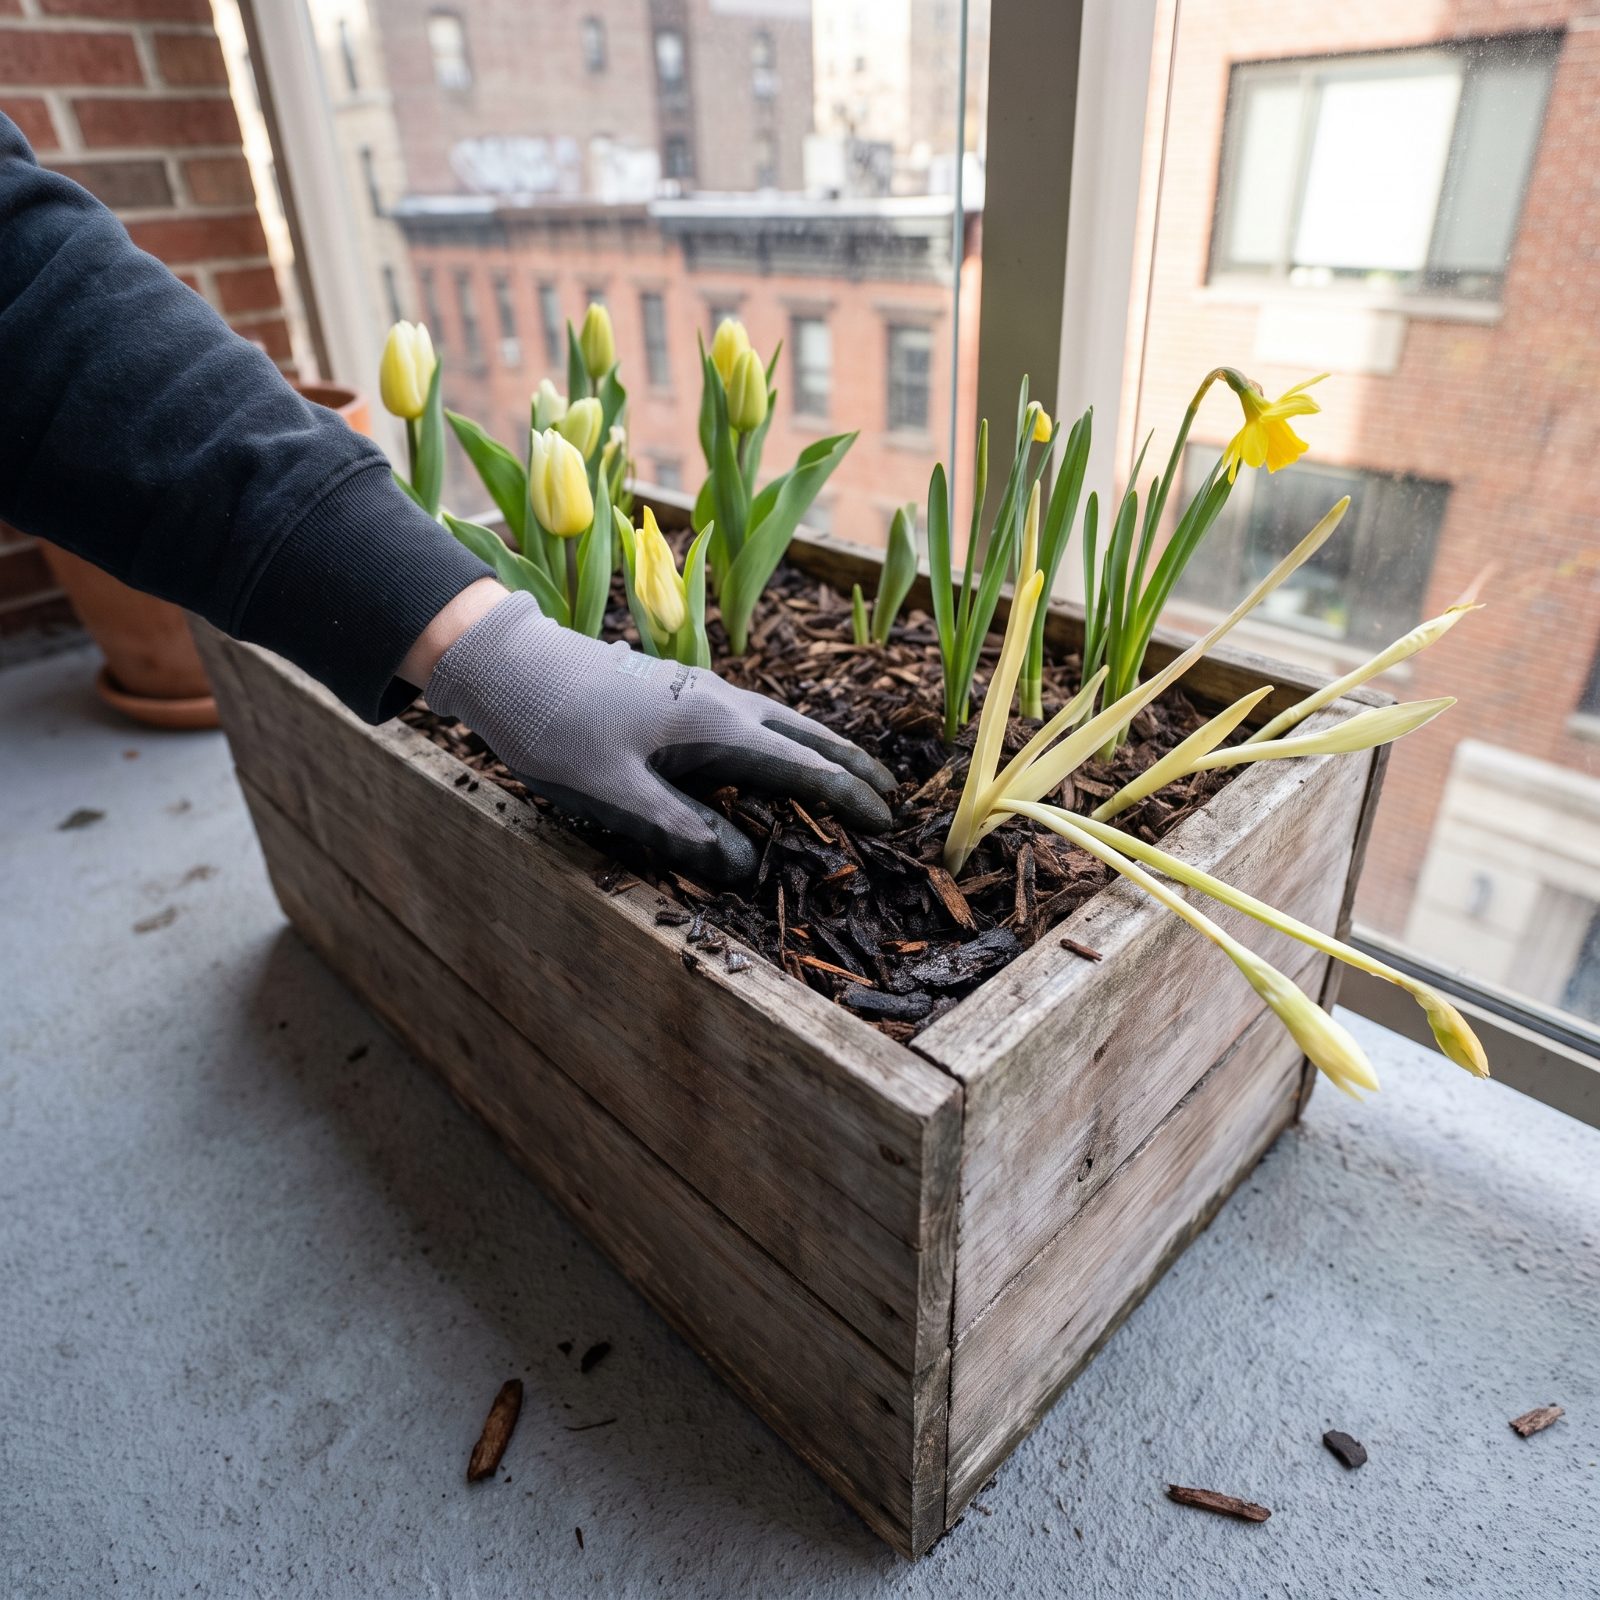
Spring arrives, you see shoots, and you rush to rake off the winter mulch so the plants can breathe. But if those shoots are already tall and pale, they’ve been growing under the mulch all along — blanched and brittle.
Tear the cover off now and you’ll snap stems and expose soft, etiolated growth to wind and late frost. A whole season’s flowers lost in one clumsy afternoon.
Pull mulch back gradually, and early, as soon as the first tips appear and before they stretch. Missed the window and they’re already up tall? Leave it. Let them green up on their own and rake gently around them, not over them.
2. Trusting Mothballs to Keep Critters Away
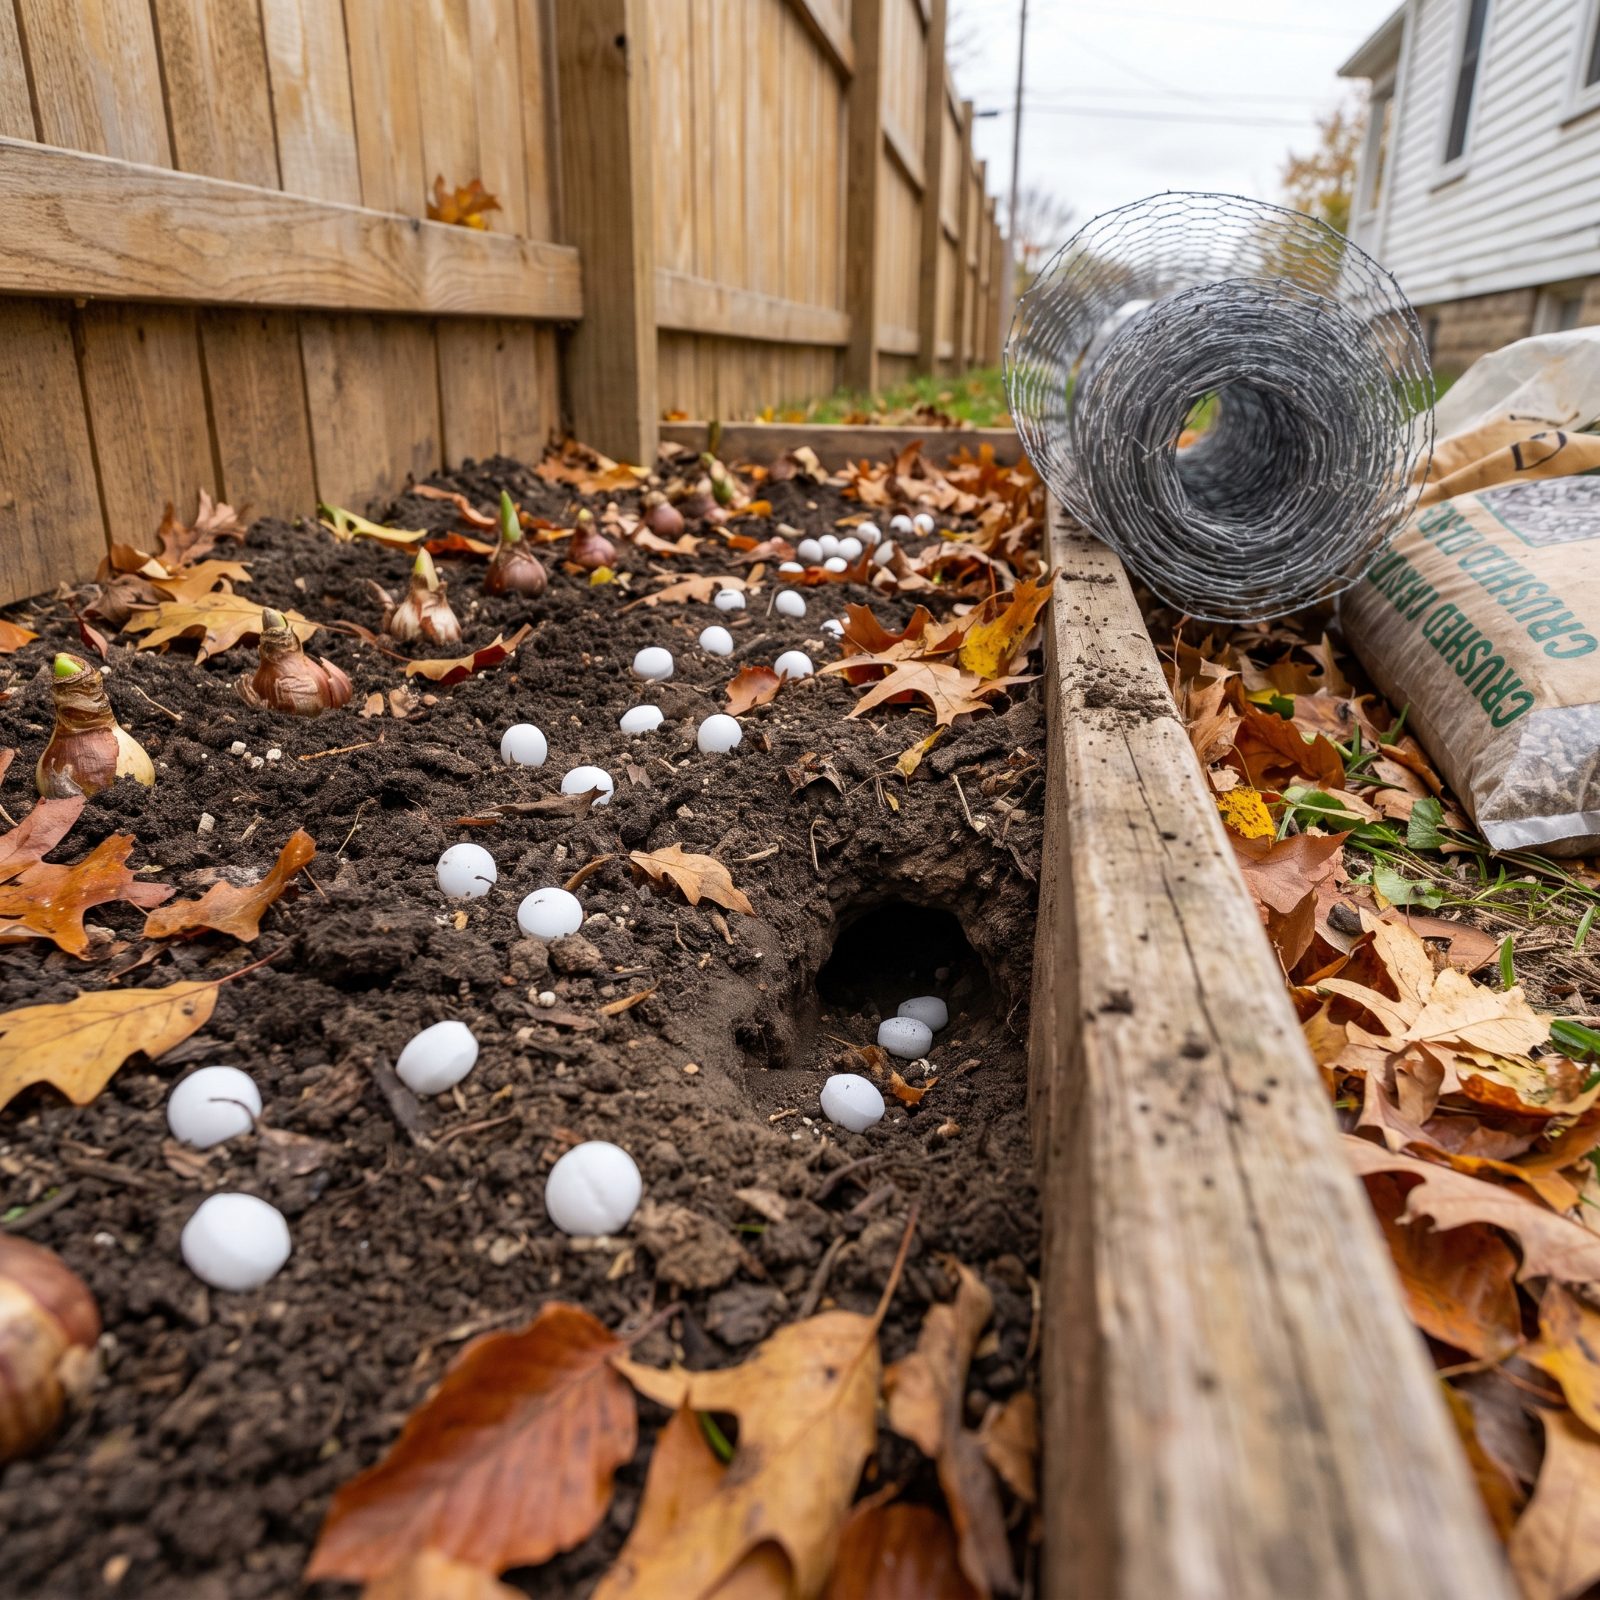
Mothballs get passed around old garden circles like folk medicine. Scatter a few near the bulbs, keep the voles and squirrels off. It doesn’t hold up.
The smell fades fast outdoors, so pests ignore them within days. Meanwhile the active chemicals leach into your soil — a genuine problem around anything you grow, or anywhere pets and kids roam. Mothballs are a pesticide, and using them outside the sealed container they’re made for actually breaks their own label instructions.
Go physical instead. Line planting holes with a cage of hardware cloth, or lay a sheet of chicken wire over the bed. Crushed gravel in the hole discourages diggers too. Barriers beat odors every time.
1. Planting the Bulb Pointy-Side Down
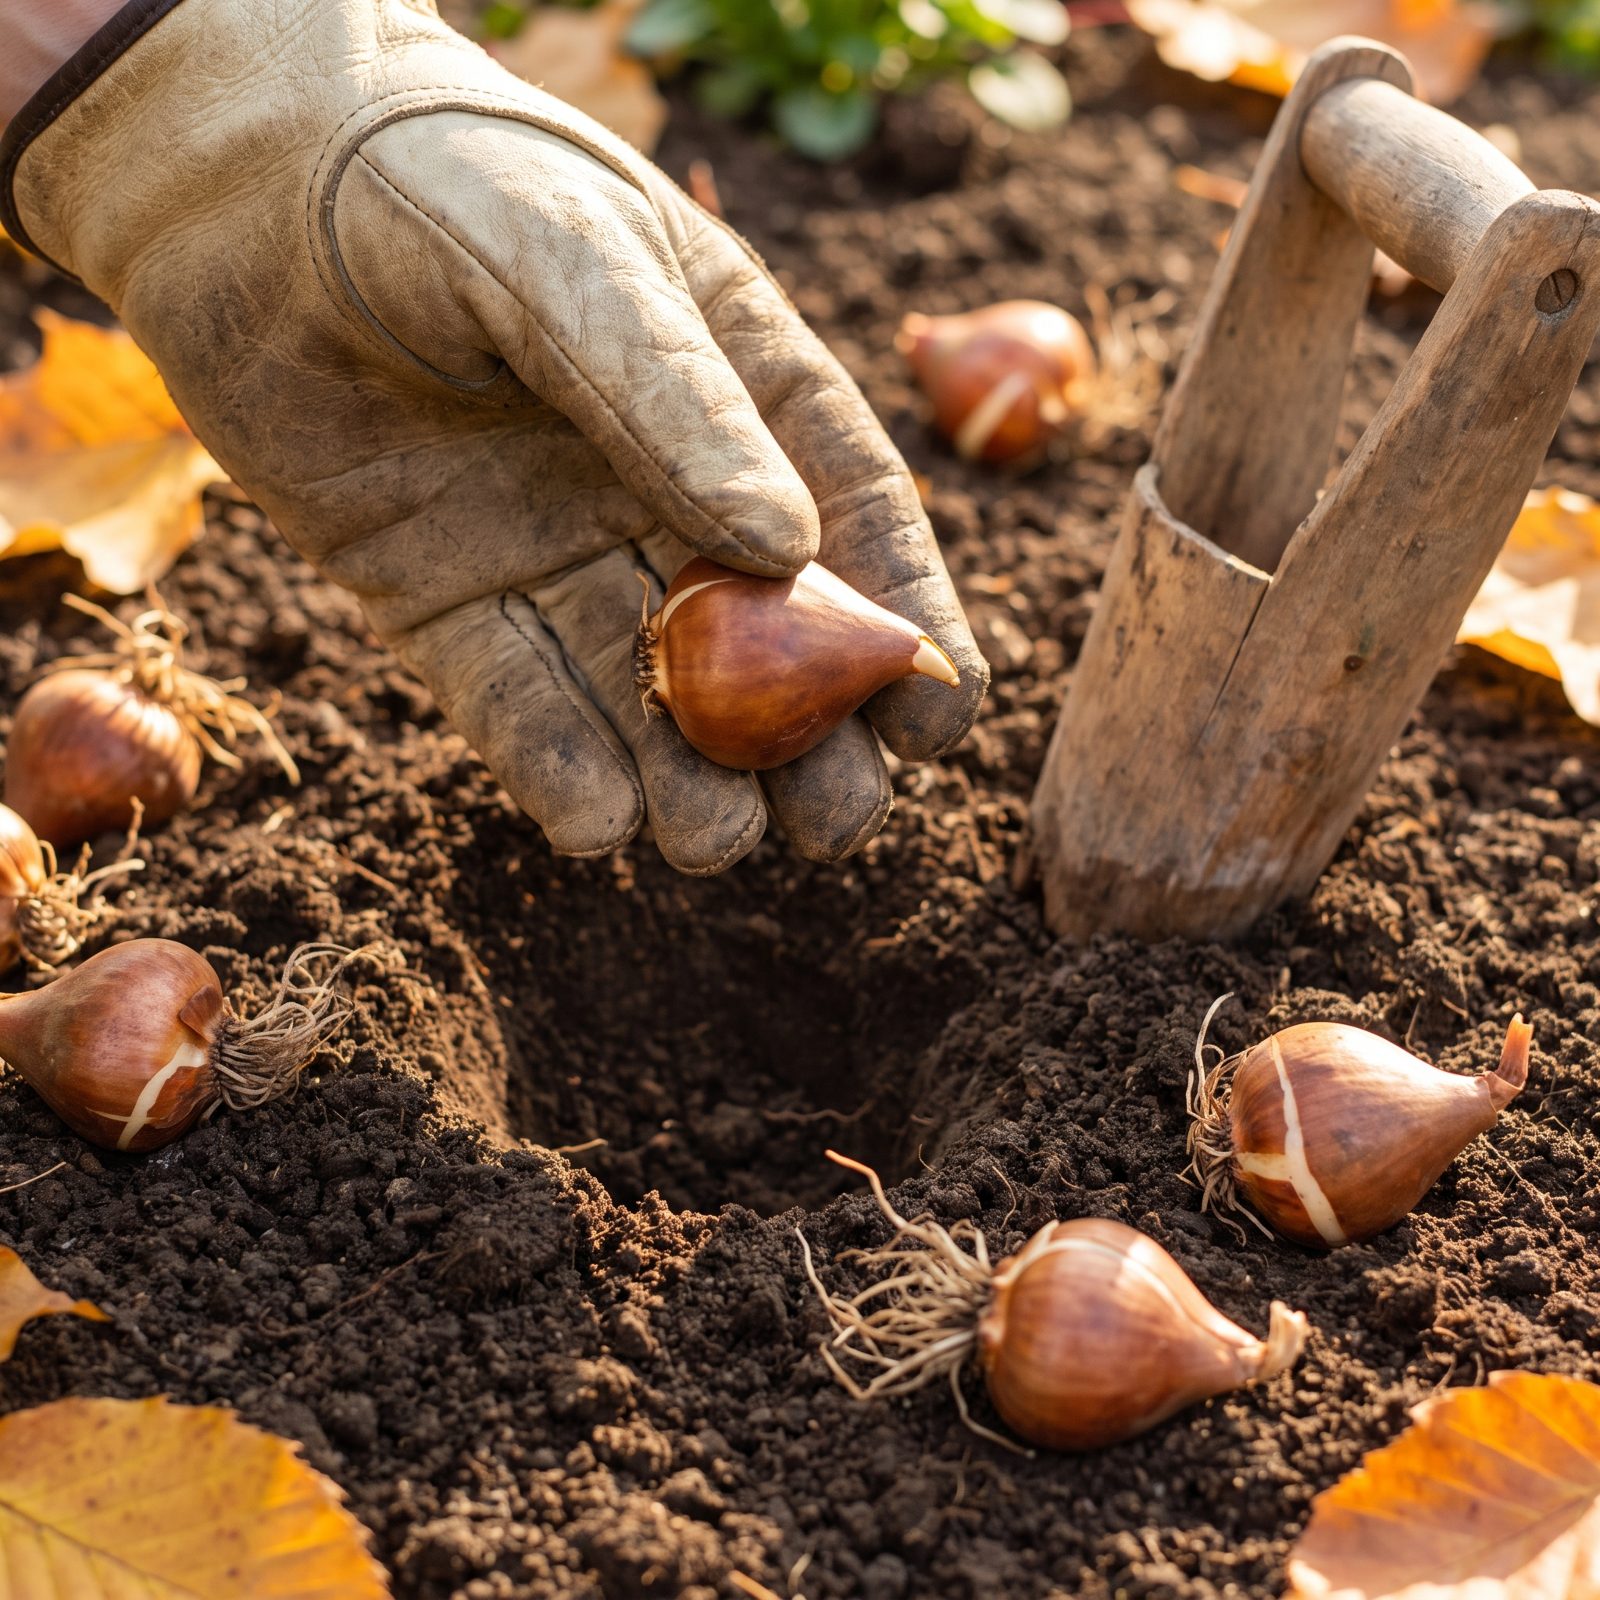
In a rush, bulbs go in whatever way they land. Point down, flat side up, who’s counting. The bulb is counting.
The pointed end is the growing tip, and the flat plate on the bottom is where roots emerge. Plant it upside down and the shoot wastes precious energy curving all the way around to reach daylight. Small bulbs often manage. Big tulips and daffodils may exhaust themselves and arrive late, stunted, or not at all.
Tip up, flat plate down. Genuinely can’t tell with some odd little corm? Lay it on its side — the shoot will find its way, and that’s the one shortcut that actually works.