

The needles start collecting under the tree sometime around the second week of December. A little pile at first, then a drift, and before long you’re vacuuming the same three square feet every morning and wondering what you did wrong.
Please note that some of the images in this article were created with the assistance of AI.
Usually it’s not one thing. It’s a small chain of choices made back at the lot and in the first hour home — and every link in that chain is easy to spot once you know what you’re looking at. Most of the fixes cost nothing but a minute of attention.
36. Letting the Reservoir Go Dry, Even Once
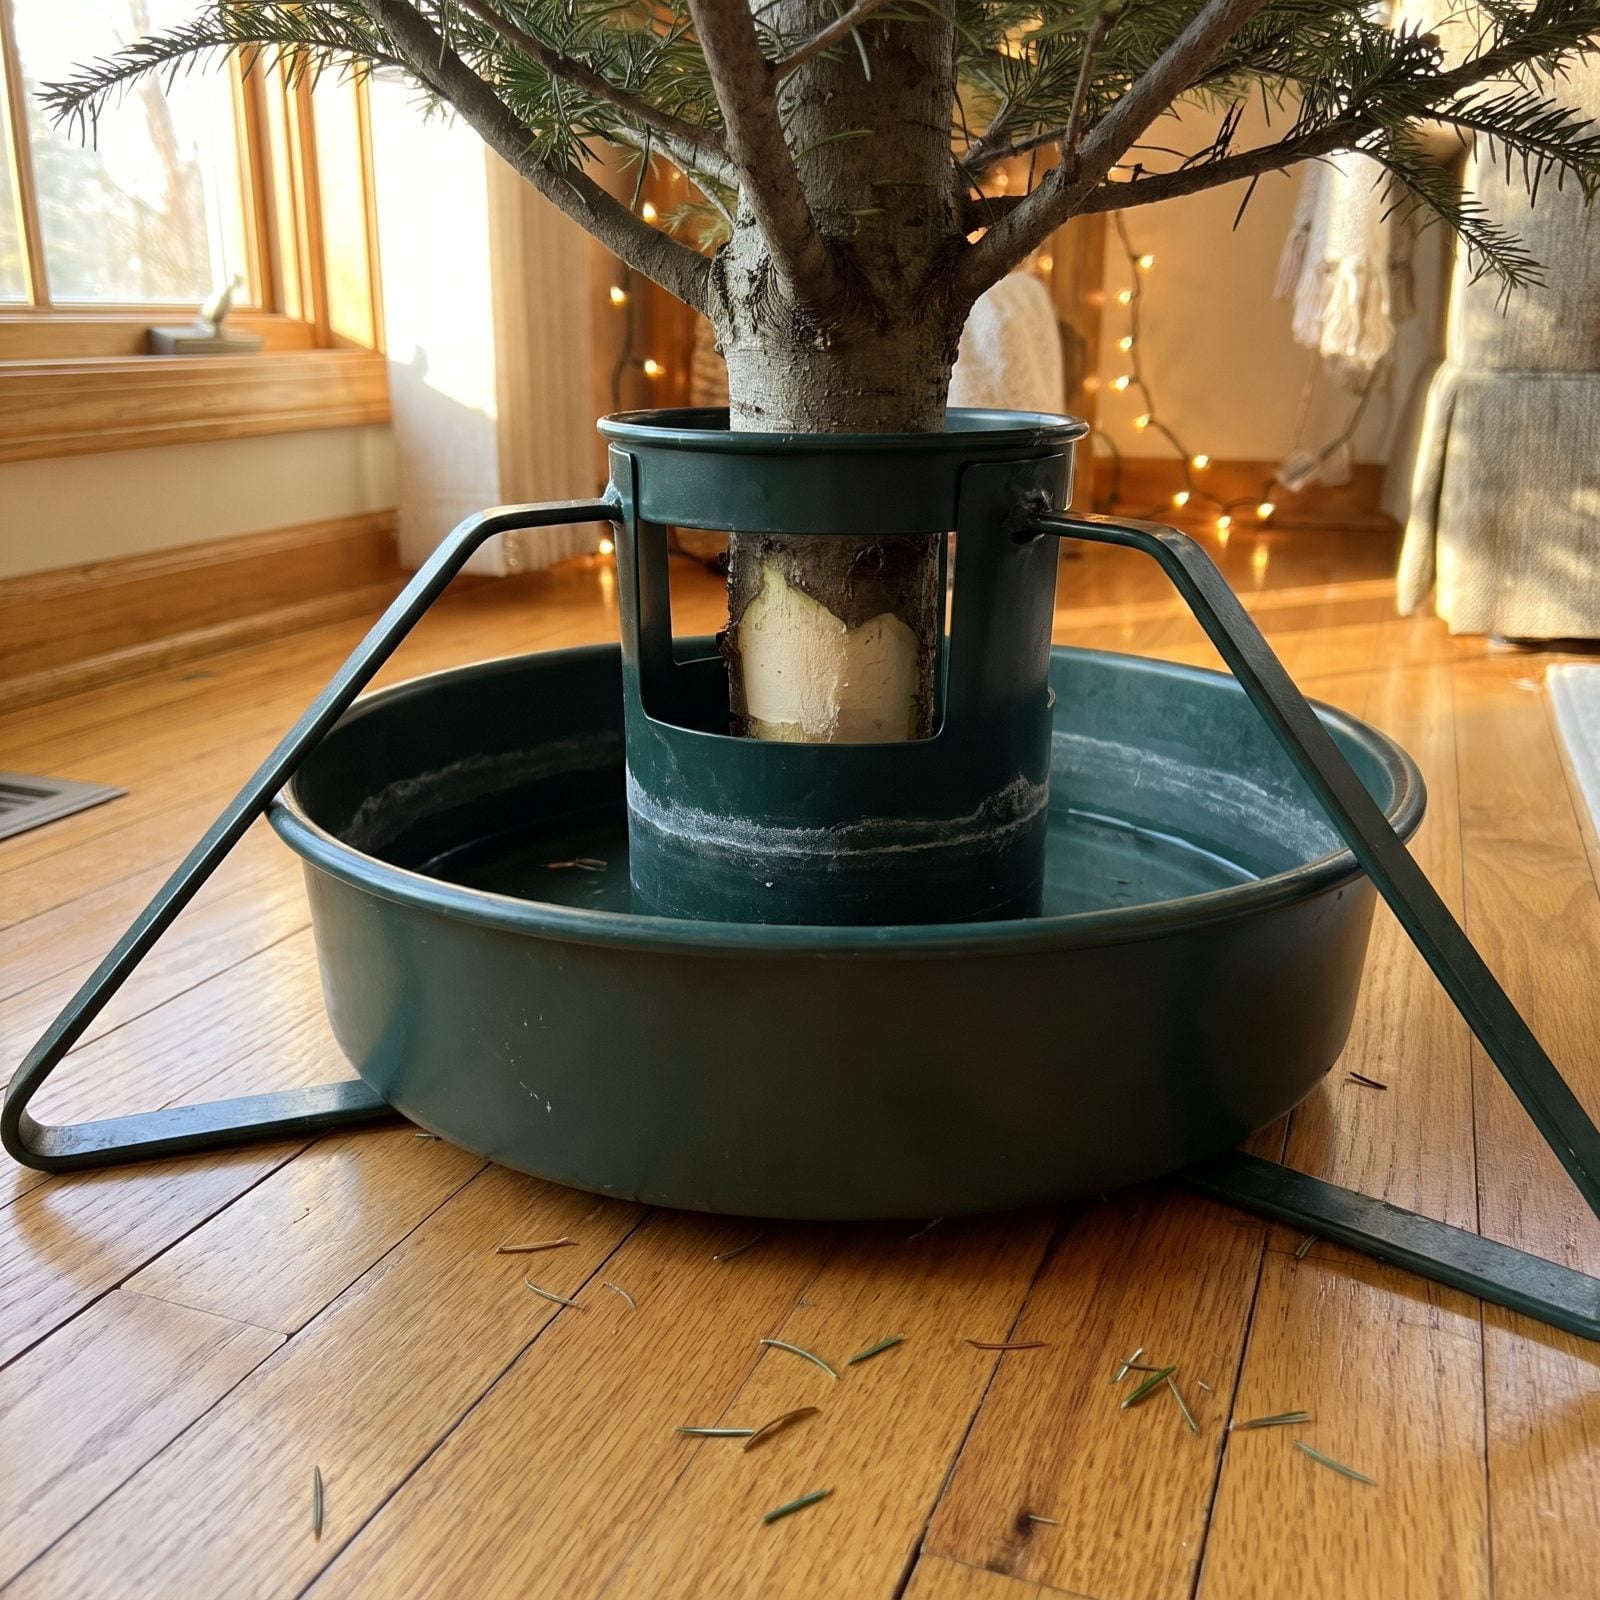
This is the one that undoes everything else. A fresh tree drinks a surprising amount the first few days — sometimes a gallon or more. Let that reservoir drop below the base of the trunk for even a few hours and the trunk seals itself over with dried sap. After that the tree stops drinking entirely, and no amount of topping up afterward brings it back.
Check the water level twice a day for the first week, morning and night. Find the basin down to a dry ring of residue and you’re not quite out of options, but you’re close. Needles will start letting go within days.
35. Bringing It Home in the Middle of November
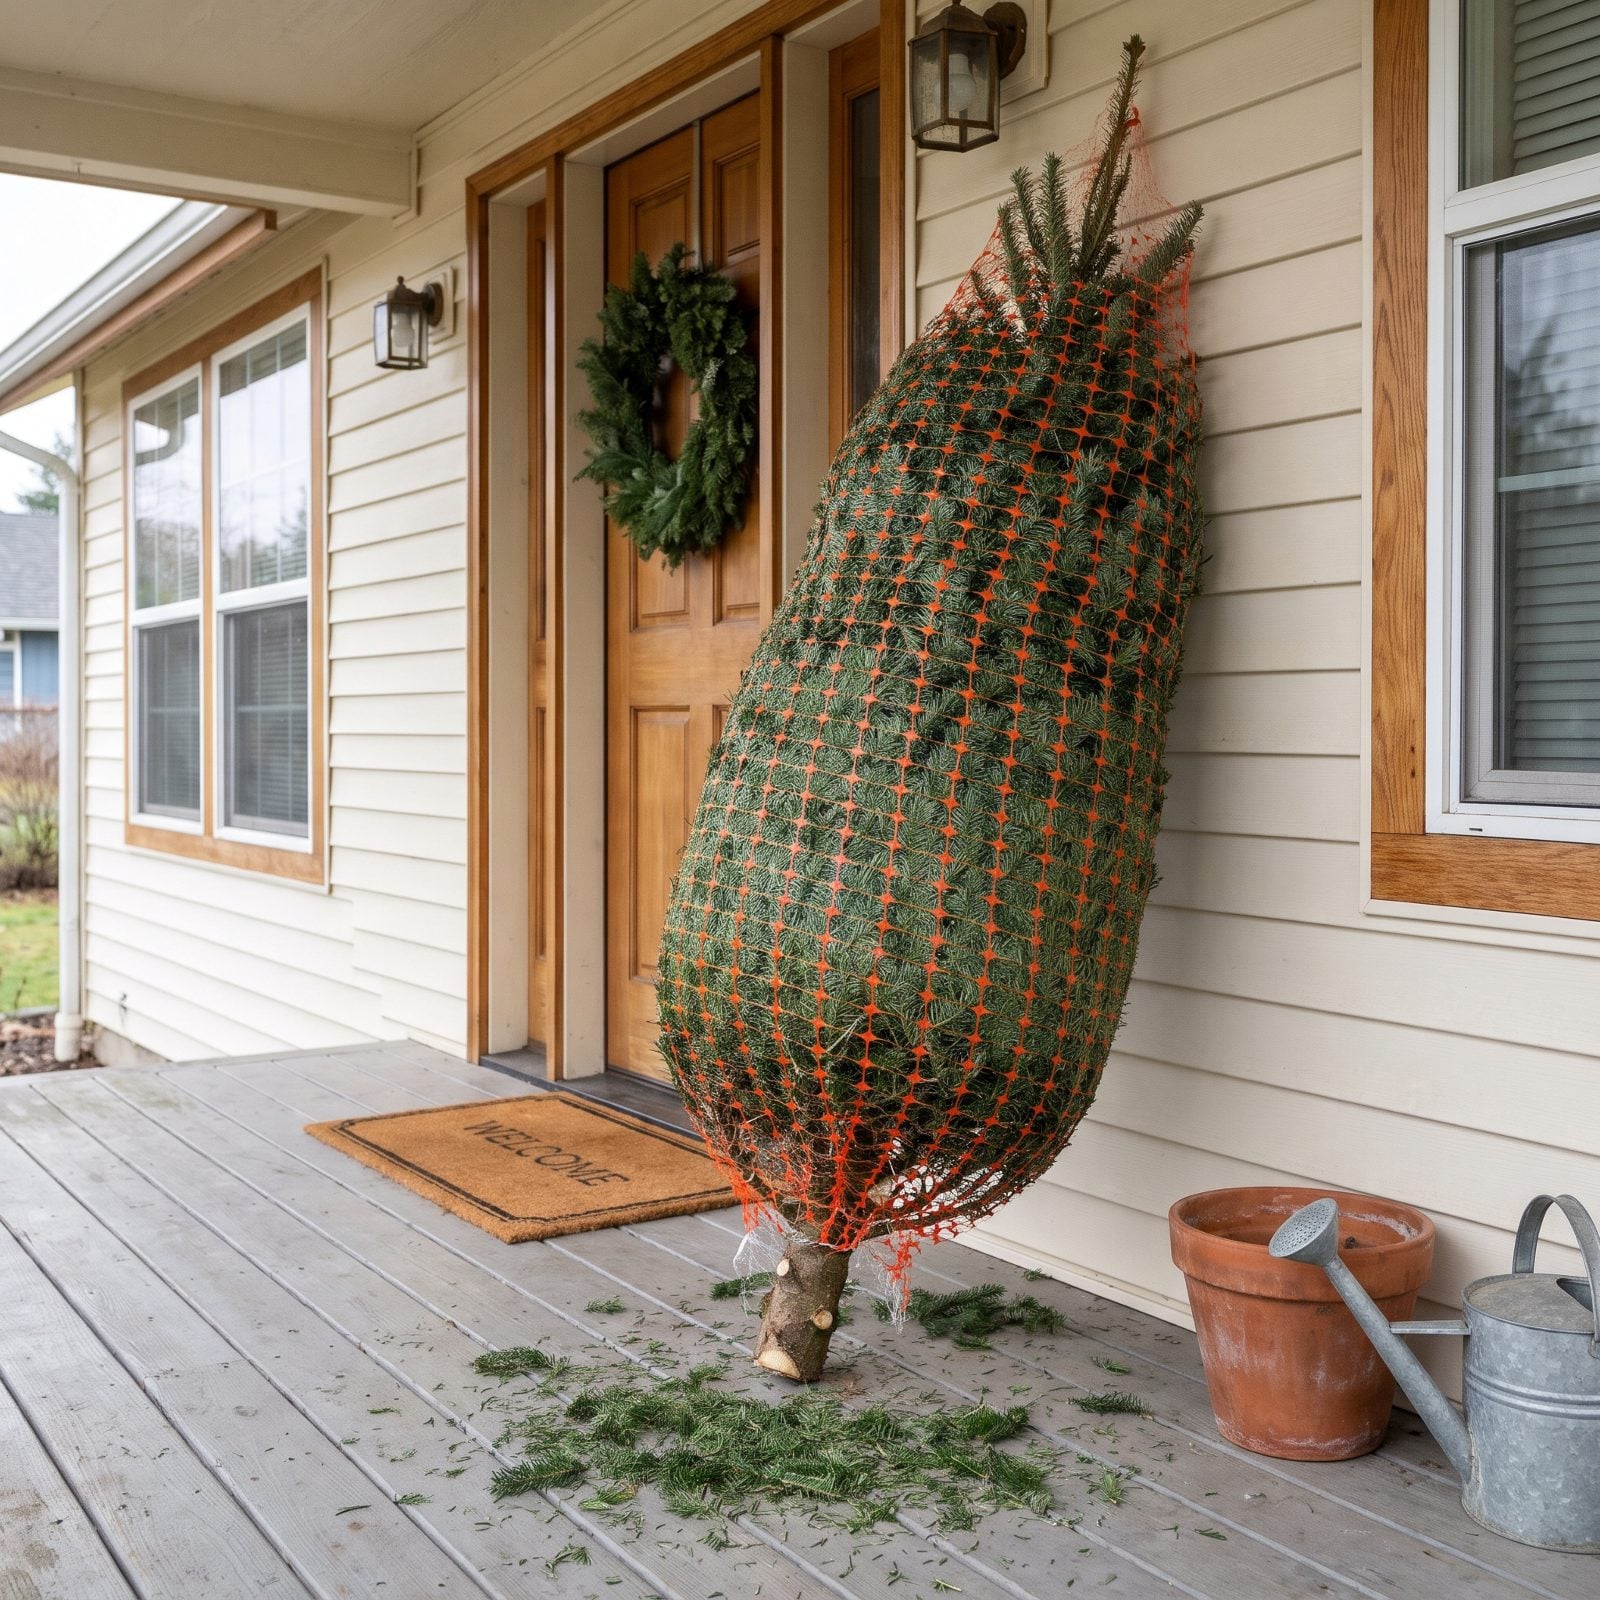
Eager counts for a lot in December. But a tree bought too early spends its best weeks drying out before it ever gets lights on it, and the longer it sits the faster it fades once it’s indoors near the heat.
If you can’t resist buying early, keep it outside in a bucket of water, out of the wind, until you’re ready to set it up. Then recut the trunk right before it comes inside. That fresh cut reopens the straw.
34. Picking a Species That Was Never Built to Hold On
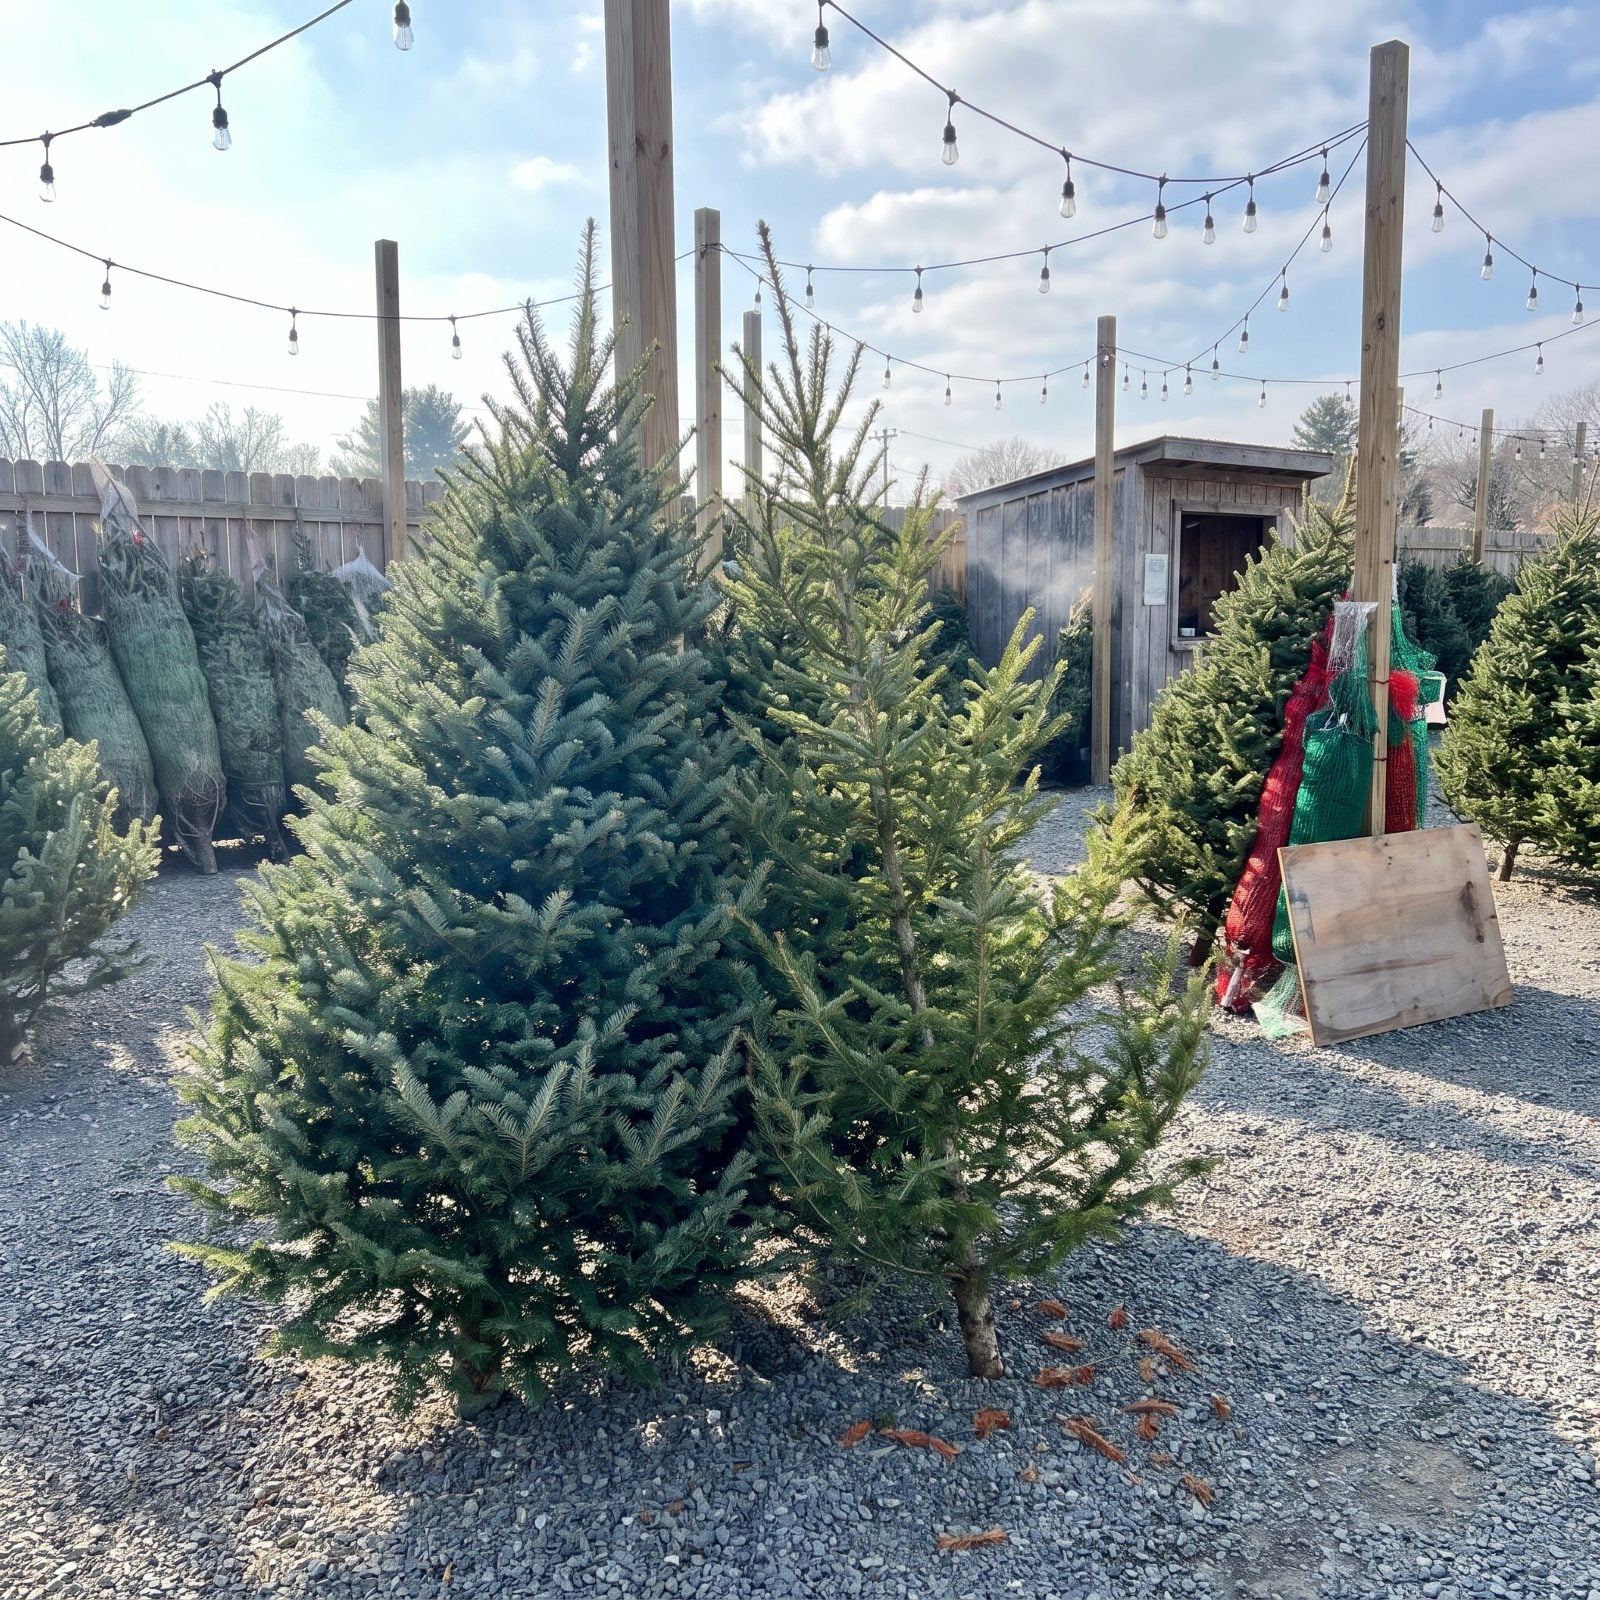
Not all trees are equal once they leave the field. Some spruces — the Norway spruce in particular — start dropping needles within a week or two indoors no matter how diligent you are with the water. They’re cheaper, they smell wonderful, and they punish you by mid-month.
Firs are the reliable ones. Fraser, balsam, noble, and Douglas fir all hold their needles well into January when kept watered. If retention matters more to you than the lowest price, ask the lot which firs they have and choose from those.
33. Not Asking the One Question That Tells You Everything
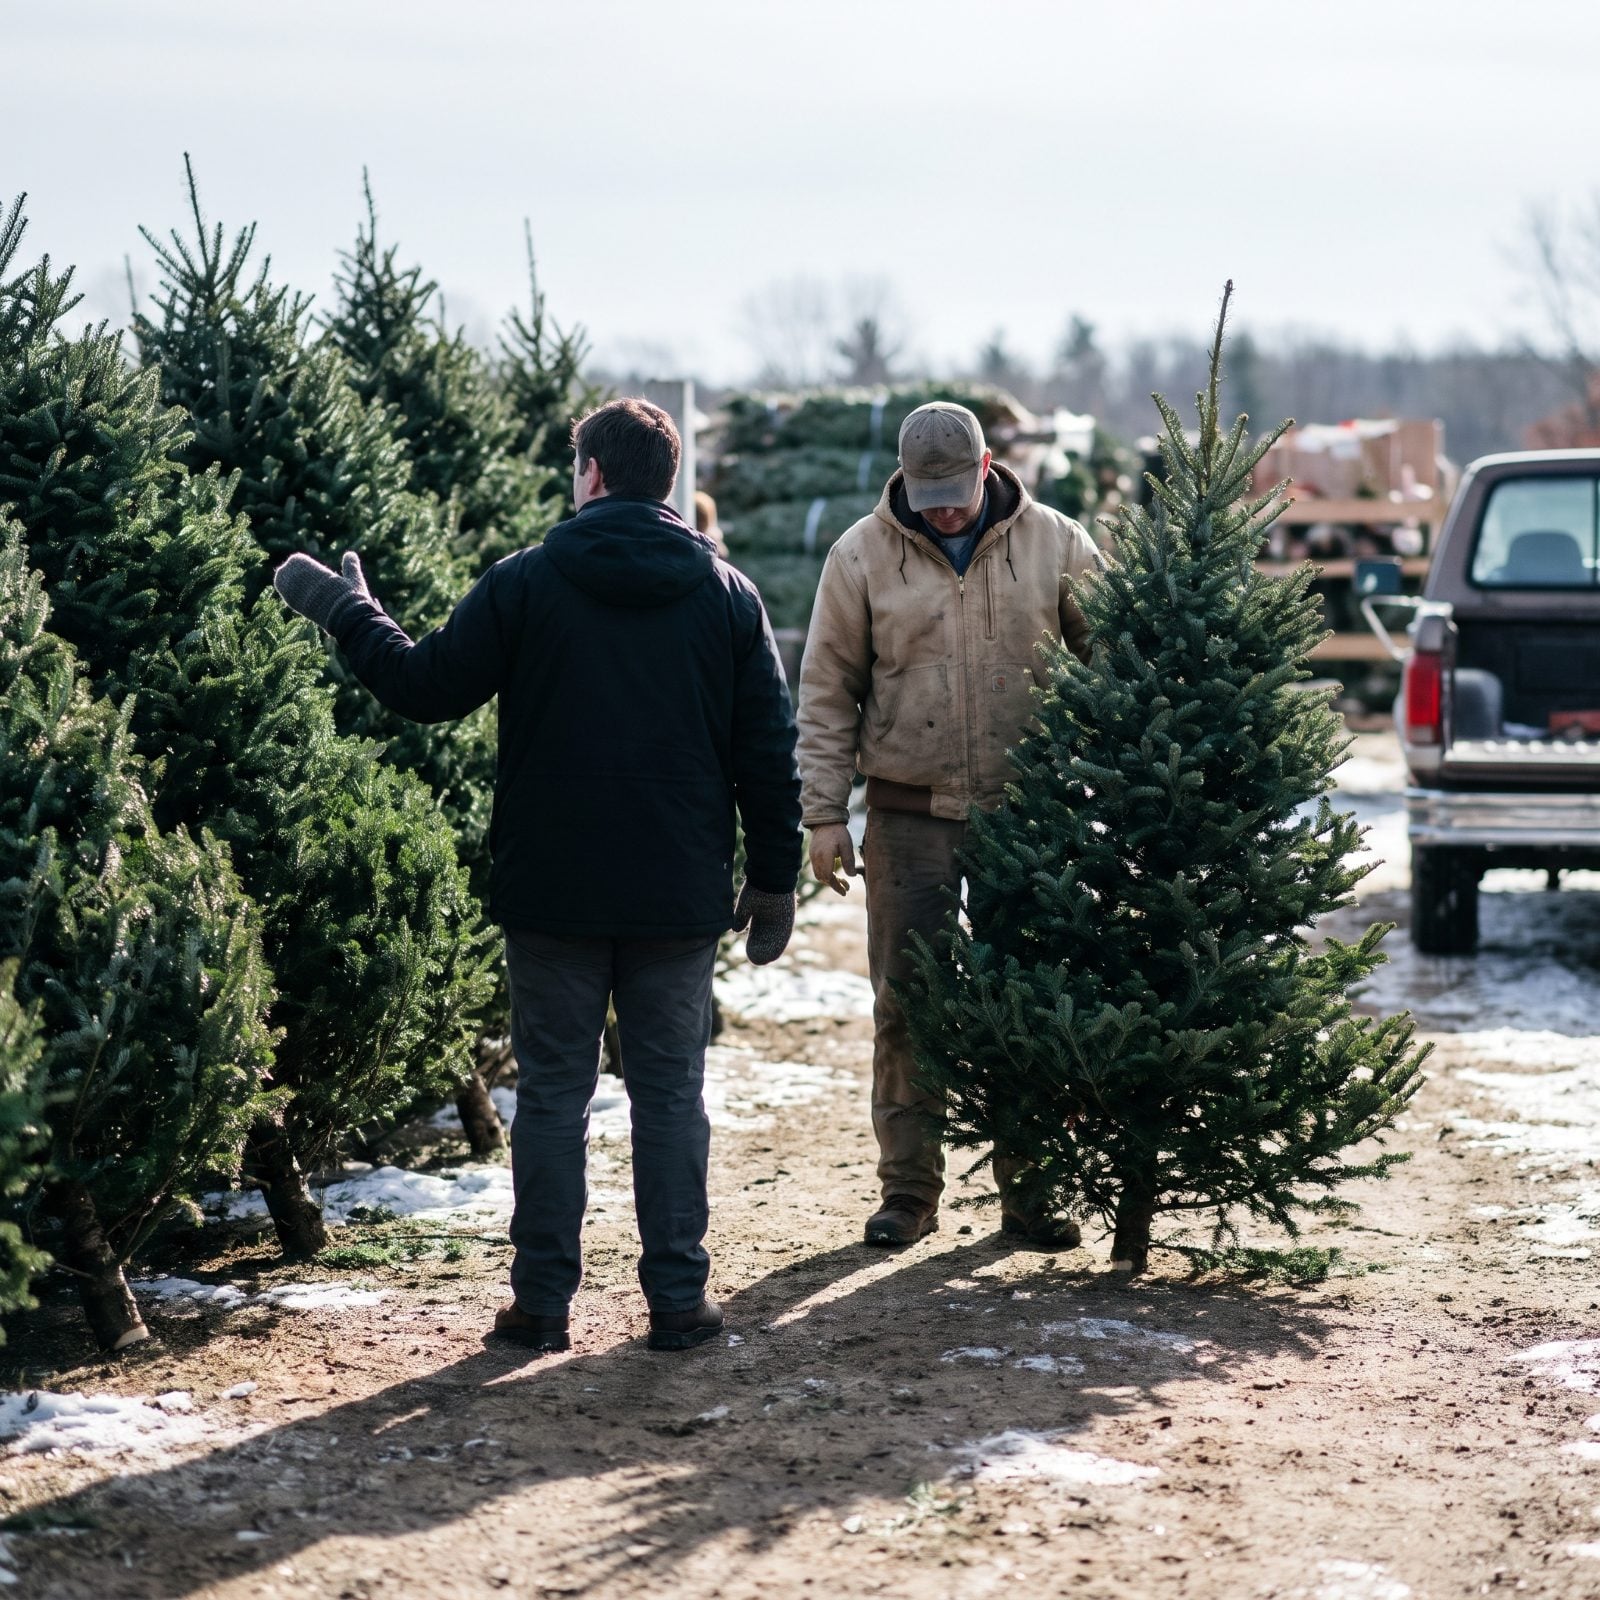
You’d be surprised how few people ask it: when was this tree cut? The answer separates a tree harvested last week from one that’s been sitting in a warehouse since October. A reputable farm or lot will tell you straight, and the freshest option is always a choose-and-cut operation where the tree comes down while you watch.
So ask. If the seller gets vague or defensive, treat that as the answer. A tree cut more than a few weeks ago has already started its slow goodbye, and the needles will prove it by New Year’s.
32. Grabbing the Tree Baking in Full Sun on the Lot
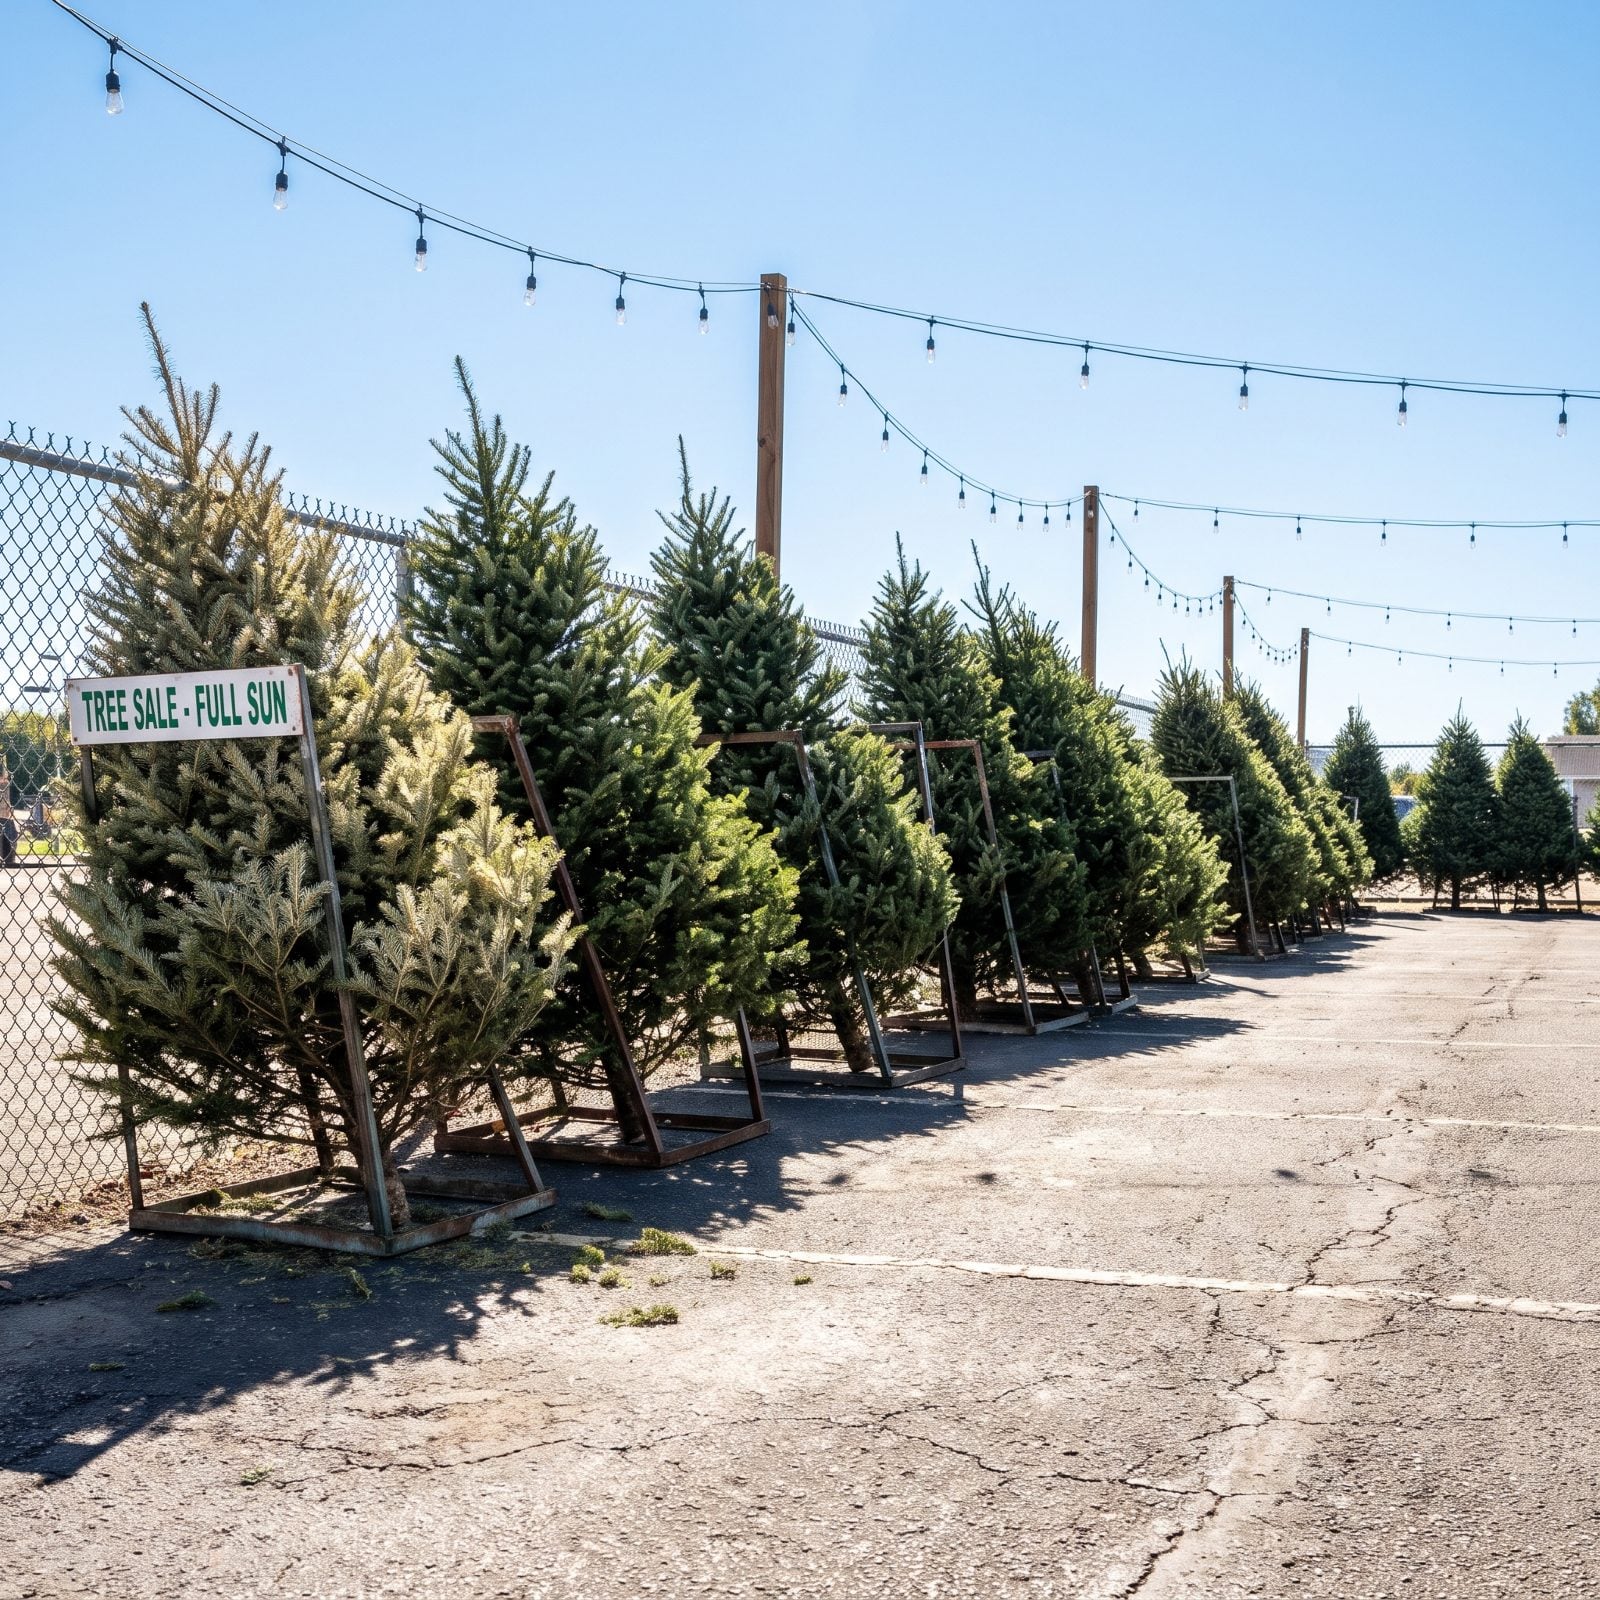
A tree parked at the sunny, windy edge of a lot has been losing moisture all day, every day, since it arrived. Sun and wind pull water out of needles faster than anything else, so that tree is drier than its twin sheltered in the middle of the stand even when the two look identical.
Shop the shaded interior rows. Trees kept out of direct sun and wind, or stored under netting, arrive in your living room with more moisture in reserve. A small difference at purchase becomes a real one by week three.
31. Shrugging Off Dull, Yellowing Foliage
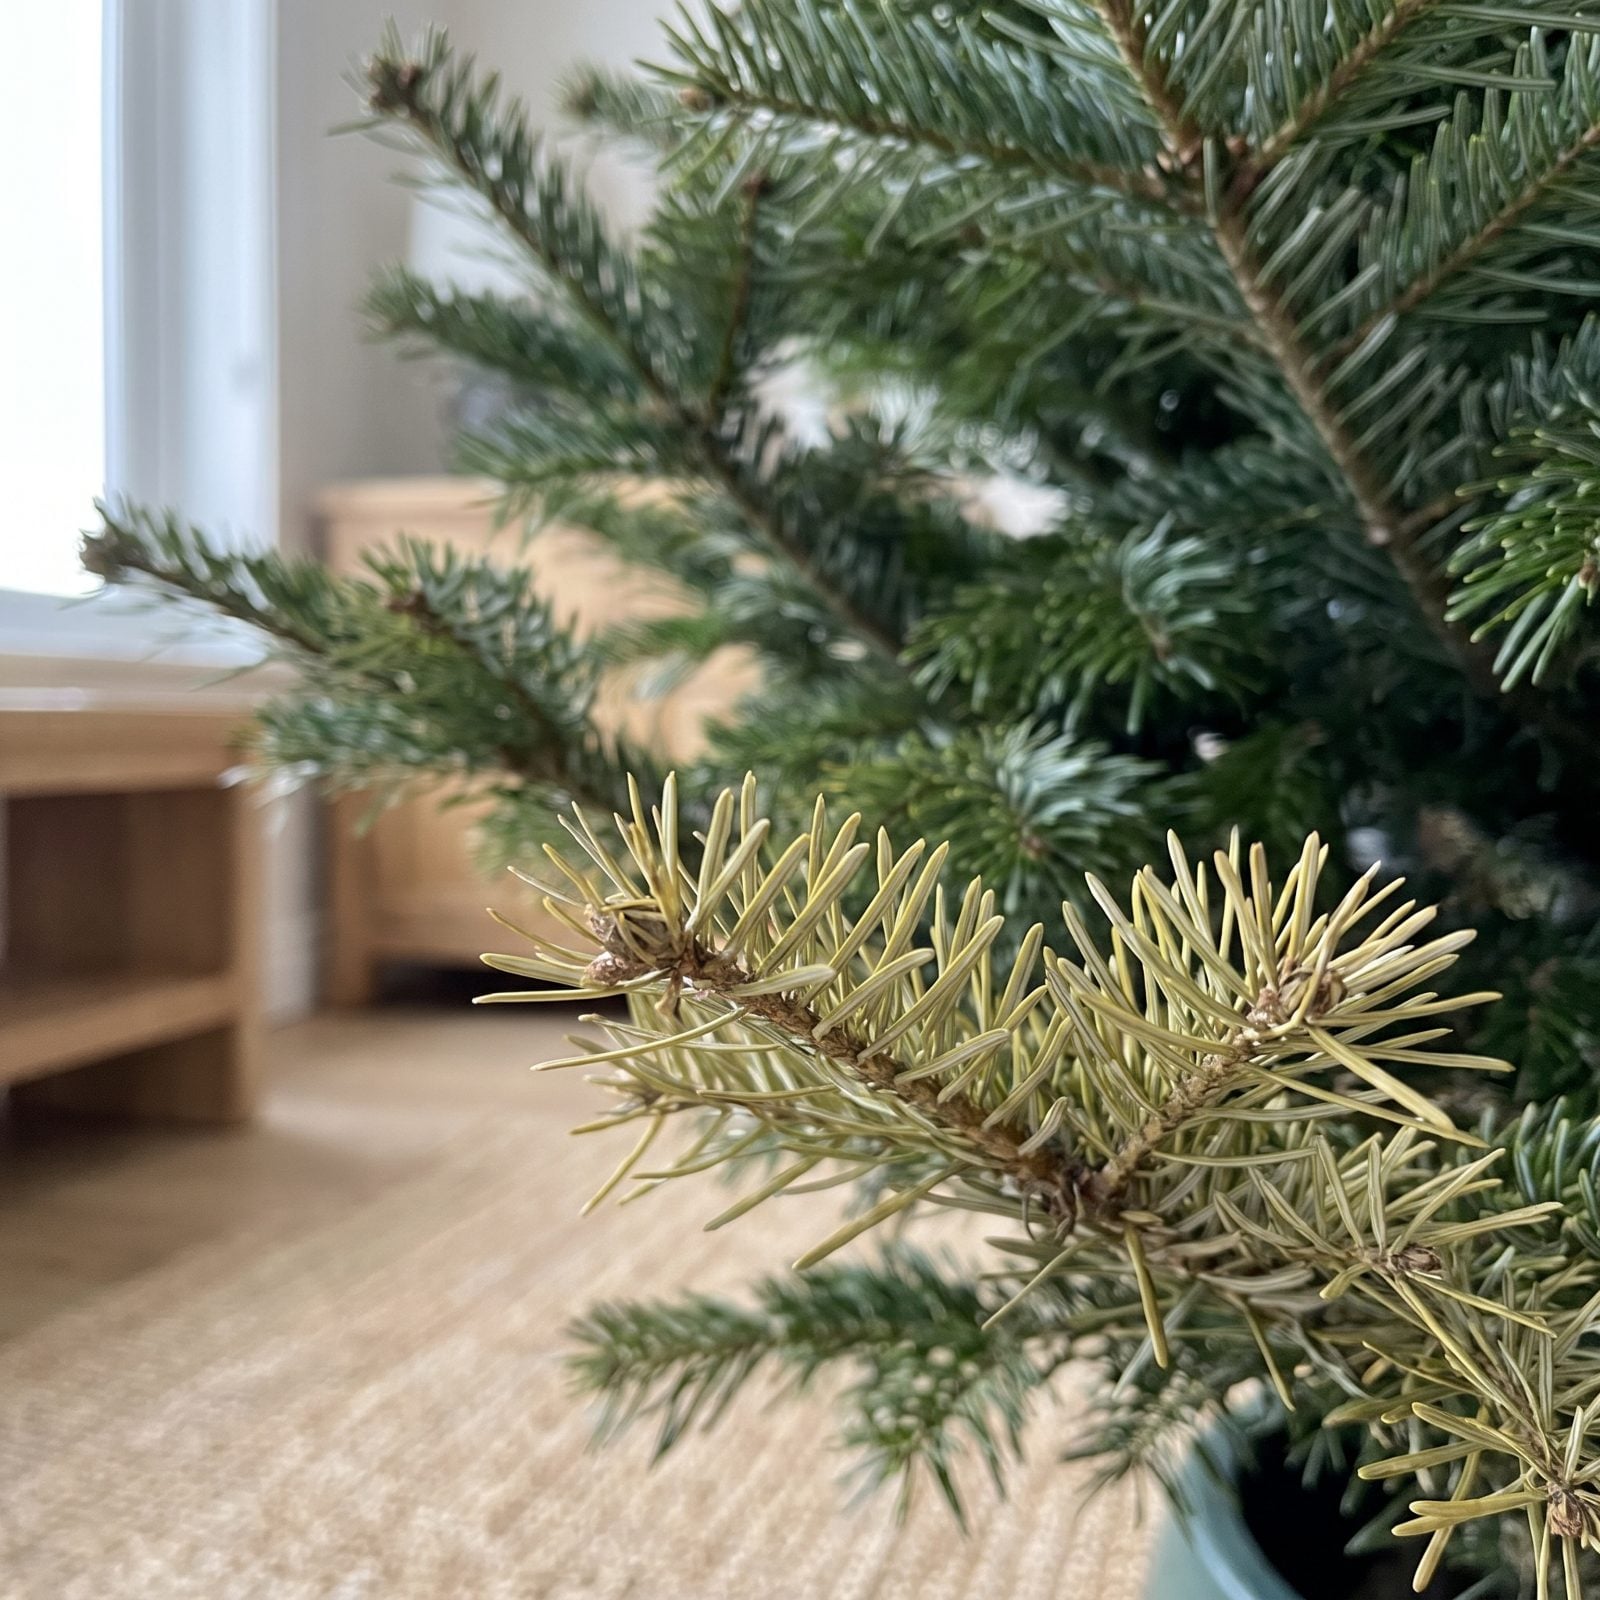
Color is a confession. A healthy fir reads deep, saturated green with a slight waxy sheen that catches the light. When needles look dull, flat, or are drifting toward yellow, the tree is already dehydrated and starting to die — and a warm, dry house only hurries it along.
Look past the outer tips, which stay green longest. Part the branches and check the interior and lower needles, because that’s where a tired tree shows its age first.
30. Skipping the Needle-Bend Test
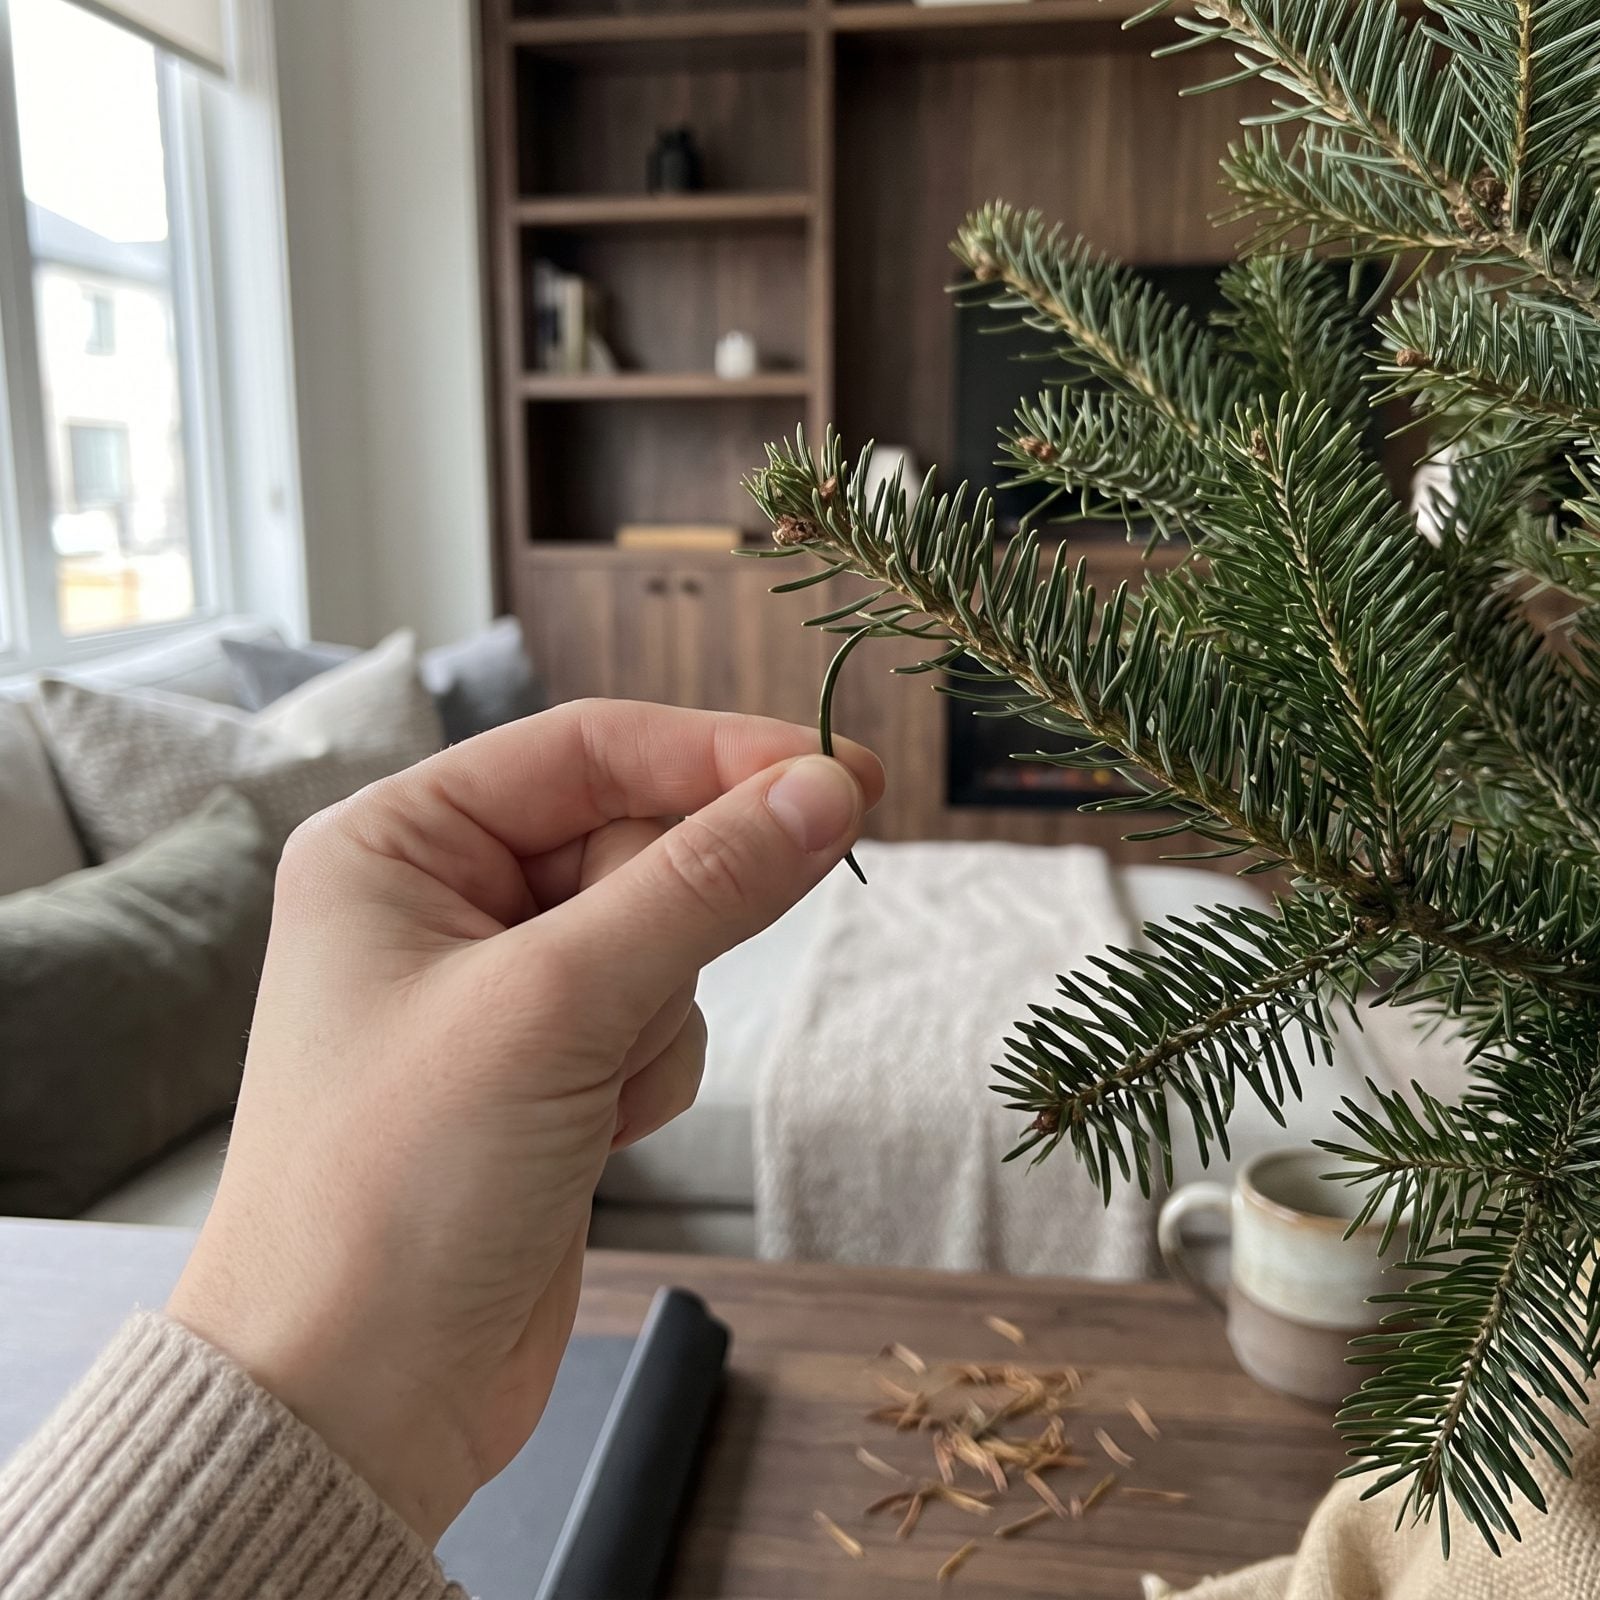
Three seconds, and almost nobody does it at the lot. Take a single needle between your thumb and finger and bend it. On a fresh fir it flexes and springs back; on a dry one it snaps clean like a dead twig.
Do the bend test on a few branches, inner and outer, before you commit. A tree that passes will still be holding its needles when the lights come down.
29. Writing Off a Shower of Needles When It’s Shaken
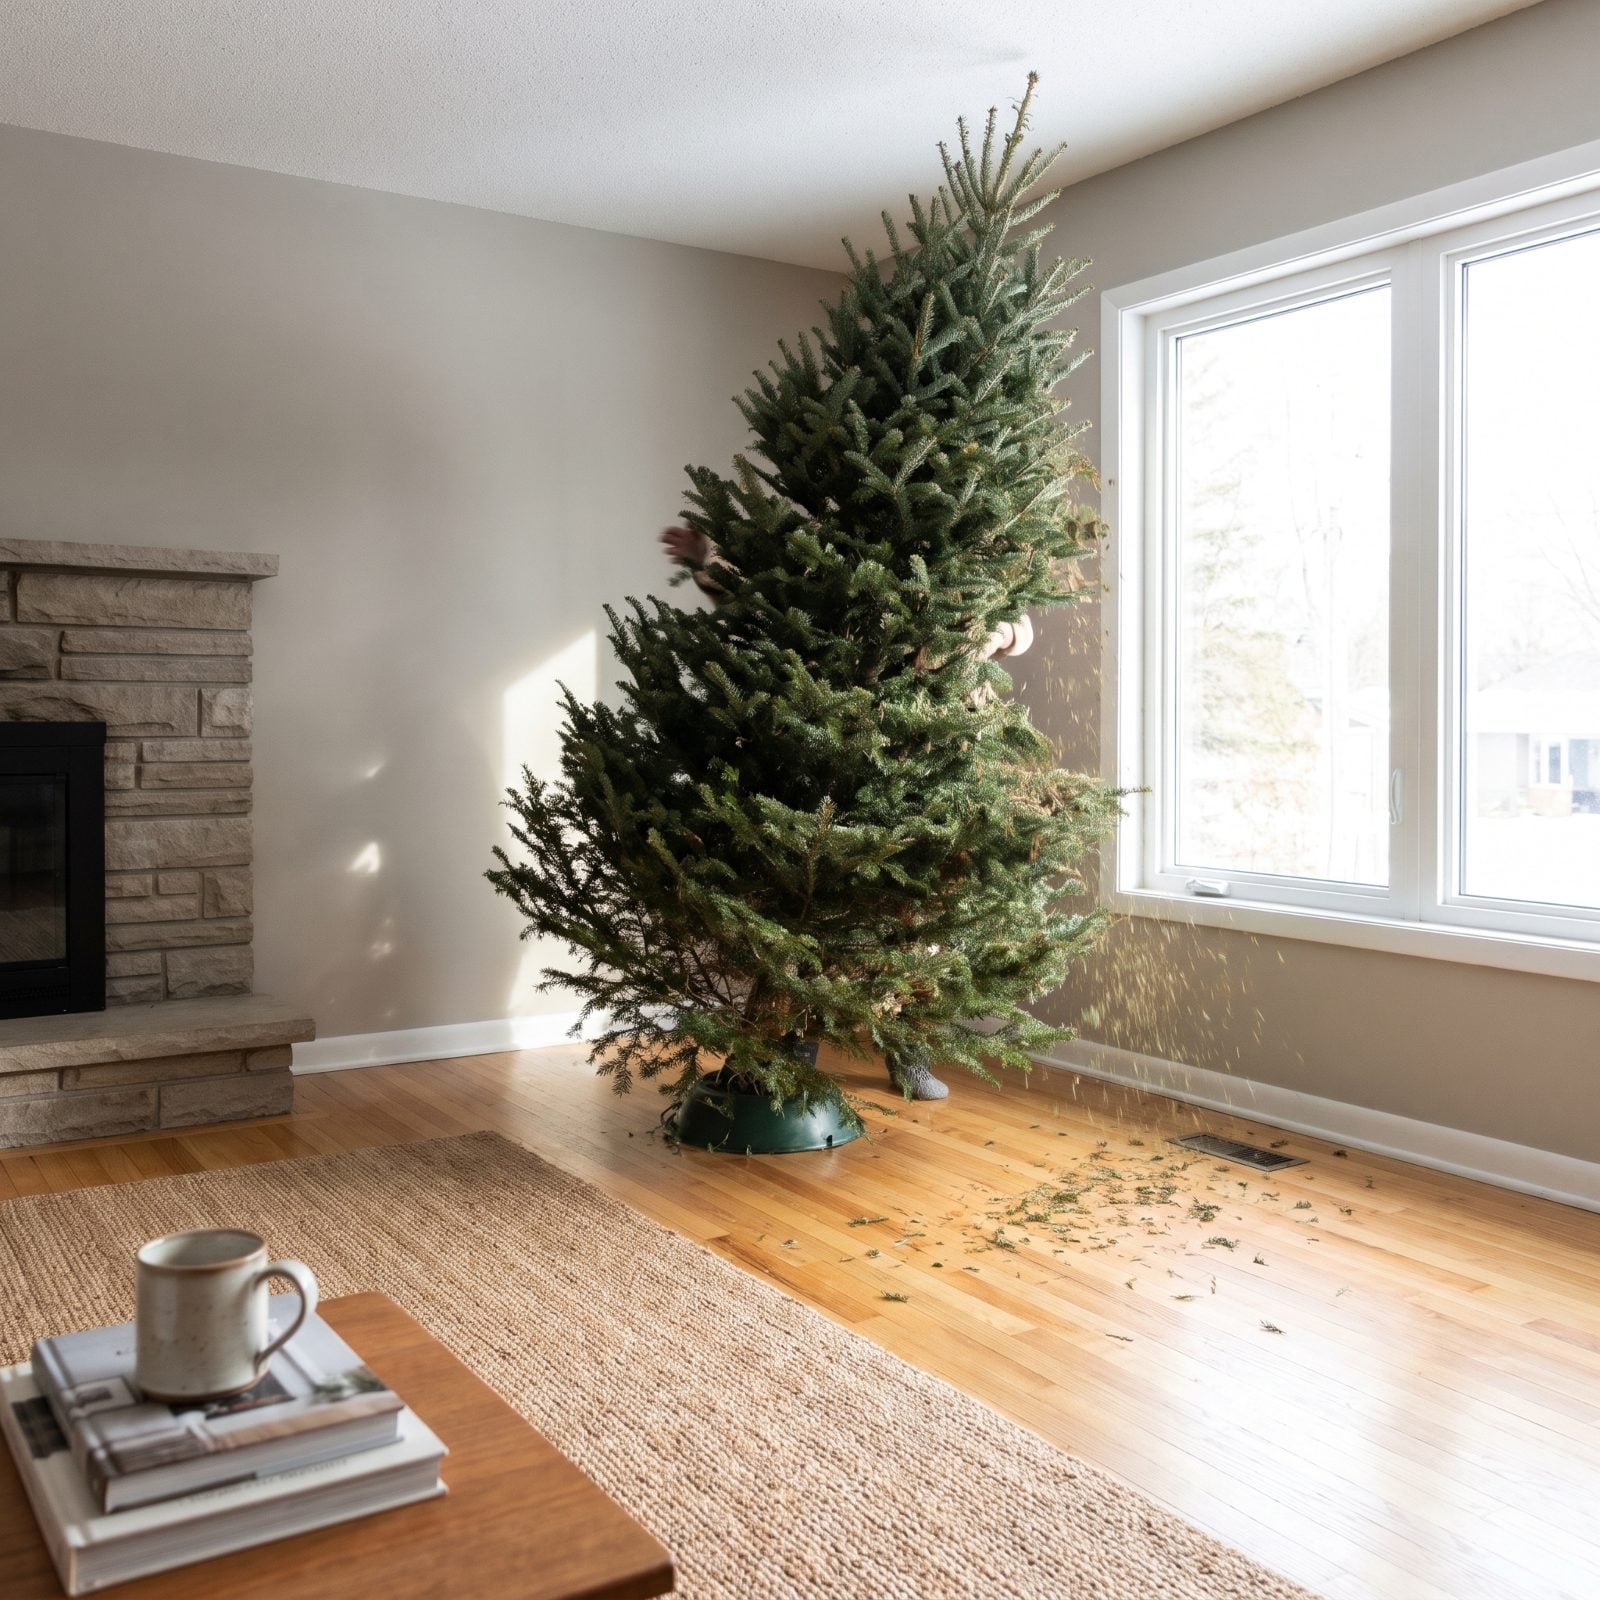
Most lots run a tree through a mechanical shaker to knock out the dead interior needles, and a few brown ones falling is normal, even good. A torrent is not. If shaking the tree, or thumping its cut end hard on the ground, releases a heavy shower of green needles, walk away.
Brown needles dropping from deep inside the canopy? Routine. Green needles raining down means the tree can no longer hold what it’s supposed to keep. It’s on borrowed time, and you’ll be the one sweeping.
28. Overlooking a Wrinkled Trunk With No Resin
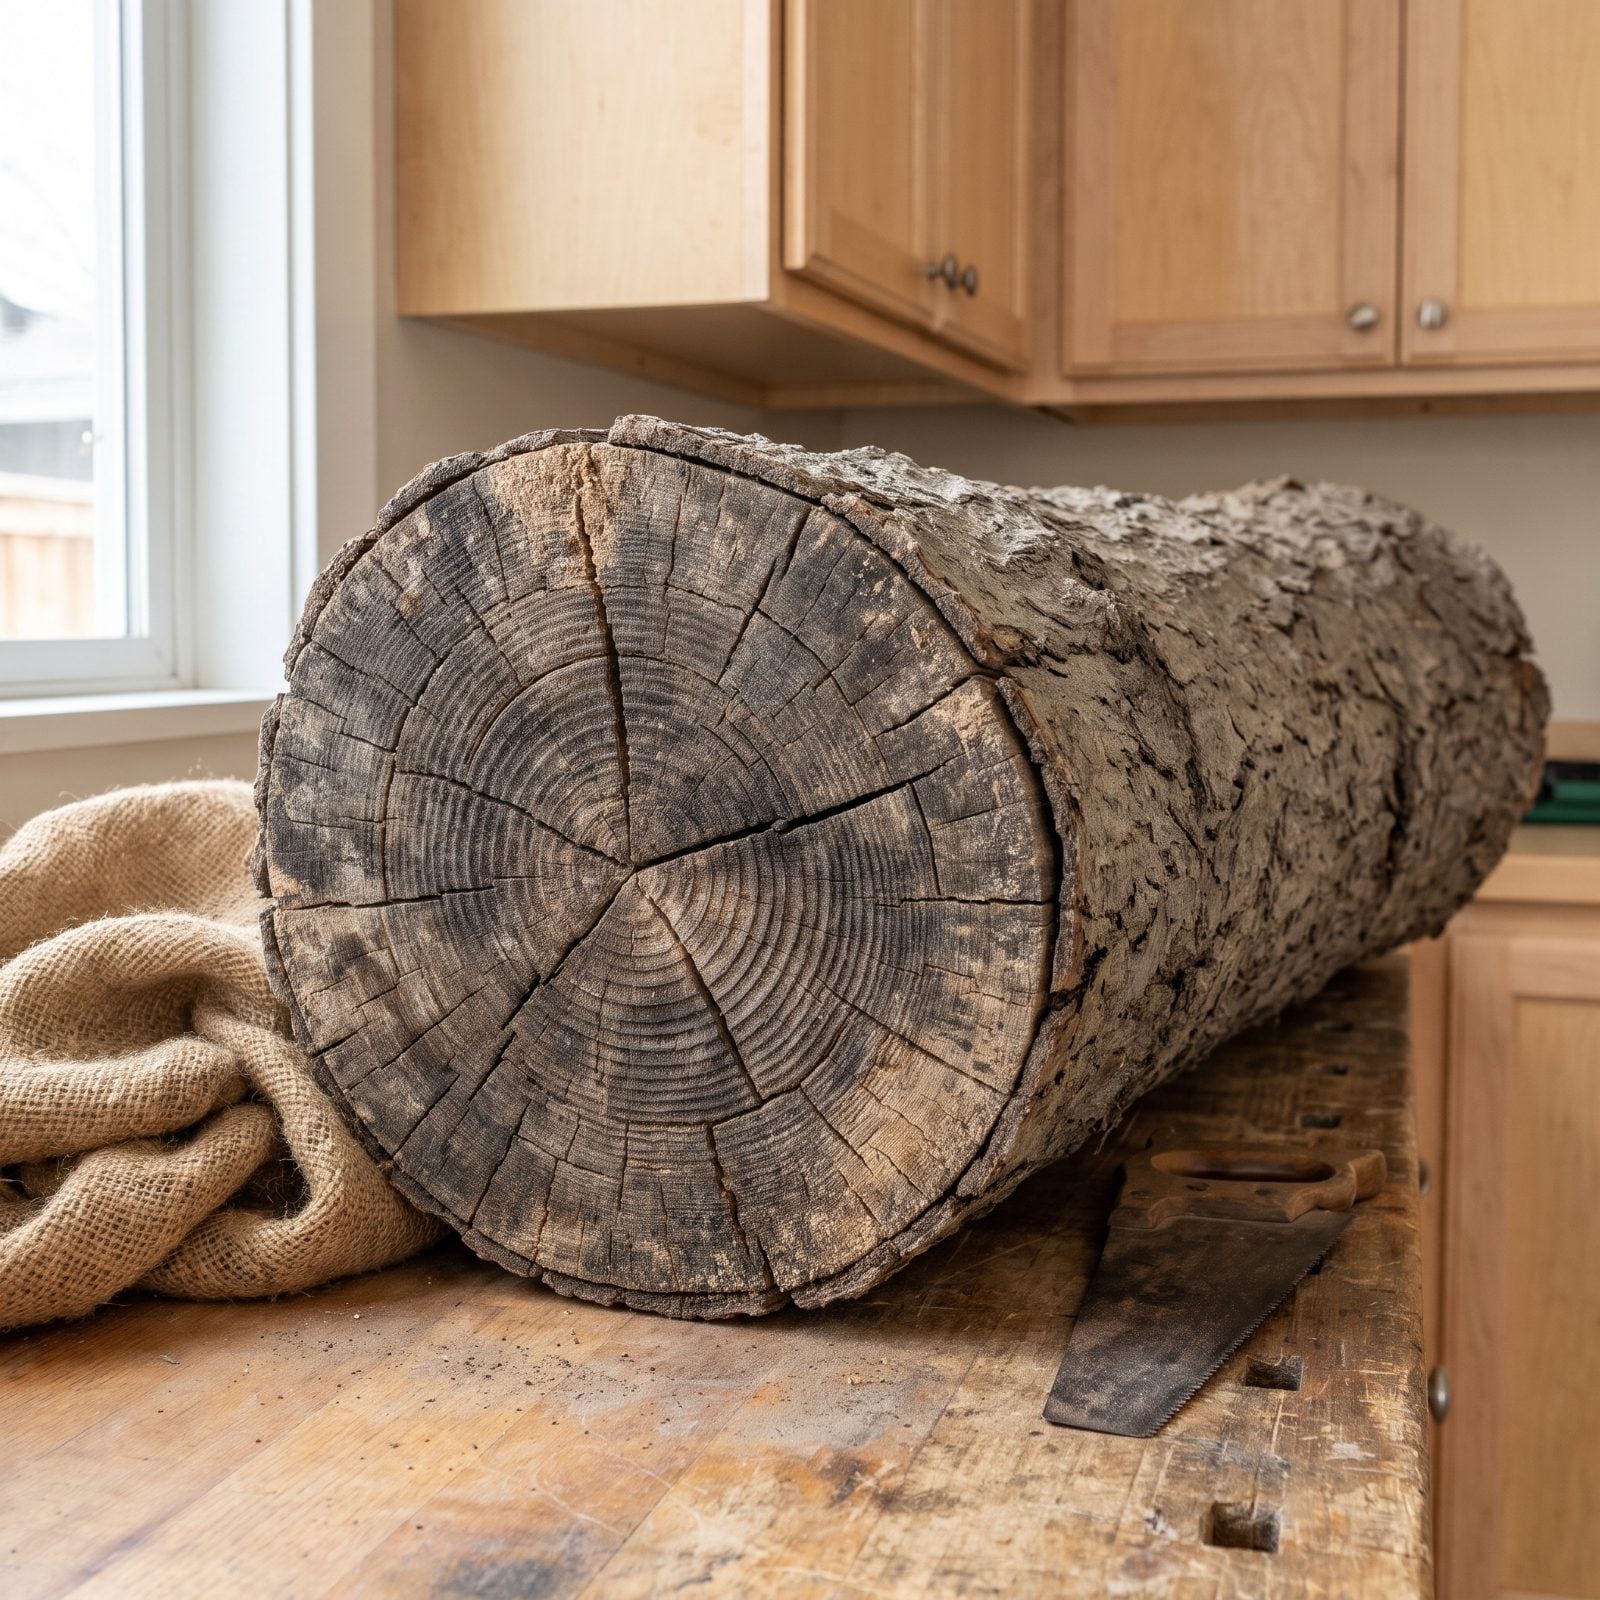
The trunk tells the story the needles try to hide. On a fresh tree, the cut end is pale, slightly sticky, often beading with resin. On an old one, the cut face has dried gray and the bark near it looks shrunken and wrinkled — pulled tight the way skin goes when it loses moisture.
Give the trunk a look before you load it. A resin-beaded cut end means a tree that was alive and drinking very recently. A dry, puckered trunk already decided to quit.
27. Taking a Tree That’s Been Standing Dry in Storage
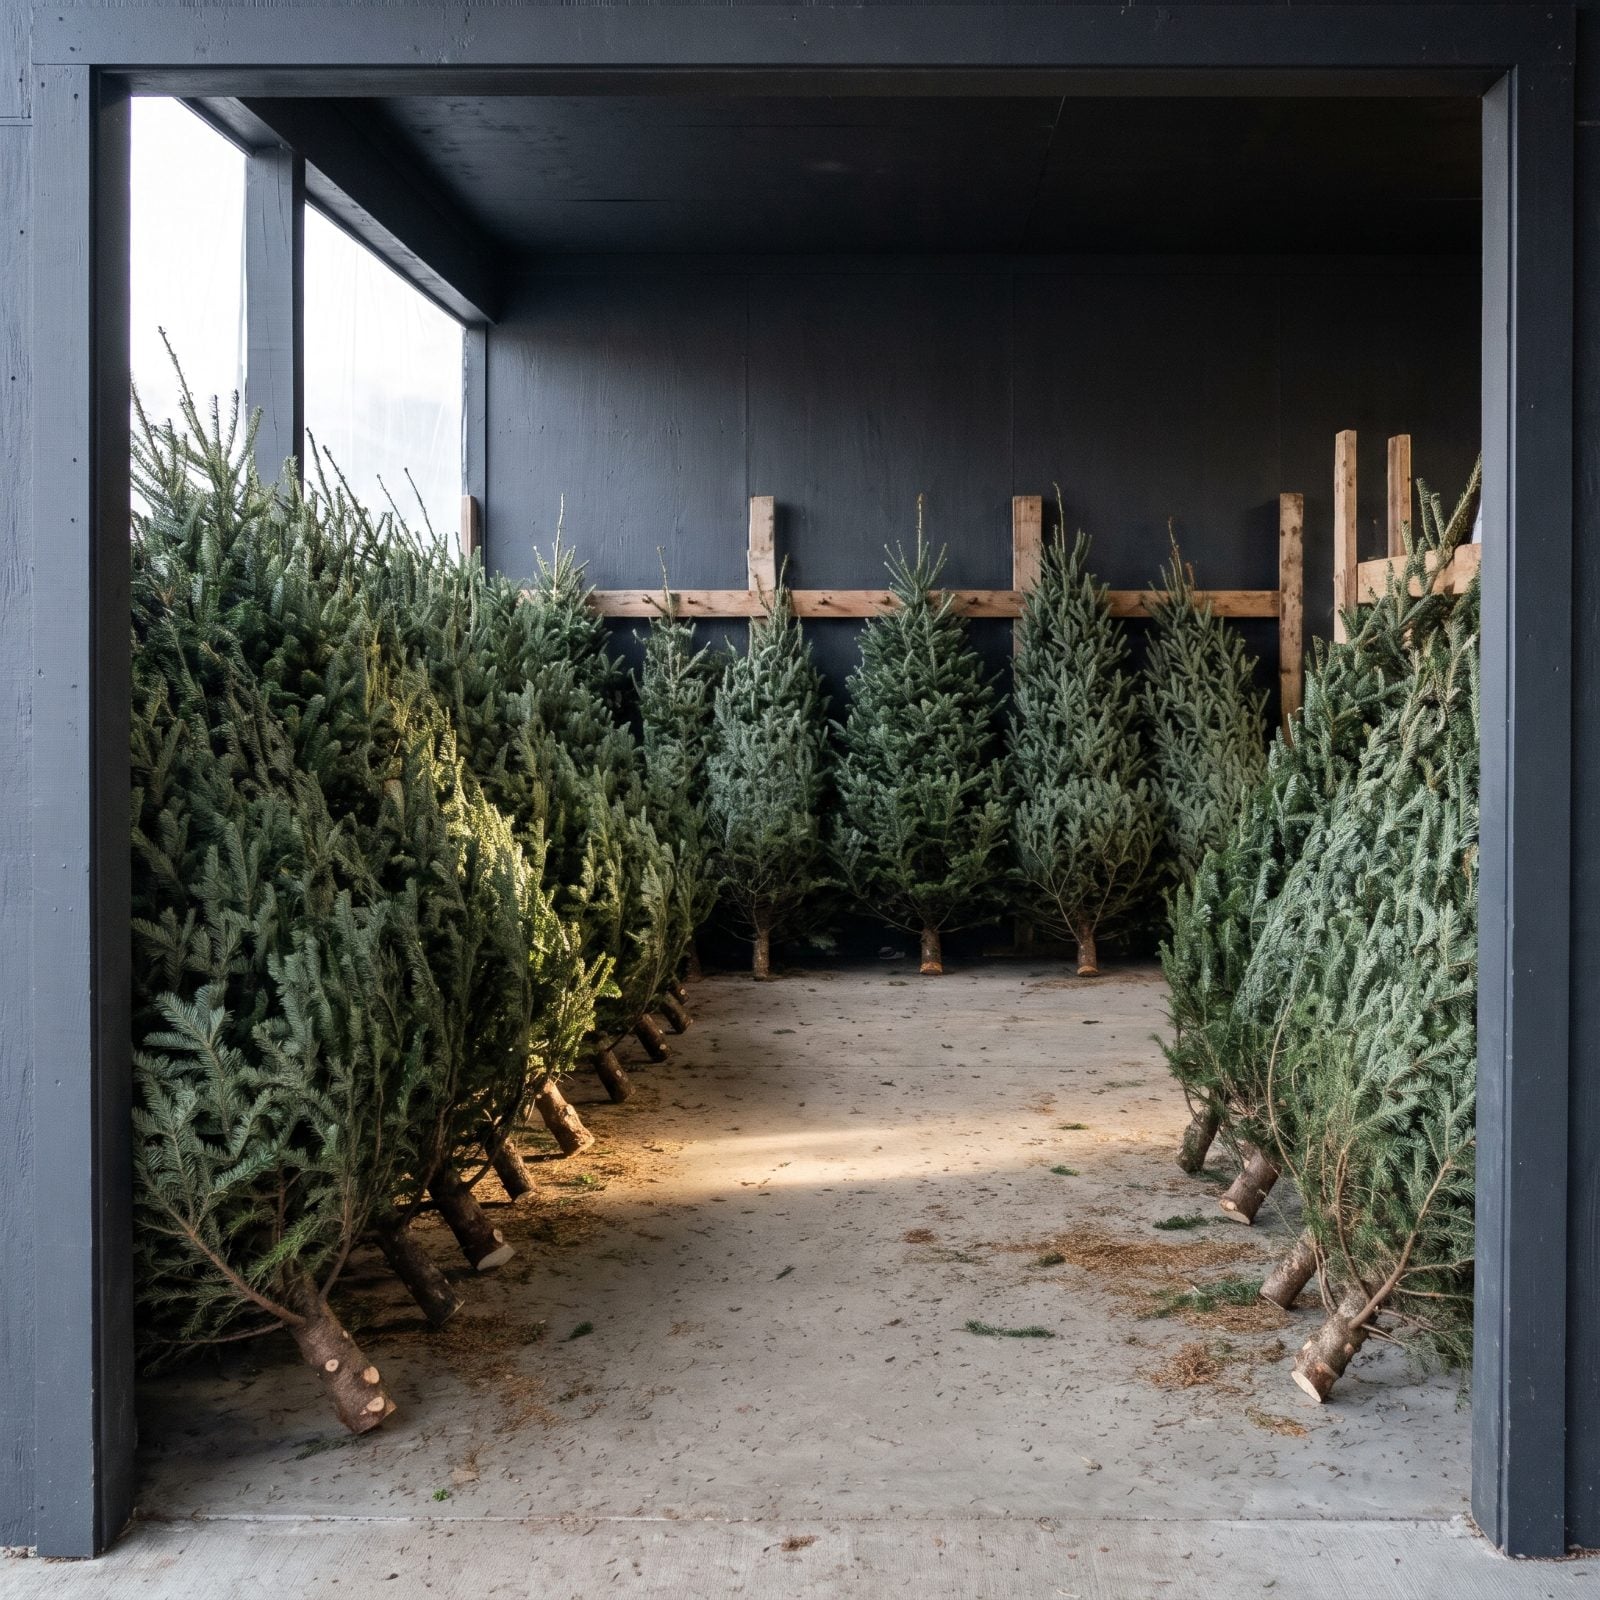
Where a tree waited matters as much as how fresh it was cut. Trees stacked for days with their cut ends sitting on dry pavement or concrete seal over exactly the way a dried-out reservoir seals them, and by the time you get it home the trunk may be closed up tight even when the needles still look fine.
Favor sellers who stand their trees in water buckets or keep the stock shaded and cool. And wherever you buy, saw a fresh half inch off the trunk the moment you get home, then get it into water fast. That one cut can be the difference between a tree that lasts the season and one that’s bare by Boxing Day.
26. Driving Home With the Tree Riding Bare on the Roof
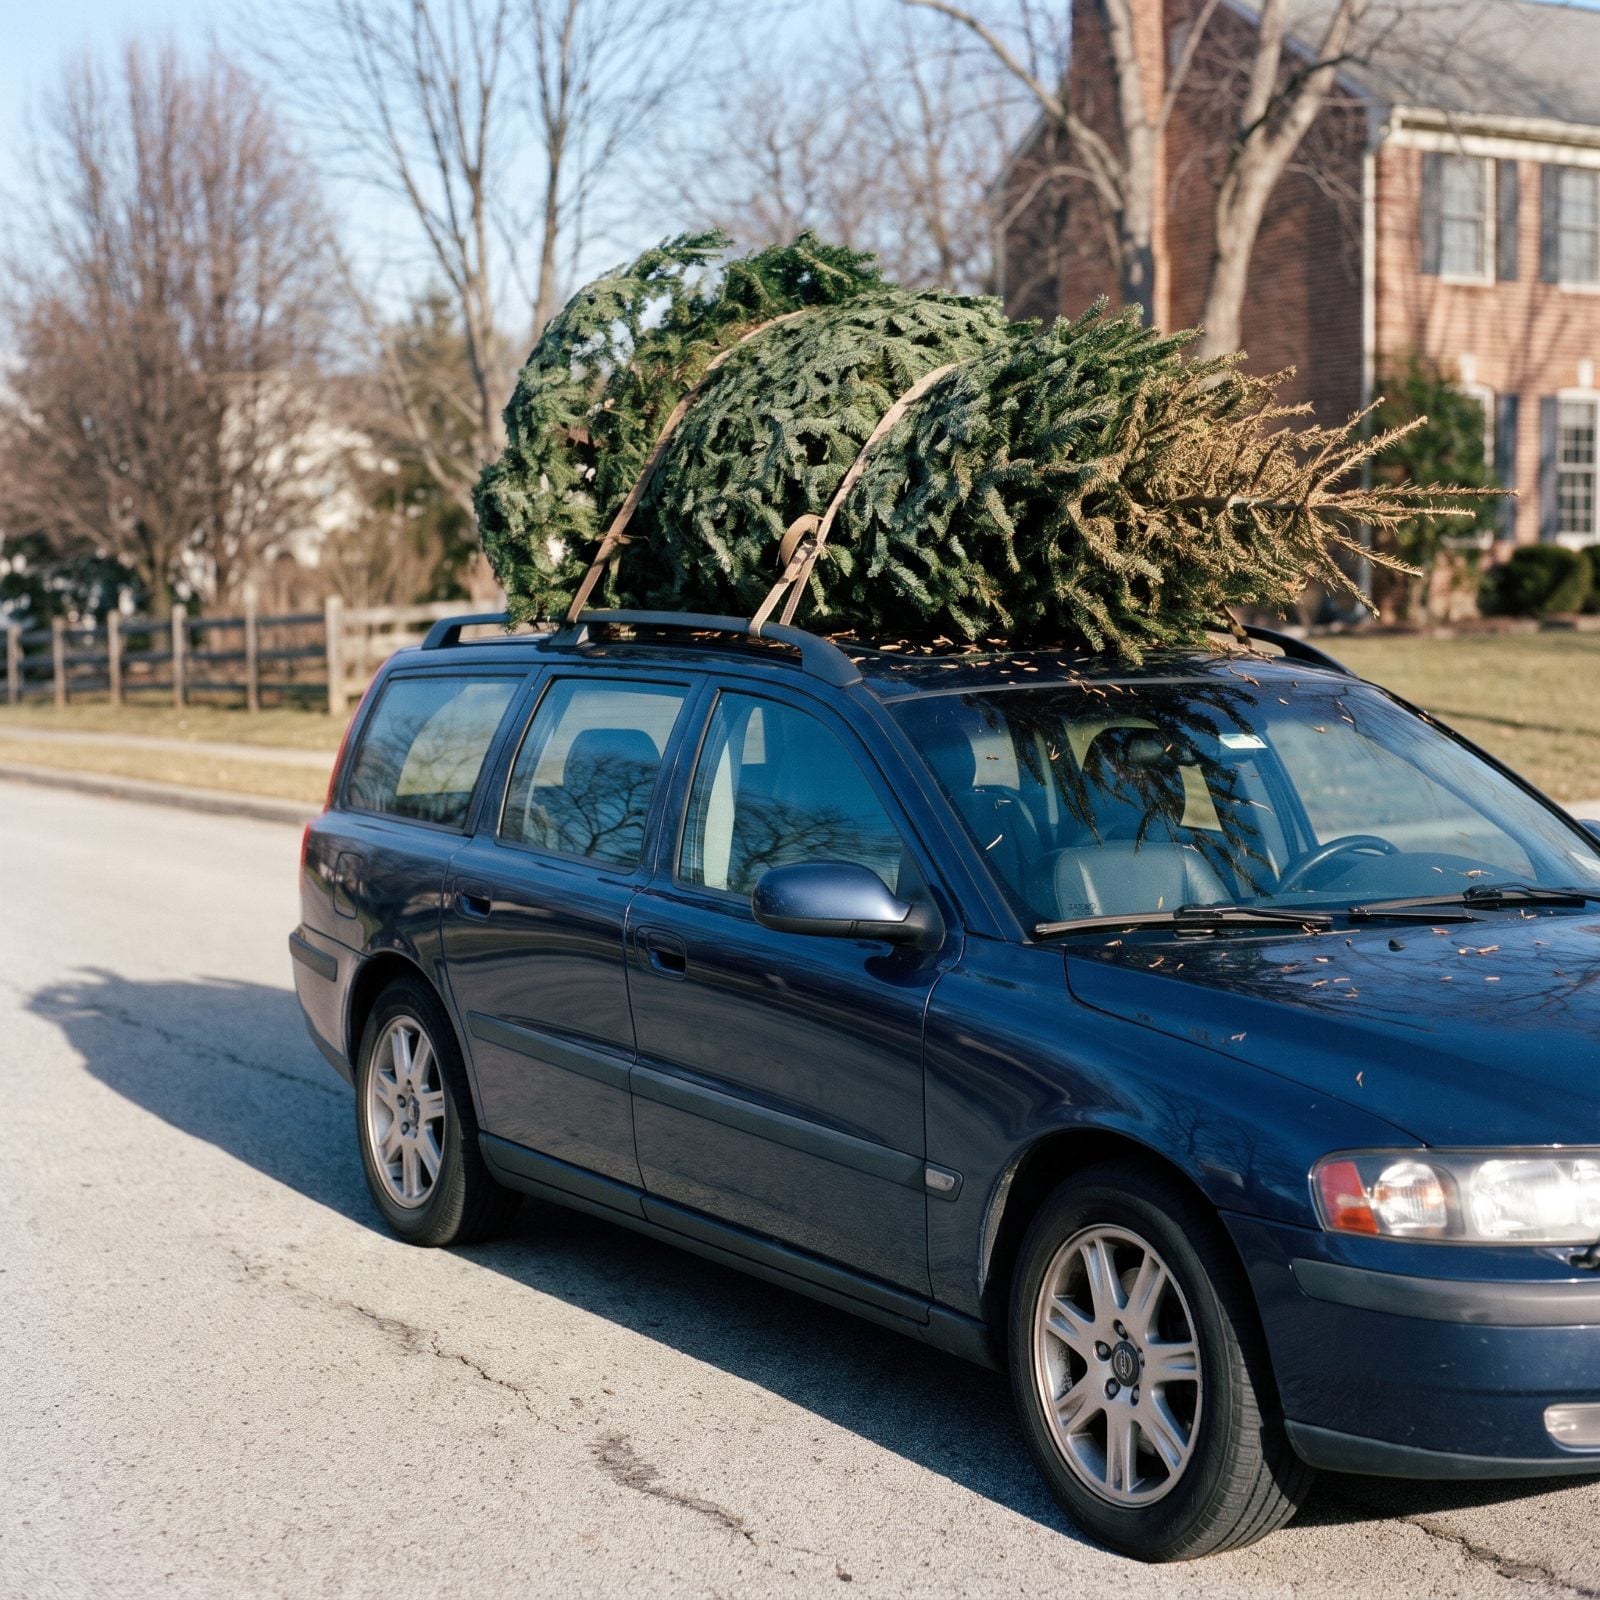
An uncovered tree at 65 miles an hour is sitting in a wind tunnel. That rushing air strips moisture out of every needle it touches, and the branches facing forward take the worst of it. You get home, the tree looks fine in the dim garage, then a week later the front third just gives up and drops.
So wrap it. A tarp or an old sheet tied snug over the whole thing turns that gale into a gentle breeze, and the lot will often net-wrap it for free, so take them up on it. One more thing: point the cut end forward, not the tip, so the branches lie flat instead of catching air like sails.
25. Letting It Bake in a Closed Car While You Finish Errands

You’ve got the tree tied down, then figure you’ll knock out the grocery run while you’re already out. Meanwhile the tree is roasting in a closed car parked in the sun, because a sealed car turns into an oven even on a cool day. Heat plus trapped, still air dries out the needles faster than almost anything else you could do to it.
Take the tree straight home and save the errands for another trip. If you absolutely must stop, park in the shade and crack the windows — but honestly, just get it home and into water.
24. Parking It in a Warm Garage to ‘Get Settled’
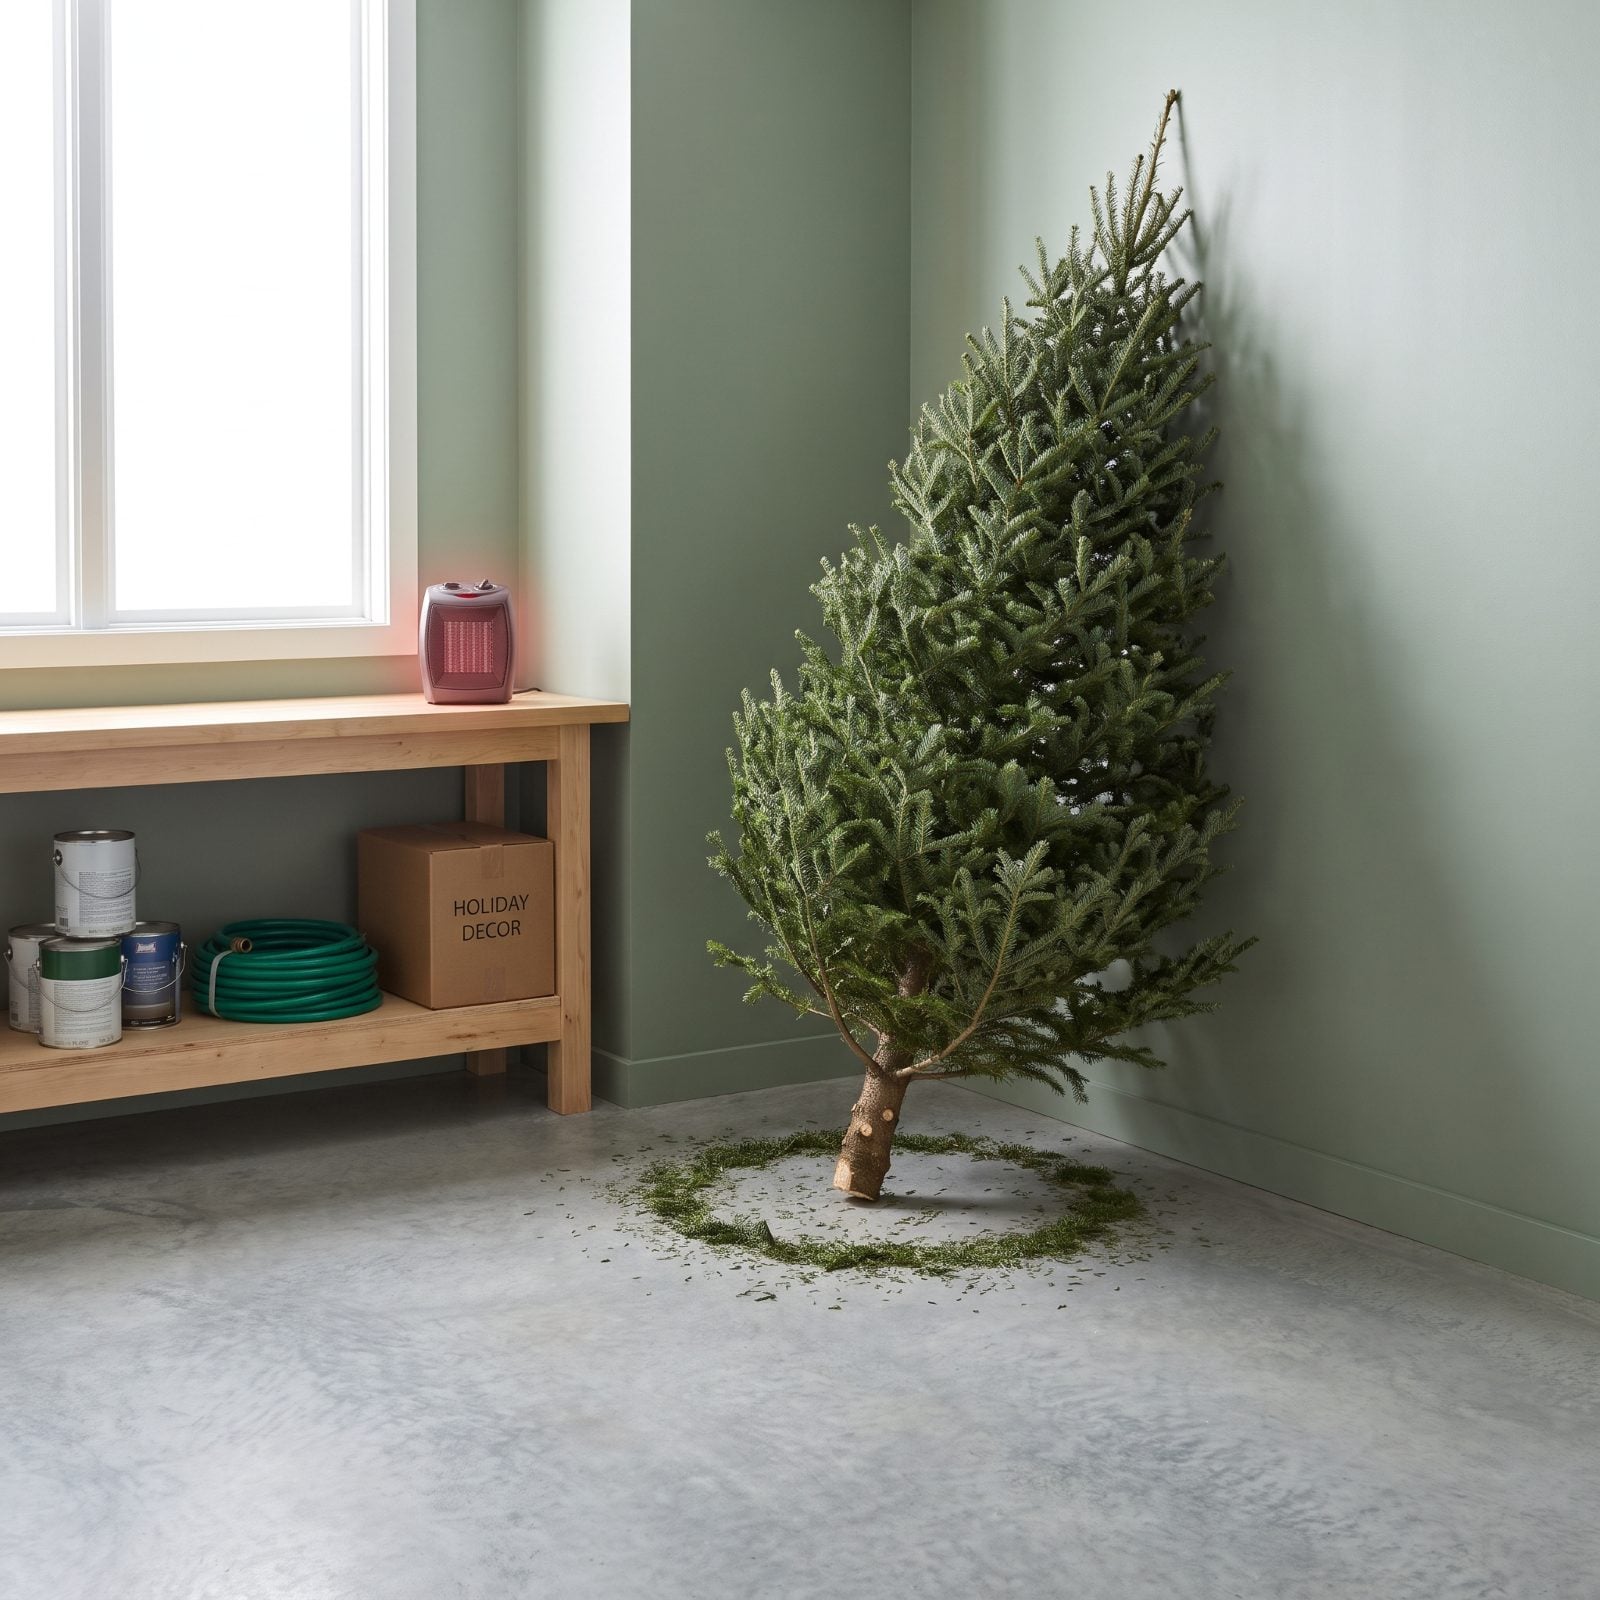
The garage feels like the responsible move — out of the weather, out of the way until decorating day. A heated garage is really a drying chamber, though, and a tree standing there dry for three or four days is quietly dehydrating the whole time. By the day it finally reaches the living room, the damage is done, and no amount of water brings it back.
Not setting it up today? Then keep the tree somewhere cold: an unheated porch, a shaded north wall, a garage that’s actually cold rather than cozy. Stand the trunk in a bucket of water while it waits. A tree drinks whether it’s decorated or not.
23. Thawing a Frozen Tree Right Next to a Running Heater
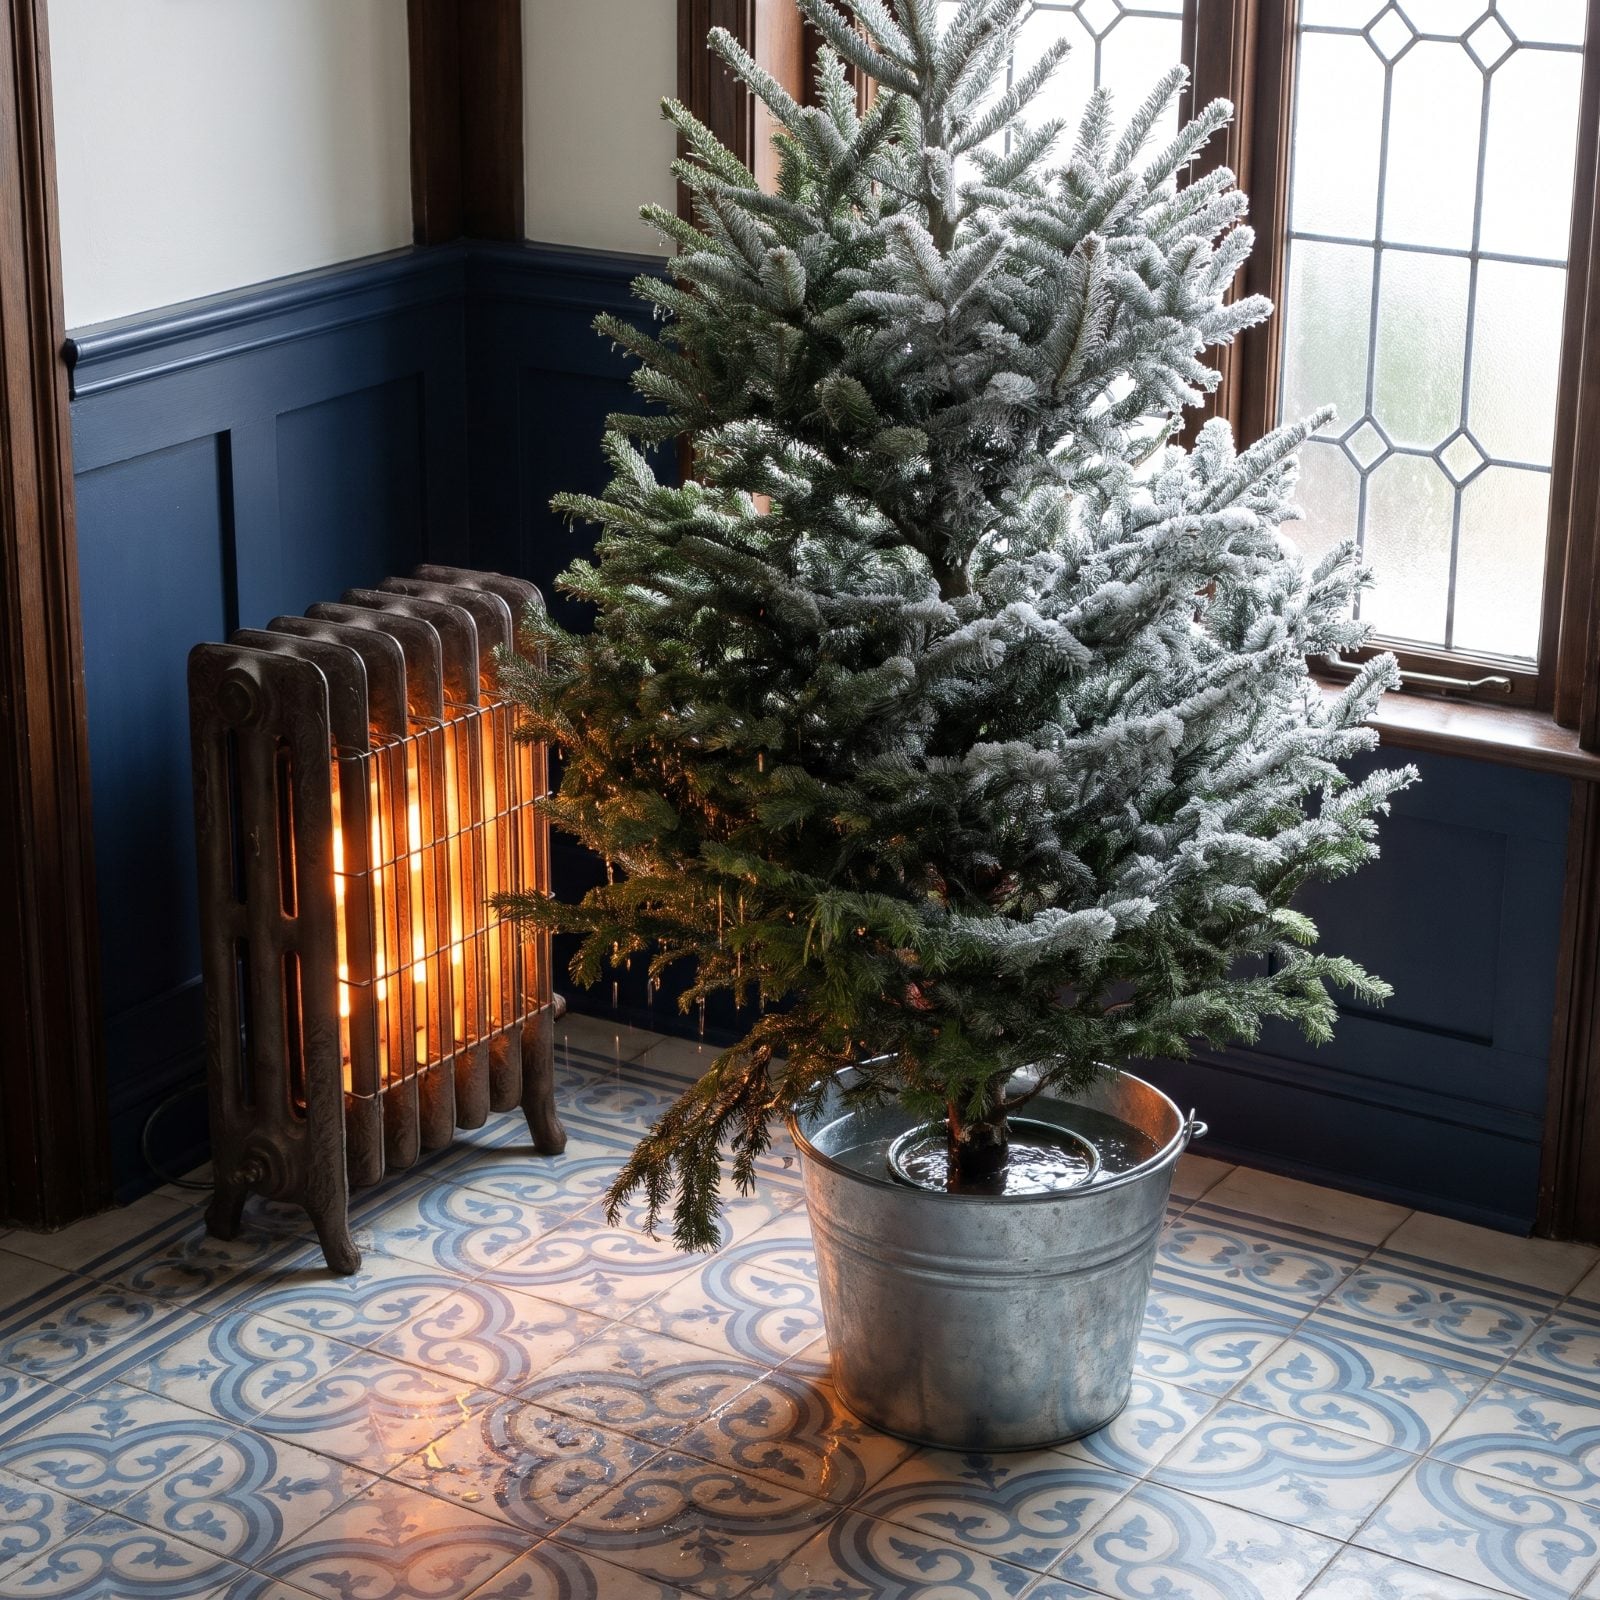
Trees cut in cold weather sometimes come home frozen stiff, and the instinct is to rush them back to life beside a heater. Don’t. Fast thawing cracks the cells and shocks the needles, which register their displeasure a few days later by letting go all at once.
Let it thaw slow. A day in a cool garage or basement before it goes anywhere near the warm living room does the trick. Gradual is the whole game — the tree spent months out in the forest adjusting one degree at a time, so meet it halfway and don’t blast it.
22. Setting It in the Stand Without a Fresh Cut
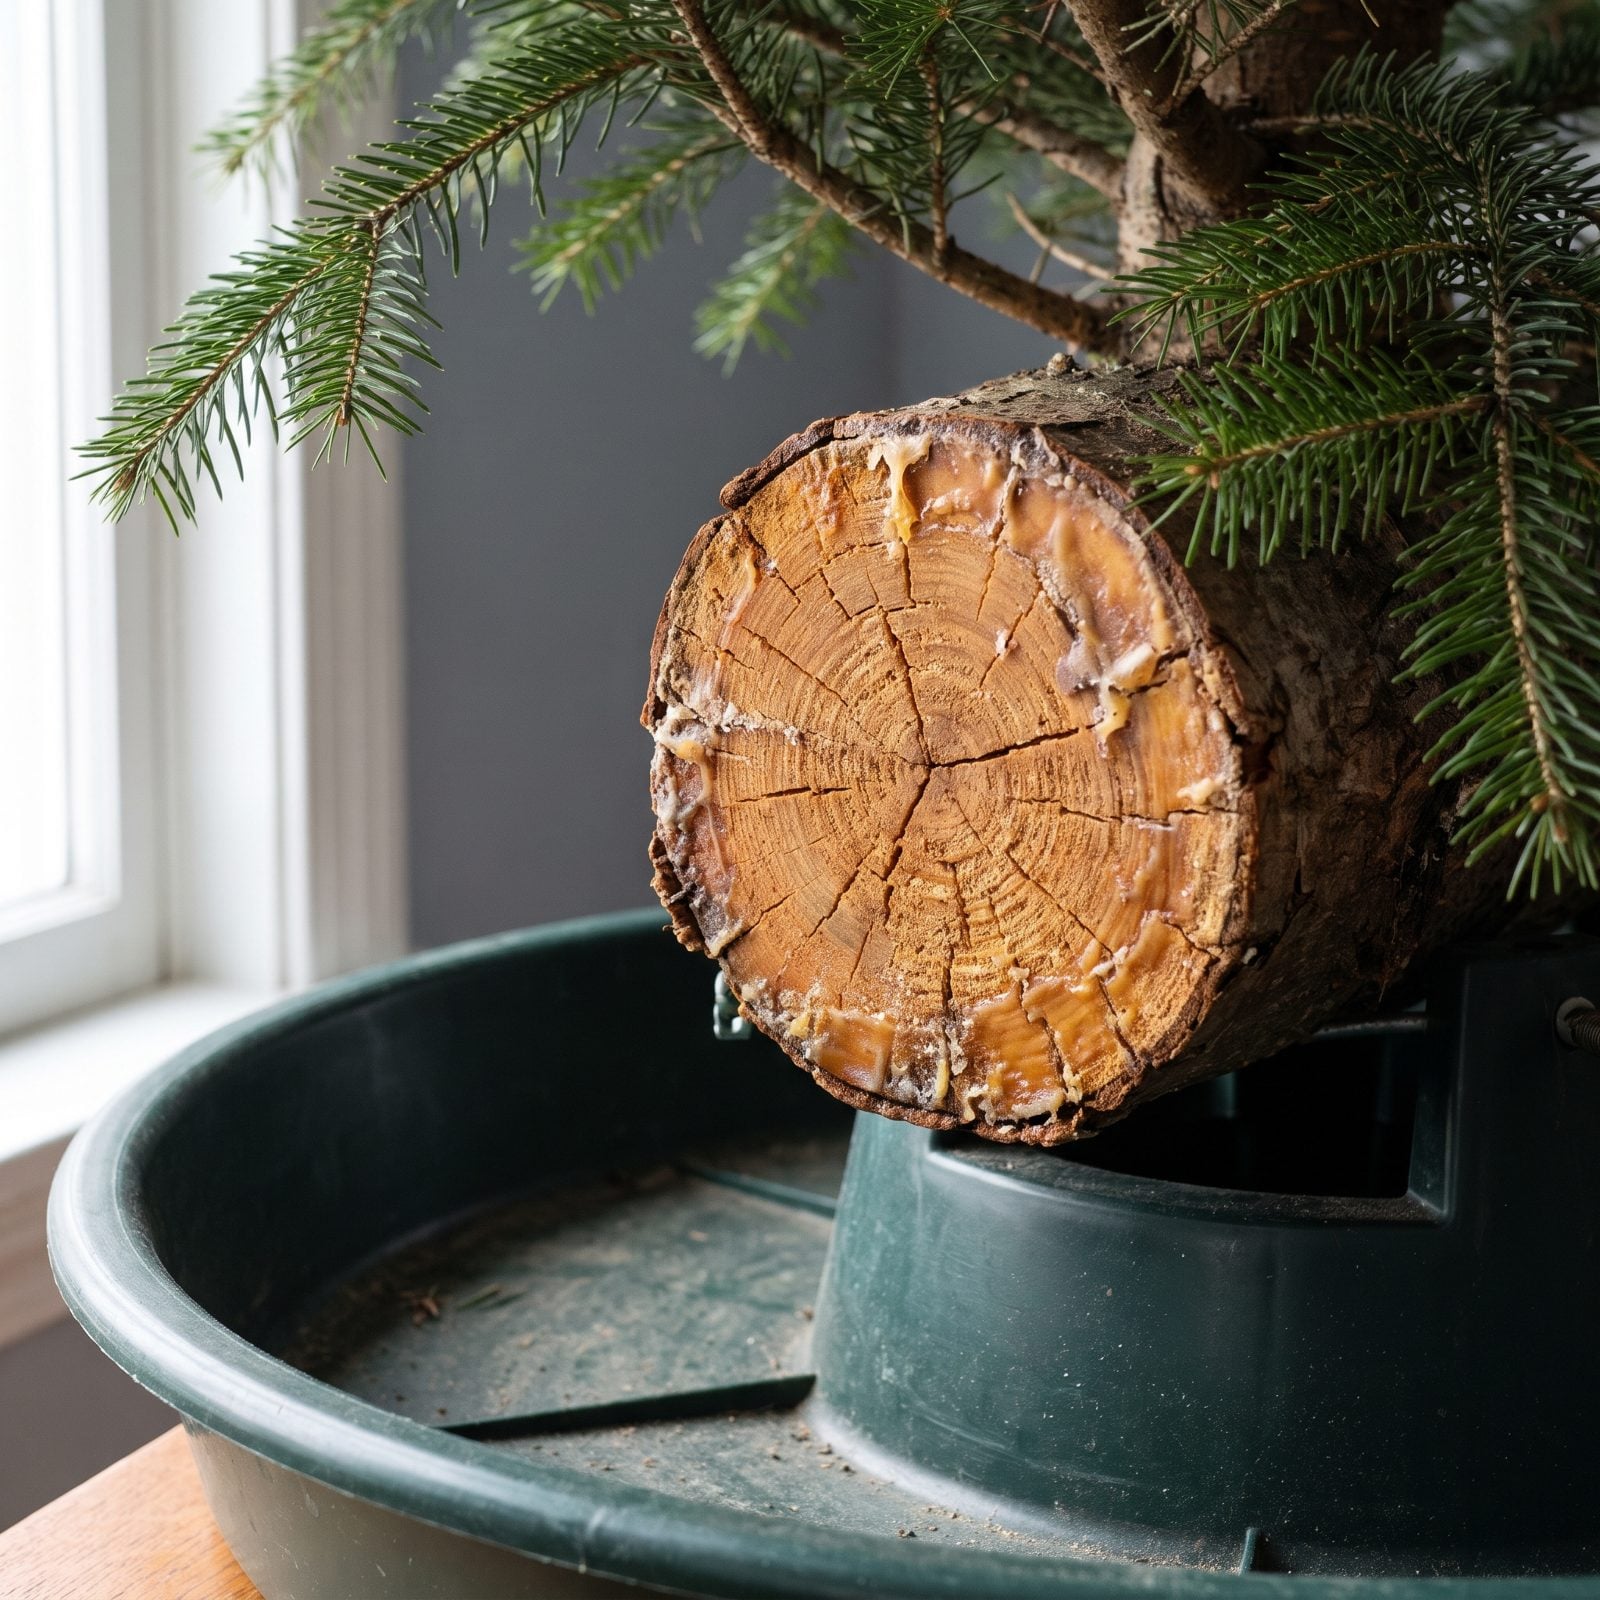
This is the big one. It’s also the easiest to skip, because the tree already has a flat bottom from the lot — so why bother? Here’s why: look closely at an old base like this one, blackened, cracked, moldy and crusted with oozing sap. A trunk that’s sealed over and decaying can’t drink. You can refill that reservoir every single day and the tree won’t take a drop.
Saw off a fresh disc, roughly an inch, straight across the bottom right before the tree goes into the stand. That reopens the water channels. Skip it and you’ve bought yourself a very expensive dried arrangement.
A tree that won’t drink isn’t stubborn. It’s sealed shut, and a saw fixes it in thirty seconds.
21. Trimming So Little Off the Base It Barely Matters
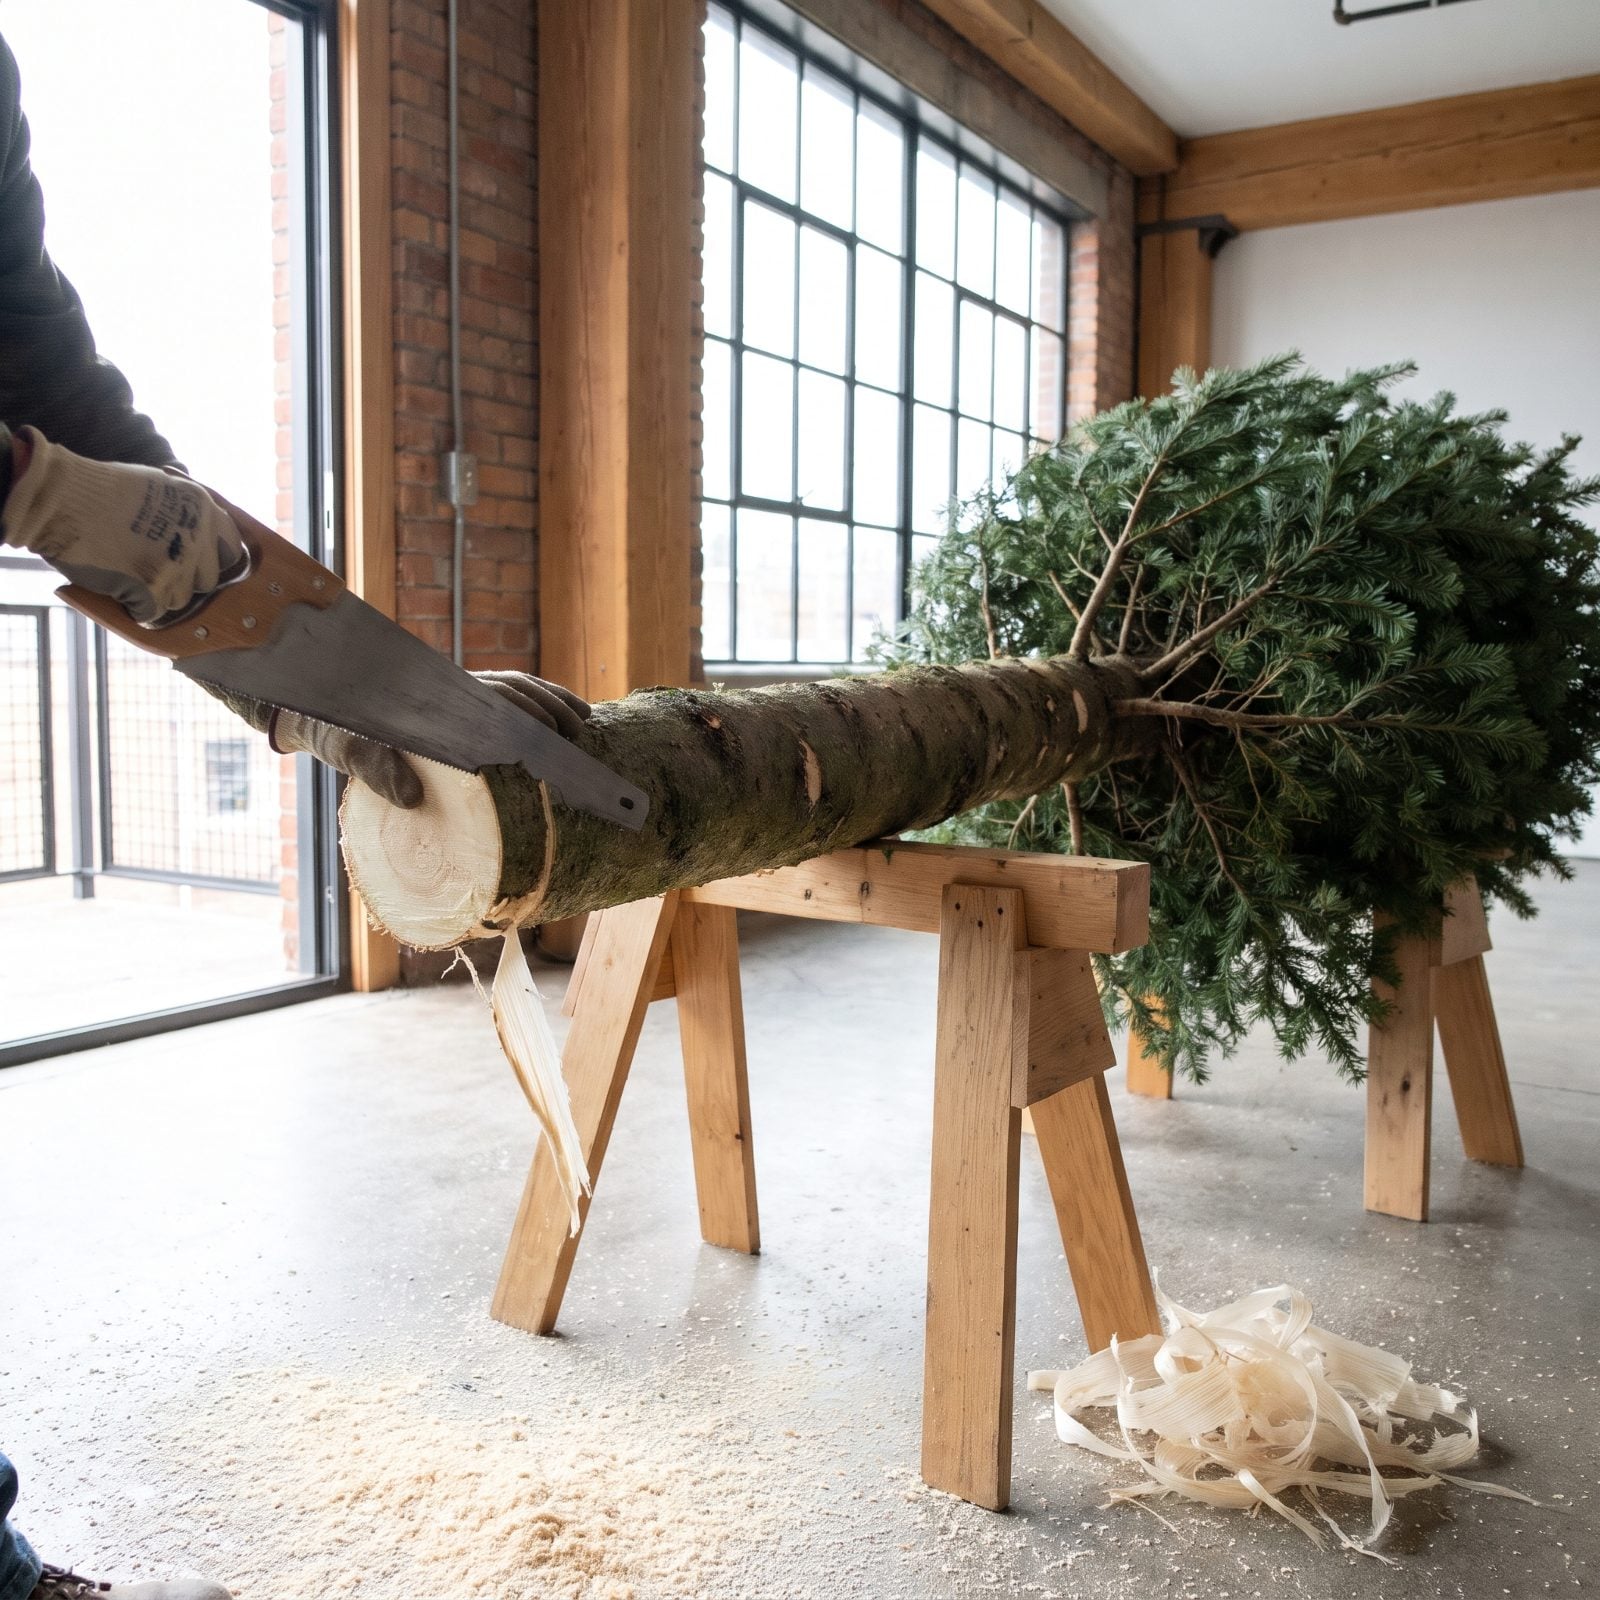
A timid quarter-inch shave feels like enough. It usually isn’t. The sealed, air-blocked wood runs deeper than you’d guess, and if your cut doesn’t reach fresh open wood underneath, the tree still won’t draw water the way it should.
Take a full inch, straight across, and leave it flat. Don’t angle it into a point. People swear a V-cut or a drilled hole helps the tree drink, but all it does is shrink the surface sitting in water and make the tree wobble besides. Flat and generous — that’s what you want.
20. Making the Cut Long Before the Water Goes In
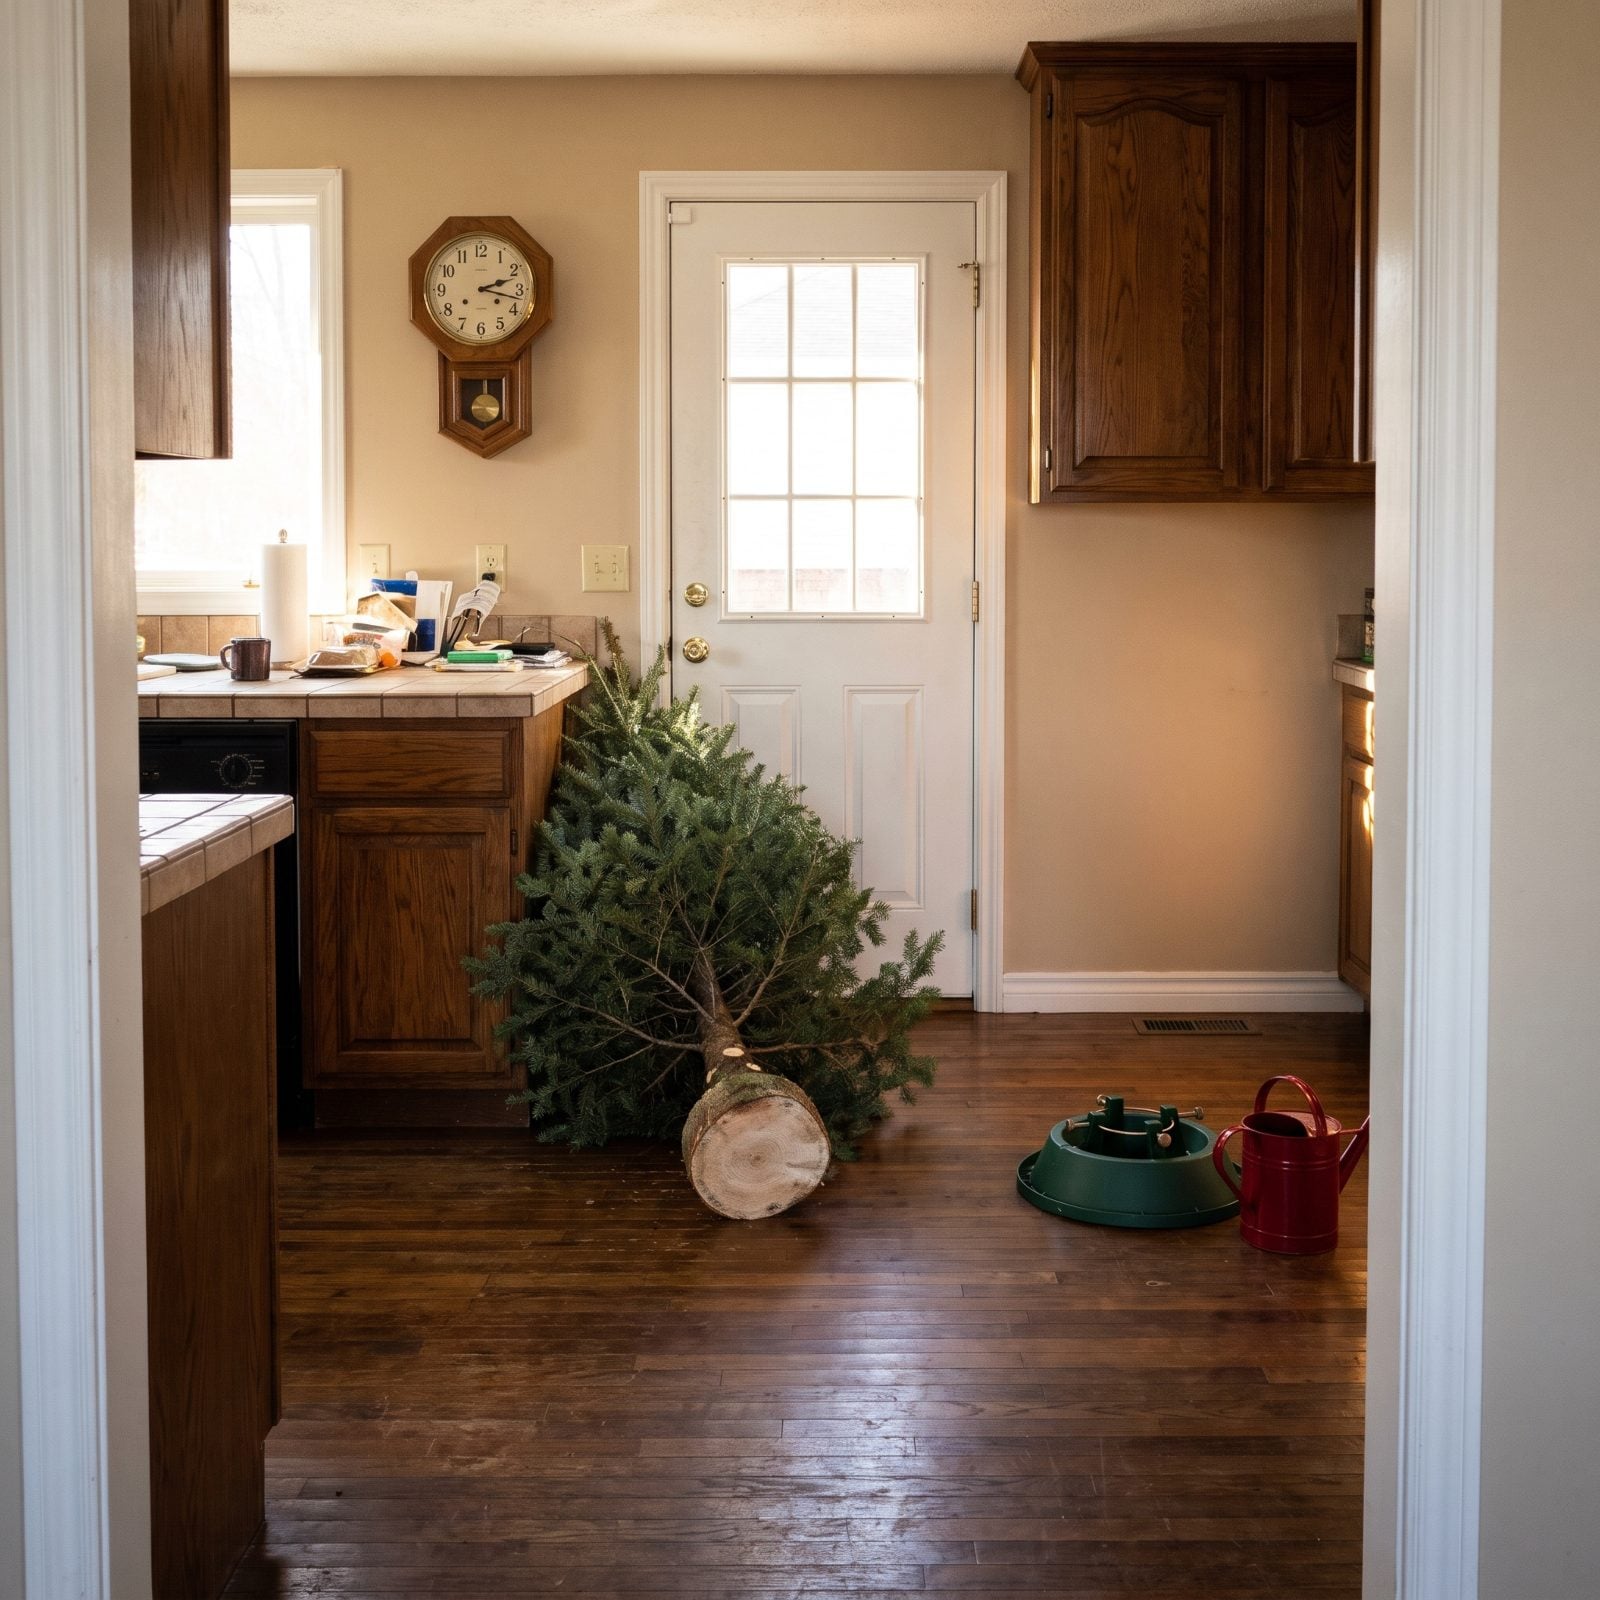
Here’s the trap. You make a perfect fresh cut, then get sidetracked wrestling the stand into place, hunting for the tree skirt, chasing down the saw you set down somewhere a minute ago. An hour slips by. The cut has already begun to seal over again, and you’re right back where you started.
Cut, then get it in water fast — within a few minutes if you can. Any delay at all, and the trunk goes straight into a bucket the moment the saw comes off. The clock starts the second the blade lifts, so have the stand ready and filled before you ever pick up the saw.
19. Shaving the Bark Down to Wedge It Into the Stand
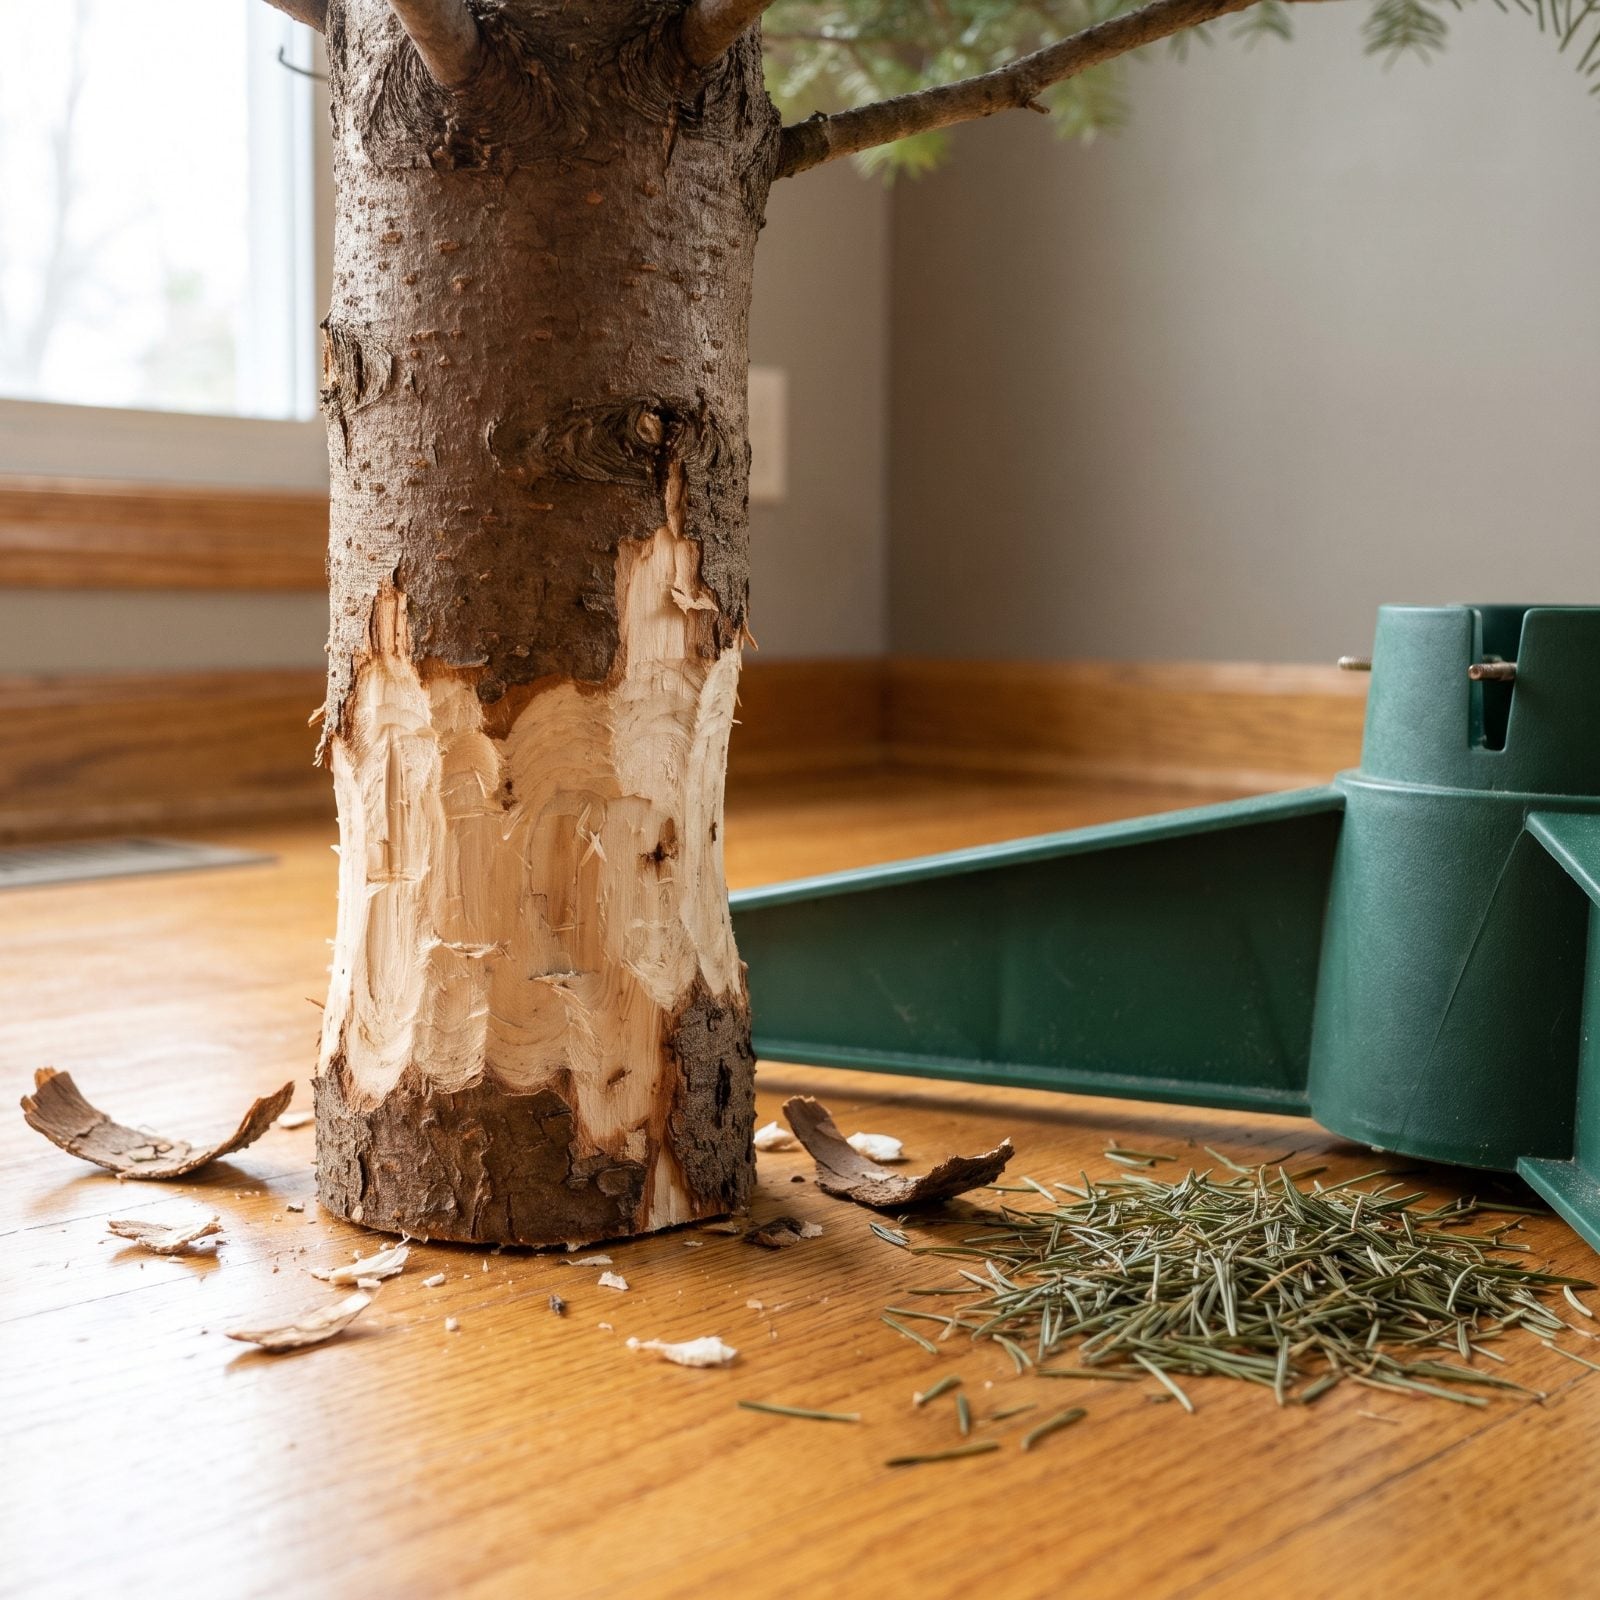
The trunk’s an inch too fat for the stand, so out comes the knife to whittle it down to size. Big mistake. That soft layer you’re carving away, the band of wood just beneath the bark, is exactly the part that does the drinking. Shave it off and you’ve crippled the tree’s ability to take up water at all.
Get a stand sized for your tree instead — one with an opening wide enough for the trunk you actually brought home. Truly stuck? Trim a branch stub or two near the base rather than the trunk’s living tissue. Never carve the trunk itself.
18. Pulling Last Year’s Stand Out of the Basement Caked With Gunk
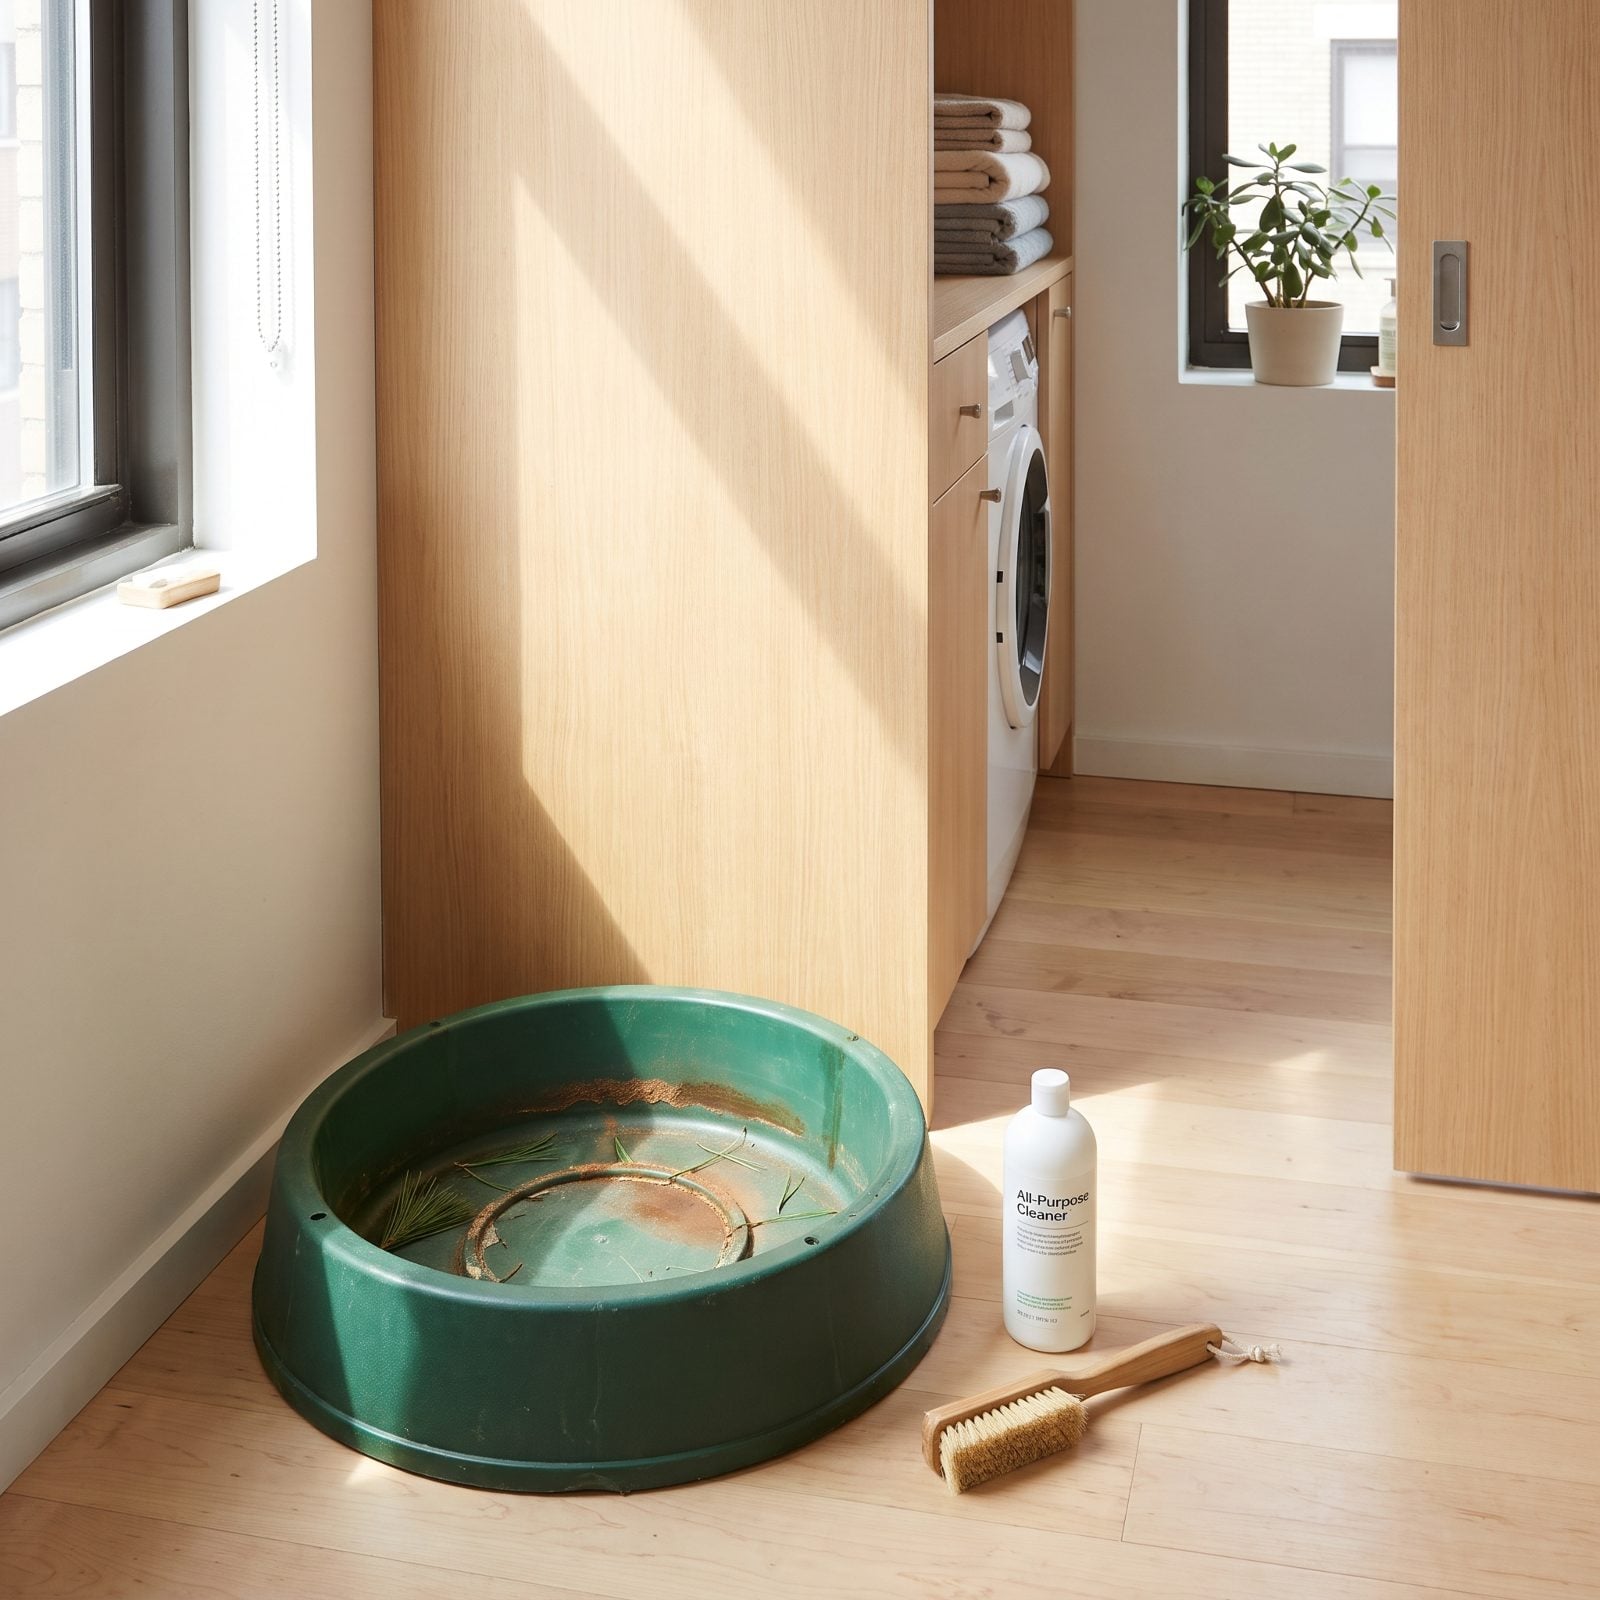
The old stand comes up from the basement with last year’s residue dried into a crust around the reservoir. That gunk is a buffet of bacteria and fungi, and those little organisms clog up the tree’s freshly cut pores and slow its drinking to a crawl.
Scrub it clean with hot water before the tree goes in. A splash of bleach in the wash water handles anything stubborn — rinse well afterward. A clean reservoir lets the tree drink freely, and that’s the goal. Clean it every year whether it looks dirty or not, because by the time you can actually see the grime, it’s already been working against you for a while.
17. Choosing a Stand With a Reservoir the Size of a Soup Can
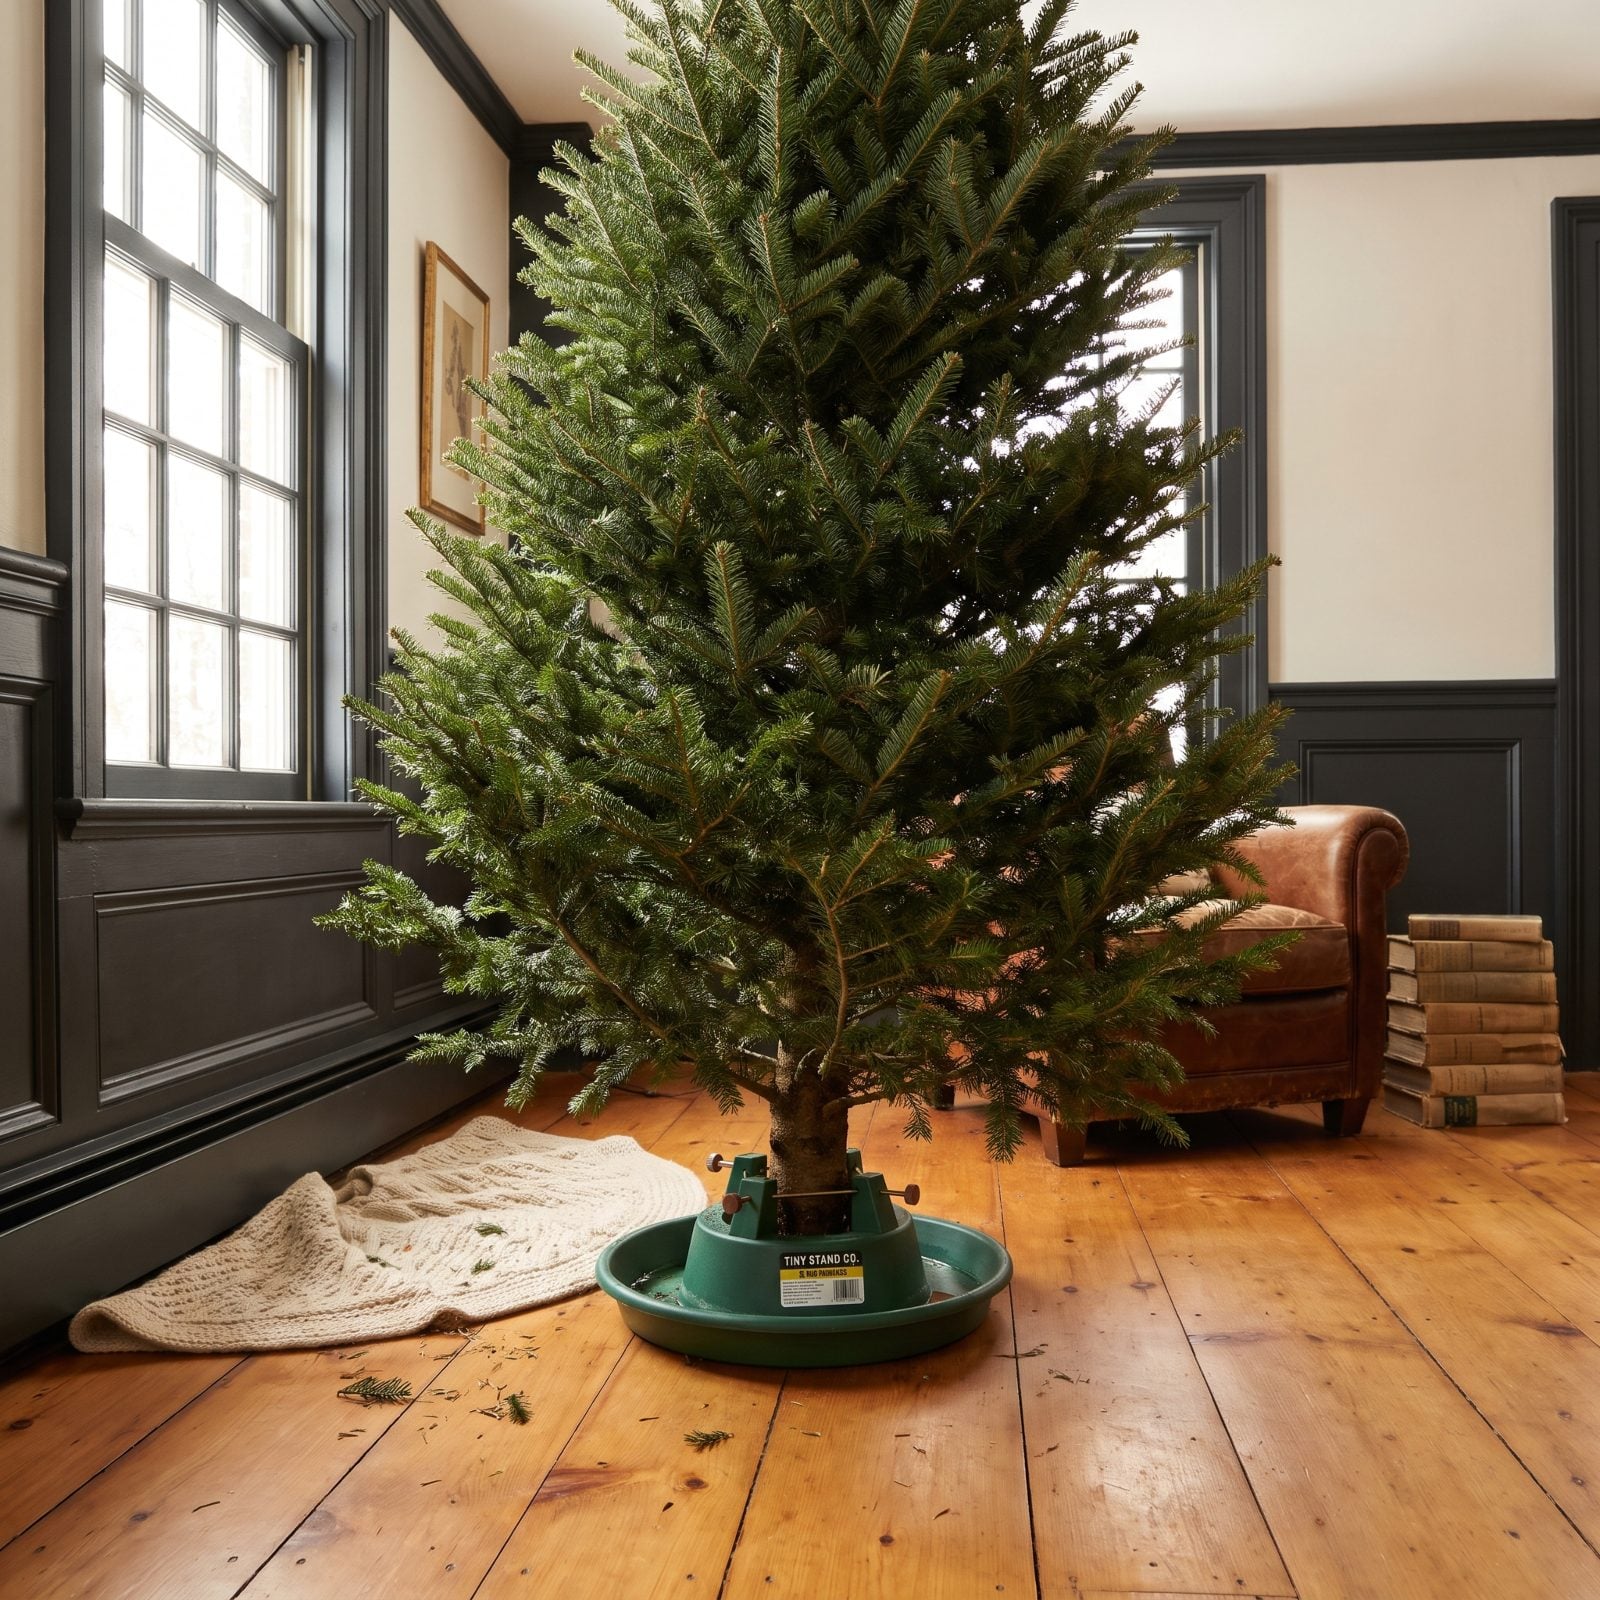
A big tree in a tiny stand drains its reservoir dry somewhere between your bedtime check and your morning coffee. Once the cut sits above the waterline for even a few hours, it seals over again — and now you’re stuck with a tree that refuses to drink no matter how much you pour in afterward.
Match the reservoir to the tree. The rough rule is about a quart of water for every inch of trunk diameter, so a fat seven-footer wants a stand that holds a gallon or more. Check it twice a day that first week. A big stand buys you margin, and margin is what keeps the needles on the branches clear through New Year’s.
16. Leaving Lower Needles Submerged in the Reservoir
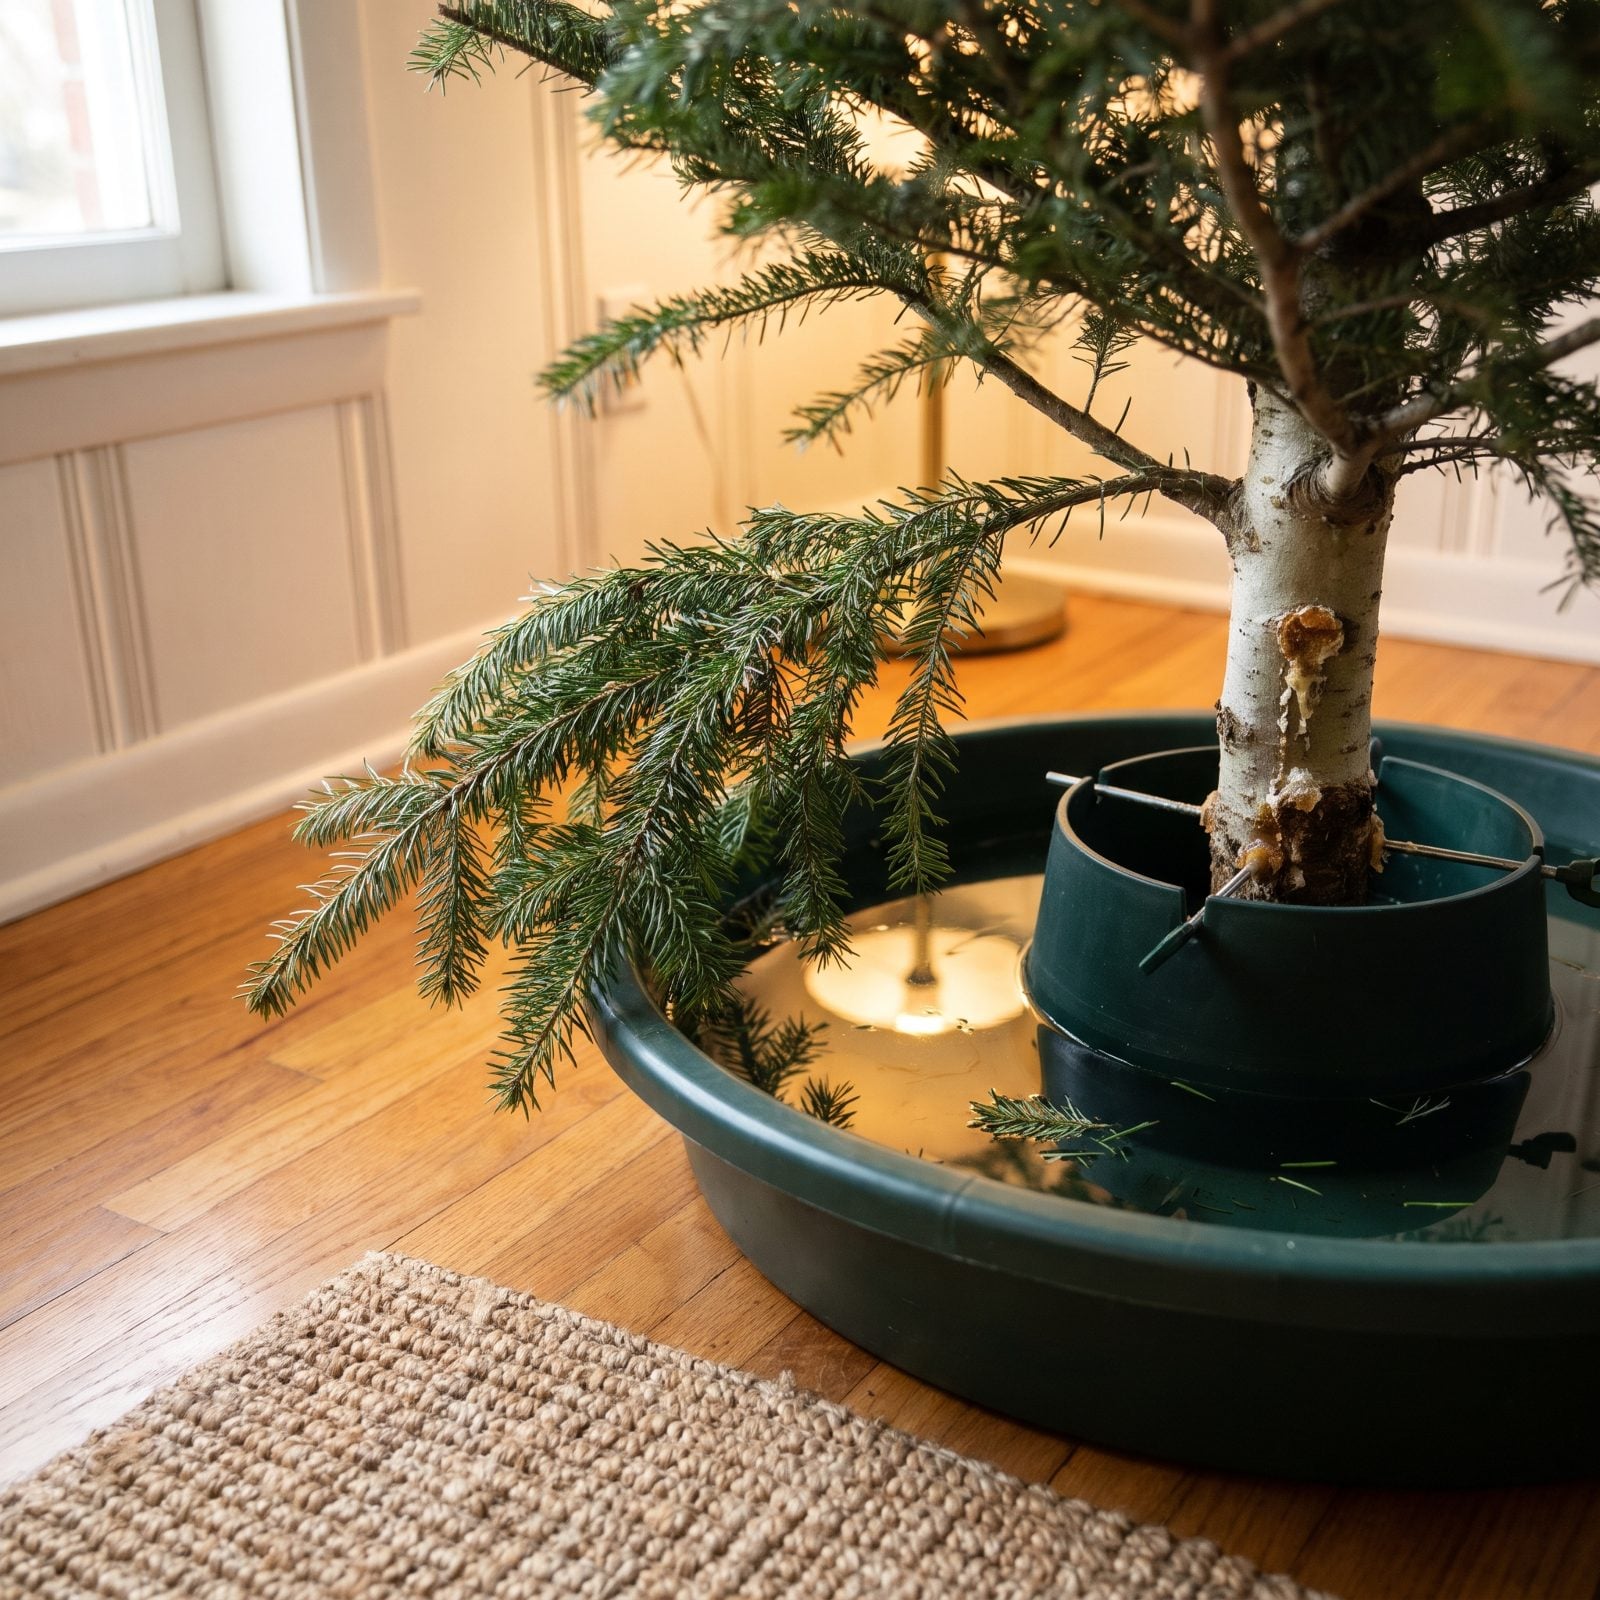
You trim the bottom branches off, right? Most people don’t, and those low needles end up steeping in the water like tea bags. They rot. And rotting needles turn the reservoir into a slimy, bacteria-heavy soup that clogs the trunk’s water channels within days.
Once those channels gum up the tree can’t drink, so the whole thing dries from the top down no matter how much you pour in. Cut off any branch that would dip below the waterline before the tree goes in the stand. Clean trunk, clean water, happy tree.
15. Waiting Until After Decorating to Add Water

Decorating tends to happen in one marathon push. You haul the tree in, wrestle it into the stand, and spend two hours stringing lights before anyone thinks about water — and the clock’s been ticking on that fresh cut the whole time.
Water first. Decorate second. The trunk needs to start drinking the minute it stands upright. Can’t decorate right away? No harm done. A watered tree waiting a day beats a dry tree dressed to the nines by a mile.
14. Checking the Water Only Once a Day at First
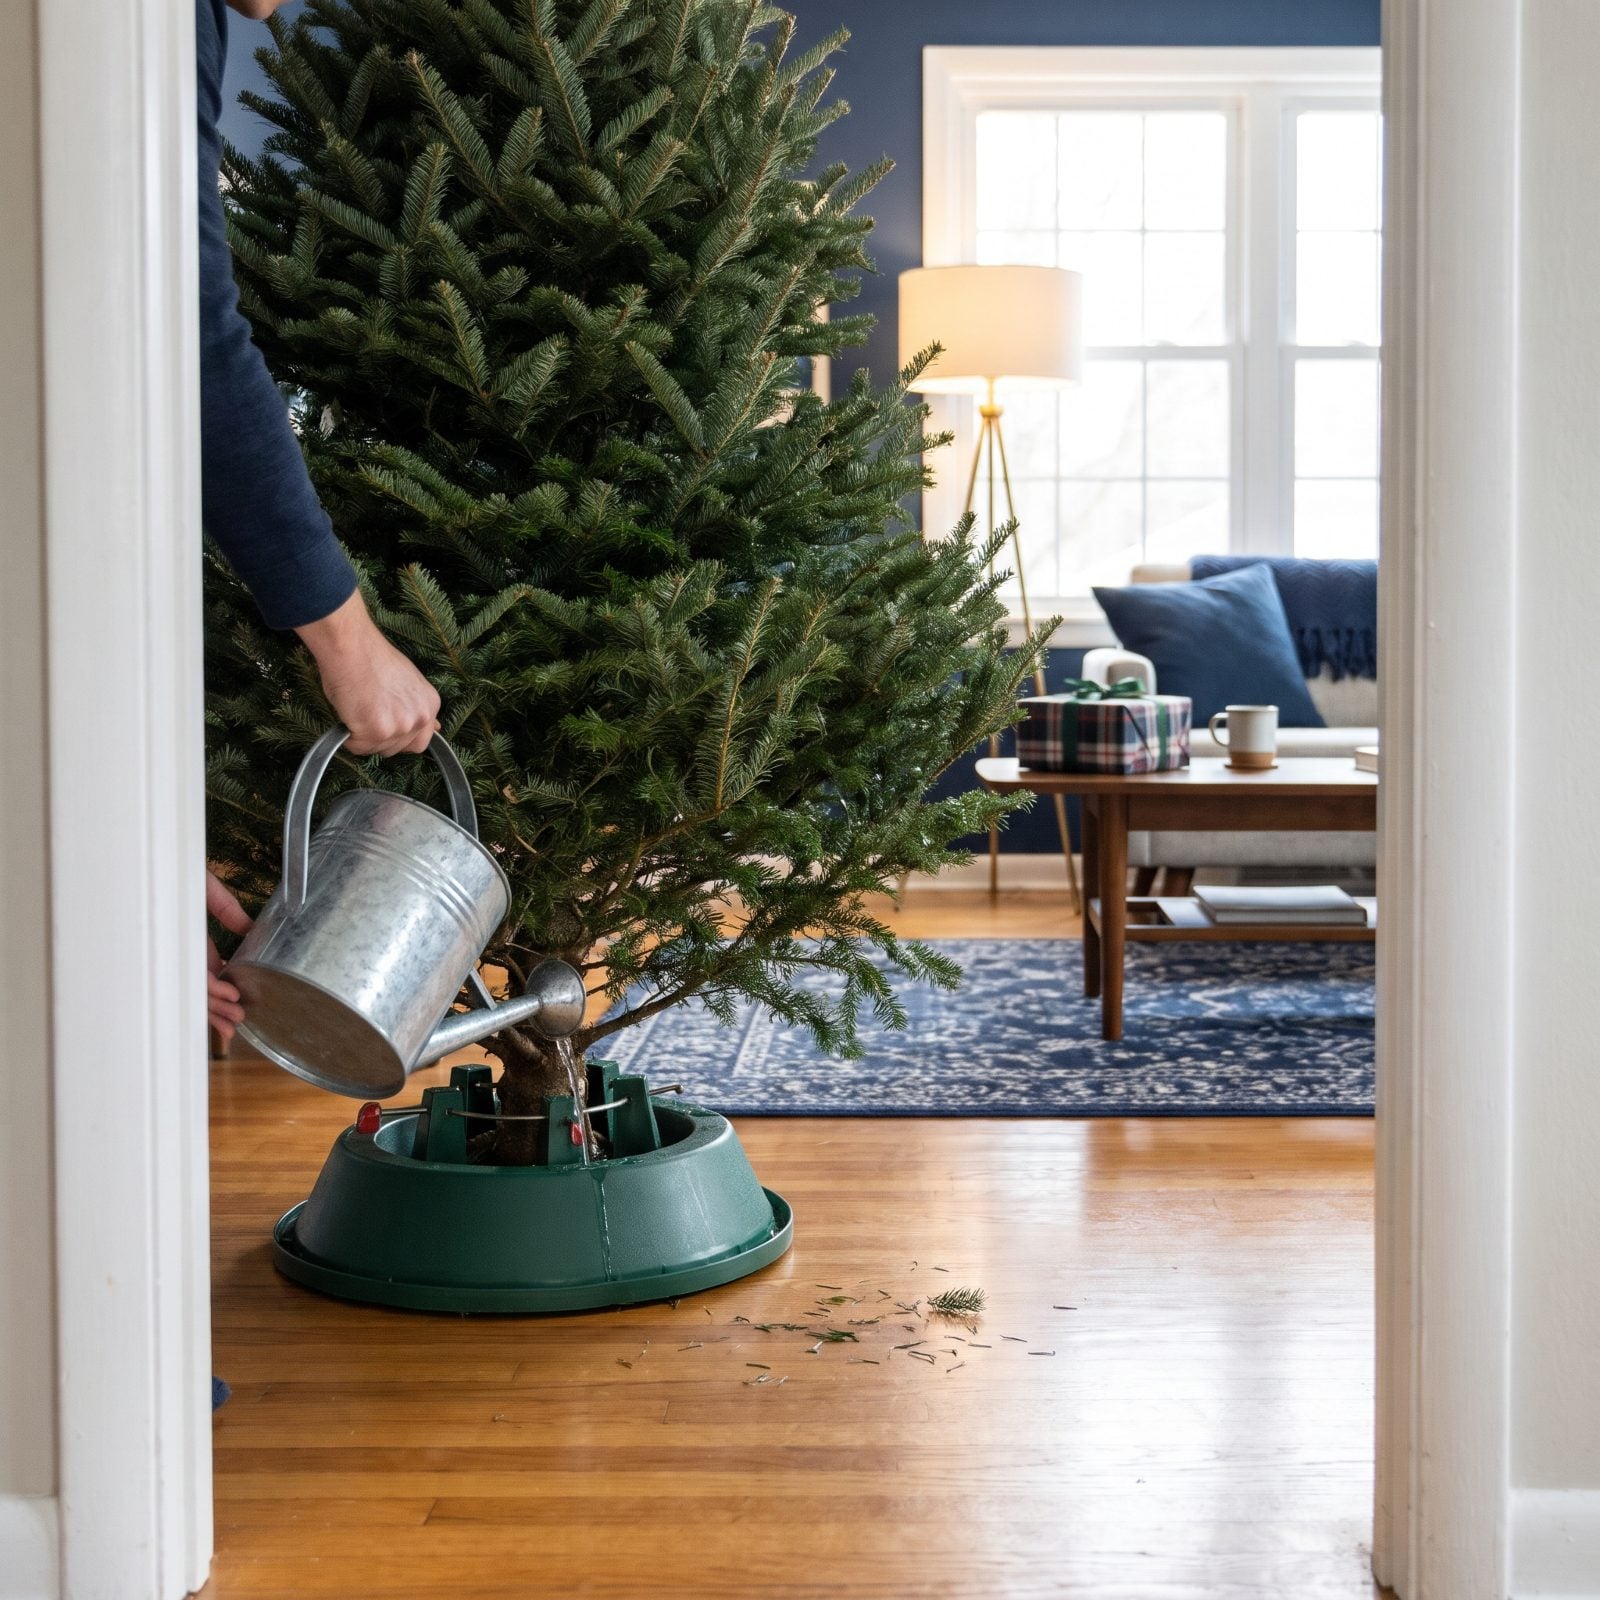
A fresh tree in its first week drinks like it just crossed a desert. Some pull a gallon a day, sometimes more, and checking once is enough to miss the exact moment the reservoir runs dry.
One dry spell is all it takes to seal that trunk. Look morning and night for the first several days, then ease into a daily rhythm once the drinking slows. Park the can right next to the tree so topping up stays a habit instead of the thing you keep forgetting.
13. Blocking the Reservoir With Gifts and Decorations

You know the look. The plaid tree skirt goes down, the kraft-paper gifts pile up around the trunk, and the green stand is still peeking out from the middle — for now. Every new box creeps a little closer, and once it’s walled in, the water quietly runs dry.
Hidden reservoirs are forgotten reservoirs. Leave yourself a clear path — pull the skirt back on one side, or tuck a corner of it up so you can reach in with the can. A parched tree buried under a mountain of presents is a fire marshal’s nightmare, and it’ll dump needles all over those gifts besides.
12. Ignoring a Slow Leak Beneath the Stand
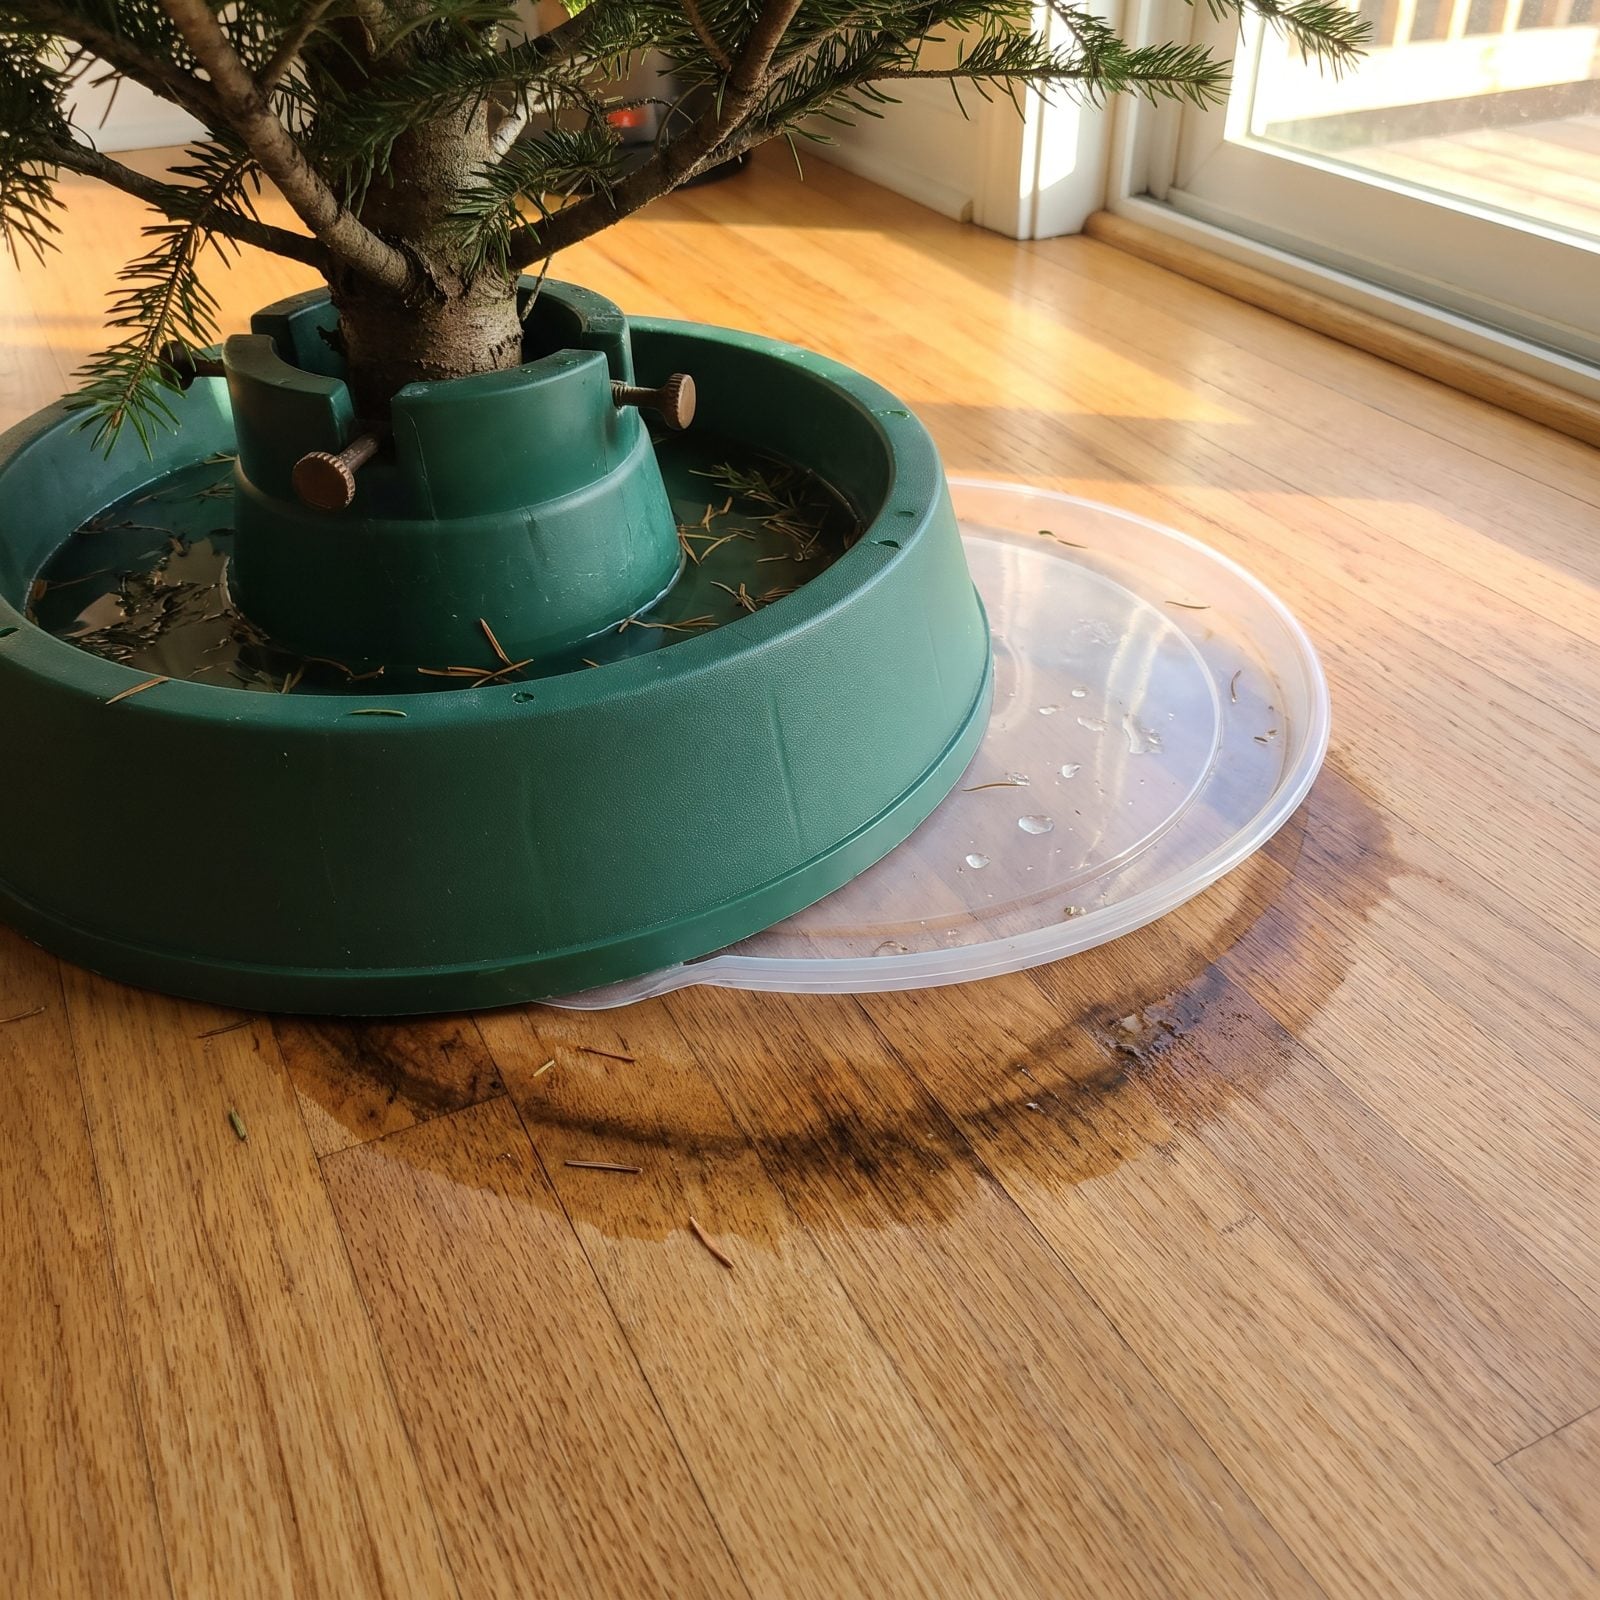
A leaky stand is sneaky. You fill it, the level drops, you shrug and figure the tree is just a thirsty one — and you never notice the quiet puddle wicking out under the skirt and into your floorboards.
Meanwhile the tree starves while you keep pouring. Before anything goes in, stand the filled reservoir on a sheet of plastic or an old baking tray and watch it for an hour. Floor stays dry? You’re good. A cracked old stand isn’t worth the tree it’s killing, so swap it and move on.
11. Adding Sugar, Bleach, Aspirin, or Soda to the Water
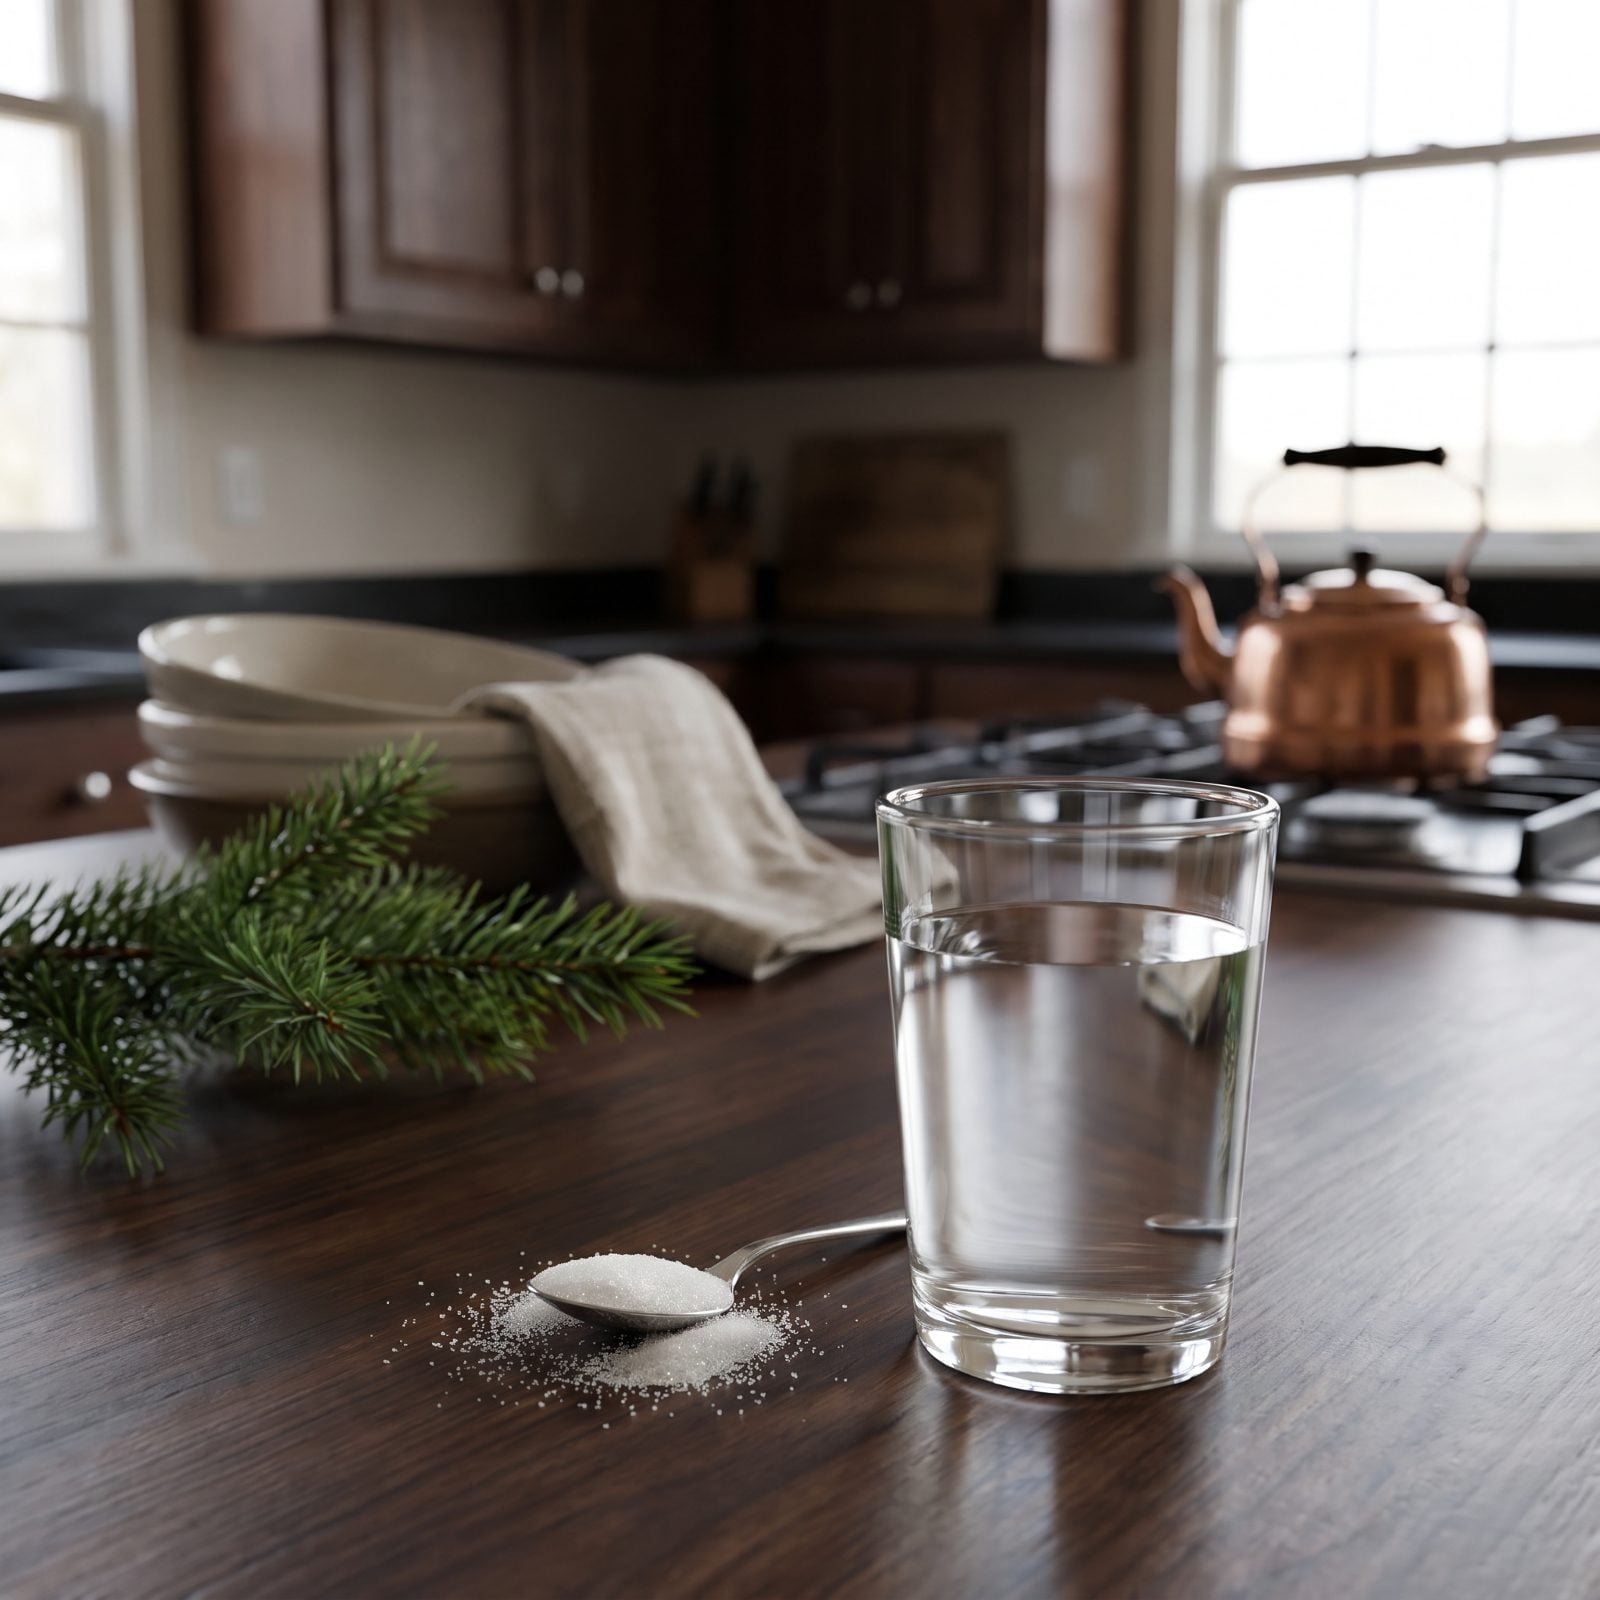
Every family has the recipe. A spoon of sugar, a crushed aspirin, a splash of bleach, half a can of lemon-lime soda, passed around like gospel every December.
Controlled studies keep landing in the same spot: plain tap water holds up as well as or better than any of these mixtures. Sugar can actually feed the bacteria you’re fighting. So skip the chemistry set — cold tap water, kept topped up, does the whole job.
10. Keeping the Room Unnecessarily Hot
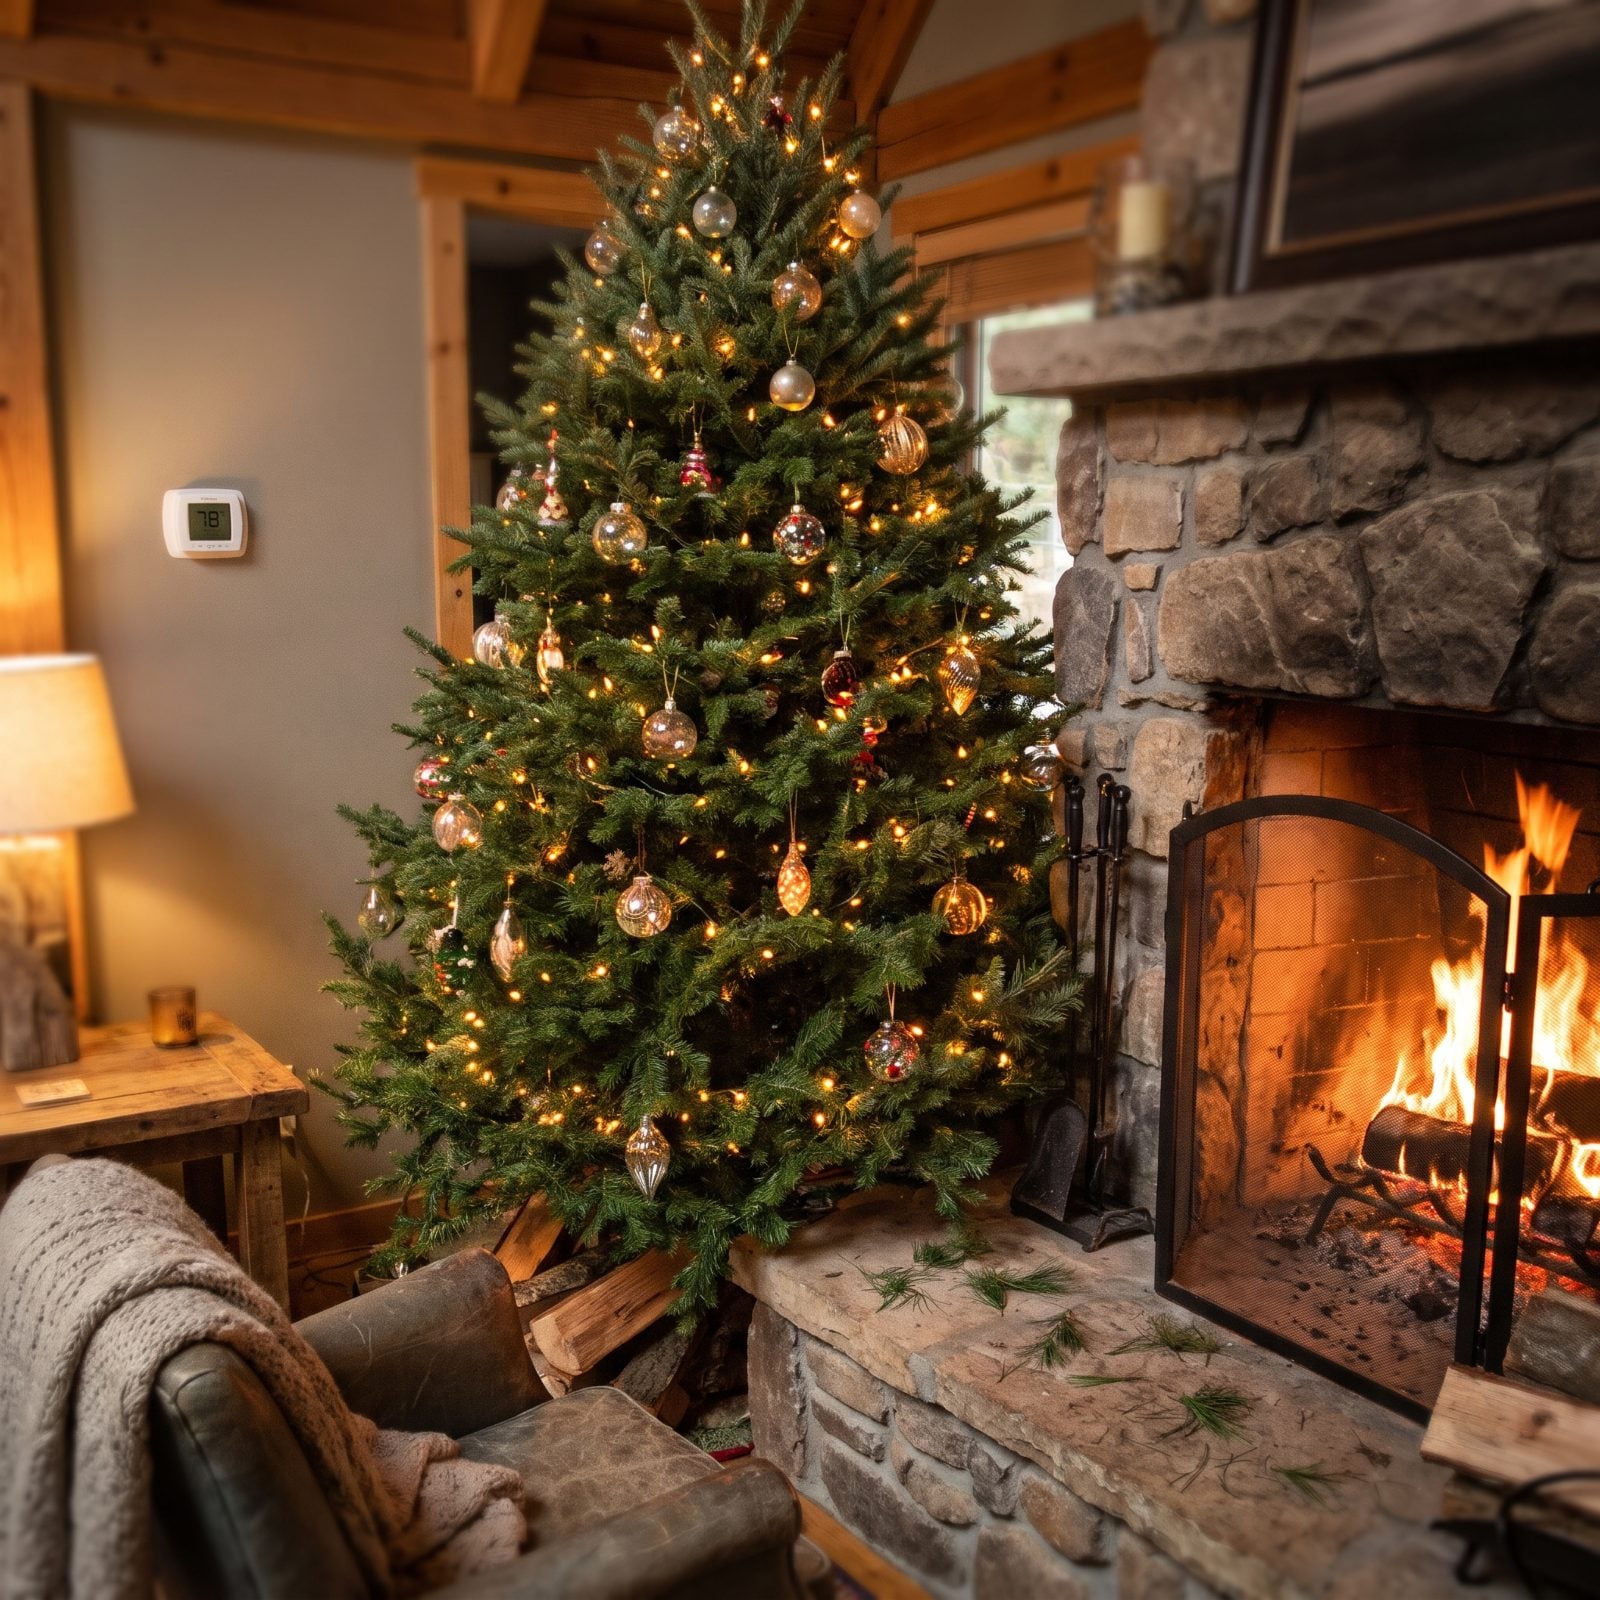
A warm house feels right this time of year, and nobody wants to shiver in a sweater by the tree. But a tree in a hot room loses moisture faster than it can drink, and it crisps up from the inside while you’re busy being cozy.
Nudge the thermostat down a few degrees, especially overnight when nobody’s awake to enjoy the warmth anyway. A cooler room slows the drying and stretches your tree well past the holidays. Your heating bill will thank you too.
9. Putting the Tree in a Sunny South-Facing Window
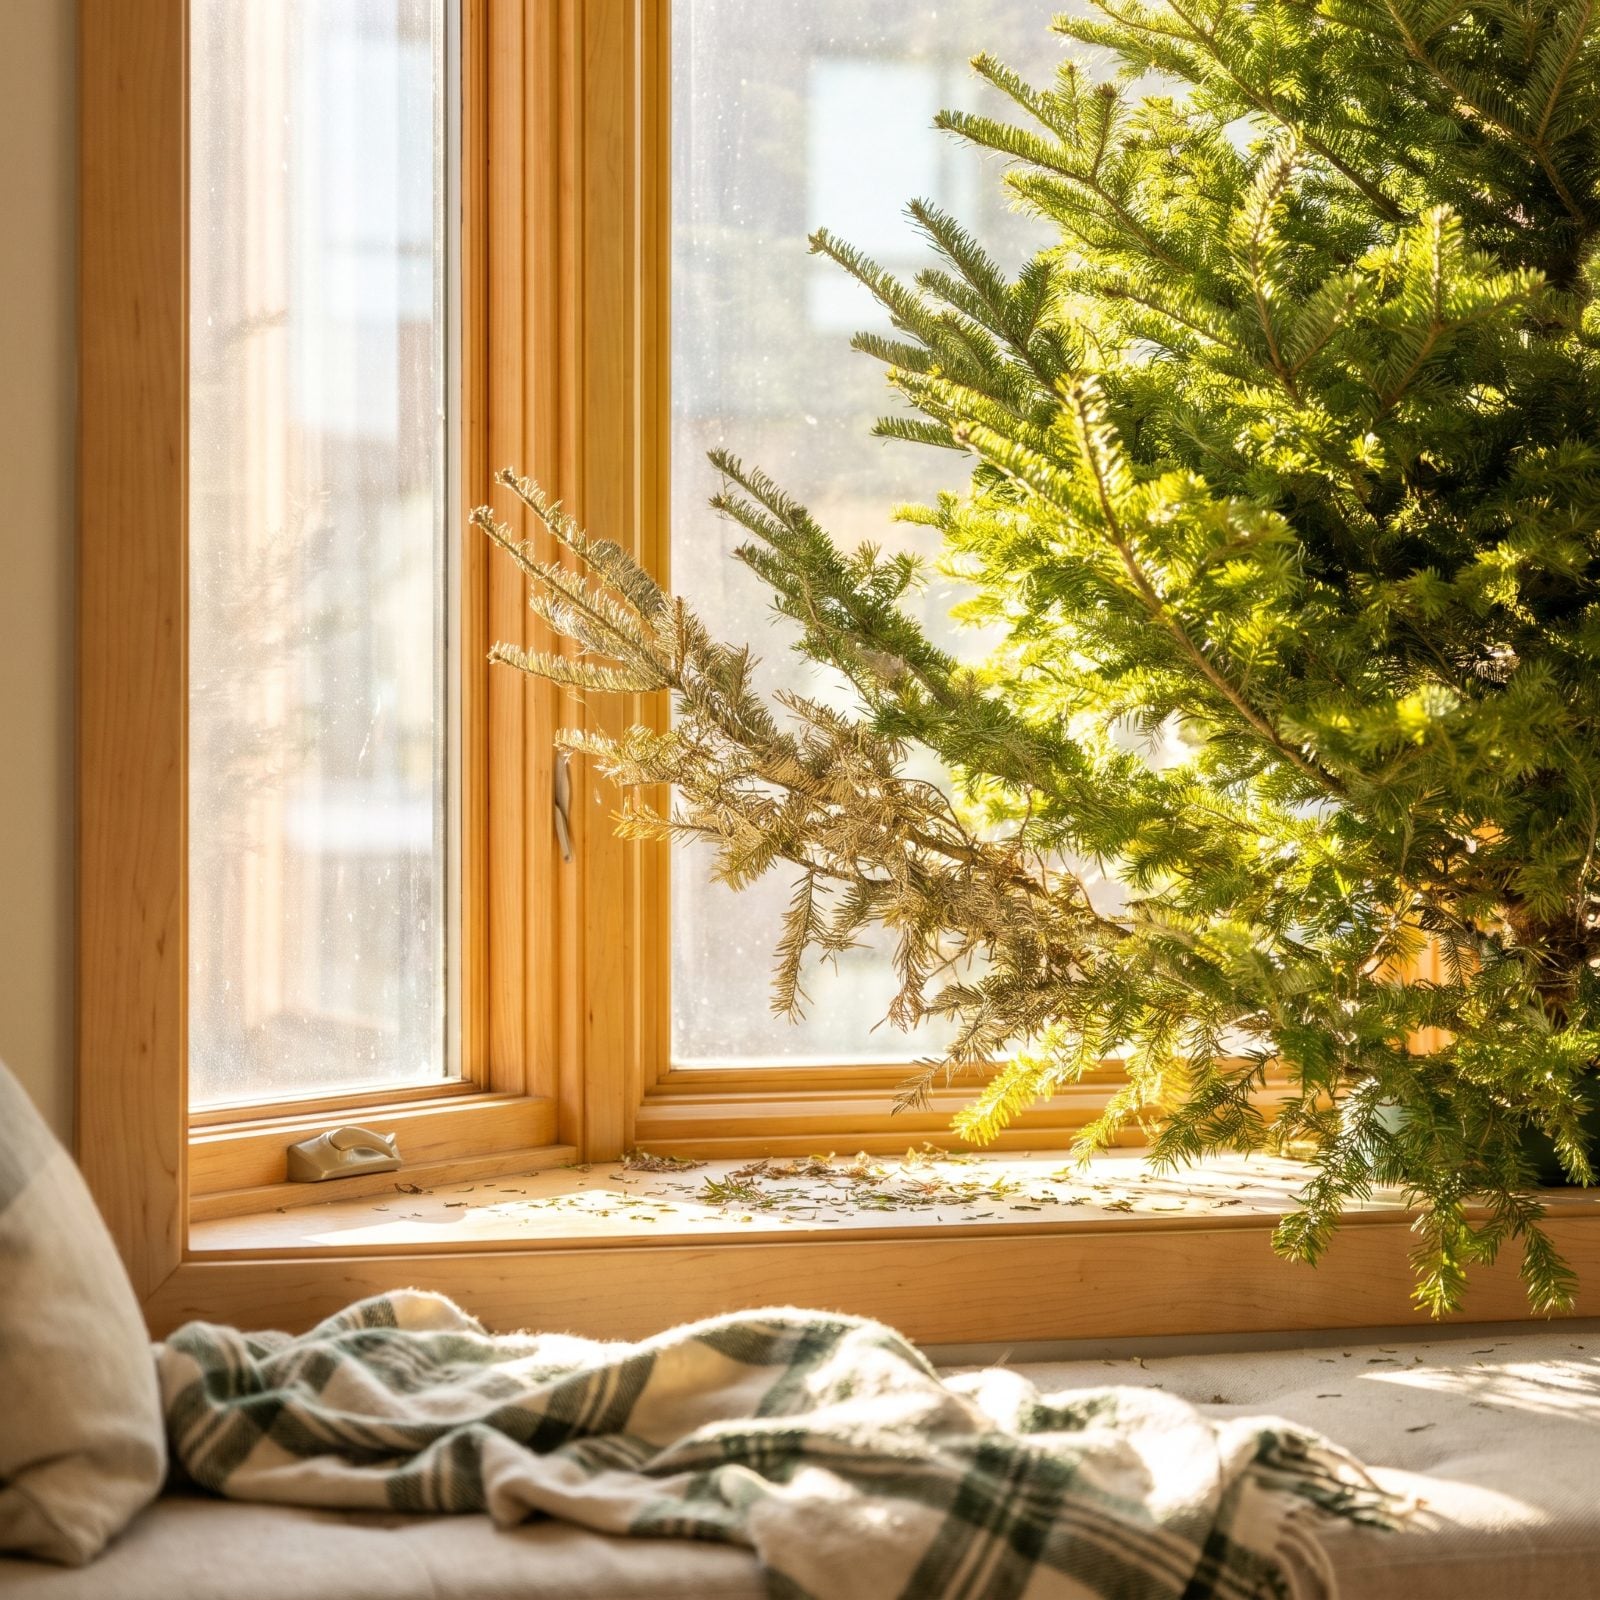
That picture-window spot is what everyone wants: tree on display, lights glowing for the neighbors, the whole scene framed in glass. It’s also the fastest way to cook a tree you just paid good money for.
Direct sun through glass bakes the needles all afternoon and dries the window-facing branches far quicker than the rest. Pick an interior corner instead, out of the beam. You can still angle it toward the street without parking it inside a greenhouse — and it’ll last longer and look fuller for the trouble.
8. Standing the Tree on a Heated Floor
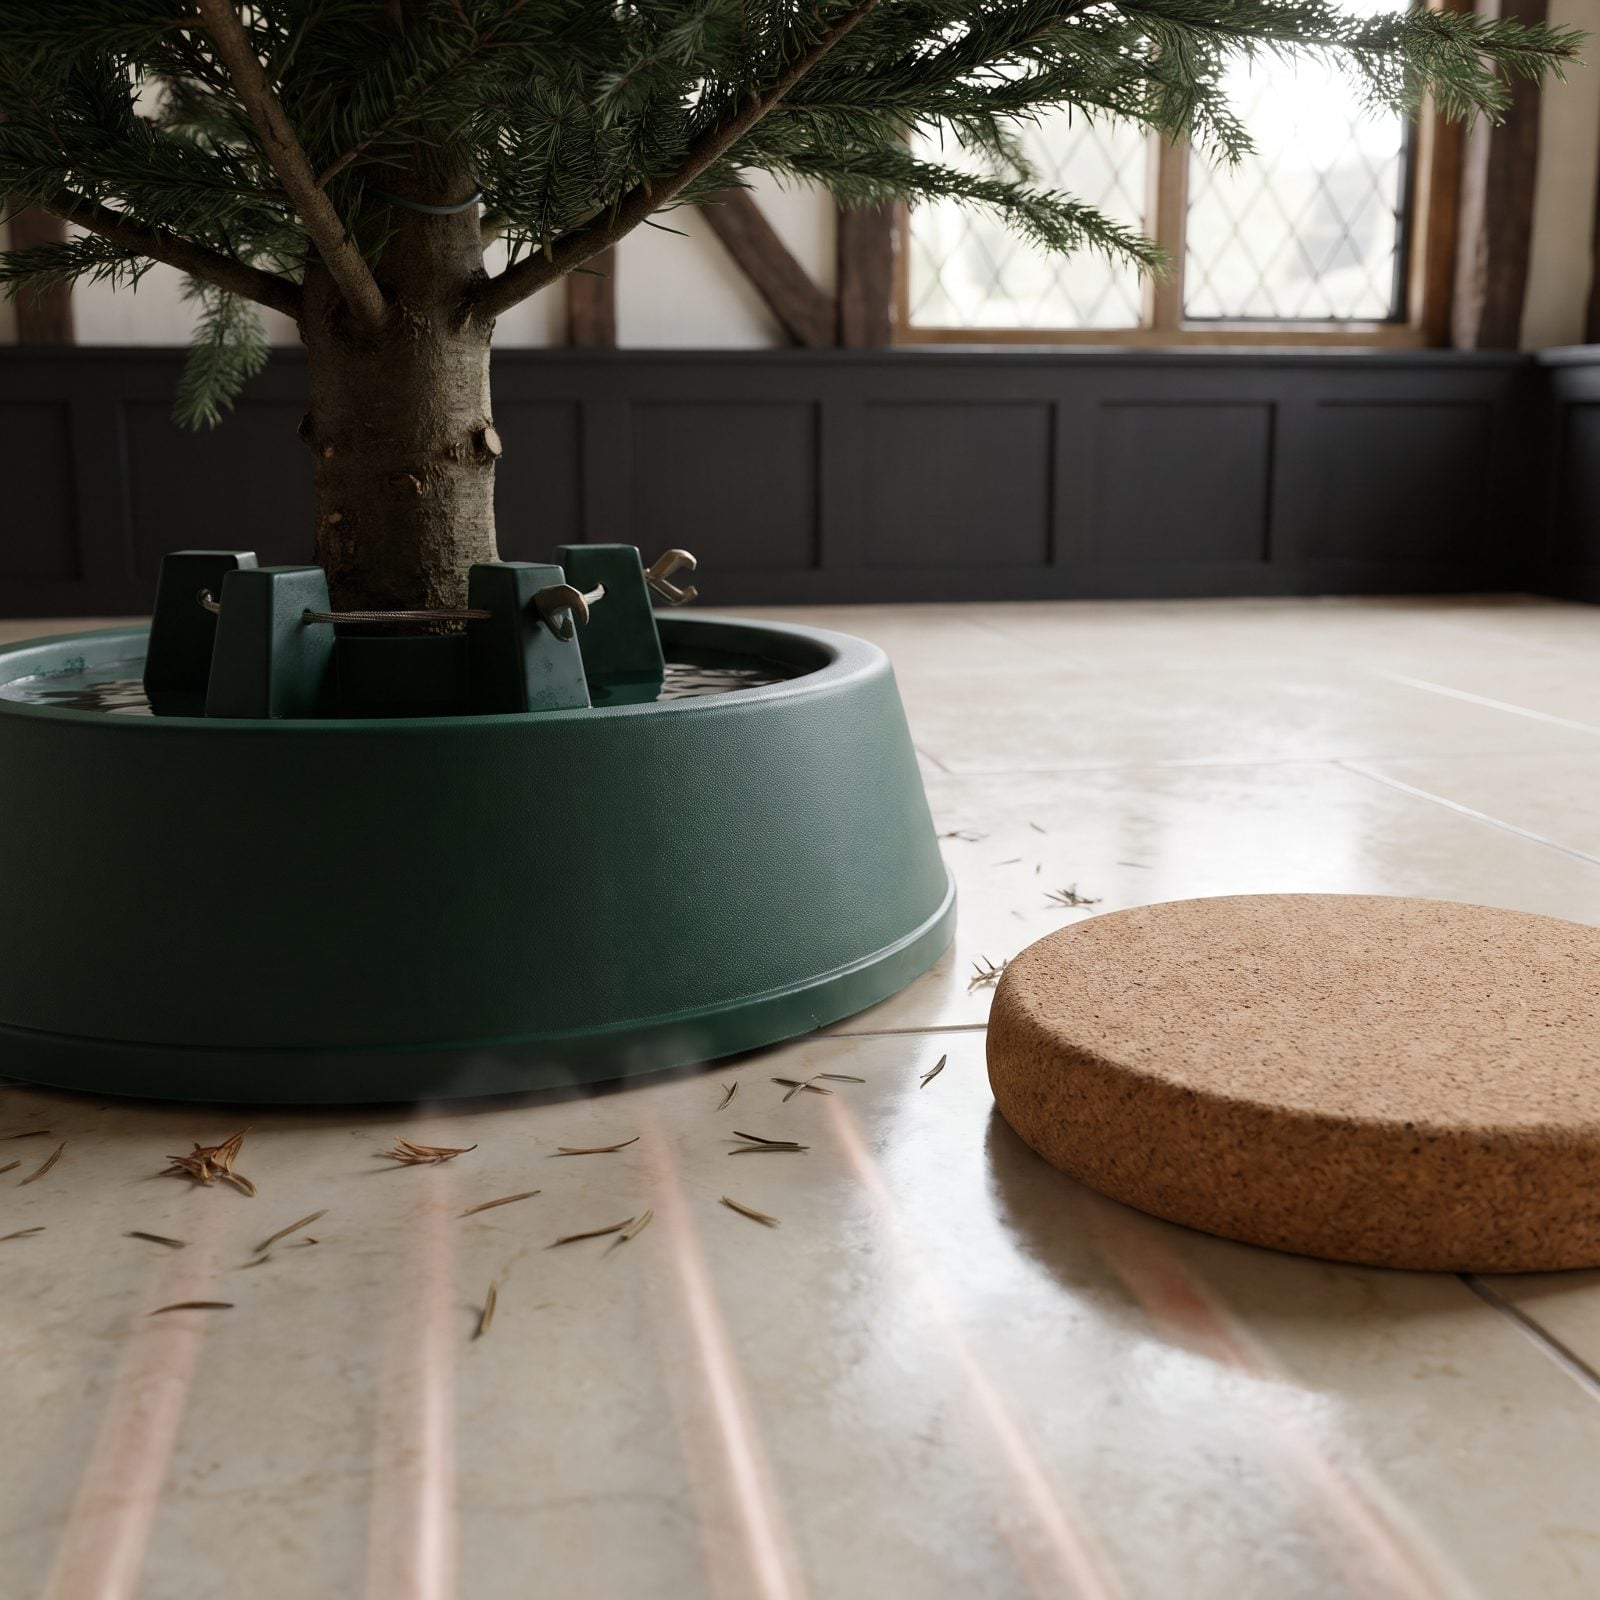
Radiant floor heating is a quiet joy in winter — right up until you set a reservoir of water on top of it. The warmed tile heats the water in the stand, and warm water in a tree base is a bacteria party.
Warm water also makes those cut channels drink erratically and seal faster. Got heated floors? Slide an insulating board, a thick cork mat, or even a stack of folded towels under the stand to break the heat. Keep the water cold. A cold reservoir means a slow-sipping tree that lasts, and that’s really the whole game.
7. Running a Dehumidifier Beside the Tree

You bought the dehumidifier to keep the room cozy and dry. The tree reads it as a slow drought. A cut fir is already straining to pull water up a severed trunk, and a machine busy wringing moisture out of the air just speeds up what the needles bleed from every tip.
So you get a tree that drinks fine for a few days, then starts shedding in drifts even though the reservoir still looks full. Move the dehumidifier to another room, or shut it off while the tree is up. Need one running elsewhere? Keep a generous buffer between it and the branches.
6. Pointing a Fan or Air Purifier at the Branches

Constant airflow across the branches looks harmless. It isn’t. A fan or purifier aimed straight at the tree strips moisture off every needle the way wind dries a wet shirt on a line, faster than the tree can refill through one narrow cut.
Give your purifier a clear shot at the room without blasting the tree directly. Angle it away, or park it on the far side so the clean air sweeps past the branches rather than through them. Still air around the tree means needles that stay put.
5. Crowding the Tree With Hot Incandescent Lights
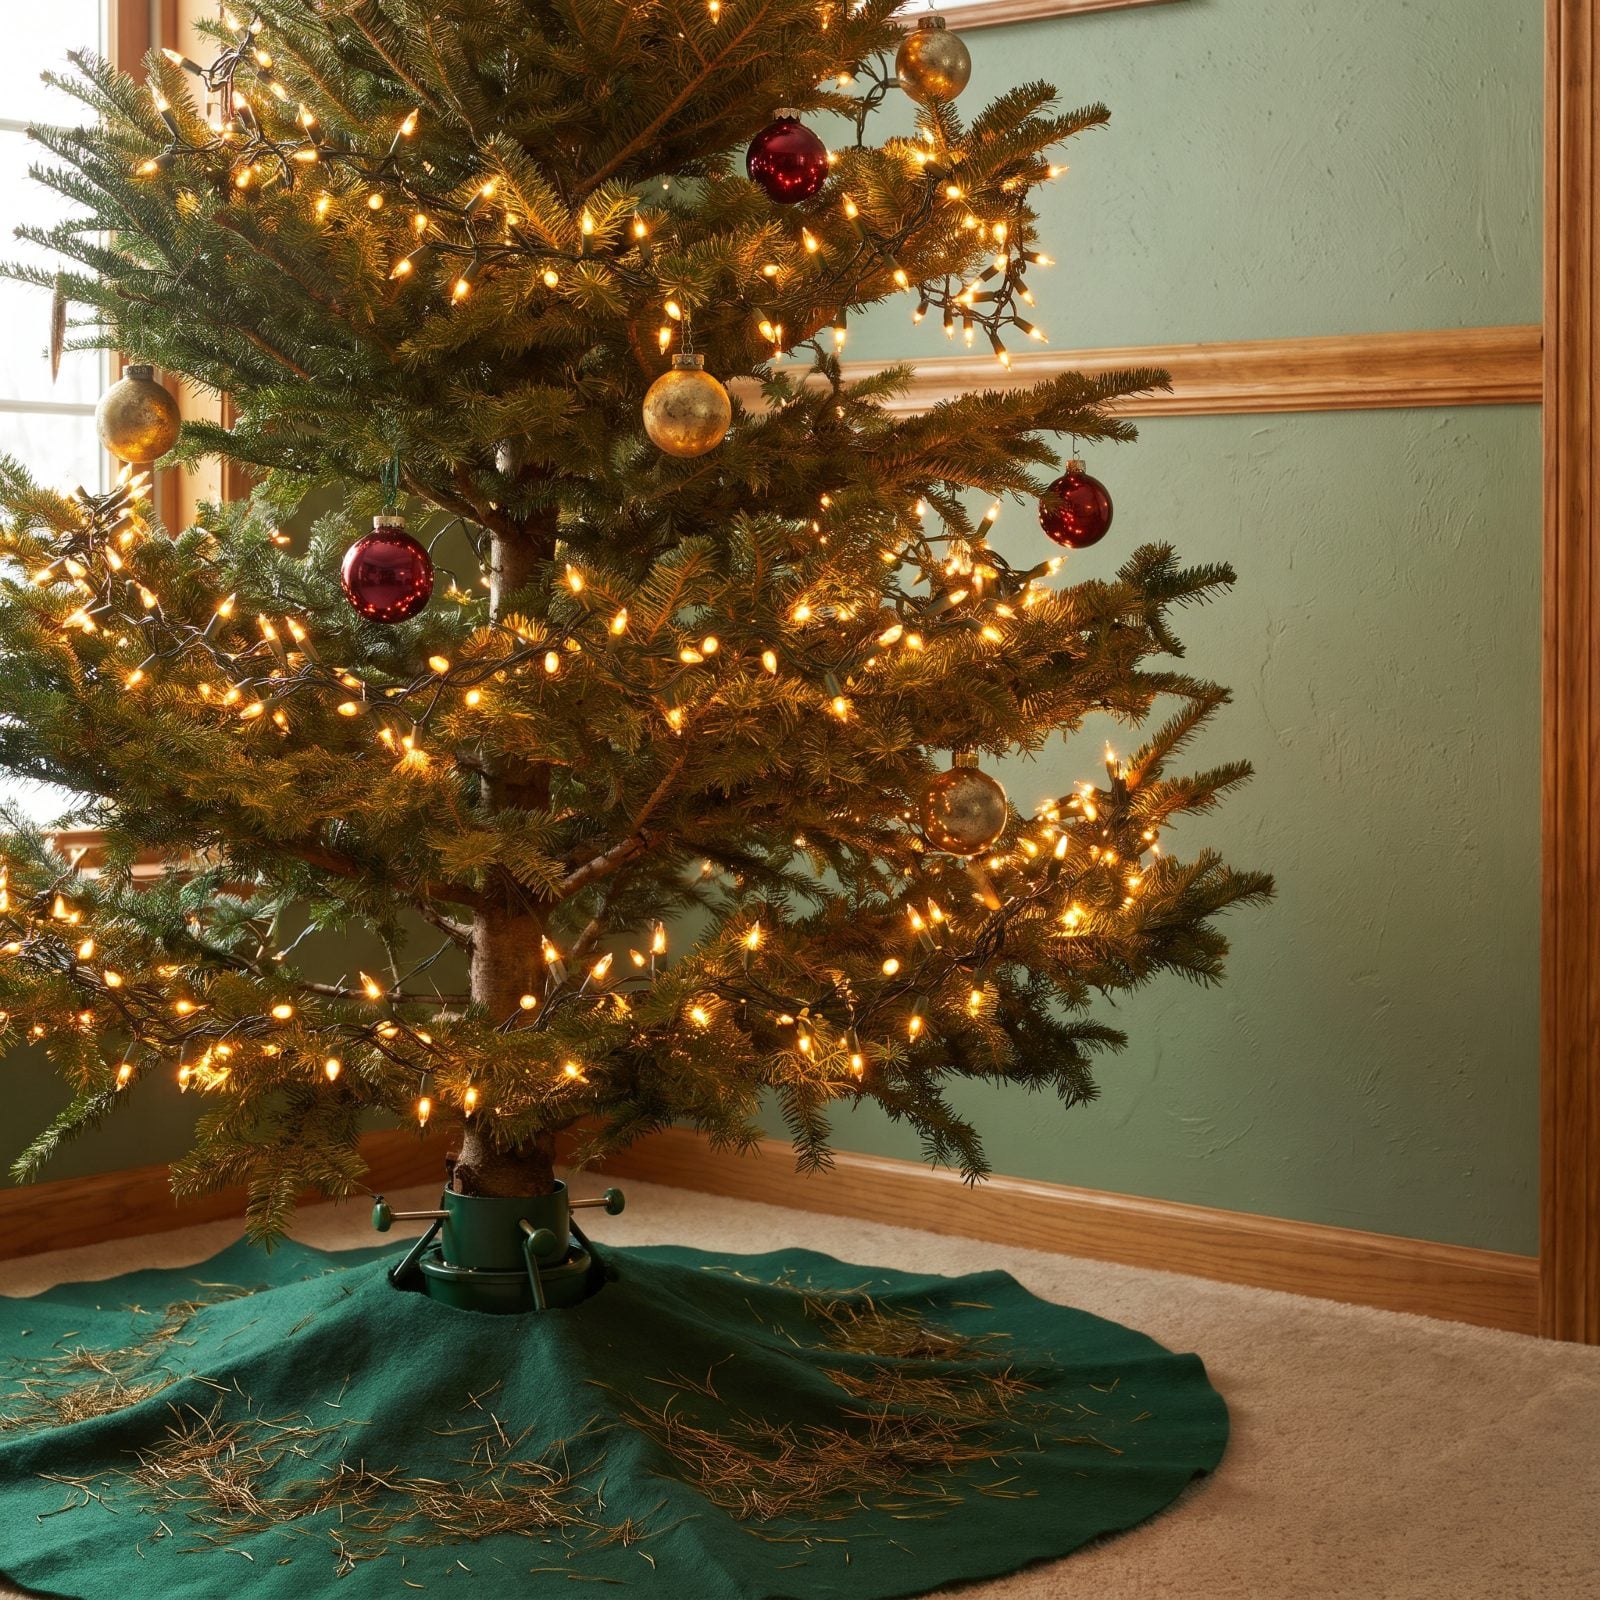
Those warm, nostalgic incandescent bulbs each throw off real heat, and wrapping hundreds of them tight against the branches basically bakes the tree from the inside out. The needles nearest the bulbs dry first. They curl, then they let go.
Switch to LED strings. They sip electricity, stay cool to the touch, and give you the same glow without roasting the foliage. Still loyal to the old incandescent look? Space the strands loosely and run them in shorter stretches rather than all day. A tree under LEDs lasts noticeably longer, and the electric bill is kinder too.
4. Leaving the Tree Lights On All Night

Leave the lights burning from the moment you decorate until you stumble down for coffee, and the tree never gets a break from the heat, however gentle. Hours of unbroken warmth against drying branches pile up over a long December.
Put the lights on a timer. A couple of hours in the evening when you’re actually enjoying them, then off. You save energy, you shrink a small fire risk, and the tree gets a cool stretch every night to hang onto its moisture. No Christmas tree needs to be lit at three in the morning while the whole house sleeps.
3. Coating the Branches With Aerosol Snow or Fragrance Spray
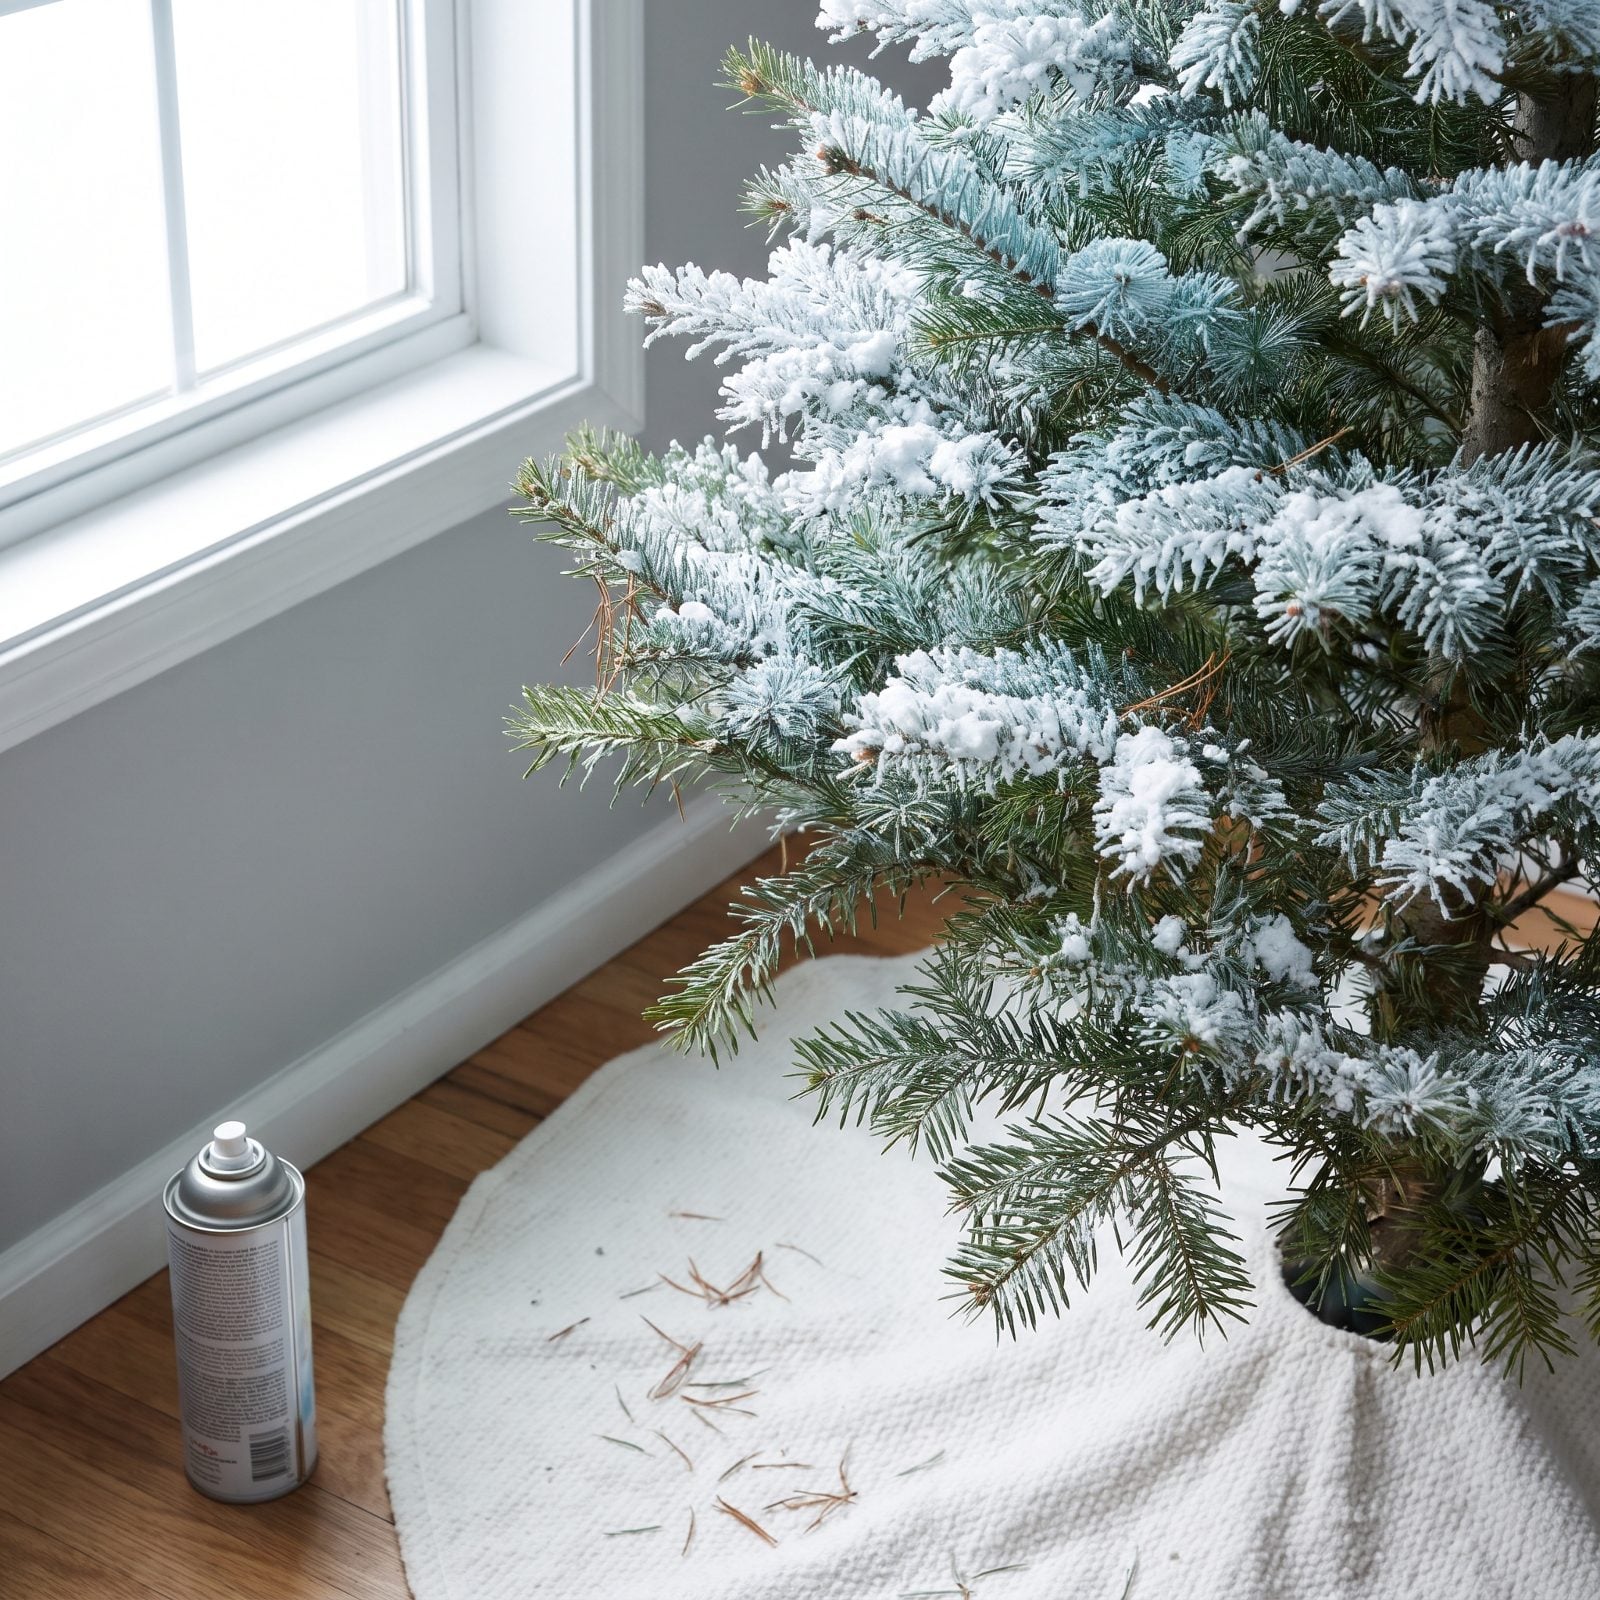
Spray-on snow and scent-boosting sprays feel festive going on. What they actually do is seal the needles under a film that blocks them from taking in moisture while trapping whatever’s already drying. A fresh tree breathes through its foliage, and a coating shuts that down cold.
Skip the aerosol on a live tree, full stop. Want the frosted look? Buy an artificial tree for flocking and keep your cut tree bare and real. For scent, a simmering pot of orange peel, cinnamon, and clove does more for the room than any can — and it won’t smother your branches.
2. Placing the Tree Beside a Radiator, Fireplace, or Heating Vent

That cozy corner by the fireplace is the fastest route to a bald tree. Direct heat from a radiator, a crackling hearth, or a floor vent pumping warm air drives moisture out of the branches far quicker than the trunk can replace it, and the side facing the heat browns first.
Pick the coolest spot in the room. Away from vents. Off to the side of the fireplace rather than in front of it, clear of baseboard heaters. If the warm corner is your only option, close that vent for the season and top up the water every single day.
1. Crushing the Fresh Cut With a Dull Saw
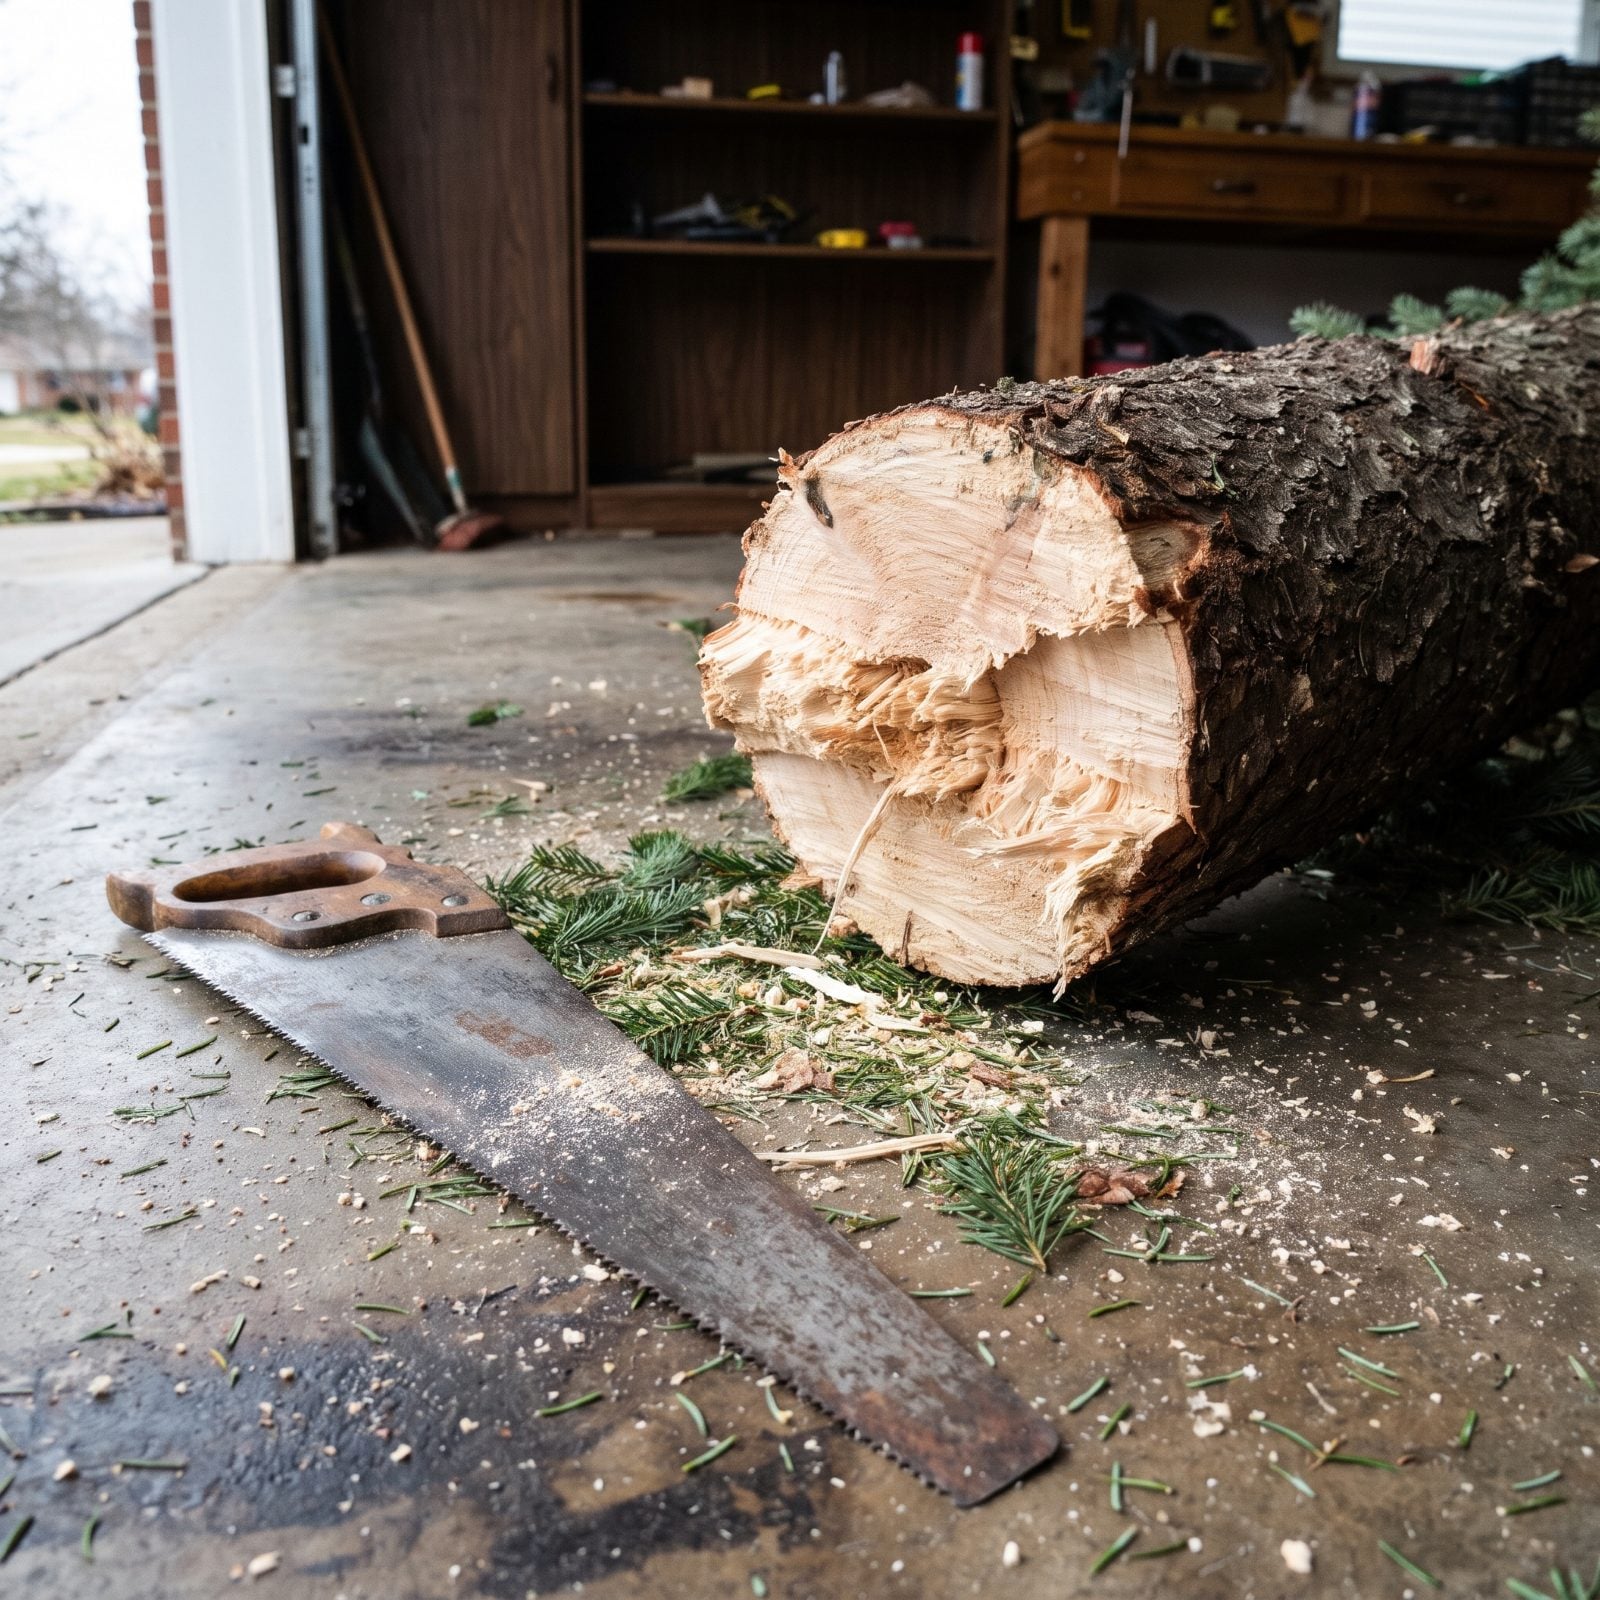
A fresh cut matters more than any watering trick, and a dull saw wrecks it before the tree ever makes it indoors. Rather than slicing clean, a worn blade crushes and smears the trunk’s pores shut, so the tree can barely drink no matter how full you keep the stand.
Make a fresh, square cut an inch up from the base with a sharp saw right before the tree goes in water, and get it standing in water within minutes. Wait longer and the cut seals over with sap — back to square one.