
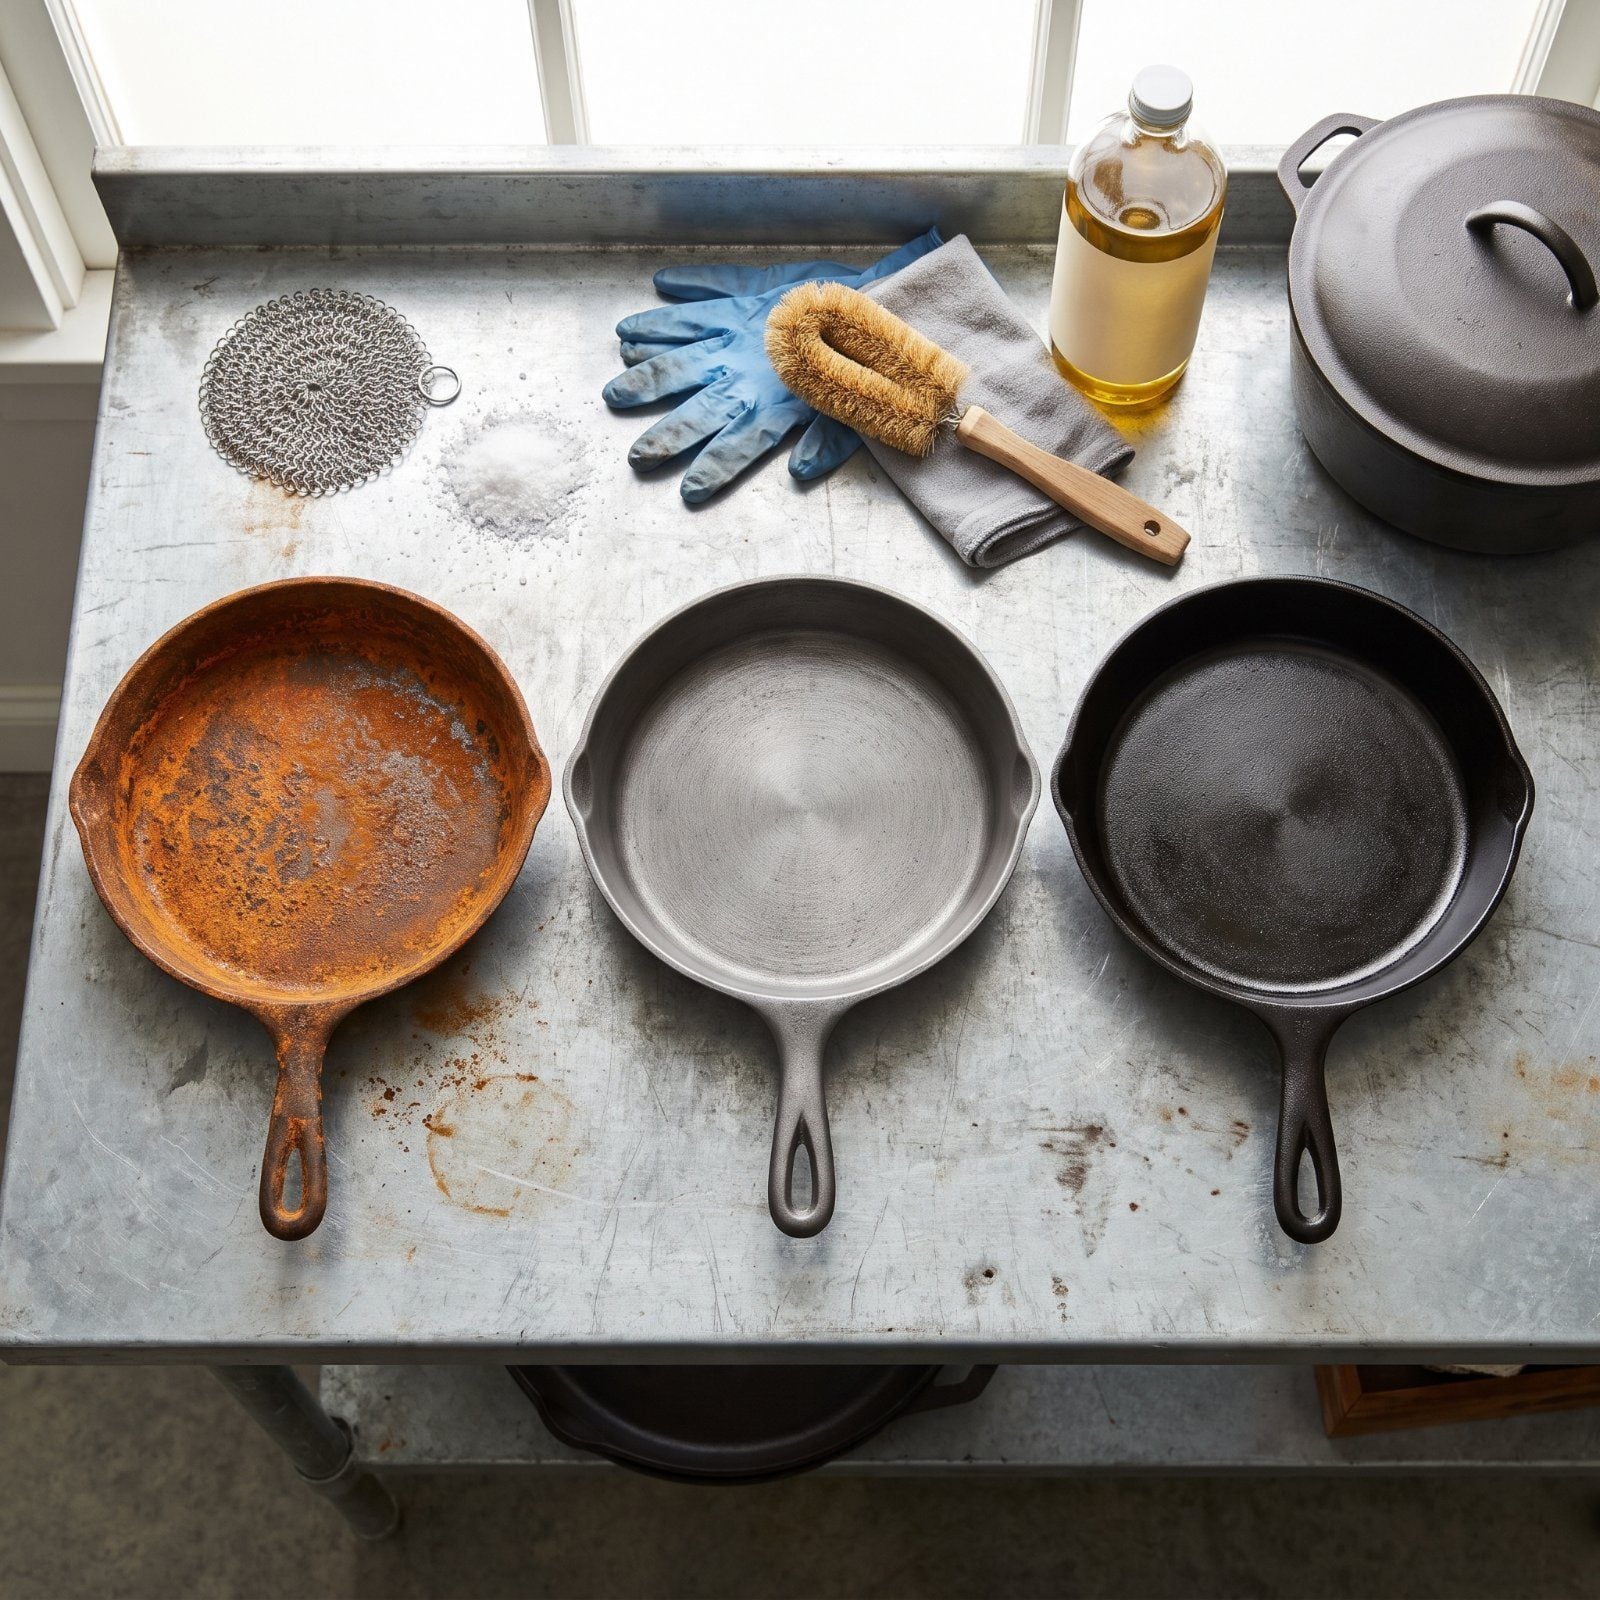
A crusty skillet at a yard sale is not trash. Usually it’s eighty years of someone’s cooking hiding under orange rust, and most of it scrubs right back to black iron. The metal almost never dies — people just assume it did.
Please note that some of the images in this article were created with the assistance of AI.
The real damage happens during the rescue. Wrong tool, wrong order, one skipped check, and a pan that would have outlived all of us gets sanded into scrap. Here’s where good intentions go wrong, and how to keep yours out of the discard pile.
29. Starting Restoration Before Checking for Cracks
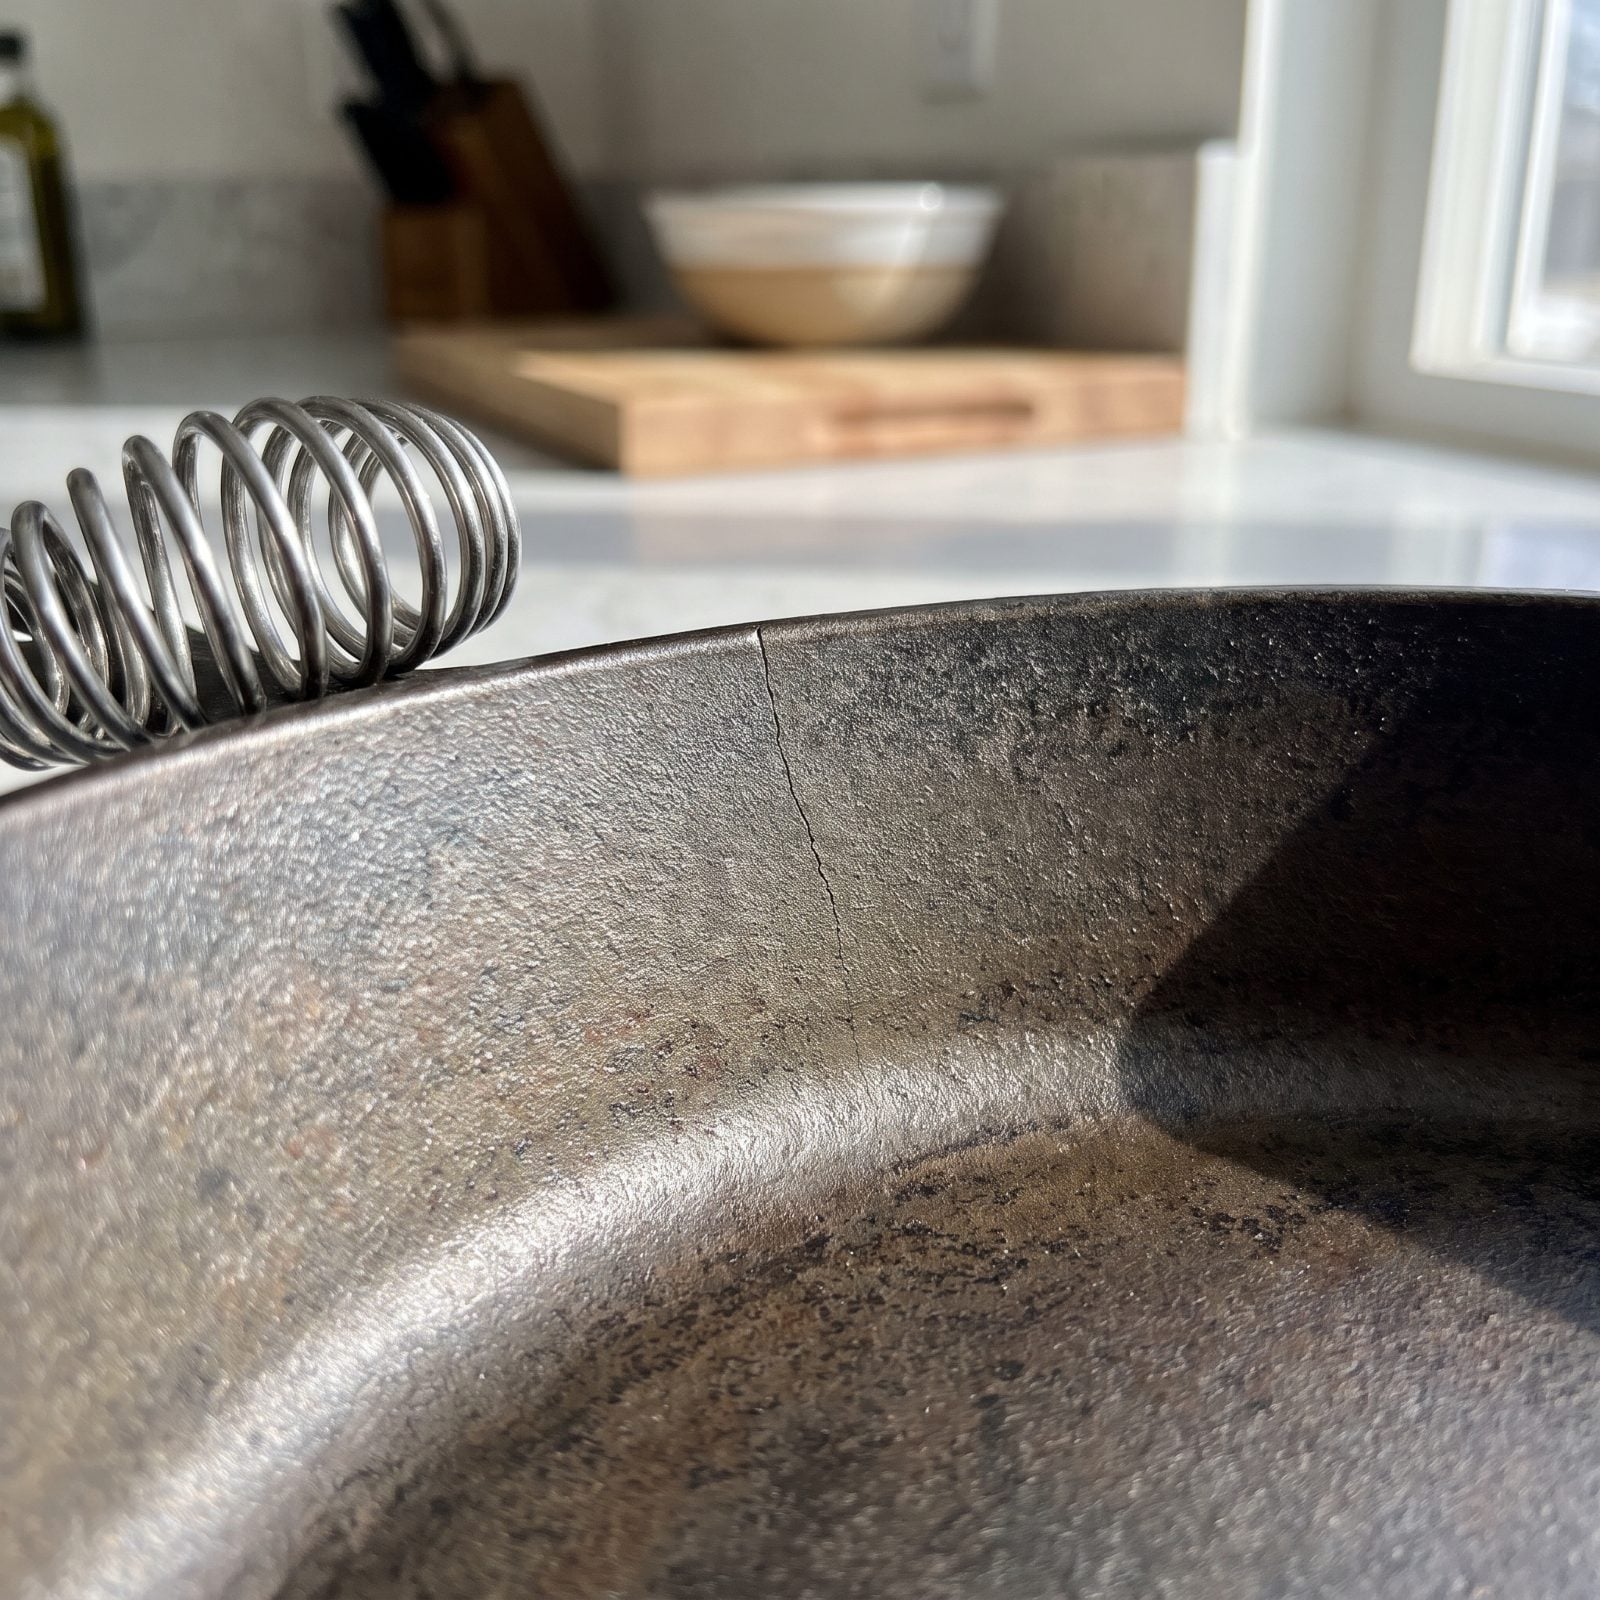
You spot the skillet, you fall a little in love, and you go straight for the scrubber. Stop. Rust can hide a hairline crack, and a cracked pan is a project that ends in a trash can no matter how many hours you pour into it.
A fractured pan heats unevenly, can split further on a hot stove, and will never hold its shape. All that stripping and seasoning, wasted on metal that was already finished.
So before anything else, hang the pan from a string and tap it gently with a wooden spoon or soft mallet. A sound pan rings — a long, clear note. A cracked one gives a dull, flat thud. Run your eye over the surface in bright light for dark lines, too. Two minutes now saves you an afternoon.
28. Restoring Unknown Vintage Iron Without a Lead Test
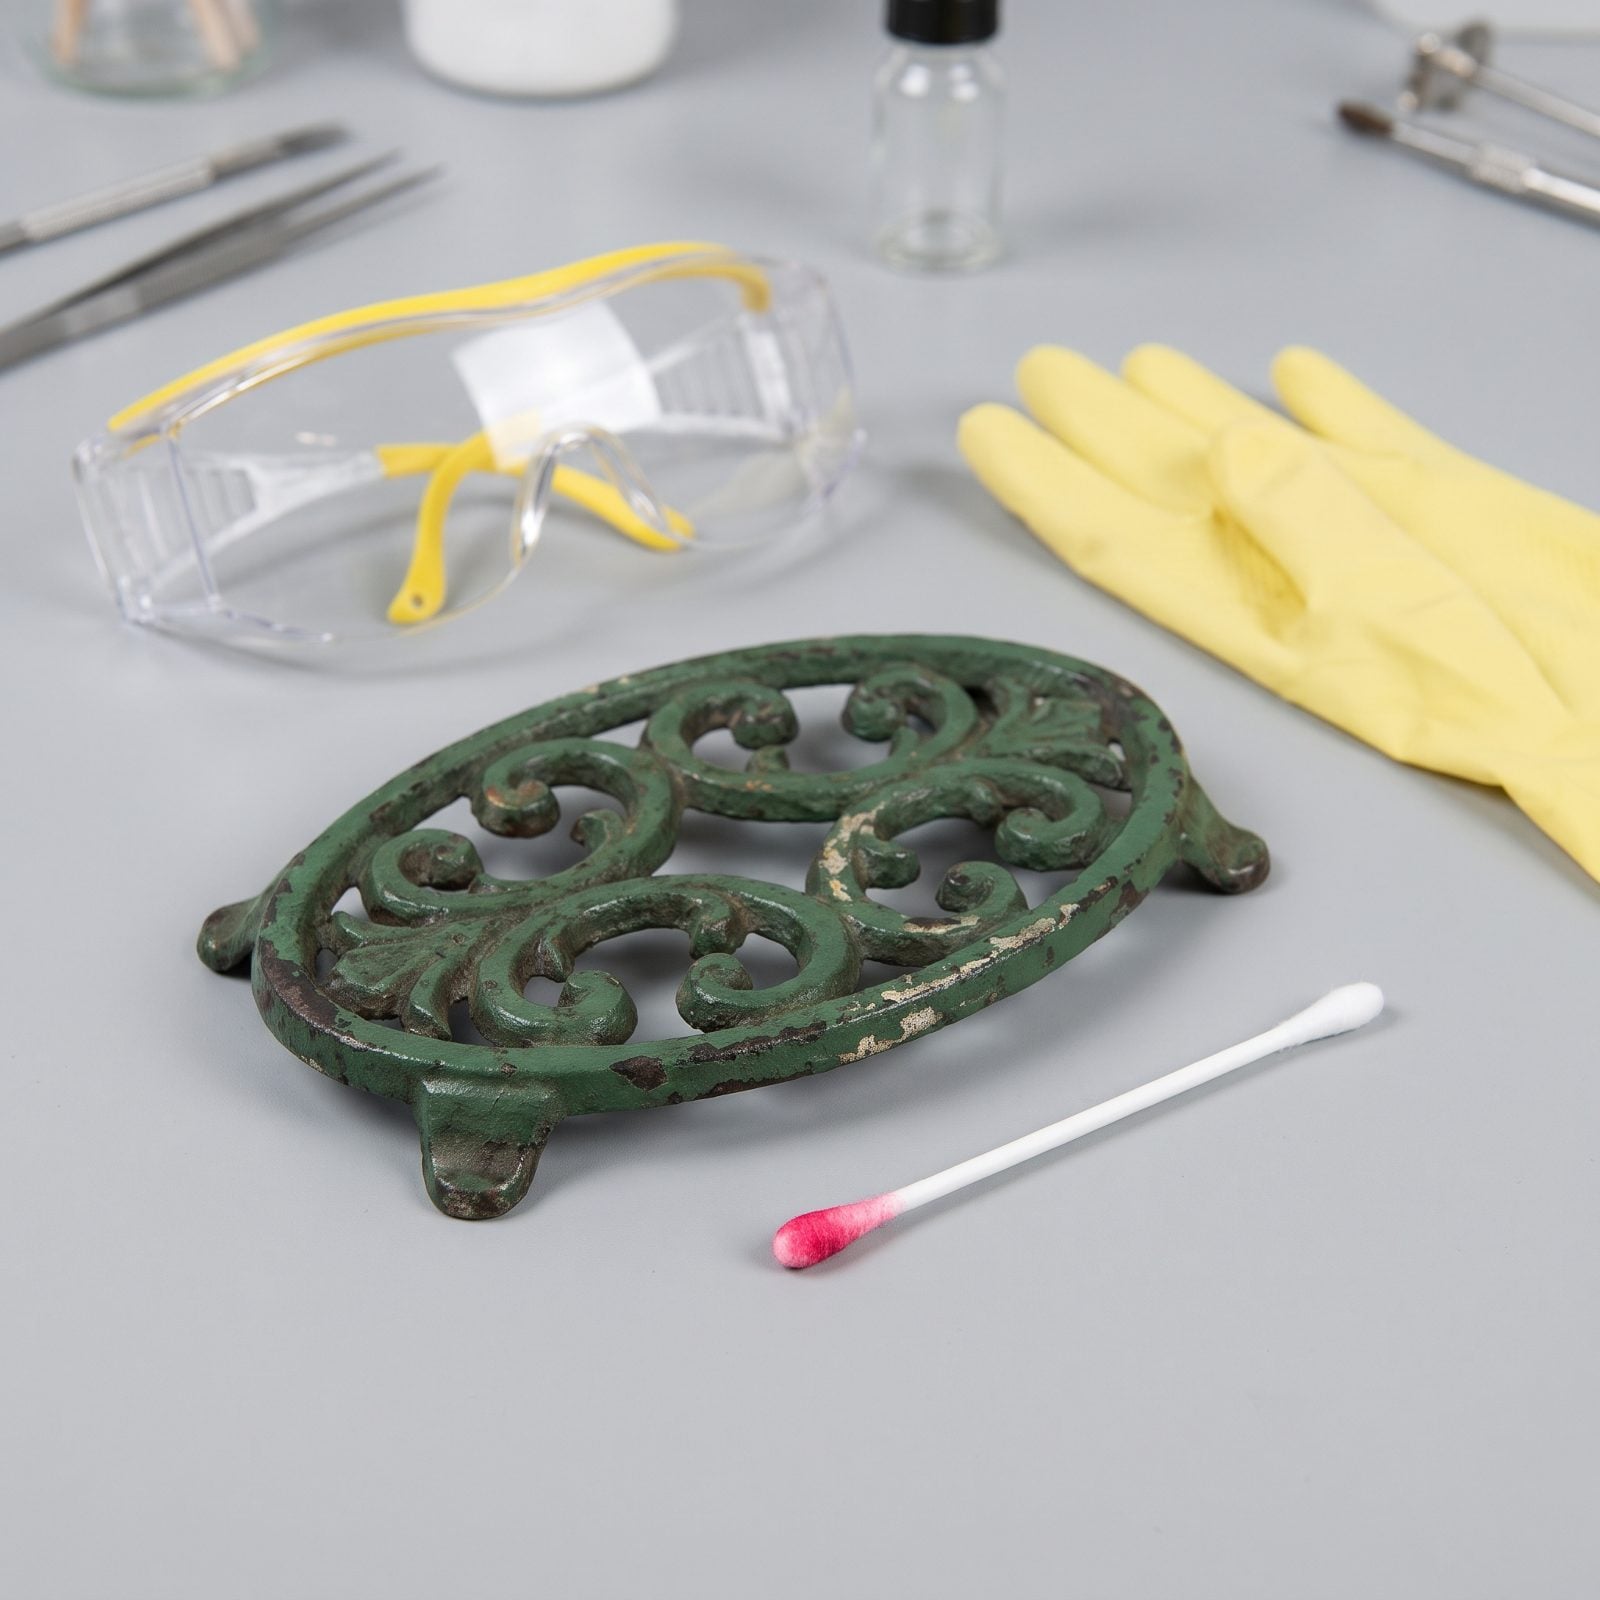
Some old iron — painted pieces especially, decorative wall hangers, anything with a mystery finish — carries a lead-based coating or contamination from its past life. You can’t see it, and you can’t cook your way around it.
Here’s the honest part. Bare, well-made vintage cooking iron is almost always fine. The risk comes from unknowns: enamels, paints, pieces that were never meant for food. If you don’t know what you’ve got, a cheap swab test from the hardware store settles it in a minute.
Swab a few spots, especially any painted or glazed areas. Pink means stop — strip that finish completely or keep the piece as decor only. No reaction means cook away.
27. Ignoring a Wobble That Reveals Permanent Warping
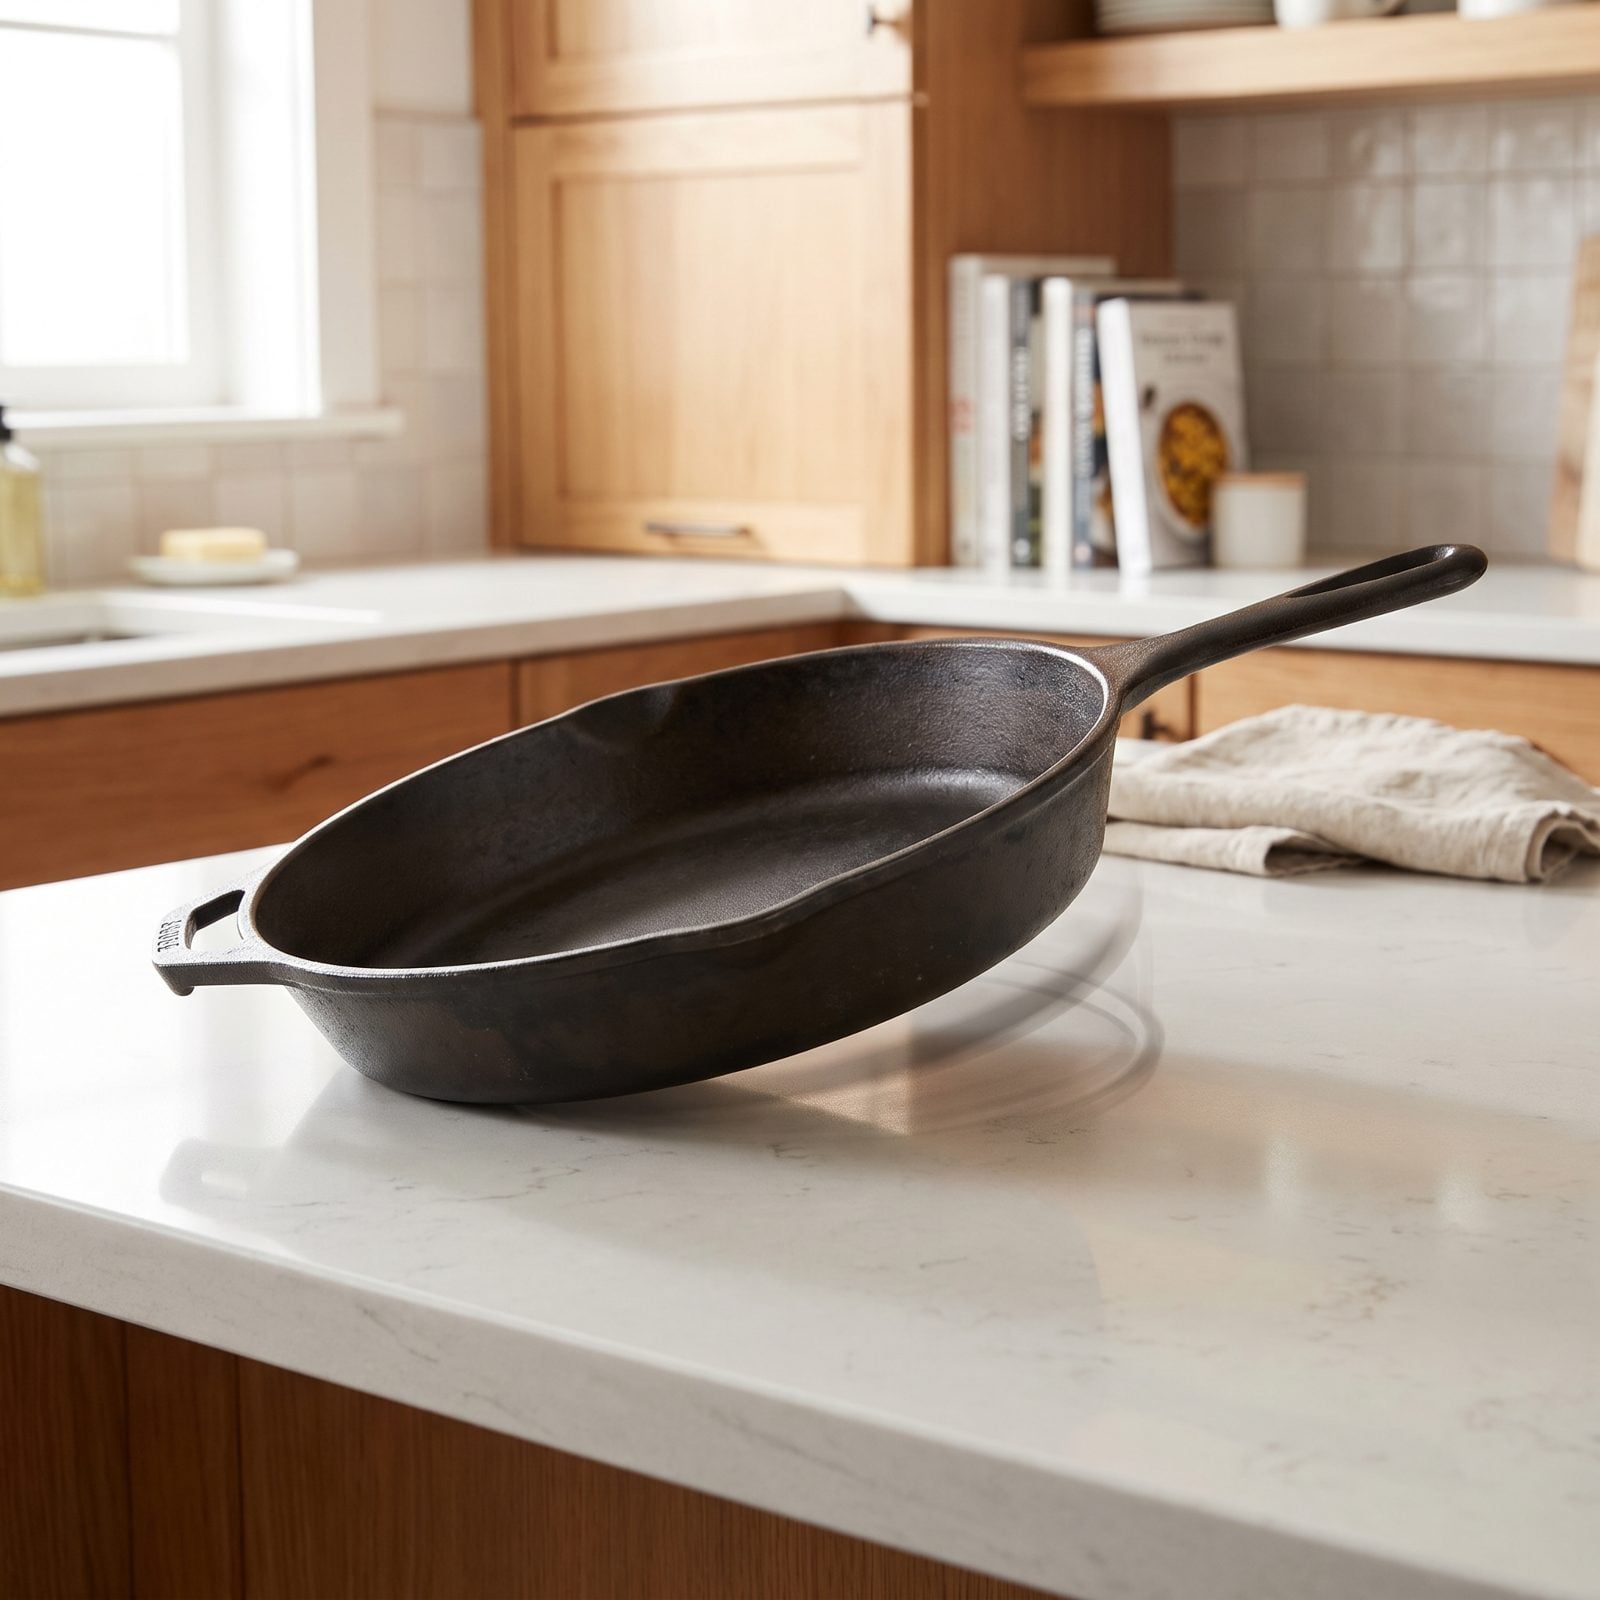
A pan that rocks on the counter isn’t just annoying. That wobble often means a warped base — bowed from overheating or a sudden cold-water bath years ago — and warping is forever.
Spin it on a flat surface before you commit. A warped pan pools oil in the low spots, sits unevenly on a smooth cooktop, and fights you every time you fry an egg. No amount of seasoning will flatten it.
Flip it onto glass or a granite counter and press each corner. If it see-saws, decide whether you can live with it. A mild wobble on a camp Dutch oven, sure. A badly bowed everyday skillet is better passed over.
26. Treating Enameled Cast Iron Like Bare Iron
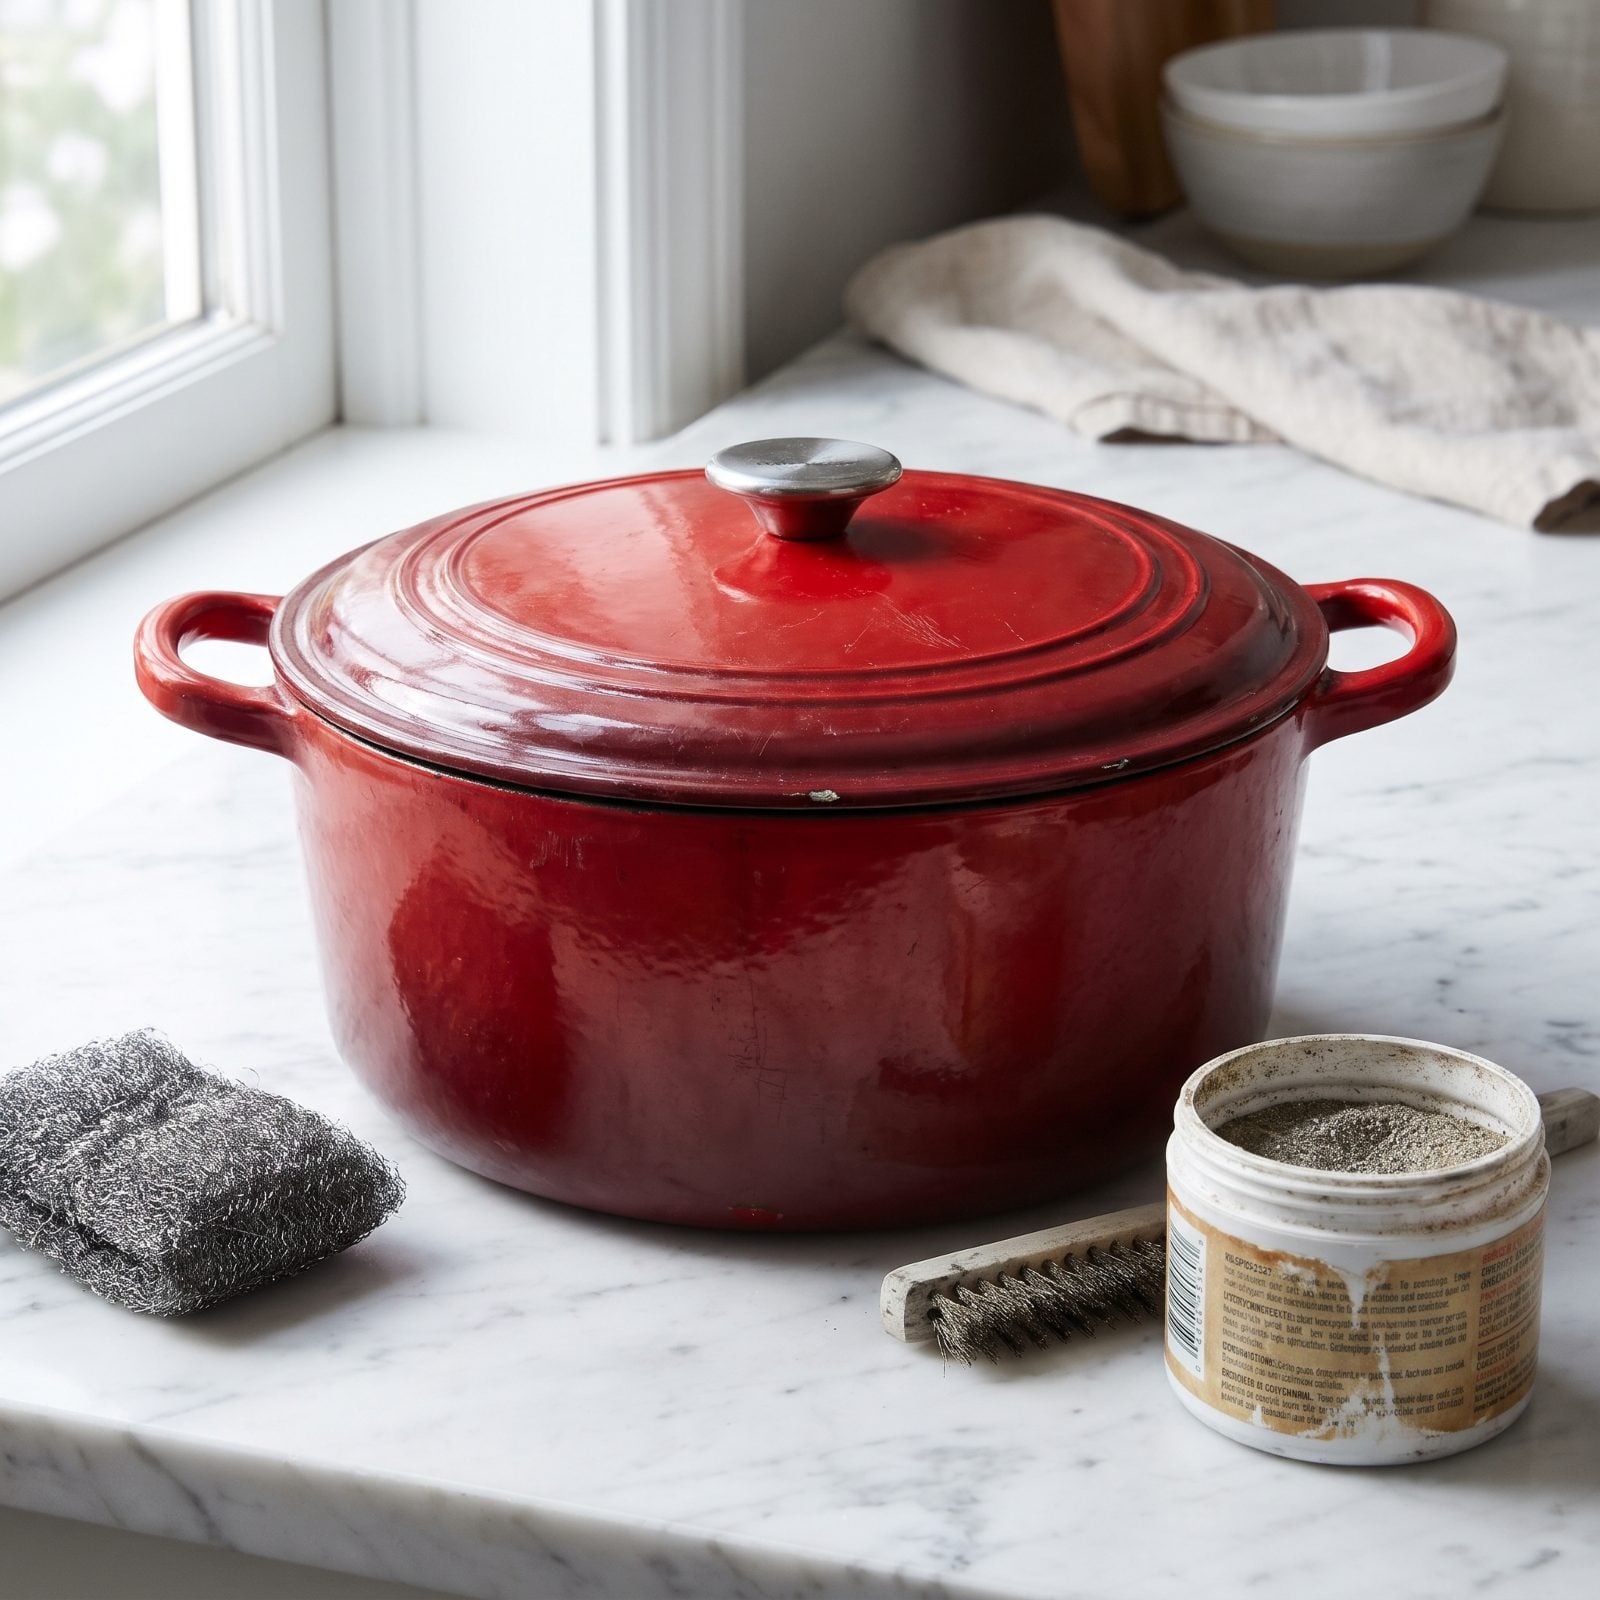
That glossy Dutch oven with the colored exterior is not bare iron, and treating it like it is will wreck it. People drag chainmail, wire wheels, or oven cleaner across enamel and gouge the one surface that made the pot worth owning.
Enamel is glass fused to iron. Scratch it, chip it, or blast it with harsh strippers and you expose the metal underneath to rust — with no way to reseason it back.
For stains and burnt bits, simmer water with a spoon of baking soda, then wipe with a soft sponge. Barkeeper’s Friend handles stubborn brown marks. Save the aggressive stuff for bare iron only.
25. Stripping the Pan Before Photographing Its Maker’s Marks
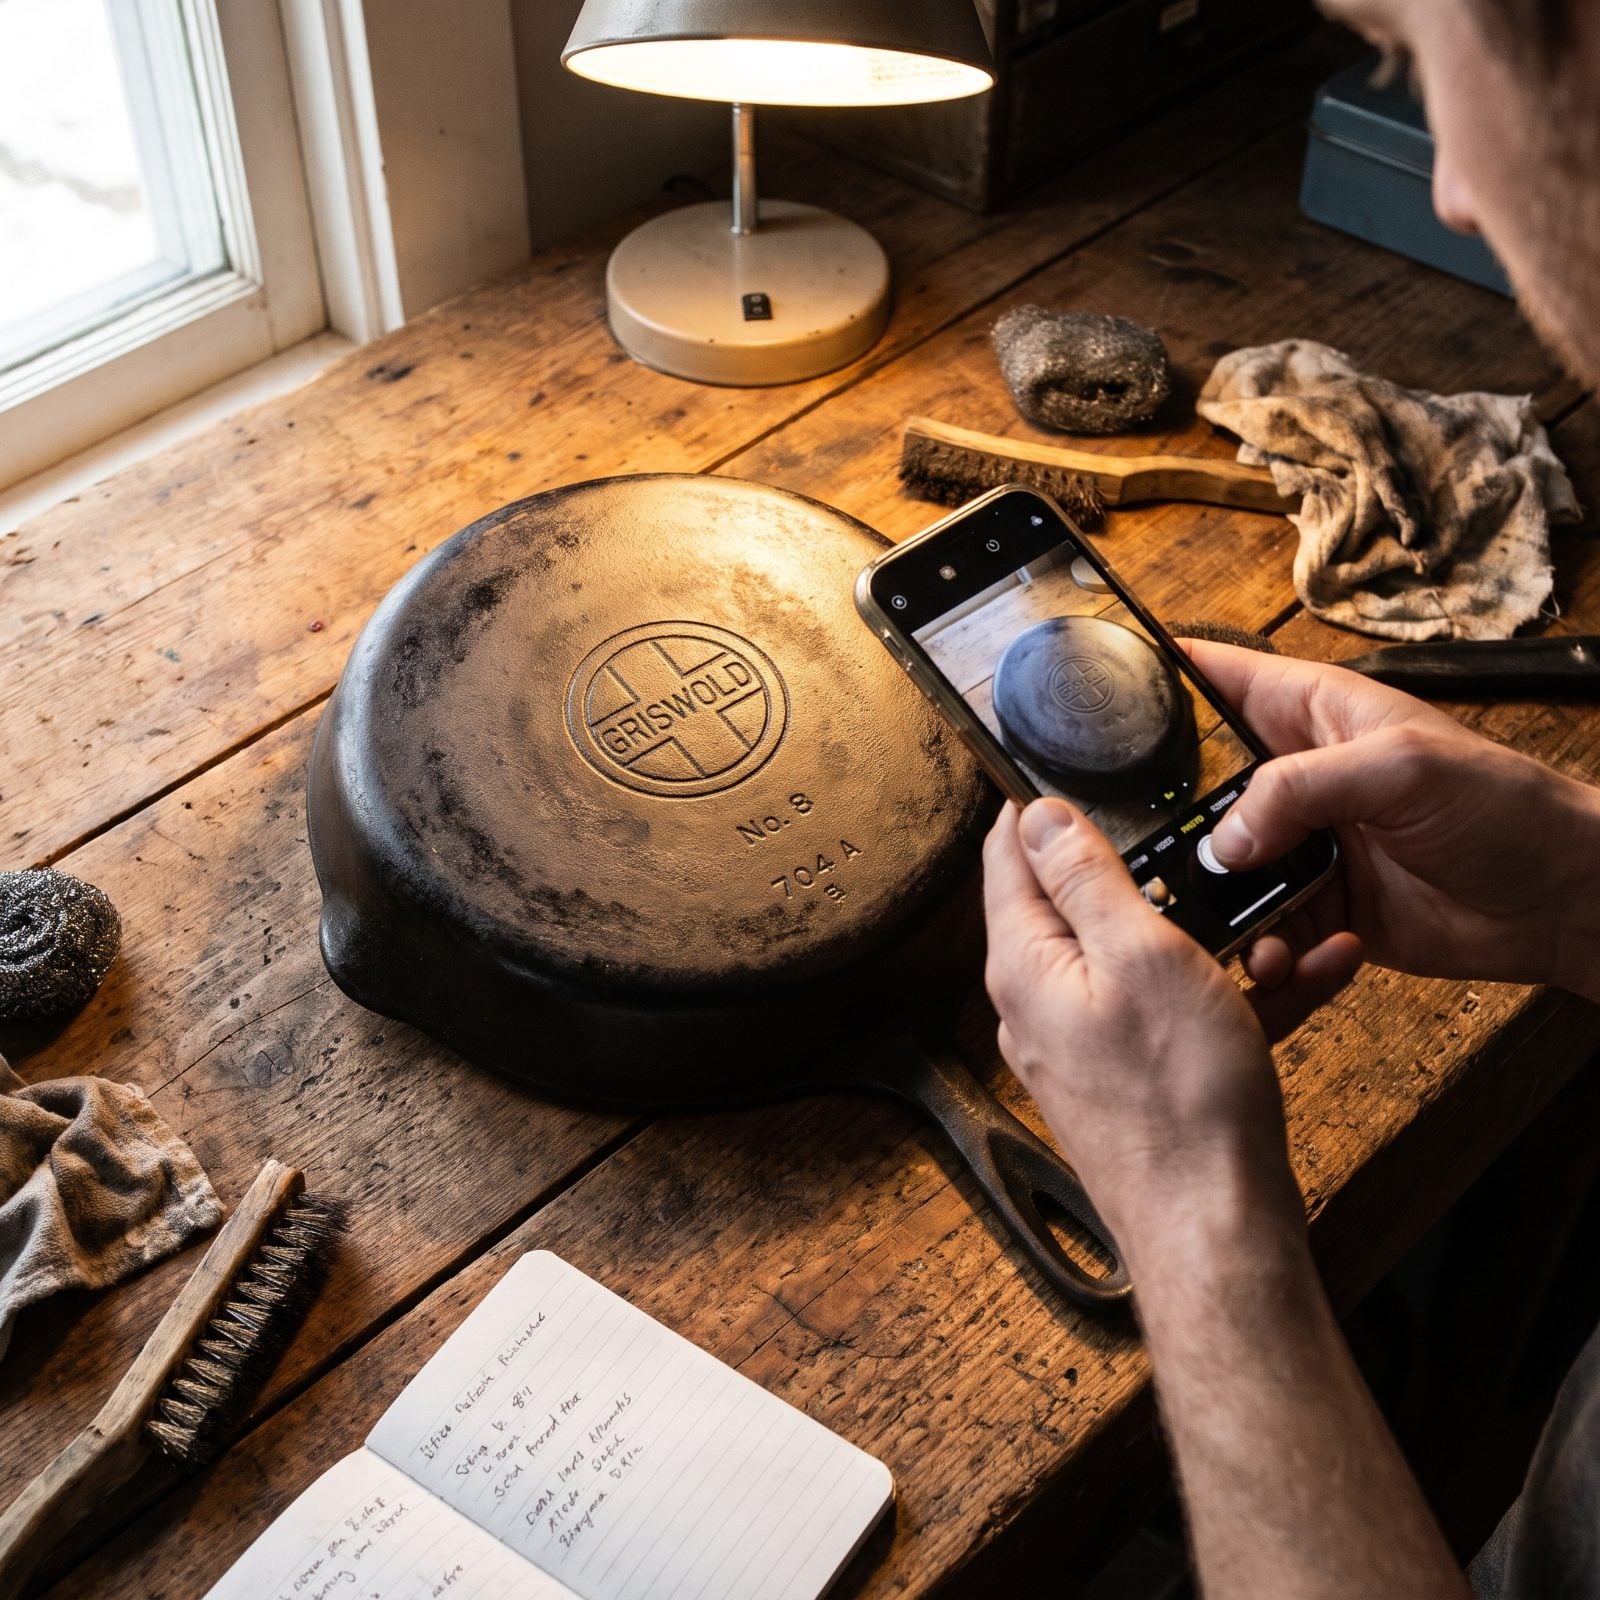
Before you dunk a pan in lye or scour the bottom smooth, flip it over and photograph the back. Every foundry mark, number, heat ring, and logo is a fingerprint — and stripping can blur or erase the faint ones for good.
Why does it matter beyond nostalgia? Those marks tell you age, maker, and sometimes value. A worn logo that looked like nothing could date a pan to the 1890s, and you’ll never know if you sand it into oblivion first.
Shoot the underside in raking light so the raised letters cast shadows. Note the numbers and any script before the first scrub. Collectors live by this stuff.
24. Leaving Wooden Handles and Removable Hardware Attached
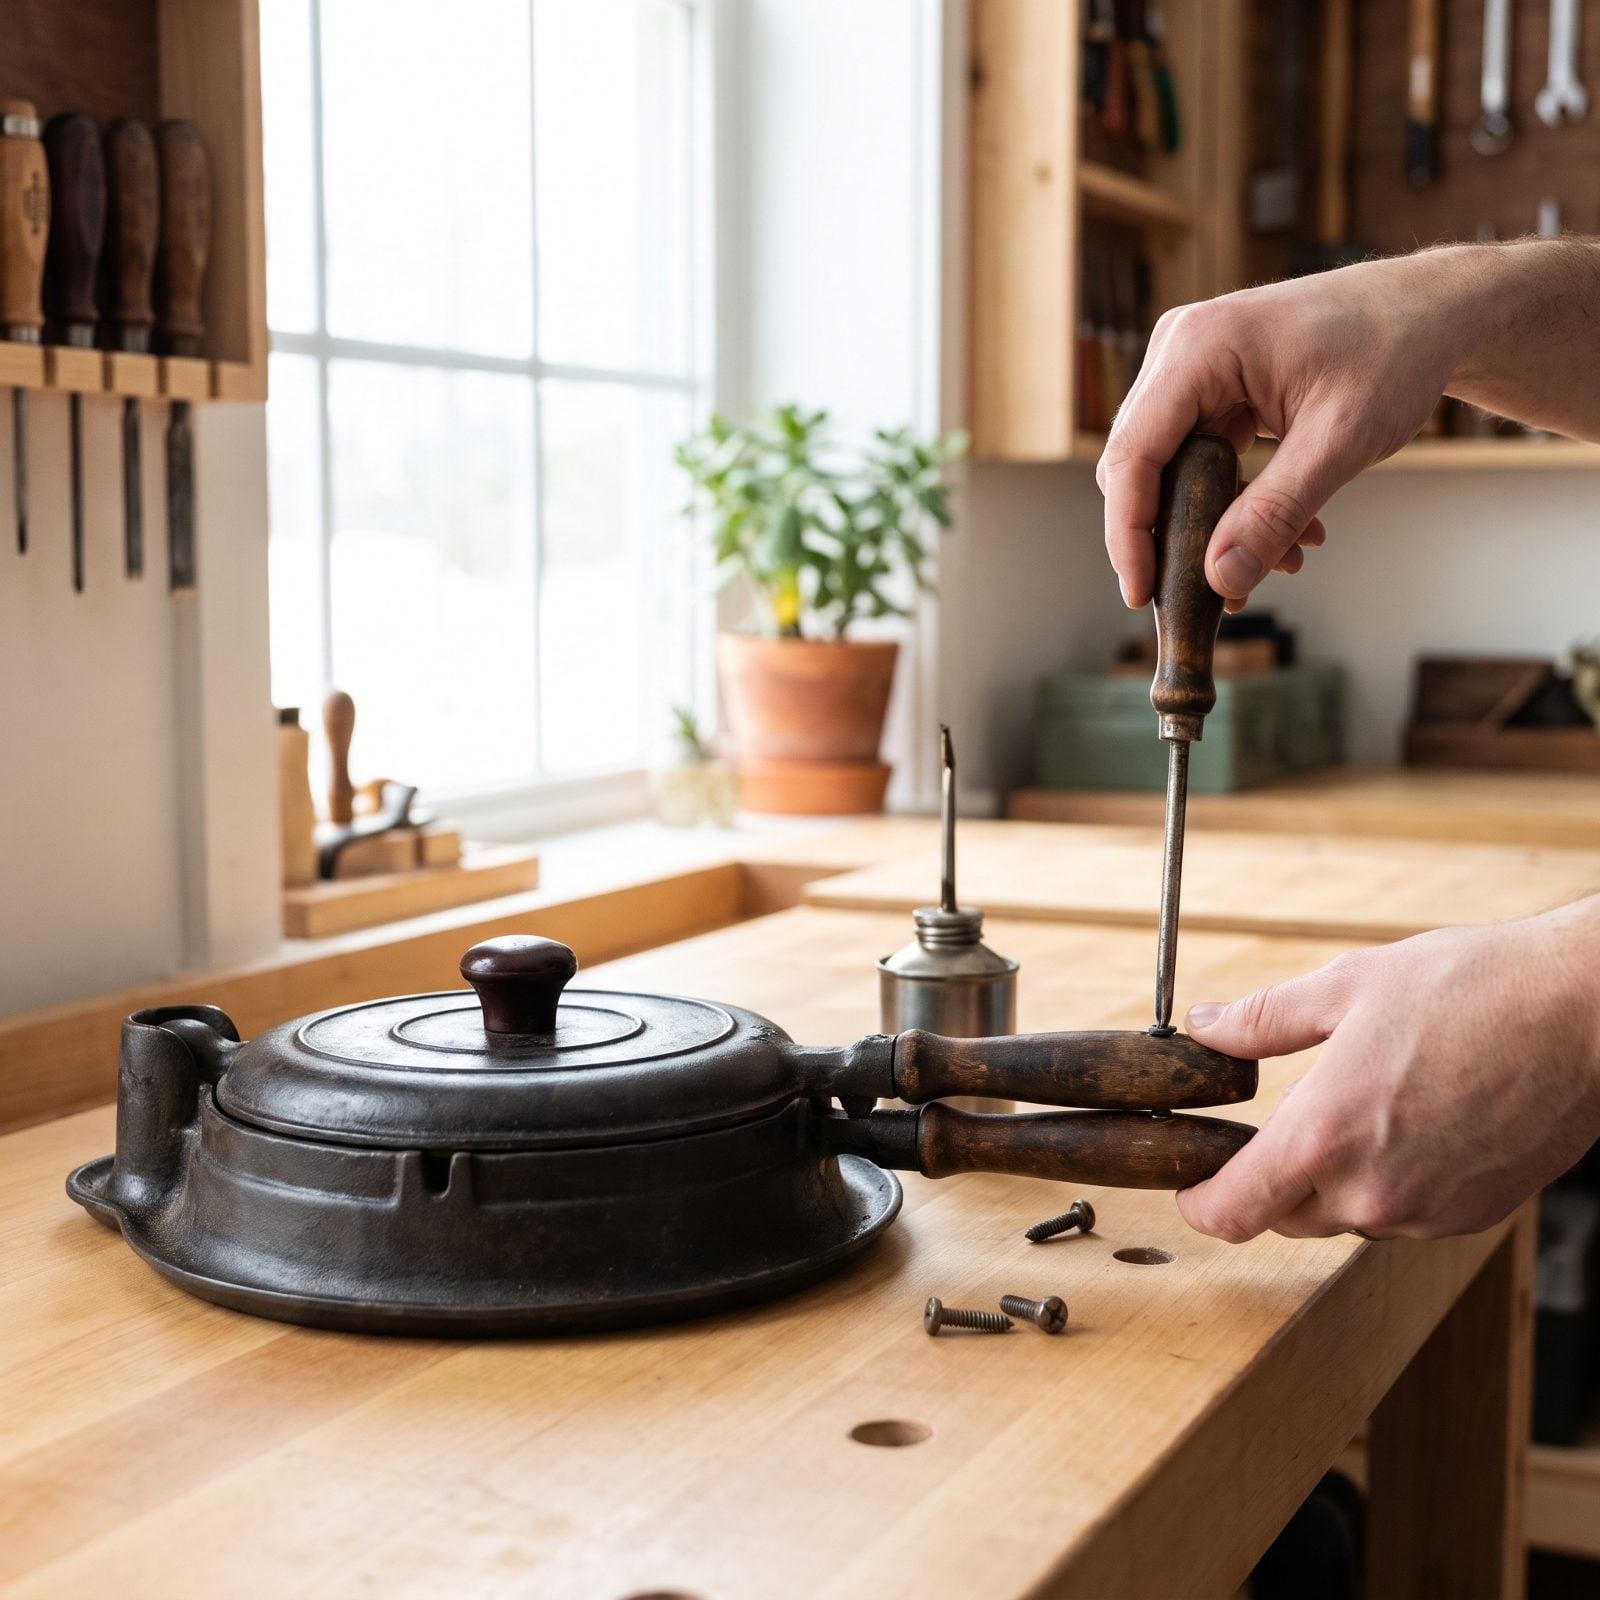
Some older pieces came with wooden handles, bakelite knobs, or screwed-on hardware — waffle irons especially, plus griddles and certain skillets. Toss the whole thing in a chemical bath or a hot oven and you’ve ruined the one part that can’t rust back.
Wood swells, cracks, and dissolves in lye. Old bakelite can crack under heat. Removable iron hardware seizes or vanishes in the tank.
Take it apart first. Back out the screws, pull the handle, bag the small parts and label them. Clean metal and wood separately with methods that suit each, then reassemble. A little patience keeps the piece whole.
23. Scrubbing Baked-On Food Before a Hot-Water Simmer
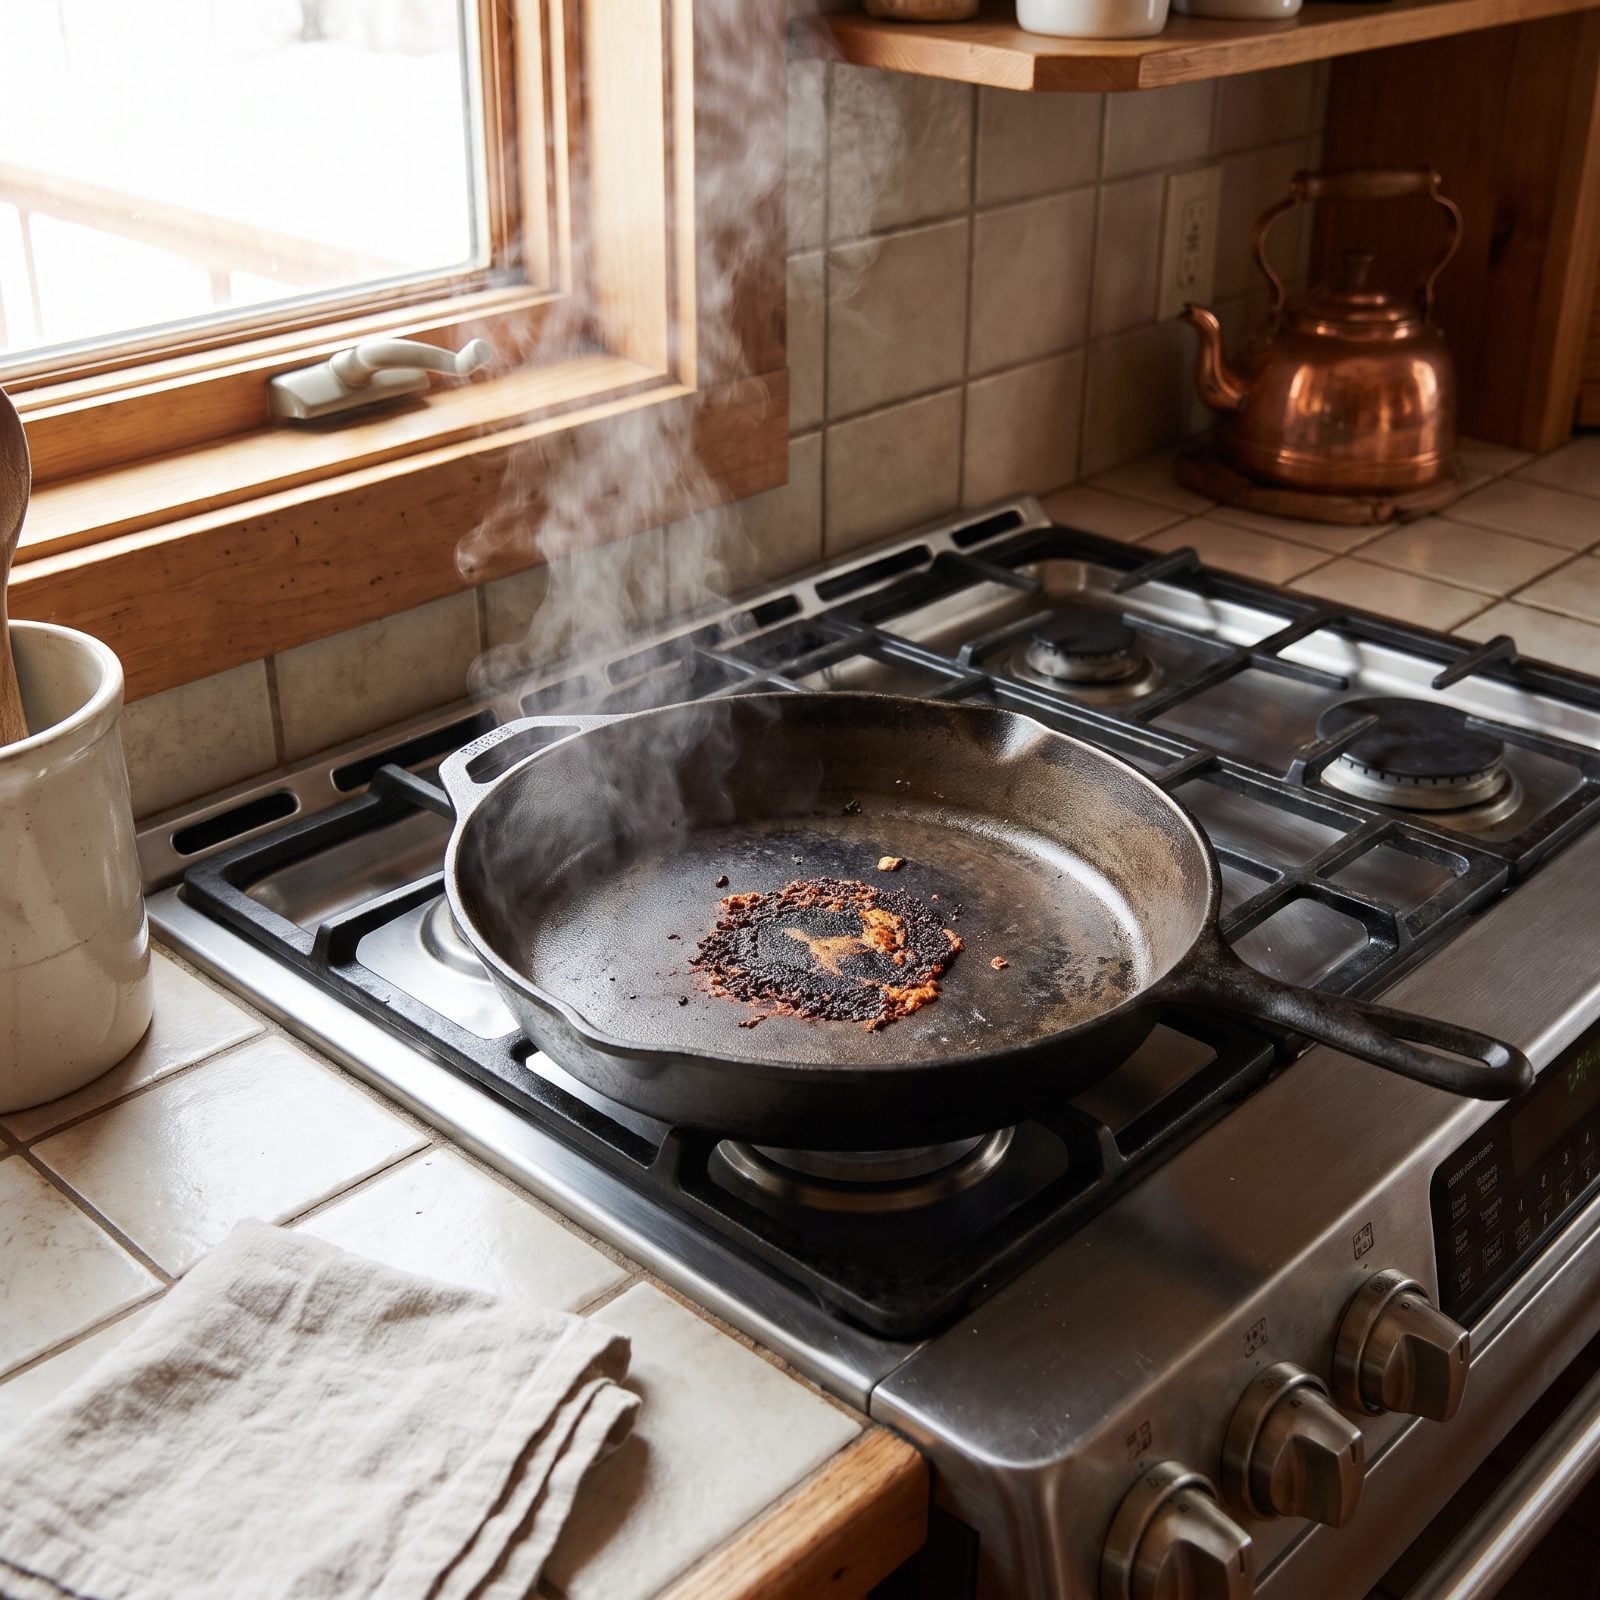
Facing a patch of carbonized gunk in the center of the pan’s cooking surface, most people reach for the stiffest scraper they own and go to war. You’ll scratch the iron and barely dent the crud. Let heat do the work instead.
Hard scraping removes good seasoning along with the bad and wears you out for nothing. Baked-on food releases its grip once it softens.
Add water to the cold pan, set it on the burner, bring it to a simmer for a few minutes, and let the heat soften the crust baked onto the pan floor. A wooden or plastic scraper then slides it off in soft sheets. Let the pan do most of the labor.
22. Reaching for Harsh Chemicals Before Trying Chainmail
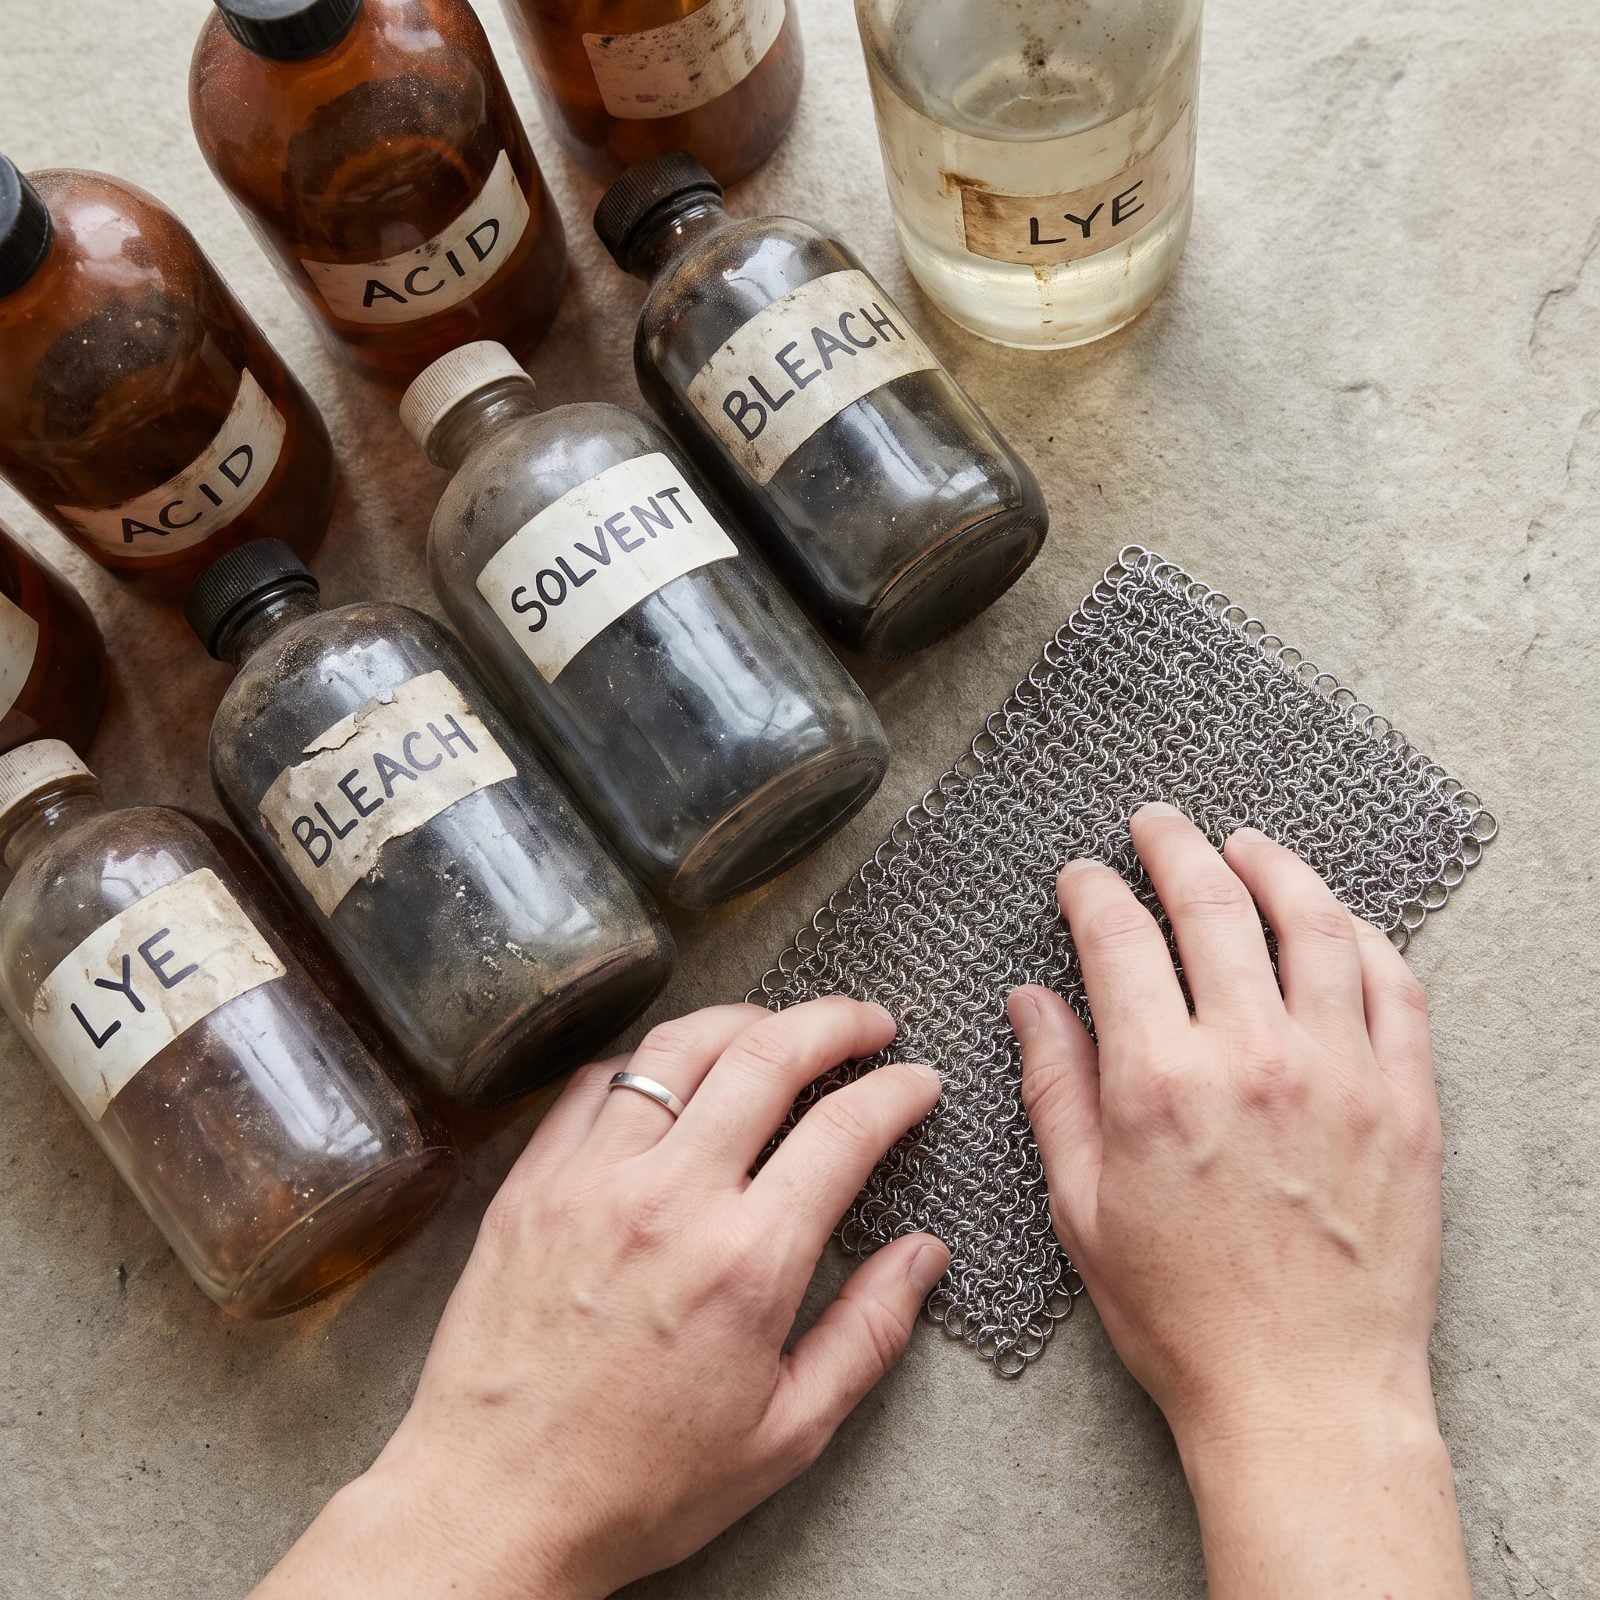
Light rust rarely needs a chemistry set. People jump straight to lye tanks and electrolysis for a bit of orange surface bloom that a chainmail scrubber would knock off in ten minutes.
Harsh methods mean more setup, more safety gear, more ventilation, and more waiting — overkill for a pan that just sat in a damp cabinet too long.
Start with a stainless chainmail scrubber and warm water. Work in circles, rinse, and see how far it gets you. Nine times out of ten the rust is shallower than it looks, and you’ll have raw iron ready for seasoning without opening a single bottle.
21. Overlooking Coarse Salt as a Dry Abrasive
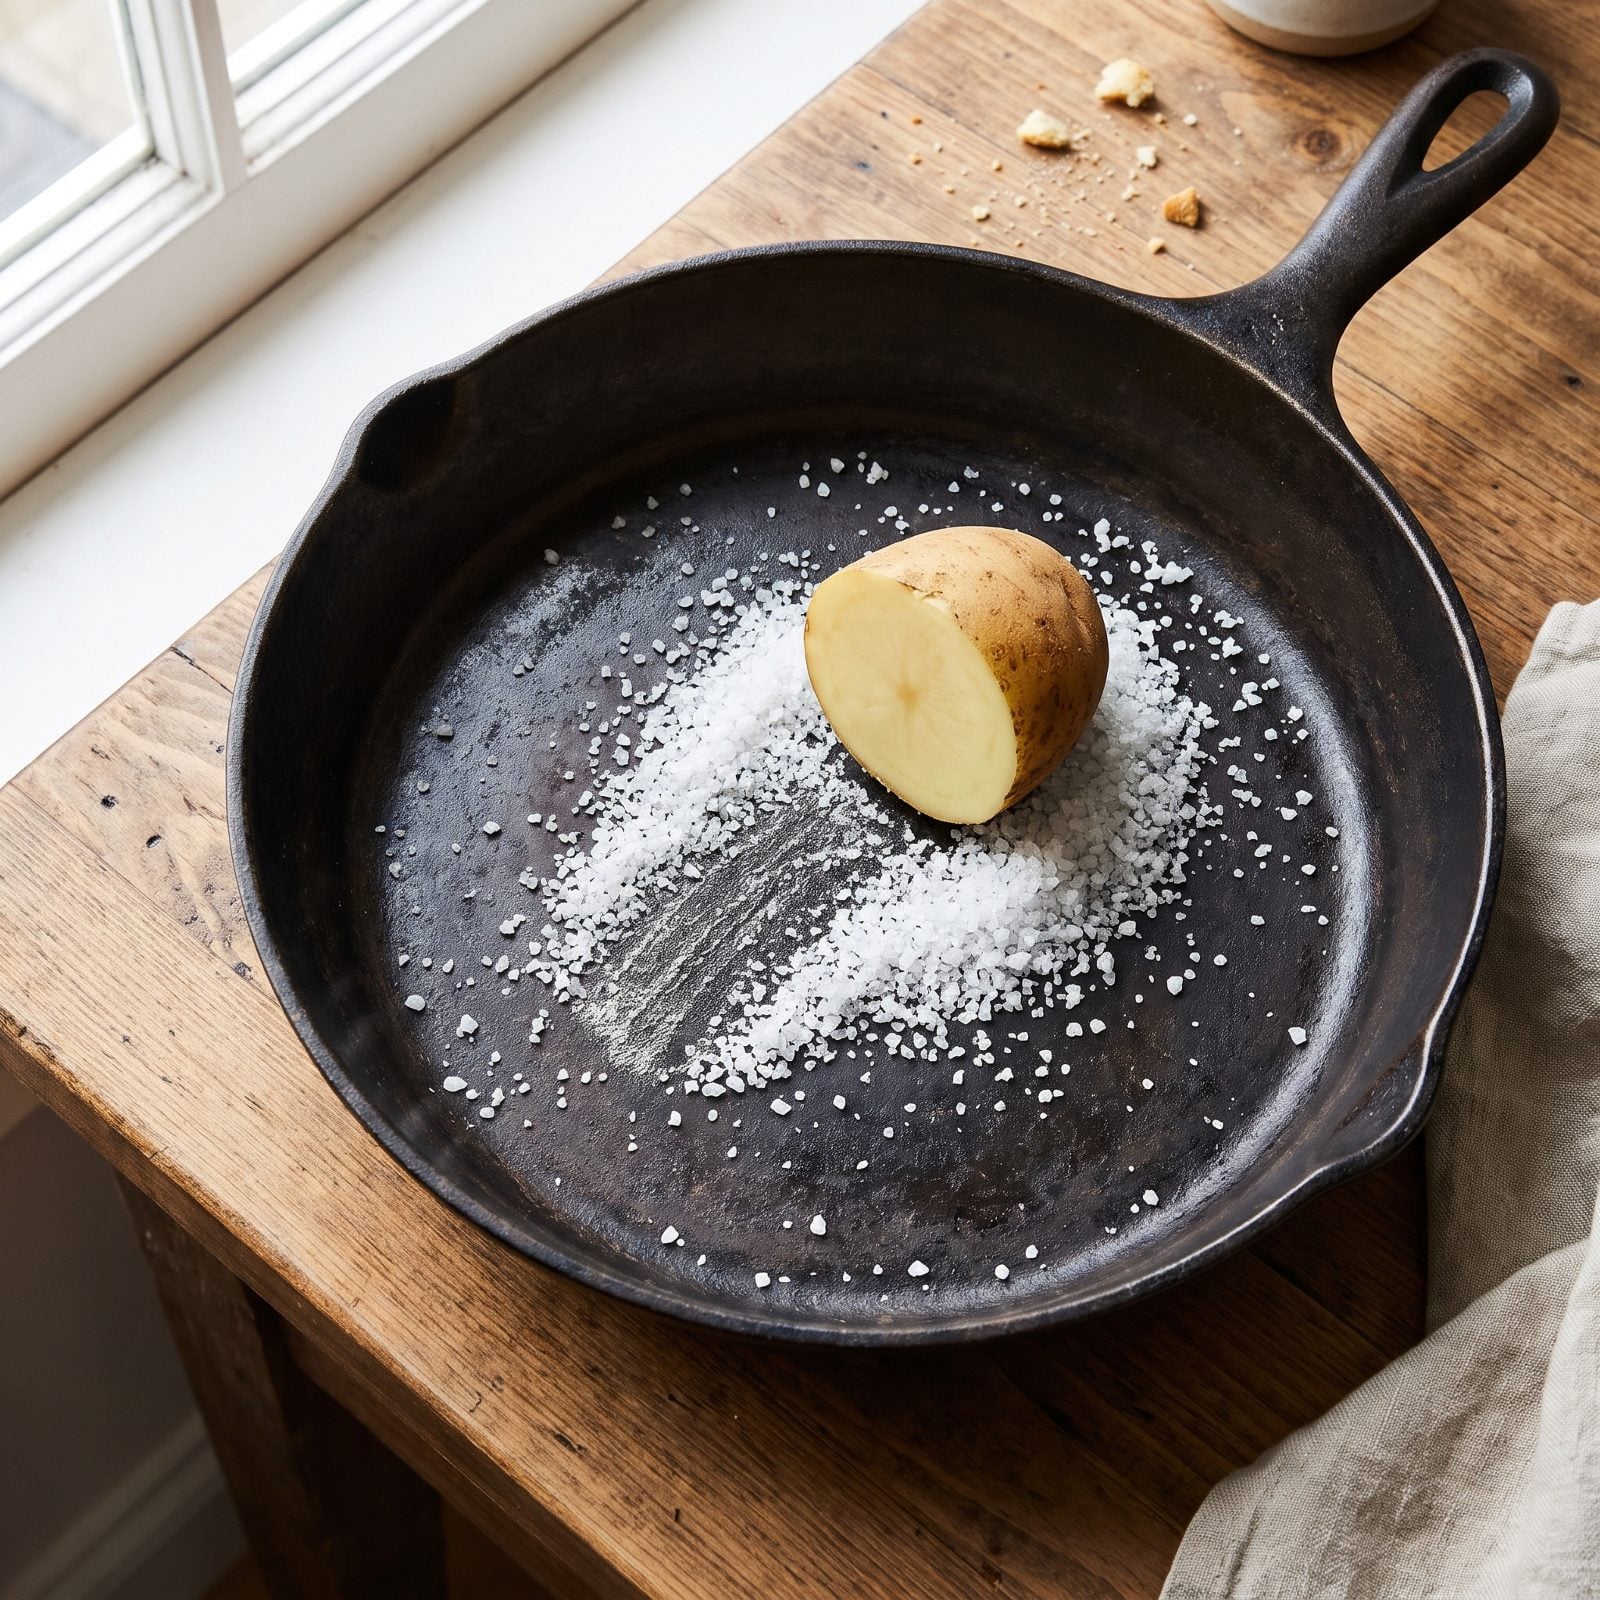
Coarse salt is the quietest tool in cast-iron care, and the one most people walk right past. It scours without stripping, which is exactly what a seasoned pan wants between cooks.
A spoonful of kosher or sea salt, worked around with a folded paper towel or a cut potato, lifts stuck bits and light grime while leaving the seasoning intact. Cheap, food-safe, already in your pantry.
Skip it and you reach for soap and scrubbers that chip away the patina you spent hours building. Salt is the gentle middle ground — we use it on our everyday skillets more than anything else.
20. Using a Wire Wheel Where a Nylon Abrasive Wheel Is Safer
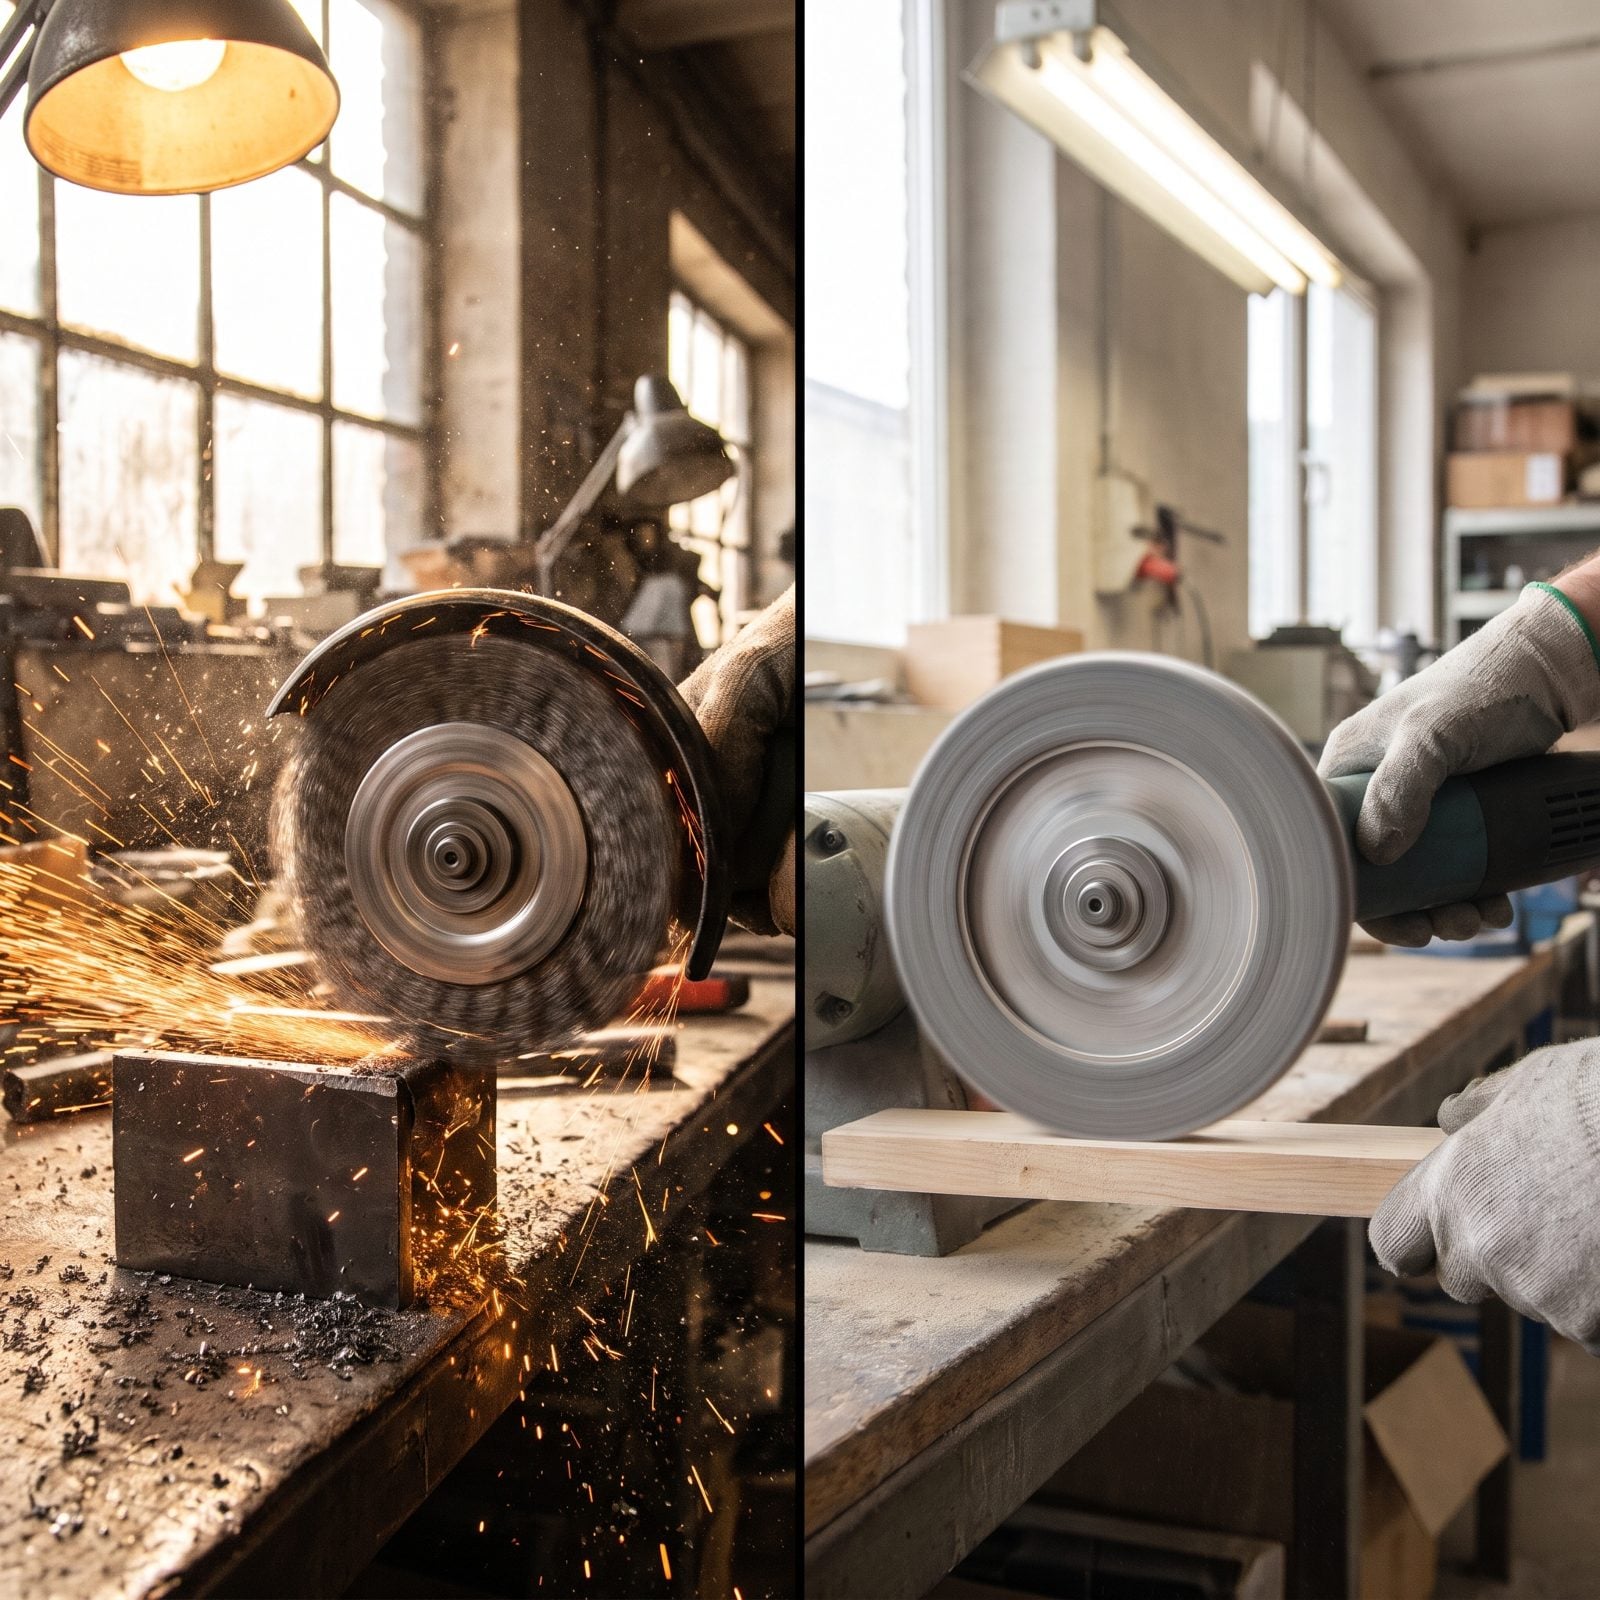
A spinning steel wire wheel feels like the fast answer to heavy rust and carbon. It’s also the one most likely to gouge the iron, round off those foundry marks, and fling hot wire bristles that embed in skin. Not worth it.
Steel wheels cut aggressively and unevenly, leaving swirl marks and thinning the metal wherever you linger. A nylon abrasive wheel does the same cleanup with far less bite and no flying bristles.
Going power tool? Fit a nylon or Scotch-Brite-style wheel, wear eye protection and a dust mask, and keep the pan clamped. Disconnect power before you reposition your hands. Let the wheel skim, don’t lean into it, and the pan keeps its surface and its history.
19. Trying to Hand-Scrub Severe Rust Instead of Using Electrolysis
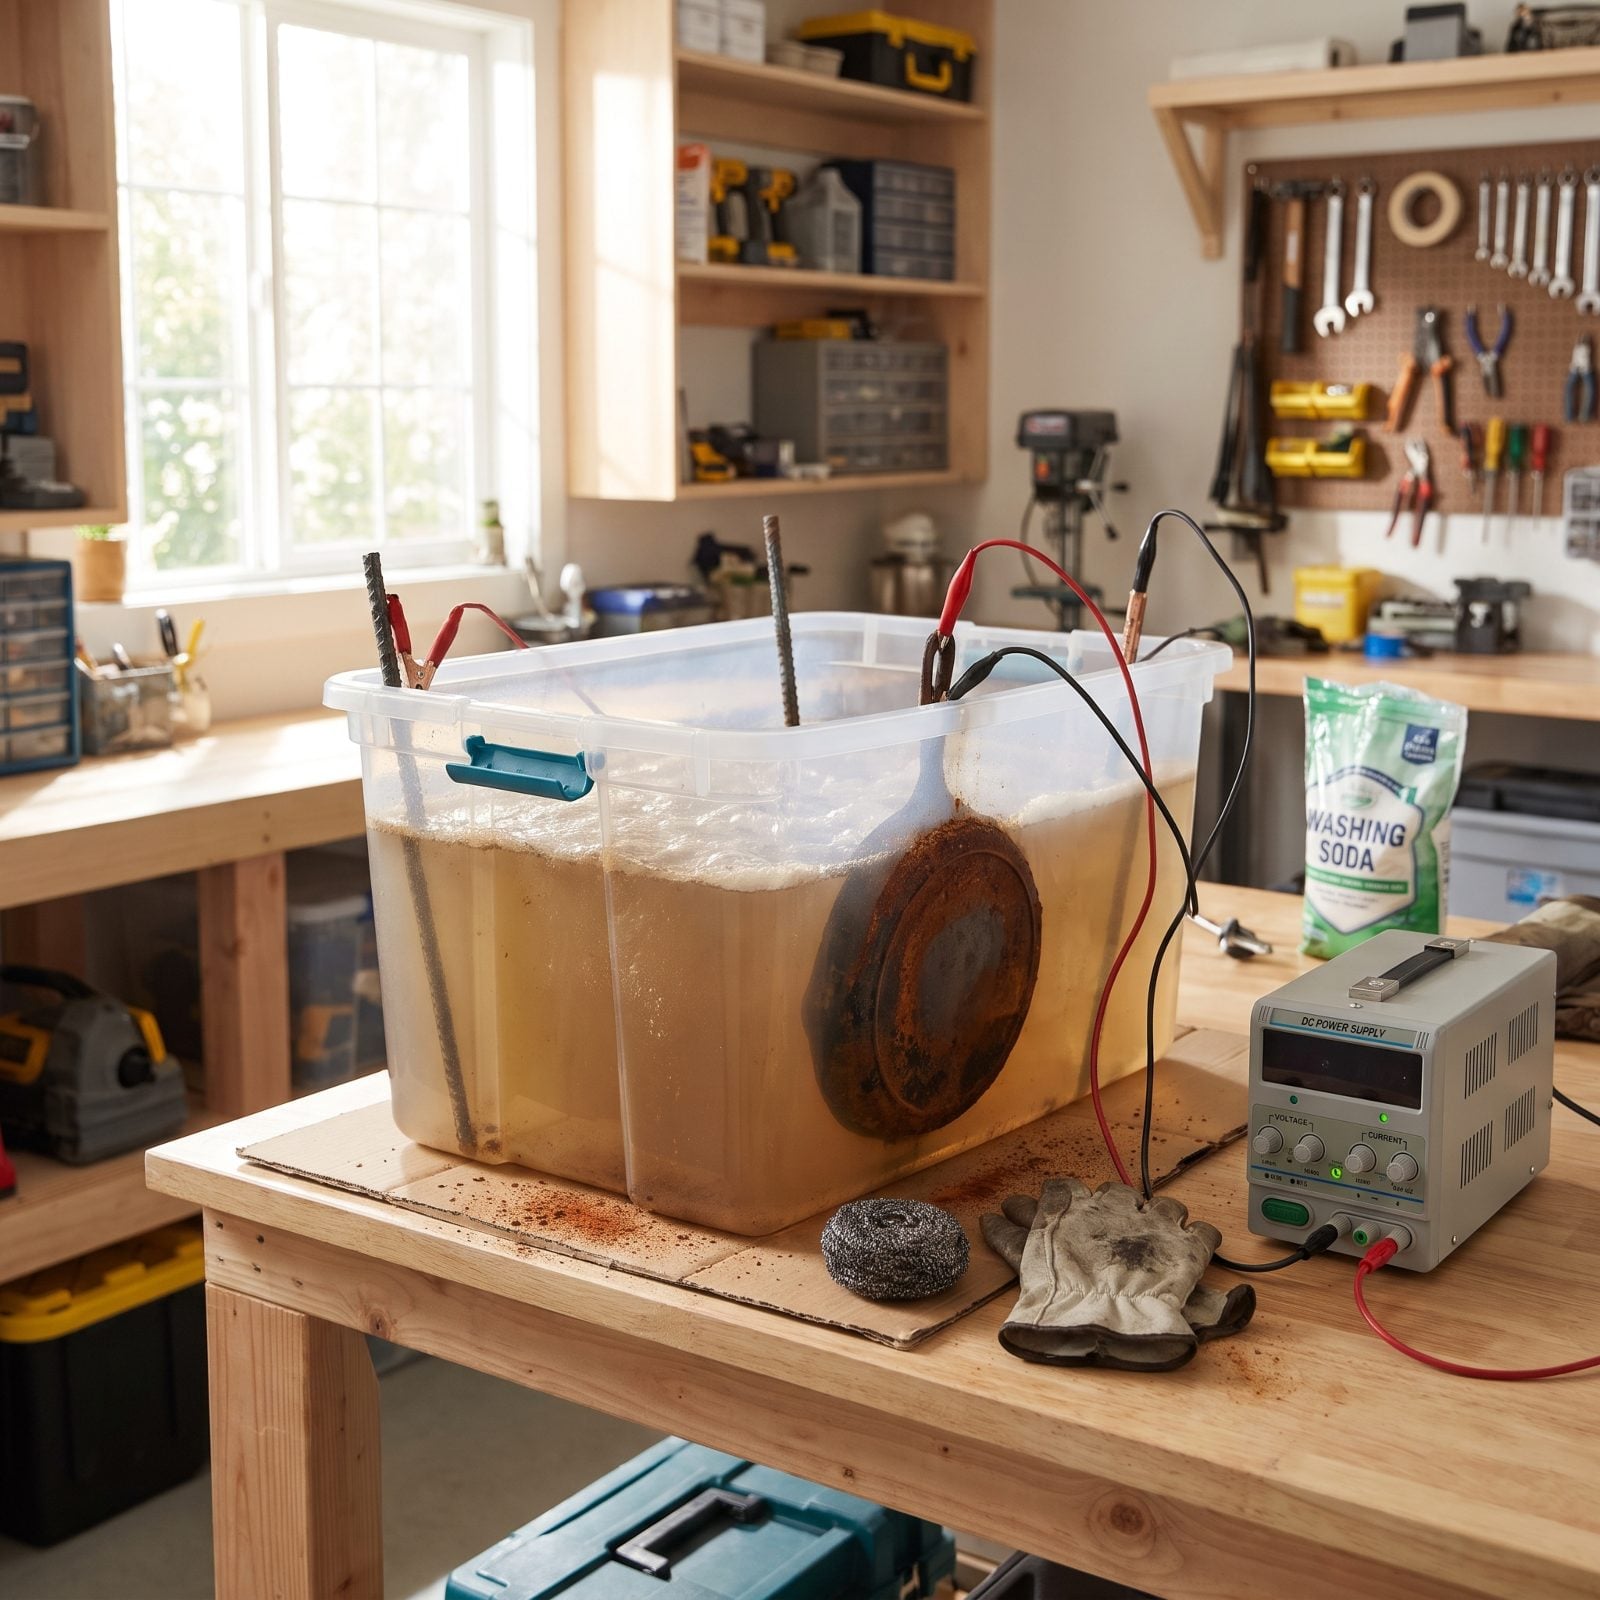
Severe rust laughs at a wire brush. You can scrub a crusted skillet for an hour, grind through a palm’s worth of steel wool, and still find pitted orange buried in the pour spout. The rust in the deep pits doesn’t care how hard you push.
And here’s what it costs you. You’ll wear yourself out, scratch the good iron, and still miss the recessed spots your hand can’t reach. Electrolysis does the work chemically — a low-voltage current pulls the rust off evenly, even inside casting marks and corners.
Set up a plastic tote, add washing soda, drop in a sacrificial anode, and let the current run. You walk away. The iron does the waiting. We scrubbed pans for years that we should have just plugged in, and we’re still a little annoyed about those lost hours.
18. Using Stainless Steel as an Electrolysis Sacrificial Anode
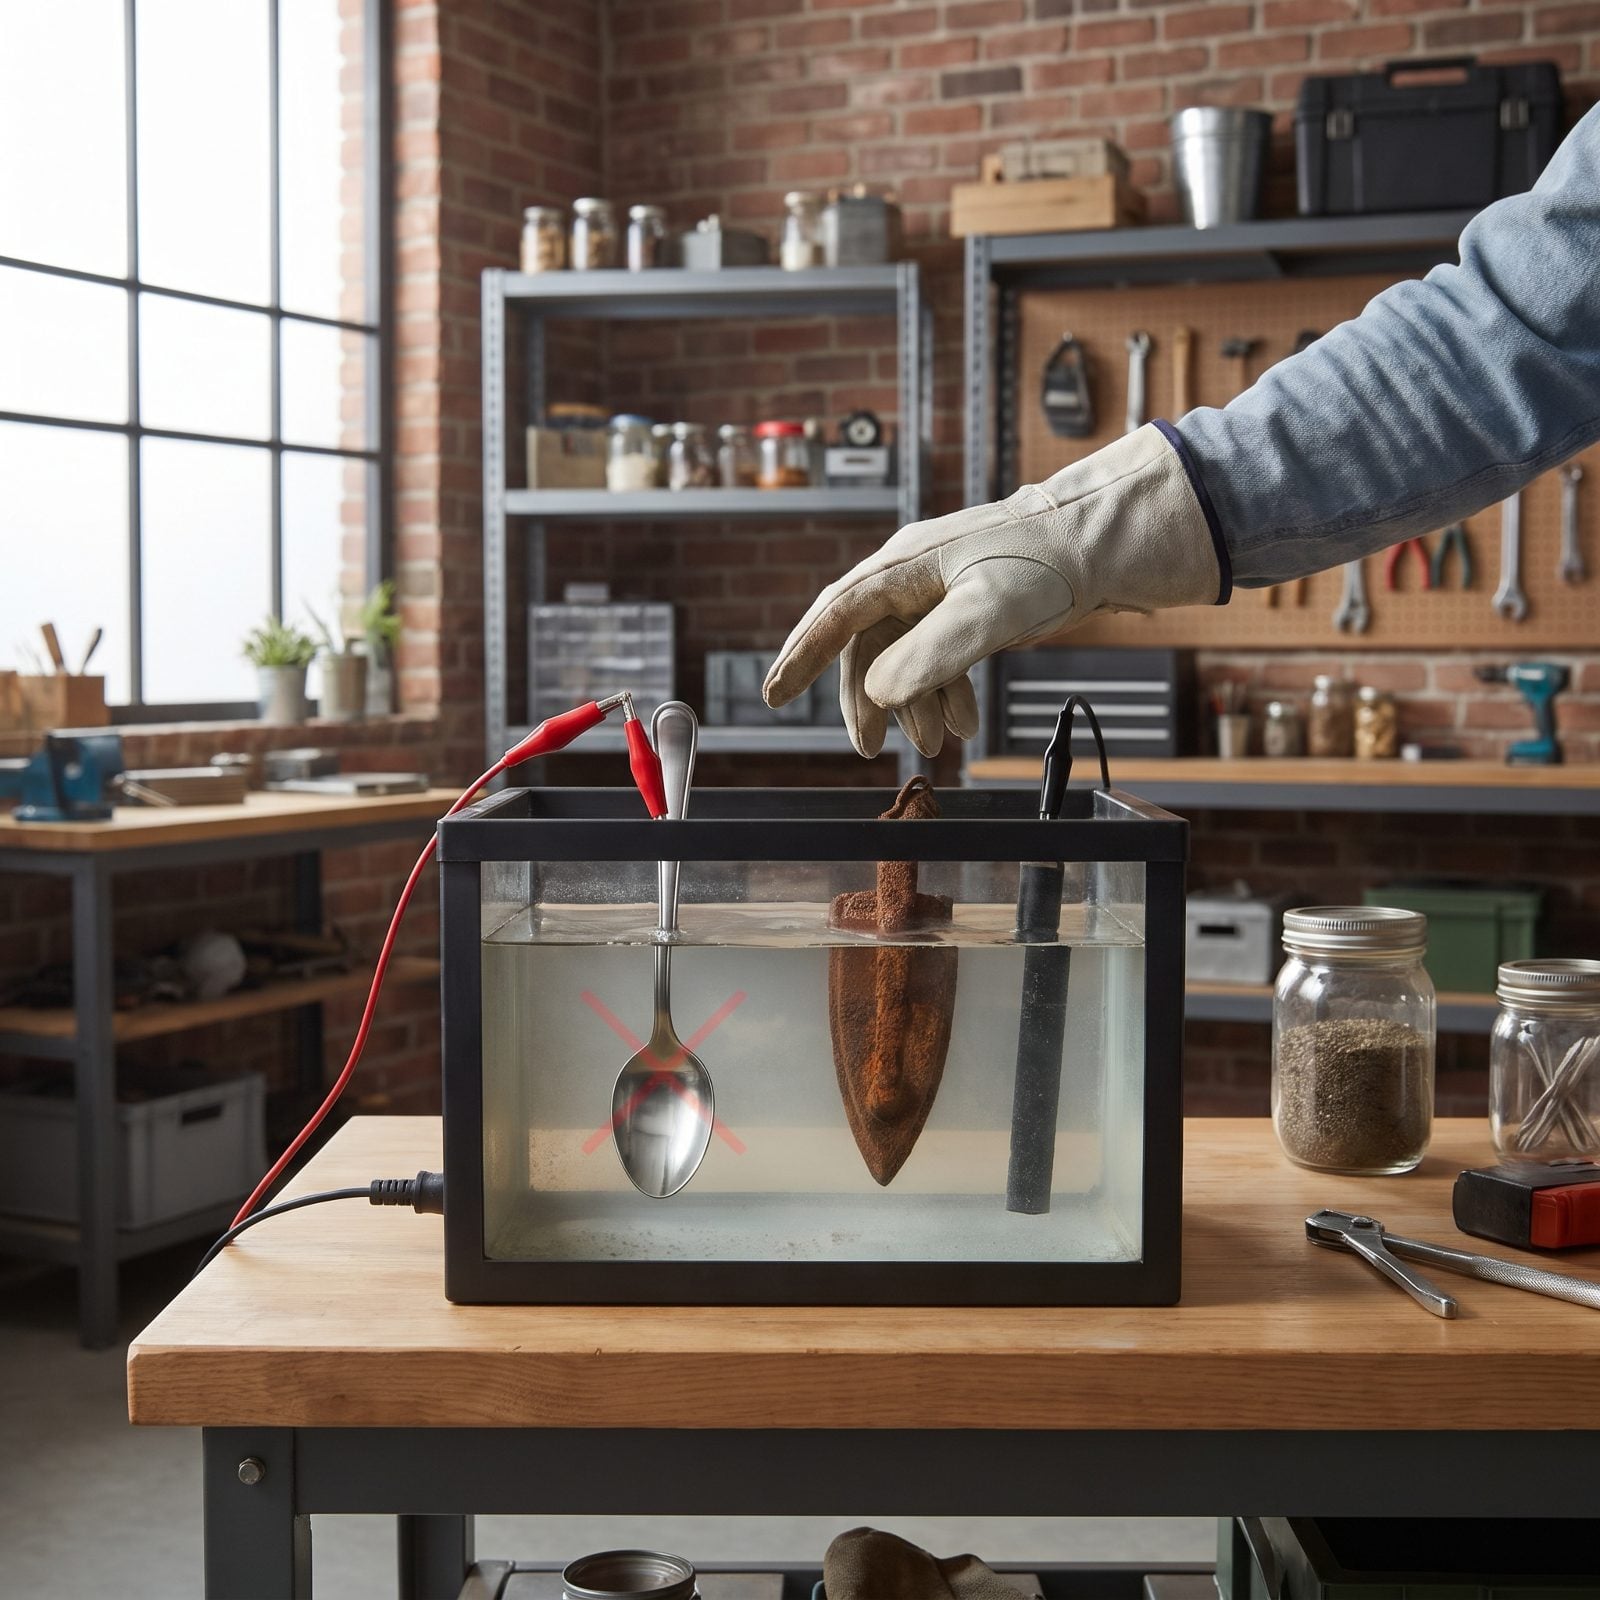
Grab the shiny chrome scrap because it looks cleaner, and you’ve made a mistake you can’t see. Stainless steel used as an anode leaches hexavalent chromium into your bath. That’s a genuine toxin, and now your rinse water is hazardous waste you can’t just pour down the drain.
Plain mild steel is the answer — rebar, an old steel plate, a scrap fence stake. It sacrifices itself cleanly, and the only leftover is harmless iron oxide sludge. Keep the stainless far away from the tank. Your pan comes out just as clean, and your cleanup won’t turn into a hazmat decision.
17. Handling an Electrolysis Tank While the Power Is Connected
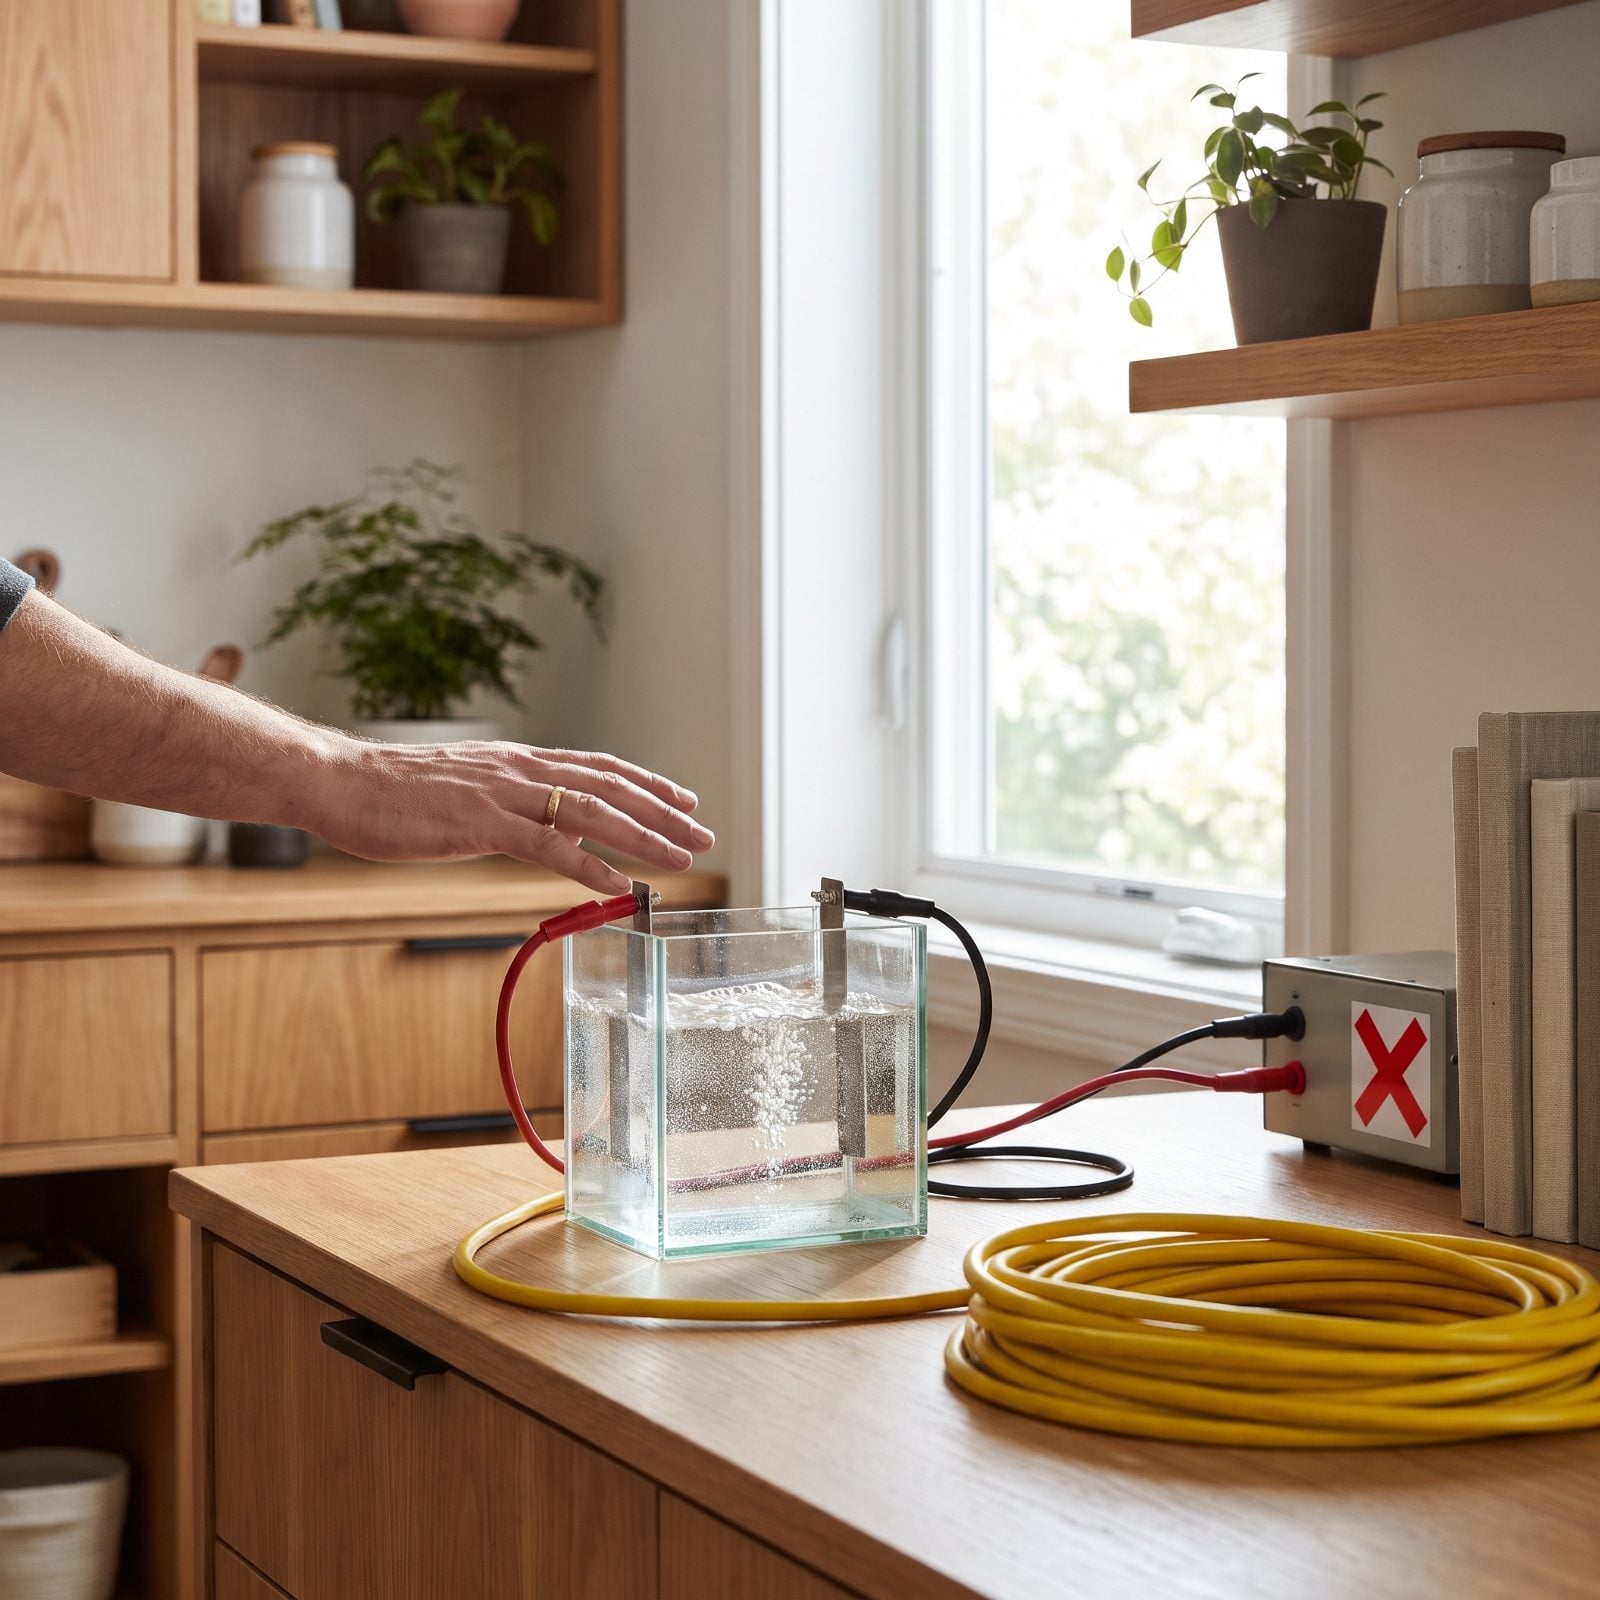
The tank is bubbling, you spot a bit of debris floating, and you dip a hand in to grab it. Low voltage, you figure, no big deal. The shock risk really is small. But the released hydrogen gas near an electrical connection is the actual danger, and wet hands on a live circuit is never a habit worth keeping.
Switch off and unplug before you touch anything in the water. Every single time. Pull the pan, reposition the anode, skim the surface — all of it happens with the power dead.
16. Using Full-Strength Vinegar or Leaving a Diluted Bath Unchecked
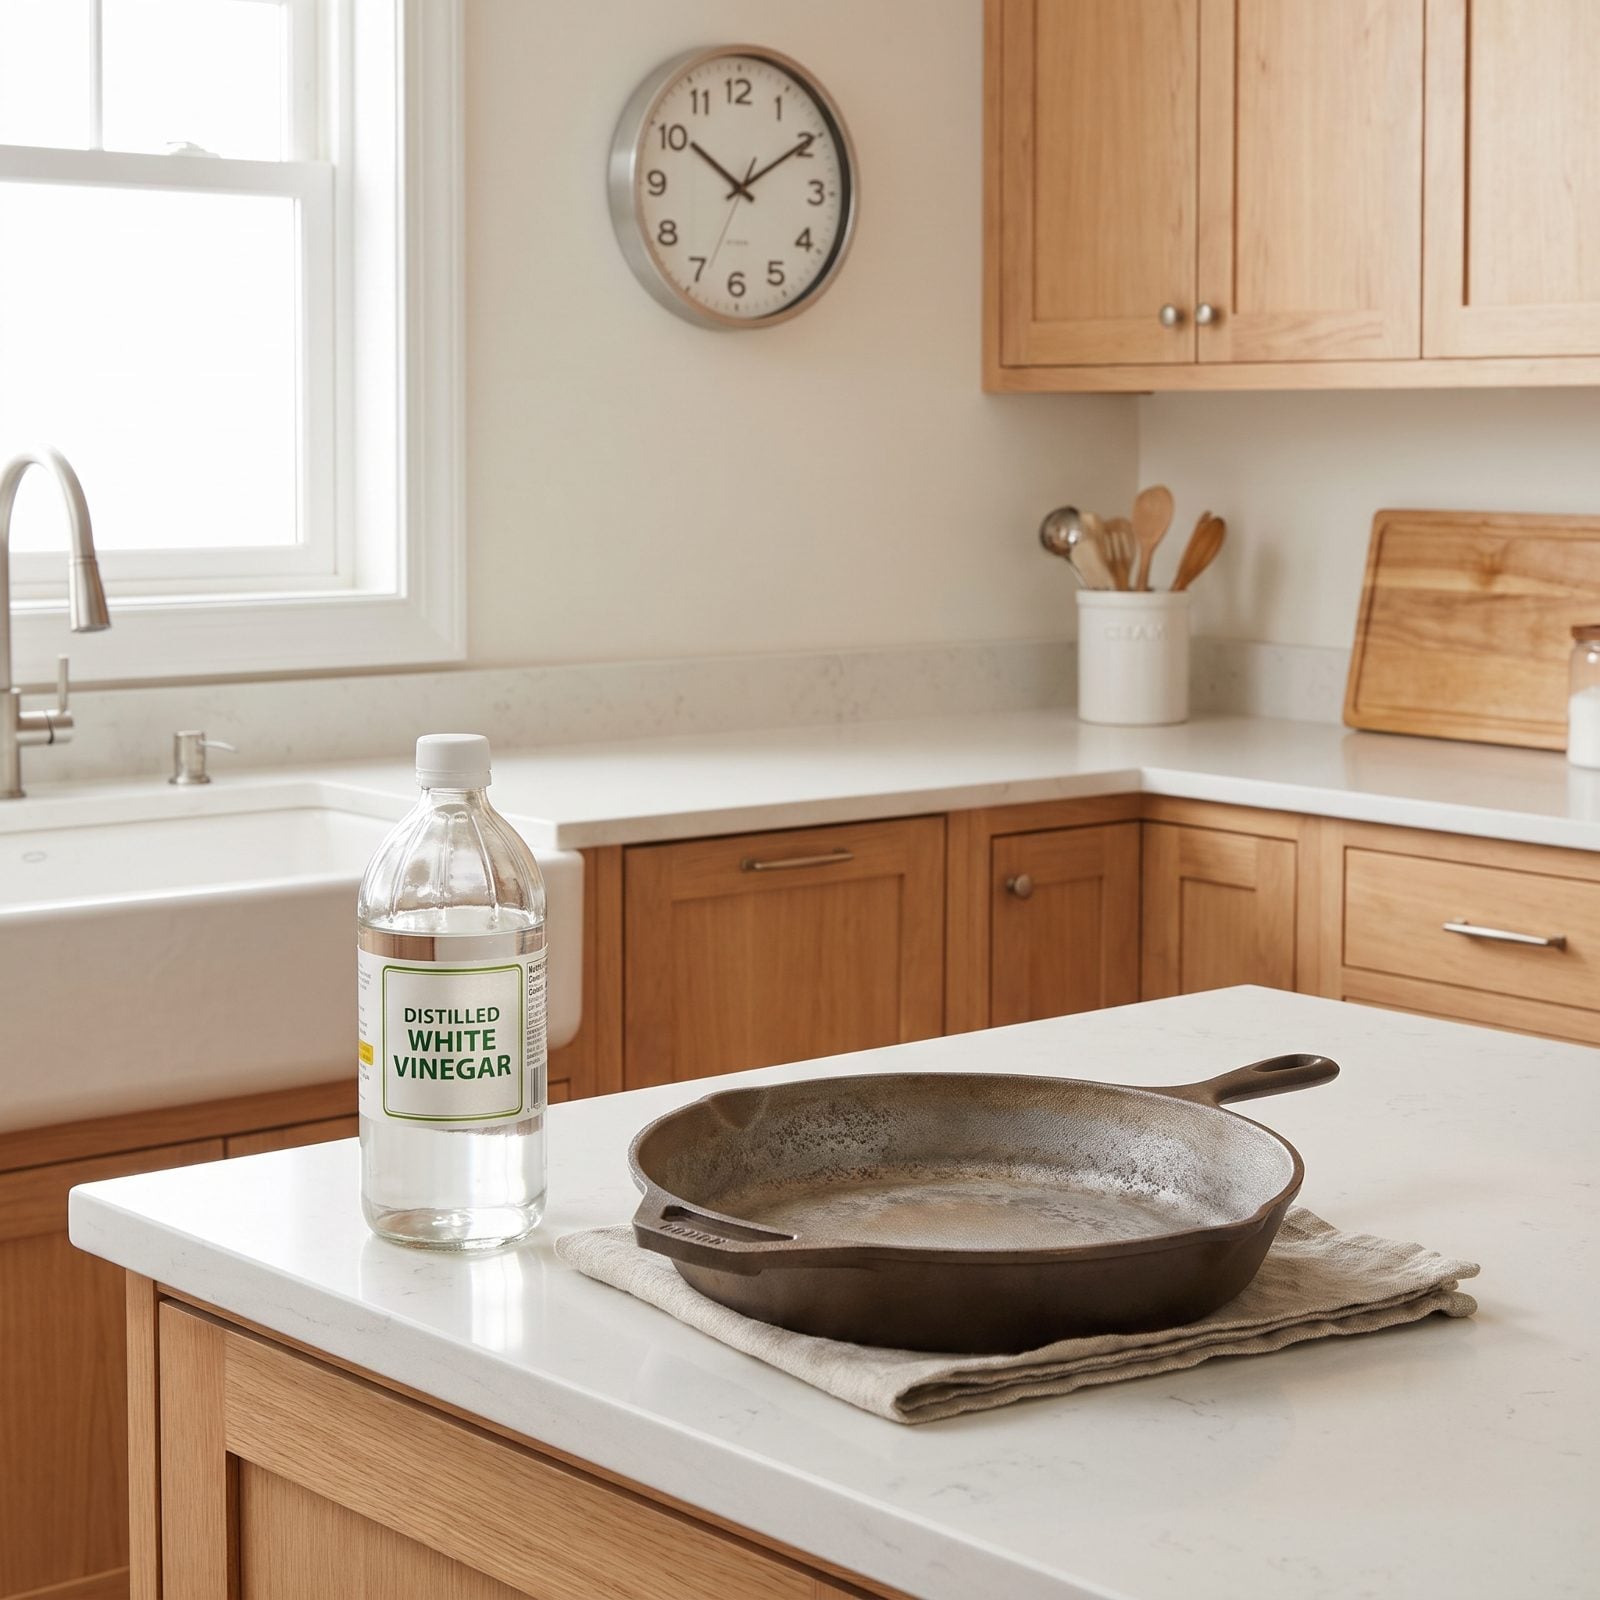
Vinegar feels safe because it’s already in your pantry. That’s exactly how people ruin good iron. Left too long, a vinegar bath doesn’t stop at the rust — it keeps eating the healthy metal underneath and leaves a gray, pitted, chalky surface that no seasoning will ever fix.
Cut it with equal parts water and check it every thirty minutes. The rust should wipe away before the iron starts going fuzzy to the touch. The moment it does, pull it, rinse it, done. Full strength plus a forgotten overnight soak is how a salvageable skillet becomes scrap. Set a timer, and don’t just trust the timer — actually look.
15. Ignoring Citric Acid for Even, Controllable Rust Removal
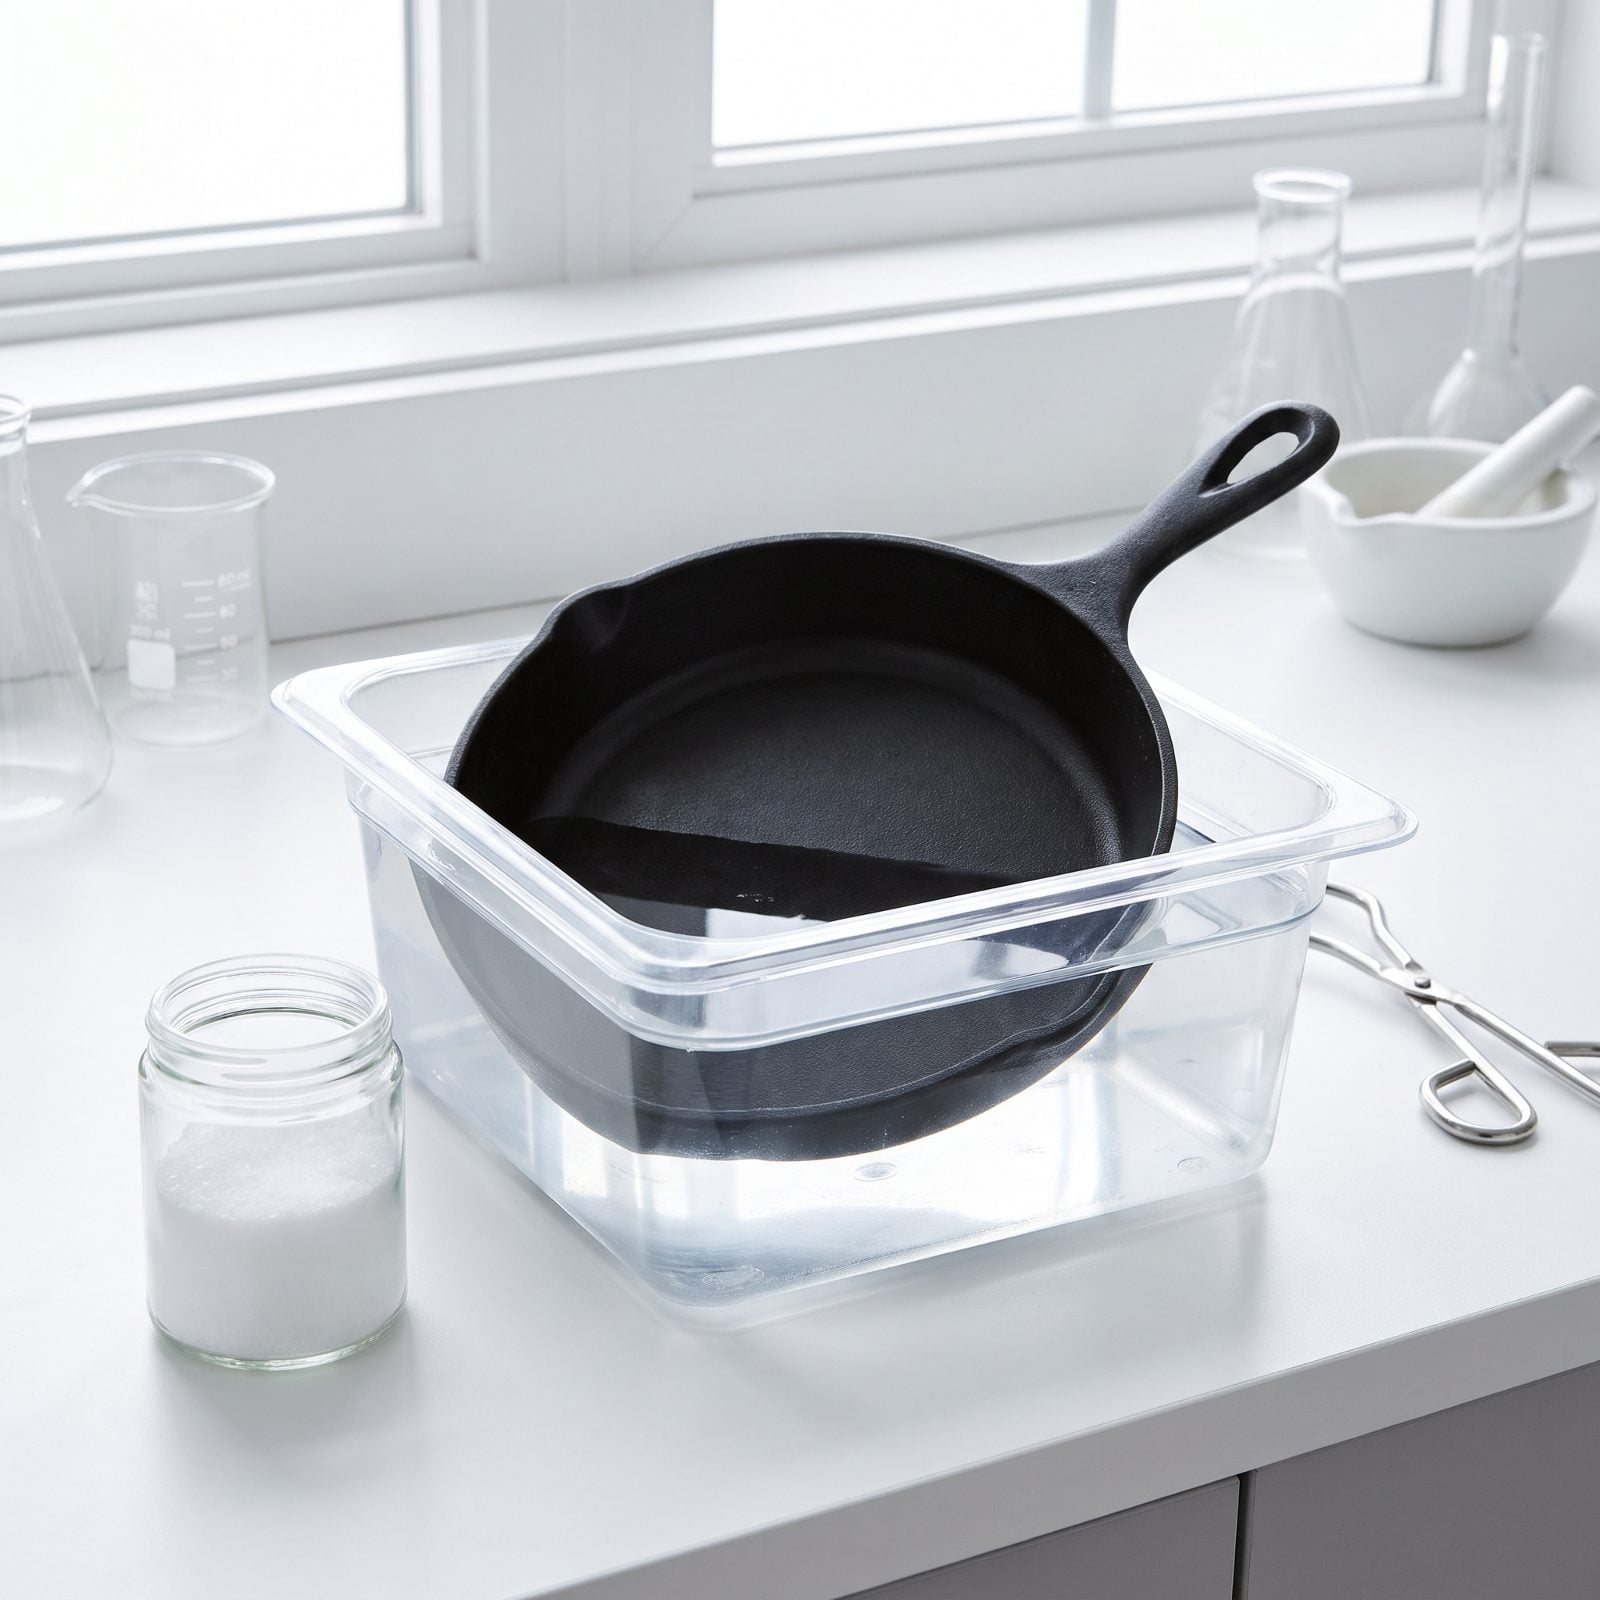
Most people reach for vinegar and never try citric acid, which is a shame. It’s the gentler, more predictable option. A couple tablespoons per gallon dissolves rust at a slower, steadier pace — less chance of overshooting into the raw metal, and far more even results across the whole piece.
You’ll find it in the canning aisle or sold as a cleaning agent. Cheap, rinses clean, and it won’t leave your garage smelling like a pickle factory for three days.
14. Scrubbing Delicate Vintage Iron Instead of Using a Chelating Soak
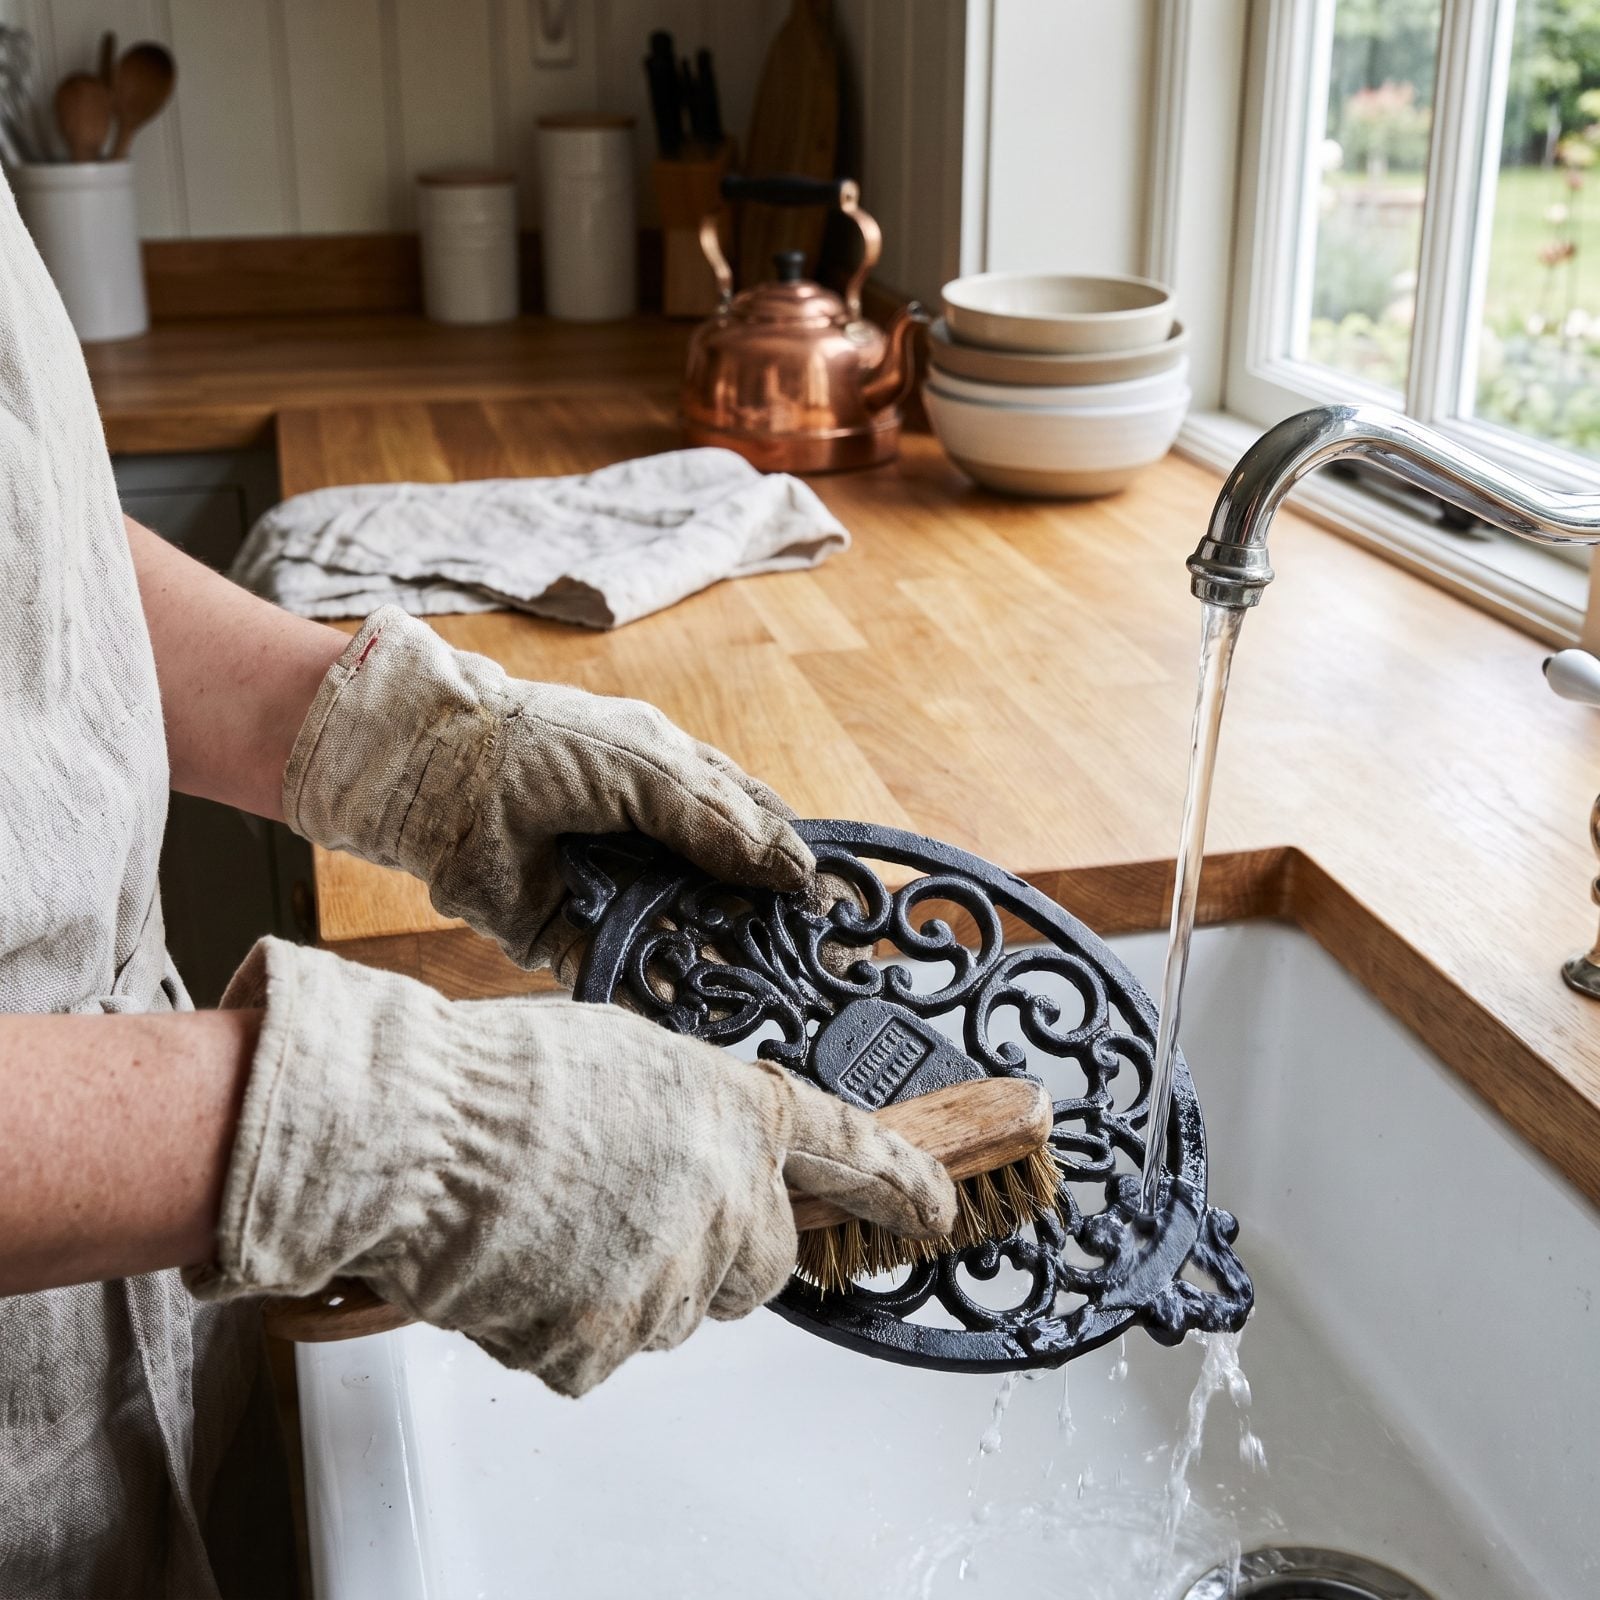
That old Griswold or Wagner with the crisp raised logo is worth more with its casting intact. Take a wire wheel to it and you’ll shave the fine detail right off. The letters go soft, the maker’s mark blurs, and you’ve knocked real money off a collectible piece.
A chelating soak derusts without touching the surface relief. Products built to bind and lift rust molecules work while you do nothing at all — the detail stays sharp. When the rust is gone, a soft cloth and a light rinse finish the job. For anything with sentimental or collector value, let the chemistry handle it and keep the brushes in the drawer.
13. Overlooking a Slow Molasses Bath for Heavily Detailed Pieces
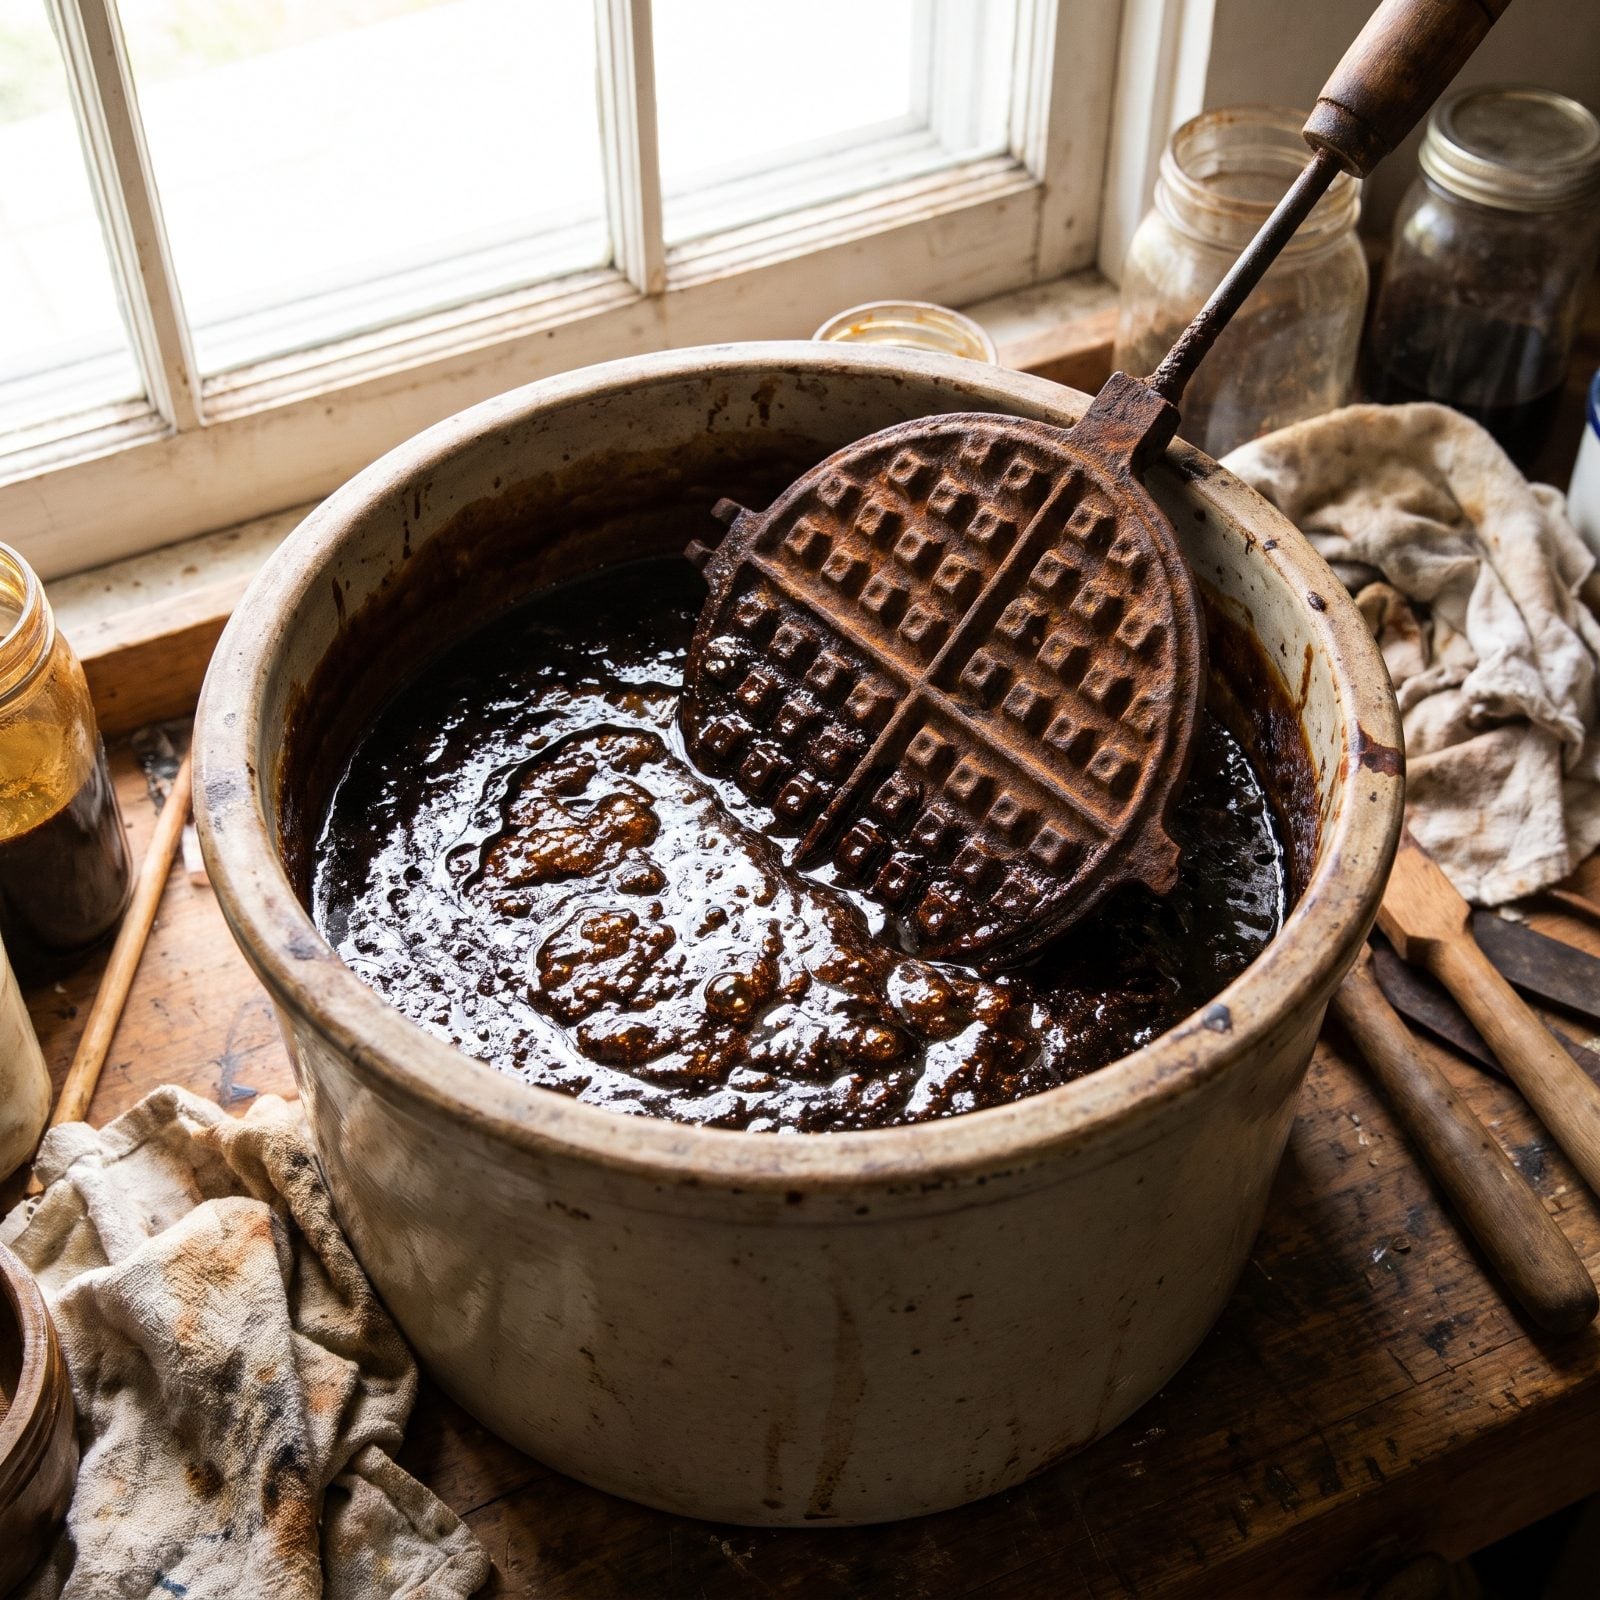
Molasses sounds like a joke until you try it on something you can’t scrub. A waffle iron, a deeply ribbed Dutch oven lid, anything with a hundred crevices your brush will never reach. Mix roughly one part molasses to eight or nine parts water and drop the piece in.
The catch is patience. This is a weeks-long soak, and I won’t lie to you, it smells like a brewery gone wrong. But the rust lets go from every recess without a single stroke of a brush, and the iron underneath stays untouched. When mechanical cleaning is hopeless, nothing beats time in a sweet, stinky bucket. Keep it covered and outside.
12. Spreading Phosphoric-Acid Gel Beyond the Rusted Spot
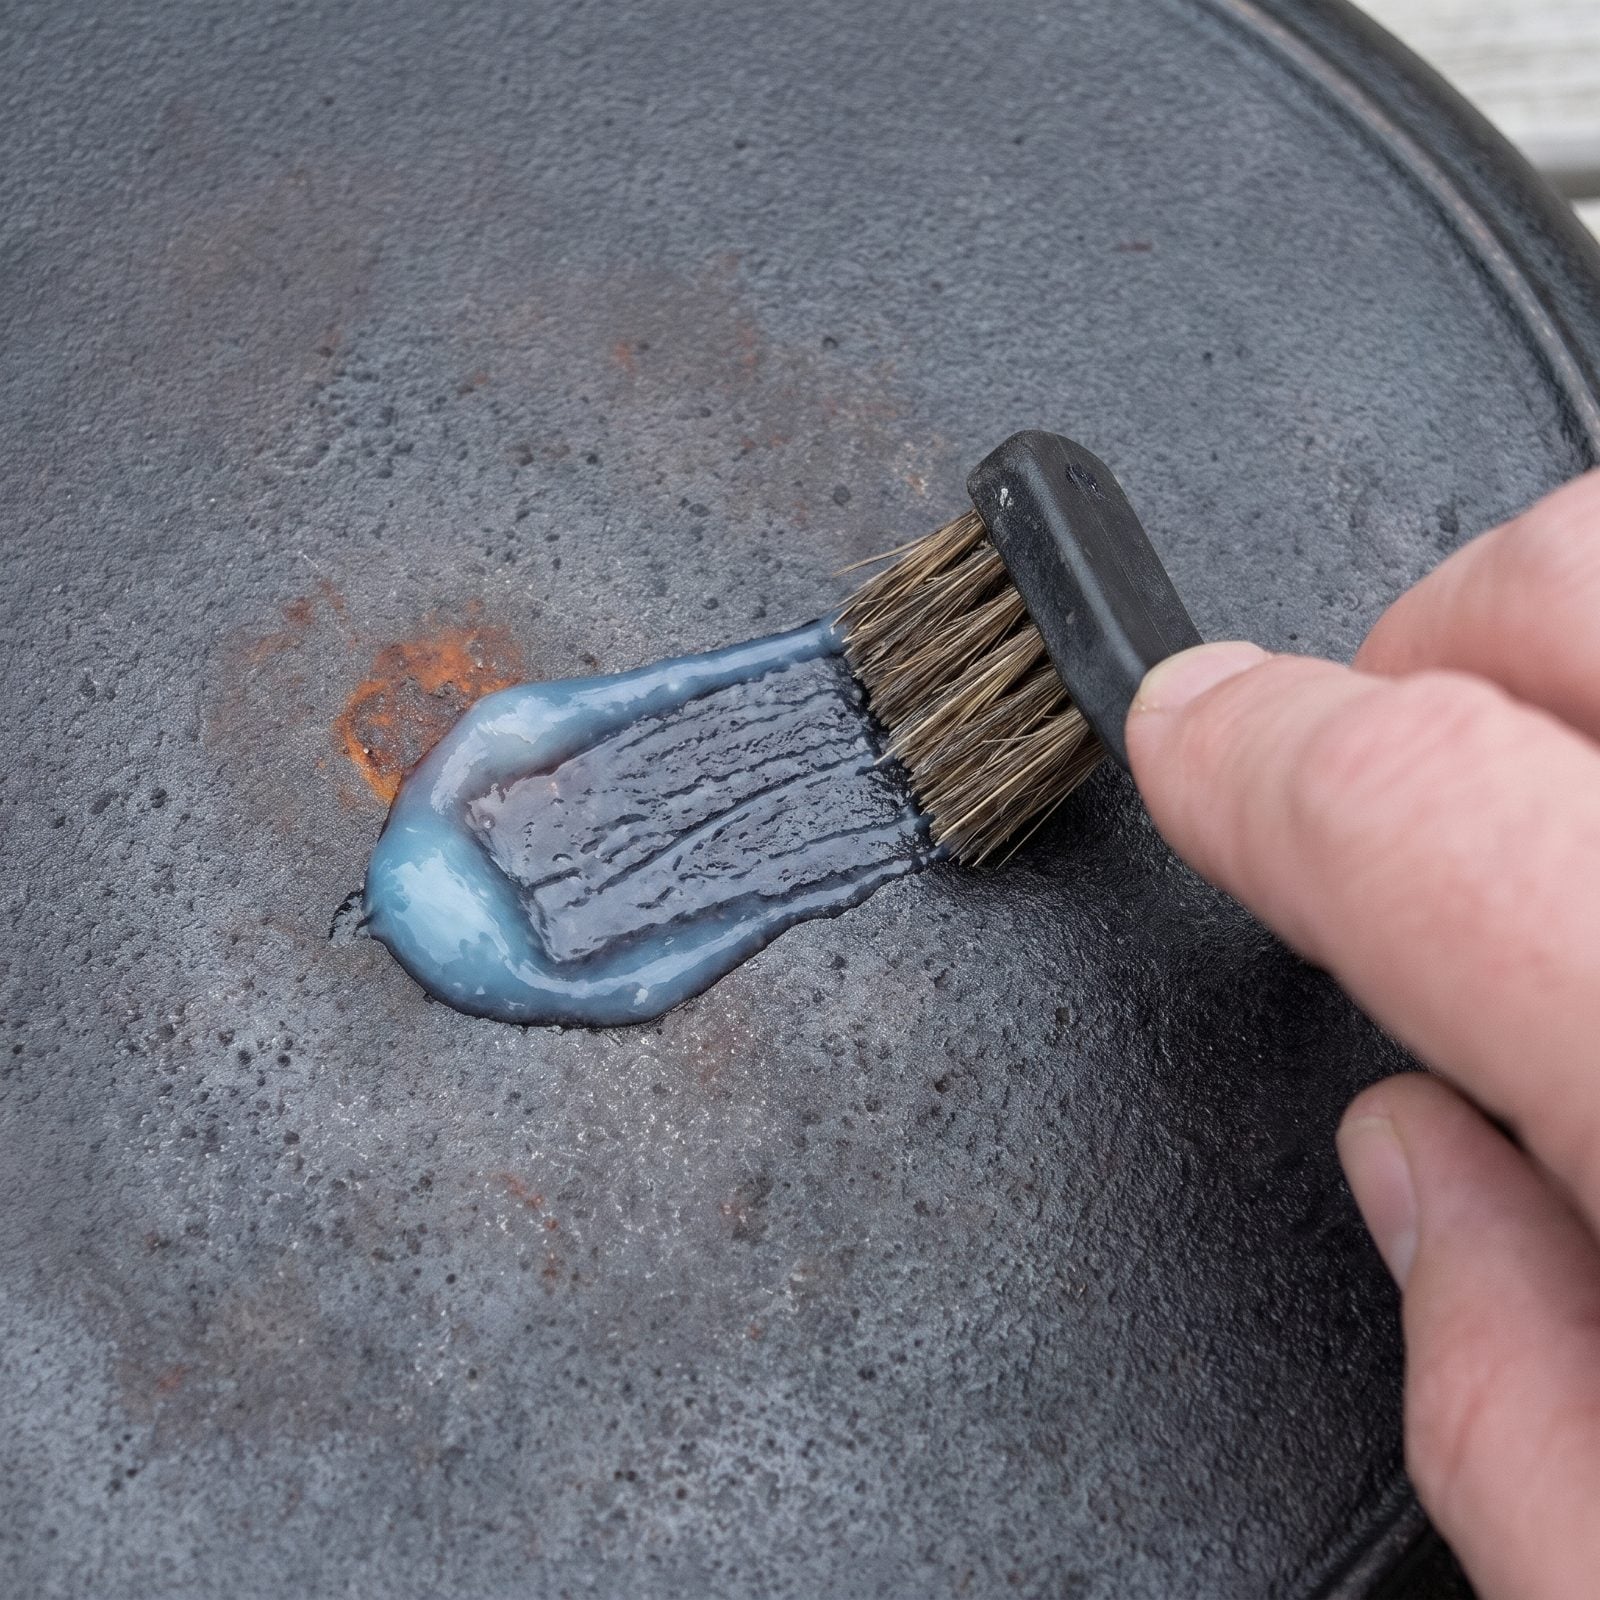
Phosphoric-acid rust converters are made for spot work, so slathering gel across a whole pan defeats the purpose. The acid strips any good seasoning it touches and leaves that grayish converted film everywhere you didn’t want it.
Use a small brush and treat only the rusted spot, keeping a clean edge. Wear gloves and eye protection — this is strong stuff and it bites skin. Once the rust has turned, wipe it, rinse, and reseason just that patch. The gel is a scalpel, not a paint roller. If the whole pan is rusted, you want a full soak instead.
11. Missing Rust Inside Pour Spouts and Handle Openings
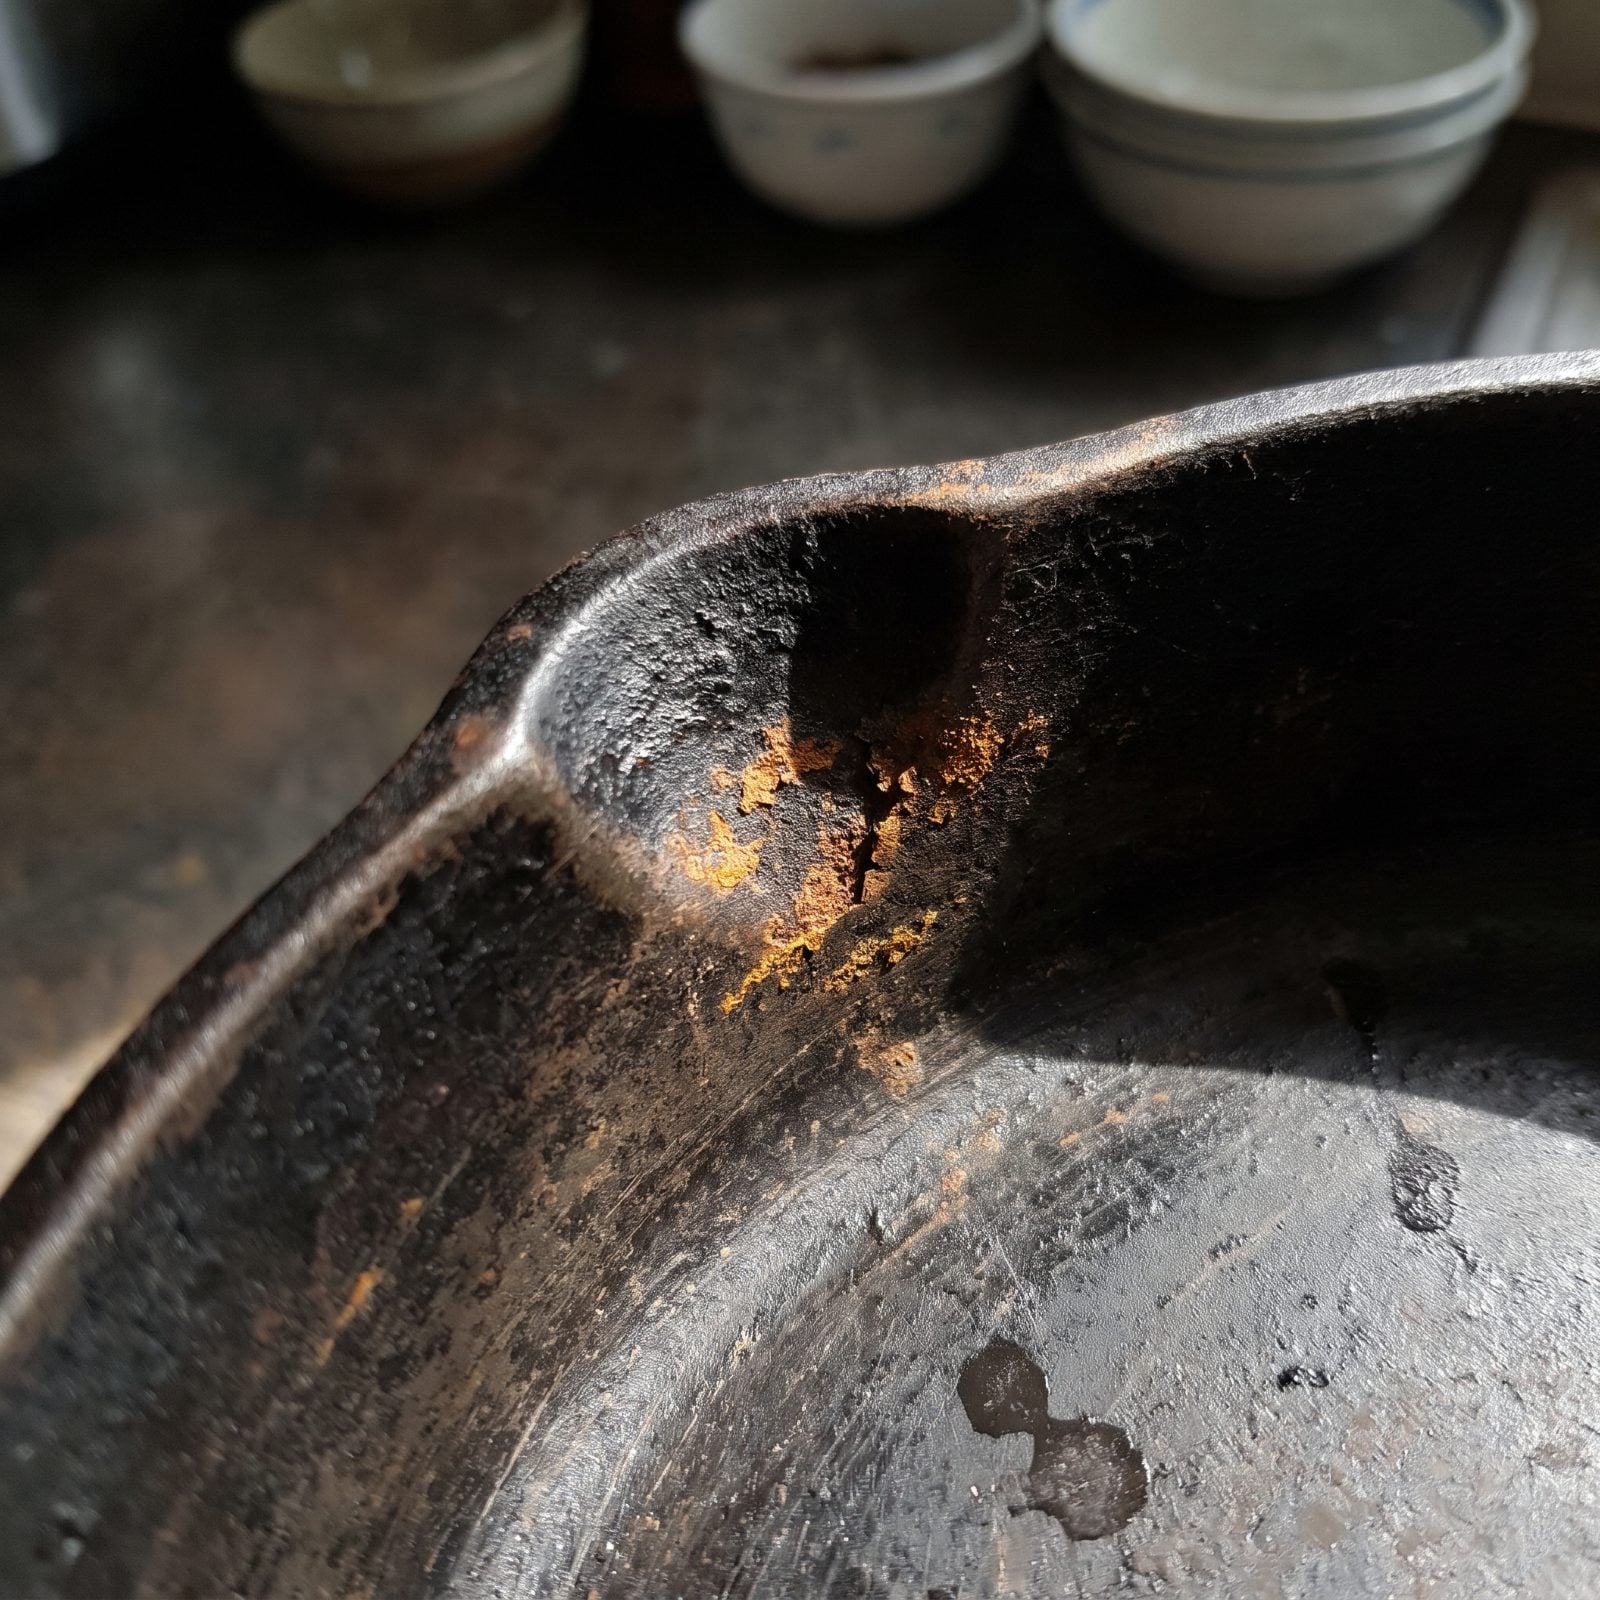
You derust the cooking surface, season it, hang it proudly — and three weeks later orange creep is bleeding out of the pour spout. The recessed spots, the lip under the spout, the inside of the handle hole: those collect moisture, and nobody cleans them.
Tilt the pan into good light and actually look inside every opening. A bottle brush, a cotton swab, a folded bit of sandpaper, whatever reaches. Hidden rust spreads. Dry those spots thoroughly after rinsing and give them the same oil the rest of the pan gets. Miss them and your careful work undoes itself from the inside out.
10. Failing to Neutralize and Rinse After an Acid Treatment
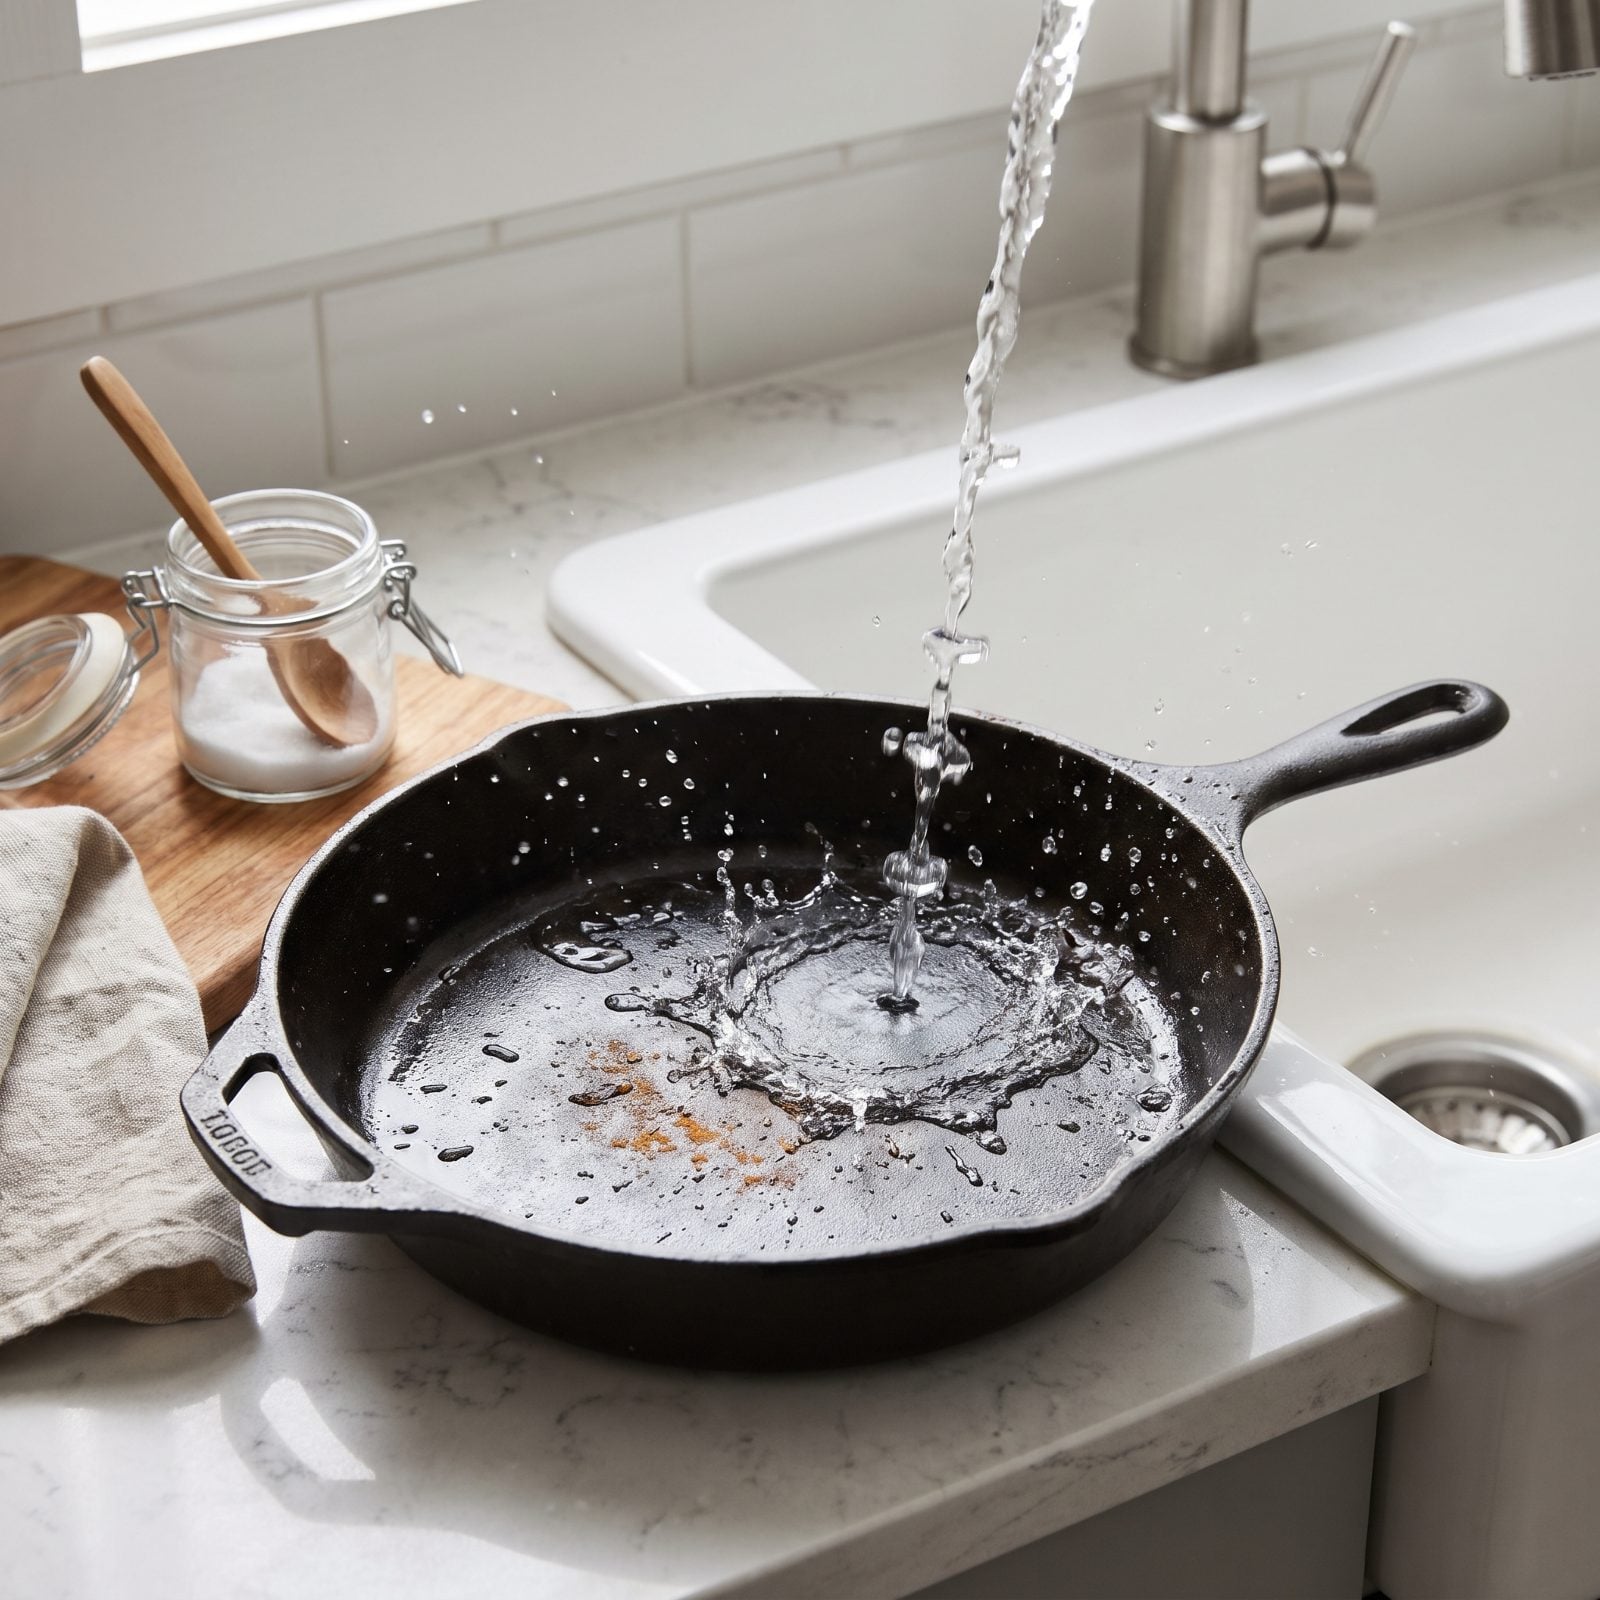
The rust is gone, the pan looks great, and you set it on the counter to admire it. Big mistake. Leftover acid keeps working on the iron, and a pan left wet will flash-rust in minutes. You can literally watch the orange haze bloom across the black cooking surface.
Neutralize first. A rinse with baking soda in water stops the acid, then rinse clear and dry the pan immediately and completely — heat it on a low burner if you need to. The window between a clean pan and fresh rust is painfully short.
Get oil on it fast. Freshly acid-treated, rinsed iron is at its most vulnerable, even under black seasoning, so move straight into seasoning.
9. Letting Clean Cast Iron Air-Dry Instead of Heat-Drying It
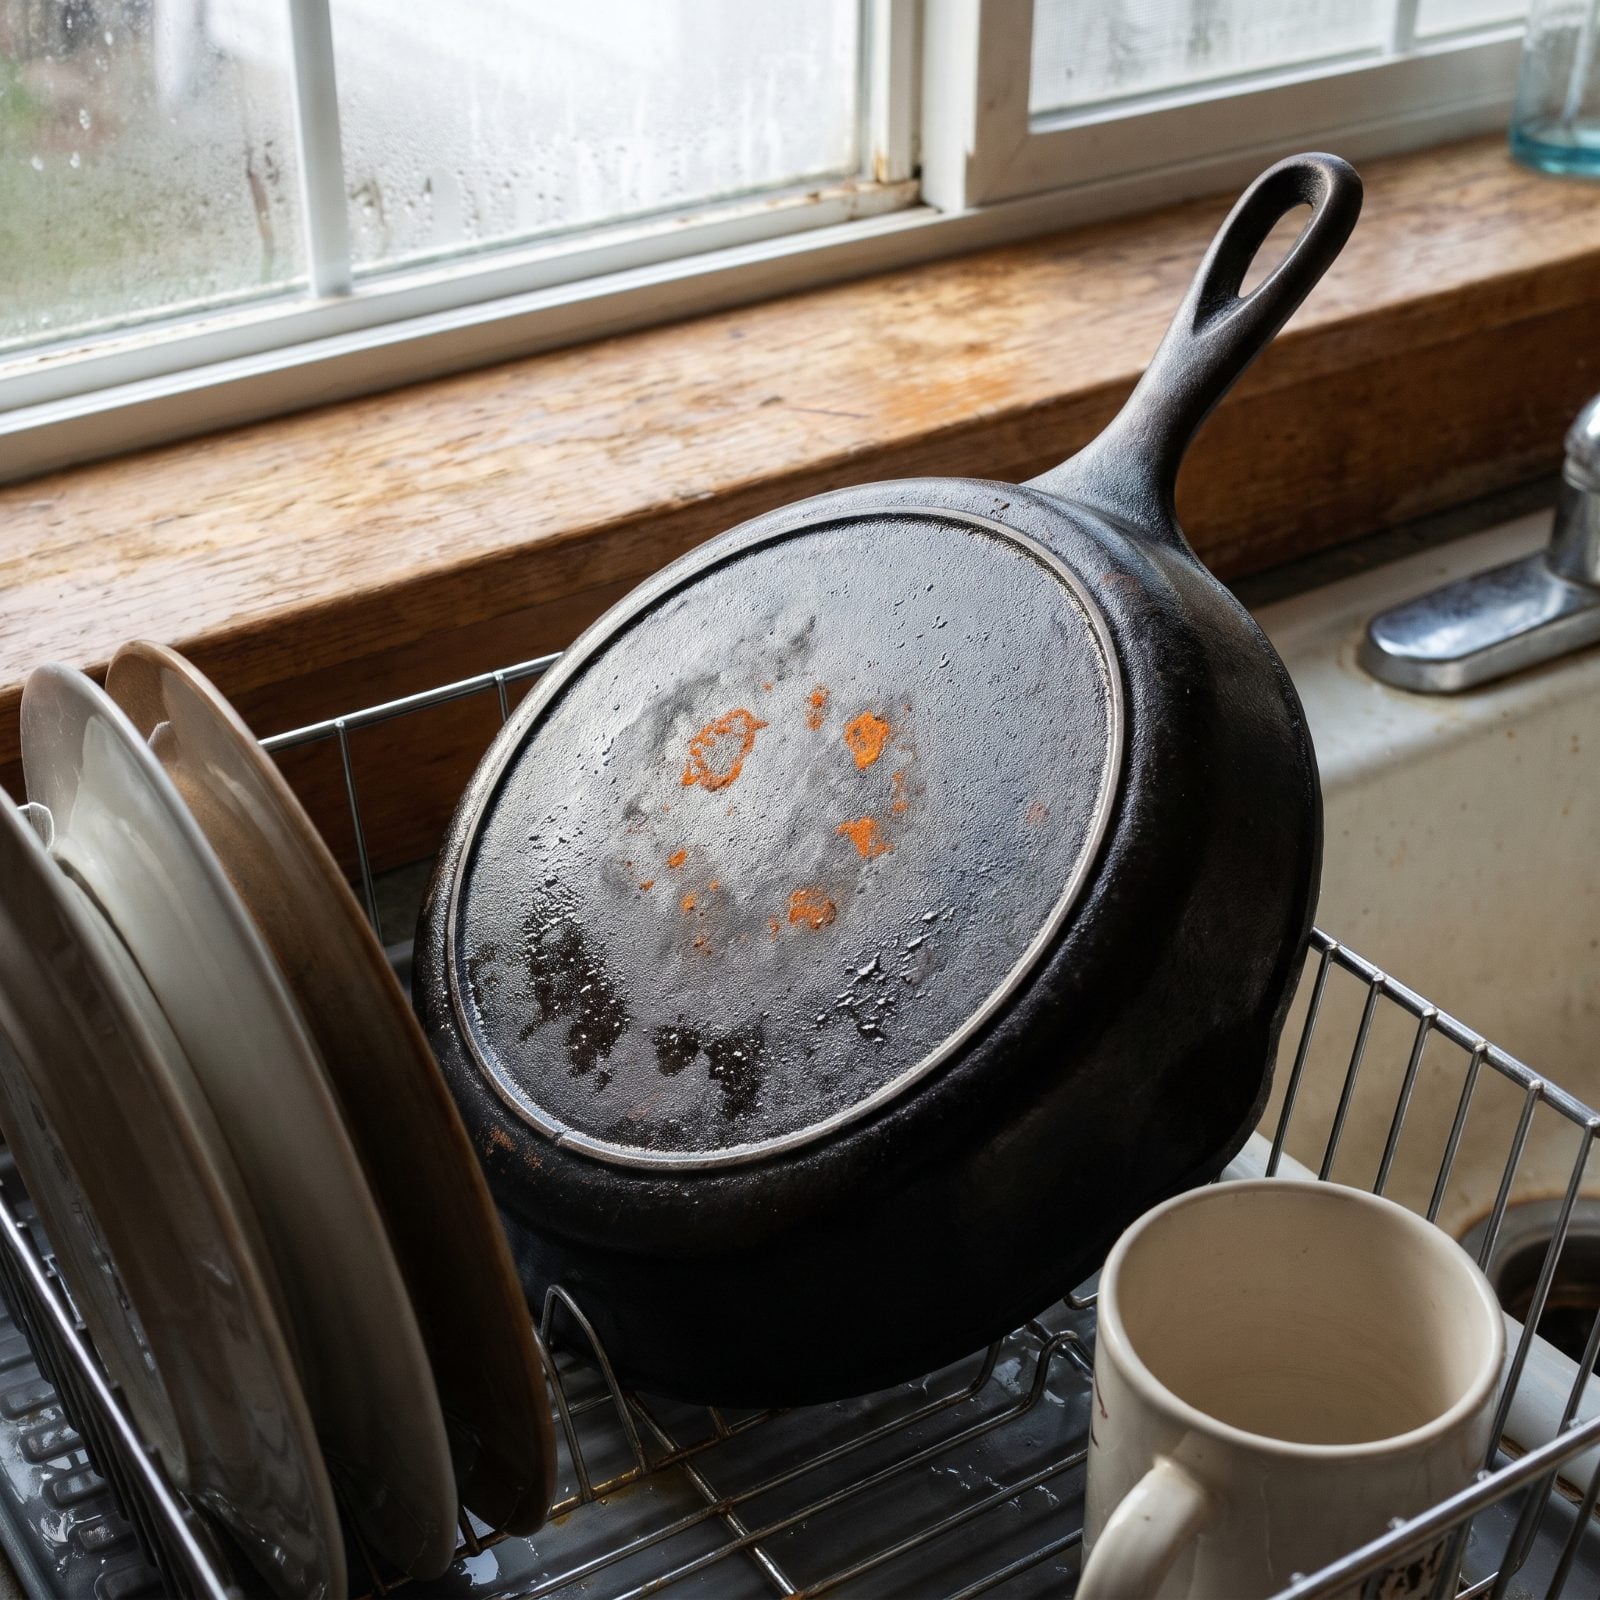
You wash the pan, set it in the dish rack, walk away, and by morning there’s a faint orange bloom staining the bottom. Cast iron holds water in every pore, and a towel never gets all of it.
Air-drying is how rust gets a second life right after you scrubbed the first one off. The fix takes about ninety seconds. Wipe the pan down, then set it over medium heat until the last of the moisture steams off and the surface goes dull and dry to the touch. Pull it while it’s warm, not scorching.
8. Ignoring Orange Flash Rust That an Oiled Cloth Can Remove
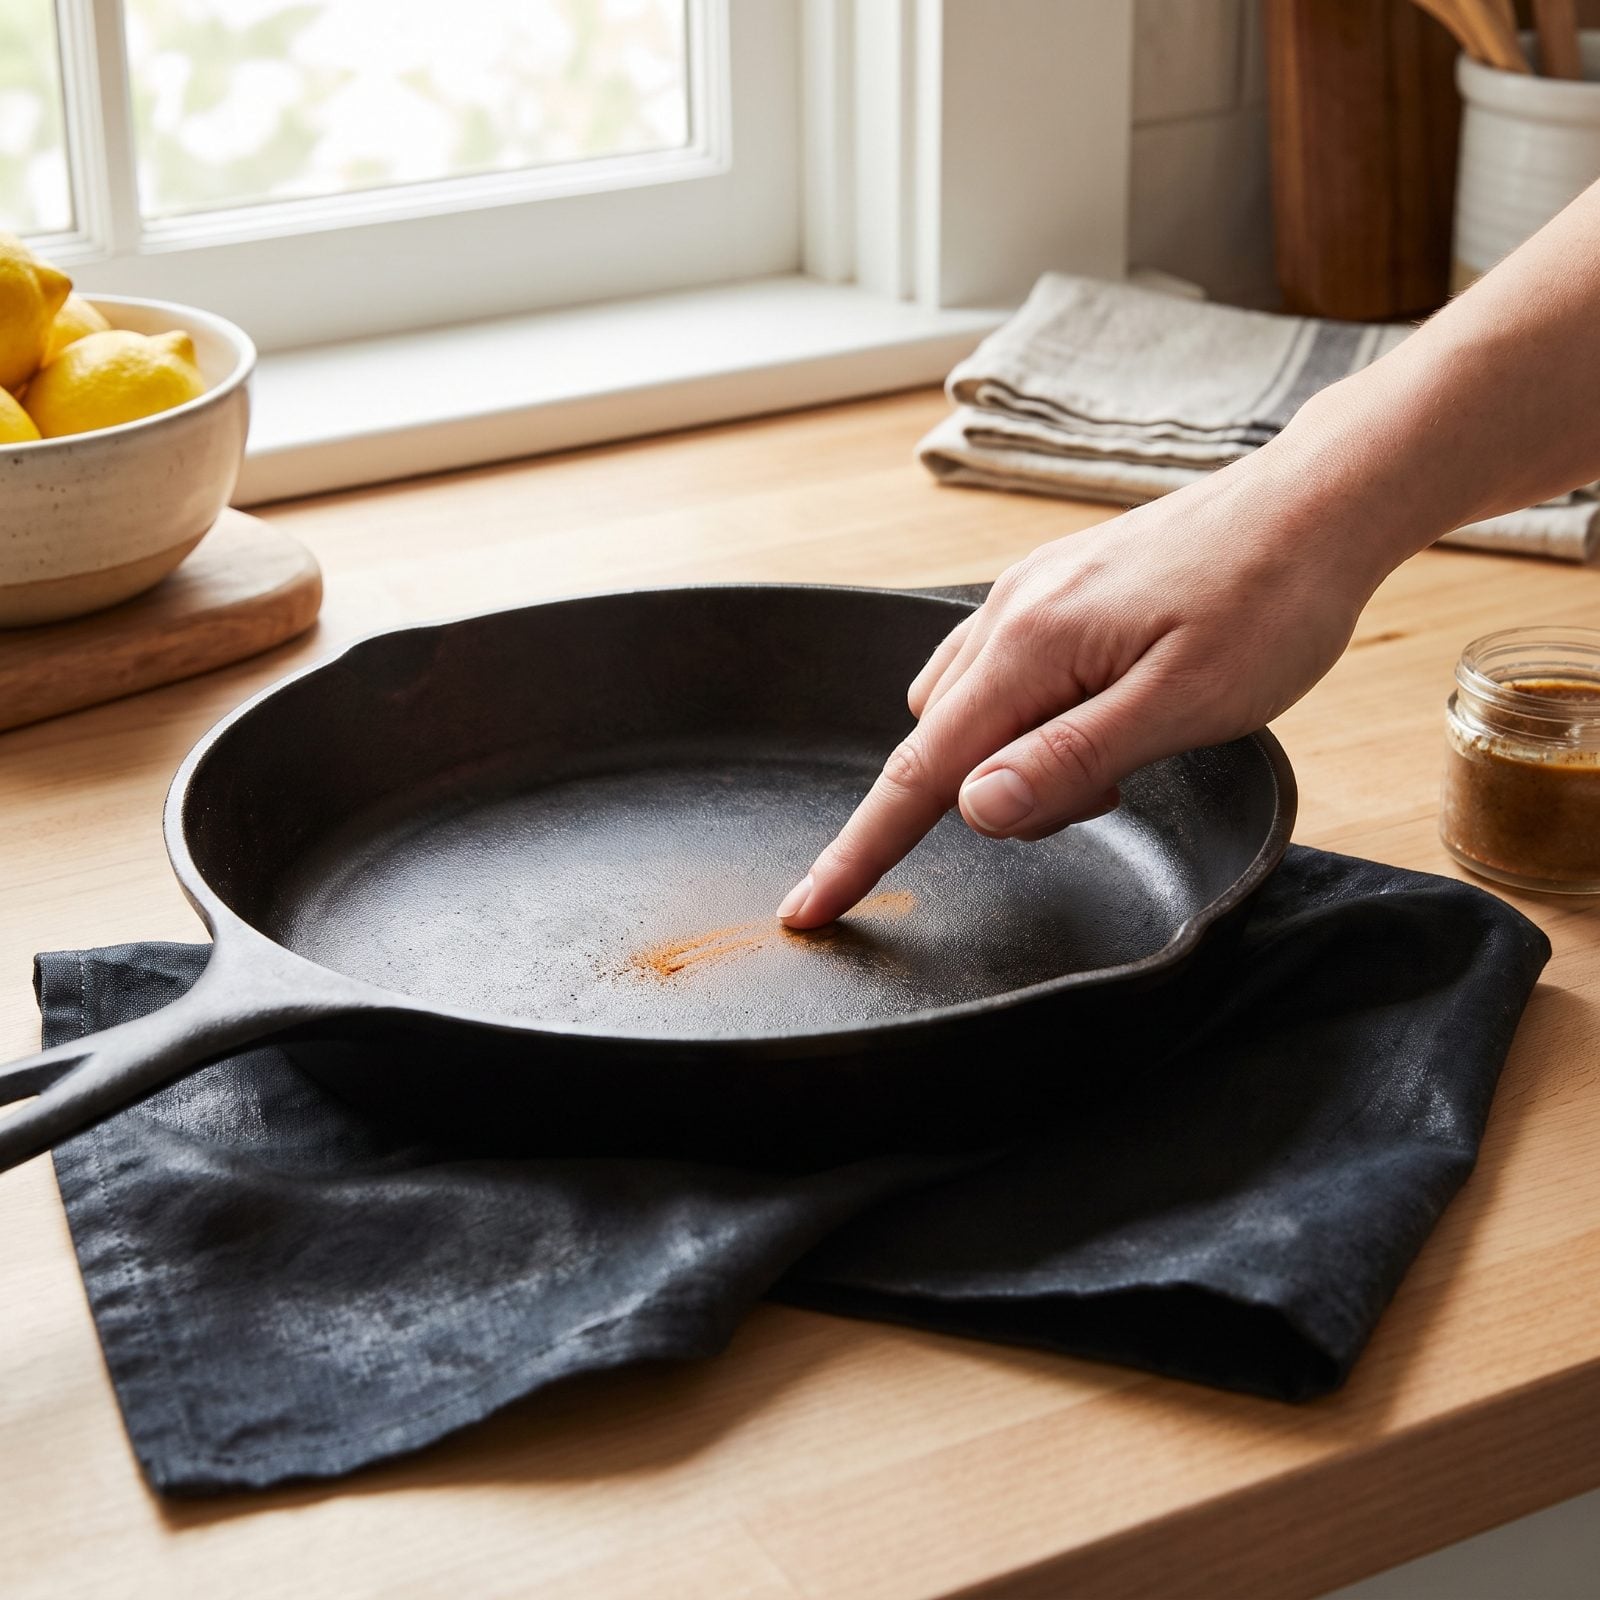
Not all rust is a project. That light orange dust appearing overnight, the kind that comes off on your finger, is flash rust. People see any orange at all and reach for vinegar baths and wire wheels, which is like replacing a whole tire over a nail you could have patched in five minutes.
Flash rust sits on the surface and nowhere else. Put a few drops of neutral oil on a rag and rub the spot in small circles. The orange lifts onto the cloth, the iron goes gray-dark, and you’re back to cooking. Save the heavy artillery for crusted, pitted, flaking rust that an oiled cloth won’t touch.
7. Applying Seasoning Oil to a Cold Pan
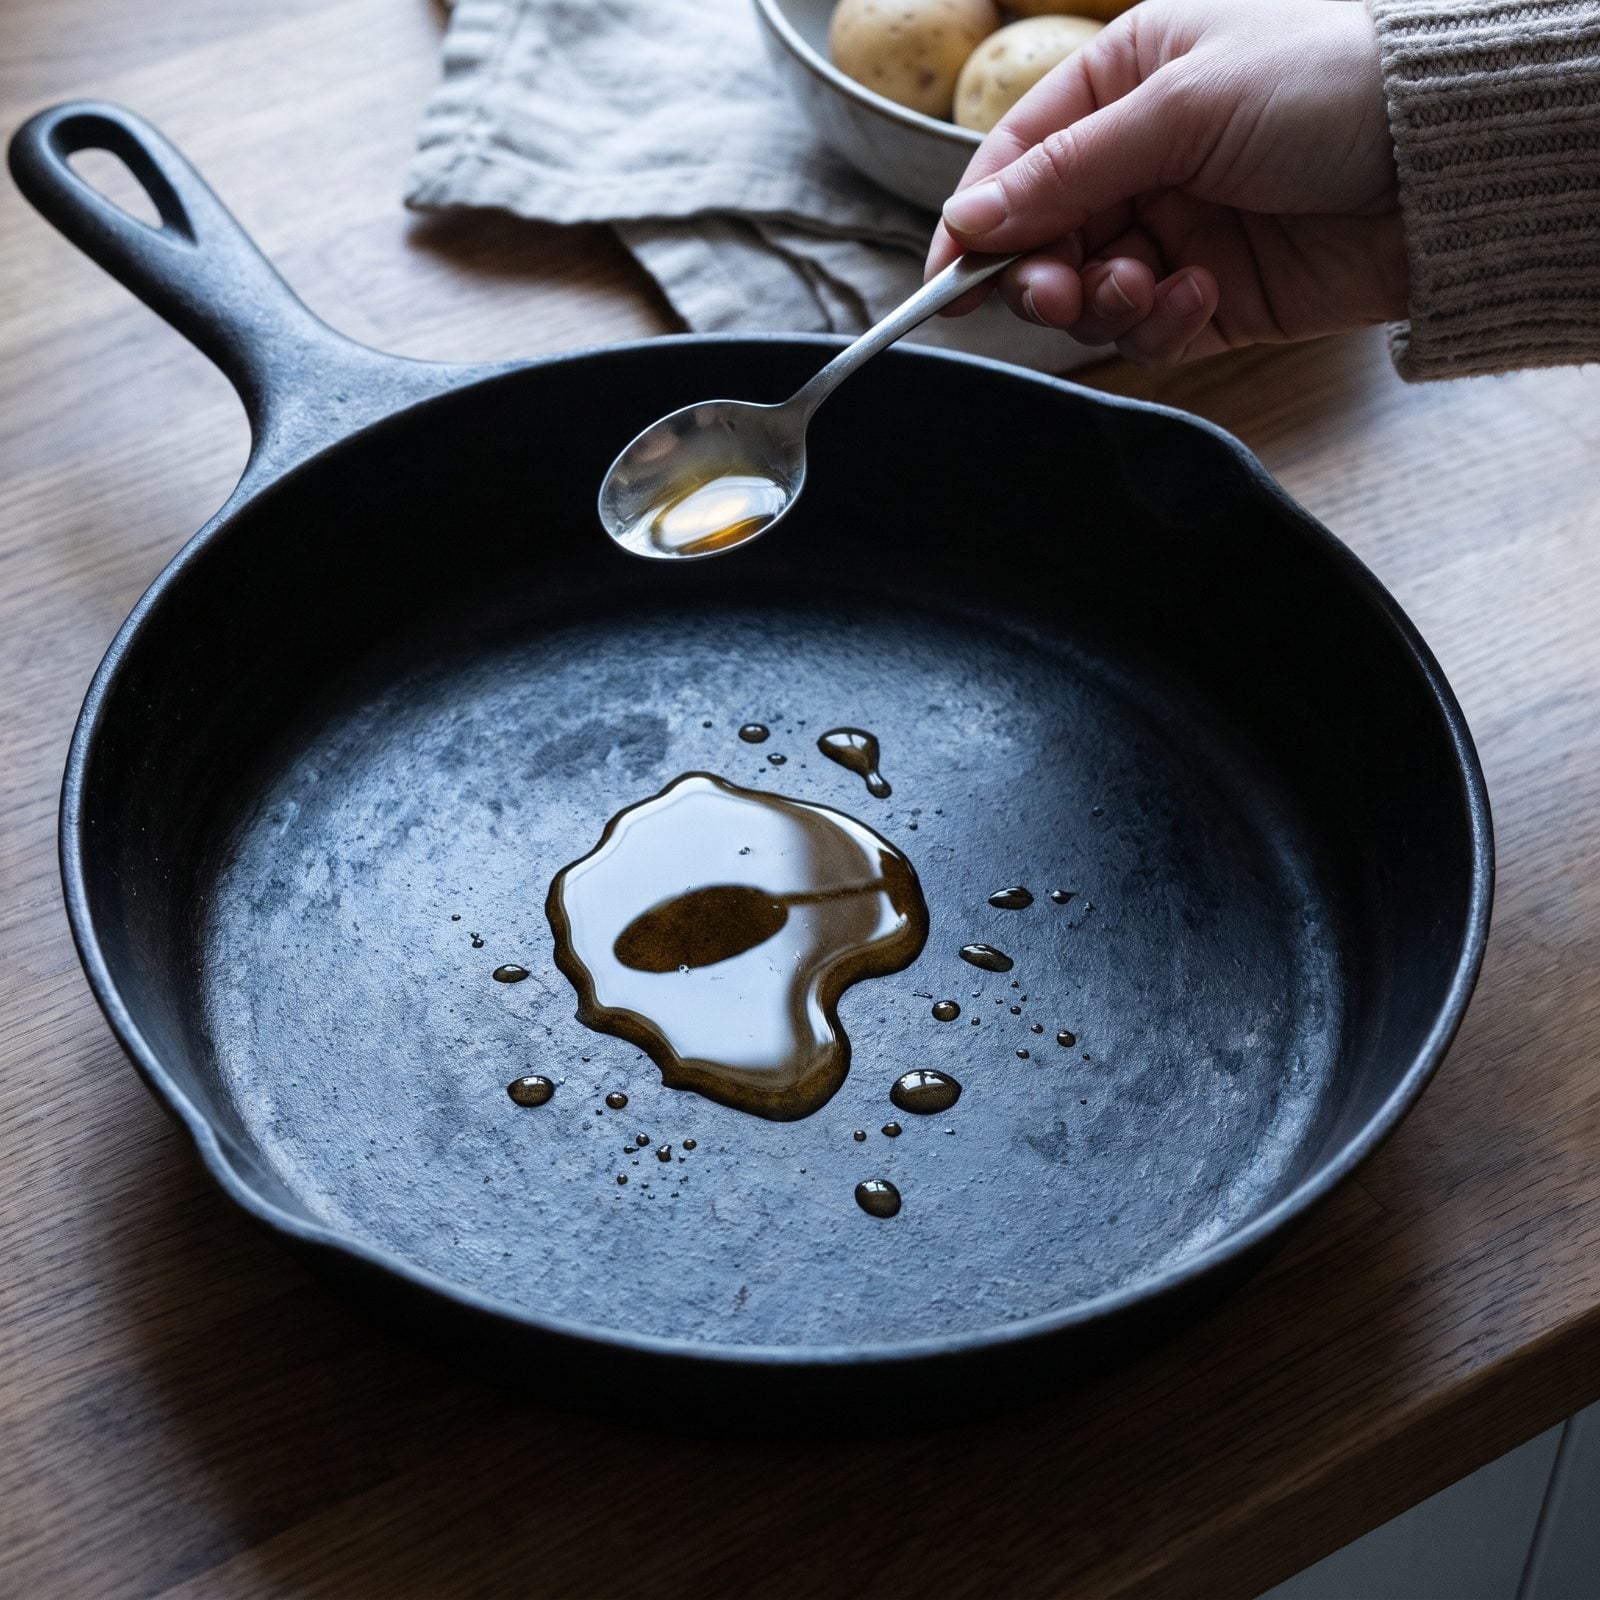
Cold iron and oil don’t want anything to do with each other. On a cold pan the oil just pools and smears, sitting on top instead of sinking into the open pores of the metal.
Warm the stripped pan first — ten minutes in a 200-degree oven, or a couple of minutes on the stove, until it’s hot enough that the oil thins and spreads the second it touches down. Warm metal pulls the oil in, which is the entire point of seasoning: bonding the oil to the iron rather than leaving it to sit on the surface like a smear.
6. Choosing an Oil That Leaves a Soft, Sticky Finish
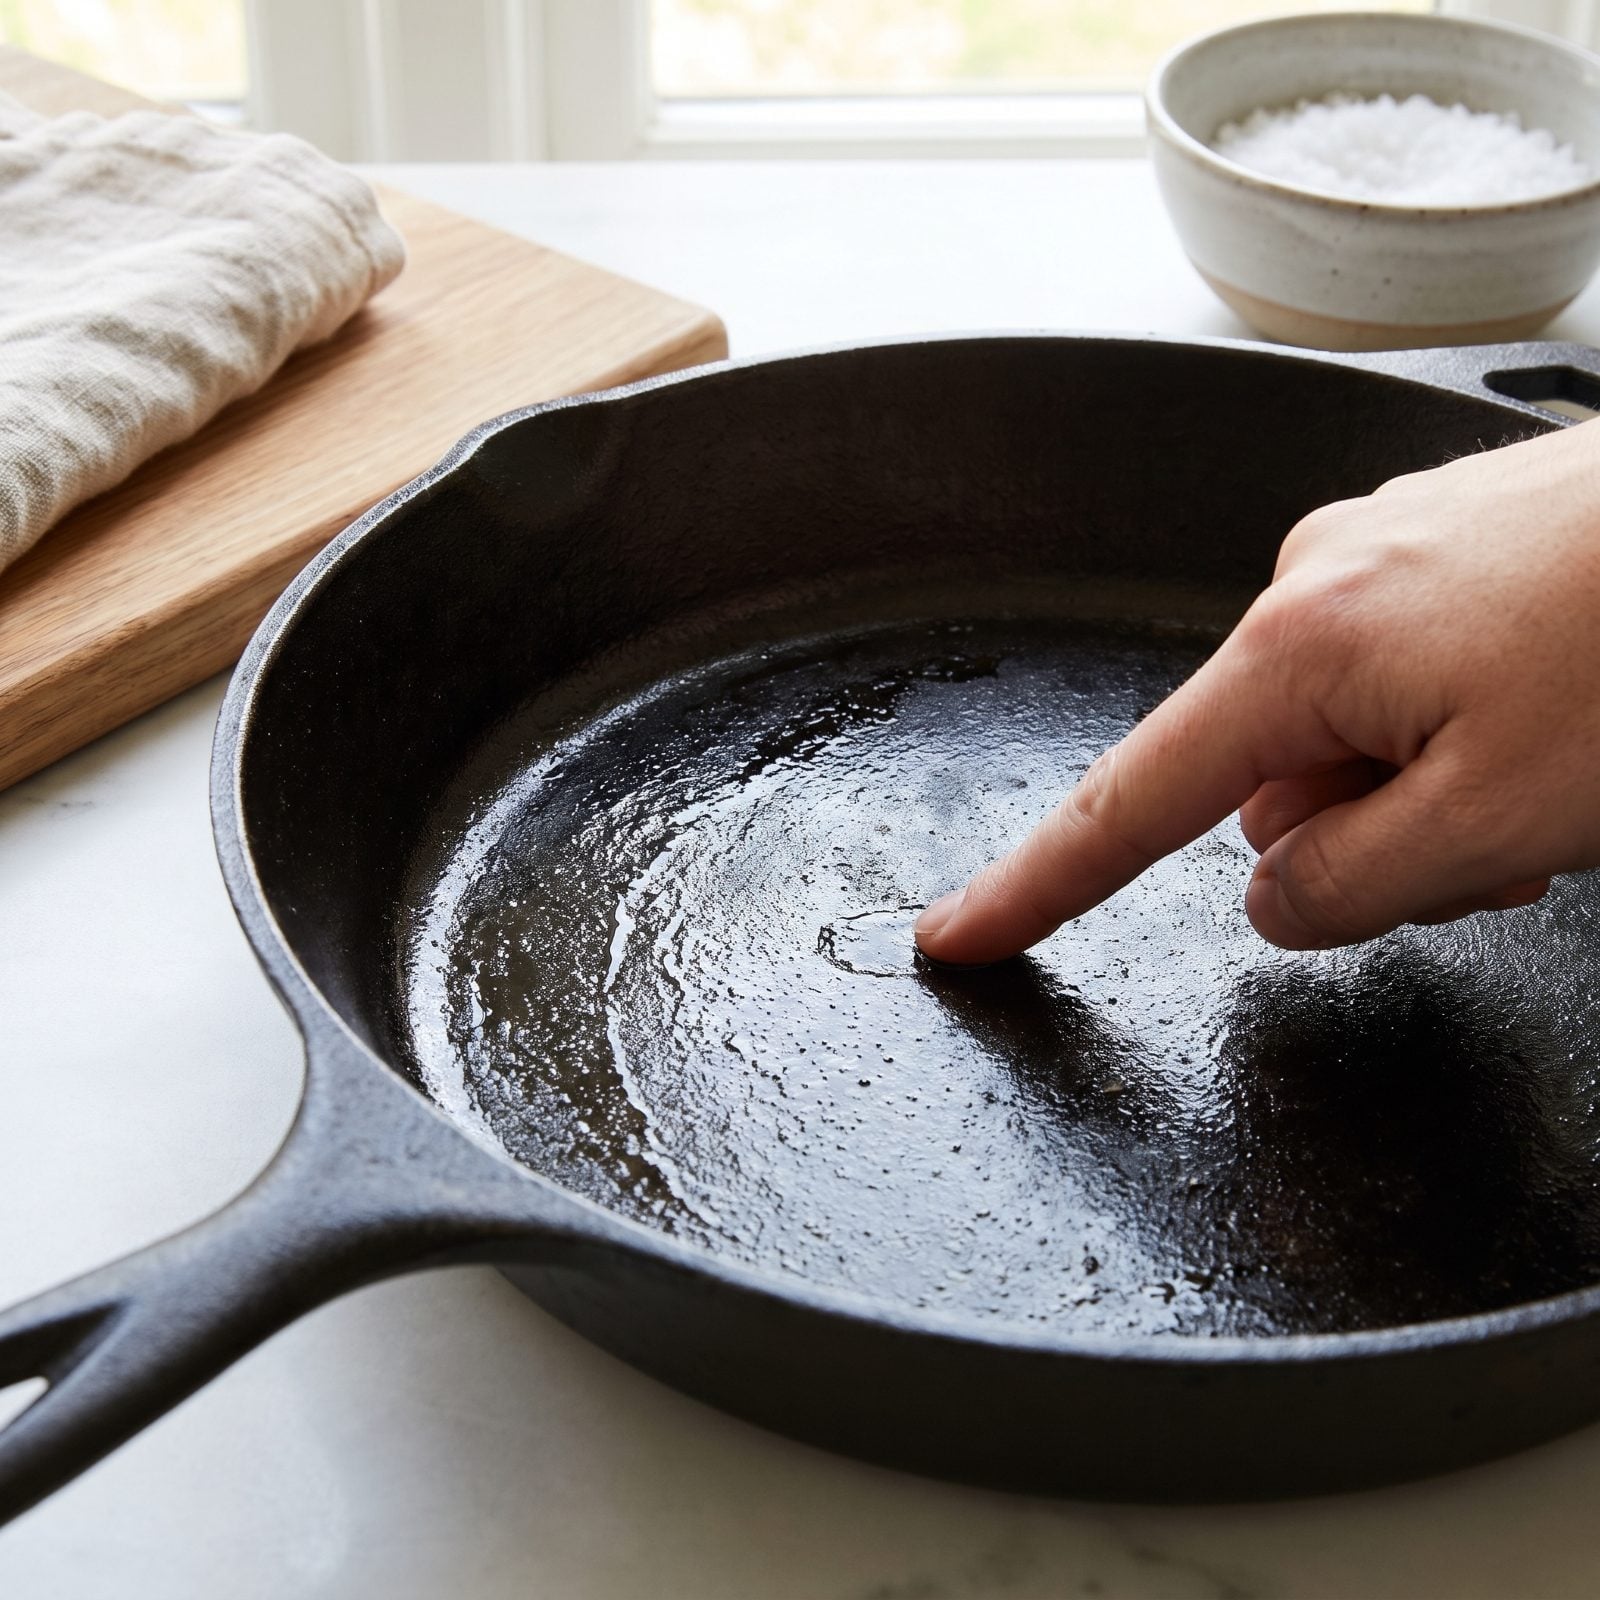
Ever run a finger across a pan you seasoned a week ago and feel something tacky, almost gummy? That’s the oil’s fault, not yours. Oils high in saturated fat, including some popular shortenings, never fully harden. They stay soft and grab at everything.
You want an oil that polymerizes into a hard, dry film. Neutral high-smoke-point oils like grapeseed, canola, or refined avocado cure clean. Flaxseed builds a glassy finish fast but can flake if you layer it too thick, so I treat it as a maybe rather than a default. Thin and hard beats thick and sticky every time.
5. Pouring On Too Much Oil Instead of Wiping the Pan Almost Dry
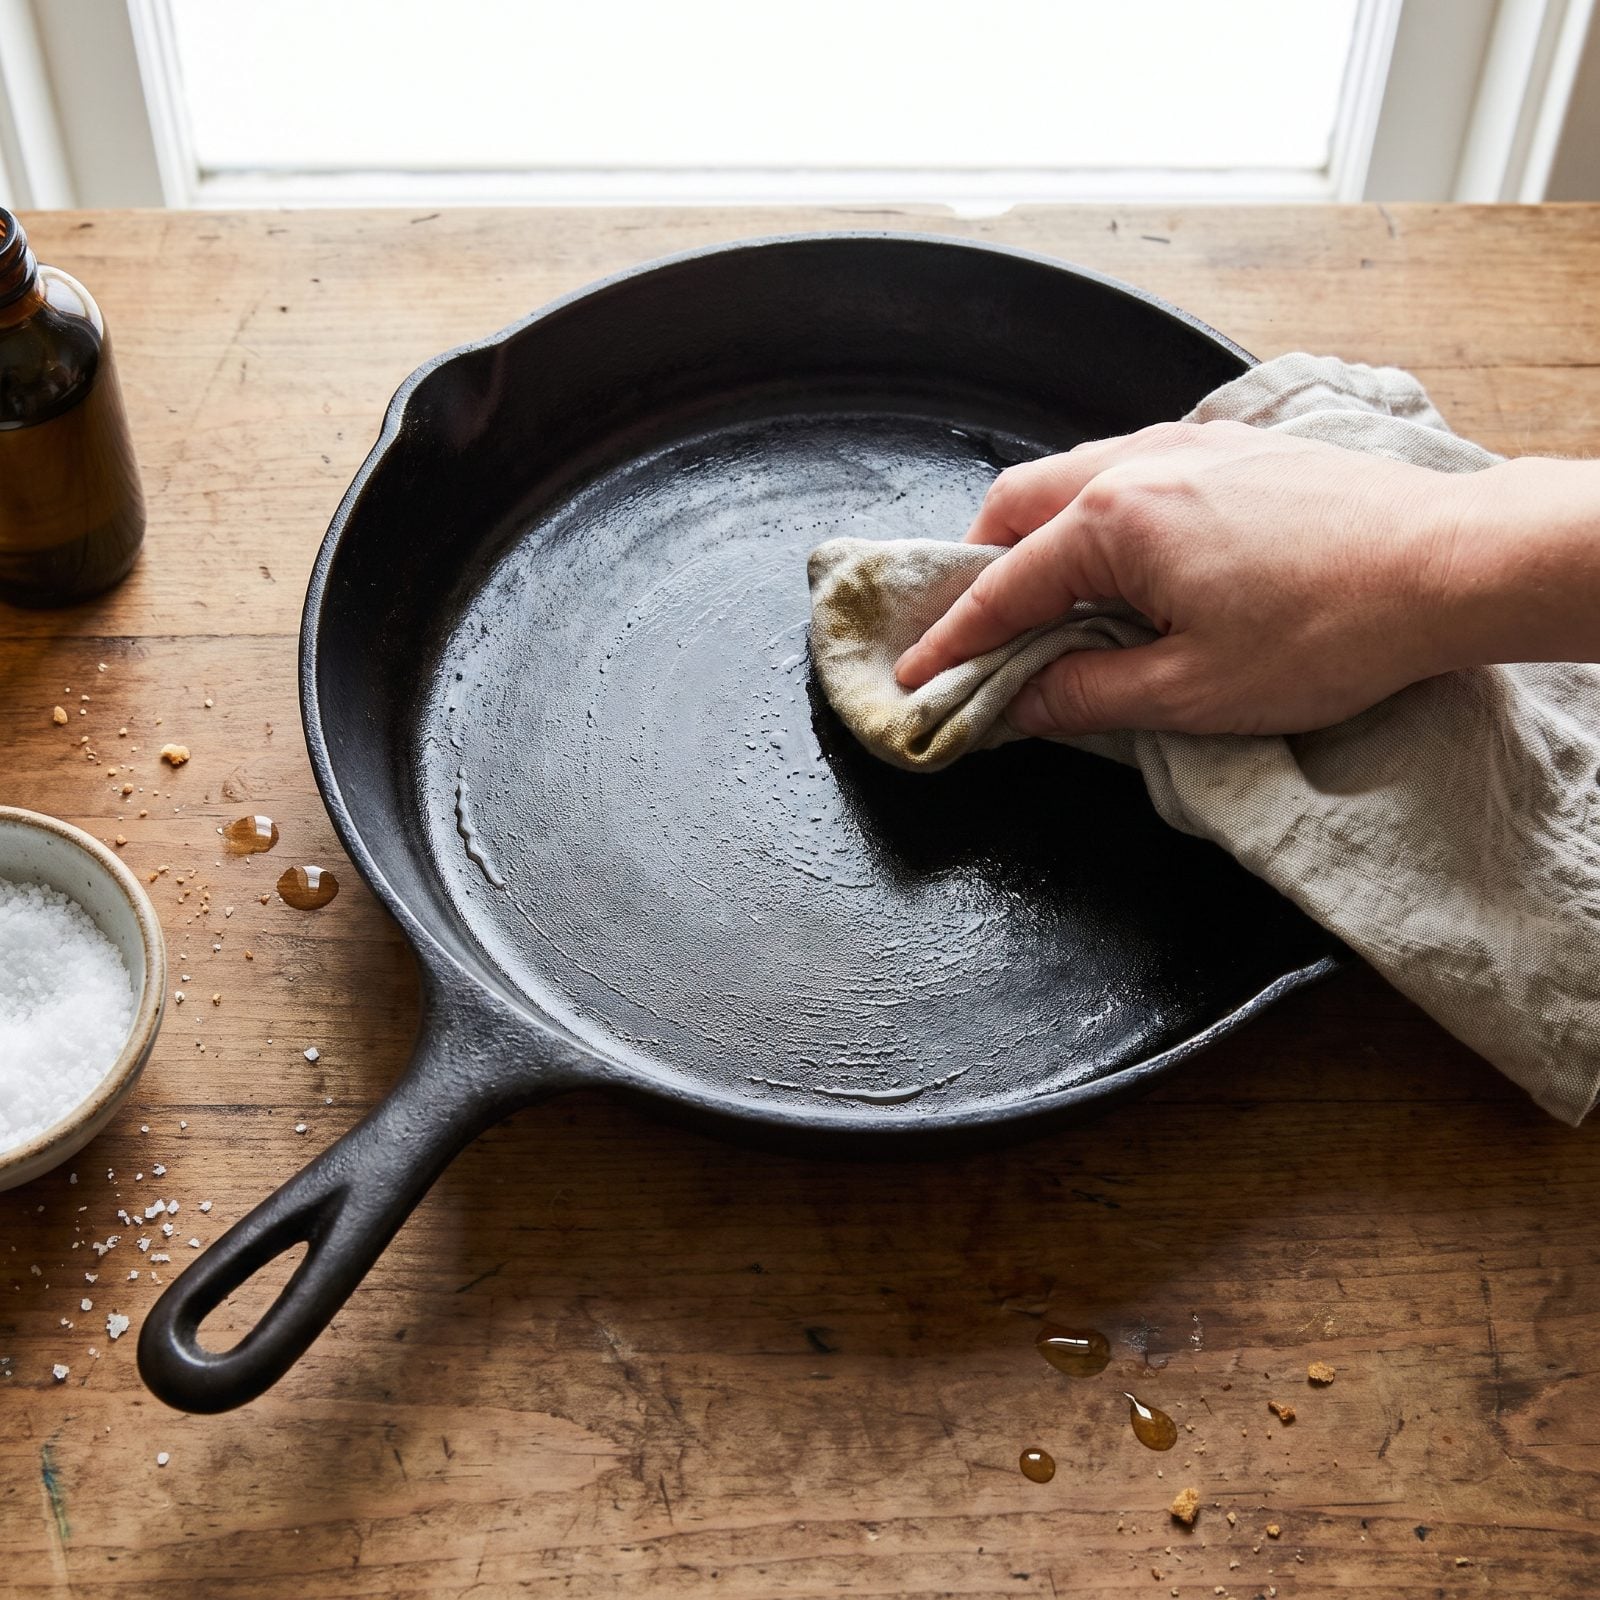
The instinct makes sense. More oil, better seasoning. But a thick coat in the oven is how you get those awful sticky brown dimples that pool, drip, and harden into a crust you’ll end up scrubbing right back off.
Apply the oil, then wipe it off like you made a mistake. Really. Buff the pan with a clean towel until it looks almost bare — just a whisper of sheen left behind. The layer that actually bonds is microscopically thin, and anything you can see pooling is already too much.
4. Seasoning Only the Cooking Surface
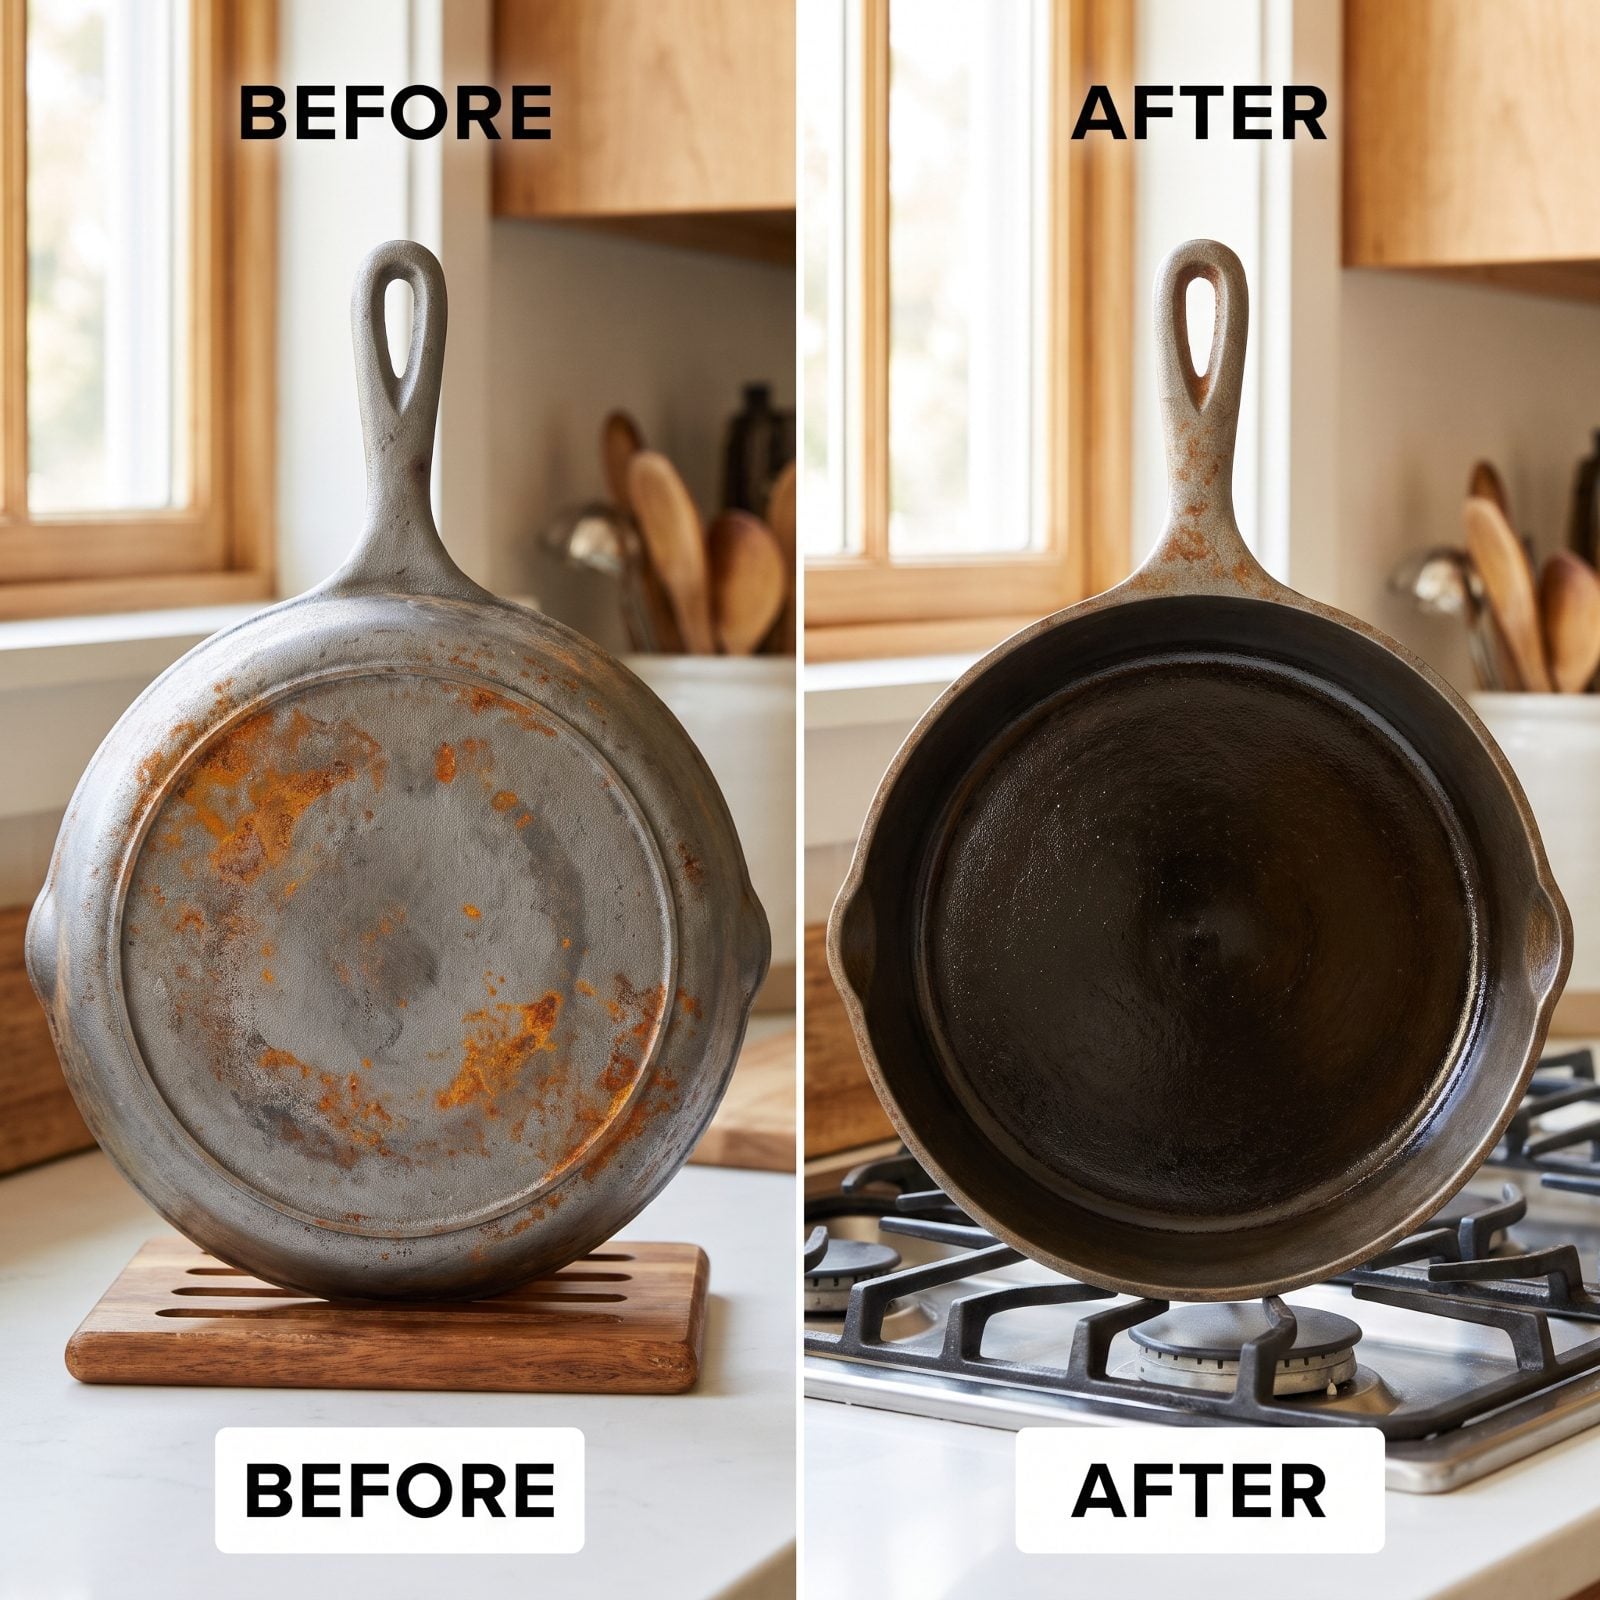
You seasoned the inside beautifully and left the rest bare. Rust doesn’t care which side you cook on. The underside, the handle, the outer walls, the pour spouts — those raw spots are the first places orange creeps back in.
Coat the whole pan. Oil it top to bottom, buff every inch, then bake it upside down so nothing pools inside. A fully sealed pan gives moisture nowhere to hide, and that’s why a well-kept skillet outlives the person who bought it.
3. Baking Below the Oil’s Effective Polymerization Temperature
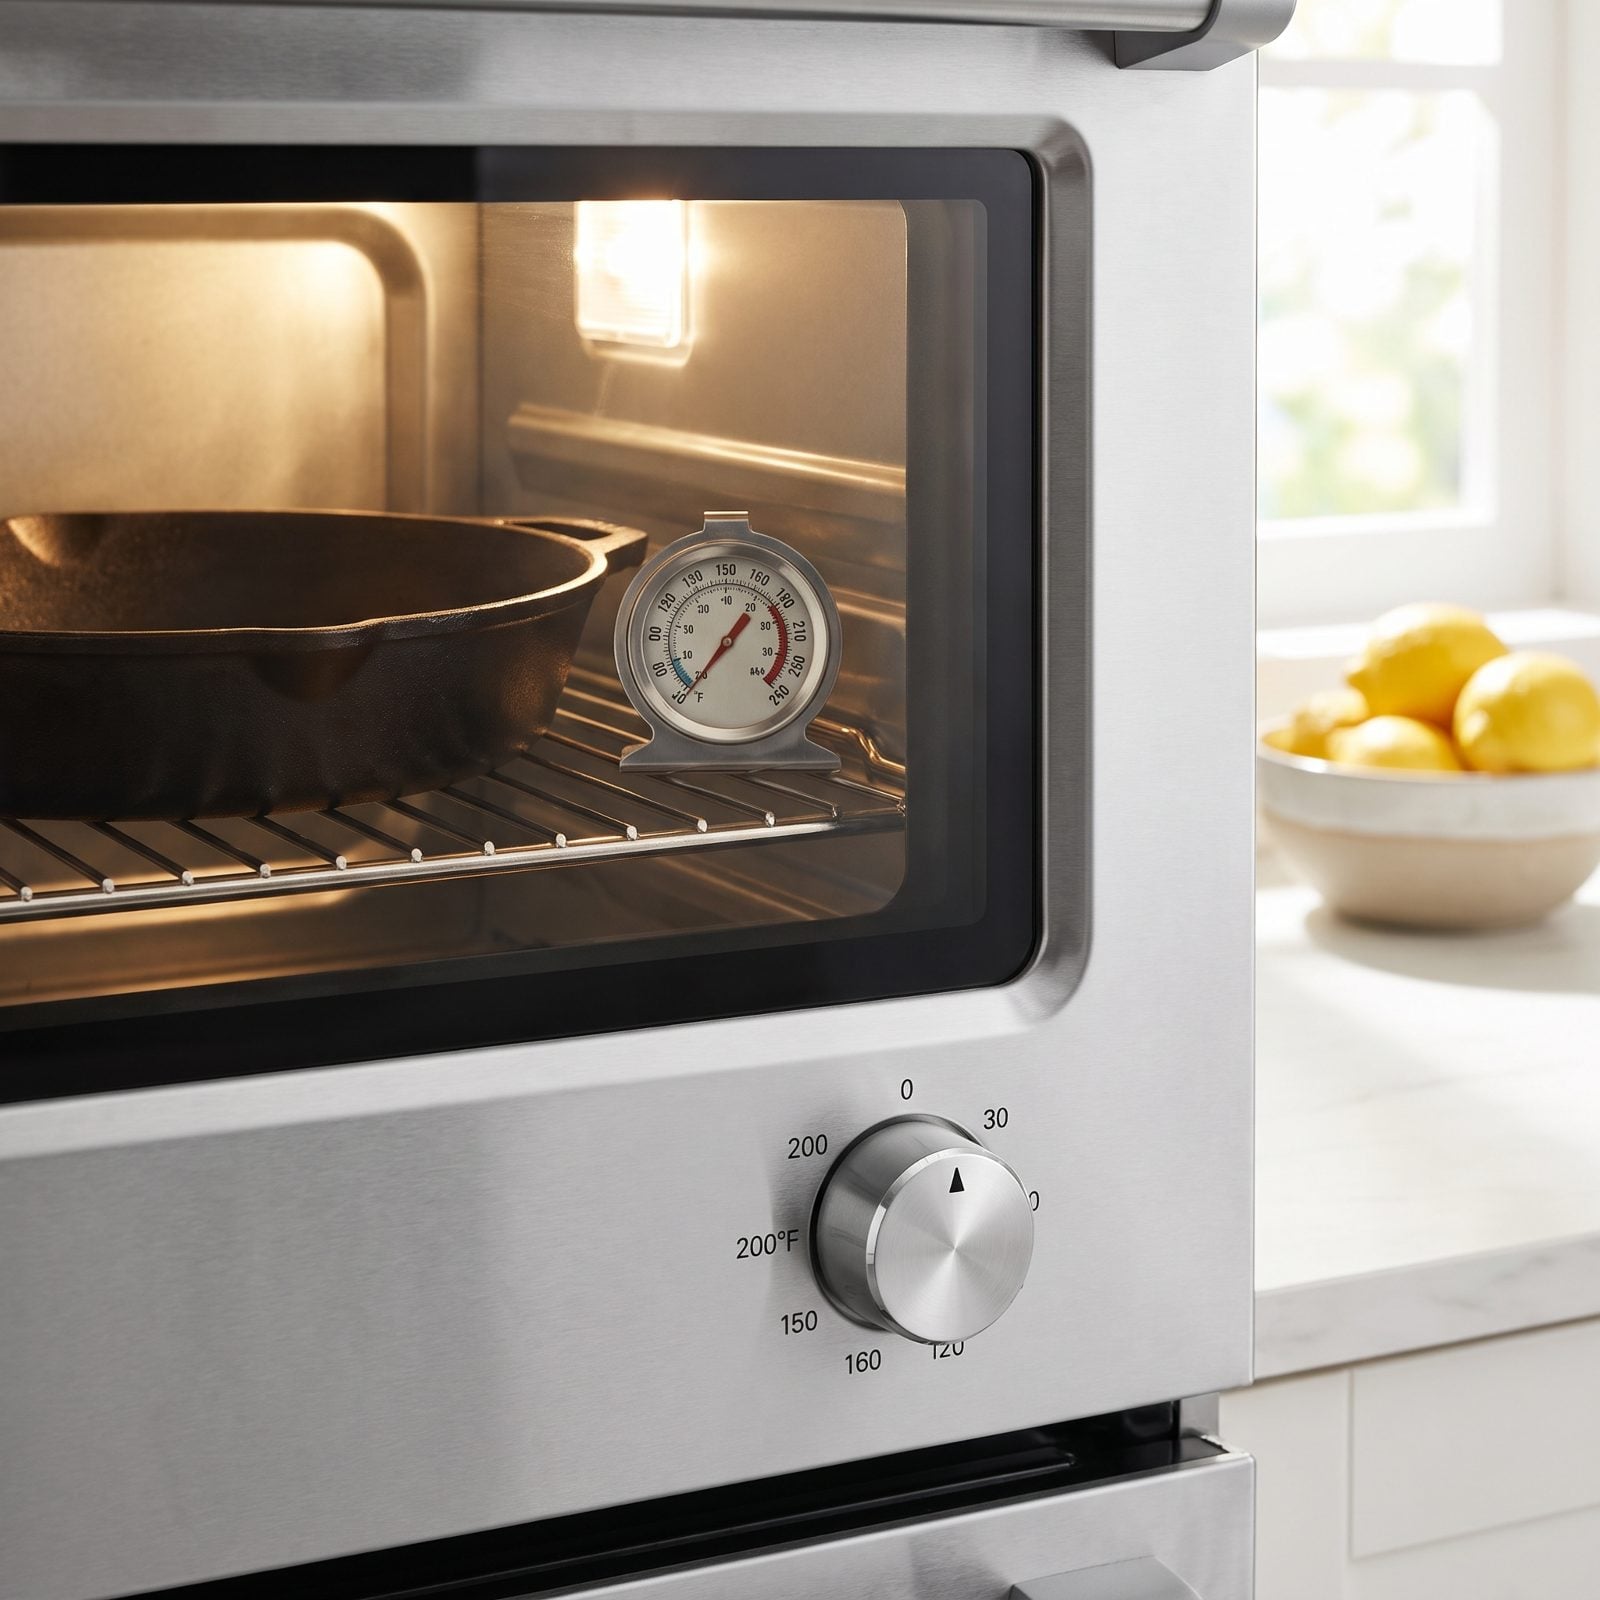
Low and slow works for brisket. Not for seasoning. Bake an oiled pan at 300 degrees and the oil never gets hot enough to link up into a hard film. What you get is a soft, half-cured layer that smears the first time it meets a hot steak.
Oil needs real heat to polymerize. Most neutral oils want somewhere around 450 to 500 degrees — past their smoke point, where the chemistry actually happens. Bake an hour at that heat, then let the pan cool inside the oven.
2. Expecting One Thick Seasoning Coat to Replace Several Thin Ones
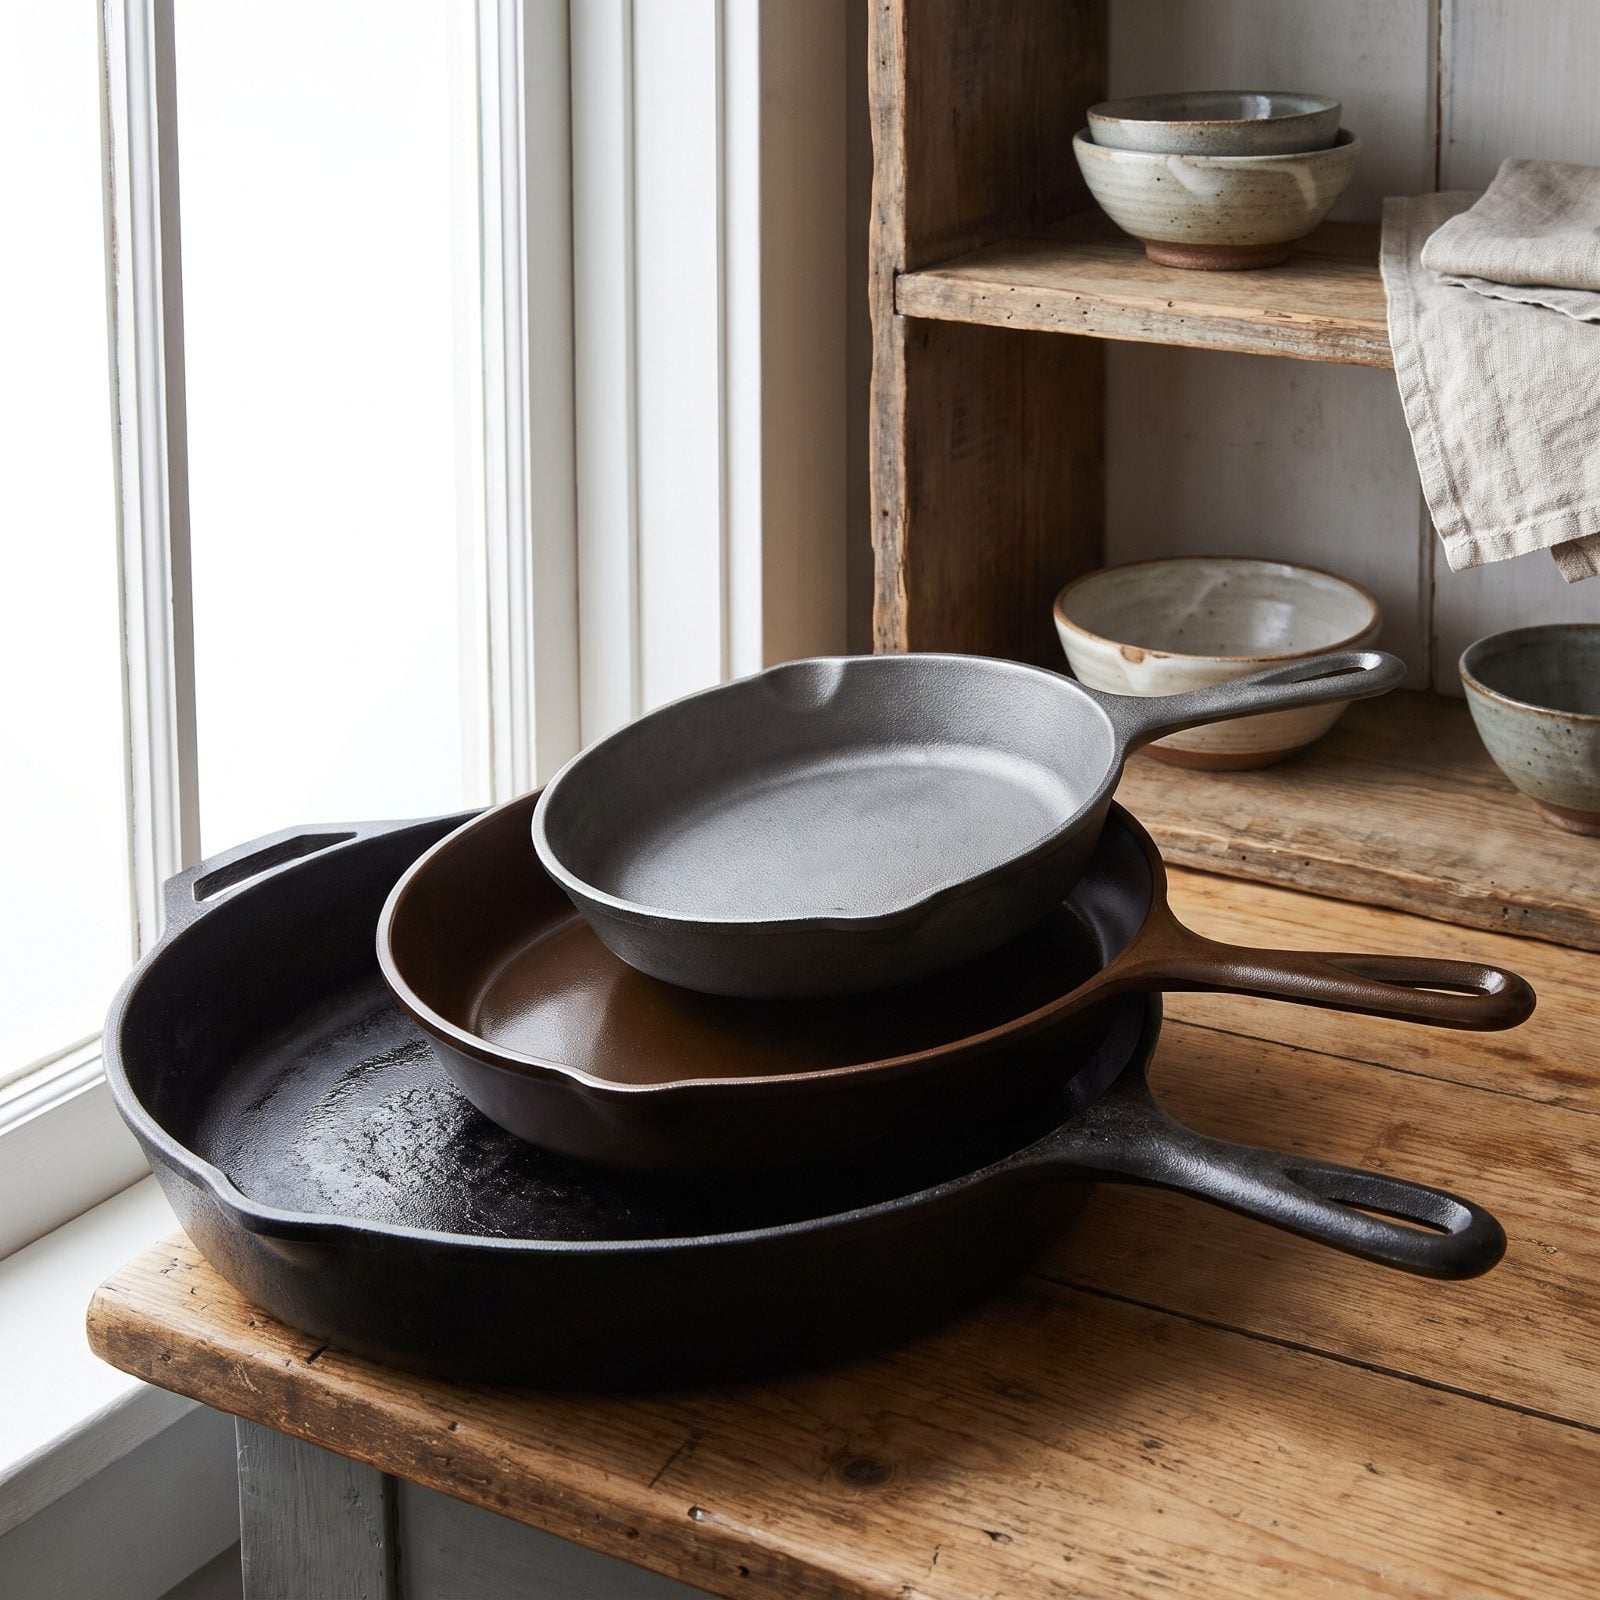
There’s no shortcut to a deep black finish. People try to brute-force it with one heavy coat and end up with the sticky mess from a few items back. Seasoning builds in layers, like coats of varnish on wood.
Plan on three to six thin rounds: oil, wipe nearly dry, bake, cool, repeat. Each pass lays down a microscopic film that grips the one before it, and the pan climbs from dull gray to bronze to true black over an afternoon. The patience pays off for decades.
1. Storing a Dutch Oven With Its Lid Sealed Shut
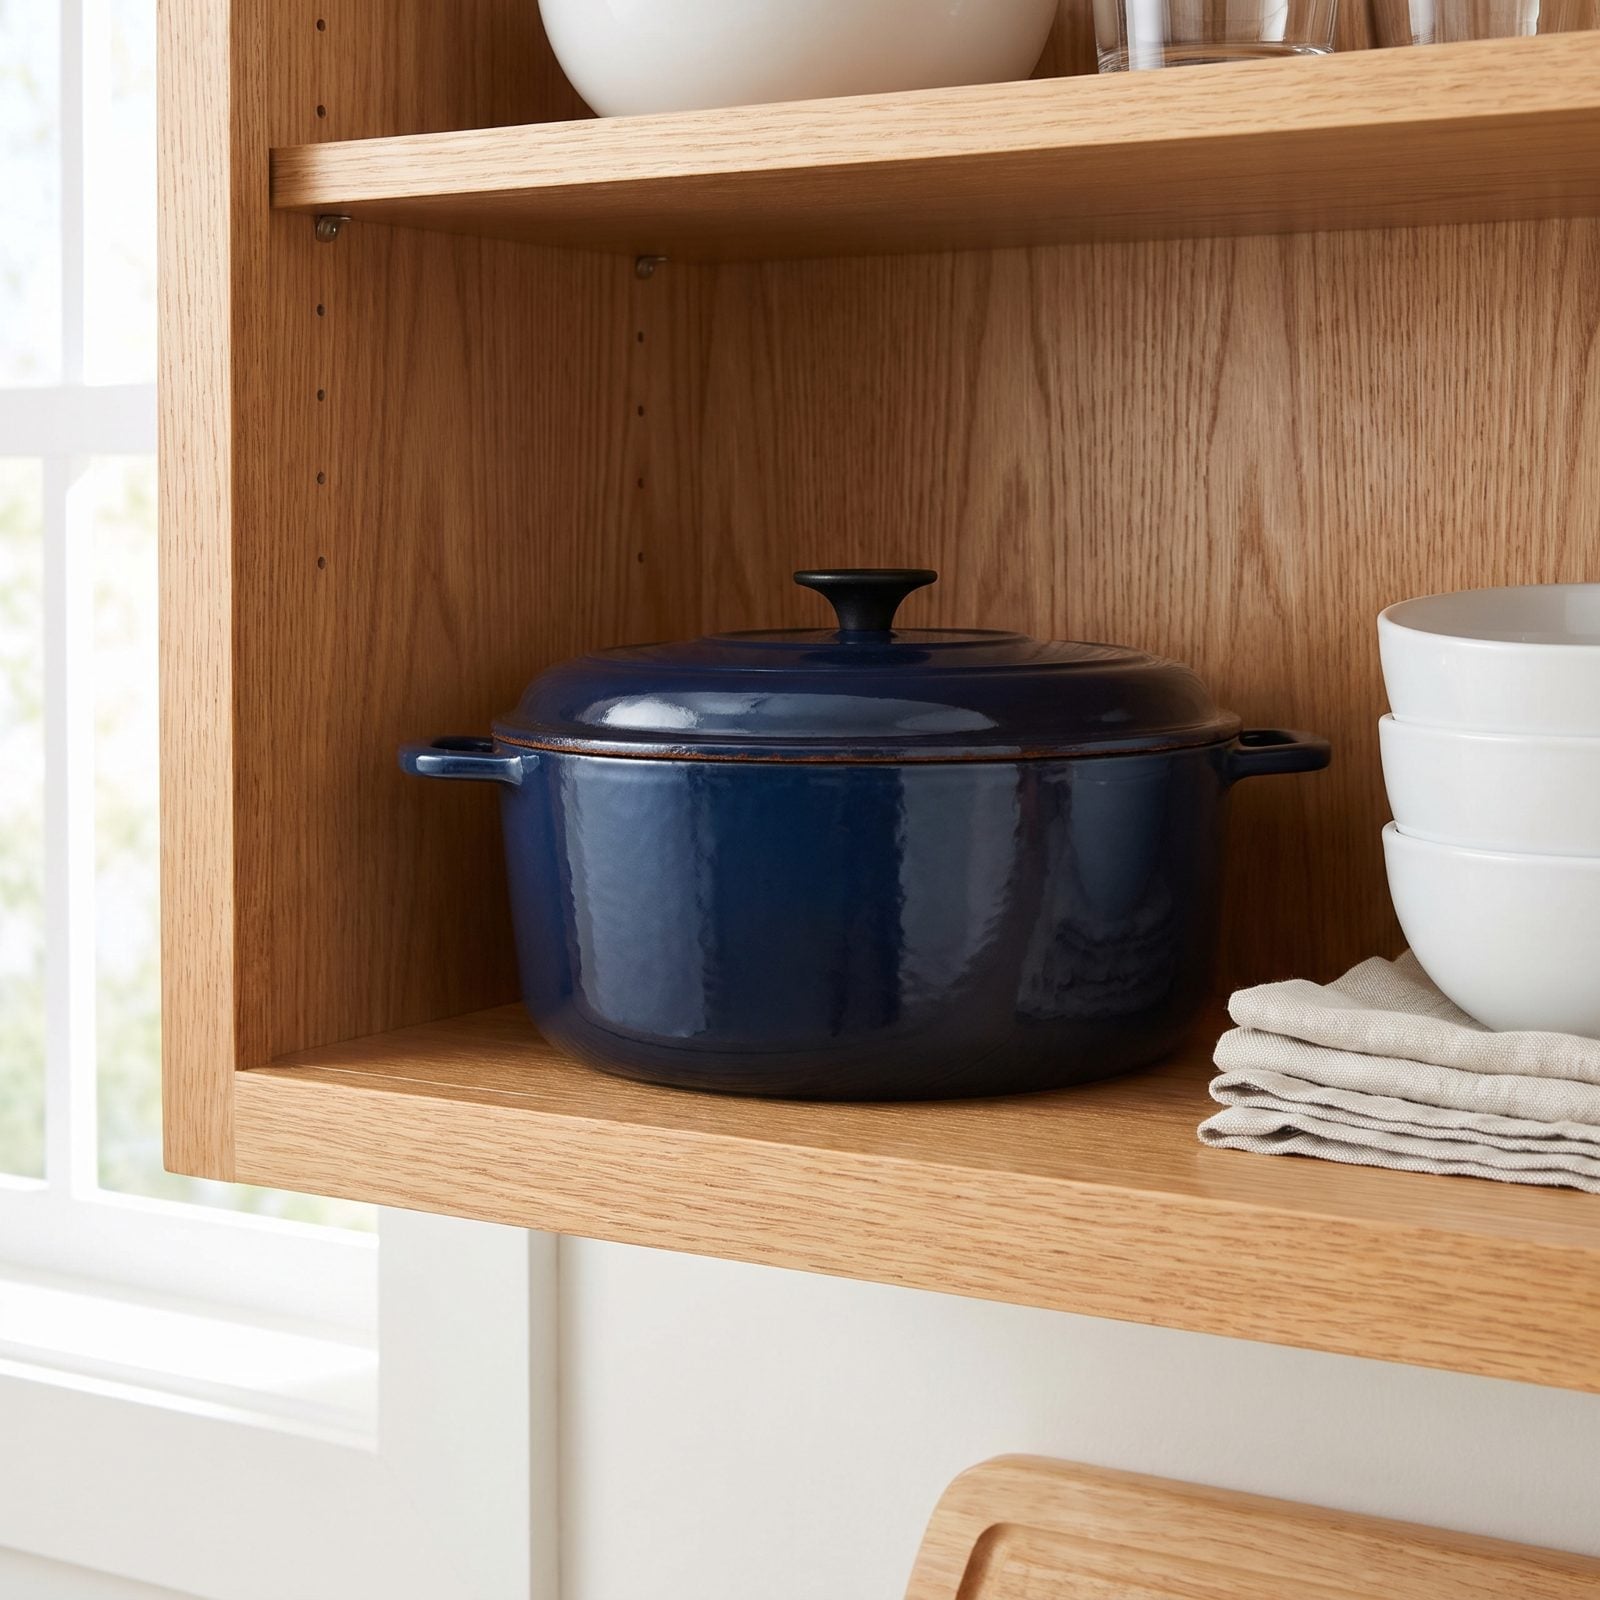
A Dutch oven stored lid-down and sealed is basically a sauna for rust. Any trace of moisture inside has nowhere to go, so it condenses on the lid and drips back onto the pot. Open it a few weeks later and you’ll find orange freckles where there were none.
Leave the lid cracked. A folded paper towel laid across the rim before you set the lid down creates an air gap and wicks away stray humidity. And keep it somewhere dry — not under the sink next to the pipes, which is where good cookware goes to corrode. Cast iron asks for almost nothing. A little airflow is the one thing it genuinely needs.