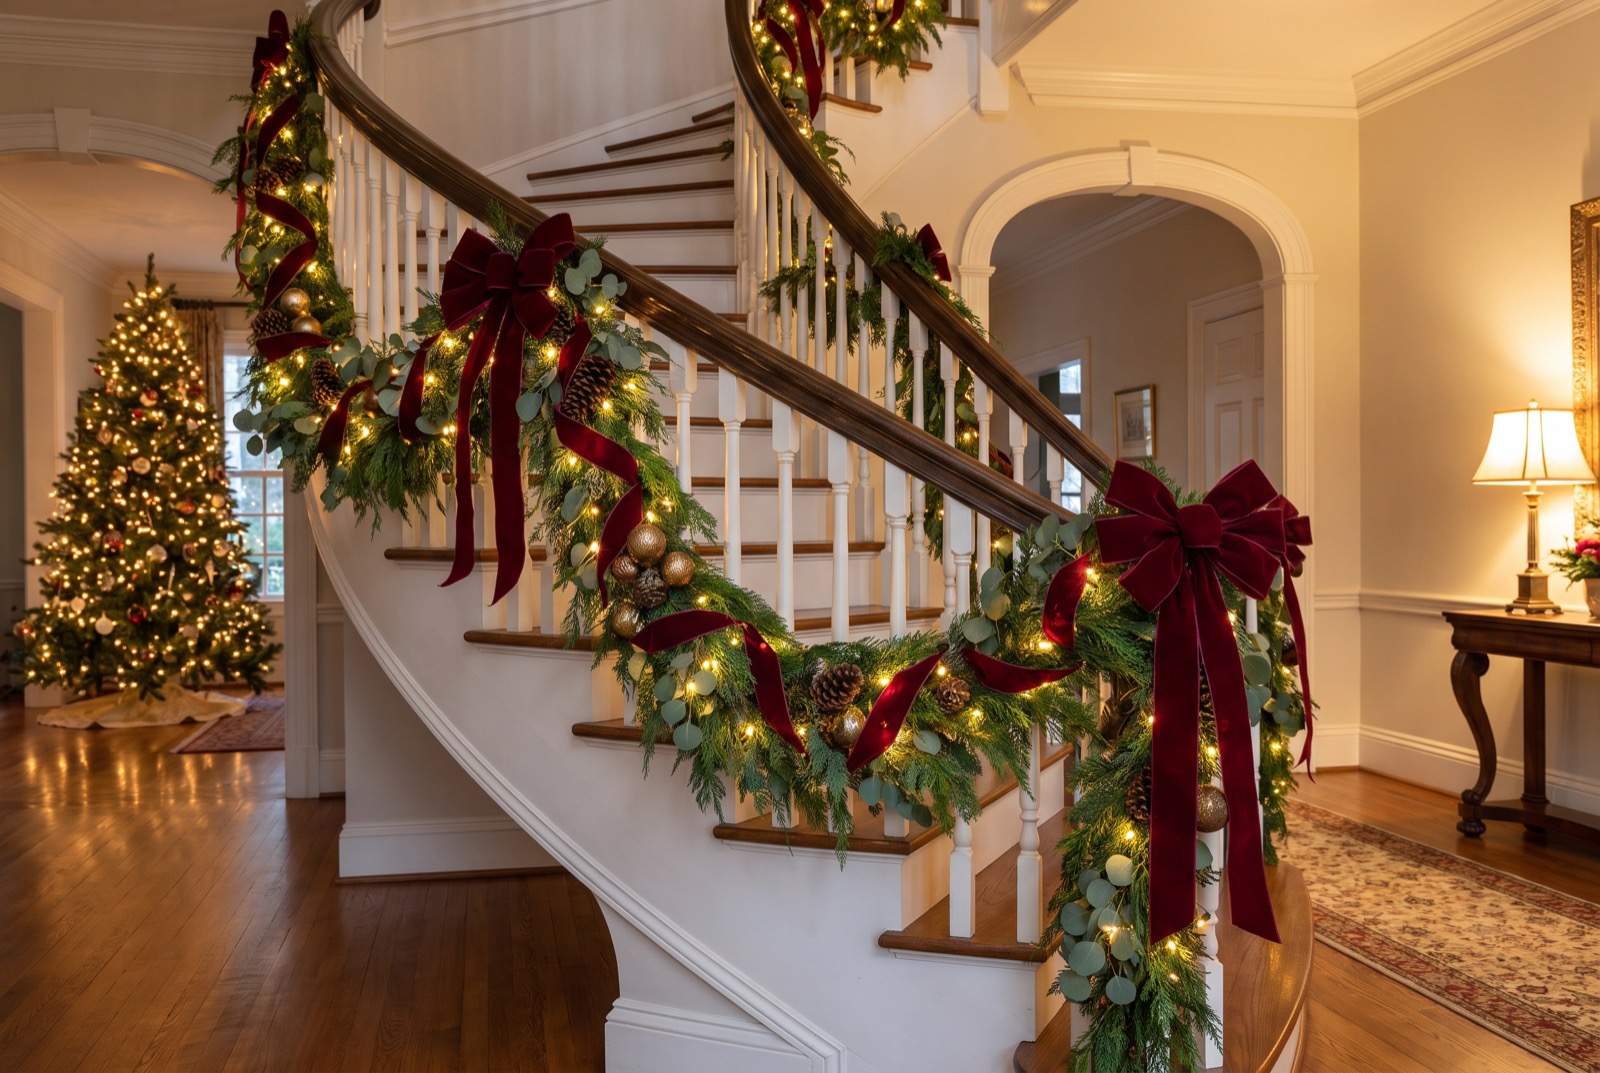
Bringing evergreens indoors in the dead of winter is a far older habit than Christmas itself. The Romans decked their homes with greenery for Saturnalia, and by the Victorian era, a garland winding up the banister had become the centerpiece of a well-dressed holiday house. A staircase is still the best place in the home for one: it’s the first thing guests see, it catches the light from every angle, and a long, flowing garland turns an ordinary hallway into something out of a holiday card.
Please note that some of the images in this article were created with the assistance of AI.
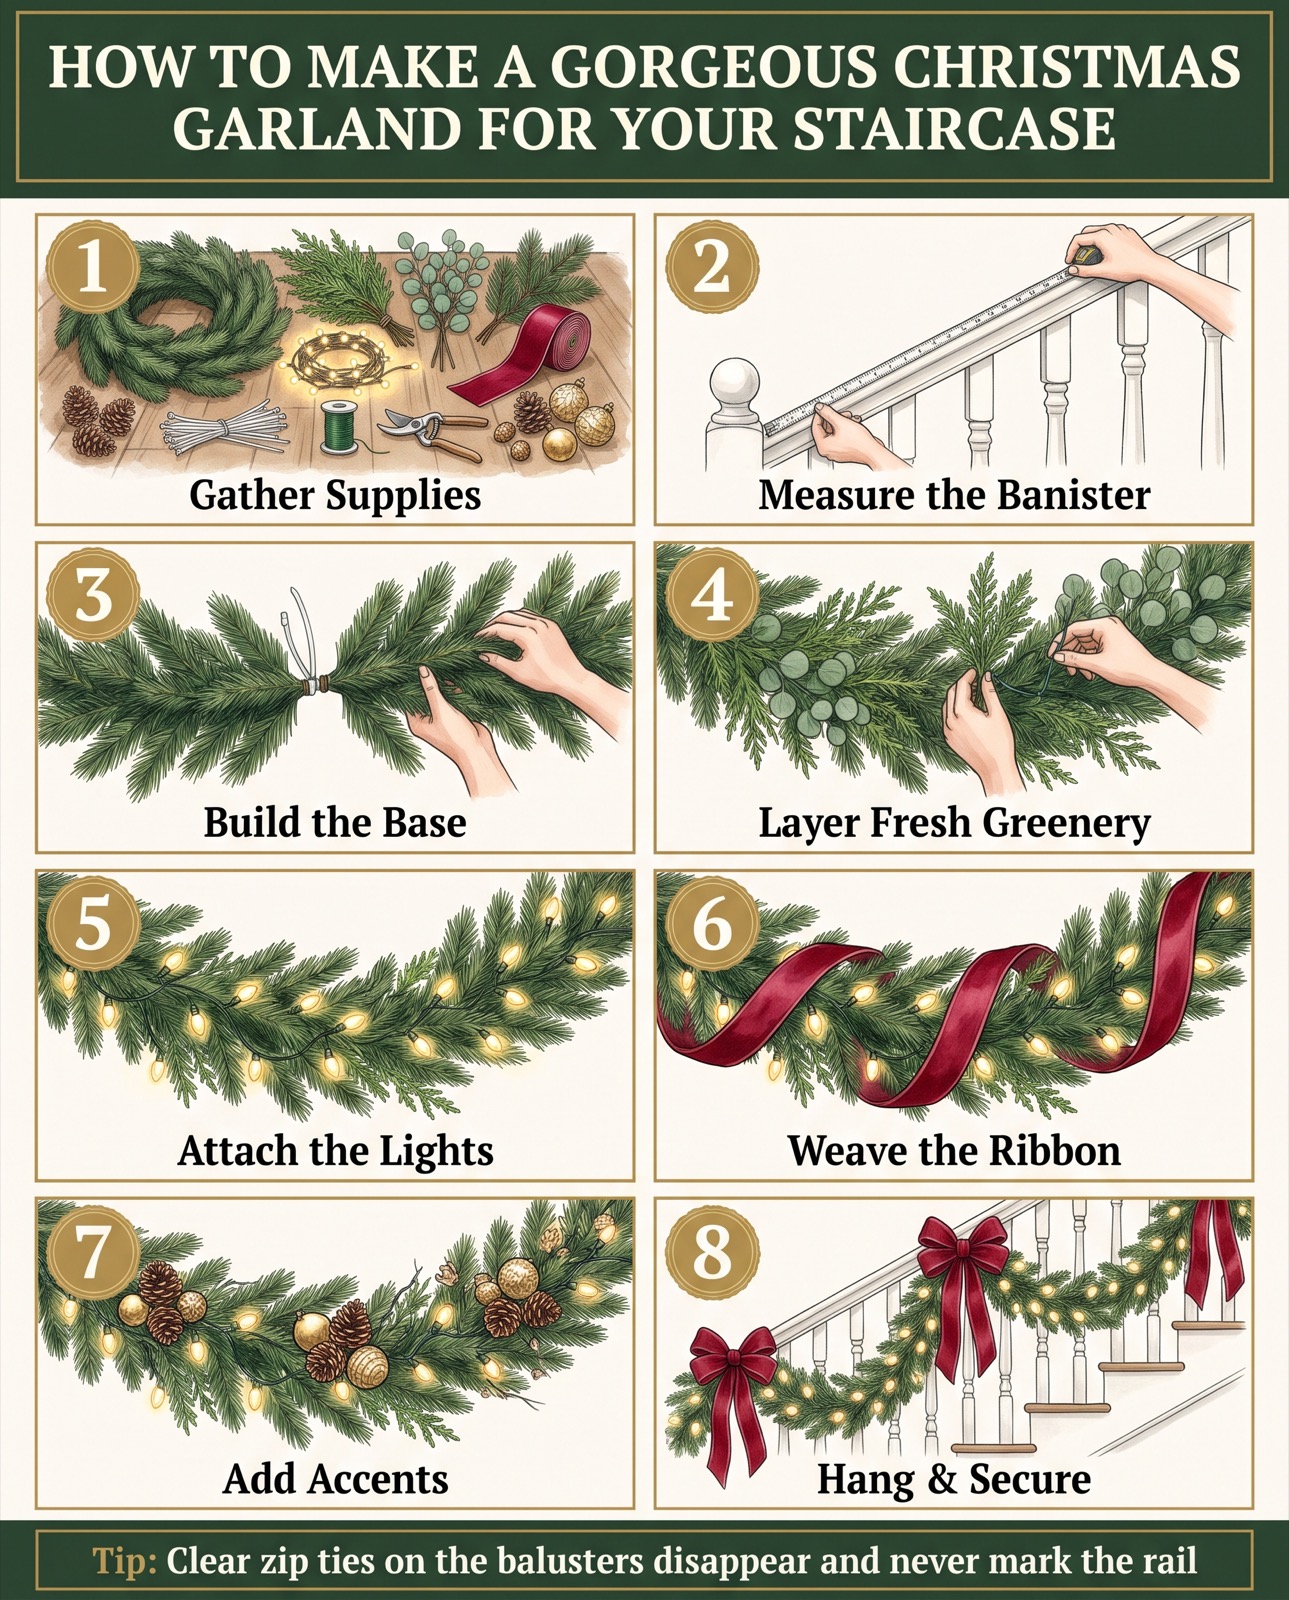
The good news is that the full, designer look doesn’t come from an expensive pre-made garland. It comes from layering: an inexpensive faux base for structure, fresh greenery tucked in for scent and texture, then lights, ribbon and a few accents. Below, we walk through the whole process in detail, and there’s an at-a-glance version of the tutorial at the bottom of the page to save for later.
Before You Start: Faux, Fresh or Both?
A garland made entirely of fresh greenery smells wonderful but is heavy, sheds, and dries out quickly in a heated house, often within a couple of weeks. An all-faux garland lasts for years but can look flat and plasticky up close. The layered approach used here gets the best of both: the faux base carries the weight and holds the shape, while fresh sprigs of cedar, pine and eucalyptus add real texture and that unmistakable evergreen scent. When the fresh pieces start to fade, you can pull them out and tuck in new ones without rebuilding the garland.
Step 1: Gather Your Supplies
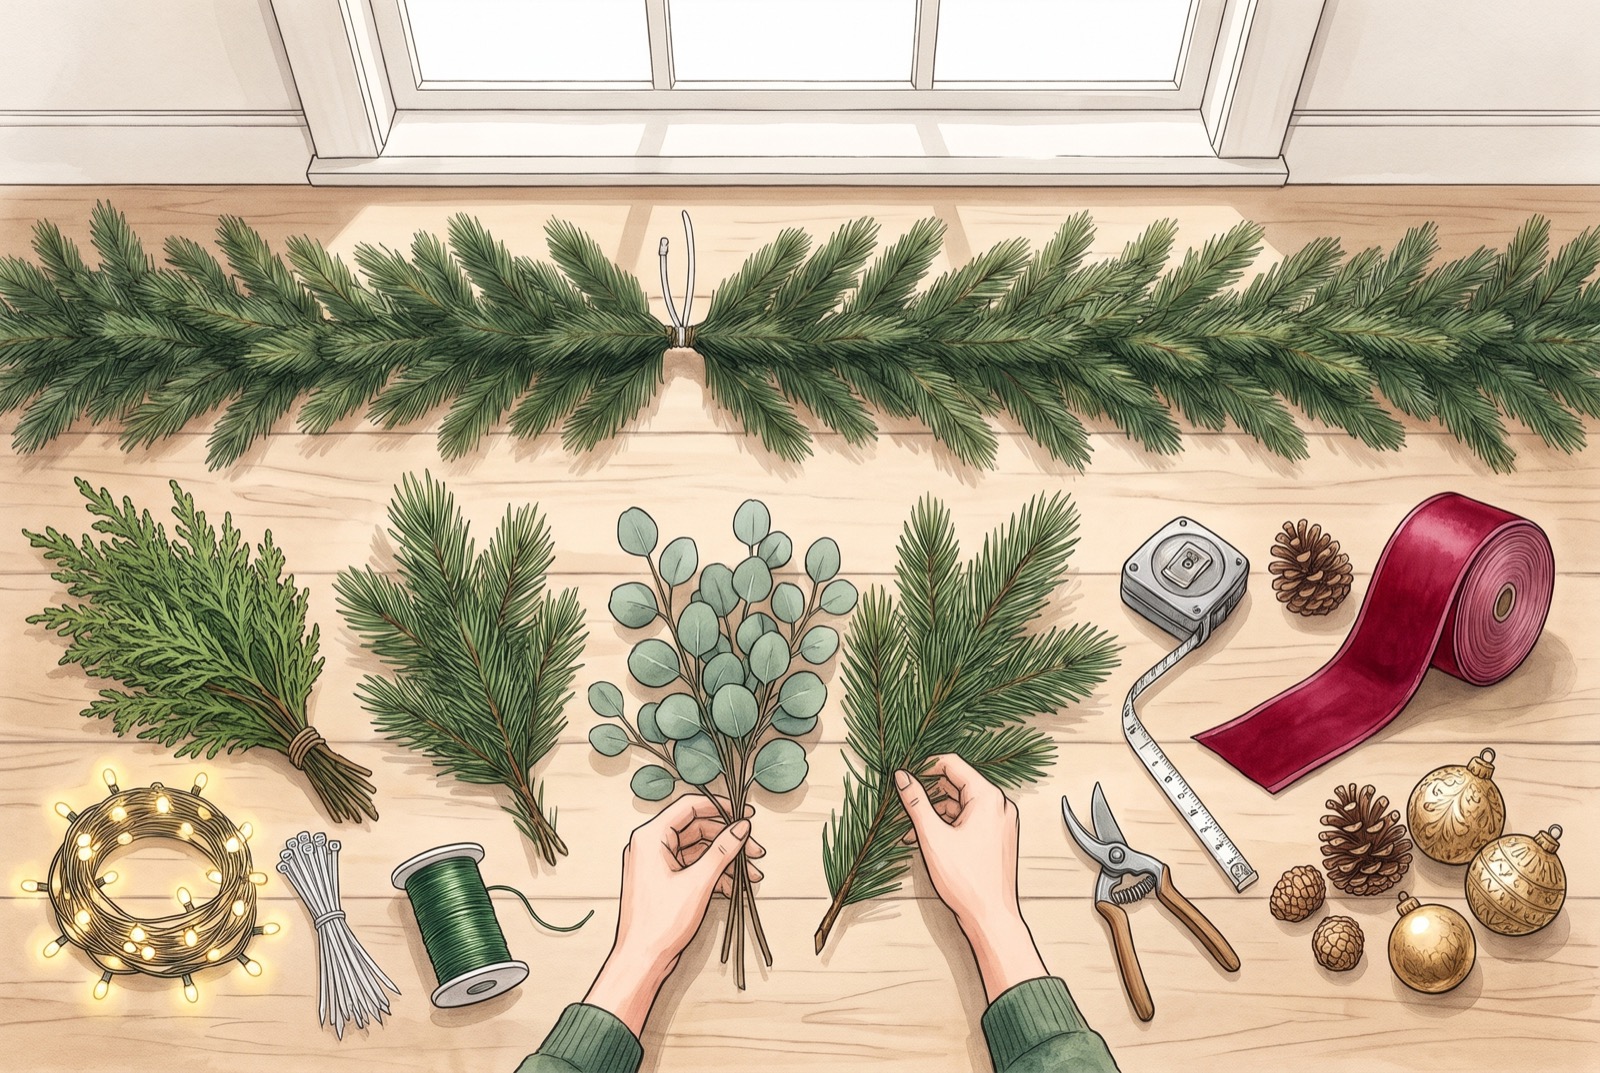
Collect everything before you start, because once the garland is half built and stretched across the floor you won’t want to go hunting for zip ties. Lay down an old sheet near the bottom of the stairs to catch needles and trimmings.
- Faux pine garland in 9-foot lengths. How many you need depends on your measurement in Step 2.
- Fresh greenery: a few bundles each of cedar, pine and silver-dollar eucalyptus. Tree lots and florists sell inexpensive bundles, and many tree lots give trimmings away.
- Warm white LED string lights. LEDs stay cool, which matters around fresh greens and wooden rails. Battery-operated strands with a timer save you from running a cord to an outlet.
- Clear zip ties, 8 inches long, for joining lengths and fastening the garland to the balusters.
- Green floral wire (22 to 24 gauge) for securing fresh sprigs and accents.
- Pruning shears and a measuring tape.
- Wired ribbon, 2.5 to 4 inches wide. Velvet and plaid both look rich on a staircase.
- Accents: pinecones, shatterproof ornaments and berry picks.
Step 2: Measure the Banister
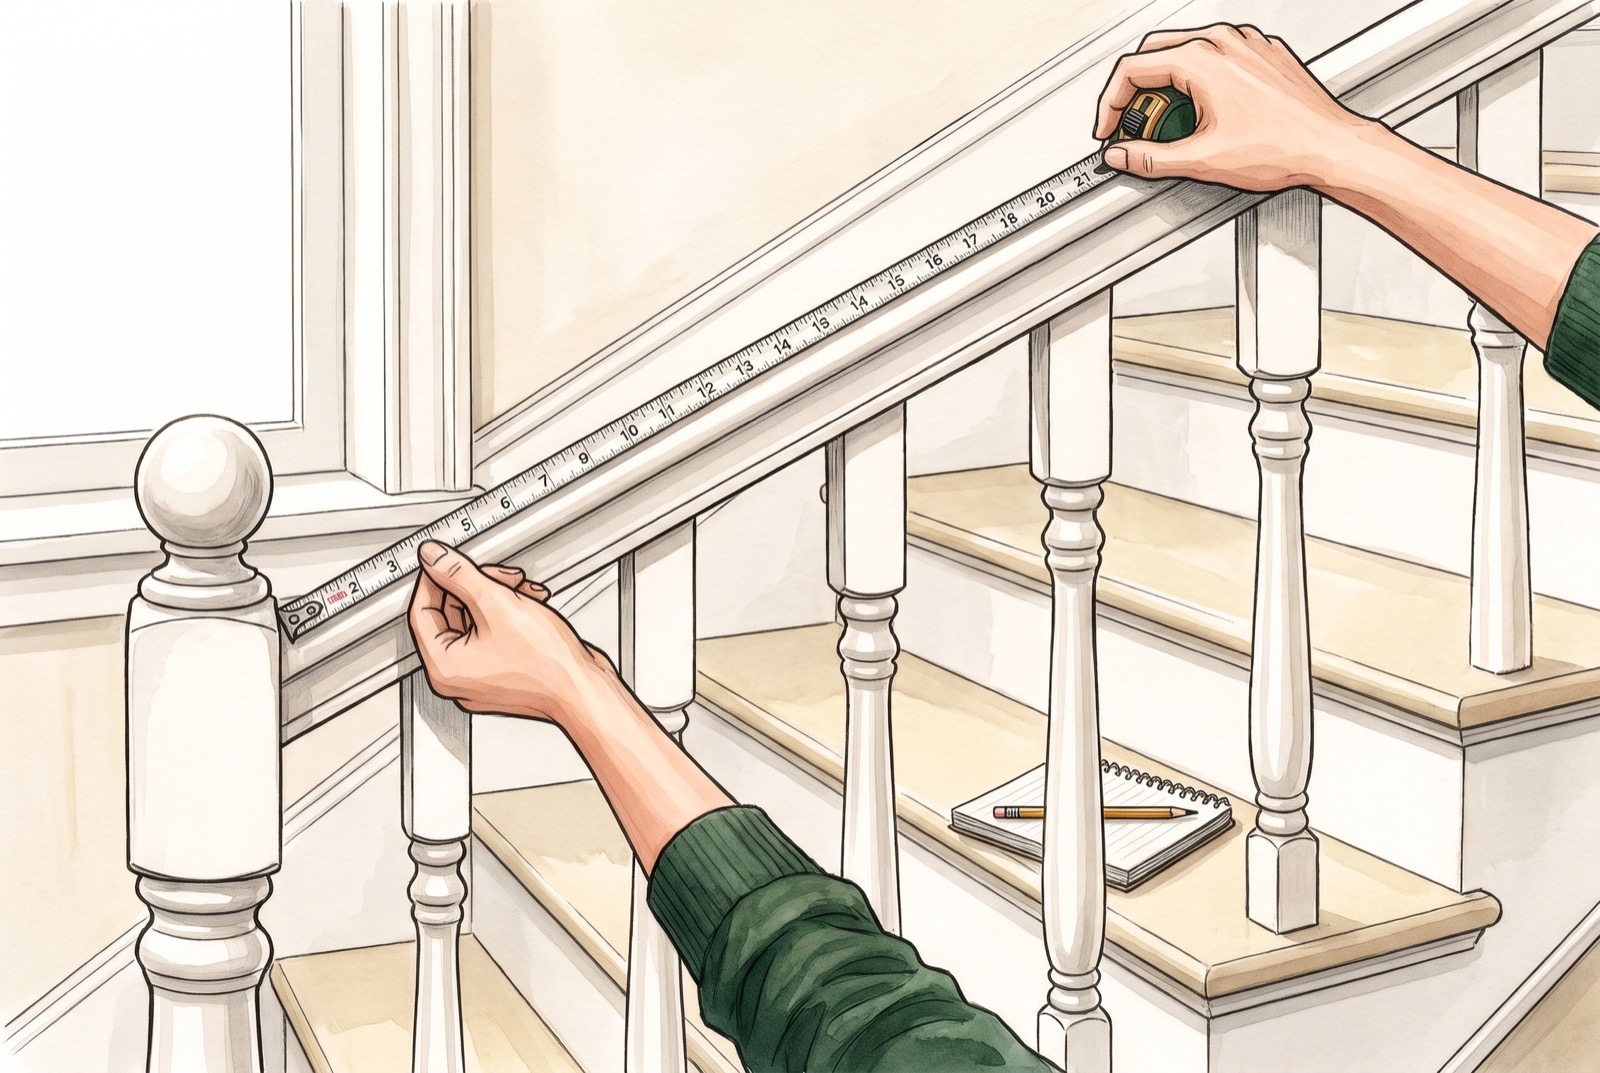
Run a measuring tape along the top of the handrail from the newel post at the bottom to the end of the rail at the top, and write the number down. How much garland you need depends on the look you want. For a garland that runs straight along the rail, add about 10 to 15 percent to the measurement so you have enough to wrap the newel post and tuck the ends. For the classic draped look with swags dipping between the fastening points, multiply the rail length by 1.5. A 12-foot banister, for example, needs about 18 feet of garland for gentle swags, or two 9-foot lengths.
Measure the ribbon the same way. A loose spiral along the full length takes roughly 1.5 times the garland length, plus about 3 yards for each bow.
Step 3: Build the Base
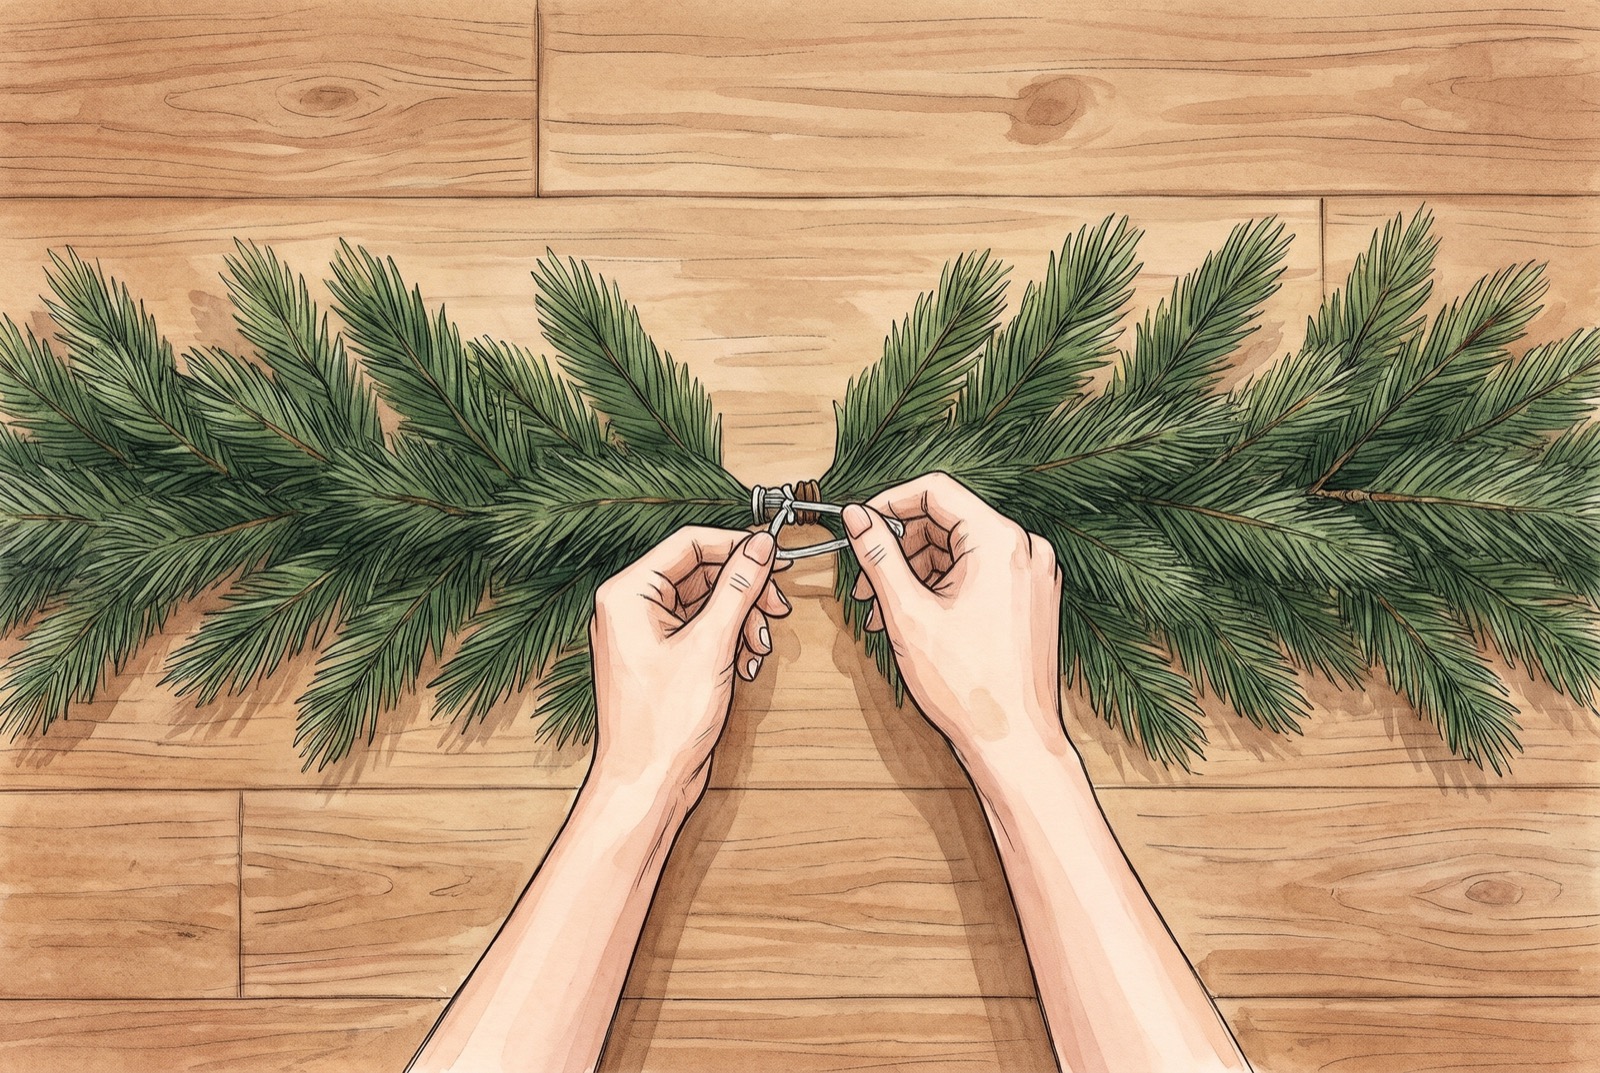
Lay the lengths of faux garland end to end on the floor in one straight line. Where two lengths meet, overlap the ends by a few inches and cinch them together with a clear zip tie, pulling it tight and snipping off the tail. Then go along the whole length and fluff it properly. Bend every branch tip outward and slightly up, alternating directions, so the garland looks round and full instead of flat from being boxed. This step takes longer than it sounds, but it makes the biggest difference to the finished look, and it hides the joins completely.
Step 4: Layer in Fresh Greenery
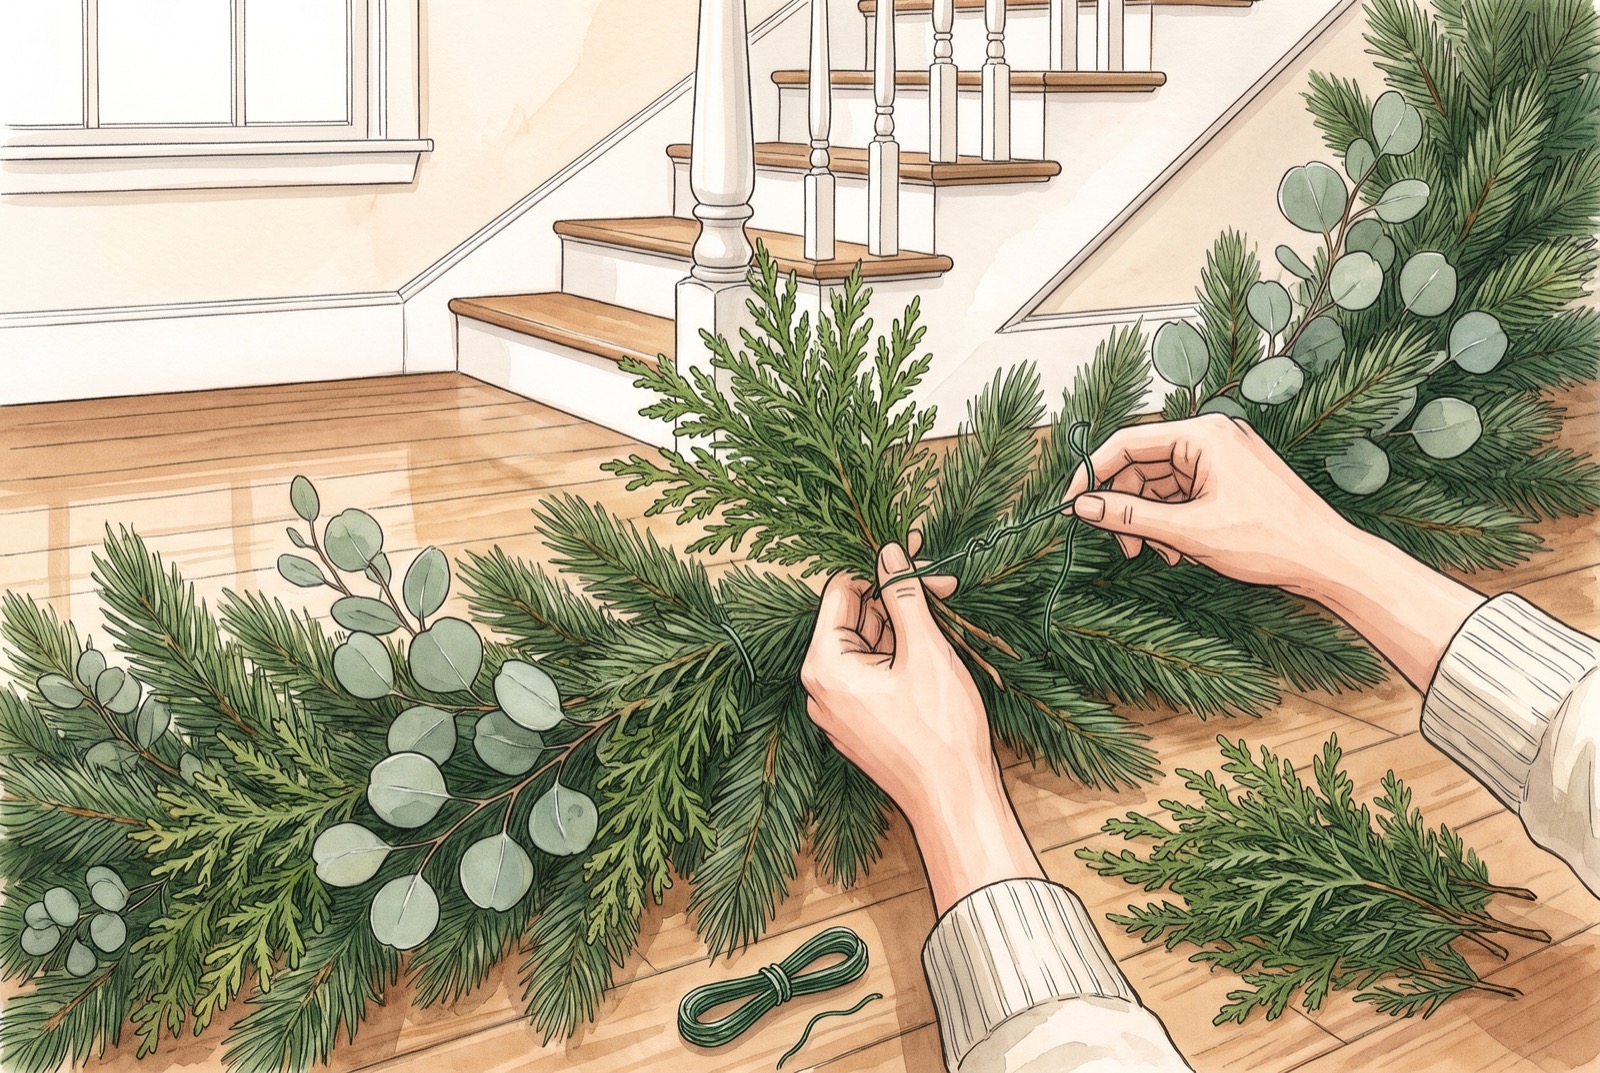
Cut the fresh greenery into pieces about 6 to 10 inches long and gather them into small bundles of two or three stems, mixing textures: a feathery cedar sprig, a piece of long-needled pine and a stem of eucalyptus. Tuck each bundle into the faux base at a slight angle so the stems point the same direction as the faux branches, then twist floral wire around the stems and the garland’s core to hold it in place.
Work along the garland every 8 to 12 inches, alternating which side of the garland each bundle sits on. Let a few pieces of eucalyptus or cedar trail longer than the rest. Those soft, drapey ends are what make a garland look abundant rather than tidy and stiff.
Tip: Soak the fresh greenery in cool water overnight before you use it. Well-hydrated sprigs stay green noticeably longer indoors.
Step 5: Attach the Lights
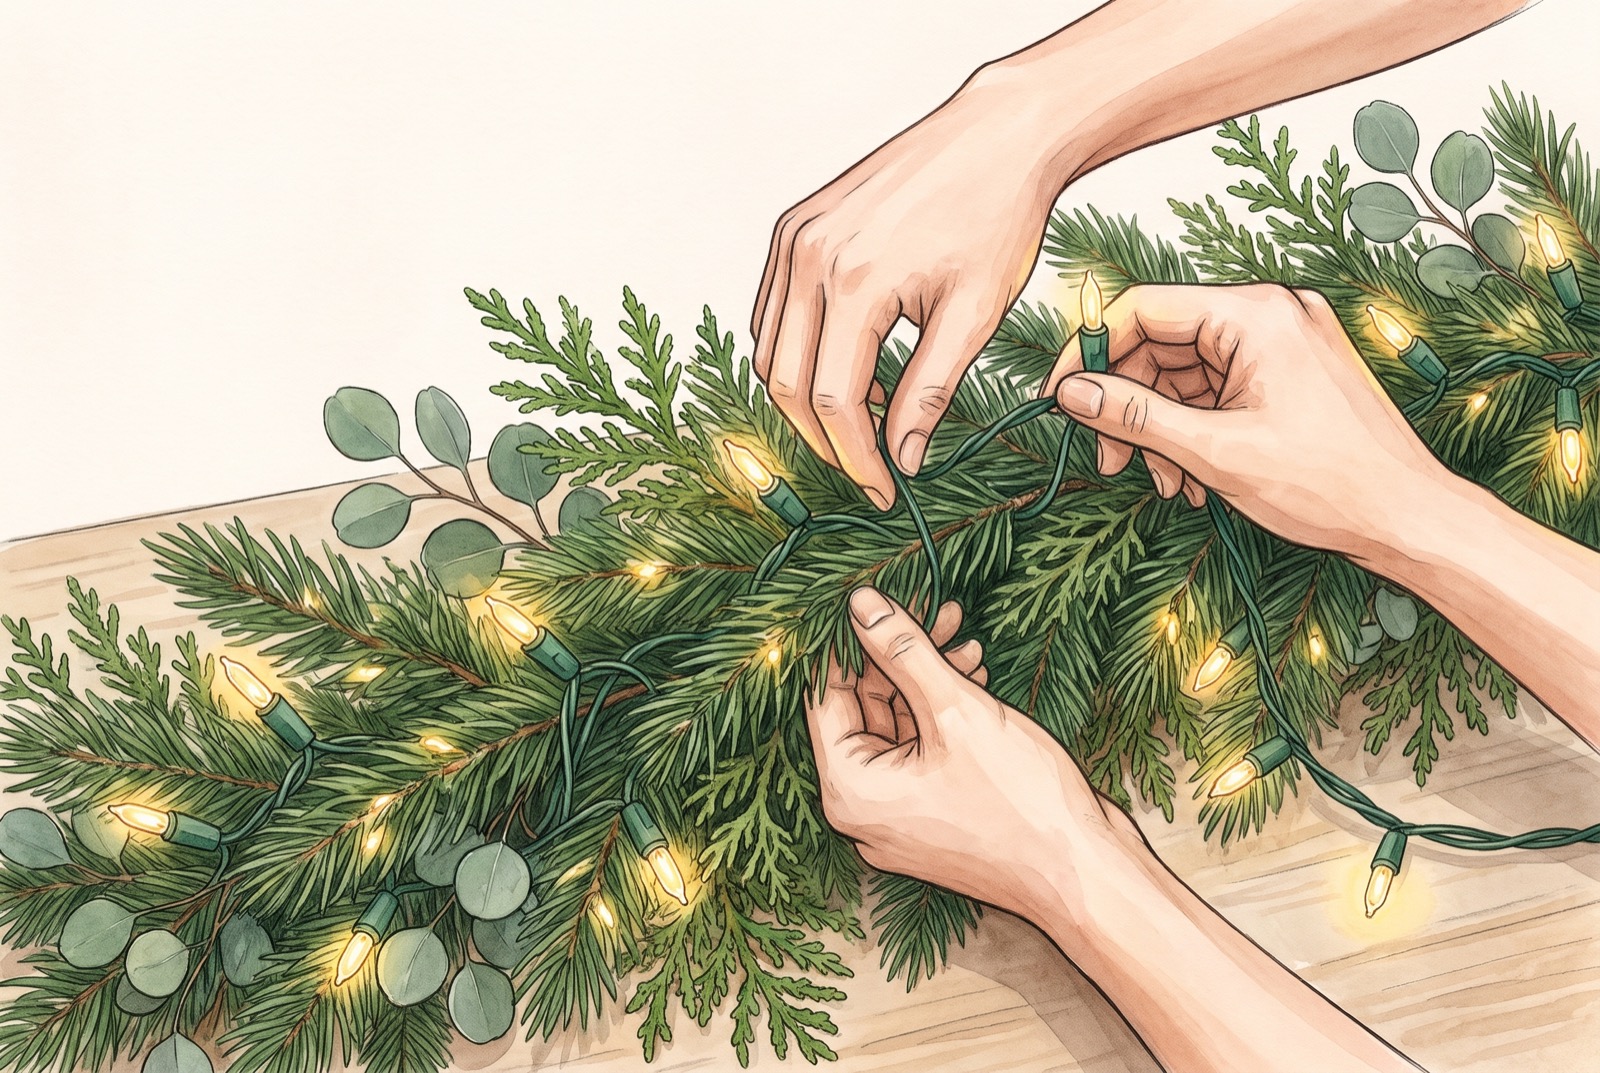
Plan where the power will come from before you start. If you’re using a plug-in strand, begin at the end of the garland that will sit nearest an outlet, usually the bottom of the stairs. With battery strands, start at the bottom so the battery pack can be tucked out of sight behind the newel post.
Rather than wrapping the lights around the outside of the garland like a candy cane, weave them in and out. Push the strand deep into the branches, bring it back to the surface a few inches later, and repeat. This lets the bulbs glow from inside the greenery and hides the green cord. A good rule of thumb is about 100 mini lights for every 3 to 4 feet of garland for a warm, generous glow. Plug the lights in to test them before you move on, because finding a dead strand after the ribbon is on is a headache.
Step 6: Weave the Ribbon
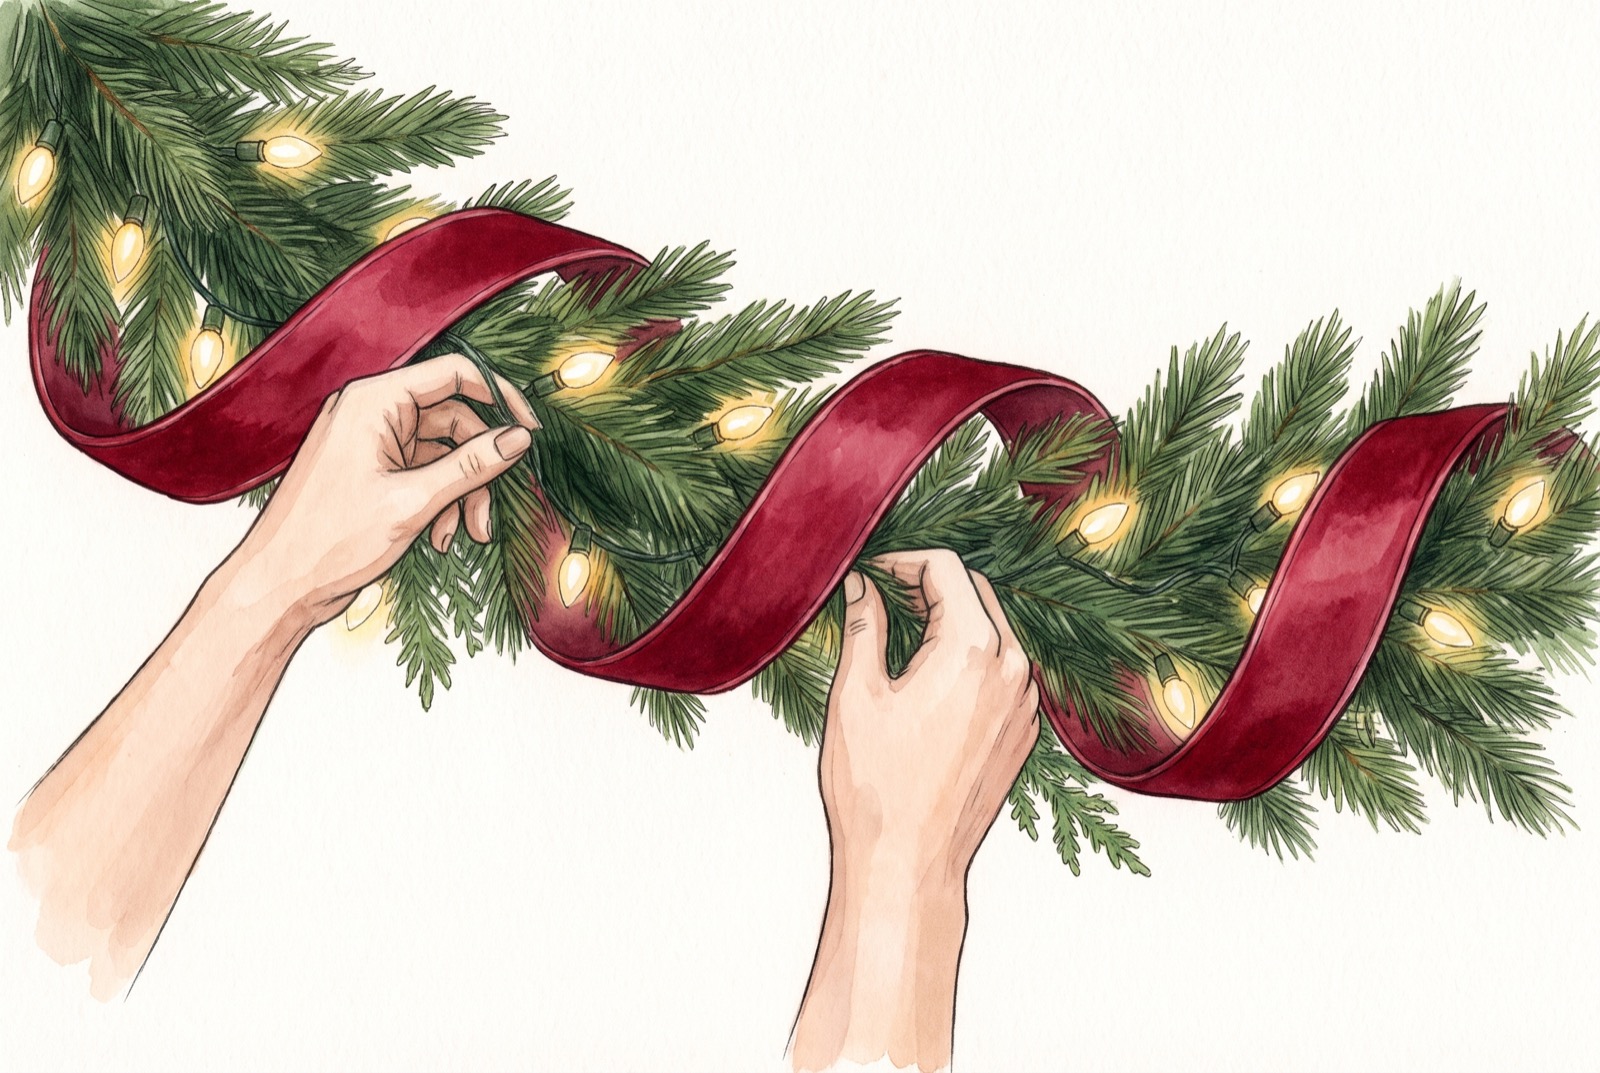
Tuck the end of the ribbon into the garland at one end and secure it with a short piece of floral wire. Then spiral it loosely along the length, letting it sink into the greenery every foot or so and puff back out between. Wired ribbon is the key here, because you can pinch and shape each loop and it will hold. Give the ribbon a half twist now and then so you see both sides, and let it billow rather than pulling it taut. Tight, even stripes look like a barber pole, while soft, irregular loops look like a florist’s work.
If you prefer a cleaner look, skip the spiral and make a bow for each swag point instead. Both styles work well, and bows alone use much less ribbon.
Step 7: Add Accents
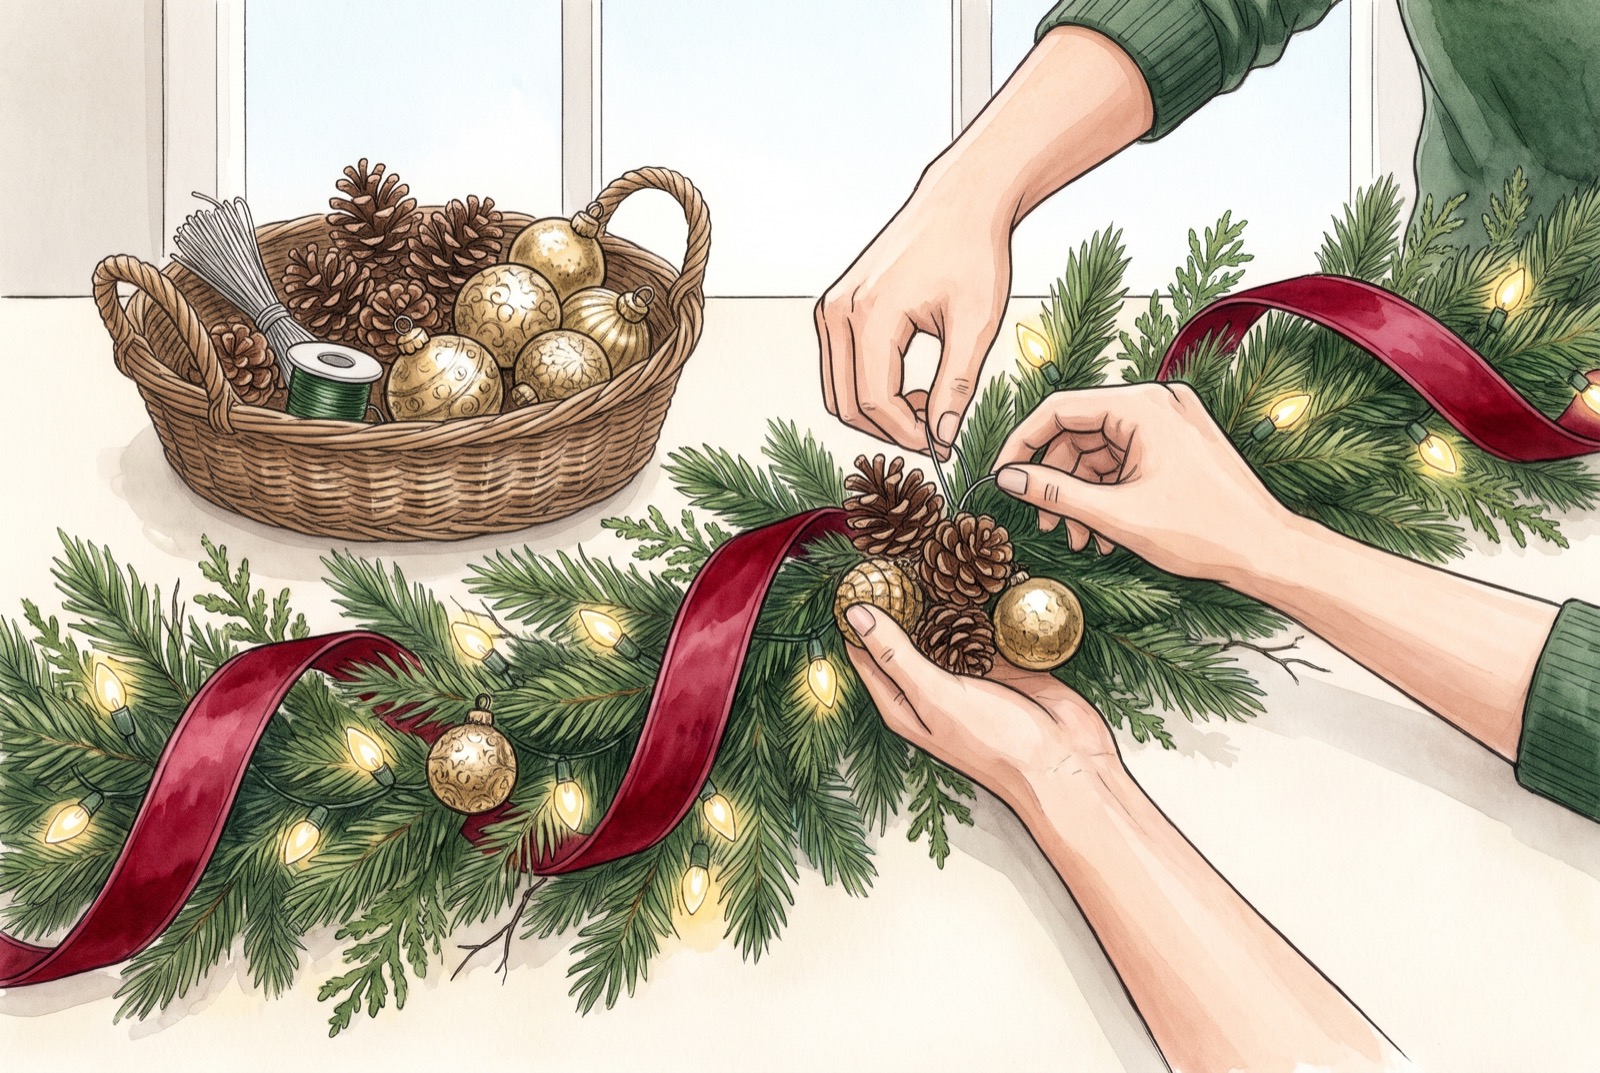
Accents give the garland its personality, but restraint makes it look expensive. Wire small clusters of two or three items together, such as a pair of pinecones with a gold ornament or a berry pick, and attach each cluster to the garland’s core with floral wire. To wire a pinecone, wrap the wire around its bottom row of scales and twist the ends together, leaving a tail to attach to the garland.
Space the clusters evenly, placing one at each future swag point and one or two between. Use shatterproof ornaments on a staircase. People brush past it all season, and glass on a hardwood stair is a hazard nobody needs.
Step 8: Hang and Secure
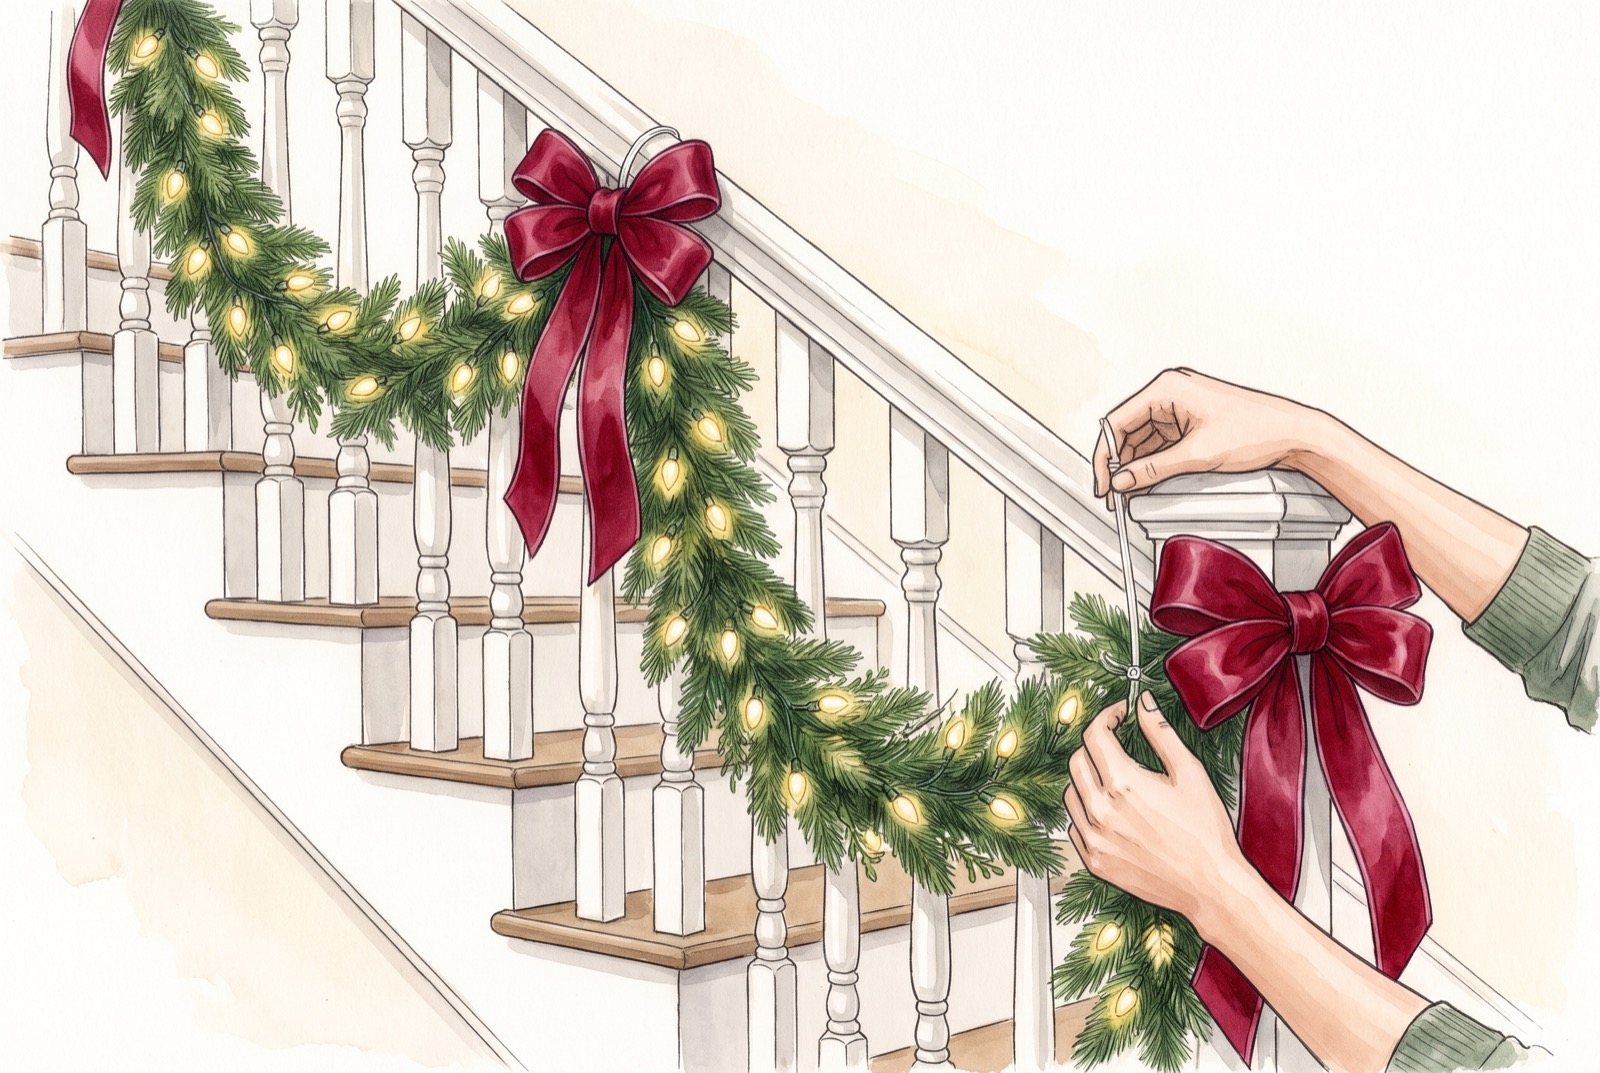
Carry the finished garland up the stairs and start at the top, fastening the end to the last baluster with a clear zip tie looped around the baluster just below the handrail. Then work your way down. For a draped look, choose fastening points every three or four balusters and let the garland dip 8 to 12 inches between them. Hold each swag up and check it from the bottom of the stairs before tightening the tie, so the dips come out even.
Fasten the garland to the balusters, never around the handrail itself. Ties on the rail get in the way of hands, and over a season they can rub the finish on a stained rail. At the bottom, wrap the end around the newel post and secure it, then attach a full bow at each swag point and a big one on the newel post to finish.
How to Keep It Looking Fresh
- Mist the fresh greenery every couple of days with a spray bottle.
- Turn the lights off overnight and when you’re out, or use a timer.
- Keep it away from heat. A heating vent at the foot of the stairs will dry the fresh greens in days.
- Refresh as you go. When a fresh sprig browns, pull it out and tuck in a new one. The faux base keeps the garland full in the meantime.
Common Mistakes to Avoid
- Buying too little garland, which leaves skimpy swags. Measure first, and multiply by 1.5 for a draped look.
- Skipping the fluffing, so the garland looks flat and fresh from the box.
- Wrapping lights around the outside, which shows the cord and makes the glow look harsh.
- Fastening to the handrail instead of the balusters.
- Overloading on ornaments, so the greenery disappears.
The Complete Tutorial at a Glance
Here’s the whole process in one image. Save it or pin it so it’s close at hand when you start decorating.